Chalk Painted Wooden Stool | Pretty Handy Girl

Chalk Painted Wooden Stool | Pretty Handy Girl

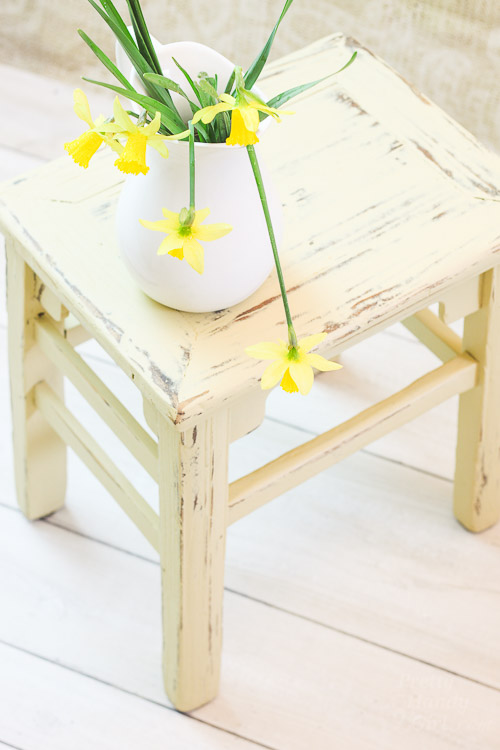
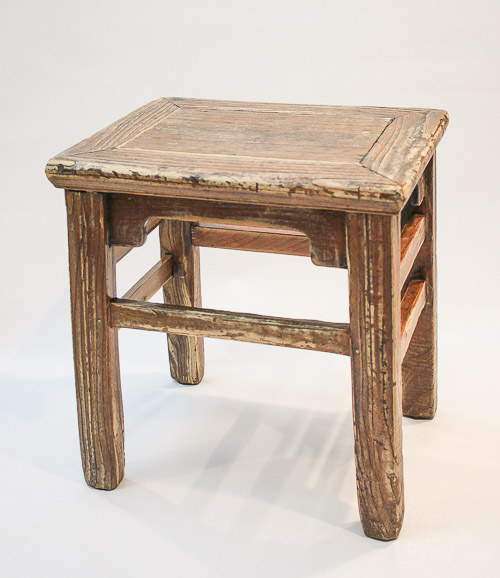
While helping my client get her house ready to sell, I’ve been looking through her furniture and decor for items to use for staging. She had this old stool that had seen a lot of wear and tear. I asked her if I could paint it and use it to bring some color into her master bathroom.

Chalk Painted Wooden Stool | Pretty Handy Girl

She agreed to let me take it home, and soon we had a Chalk Painted Wooden Stool to use for staging!

Materials:
(contains affiliate links)

Instructions:

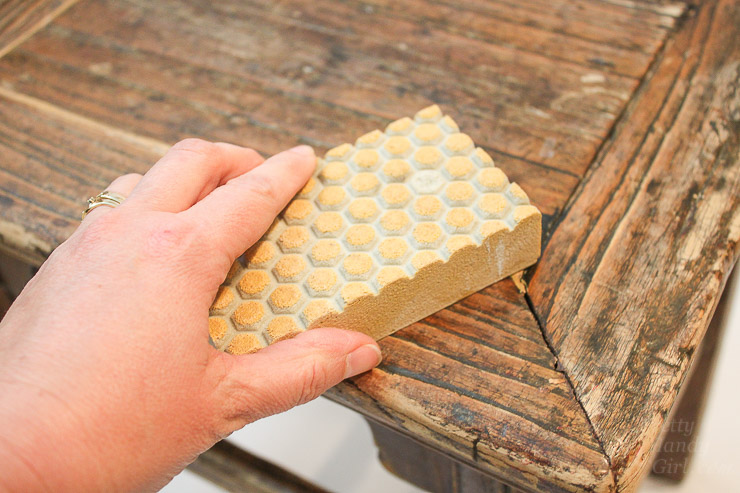
Lightly sand the stool to remove any dirt and rough spots. This gives the wood a bit of a tooth for the paint to grip to.

Chalk Painted Wooden Stool | Pretty Handy Girl

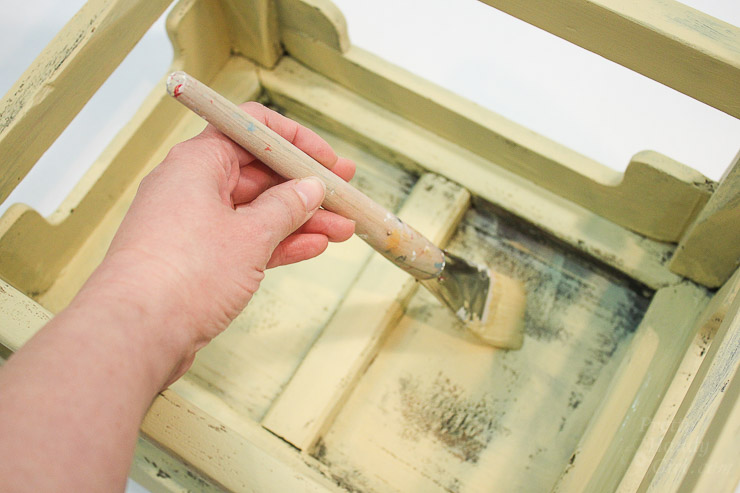
Use any chalk-like paint to paint your stool (I used Farmhouse Paint in Dijon.) Brush the paint on with the grain. Start from the bottom first.

Chalk Painted Wooden Stool | Pretty Handy Girl

Flip the stool over to paint the top and outside legs. Read more

My Home Paint Colors | Pretty Handy Girl

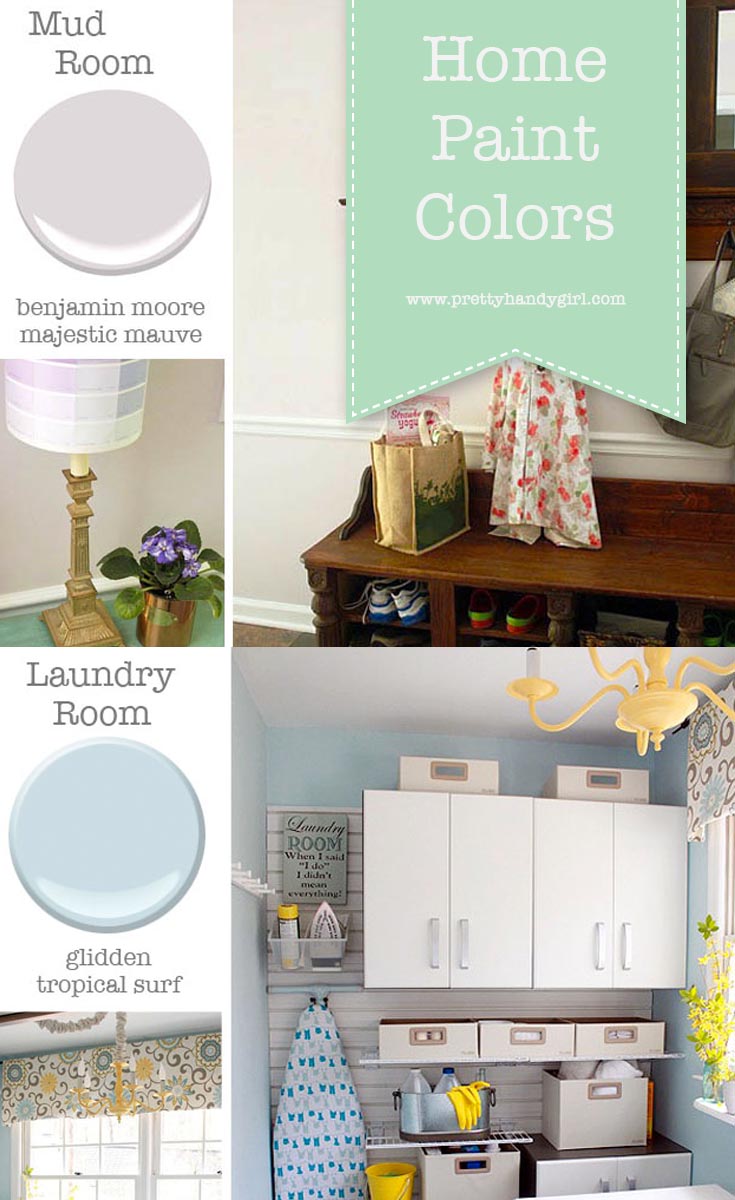
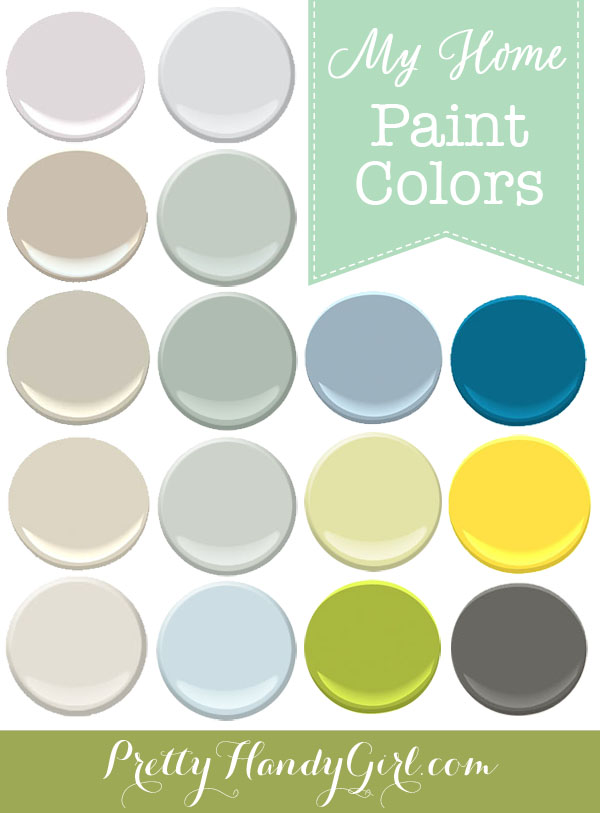
Paint Colors in My Home

I owe you an apology. This post has been on my “to do” list for at least two years. But like many of my “to do” list items, it got pushed back many times.

I get many questions about the paint colors I use in my home. Each color has been chosen to evoke an emotion in the specific room. At this point, I’m very happy with all the colors with one exception. I’ll explain later.

Without any more delay — you’ve waited long enough — here are the paint colors in my home!
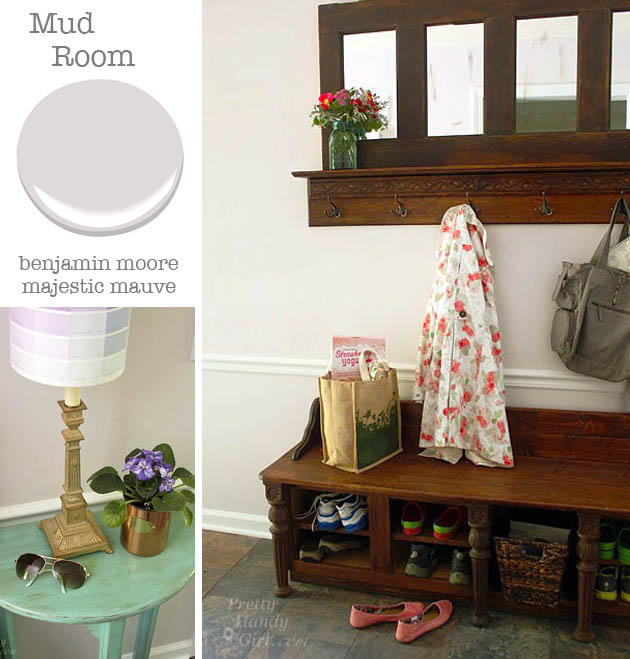
mudroom-majestic-mauve

Paint Colors in My Home

Mudroom: Benjamin Moore Majestic Mauve

This is actually a color match. I liked the color I used in our old home’s hallways so much, that I used the leftover paint in our new home’s mudroom. Unfortunately, I used up the can and forgot to write down the color. It’s the perfect neutral lavender color. The color picks up some of the purple tones in our faux slate floor.
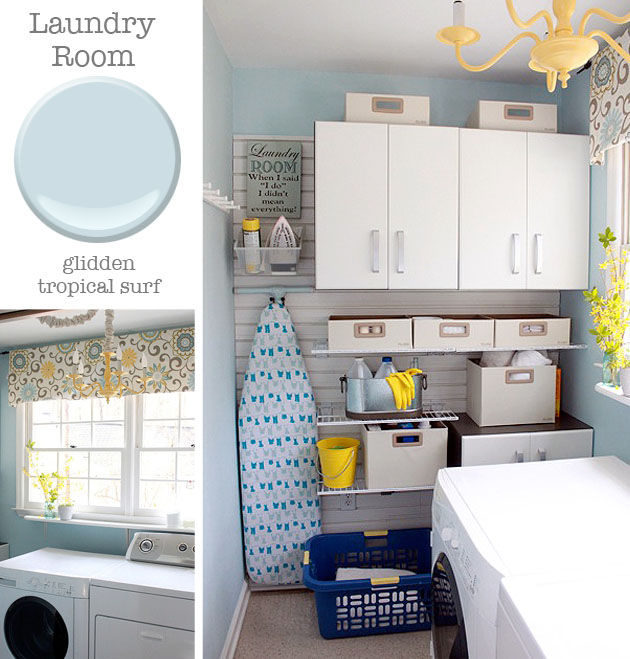
Laundry Room - Glidden Tropical Surf | Pretty Handy Girl

Laundry room: Glidden Tropical Surf.

 I tried using Glidden paint for a sponsored post years ago. I absolutely love the color, but the paint — not so much. It just doesn’t have the coverage that Benjamin Moore Aura paints have and therefore I had to paint three coats to get good coverage and scrubability without taking off the paint. Many people ask what the valance fabric is. It’s Waverly Pom Pom Play Spa (affiliate link). And the Flow Wall organization (affiliate link) has really held up and gets my stamp of approval!
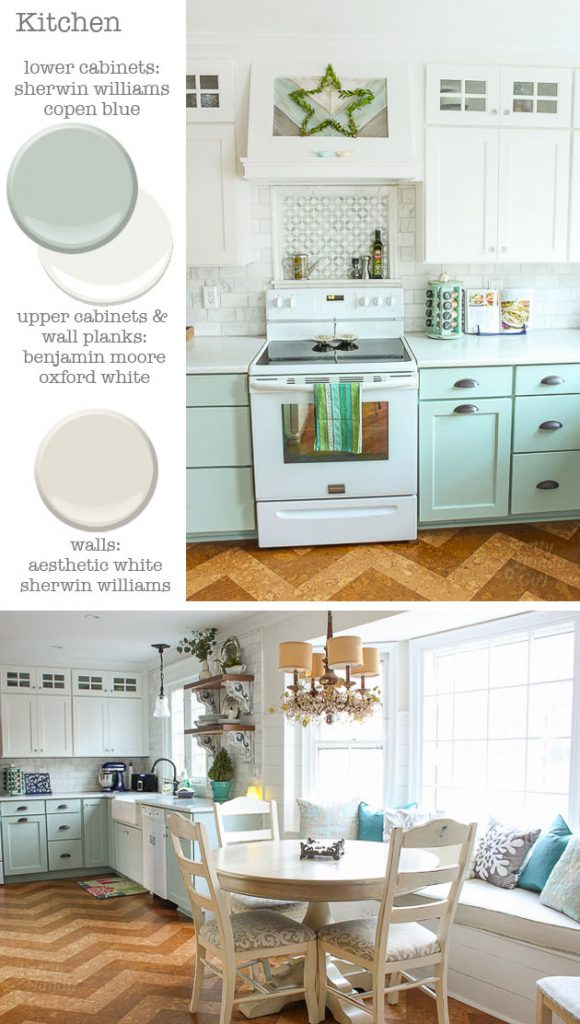
Kitchen - Cabinets: Sherwin Williams Copen Blue and Benjamin Moore Oxford White - Walls: Sherwin Williams Aesthetic White | Pretty Handy Girl

Kitchen: Sherwin Williams Copen Blue, Aesthetic White and Benjamin Moore Oxford White.

Adjacent to the mudroom is our kitchen. The colors were carefully chosen to be soothing and cheerful. The white color was pulled from the Kith Cabinets as the closest match to the white cabinets and used on all the trim and planks.

You may remember the year long saga of our kitchen. We had a leak and I built it back by myself from the subfloor on up. It was definitely a defining year in my life which has lead to some amazing goals I’ve set for myself.
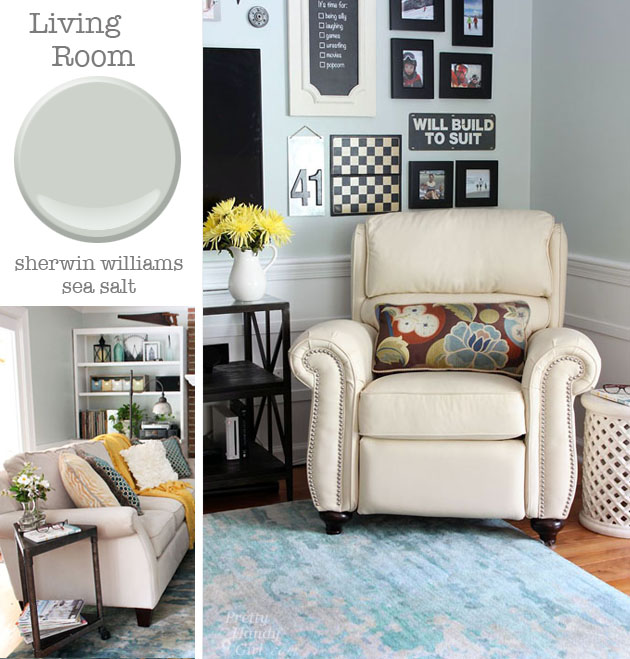
living-room-sea-salt

Living Room: Sherwin Williams Sea Salt.

The living room was the most recent room I painted and this is a color I’ve admired in many bloggers’ homes. The blue/green/gray color blends in perfectly with the kitchen since they share an open doorway. I get many compliments on the color and like how it changes into many hues depending on the weather and time of day.
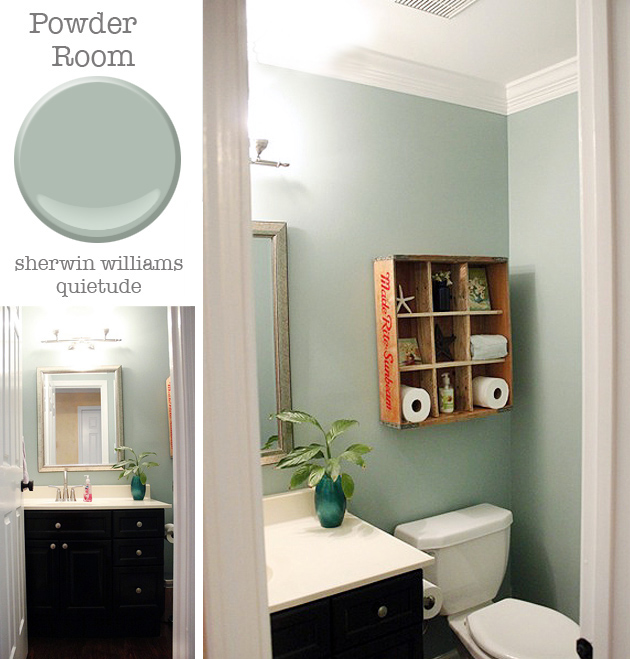
Powder Room: Sherwin Williams Quietude | Pretty Handy Girl

Powder Room: Sherwin Williams Quietude.

 This is another color match. Oftentimes I’ll mix several leftover paints until I get the desired color. Quietude is a close match and I’ve since seen the same color in a friend’s home and it is almost an exact match.
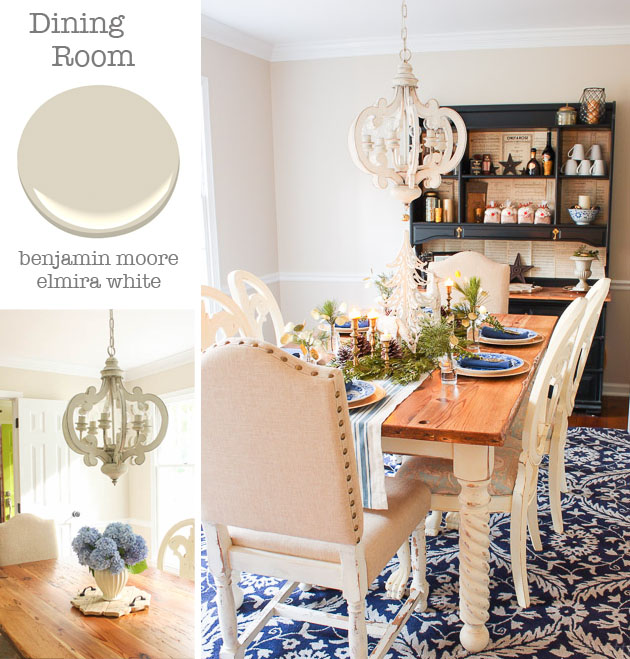
dining-elmira-white

Dining Room: Benjamin Moore Elmira White. 

This is the first room I painted a light off-white. Previously I thought to have a colorful home you had to have colorful walls. Over time I learned that I had more “color freedom” if the walls were a neutral color and I could change the look of a room by swapping out rugs and fabrics.
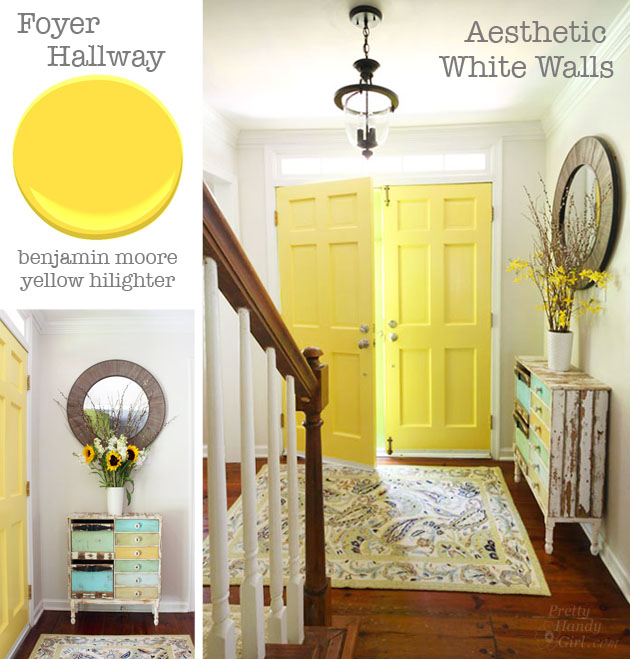
Interior Doors - Benjamin Moore Yellow Hilighter | Pretty Handy Girl

Foyer: Benjamin Moore Hilighter and Sherwin Williams Aesthetic White. 

After painting our kitchen walls Aesthetic White I knew I wanted to extend it into the adjacent foyer. This color is the perfect off white but not too fleshy colored. It continues up the stairs and will eventually be painted in our upstairs hallway (another lingering “to do” list item.) The yellow doors was a last minute decision when I was struggling to paint the exterior doors. I ran into an issue with the exterior paint and had to spend 5 days stripping them. I needed some sense of accomplishment so I painted the insides before continuing on the outside. This is the color that greets me every morning and I love it’s sunny disposition.
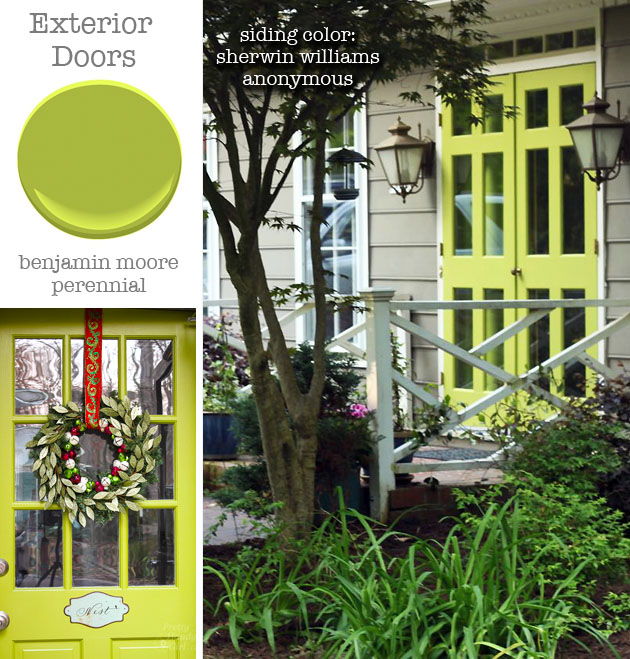
exterior-doors-perennial

Exterior: Benjamin Moore Perennial and Sherwin Williams Anonymous.

This is the outside view of those same doors. The color was one I experimented with and had to change twice. Now it’s such a bright and welcoming color that stands out from the traditional black and red doors in the neighborhood. One of the most asked questions I get is “What is your house color?” Sadly I don’t know, but recently matched it with Sherwin Williams Anonymous. The color is a deep warm gray and it doesn’t show dirt or the mildew that plagues our southern local.
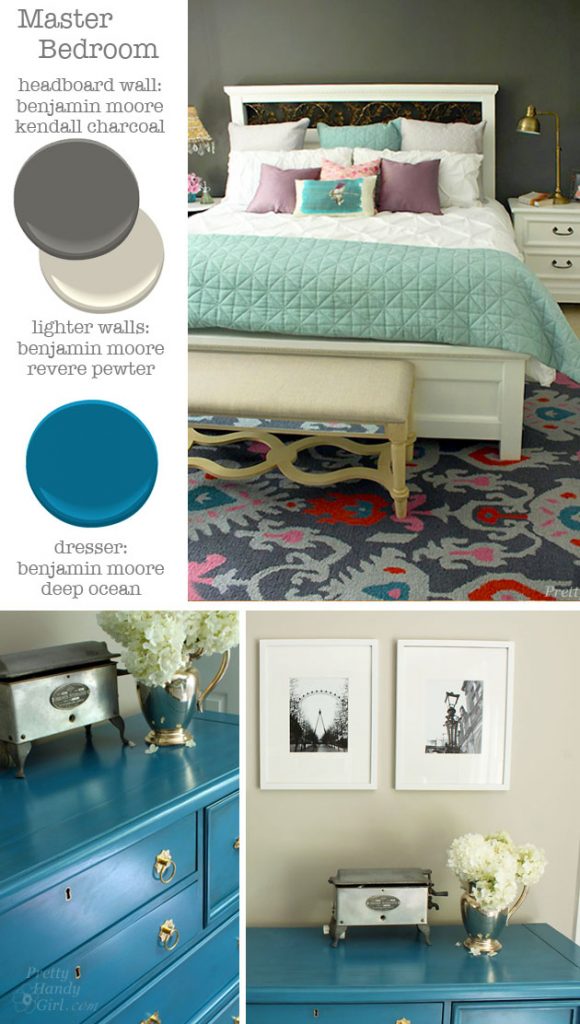
master-bedroom-kendall-charcoal-revere-pewter

Master Bedroom: Benjamin Moore Kendall Charcoal and Revere Pewter. Dresser: Benjamin Moore Deep Ocean. 

When I set out to paint our master bedroom I had fallen in love with the dramatic look of white furniture against dark gray walls. But, I couldn’t bring myself to darken an entire room with the charcoal color. My compromise was to paint the headboard wall dark, but create an ombre effect leading into a lighter greige. When we are headed to bed, we climb into bed looking at the dark charcoal. But, when we sit up in the morning it is facing the lighter walls. It’s a nice way to set the mood.
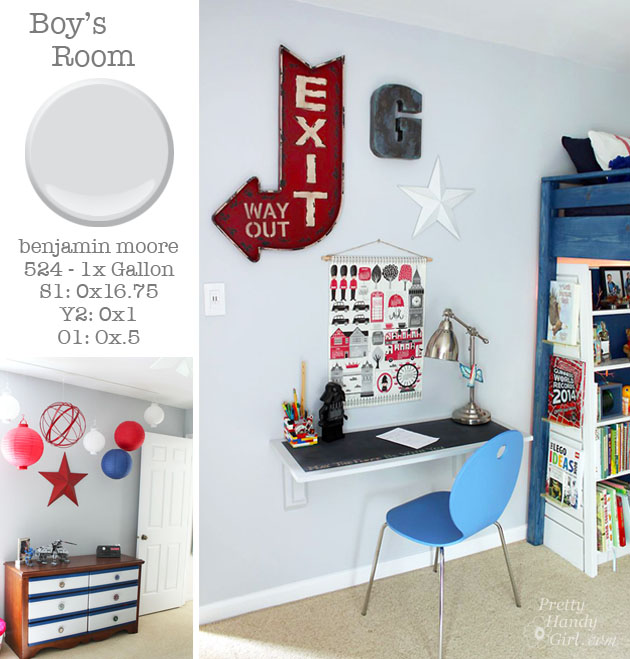
boys-room-gray-custom-color

Boy’s Bedroom: Benjamin Moore custom color.

Remember how I like to mix paint colors? That’s exactly what I did to get this color. I knew what color I wanted in my mind’s eye. But, I none of the color swatches I brought home were working for me. This gray has a bluish cast, but it’s not harsh or cold. The color works perfectly with the red/white and blue theme in the bedroom.
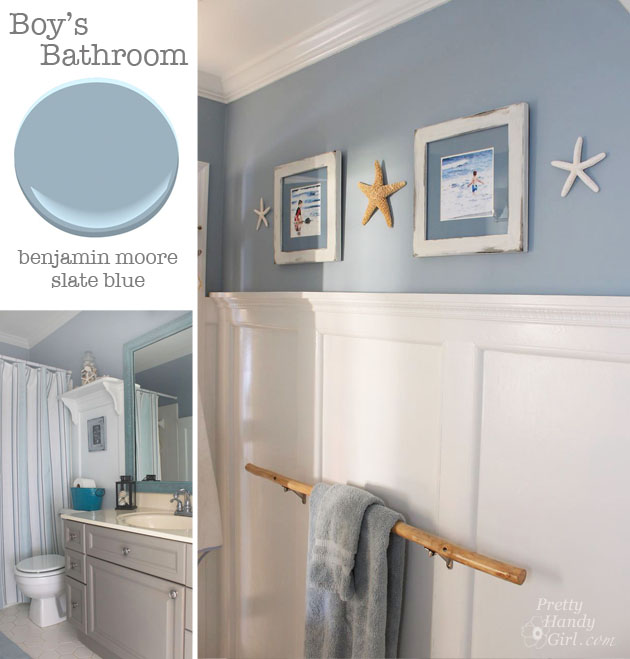
Bathroom - Benjamin Moore Slate Blue | Pretty Handy Girl

Boys’ Bathroom: Benjamin Moore Slate Blue. 

I painted this room many moons ago and a color was chosen that would transition from childhood to adulthood and never need to be painted again. So far, this paint color has lived up to that goal and acts as a perfect backdrop to the gray and aqua accents in the room. Many ask and sadly I can’t remember where the shower curtain is from. It was either Ross, Marshalls or HomeGoods several years ago. The vanity received a makeover and was painted Valspar Beige Shadow (a good match to Annie Sloan French Linen.) I have a funny story about that branch towel bar. When Better Homes and Gardens came to photograph my home, the art director wanted me to paint the branch white. I flat out refused for many reasons. The main reason was that it was a memento of one of the camping trips my husband and I made to Yellowstone, Acadia, Nova Scotia or somewhere else. It’s funny that it’s a memento and I can’t remember which trip it was from. Regardless, we were young and un-married, but that branch holds many memories and has moved with us many times. I’m sure the movers thought I was nuts for packing up a branch. The other reason I wouldn’t paint it is because it would blend in with the walls. And this branch needs to stand out because it’s not “just a branch” to me.
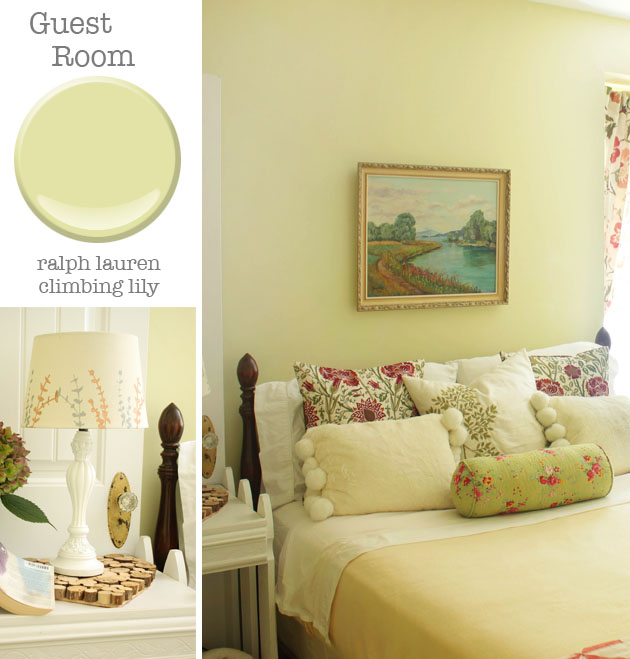
guest-room-climbing-lily

Guest Room: Ralph Lauren Climbing Lily.

This is the one room in the house that I can add feminine touches. This is my English Garden room and the light green works well with the pink flowers.
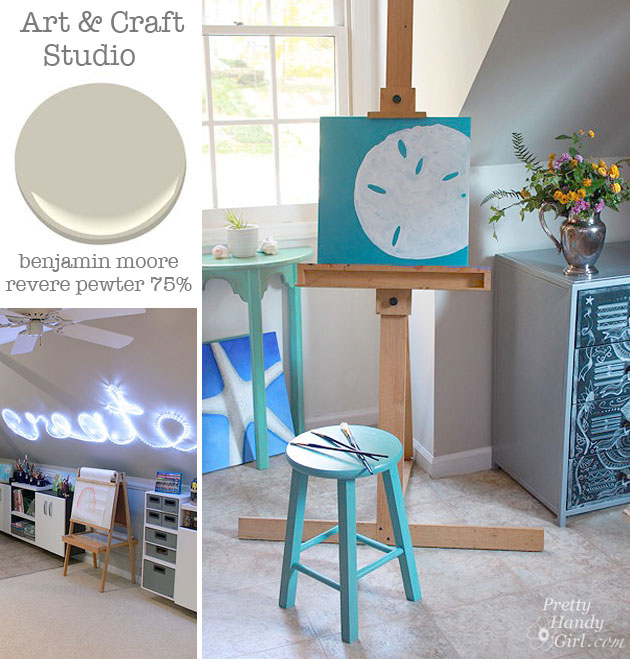
art-studio-revere-pewter

Art Studio: Benjamin Moore Revere Pewter 75% strength.

The art and craft room needs a neutral color so as not to influence the colors we use to create. I love the Revere Pewter, but wanted a light color to help bounce more light around the room. Ask your paint person to mix this color at 75% strength and you’ll agree, it’s the perfect greige that doesn’t darken the room.
home-office-hot-spring-stones

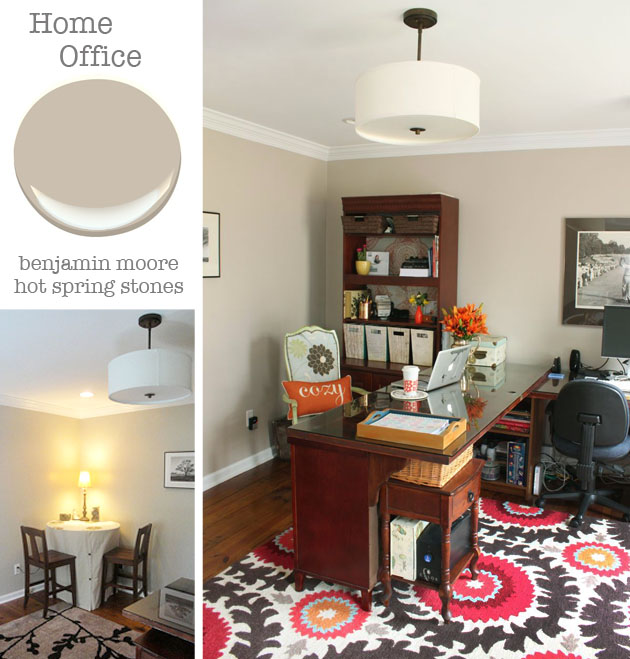
Home Office: Benjamin Moore Hot Spring Stones. 

I almost left this room off because I’m not thrilled with the color. I painted this room when I began blogging. It’s a big improvement from the dark and dreary color that used to be here. But, I’m still craving more light and a color that has less warmth. At night the color turns a bit fleshy. This is the next room that will get a makeover this year. I plan on adding a much needed window to the back wall where the desks are. I’m also planning on repainting the room (not sure on the color yet. Do you have a favorite paint color?) and adding wall shelving on the same wall as the window.

Final notes: 

I didn’t mention my trim colors. Most of the trim paint is the straight up white paint from the Benjamin Moore Impervo line. But, I’ve fallen in love with our white kitchen cabinet color and have been using Benjamin Moore Oxford white more.

I’m a huge fan of Benjamin Moore (especially their Aura low VOC paint.) But, this past year I’ve been using more Sherwin Williams paint (Pro-Classic and Cashmere.) And although it has a different consistency (not as thick as the Aura), I’m really liking their paint as well.

Paint colors are challenging. They can change color depending on the time of day and the season. If you live somewhere that has deciduous trees, I urge you to never pick a paint color in the winter. The green outside your window the other three seasons of the year can change the look of your paint color. Need some tips on picking the perfect paint color? Read this post.

Any other questions for me? Did I forget anything?

PHGFancySign


Pin for later!

Questions on home paint colors? Pretty Handy Girl shares all the details on the paint colors in her home | Home Paint Color Scheme #prettyhandygirl #paintcolors #homepaintcolors

How to Remove Spray Paint from Metal

How to Remove Spray Paint from Metal

Spray paint is a great product to use to makeover almost anything. It comes in many colors and finishes and is great for imperfectly shaped pieces that you can spray much easier than brush with paint. It’s a DIYer’s dream!
But someday you might want to remove that spray paint from an object you made over.  Particularly a metal one like a wall hanging, hardware, or lamps.

How to Remove Spray Paint from Metal

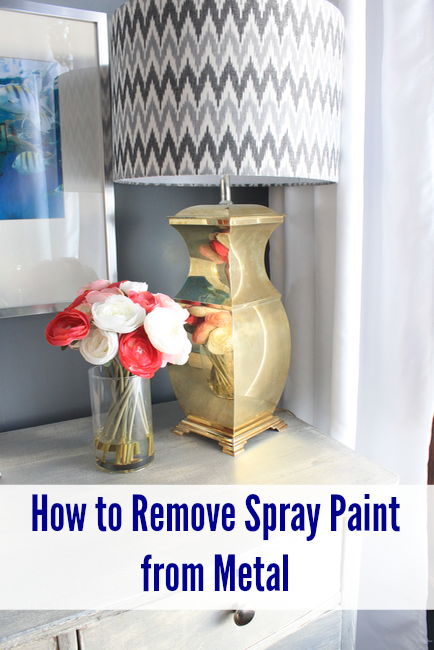
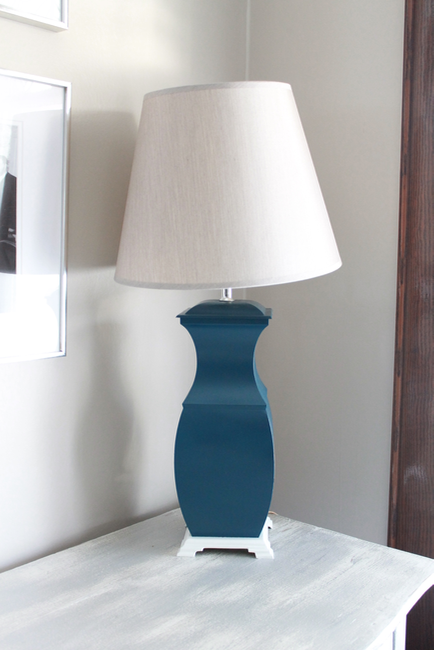
While I love the deep blue color, I wanted to return this lamp to its former brass glory to add more metallic to our living room.

I’m happy to tell you that yes, you can undo your makeover in just a few easy steps.

Here’s how to remove spray paint from metal.

Materials:

How to Remove Spray Paint from Metal

  • Spray painted object
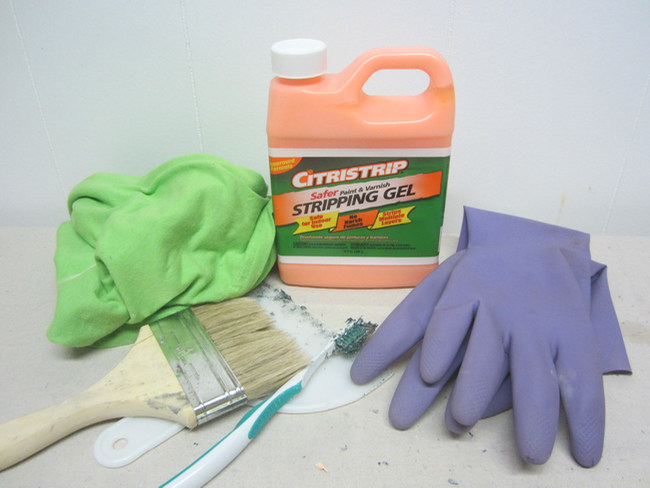
  • Citristrip
  • Paint brushes
  • Old toothbrush
  • Plastic scraper
  • Lint-free rags, such as an old t-shirt
  • Plastic gloves
  • Eye protection
  • Respirator
  • Acetone

Instructions

1. Place your object to be stripped on a rag.

2. Put on plastic gloves, respirator and eye protection.

3. Using a paint brush, spread the Citristrip over the piece in a thick coat. Follow the instructions on the Citristrip, letting it work for about 30 minutes. Test a section in 15 minutes. When the paint bubbles, you are ready to scrape it off. Read more

Top 15 Painting Tools

I have painted almost every room in our home now. Make that almost every room in two homes! You could say that over the years I’ve learned a few tricks of the trade and have acquired quite a few painting tools. But, only a handful are my tried and true gear that get pulled out for every painting job. These are my Top 15 Must Have Painting Tools!

Here they are (affiliate links included):

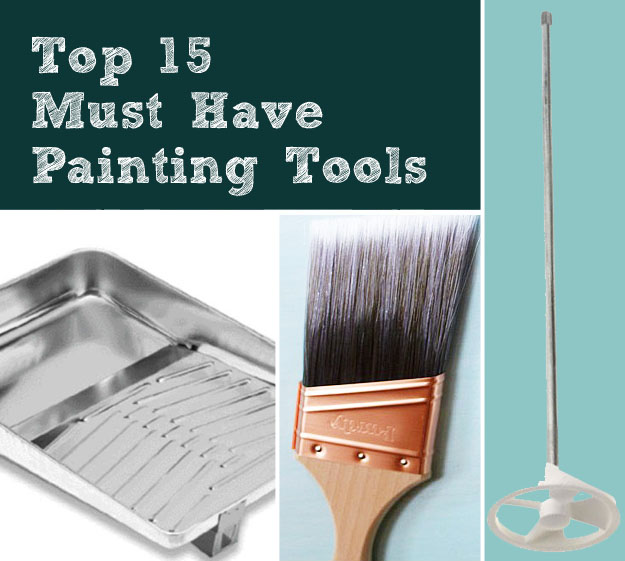
Top 15 Must Have Painting Tools

1. ScotchBlue Tape with Edge-Lock:

Top 15 Must Have Painting Tools

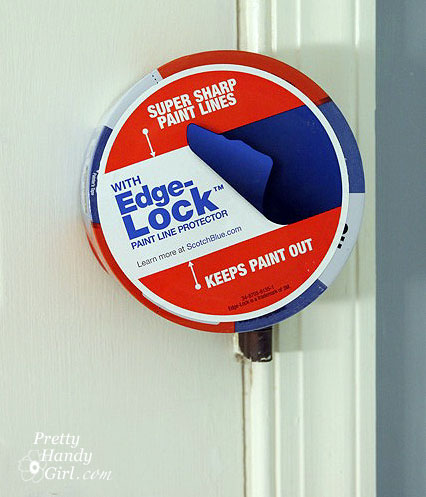
Painter’s tape is a necessity for clean lines. I’ve been using ScotchBlue for years and I can tell you that the painter’s tape you used 5 years ago has changed. ScotchBlue is constantly researching and developing better painting products every year. We always have a supply of ScotchBlue in my tape drawer and we definitely go through it!

2. Pro Masker 2000:

Top 15 Must Have Painting Tools

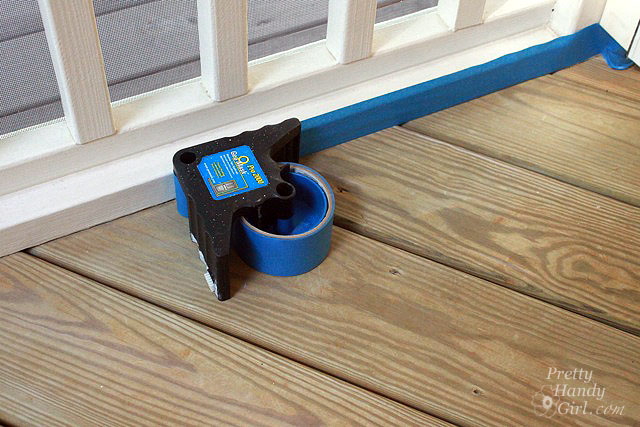
I used to be a taper and taped off every room we painted. (Now, I’ve gotten much better at cutting in with just a brush.) In a desperate attempt to save time, I bought this paint tape dispenser and was thrilled to shave some time off my taping tasks. You can watch a brief video here. I still tape off some edges when I know it will take me more time to be meticulous than to tape off some trim.

3. Metal Paint Tray with Hooking Legs (and Plastic Bags):

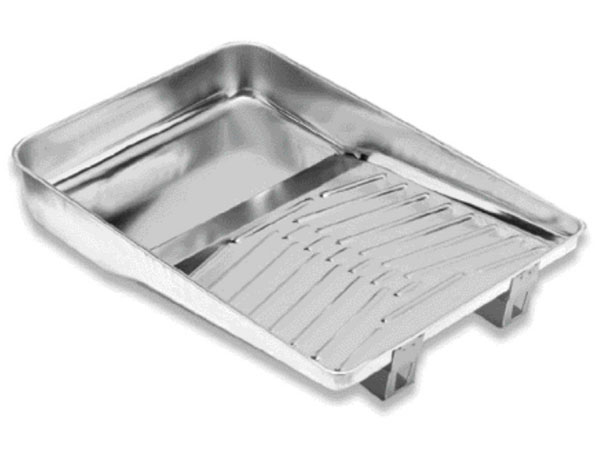
Top 15 Must Have Painting ToolsI have a no-frills metal paint tray. It has legs that can hook onto a ladder, which comes in handy when painting high on a ladder. This paint tray is the first and last tray you’ll ever need because you can line it with plastic grocery bags for easy clean up and for protecting the tray from a multitude of layers of paint.

Top 15 Must Have Painting Tools

4. Paint Mixing Drill Attachment:

 Paint Mixer Attachment

Okay, I know you already know how much I love my cordless drill. Which is why you’ll understand why I jumped at buying this paint stirrer drill attachment just to have an excuse to pull out my drill for another project! Honestly, unless you like the slow process of thoroughly mixing old paint or blending colors, you’ll want one of these for your own. It makes your paint super smooth and creamy. Mmmmm.

5. Paint Pail with Handle:

Top 15 Must Have Painting Tools

Having a small pail to hold paint for painting trim while balancing on a ladder just makes sense (unless you like step aerobics.) This handheld paint pail has a magnet inside that will keep your paint brush from being completely submersed. It’s lightweight and easy to hold in one hand while you brush with the other.

6. Shurline Edge Like a Pro: Read more

How to Paint a Room Like a Pro | Pretty Handy Girl

How to Paint a Room Like a Pro | Pretty Handy Girl

Welcome back, I hope you are ready to paint with me today! Paying a professional to paint your room is a waste of money. I’m here today to show you all the tips and tricks to Paint Your Room Like a Pro! If you’re just popping in, this week is Paint Week!

Paint Week - 5 Lessons to Perfect Your Painting Skills

If you missed any of the paint week posts, here’s the recap:


Painting your room like a pro isn’t difficult, it does require the right tools, patience and the willingness to paint 2-3 coats if necessary.

Materials:

ceiling_paint_materials

  • Paint tray
  • Paint roller with a 1/2″ nap for smooth walls. (5/8″ nap for textured walls)
  • 2.5″ angled painter’s brush
  • 1″ square artists brush
  • X-acto knife
  • Edger
  • Painter’s tape
  • Damp rag
  • Sanding block with 200 grit or higher sand paper
  • Extension pole for paint roller
  • Step stool or platform
  • Moveable light or spotlight

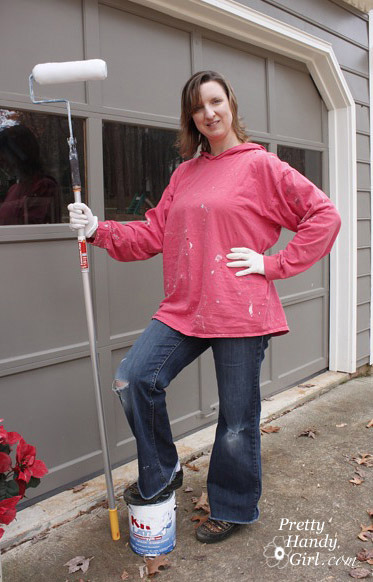
Are you all dressed up in your Sunday best? Go ahead and get changed into your paint clothes because you want to look like the Pros (and save your clothes from being damaged.)

paint_roller_extension_handle

When I paint a room, I always paint the ceiling first, unless it REALLY doesn’t need painting. It is more efficient to paint the whole room while you have the tarps down and supplies out. Besides, you know you won’t go back and paint the ceiling another day. Am I right?

Painting Ceilings:

I’m not going to lie, painting ceilings is a pain in the neck, literally! You will definitely need an extension pole to get the ceiling painted. If you have 20 foot ceilings, you might want to go ahead and hire a pro. Otherwise, this is definitely a DIY task, so let’s get this ceiling painting party started!

I’m going to assume that you are working with a previously painted ceiling. If you have newly drywalled or scraped ceilings, you’ll need to prime first.

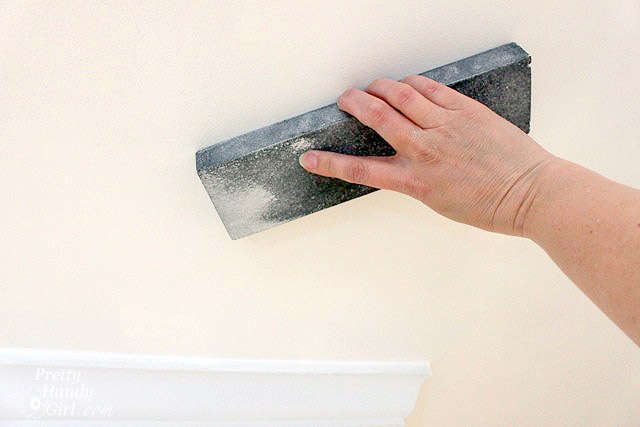
Begin by lightly sanding the ceiling. This should knock off any bumps and will lift any dust or dirt.

lightly_sand_ceiling

Wipe off the sanding dust with a damp rag or sponge.I found using a damp swiffer mop works great and cuts the time in half. (Of course if you have textured ceilings, you won’t be sanding or wiping with a damp rag. You can use a brush attachment and vacuum the ceiling.)

AND NOW, the moment you all have been waiting for — it’s time to crack open that can of paint!

Don’t use just any old paint for this job. First choose a flat finish, it will show less imperfections.

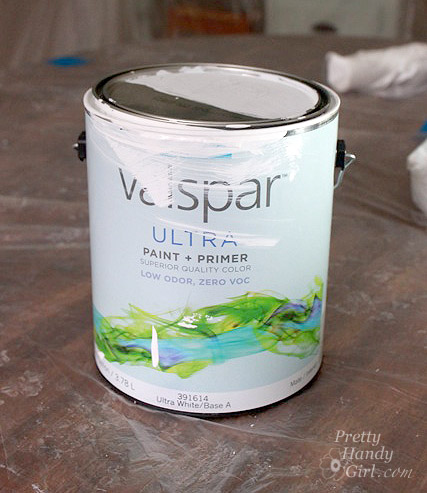
Valspar_ultra_white

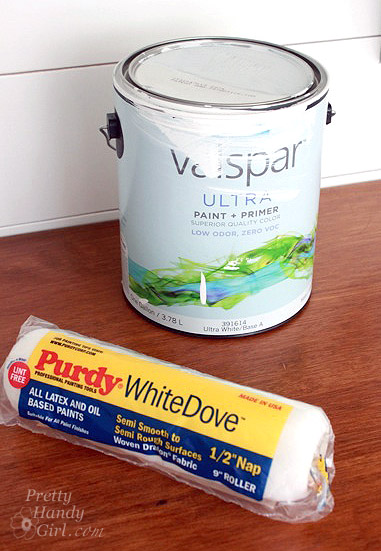
I prefer the Valspar Ultra White paint because it is the brightest white I’ve found. (Side note: Valspar has changed their formula to add primer to the paint. I don’t think the coverage is as good as the previous formula. But, it is still the brightest white I’ve found so I still prefer it.)

When choosing a roller use 1/2″ nap. It will hold more paint and you will be able to paint faster. To speed up the painting process even more, purchase the HomeRight EZ-Twist Paint Stick (affiliate link.) You can read my review, and see why I love the HomeRight Paint Stick. Use a fresh roller for each coat. It makes a difference to have a new roller, trust me.

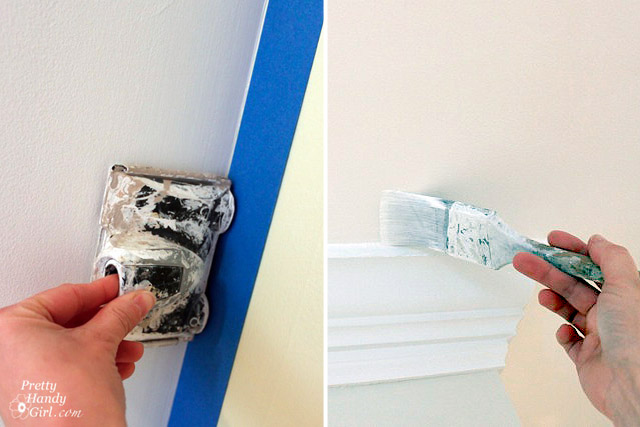
Start by edging around your ceiling. Use an edge roller or a paint brush to line the perimeter of the ceiling. You can use painter’s tape if you wish, or if you have a steady hand you can skip the taping. (If you are painting your walls or crown molding, you can skip the taping as well and paint the molding after you finish with the ceiling and walls.)

edge_first

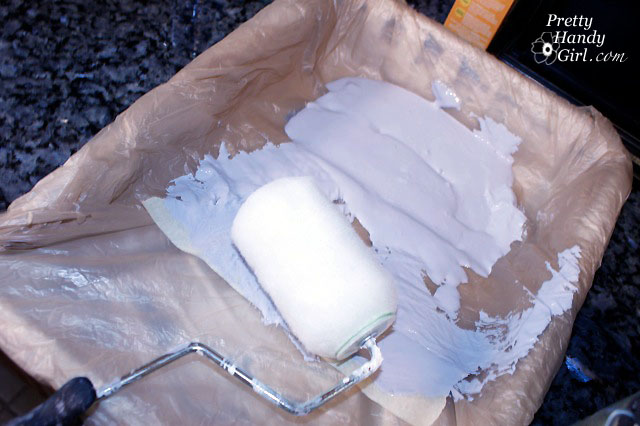
Pour your paint into the paint tray and start painting in one corner. Paint in random directions. Now isn’t the time to practice perfectly straight racing stripes. Read more