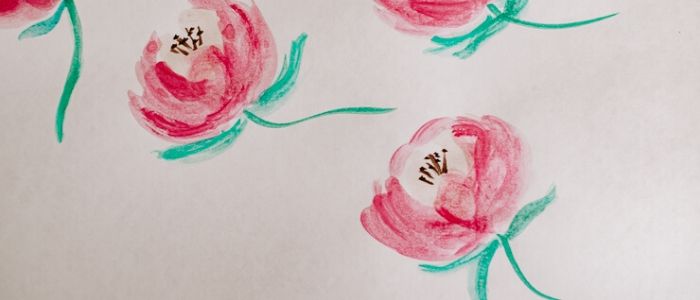
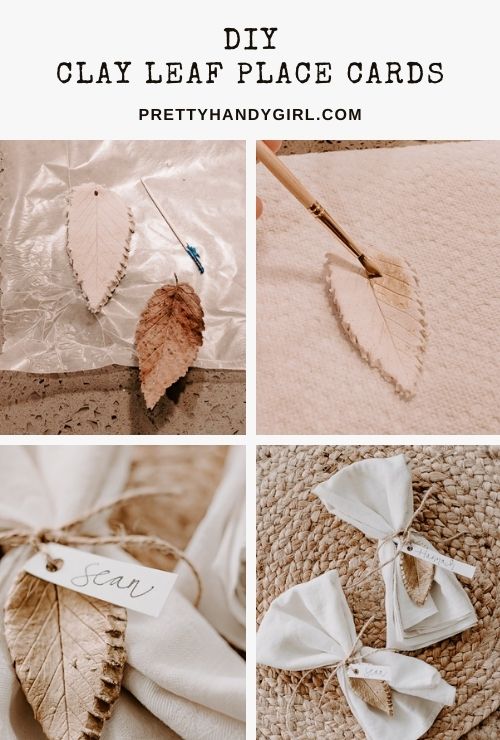
DIY Leaf Place Cards for the Holidays
I hope your fall has been lovely so far. The weather is just starting to turn here in NC. I have to say, I love the weather here compared to Seattle. We never experienced so much sun day after day! Today, with Fall weather on my mind, I’m making you these DIY leaf place cards for the upcoming holidays. These place cards are little clay leaves inspired by nature (hello, fall!) and painted in a beautiful gold color to elevate them for elegant dinners and parties.
You’ll love my secret for getting those fancy leaf edges from your clay too – read on to find out how I do it.
These place cards can be used time and time again, just change out the name tag for each new guest.
I hope you enjoy this craft!
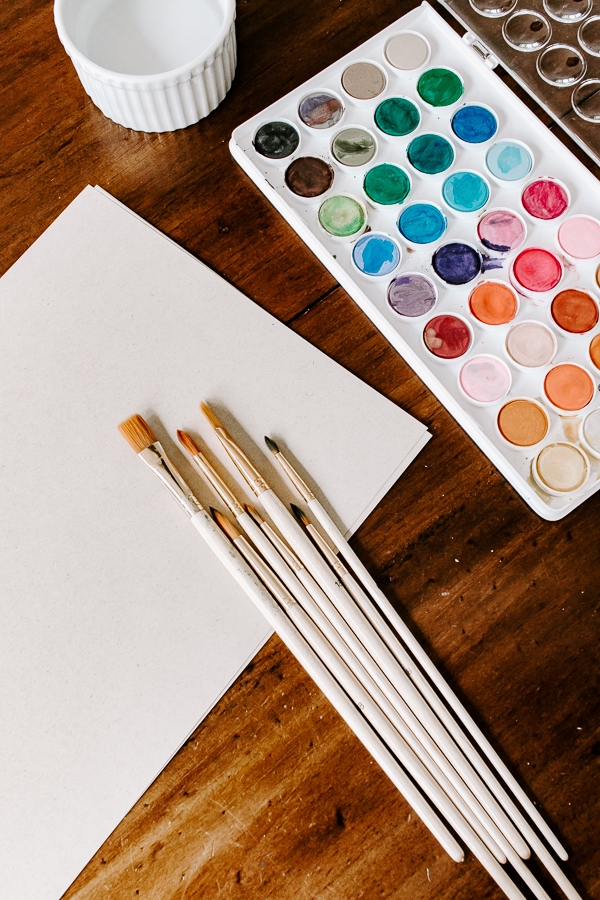
Materials:
- Gold Paint
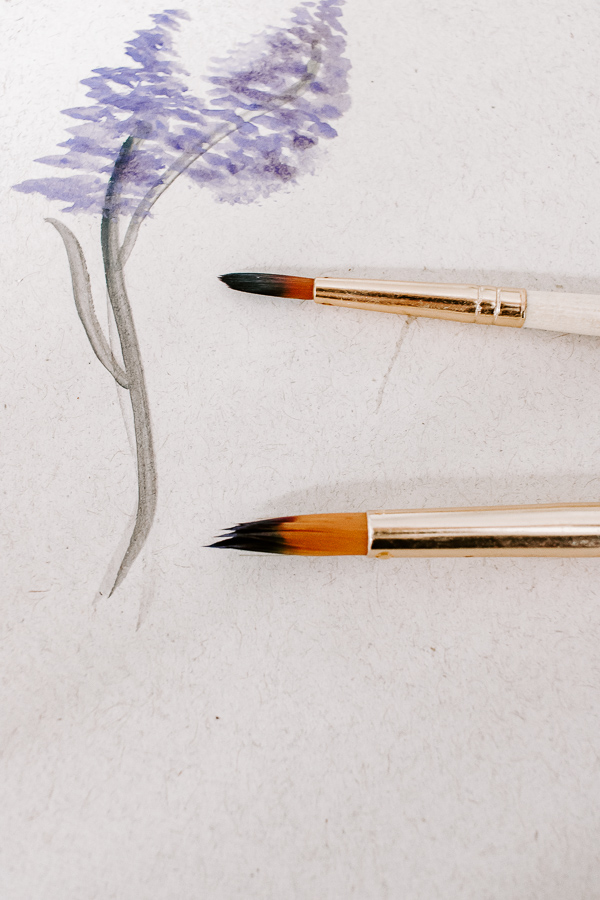
- PaintBrush
- Air Dry Clay
- Flat Screwdriver
- Rolling Pin
- Toothpick
- Leaves from Outside
- Jute Twine
- Wax Paper
- Cardstock
- Pen for Writing
Instructions:
Step 1: Roll our your Air Dry Clay
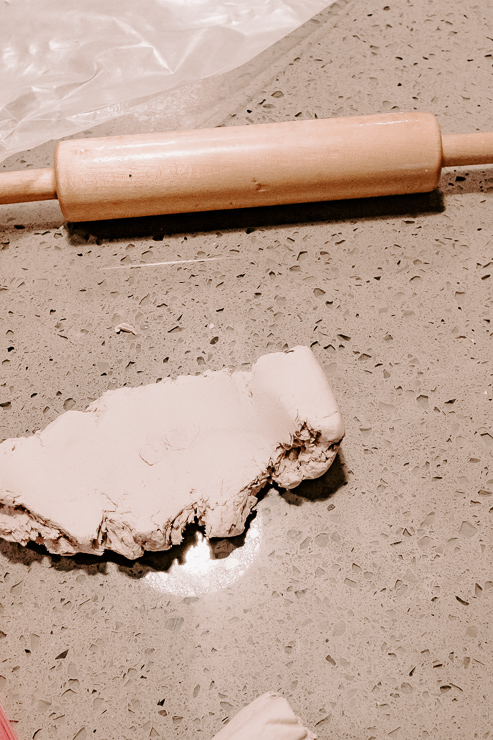
Grab a ball of air-dry clay and with slightly wet hands, roll it out using your rolling pin. You want it to be about ¼ inch thick. If you make it too thin, it will be too fragile and crack.
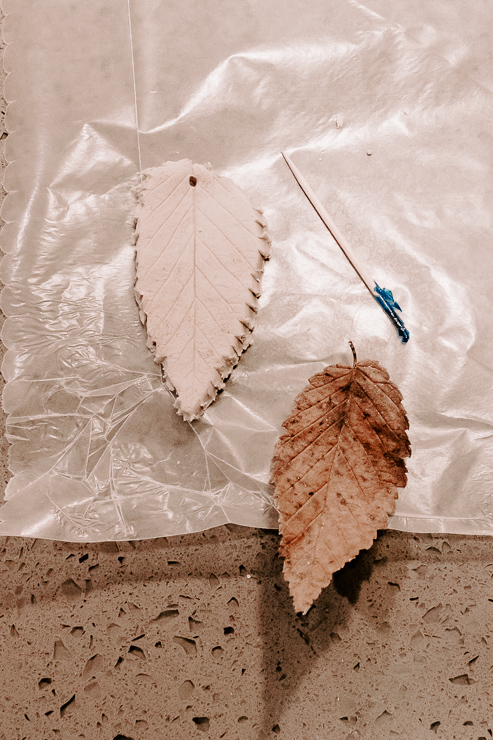
Step 2: Make a Leaf Imprint
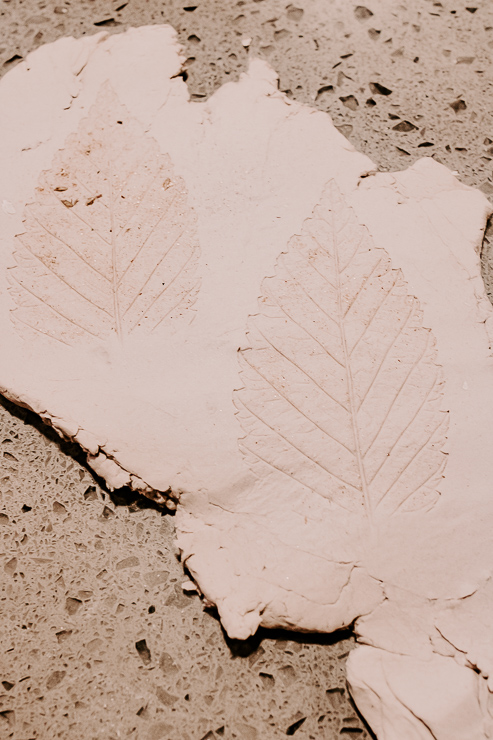
Take your leaf, and lay it on top of your clay. Using your rolling pin, roll carefully over the leaf several times, creating an imprint of the leaf onto the leaf.
Step 3: Cut your Leaf Out
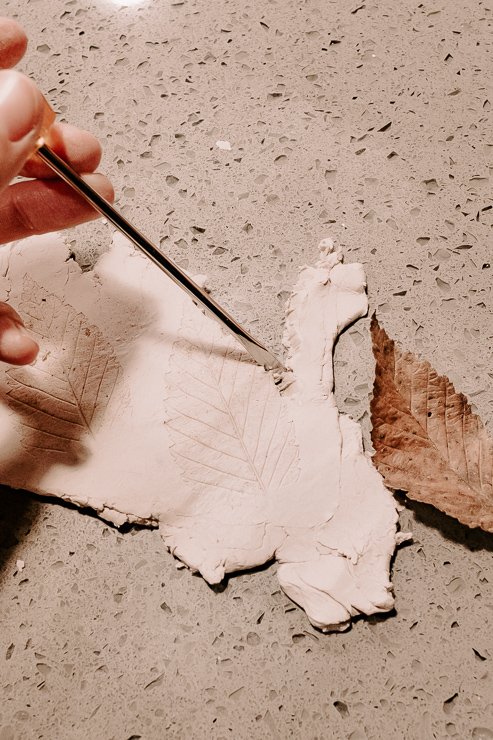
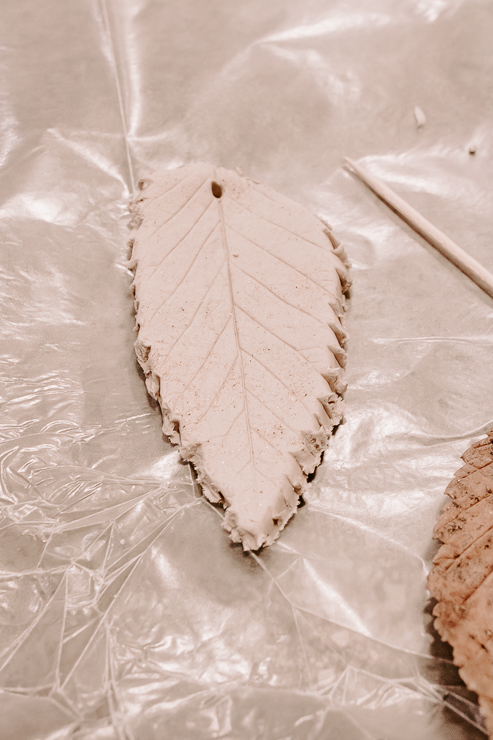
Here’s where the magic happens! You should see a beautiful leaf imprint in your clay. Take a flat screwdriver and make little divots on the side of your clay leaf, where the leaf would naturally have edges.
Do this all the way around, and then carefully remove your leaf. Using a toothpick, make a hole in the top of your leaf. This will be for tying your jute twine later.
I take the leaf in my hands and slightly bend it to give it a more natural leaf shape, but you are welcome to keep it flat too. Place your leaf on wax paper and allow it to air dry naturally for a couple of days.
Step 4: Paint your Clay Leaves
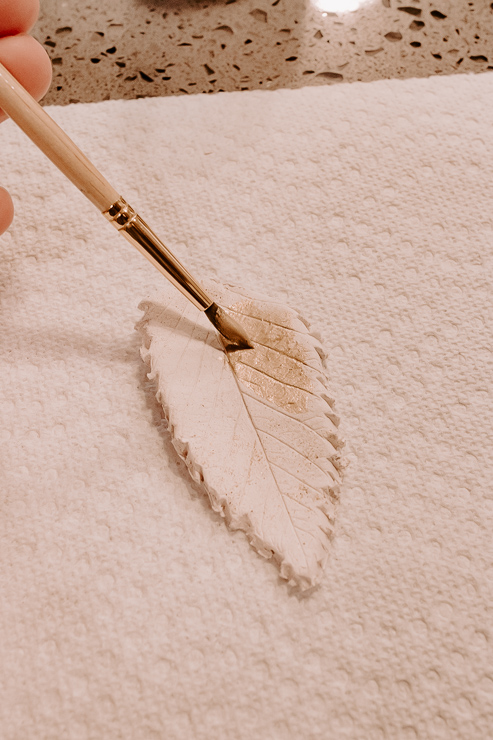
After your leaves dry, take a paintbrush and gold paint and lightly brush a few coats on the top and sides of your clay leaf. Set them aside to dry.
Step 5: Tie on a Nametag
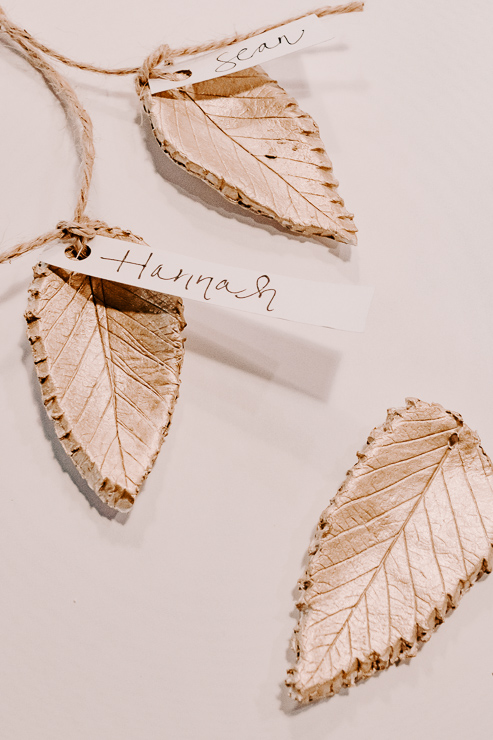
Our leaves are looking beautiful! Now, all we need to do is cut a small tag of cardstock and write the guest’s name on it. Use a hole punch to cut a hole in the cardstock. Tie this to your leaf by threading your jute twine through the hole we created in the leaf in Step 3.
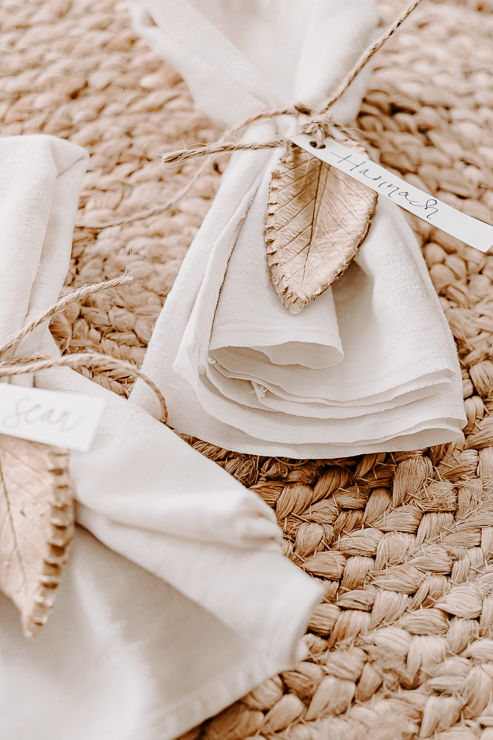
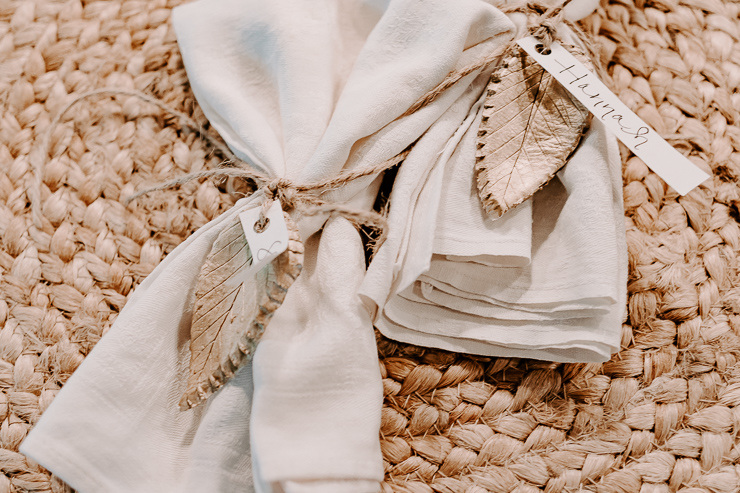
Simply beautiful!
I like to tie my cloth napkins with jute twine, and then tie the clay leaf name tag to it.

How pretty and unique are these!? I’m sure you will get some comments from your guests. And they will feel so special sitting at this elegant dinner with you.
As I said earlier, you can reuse these DIY leaf place cards. Once you get the hang of making one leaf, the rest don’t take long. You can also try this project with different shaped leaves, such as maple leaves.
My daughter and I foraged for some leaves together. She happened to find the pretty ones I ended up using. Thanks, Hannah!
Grab the kids and make this a family project. It’s a great craft to do around the holidays.

~ See More of Karen’s Tutorials ~

 Hello! I’m Karen, the creator of the Home Decor and DIY Blog: Decor Hint. I’m a Native of the East Coast, but I currently live in beautiful Seattle with my hubby, our two wonderful children, and our spunky wheaten terrier.
You can usually find me with some sort of craft in one hand and a coffee in the other. And I’m always rearranging furniture or moving lamps from room to room. I have a passion (read: obsession) for decorating, DIY, and gardening. In short, I love making my house into a home.
Like many, I’m inspired by what I see in home decor magazines, but I’m not so inspired by the price tags. Consequently, I love finding and creating beautiful budget-friendly home decor items. In a head to head competition, I bet you’d never know the difference between the designer items and my DIY creations! Many of my DIY projects focus on sewing, crafting, upcycling and organizing. Some of my favorite projects have been making pretty wreaths, sewing my own tassel hand towels, and crafting these trendy wood bead garlands. I can’t wait to inspire you and spark your creativity through my DIY projects.
You can always connect with me on Pinterest, Twitter or Instagram.
If you liked this tutorial, you’ll love these fall tablescape ideas: