Hello Friday!!! It’s been a chaotic week here, how about yours?
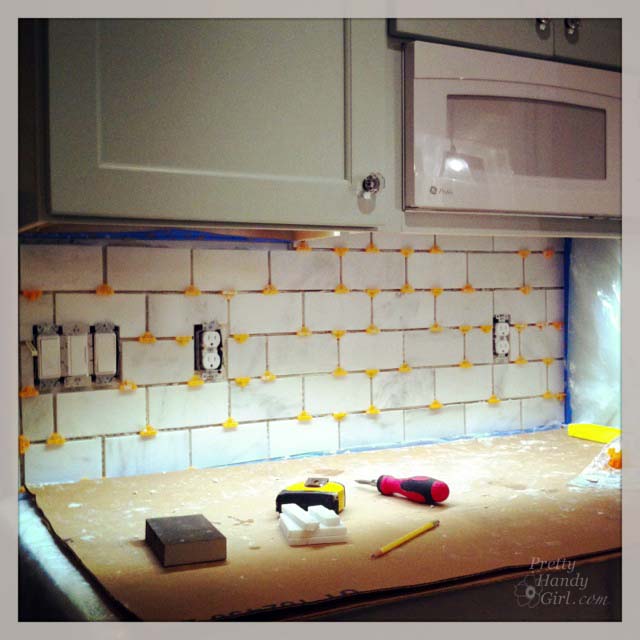
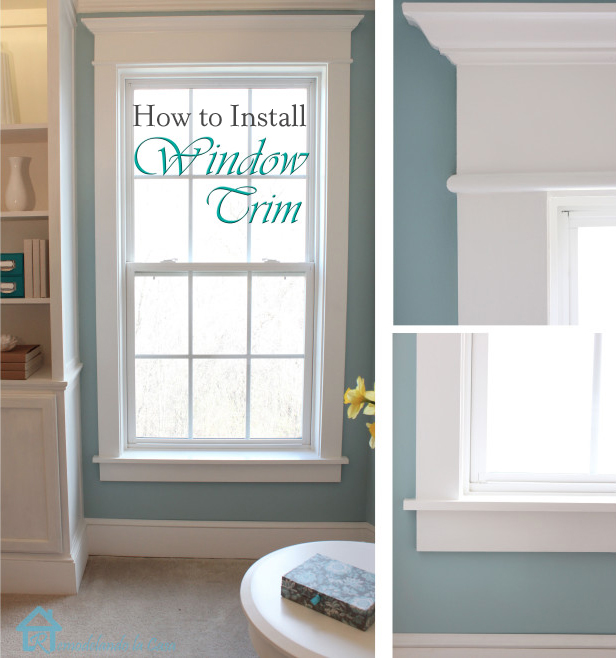
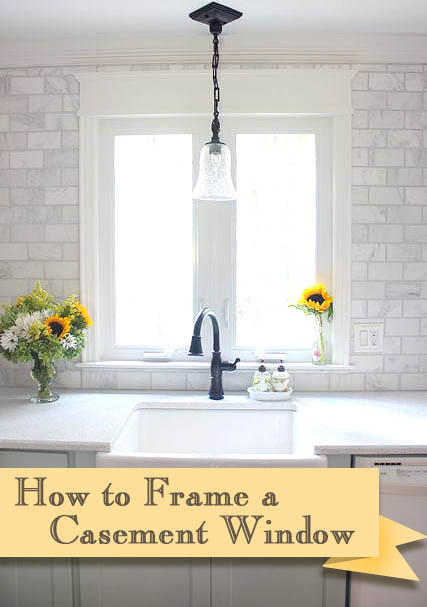
I’m excited to be sharing more tutorials from the kitchen renovation. I hope you’ll excuse me as we jump back and forth in the renovation process. I’ve been trying to get the most relevant tutorials to you as soon as I can. Speaking of relevant, I understand there are a lot of under-dressed windows out there that need trim or could use a little more “WOW Factor”! Is that your case—ment? Hahahaha. Well, sit down for a minute and I’ll go over the details for installing window trim and casing on a casement window. Have no fear if you have a double hung window or other, these techniques will work for those windows too.
Replacement vs. New Construction Windows:
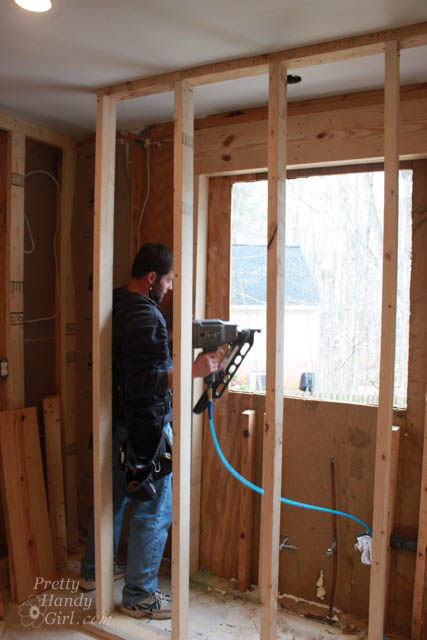
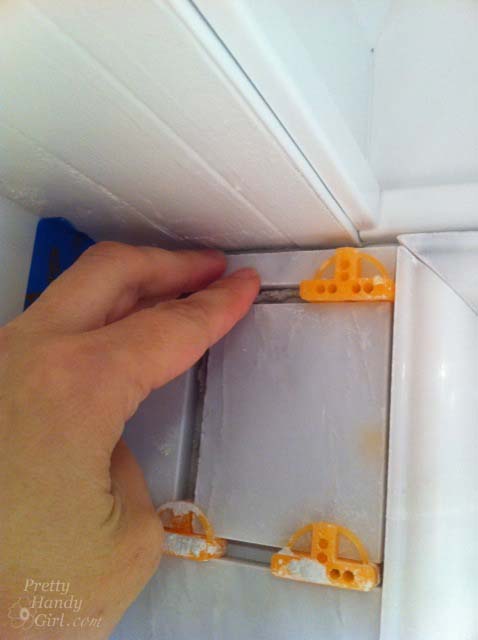
But, let’s back up for a minute. I wanted to share with you a little snafu that happened with our casement window. When I ordered it, the guy taking the order asked me a few questions and somewhere there was a translation breakdown. He thought I needed a replacement window because I was replacing an existing window. What he didn’t realize is that I was increasing the size of the window opening and therefore needed a new construction window. In the end, I was stuck with the replacement window, but my handman and I used as many weather-stripping, caulking and water barrier techniques we could think of to keep it water tight.
This is what you need to know when ordering a new window: If you are removing the old and putting in a new window into the same frame, you order a replacement window. If you are expanding or changing the size of your window opening you need to order a new construction window.
Materials:
- 2×2″ boards
- 1×6″ board
- Window casing
- Back band moulding
- Small base trim
- Small crown or cove moulding
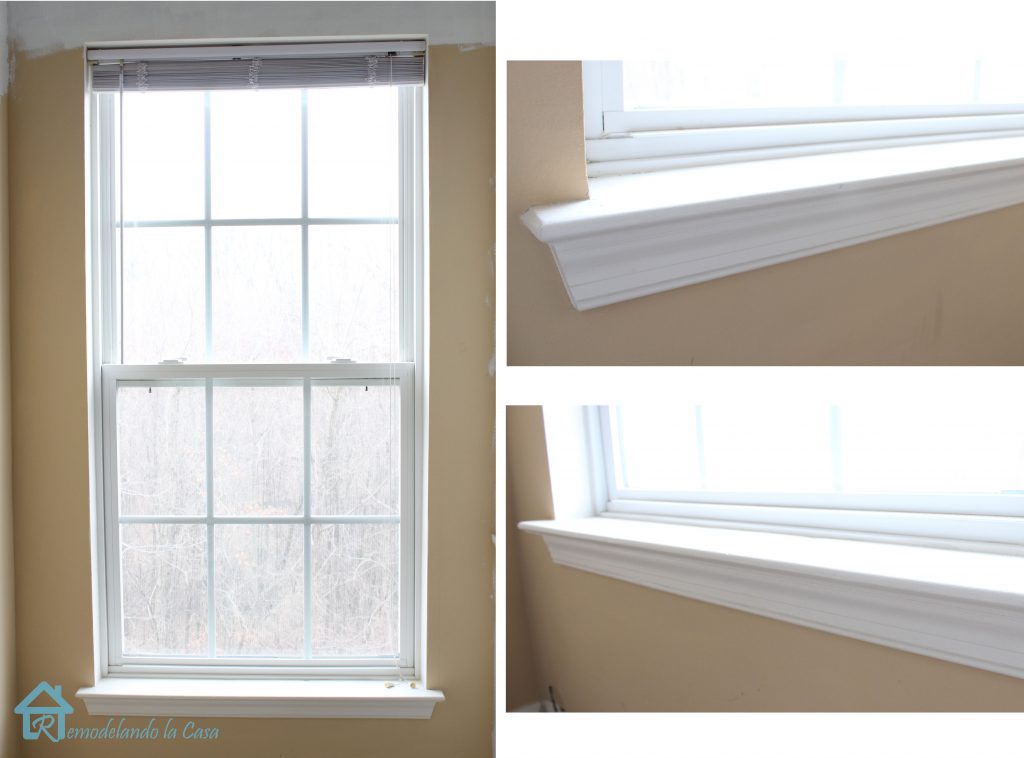
- Stool Moulding
- Jigsaw (coping saw or hand saw)
- Shims
- Utility knife
- Construction glue
- Caulk
- Caulk gun
- 3M Advanced Abrasives
 Sanding block
 - ScotchBlue™ Painter’s Tape
- Finish nailer
- Finish nails
- Primer
- 3M Wood Filler
- Putty Knife
- Paint
- 3M Tekk Protection
 Ear Plugs
 - 3M Tekk Protection Eye Glasses
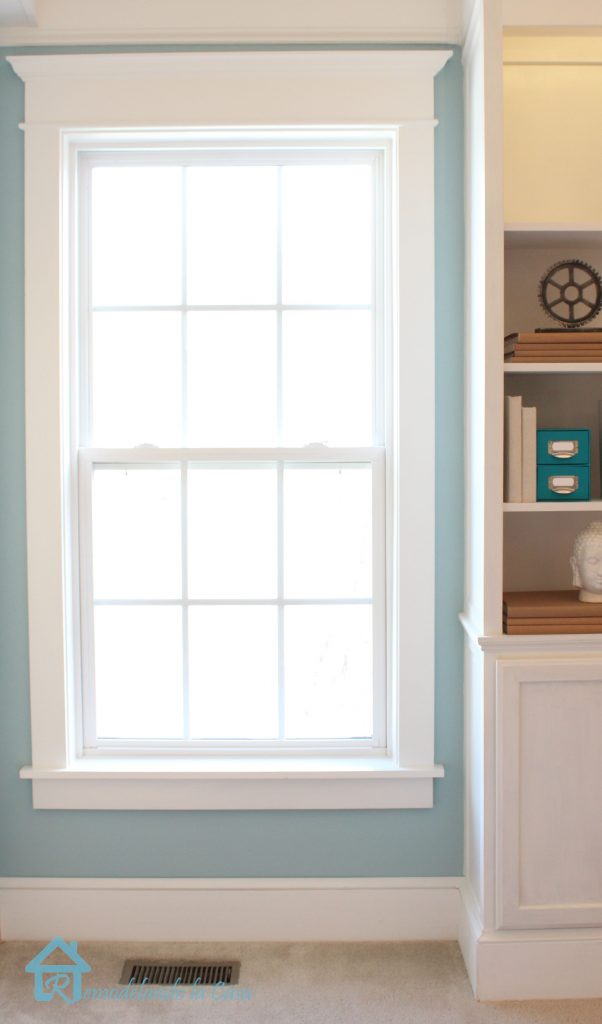
Instructions for Installing Trim, Casing and Moulding on a Window: Read more