I’ve been fighting a losing battle this week. I seem to have come home from California with some airplane cooties. Last night I got knocked down by a raging ear infection. This evening I came down with pink eye. My sympathies go out to all our little ones that have suffered from an ear infection. OUCH! Hopefully I’ll be punching back soon once the antibiotics take effect.

Lucky for you I wrote a tutorial earlier in the week for a friend who is also suffering from lack of sleep. My friend Jess who writes Frugal Flourish and her husband just welcomed a beautiful baby boy into their lives.


Needless to say I should be getting more sleep sooner than they will. But, I wish them easy parenting over the next year (and then some.)

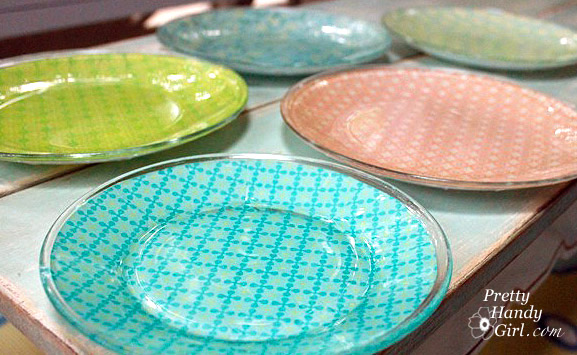
So to get your DIY dose, head over to Frugal Flourish to see how I made these glass citrus plates. And help yourself to a lemon cookie.

Hopefully I’ll see you back here on Monday. I’m going to TRY to take it easy this weekend.

VotivesonShelf.jpg
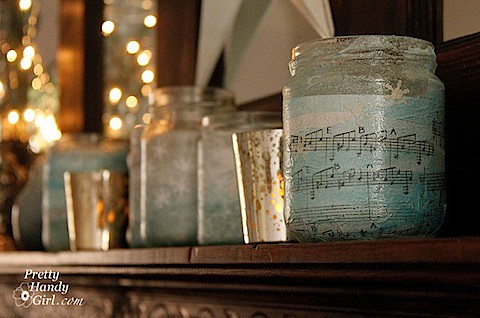
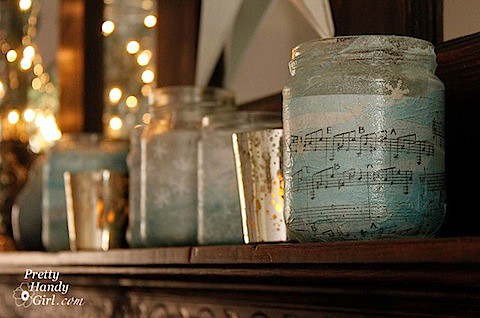
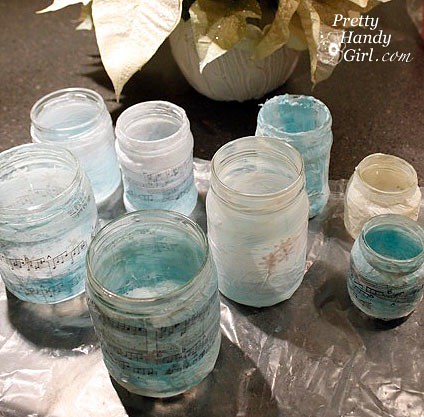
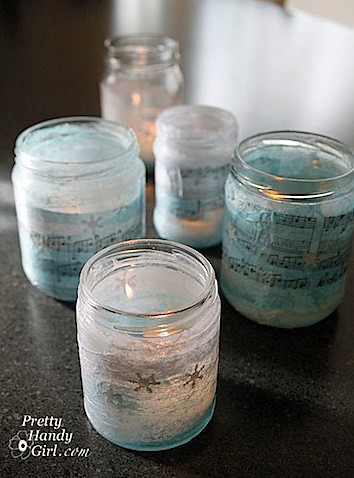
Glass Jar Votive Holders

This has to be one of my favorite activities to do with the kids!

Start by saving jars for a month or more! Salsa, jelly, vegetable, and baby jars all work well. Soak the jars to remove the labels and scrub any excess glue off.

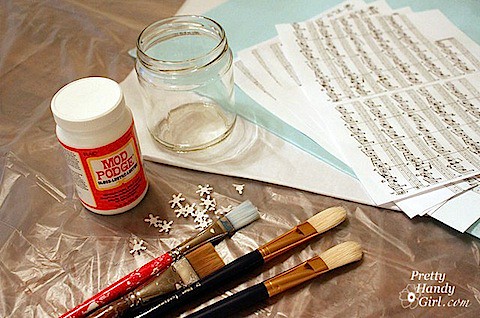
Materials:
Materials.jpg
  • Clean Jars
  • Mod Podge (or diluted School Glue)
  • Brushes
  • Jar of water to rest brushes in
  • Tissue Paper (I limited the palette to whites and blues)
  • Magazine cut outs, sheet music, stickers, or decorative hole punches
  • Plastic tablecloth or sheet to cover your work area

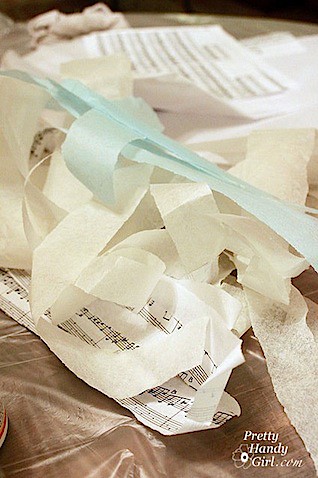
1. Tear your tissue paper, sheet music, or other paper into small strips and/or cut magazine pictures into small pieces.

TornPaper.jpg

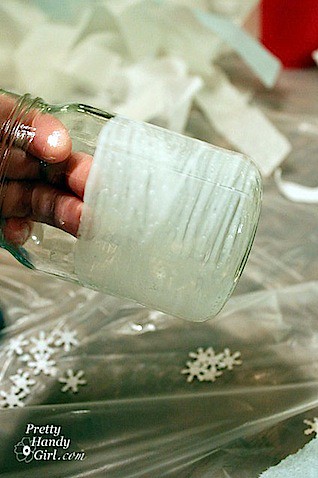
2. Brush a coating of Mod Podge onto the outside of the jar.

1stCoatModPodge.jpg

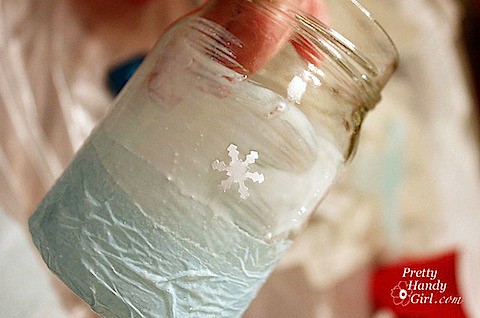
3. Lay down your first layer of papers. (You be the creative genius here! You really can’t go wrong.)

AddTissueSnowFlake.jpg

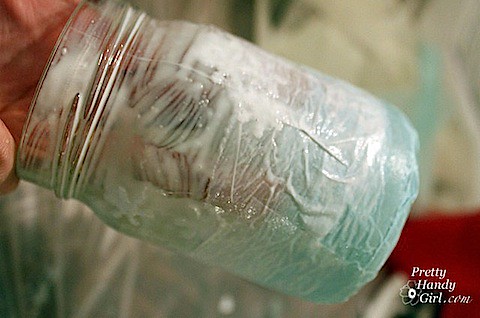
4. Coat the top of your paper layer with more Mod Podge and continue until the jar has been covered. It is okay to and encouraged to overlap layers. (Again, you are the creative genius!)

2ndCoatModPodge.jpg

5. Finish your jar by brushing on a final coating of Mod Podge. Be sure everything has been coated.

DryingJars.jpg

6. Rest your votive holders on wax paper to dry. (Did you know that I never buy wax paper anymore? I use recycled cereal bags.) After an hour, flip your jars over to allow the other end to dry.

VotivesonCounter.jpg
Insert your tea lights or use flame-less candles and enjoy!


They are so adorable, that after the season has passed, I’ve been known to use these for pencil holders, for makeup brushes or impromptu vases for a bud or two. They also make a great gift from your child to an adoring Grandparent!  What do you think? Are they gift-worthy?

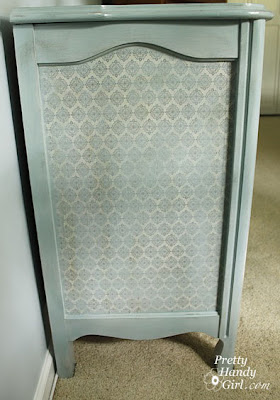
Here is the decoupage tutorial I promised you from the Diva of a Dresser makeover.

Materials:
Wrapping Paper, Decorative Paper or Wall Paper
Fresh Sharp Exacto blade
Mod Podge
Spray Adhesive (optional)
Paint Brush

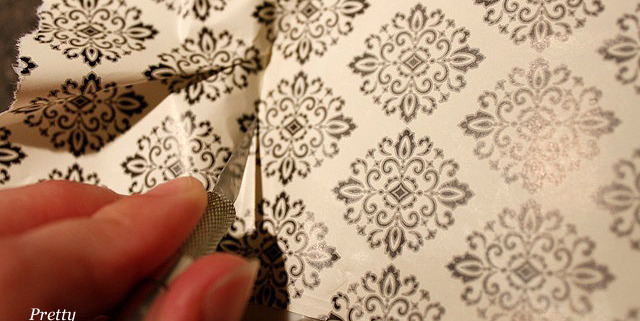
I started by unrolling a section of wrapping paper large enough to fit in the side pane. Using my fingernail (hmmm, maybe that is why I can never grow my nails longer), I scored the edges of the wrapping paper along the edges of the panel.

Next I used a fresh exacto blade and carefully cut along the score lines in the wrapping paper (while still holding it against the dresser.) Set the paper panel aside.

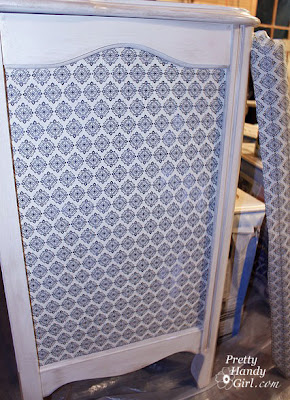
Using my paint brush, I worked quickly to put a coating of mod podge inside the panel on the dresser, while being careful to cover every square inch.

Center the wrapping paper on top of your modge podged dresser panel and smooth the paper with your hands, working from the inside center of the panel out. Getting the wrapping paper lined up in the panel was probably the trickiest part of the process.

Then I followed up with a top coating of Modge Podge to seal the paper. I knew the paper was going to wrinkle, and I convinced myself that I was okay with it (being a perfectionist is tough sometimes.)

However, if you want to avoid the wrinkling, I tested the same wrapping paper on a wooden “W” and used spray mount adhesive on the back of the paper instead of Mod Podge.

After top coating the “W” with mod podge there were still a few wrinkles but not as bad as the dresser. (See, I couldn’t squash my perfectionist ways. I had to solve that minor imperfection.)

This concludes my decoupage tutorial, but if you are curious about the lengths I took to give my decoupaged panel some age, keep reading.

I didn’t like the stark black and white paper on my dresser. In the middle of drinking my instant coffee I had a lightbulb moment!

I decided to rub the instant coffee bag all over the panel. It worked, and gave the panel a nice warm “instant” age.

Later that day, I added my beachy blue glaze (all the while not being able to figure out why I kept smelling coffee. Duh!)

I played with adding the glaze and wiping some off until I achieved a hazy blue look with the wrapping paper design peeking through.

If you missed it or wanted to read more about this Diva of a Dresser makeover, click here.