Racing Stripe Mirror Makeover | Pretty Handy Girl

Racing Stripe Mirror Makeover | Pretty Handy Girl

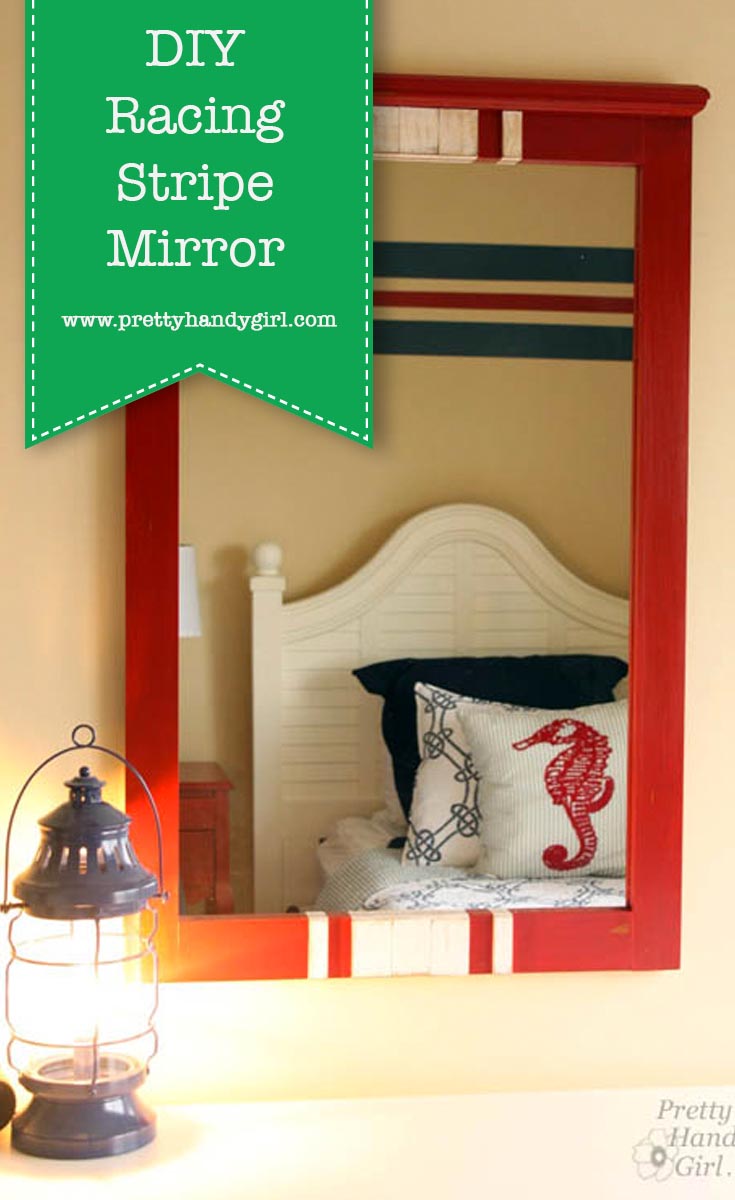
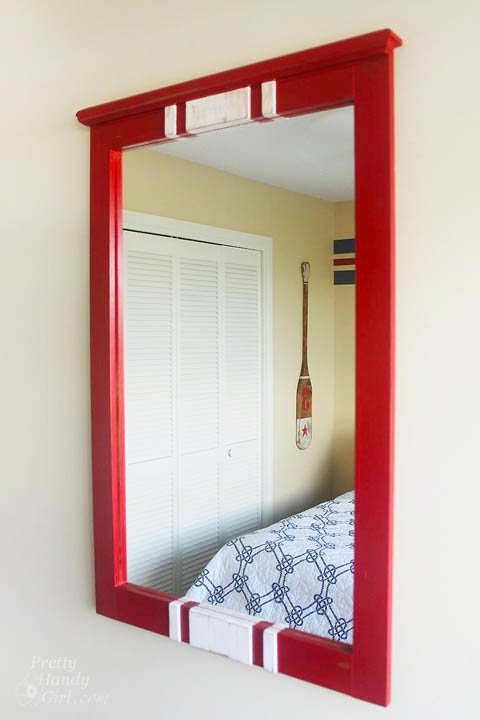
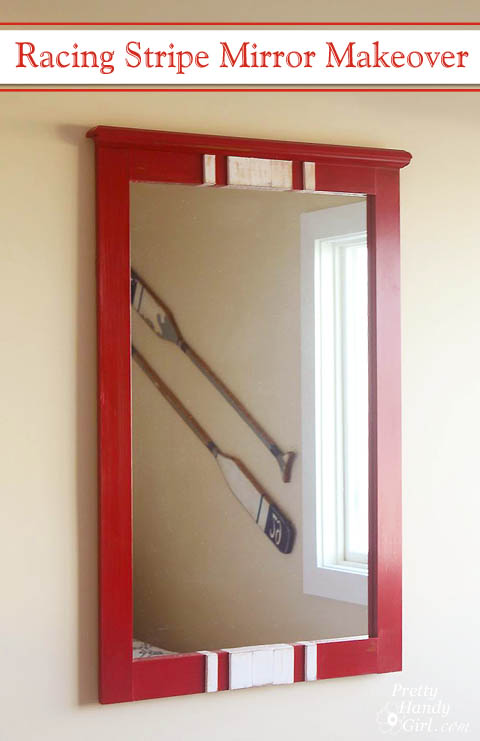
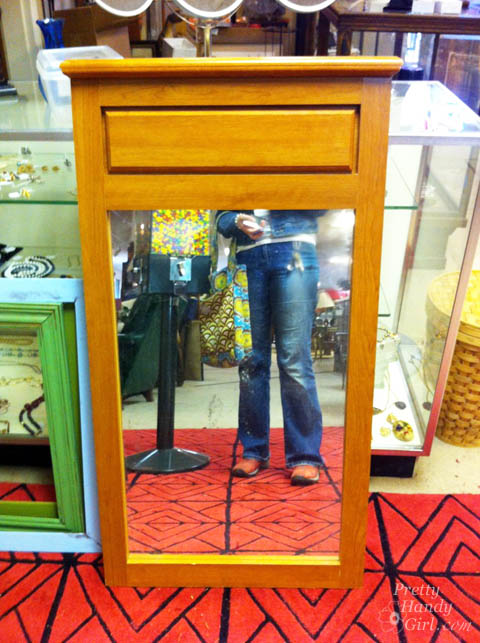
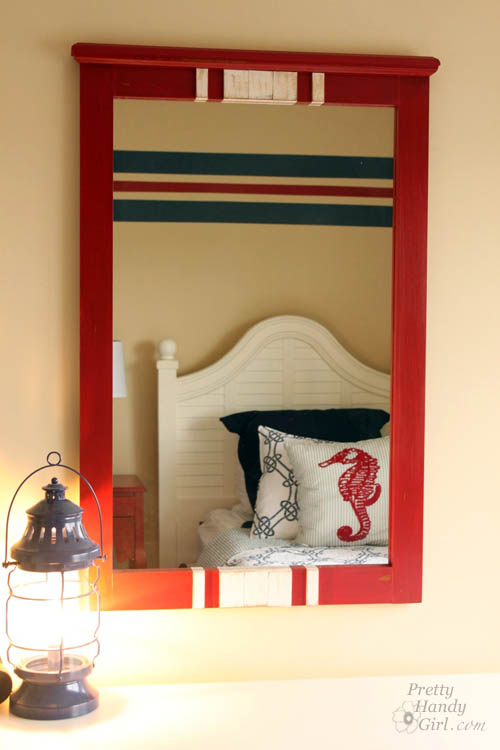
While my sister and I were renovating the Topsail Beach condo we had a strict budget. Finding a large mirror for less than $15 was challenging until I found this mirror with potential. I know my sister was doubtful, but I had a vision. Some red milk paint, lattice and glue would make this racing stripe makeover complete!

Racing Stripe Mirror Makeover | Pretty Handy Girl

To transform the mirror, I disassembled the top and cut off the panel portion using my Dremel MultiMax. I salvaged the top crown moulding and re-attached it to the new top of the mirror with glue and finish nails.

Then it was time to add stripes.

Materials (some links are Amazon affiliate links):

Instructions:

Tape off the edge of the mirror where it meets the frame. Paint two coats of Miss Mustard Seed Tricycle red paint onto the frame. (See this post for painting with milk paint.)
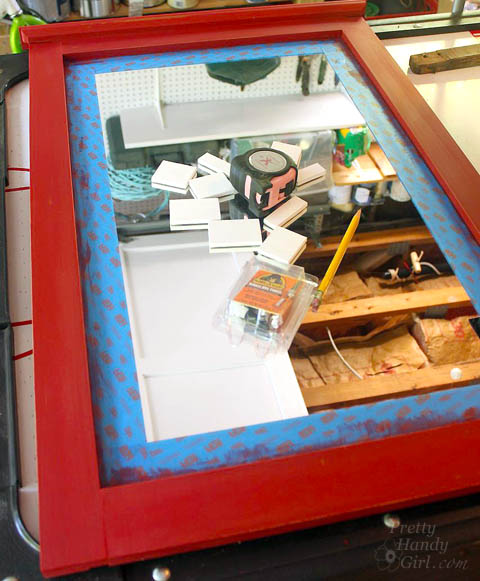
Racing Stripe Mirror Makeover | Pretty Handy Girl

After the paint dries, wax it or leave it unfinished. Mark the center of the frame at the top and bottom of the mirror.
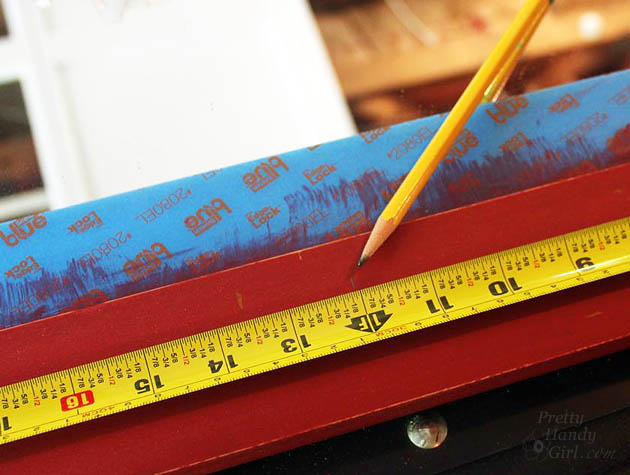
Racing Stripe Mirror Makeover | Pretty Handy Girl

Cut pieces of lattice to fit the mirror frame width. (I used three pieces of lattice and cut a fourth piece in half for the outer stripes.) Pre-paint the lattice pieces ironstone (white) and let dry.

Wet the frame and the back of the lattice. Apply a small amount of Gorilla Glue to the backs of the lattice.

Racing Stripe Mirror Makeover | Pretty Handy Girl

Line up the center lattice piece with the pencil mark. Attach it and the other two pieces beside the middle lattice.
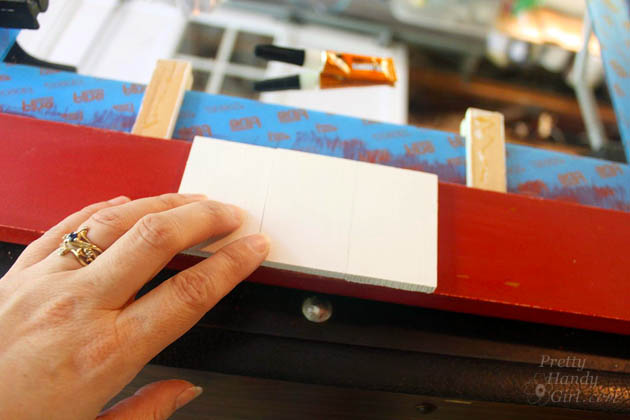
Racing Stripe Mirror Makeover | Pretty Handy Girl

Use a ruler to create a space between the middle stripe and the outer small lattice piece. Glue the outer pieces in place.
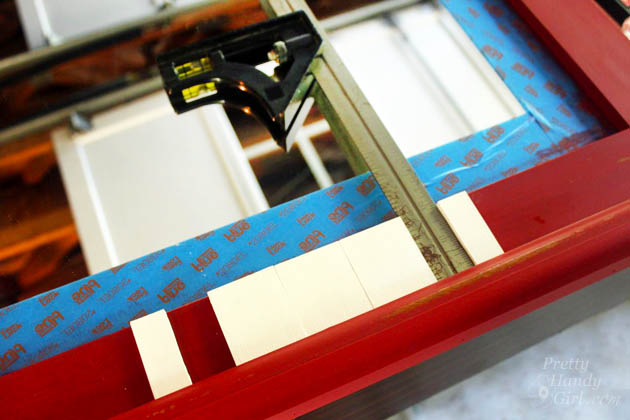
Racing Stripe Mirror Makeover | Pretty Handy Girl

Set a weight (or paint can) on top of a scrap board and the lattice pieces while the glue dries.
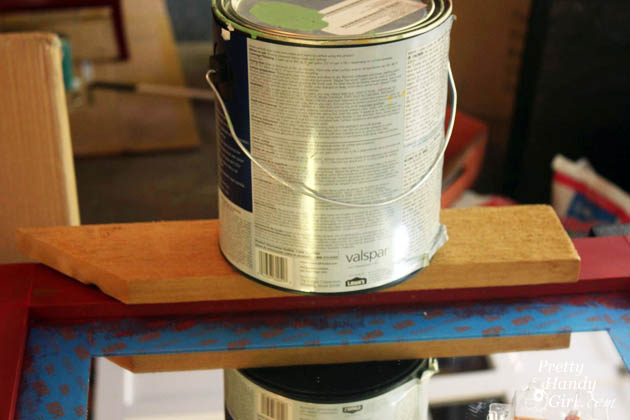
Racing Stripe Mirror Makeover | Pretty Handy Girl

Remove the weight. Paint the top and bottom edge of the mirror frame white to create the illusion that the stripe continues around the frame edges. Distress the lattice pieces with sandpaper if you want a rustic look.
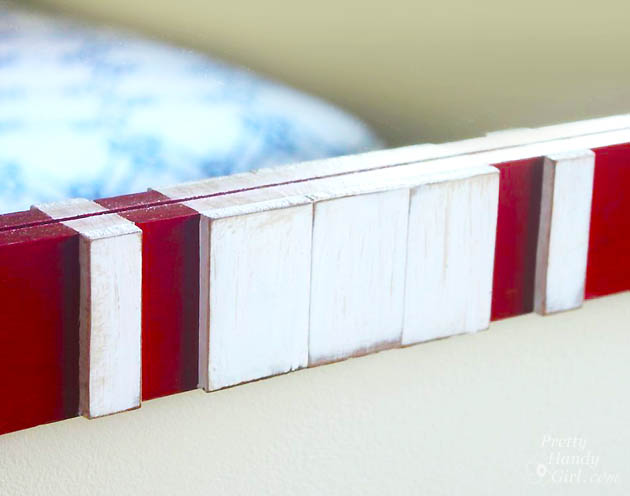
Racing Stripe Mirror Makeover | Pretty Handy Girl

Hang your mirror on the wall and admire! Not bad for $15, two coats of paint, and some scrap lattice!

Some red milk paint, lattice and glue transform this $15 find into a charming racing stripe mirror perfect for a boys' room! | thrift store makeover | DIY mirror | mirror tutorial | #prettyhandygirl #DIY #tutorial

The mirror hangs happily in the twin bedroom at the Topsail Beach Condo. Click here to see the rest of the condo!
Some red milk paint, lattice and glue transform this $15 find into a charming racing stripe mirror perfect for a boys' room! | thrift store makeover | DIY mirror | mirror tutorial | #prettyhandygirl #DIY #tutorial

Hope you never turn down a $15 mirror again ;-).

PHGFancySign


Pin for later!
 

DIY Aged Chippy Paint Technique | Pretty Handy Girl

DIY Aged Chippy Paint Technique | Pretty Handy Girl

This is another one of those tutorials that I’ve been dying to share with you! Like sitting on my hands and anxiously waiting to type it out. But after taking 2 weeks off from blogging, I’m back and ready to give you this fabulous tutorial for achieving the aged chippy paint look on your next project.

DIY Aged Chippy Paint Technique | Pretty Handy Girl

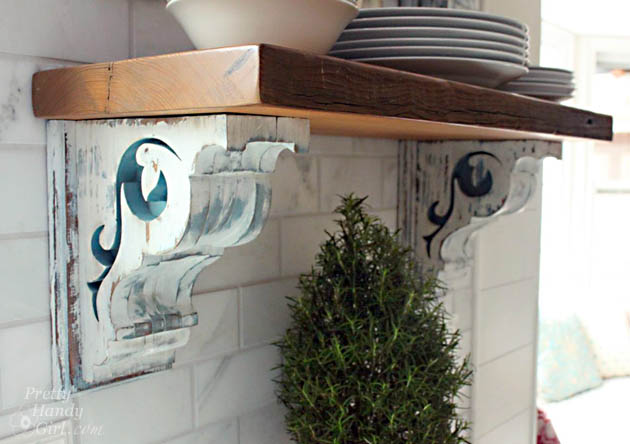
Before I give you the chippy gritty, I want to give you the background story on those gorgeous corbels.

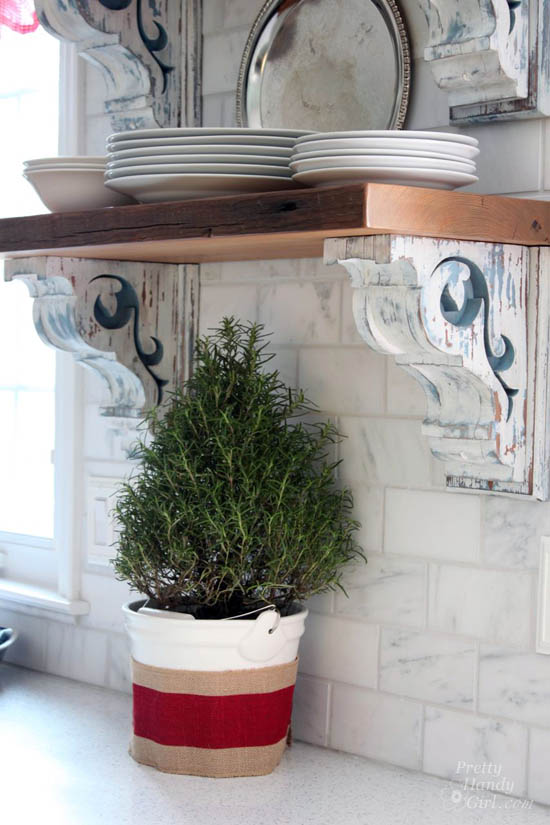
If you’ve been following along, I finally completed my 13 month kitchen renovation. The last task was installing two open shelves on the full tile wall. Finding the perfect corbels to use as shelf brackets was not an easy task. I scoured eBay, Craig’s List and salvage shops. I was really getting discouraged. That was when I met Garlan from Southern Accents Architectural Antiques at Haven. We talked for a few minutes and he showed me some of the corbels he had in his store. There were some wonderful old ones, but I felt a bit like Goldilocks. One was too tall. The other not big enough, but the biggest problem was that I needed four of them. Garlan showed me some new corbels that he had. He told me he has a guy that can duplicate any corbel design and can customize them to meet any size requirements. It was as if the heavens parted and angels sang! I was elated and couldn’t wait to find an image of a design I liked. But, again, the Goldilocks in me couldn’t find the “perfect” corbels. So, I opened up Adobe Illustrator and started to design my own unique corbels.

Chippy Paint Technique

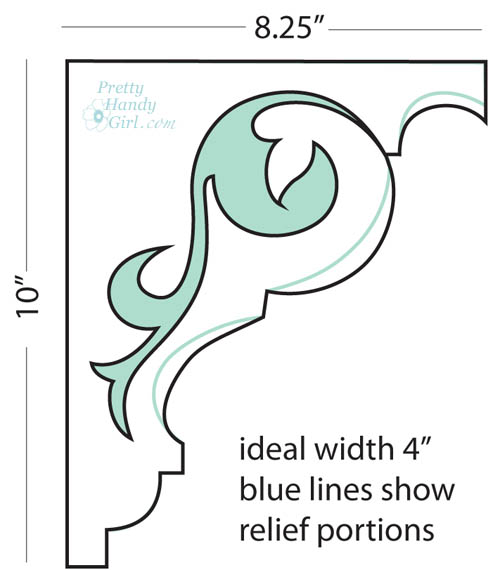
PHG Corbel Design for Sa1969.com


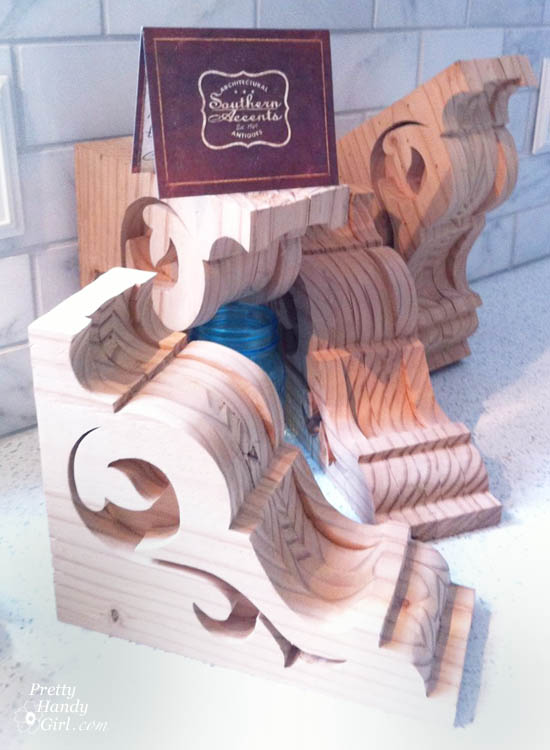
I designed a scroll pattern based off of one corbel I saw, but also added some relief portions inside the corbel. I sent the image to Garlan and a week later he sent me a picture of one of the corbels. It was love at first sight! I quickly approved the initial one and waited anxiously for the corbels to arrive. When I opened the box, they were beautiful and exactly as I had pictured them in my head.

Southern Accents Architectural Antiques corbels

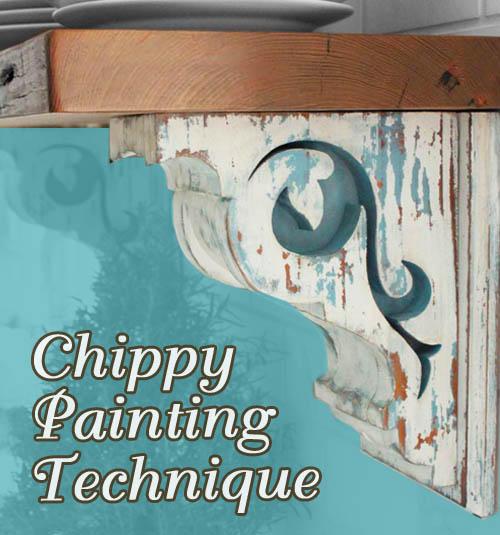
I set forth to give them an appropriate aged chippy paint look to fool people into thinking they were actually antique salvage. Here’s how I did it. Read more

Boy's Red, White & Blue Themed Room | Pretty Handy Girl

Galvanized Tub Storage Bench for Kids | Pretty Handy Girl

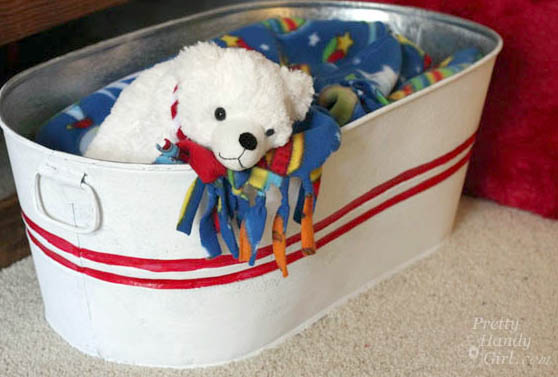
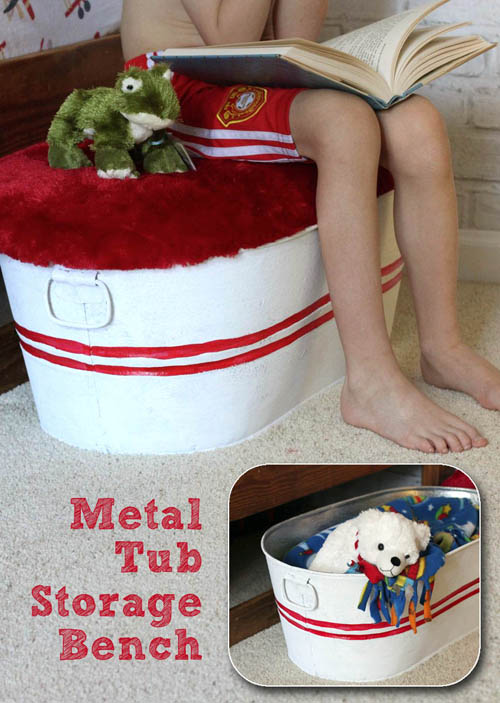
Every month Lowe’s challenges me to create another unique project to share with you. This month’s challenge was creative storage ideas. Have kids? This is a unique storage solution using a galvanized tub and a furry upholstered lid. It’s the perfect place to store and corral all that kid clutter in your child’s bedroom. The storage tub doubles as a bench and a step stool. Don’t be deterred if you don’t have children, the storage bench could be used for magazine storage and much more!

Grab these materials and tools and follow along with me (and my 13 year old assistant.)

Creating the Galvanized Storage Bench and Lid

(I’ve included affiliate links for your convenience. I earn a small percentage from a purchase using these links. There is no additional cost to you. You can read more about affiliate links here.)

Materials for the Galvanized Storage Tub and Lid:

Galvanized Tub Storage Bench for Kids | Pretty Handy Girl


Instructions:

Turn the galvanized tub upside down on the plywood. Use the sharpie to mark approximately 1/2 – 1″ out from the edge of the tub. Read more

Painted Lampshade & a Quick Guest Room Makeover | Pretty Handy Girl

Painted Lampshade & a Quick Guest Room Makeover | Pretty Handy Girl

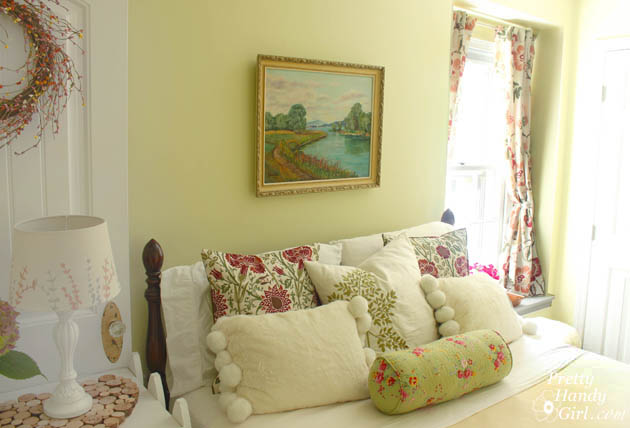
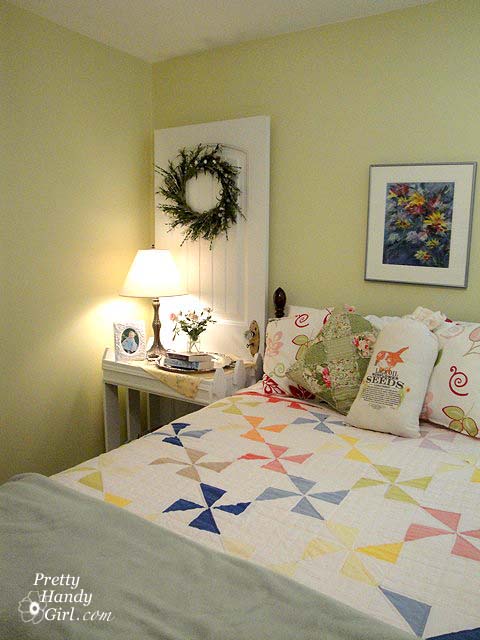
My mom was coming to visit his month. Since she’s a repeat guest, I wanted to give the guest room a little mini makeover for her. With the addition of some new pillows, curtains and a painted lampshade I gave it a new look in an afternoon.

Here’s the before:

GuestBed

And the after: Read more

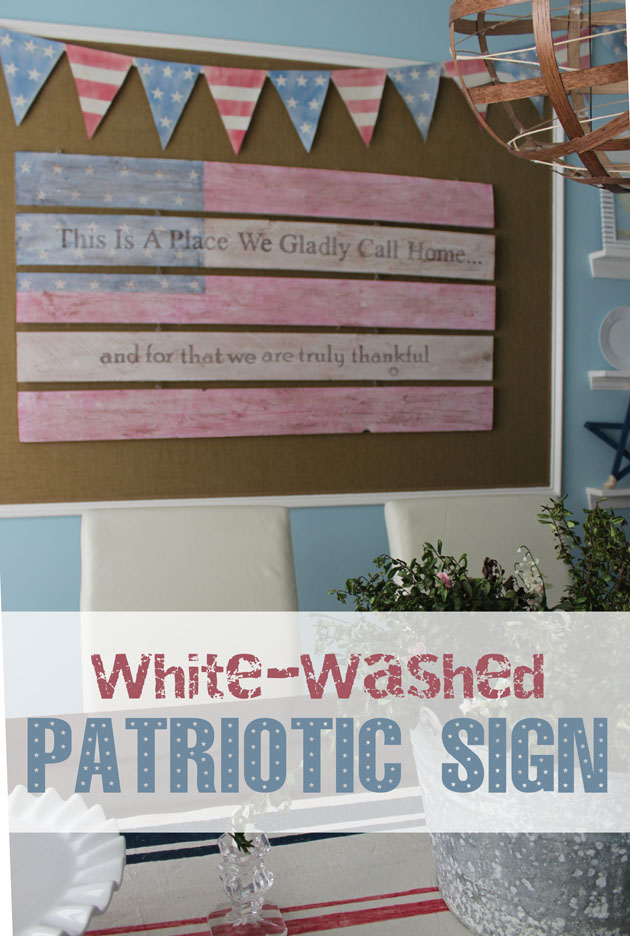
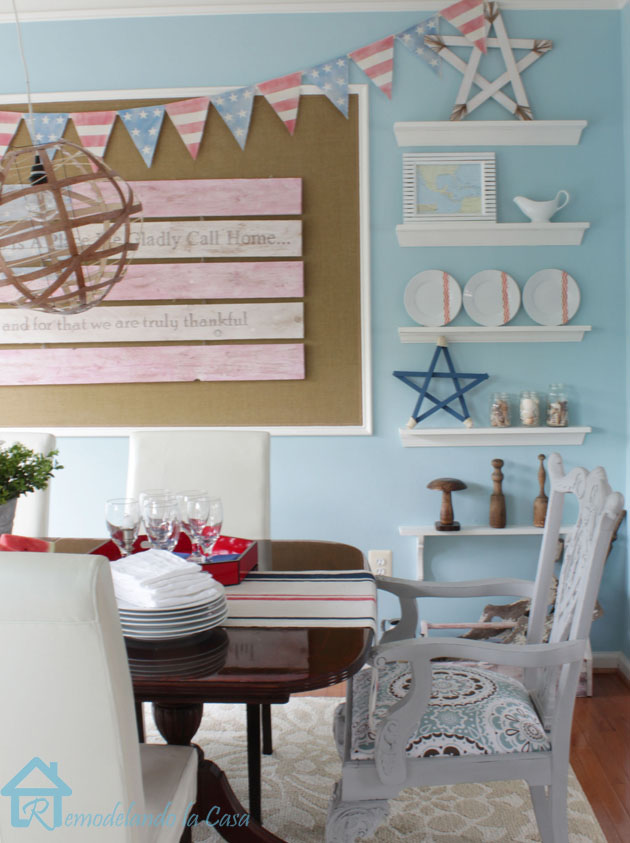
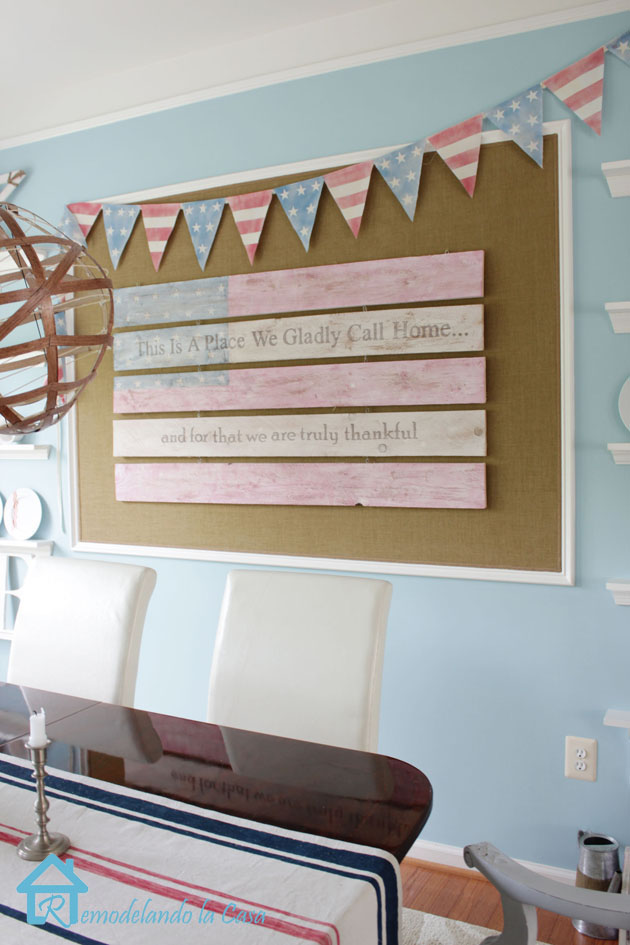
Learn how to make this White-Washed Patriotic Flag Sign and hang it with pride in your home.

White-Washed Patriotic Sign

White-Washed Patriotic Flag Sign Tutorial

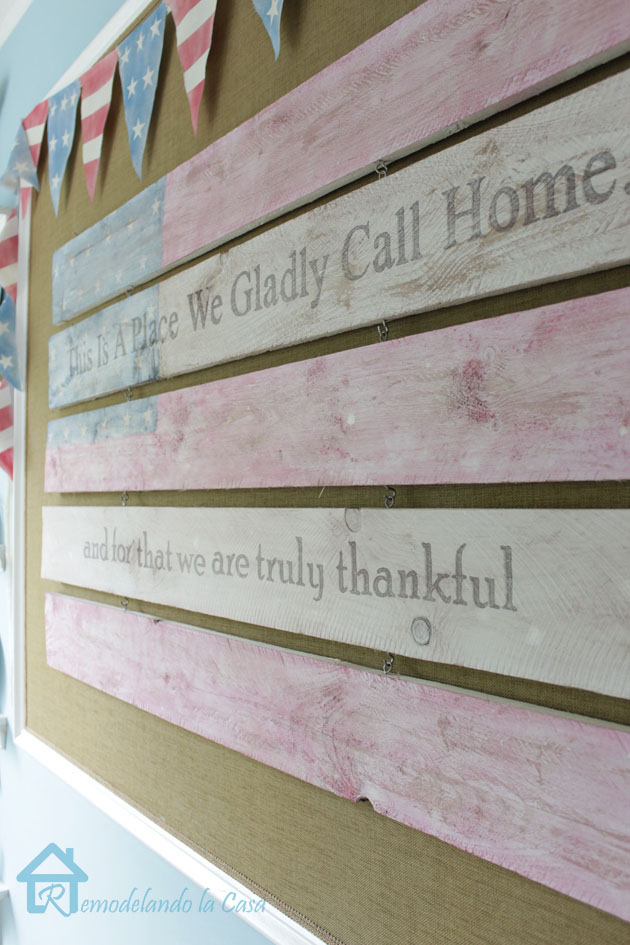
The other day I was at the fabric store but after not finding that perfect fabric for one of my projects,  I went to the other section of the store to take a break from it all.  While there I saw a little sign that read:

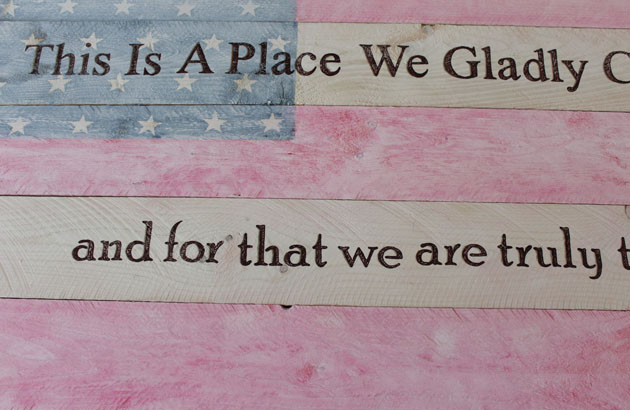
This Is A Place We Gladly Call Home…
and for that we are truly thankful

Those words totally spoke to me!  I didn’t buy the little sign but I came home thinking about how to create my own version.  The sign was more expensive than the materials to make my own sign ten times bigger!

Patriotic sign final2

My sign came out beautiful, especially with the large American flag on the background. I’m happy to show you how to create your own White-Washed Patriotic Flag Sign! Let’s make this sign.

Materials:

(I’ve included affiliate links for your convenience. I earn a small percentage from a purchase using these links. There is no additional cost to you. You can read more about affiliate links here.)

Optional: Gold Sharpie marker

Instructions:

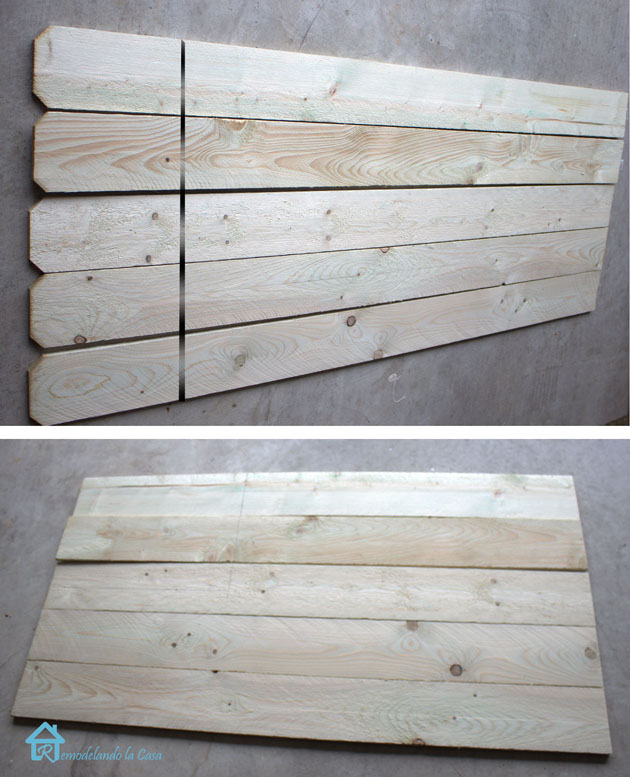
Cut off the tops to get rid of the “dog ears.” Mark the area for the blue square on the flag.

fence cut

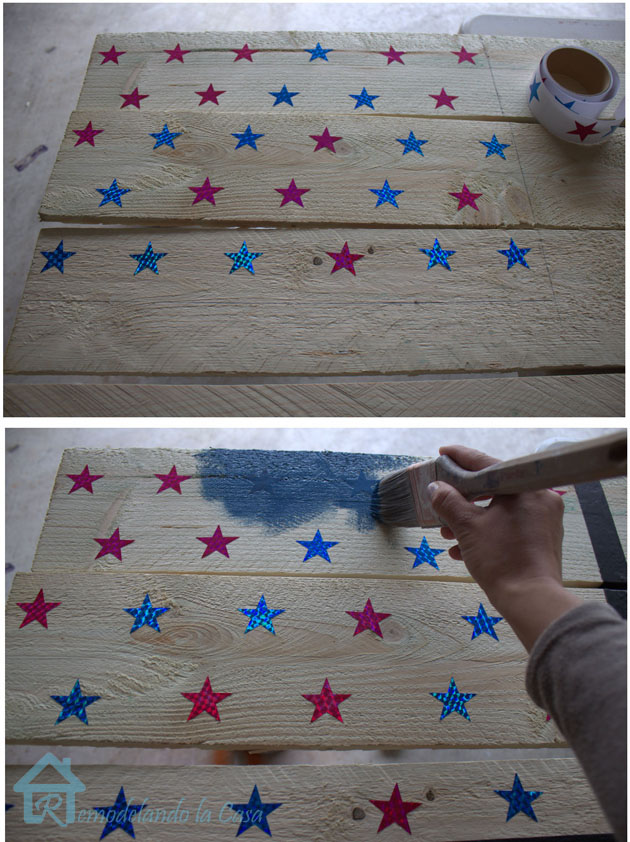
Add star stickers inside the square. Paint over the star stickers with blue paint. 

adding star stickers to sign

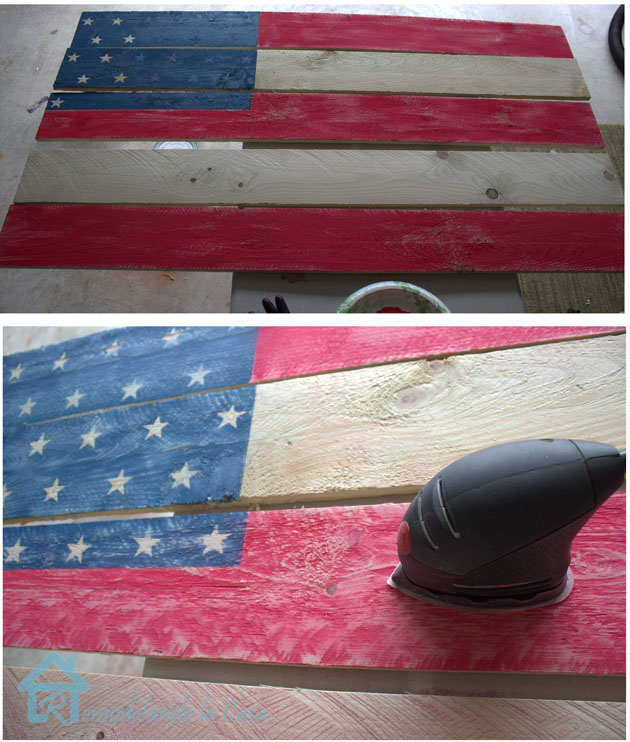
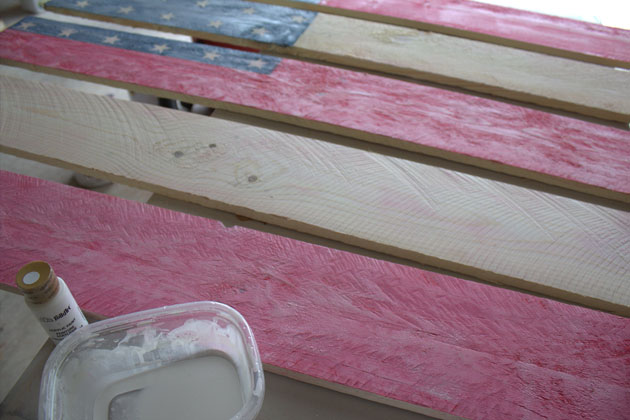
Paint the red stripes next.  After the paint dries, remove the star stickers.  Give your boards a light sanding.

sanding flag sign

You can leave your patriotic sign like this or if you want to give it the white-washed look, continue.

White acrylic paint and water is mixed at a 50-50 ratio to create a white-wash. Apply three coats of the white-wash.  Wait for the paint to dry between coats.

wash out white on sign

Print out your quote on the computer:

This Is A Place We Gladly Call Home…
and for that we are truly thankful

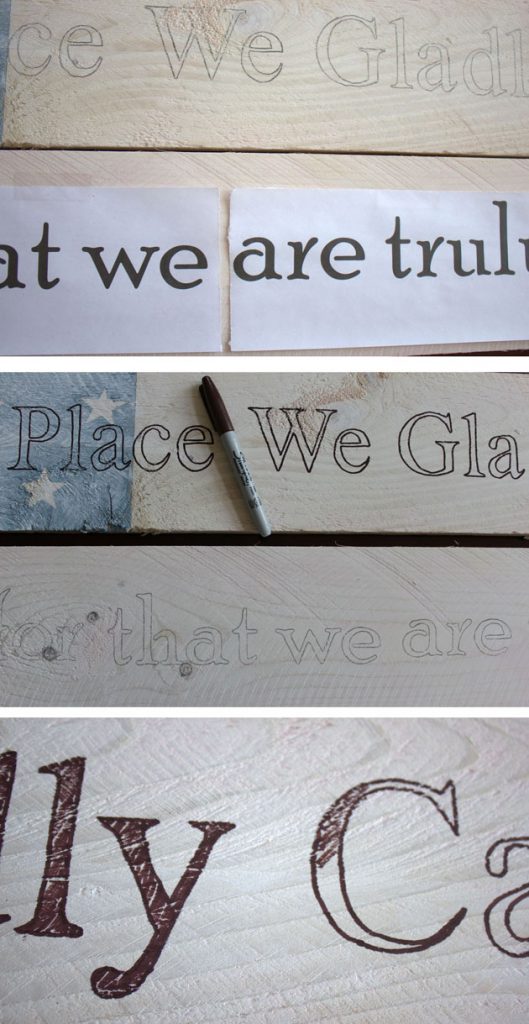
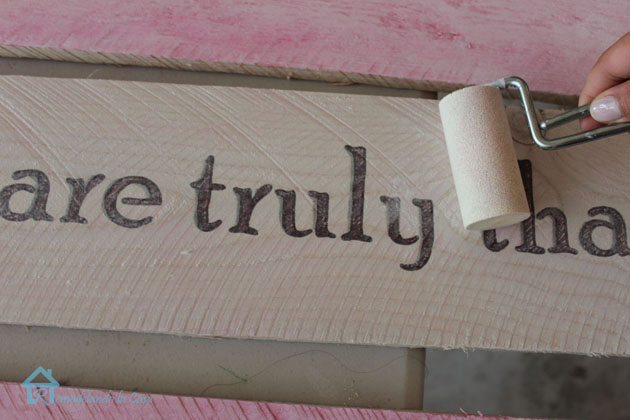
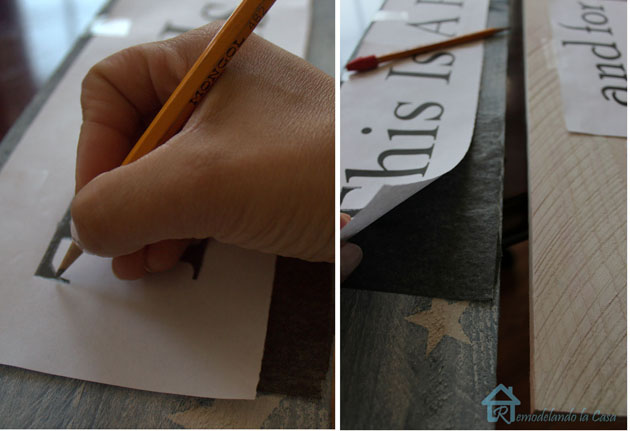
Transfer the lettering onto the boards using graphite paper.

transfering letters onto wood

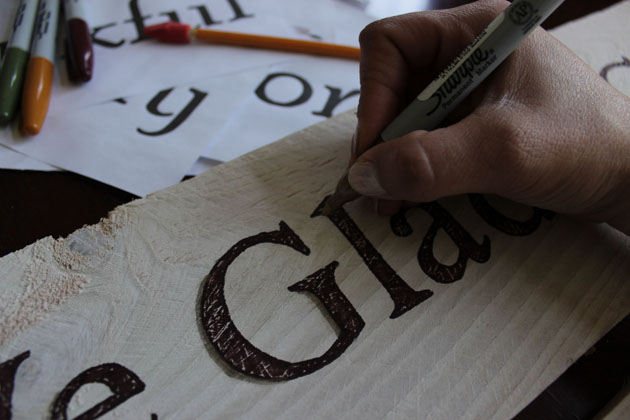
Using a brown Sharpie, trace the letters and fill them in.

tracing letters on wood

Do you want them a bit fancier?   Use a gold Sharpie to create shadows.

tracing shadows on letters

After the letters are filled in, it will look like this:

sign after finishing letters

Give the letters an extra two coats of the white-wash to make them blend better.

letters wash out

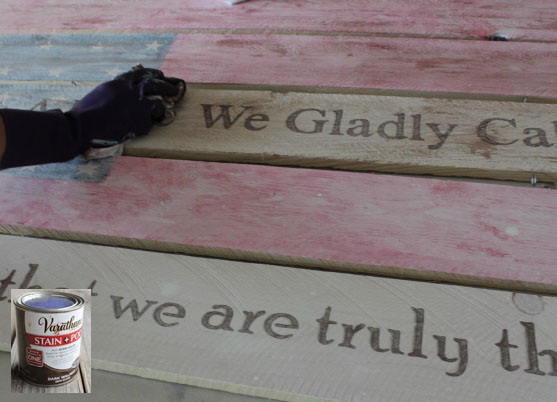
Lightly rub stain on the entire sign.

Staining sign

We’re finished making the White-Washed Patriotic Flag Sign. Now it’s time to assemble and hang the sign.

Assembling the Sign:

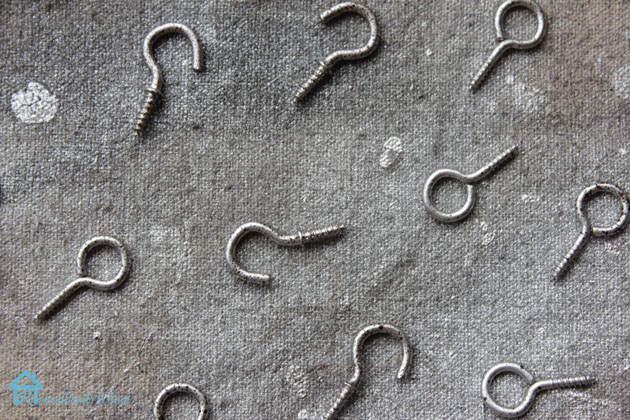
To hold the boards together, attach cup hooks and screw eyes between the boards.  (I chose to paint mine silver since I only had gold.)

cup hooks and screw eyes

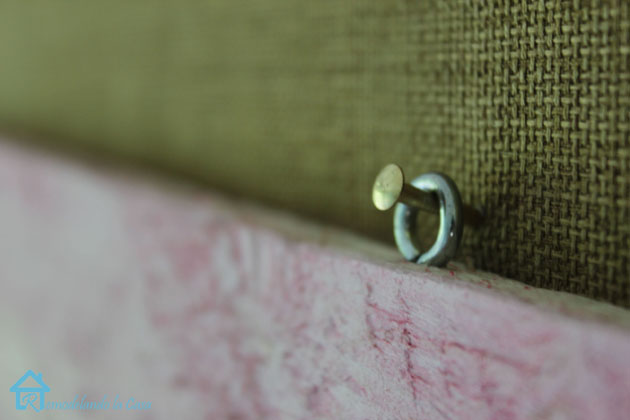
No need to pre-drill, the boards are fairly soft so the hooks and screw eyes will go in easily.

hooks in place2

Attach two extra screw eyes to the top to hang it onto the wall.

how to hang sign

This was a very easy way to put the sign together, hang it, and… it doesn’t take much space when it is time to store it away!

Patriotic sign final3

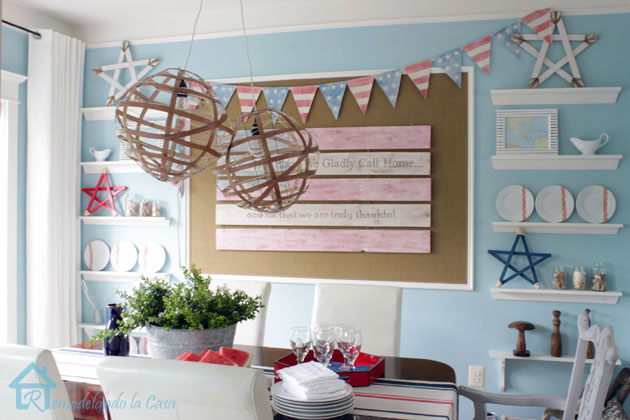
I hung some more patriotic decorations and our dining room is ready for a celebration!

Patriotic sign final1

What do you think of this White-Washed Patriotic Flag Sign Tutorial?

Patriotic sign final4

Thanks so much for stopping by!

Photobucket

  ~ See all Cristina’s Projects ~