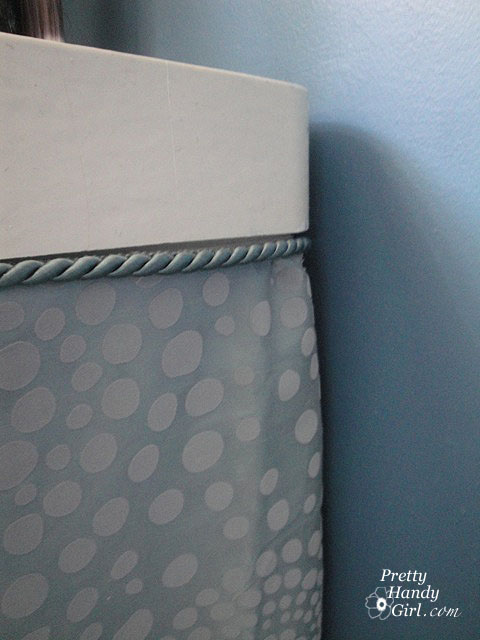
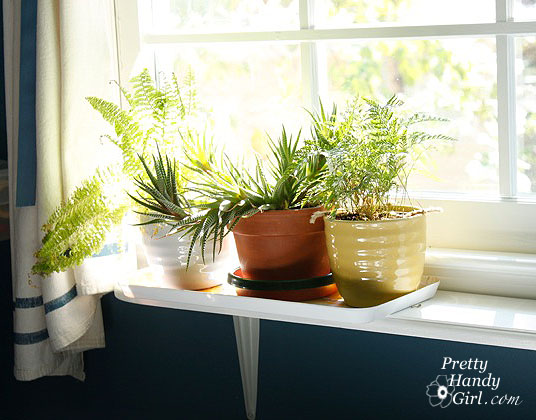
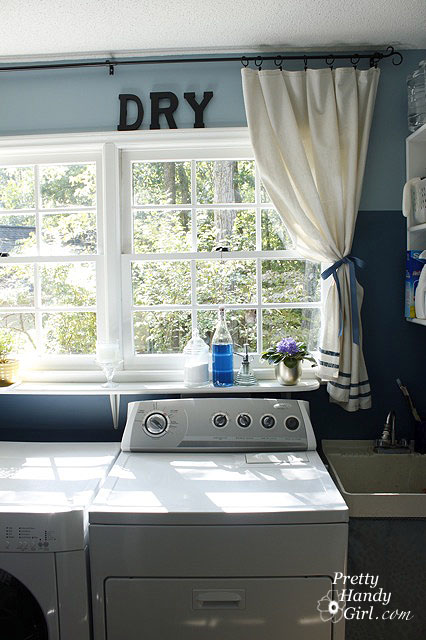
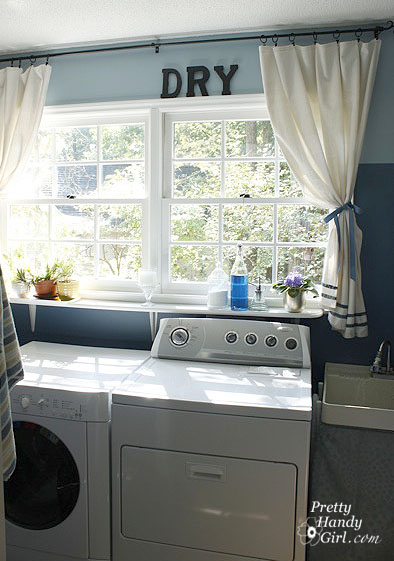
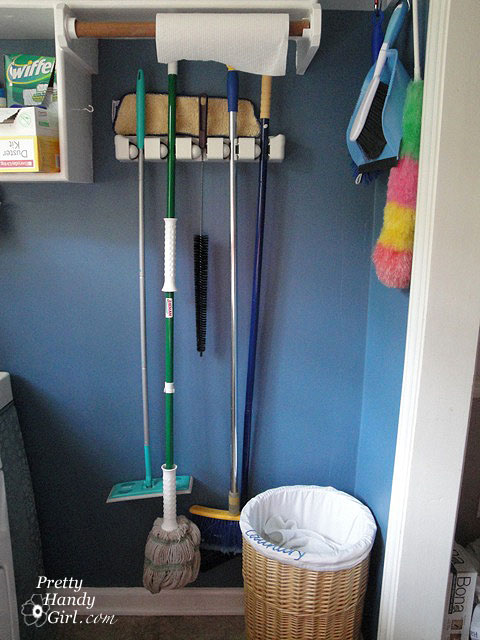
The other day I was lamenting the condition of our laundry room. It was beautiful about a year ago, but continual use and lots of cleaning paint brushes had left the wall looking like this.

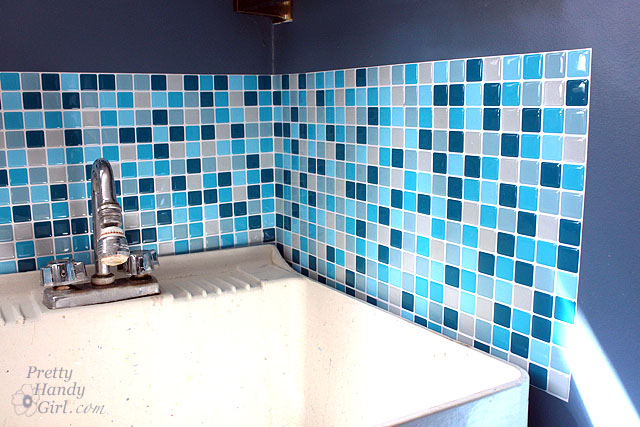
Since Jackson Pollock walls are not in style, I decided to give the utility sink a quick face lift. Of course glass mosaic tiles would be really fab here. But, I didn’t have the time or desire to grout the walls and tiles. Luckily I had some Smart Tiles patiently waiting for me to try them. I chose the Lagoon Mosaik tiles for my laundry room. But, there are a wide variety of colors and sizes to chose from. These self-adhesive tile sheets have the look of mosaic glass tiles but not the hassle and mess of mixing grout, laying tile, and cleaning the grout afterwards.

Installing them is a cinch. It is as simple as wash, peel, align and stick! See:

You’ll need a few materials before you start:

(I’ve included affiliate links for your convenience. I earn a small percentage from a purchase using these links. There is no additional cost to you. You can read more about affiliate links here.)

Clean the walls according to the directions on the TSP cleaning solution box. Wipe the walls dry.

Use a level and a pencil to mark a line where the top of the smart tiles will be installed.

Dry fit all the tiles sheets. Start in the corner (if you have one.)

 Tape up all the tile sheets using painter’s tape.

Cut any excess off the sheets and cut any additional tiles needed for the installation.

Peel the backing off and carefully adhere the tile sheet to the wall. Try very hard not to touch the adhesive backing.

Line the tile up with the level line.

Press firmly against the wall and smooth your hand over the sheet to remove any air bubbles.

For any holes: 1) Count tiles for the hole. 2) Cut out that many tiles. 3) Stick them on and admire how well they blend with the existing tiles.

Another reason the Smart Tiles are a breeze to install is because they are flexible, you can wrap it around an object, then mark the cut and use an X-ACTO knife to cut away any excess.

That is all there is to it! Stand back and admire your handy work!

I loved the ease and simplicity of the Smart Tiles. They look real until you get up real close and notice that they are not as thick as glass tiles on the side. To fake the sides, you could fit a thin piece of molding on the sides and the top to give it a more finished look.

Although these tiles are easy to install, they cost about the same as the real thing. However, you will save money on grout. And you will definitely save time (and we all know that time is money!)

The tiles I installed have wiped off very easily and they don’t show splashes. A few of the corners have started to peel up where I wasn’t  careful about not touching the adhesive backing. The rest of the seams are holding tight.

If you are looking for a quick and easy solution to update your backsplash, I highly recommend the Smart Tiles.

That being said, if you want a more permanent solution, I recommend spending about the same amount of money and take the time to install glass mosaic tiles.

Note: They cannot be installed inside a shower where the conditions are very wet. In the kitchen, if installing behind a gas range without a back panel, you need to leave a safety zone.

You can purchase them at your local Home Depot in the US,  online, or at these locations.

Update: The Smart Tiles I installed eventually started to peel and didn’t look so smart. I’d recommend this for a temporary backsplash, but for a more permanent solution go ahead and tile your backsplash. It may be a little more work, but it’s not difficult to tile.

Disclaimer: I was sent one packet of 6 Smart Tiles to try. This is not a paid review, all opinions and the project are my own. If I don’t like a product, you won’t see a review on my blog. For more information about product reviews and my disclosure, read this.

Clean Your Dryer Ducts - Prevent Fires

Once the weather turns cold and the heat kicks on, your home starts to get dry and static electricity arrives once again. This minor nuisance that causes siblings to shock each other for fun can actually be dangerous if it ignites lint that has built up in or around your dryer.

Why you should clean out your dryer ductwork:

According to The Consumer Product Safety Commission, ( CPSC ), annually there are tens of thousands of Dryer Fires leading to many injuries or death, due to dryer exhaust duct fires. You should clean your dryer hose and around it once a year, and inspect the vent and hose for any blockages at least every 6 months.

You could pay a professional to clean your dryer ductwork, but the price could be anywhere from $65.00 to $150.00! Ummm — no thanks — I’ll keep my money and do this myself. It only takes about 15 – 20 minutes to do and it is easy! As long as your ductwork is fairly accessible, you can handle this!

If your dryer exhaust hose tube is longer than 10′ this may be a bit more difficult. And if it is longer than 10′, did you know that your dryer may be working extra hard to dry your clothes? Worse yet is if you have a long tube that goes up into the attic (or the eaves) and then out the roof. The warm moist air from the dryer enters the cold attic, and condensation forms in the exhaust tube. Do you know where this little story is going? Well, at first your dryer can’t dry as quickly because the tube is blocked by water. Eventually it will fill with enough water to cause the exhaust tube to split and guess where all that water goes? Through your ceiling, that is where! Trust me on this one, it happened to us in our old house.

So, why don’t you sit back down and let me give you a little tutorial on cleaning out your dryer exhaust ductwork.

Instructions:

Start by unplugging your dryer and turn off the gas if you have a gas dryer.

Remove your lint trap and remove any lint from the screen.

Clean Your Dryer Ducts - Prevent Fires

Using a brush (designed for cleaning out the coils under your fridge) bend the brush and run it inside the lint trap. Then follow up by using a shop vac or vacuum to suck up any lint and dirt loosened by the brush.

Clean Your Dryer Ducts - Prevent Fires

Pull the dryer away from the wall and disconnect the exhaust duct tube from the wall and the dryer. There are normally two kinds of hose clamps holding the tube to the dryer and wall port. The first is a ring with two prongs. Simply squeeze the prongs toward one another to loosen the clamp.

Clean Your Dryer Ducts - Prevent Fires

The second type of hose clamp requires a screwdriver to loosen the bolt attached to the clamp.

Clean Your Dryer Ducts - Prevent Fires

Slide the exhaust tube off the dryer and the port (hole in the wall.)

Use your vacuum to clean out both the dryer and wall ports.

Clean Your Dryer Ducts - Prevent Fires

Then use the vacuum to clean out the dryer exhaust tube.

Clean Your Dryer Ducts - Prevent Fires

If you have an older style vinyl tube, it is important that you replace it with a metal one. The vinyl and foil ones are fire hazards. Also, if you can’t get your tube clean, go ahead and replace it.

If your tube is long or difficult to clean out, you may want to purchase a hose brush like this one:

Brushtech B68C 10-Feet Long Dryer Vent Duct Cleaning BrushAmazon.com: Brushtech B68C 10-Feet Long Dryer Vent Duct Cleaning Brush: Home & Garden. (affiliate link)

While you have the dryer pulled out, vacuum off the back of the dryer, the washer, and the wall behind both. Eliminate as much lint as possible. A clean laundry room is safer than a lint covered one.

Clean Your Dryer Ducts - Prevent Fires

Re-attach the dryer tube to the wall and the dryer.

Clean Your Dryer Ducts - Prevent Fires

Gently push the dryer back towards the wall being careful not to crush the tube.

Clean Your Dryer Ducts - Prevent Fires

Locate your exterior dryer vent.

Clean Your Dryer Ducts - Prevent Fires

If you can reach the exterior vent, go ahead and clean it out also. Make sure the vent closes properly when the dryer isn’t running.Otherwise you may get birds, rodents or bugs in your vent. I don’t think I need to tell you that they won’t be helping your dryer’s efficiency!

Clean Your Dryer Ducts - Prevent Fires

And that is it?! That was easy wasn’t it. Be sure to keep your home and family safe by cleaning your dryer exhaust ductwork yearly.

Update: I wanted to let y’all know that the flex foil pipe shown in this tutorial is FLAMMABLE! Luckily I found this out before we had a fire.

prevent_fires_replace_dryer_hose

Read about installing semi-rigid non-combustible duct in this easy tutorial!

Clean Your Dryer Ducts - Prevent Fires


You might also like:

keep HE Clothes Washer CLean

Learn how to keep your HE Washer Clean like the day it was delivered!

Miracle Stain Remover


DIY Laundry Detergent & Miracle Stain Remover


 Wash…Rinse…Dry…Repeat…Wash…Rinse…Dry…Repeat…

This is the story of my life. We are a family of four and yet, I wash three loads of laundry two times a week. That is six loads per week! Or broken down, it is 1.5 loads per person per week. Is this a lot for a family of four? Maybe I’m too clean? Regardless, with all the time I spend in the laundry room, I wanted it to be attractive.

Our My laundry room looked like this right before we bought the house:

 
If you look up “blah” in the dictionary, you’ll see that picture.

So, I set to work and painted dark blue on the bottom 2/3 of the room and the same color with some white mixed in to the top 1/3 of the room. I also painted the windows and trim a glossy white. It is amazing how much easier it is to dust a newly painted surface (a definite must in a lint-filled laundry room.)

Next, I bought several sections of peg racks and painted them the same color as the trim. I screwed them into studs, or

if there wasn’t a stud to screw into I used Toggler anchors:

Then I set forth to cloak the biggest eye-sore in the room, the utility sink. All I did was cut a curtain down to size and used double-stick velcro. Then I hot glued some roped cording to the top. Abra-ca-dabra, it was sufficiently hidden.

Next I cut a piece of 1″ x 6″ pine to the length of my two windows. I rounded the corners with my jig saw and then used a router to give the edge a decorative finish.

After painting the shelf to match the windows, I mounted it to the wall with metal shelf brackets.

This gave me a sunny spot to rest my plants…

…and laundry supplies (Oxy clean powder, liquid laundry detergent and water spritzer for ironing wrinkles).

I also hung some drop cloth curtains that I painted stripes on (tutorial to come);

added a few letters above the windows;

and now I have a laundry room that I want to spend time in!

This makeover was very low budget. I had the paint leftover from our master bathroom. And the sink cover was one panel on clearance at Target for $3. The letters were $1.50 each and the drop cloths were $5 each. The curtain rod was stolen from another room in our house. And the shelf was from my wood pile. So, all-in-all, I spent about $25.

Some day I’d love to install cabinets with doors on them to hide all the supplies. But, until that day, I’m happy with the transformation.

So, am I the only one doing loads and loads and loads of laundry?