DIY Firepit and Seating | Pretty Handy Girl

DIY Firepit and Seating | Pretty Handy Girl

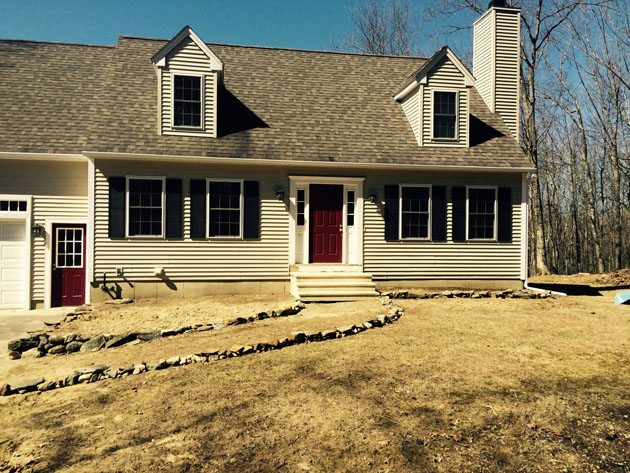
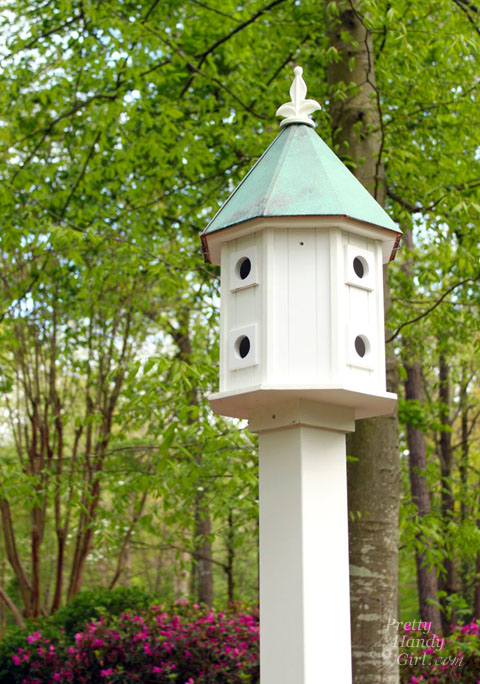
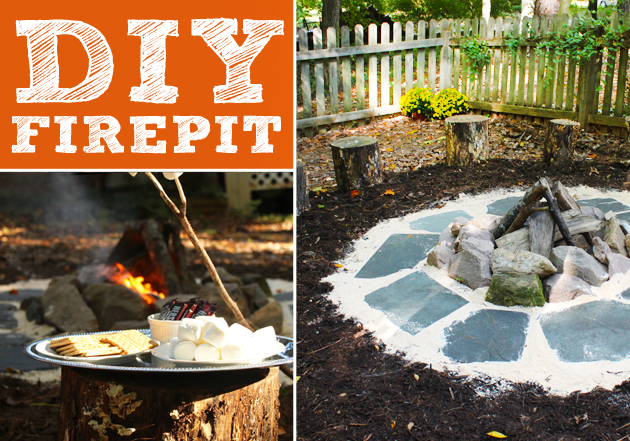
Firepits are very popular right now. You can purchase a simple firepit at your local home improvement store, or put in a little sweat equity and create a DIY Firepit with Seating.

When we had several hardwood trees taken down in our yard, I asked the tree guy to cut some of the base pieces of the tree trunk into 18″ segments to use as stumps to sit on.

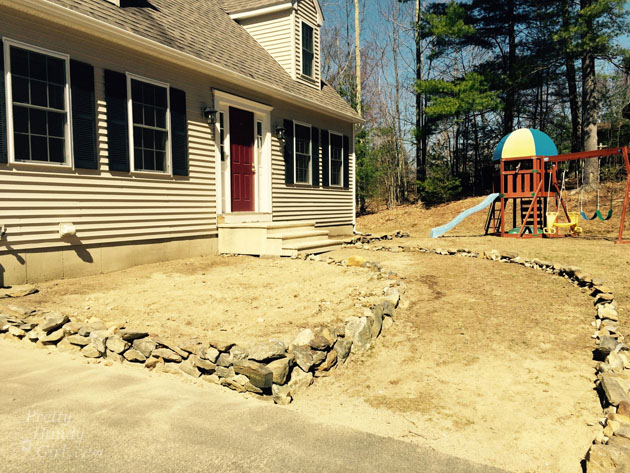
Then I set about creating a DIY firepit and seating in our back yard.
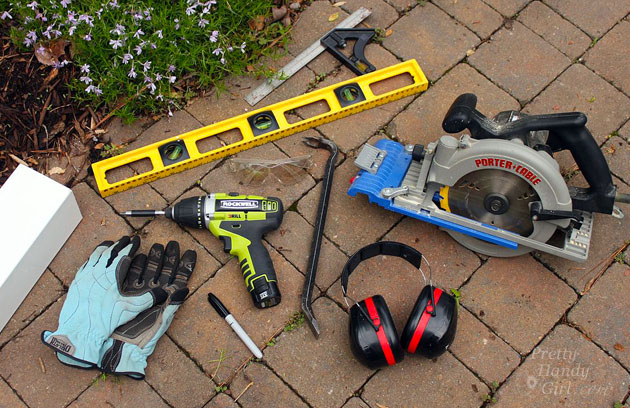
Materials:

  • Shovel
  • String
  • Stake
  • Stick
  • Rocks or fire ring
  • Sand
  • Bag of drainage gravel
  • Slate, stepping stones or pea gravel
  • Mulch or crushed stone
  • Stumps or seating
  • Wood to burn

Instructions:

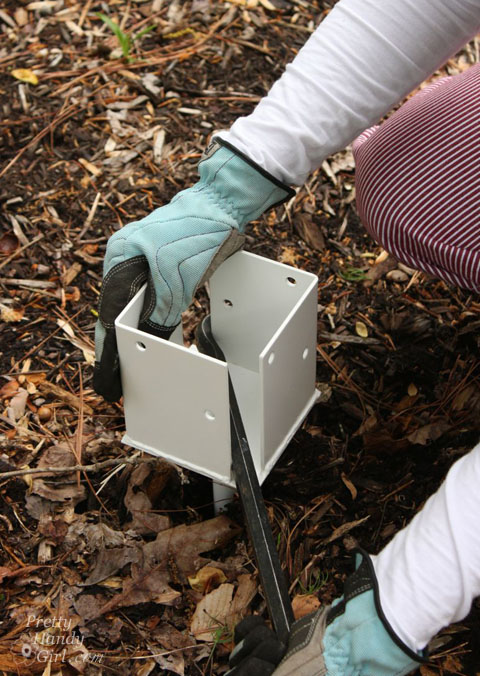
Begin by locating a level location to build your fire pit. Take note of any overhanging branches and trim them away from the firepit area. Hammer the stake into the center of your firepit area. Attach string and make a loop in the string at 6 feet. Insert a stick into the loop and walk around pulling the string taut while dragging the stick in the earth to mark a 12 foot diameter circle. Create another loop at 4 feet and repeat marking an inner circle. Finally, create a loop at 1 foot and drag the stick to mark the firepit ring area.

DIY Firepit and Seating | Pretty Handy Girl

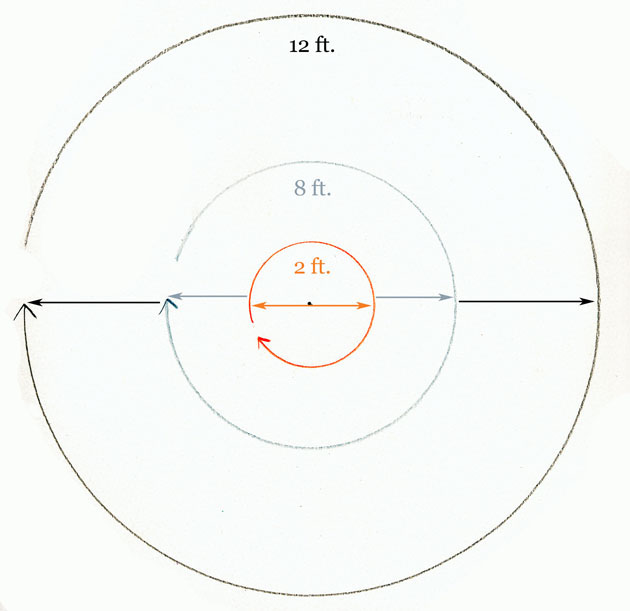
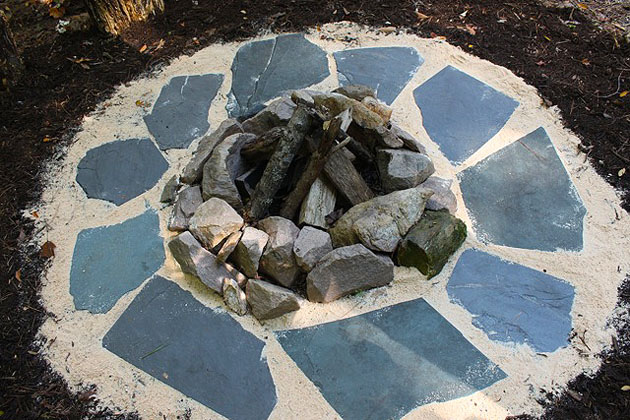
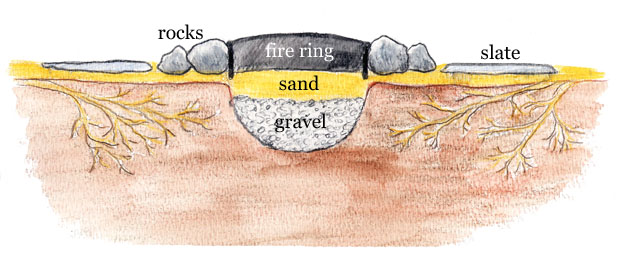
Dig a hole in the 2 foot firepit ring area. Remove any roots from the dirt. Dig about 12″ down. Fill the bottom of the hole with gravel. Add a layer of sand on top of the gravel. Line the 2′ firepit area with a fire ring or rocks (or both).

DIY Firepit and Seating | Pretty Handy Girl

Pour sand around the 8 foot diameter circle and set your stepping stones or pea gravel in this area. Read more

Lowe's Spring Makeover | Pretty Handy Girl

Lowe's Spring Makeover | Pretty Handy Girl

I’m super amped to give you an update on the Lowe’s Spring Makeover plans. If you recall, Lowe’s was partnering with these bloggers heroes to come to the rescue of a few homeowners:

All Things G&D | Beneath My Heart | Brooklyn Limestone | City Farmhouse | DIY Playbook | The Golden Sycamore | Home Stories A to Z  |Just A Girl | Liz Marie Blog | Our Fifth House | Pretty Handy Girl  and Lowe’s Home Improvement Volunteers!

We received several applications from these cities that were deemed the top ten hardest hit by the winter of 2014:

  • Boston, MA
  • Buffalo, New York
  • Detroit, Michigan
  • Hartford, Connecticut
  • Louisville, Kentucky
  • Nashville, Tennessee
  • Newark, New Jersey
  • New York City
  • Portland, Maine
  • Providence, Rhode Island

I was assigned to one city. Wading through all the applications was tough, but ultimately one family stood out.

Lowe's Spring Makeover | Pretty Handy Girl

This sweet family recently moved to the Northeast and was hit by one of the most brutal winters on record. If the weather wasn’t enough to freeze their emotions, having one of their little toddlers hospitalized and losing a loved one certainly crushed their spirits.

When the snow finally melted they were left with this: Read more

Install a Post Mounted Birdhouse | Pretty Handy Girl

Install a Post Mounted Birdhouse | Pretty Handy Girl

Hey y’all! I’m back with another easy tutorial. This is another #DIYCourage project sponsored by Duluth Trading Co. Do you love birds? Want to add some birdhouses to your property without attaching them to trees? Today I’m going to share a super simply DIY project that will make the birds happy and make you smile. Learn how to install a birdhouse on a post within an hour.

Install a Post Mounted Birdhouse | Pretty Handy Girl

My sons and I love watching the birds come to our kitchen window feeder. We want to make our yard a welcome place for all birds. We wanted to add more birdhouses to the yard by adding a two-story birdhouse. We already have two birdhouses (one that is a little wacky and made with knives), but I’ve always admired the two story birdhouse condos that house eight nests. When I saw one at the Southern Ideal Home Show (with a discounted price tag) I snatched it up.

Install a Birdhouse on a Post Materials:

(I’ve included affiliate links for your convenience. I earn a small percentage from a purchase using these links. There is no additional cost to you. You can read more about affiliate links here.)

Install a Post Mounted Birdhouse | Pretty Handy Girl

How to Install a Birdhouse on a Post Instructions:

Select a location to install your birdhouse. Try to find a spot that will get a decent amount of shade during the day (to keep the birdies from getting too hot.)

Install a Post Mounted Birdhouse | Pretty Handy Girl

Twist the post anchor into the ground. When it becomes difficult to turn, insert the pry bar for added leverage.

Install a Post Mounted Birdhouse | Pretty Handy Girl

Set your 4×4 post into the anchor.

Read more

Build a Temporary Pergola with Trellises | Pretty Handy Girl

Build a Temporary Pergola with Trellises | Pretty Handy Girl

This tutorial to build a temporary pergola is perfect for a wedding, photo shoot, for some shade, or for your garden if you are okay with it not lasting forever.

My sister and I constructed it for our Thompson’s WaterSeal Bali Dream Deck to provide some romance and shade from the hot Bali sun.

Bali Dream Deck for Thompsons Water Seal | Pretty Handy Girl

Materials:

Build a Temporary Pergola with Trellises | Pretty Handy Girl

  • 2 Trellises (with double vertical construction)
  • 1 Trellis
  • 4 – 2 1/2″ wood screws
  • Drill bit
  • Drill
  • Clamps

Optional:

Instructions: 

Dry fit your trellis pieces together to create the pergola shape. Make note of where the top trellis intersects with the two side pieces.

Build a Temporary Pergola with Trellises | Pretty Handy Girl

Pre-drill holes through the top trellis piece at the four intersecting points.

Build a Temporary Pergola with Trellises | Pretty Handy Girl

Pre-drill holes into the top outer pieces of the vertical side trellises (where they meet the top trellis.) Read more

Heart Shaped Topiary | Pretty Handy Girl

Heart Shaped Topiary | Pretty Handy Girl

The season of love is upon us. Have you embraced it? Or are you struggling to find something cute but not cutesy. Or something non-red or pink? Today I have a tutorial to show  you how easy it is to create a heart shaped topiary. Keep it for yourself or give it to the one you love. As the vine continues to grow, the heart will be embraced by the leaves and fill out.

In late Autumn, we had a final blue bloom on our hydrangea bush. I clipped it and brought it inside before the impending cold snap arrived. To keep the hydrangea company, I put a few snips of variegated ivy into the vase too.

Heart Shaped Topiary | Pretty Handy Girl

Over the winter, the ivy grew a healthy root system. Ivy is an easy plant to root. Simply put some clippings in water and keep it watered. After the ivy has rooted, you can create a beautiful topiary plant for a kitchen window sill.

Heart Shaped Topiary | Pretty Handy Girl

Begin by collecting your materials.

Materials:

Heart Shaped Topiary | Pretty Handy Girl

  • Ivy with roots
  • Copper water line or thick wire
  • Wire cutters
  • Pot
  • Rocks
  • Sand
  • Potting Soil
  • Trowel
  • Water

Optional: string, floral wire or a twisty tie

Instructions:  Read more