DIY Aged Chippy Paint Technique | Pretty Handy Girl

How to Install Shelves on a Tile Wall (using Corbels) | Pretty Handy Girl

After painstakingly tiling my backsplash, I was more than a bit hesitant to drill holes into the tiles to hang the corbels and open shelving. But, I convinced myself to stop being a wussy procrastinating and just do it.

I’m so pleased with how they turned out and I didn’t chip or crack a single tile. In hindsight I really didn’t need to stress this project. It was less nerve-wracking than I had anticipated.

Here’s the full tutorial so you can install your own open shelving on a tile wall!

Materials:

  • Diamond drill bit (the same diameter as the screws you are using)
  • Wood screws to attach anchor board (must be long enough to go through board, tile, drywall and at least an inch into a stud)
  • Drill
  • Spray bottle filled with water
  • Level (long and a small one if you have one)
  • Pencil
  • 2 regular drill bits (1 the same diameter as the screw + 1 large enough to create a countersink for the screw head)
  • Shelf brackets (I used corbels and a 1″x6″ pine board as an anchor)
  • Kreg jig
  • Pocket hole screws (long enough to attach corbel to anchor board without going through the board)
  • Joint compound or wood putty

Instructions:

Start by determining the height you want your shelves to hang. Read more

DIY Aged Chippy Paint Technique | Pretty Handy Girl

DIY Aged Chippy Paint Technique | Pretty Handy Girl

This is another one of those tutorials that I’ve been dying to share with you! Like sitting on my hands and anxiously waiting to type it out. But after taking 2 weeks off from blogging, I’m back and ready to give you this fabulous tutorial for achieving the aged chippy paint look on your next project.

DIY Aged Chippy Paint Technique | Pretty Handy Girl

Before I give you the chippy gritty, I want to give you the background story on those gorgeous corbels.

If you’ve been following along, I finally completed my 13 month kitchen renovation. The last task was installing two open shelves on the full tile wall. Finding the perfect corbels to use as shelf brackets was not an easy task. I scoured eBay, Craig’s List and salvage shops. I was really getting discouraged. That was when I met Garlan from Southern Accents Architectural Antiques at Haven. We talked for a few minutes and he showed me some of the corbels he had in his store. There were some wonderful old ones, but I felt a bit like Goldilocks. One was too tall. The other not big enough, but the biggest problem was that I needed four of them. Garlan showed me some new corbels that he had. He told me he has a guy that can duplicate any corbel design and can customize them to meet any size requirements. It was as if the heavens parted and angels sang! I was elated and couldn’t wait to find an image of a design I liked. But, again, the Goldilocks in me couldn’t find the “perfect” corbels. So, I opened up Adobe Illustrator and started to design my own unique corbels.

Chippy Paint Technique

PHG Corbel Design for Sa1969.com


I designed a scroll pattern based off of one corbel I saw, but also added some relief portions inside the corbel. I sent the image to Garlan and a week later he sent me a picture of one of the corbels. It was love at first sight! I quickly approved the initial one and waited anxiously for the corbels to arrive. When I opened the box, they were beautiful and exactly as I had pictured them in my head.

Southern Accents Architectural Antiques corbels

I set forth to give them an appropriate aged chippy paint look to fool people into thinking they were actually antique salvage. Here’s how I did it. Read more

Pretty Handy Girl's Christmas Home

Pretty Handy Girl's Christmas Home

Guess what! BIG NEWS!!! I FINALLY finished our kitchen remodel. I completed most of the work over the summer, but had two key components that I had to install. They are big, chunky and I am truly in love with them.

Pretty Handy Girl's Christmas Home

I’ve been waiting for some free time to get these puppies up, and the time finally came. On November 30th, (13 months after our little leak, but who’s counting) I installed two shelves on the tile wall in the kitchen. Like that it was…BAM…Put a fork in it, this kitchen is DONE!

Because I know you’re wondering where I got those gorgeous corbels, I got them from Southern Accents Architectural Antiques! And even though they are in Alabama, you can shop there online or ask for Garlan and he’ll hook you up with ANYTHING you want. In fact, would you believe that these corbels are brand new? Yup, I designed them and SAAA made them for me. I painted and distressed them (tutorial to come) to look like they are salvaged.

Now that the kitchen is complete, I’ve been enjoying decorating for Christmas. If you remember, last year our kitchen looked like this and decorating was low on my priority.

kitchen_progress_2.21.13

This year, I’m REALLY enjoying adding that holiday jewelry and decorating. I will be showing you the full kitchen reveal and pictures of the rest of my home as part of the Christmas Home Tour hosted by Just a Girl. Check in with her tomorrow morning for the start of the tour!

Christmas-tour-of-homes

The line up of homes is truly spectacular:

Monday:
Just a Girl
Nesting Place
Hi, Sugarplum
Tatertots and Jello
Remodelaholic

Tuesday:
Shabby Nest
Life in Grace
Not Just a Housewife
All Things Thrifty
Funky Junk Interiors

Wednesday:
Thrifty Decor Chick
Storywood Designs
Decorchick
Southern Hospitality
Our Fifth House

Thursday:
Sand and Sisal
A Place for Us
Songbird
Pretty Handy Girl
Beneath My Heart

Friday:
I Heart Organizing
My Blessed Life
Emily A. Clark
A Thoughtful Place

Are you ready for the tour? I can’t wait to see all the fabulous décor. I’m really ready to sit down with a cup of cocoa and enjoy the holidays. How about you?

PHGFancySign

Pretty Handy Girl's Guide to Tiling a Backsplash: Part 2 - Grouting

How did you do yesterday with the How to Tile a Backsplash: Tile Setting tutorial? Not too bad, right? Well, today will be a very gratifying day. Today I’m going to show you how to grout (and seal) your tiles and finish off your kitchen backsplash. You are going to love the end result.

(I’ve included affiliate links for your convenience. I earn a small percentage from a purchase using these links. There is no additional cost to you. You can read more about affiliate links here.)

Materials:

  • Grout (Used: Mapei UltraColor Plus Rapid-Setting Sanded Grout color: Frost)
  • VanHearron’s Grout Once
  • Two buckets (same size or one larger)
  • Water
  • Ice
  • Grout Float
  • Spatula
  • Rag
  • Buffing pad
  • Sponge
  • Basin filled with clean water

Prep work: If you are working with a natural stone tile, you may want to seal the tiles before grouting. I sprayed StainGuard5000 on a dry clean rag and wiped it onto all the tiles. Then buffed it off after five minutes.

Instructions:

If you are using a rapid setting grout, you might want to slow the “setting” process slightly. I learned this trick from our local tile shop: Start by filling one bucket with ice water. Nest the second bucket inside the first. Read more

PrettyHandyGirl's Guide to Tiling a Backsplash - Part 1: Tile Setting

This is the tutorial that I’ve been anxious to share with you! How to Tile a Backsplash! The reason I’ve been anxious to share is for two reasons!

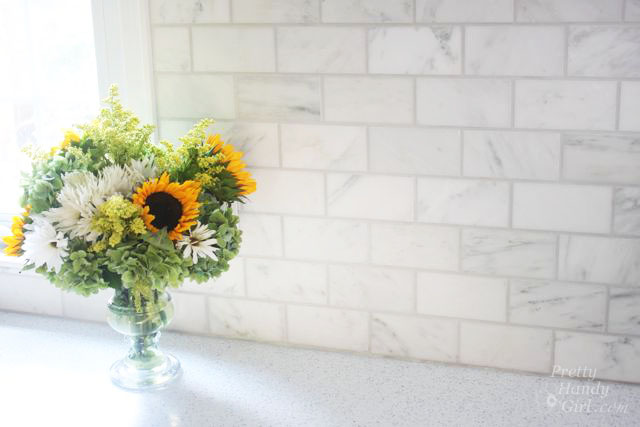
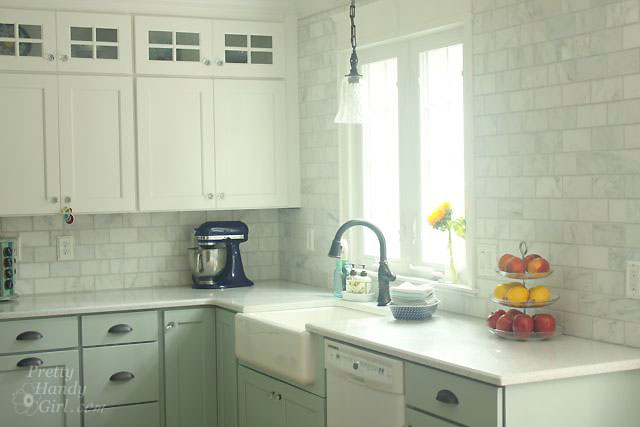
1) The backsplash and tiling truly makes my kitchen feel luxurious. In addition to the cork flooring, it was one of the things I REALLY wanted to have in our kitchen. And this is definitely a project that anyone can take on (with a good tutorial.)

PrettyHandyGirl's Guide to Tiling a Backsplash - Part 1: Tile Setting

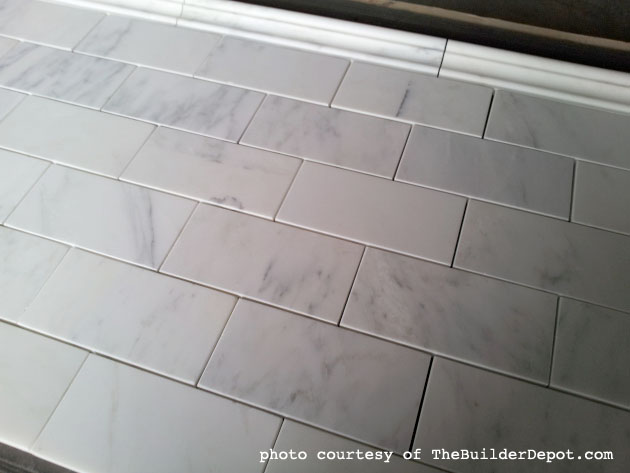
2) The source of my tiles is a best kept secret! I found the supplier online after researching and searching for affordable marble subway tiles. TheBuilderDepot.com was a site I stumbled across in my search. After contacting them and discussing my project, a response came immediately with ideas for my backsplash. My contact, David, was there for me throughout the process and gave me lots of ideas and tips along the way!  He even sent me a photo of my tiles before shipping them.

Venato Marble Subway Tiles from TheBuilderDepot.com

But, here’s the best part, in one of our email conversations I learned a little more about TheBuilderDepot and their company’s history. I want to share his email with you because I think it’s wonderful how they run their business:

We started our business in 2008 with $12K in sales and because of the financial meltdown and housing collapse banks told us we were crazy starting an “ecommerce” marble business.  None of them would loan any money, not even $1K.

Last year we grew to a $2.4m company (this year we are on target to double), employing locals and making an impact in the way consumers buy luxury natural stone.  Our vision was to offer a quality that is second to none, buy direct from Italy and quarries around the world, pay cash for everything buying 30,000 to 40,000 sq.ft. of product at a time from the quarries to keep costs low and quality high. 

 We have no debt as a business (that was not a plan but has worked out well) and avoid traditional marketing channels that are heavy on costs.  Basically a no frills marketing strategy. 

People think we are crazy when, if we cannot supply something or another supplier offers a better more affordable solution we refer them to a competitor.  We do not need the sales as we never anticipated growing this big, we are just interested in people creating pretty rooms with natural stone.

Part of the success is we ask what people are planning, then come up with some ideas of our own.  We are really passionate about Carrara.  The only company that separates into two collections.”

A company that has good business practice is worth supporting!

As mentioned in previous posts, when choosing companies to work with, I make sure to select brands and companies that I can stand behind. I have always maintained strict criteria when selecting companies to work with, and The Builder Depot goes above and beyond my criteria:

Before you source your next tile job, check out TheBuilderDepot.com. I think you’ll be pleasantly surprised ;-).

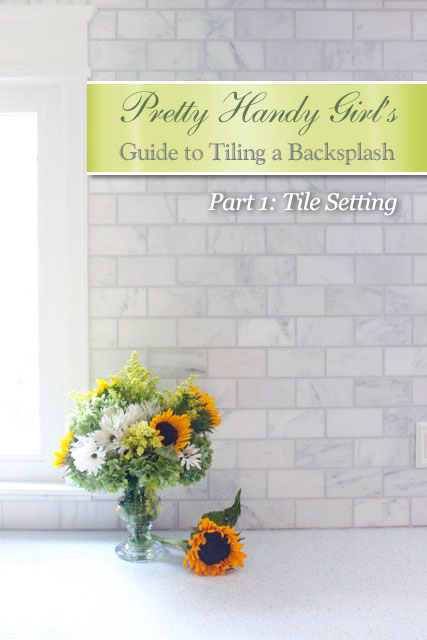
Ready to get messy? Let’s tile that backsplash!

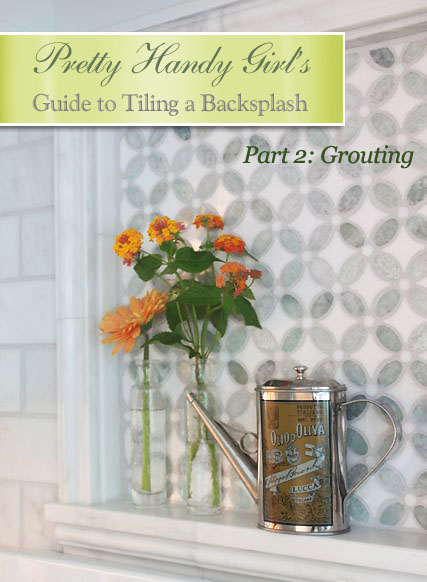
Prep-Work: Read more