Little Playhouse | Pretty Handy Girl

Little Playhouse | Pretty Handy Girl

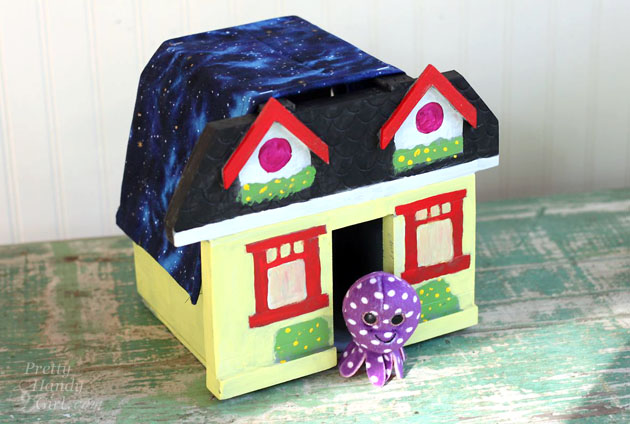
I love giving my boys creative freedom on projects. Frequently I let them have access to my scrap pile. Inevitably they build little houses for their stuffed animals. This little house was designed and painted by my 8 year old for Ollie (his little stuffed octopus.) I helped him build it. If you want to build a little playhouse for your child to paint, follow along.

Before we begin, I need to back up and tell you that this project is part of The Mystery Thrift Off.

#TheMysteryThriftOff is the brainchild of Lindsey from Better After. She chose a handful of people to take part in this challenge. After scouring her local thrift shops for ugly and hopeless items, she shipped off the chosen items to those of us in the challenge. I signed up—because frankly—I love a challenge. And, I love saving ugly items from the landfill. Be sure to see some of the other Mystery Thrift Off transformations at Better After and vote for your favorite.

But, when the box arrived from Lindsey, I was terrified to open it up! I mean what if she had sent me a ceramic scabies bear!  Yikes. You can imagine my relief when I opened the box to reveal this dated Christmas village.

Chalkboard Arrow Sign (Mystery Thrift Off) | Pretty Handy Girl

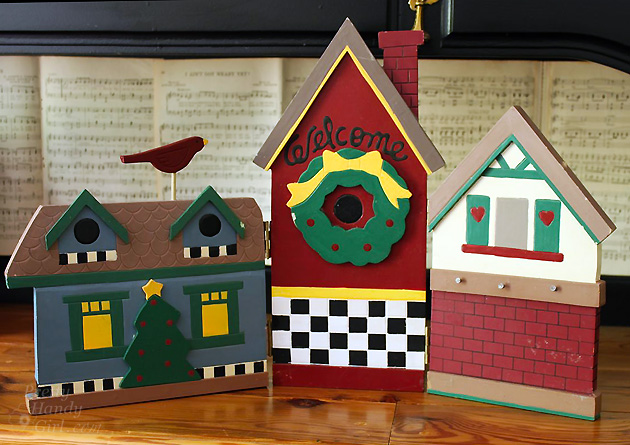
Not too bad looking is it.? Truth be told, it was falling apart and the colors were hunter green, colonial blue, mauve and fleshy tan.

Chalkboard Arrow Sign (Mystery Thrift Off) | Pretty Handy Girl

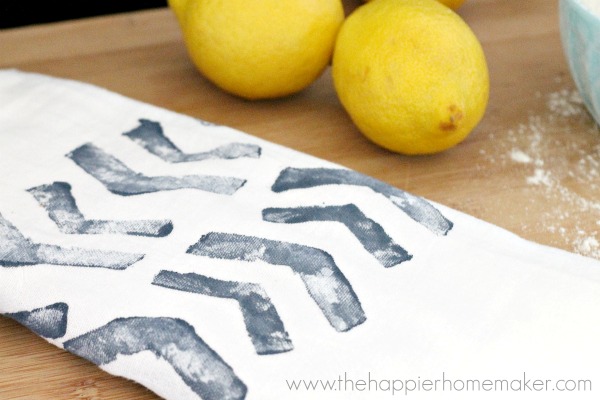
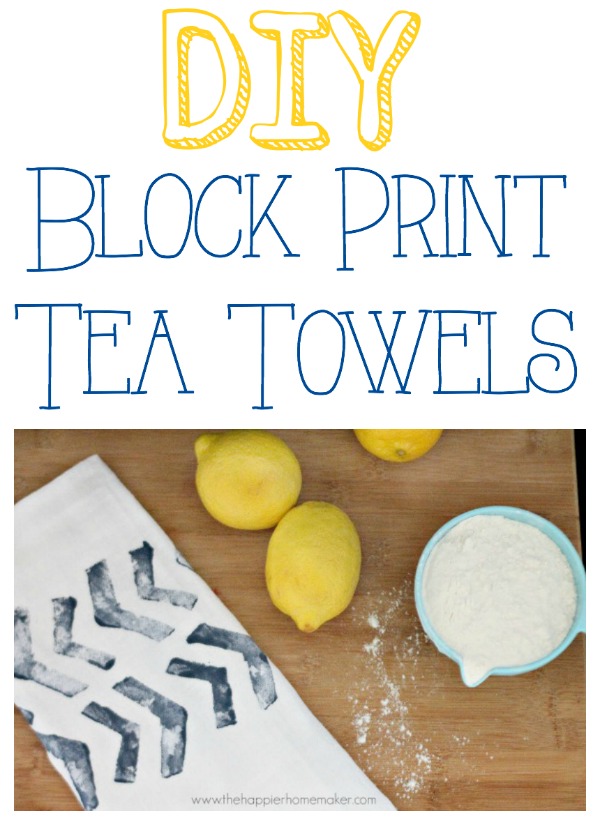
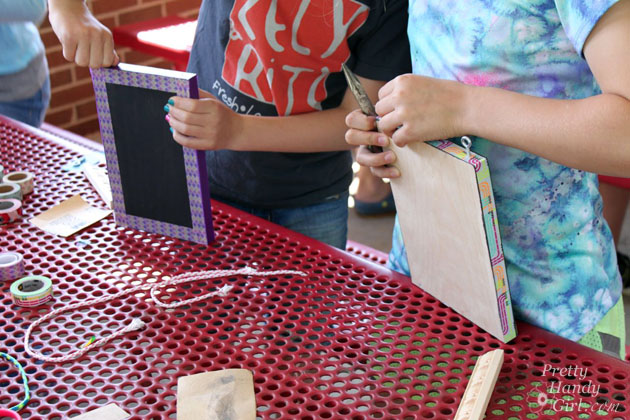
I quickly pulled the three houses apart and began to transform them into A Chalkboard Arrow Sign, a Housewarming Gift Caddy and the Little Playhouse I’m going to show you today.

I began by removing some of the embellishments.

Little Playhouse | Pretty Handy Girl

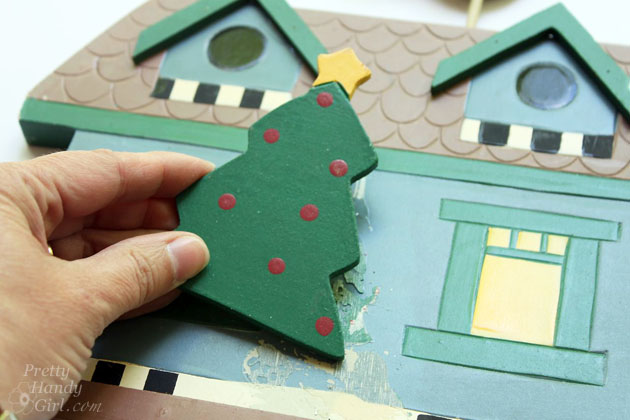
I saved them for a future project.

Chalkboard Arrow Sign (Mystery Thrift Off) | Pretty Handy Girl

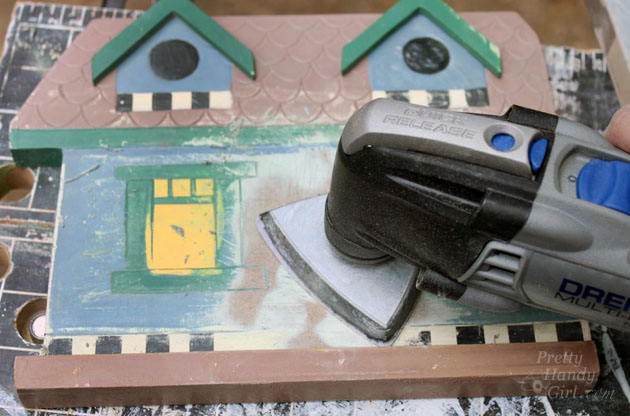
Next I sanded off the glue.

Little Playhouse | Pretty Handy Girl

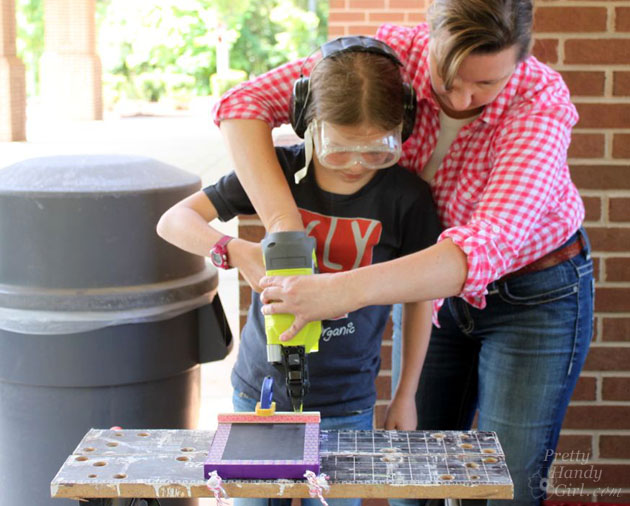
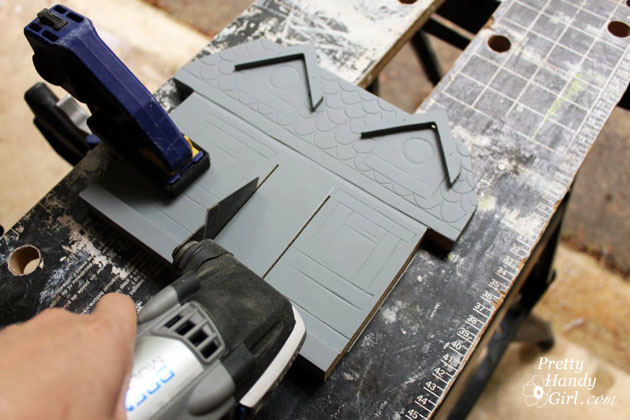
Here’s where you can pick up the tutorial. Start by cutting a house shape into a piece of plywood or scrap wood. Cut out a doorway (the Dremel Multi-Max worked perfect for this task.)

Little Playhouse | Pretty Handy Girl

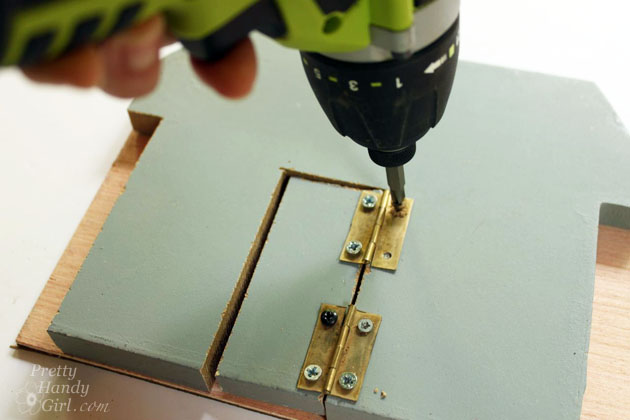
Flip the house shape over and attach hinges to one side of the door and the house.

Little Playhouse | Pretty Handy Girl

Cut two pieces for the sides of the house (1″ x 4″ lumber) and a back piece the same height as the house front.

Little Playhouse | Pretty Handy Girl

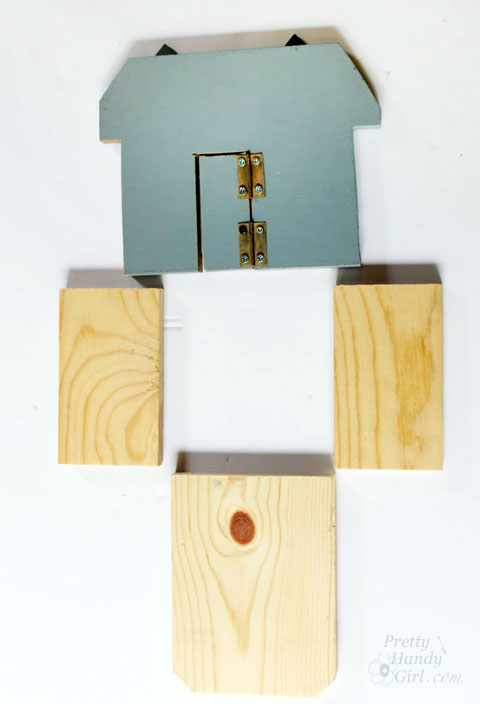
Clamp the back of the house to a solid surface and attach the sides of the house with glue and finish nails. Read more

Dragonfly Garden Decor using a Dollar Store Whisk and Skewer | Pretty Handy Girl

Dragonfly Garden Decor using a Dollar Store Whisk and Skewer | Pretty Handy Girl

Summertime is coming and I’m enjoying spending more time in our garden. I’m always looking for cute craft ideas that I can do with the kids while school is out. When I saw this great idea for making a wire whisk dragonfly on Morena’s Corner, I knew I had to try it. I altered Morena’s plans slightly using plastic beads and used a skewer for the plant stake. The cost and materials are minimal to make this Dragonfly Garden Decor using a Dollar Store Wire Whisk and Skewer. This craft can be done with the kids, but you’ll need to be the one to cut and bend the wires and watch out for the pokey edges with real little kids.

Dragonfly Garden Decor Materials:

Dragonfly Garden Decor using a Dollar Store Whisk and Skewer | Pretty Handy Girl

  • Wire whisk
  • Wire skewer
  • Beads
  • Needle-nosed pliers

Dragonfly Garden Decor Instructions:

Begin by bending the first wire loop out to the side to create a wing.

Dragonfly Garden Decor using a Dollar Store Whisk and Skewer | Pretty Handy Girl

Repeat with three more loops (2 on each side).

Dragonfly Garden Decor using a Dollar Store Whisk and Skewer | Pretty Handy Girl

Use the needle-nosed pliers to cut one wire loop into two short pieces as shown below. (You might need to twist the pliers back and forth to cut the wires.) Read more

DIY Constellation Wall Art

DIY Constellation Wall Art

Happy New Year! It’s Jessica from Decor Adventures, back with a fun project for your walls this month.  In late November, my husband and I had a baby girl! We are enjoying every minute of her and on the side I’ve been working on decorating her nursery. This idea for constellation wall art is both a way to add art to the walls, and some personalization of her birthday. It’s easy to put together and only requires a few basic supplies.

Materials

  • Picture frame
  • Hardboard to fit inside picture frame
  • Primer
  • White and black paint
  • Drill and drill bits
  • Small nails
  • Embroidery floss in white
  • Computer, internet, printer, paper
  • Hammer
  • Glitter (optional)

DIY Constellation Wall Art

Instructions

1. Paint your picture frame if desired. I used Smitten by Americana Decor chalky paint. I sealed it with 2 coats of polycrylic since chalky paint dries in a matte finish.

2. Prime and paint your hardboard with black paint. You could also use dark blue, since it will represent the night sky. I sprinkled a little bit of black glitter on the wet pant to add some sparkle (optional.)

Paint the nails white. These will be the “stars” in your constellation.

DIY Constellation Wall Art

3. Find an image of the constellation you plan to use and print out an image of it. You can find this with a quick search online, but this is a good resource for pictures. Print it on paper to fit inside your frame. Read more

how to stamp with potatoes

Hey there! It’s Melissa from The Happier Homemaker back again with a fun and easy DIY tutorial you can even get the kiddos involved with! I’ve been noticing block printing coming up a lot in my home decor magazines and catalogs lately. Last week when I was prepping a little rainy day potato stamping activity for my 3 boys, I decided it may be time to try a little block printing DIY of my own.

Supplies:

  • Flour Sack Tea Towels
  • Large Raw Baking Potato
  • Knife
  • Craft Paint
  • Fabric Medium
  • Iron and Ironing Board

Instructions:

Cut your potato in half and use your knife to {carefully} cut your design.  Simple shapes work best for this type of stamping.

diy potato stamped towel

On a paper plate, or paint palette, mix your craft paint with fabric medium in a 2:1 ratio (or according to fabric medium instructions.) Read more

DIY Chalkboard Memo Board (4th grade project) | Pretty Handy Girl

DIY Chalkboard Memo Board (4th grade project) | Pretty Handy Girl

Before the end of the school year a REALLY GOOD friend of mine asked if I would give a talk in her daughter’s class about what I do for a living. I hemmed and hawed because I rarely have the free time. But, the main reason I was hesitant was because I didn’t know how to talk to 4th graders about what I do. Saying I’m a blogger is something that is hard for me to vocalize. “I write a blog” sounds simple and easy. But, in actuality, I do so many other things to make this blog a reality. Just a few of my job descriptions are: writer, photographer, builder, crafter, teacher, photo editor, business woman, manager, social media coordinator, graphic designer, web designer and all around handy girl! How could I explain all of that to the students?

Suddenly, an idea hit me! I would waltz into that classroom and use my platform to break down the stereotypes about women and handy people within 30 minutes (or less!) Then I’d empower the 4th grade students by letting them build their own chalkboard memo board AND use a power tool! Lofty goals, but I felt sure I could do it. Little did I know that the students wouldn’t be the only one empowered.

The quiz:

I started out by talking to the kids about what a handy person is. They shared terms that fit the definition of a handy person: fixes things, builder, carpenter, plumber, woodworker, and home improvement specialist. Then I showed them a slide presentation and gave the kids a quiz asking them to tell me which of these people are handy:

DIY Chalkboard Memo Board (4th grade project) | Pretty Handy Girl

I showed them one picture at a time and as expected, they got all of the answers wrong.

The answers: Read more