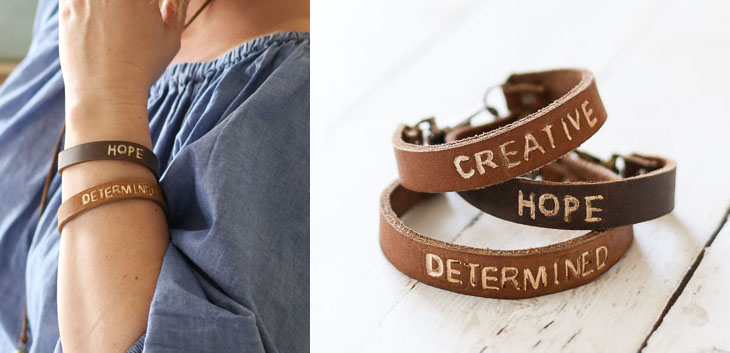
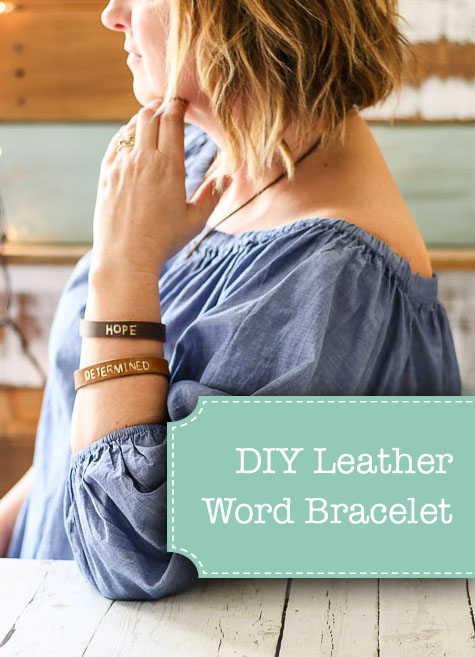
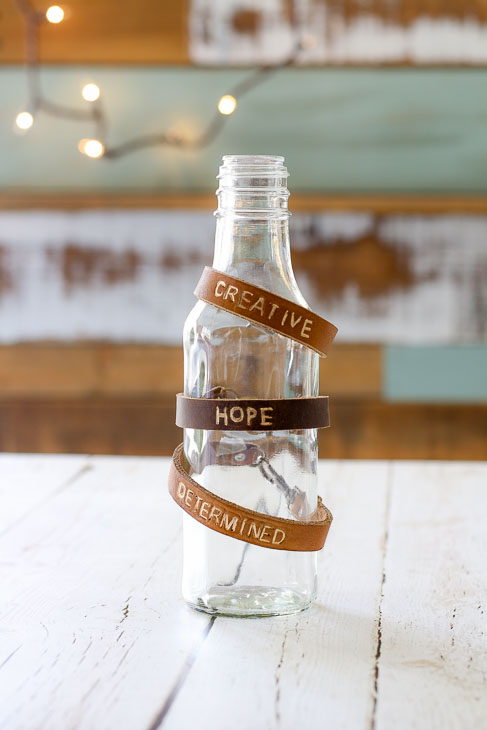
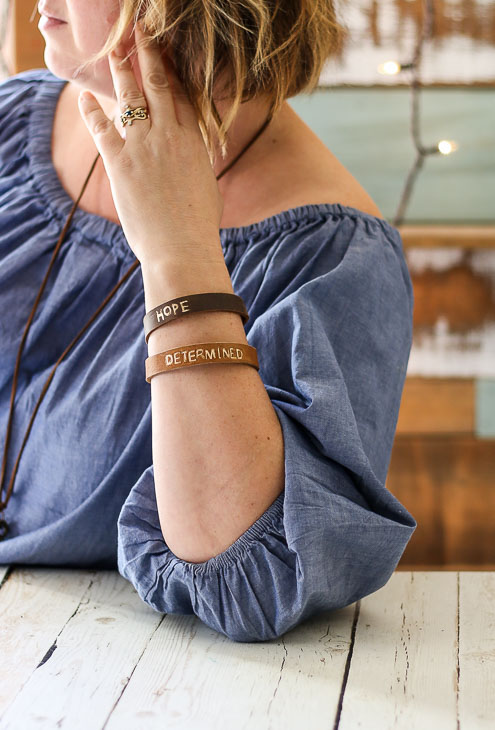
DIY Leather Word Bracelets
With Valentine’s looming just around the corner, I’m sure you are looking for a fun DIY project to make for a friend. Or perhaps you participate in the challenge to choose one word for the year. Either way, this is the jewelry making tutorial for you! Why not embellish a leather bracelet with a word, a name, or be rebellious and add a date to your band? It’s easy and fun to make these DIY Leather Word Bracelets. Ready to learn how?
A big thank you to Arrow Fastener for sponsoring this tutorial. To be truthful, I’ve never owned a rivet tool before, but after making these bracelets I’m hooked! Not only is a rivet tool perfect for making leather jewelry, but it’s also great for gutter repairs, home decor projects, and more! To make these bracelets you’ll want to invest in an Arrow Rivet Tool.
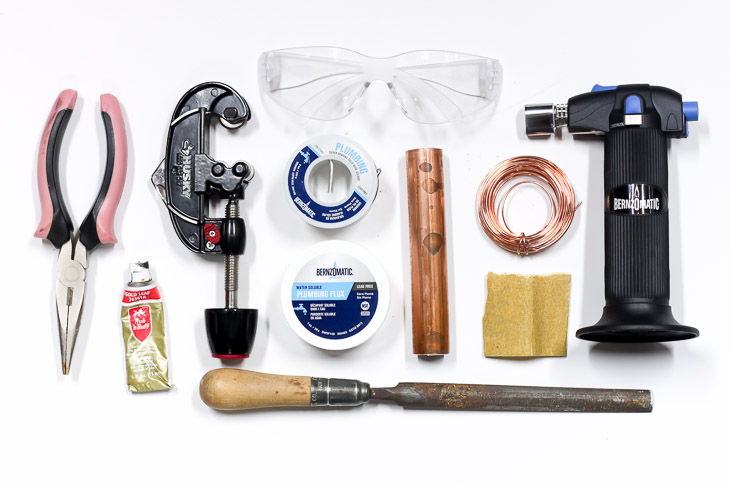
Materials:
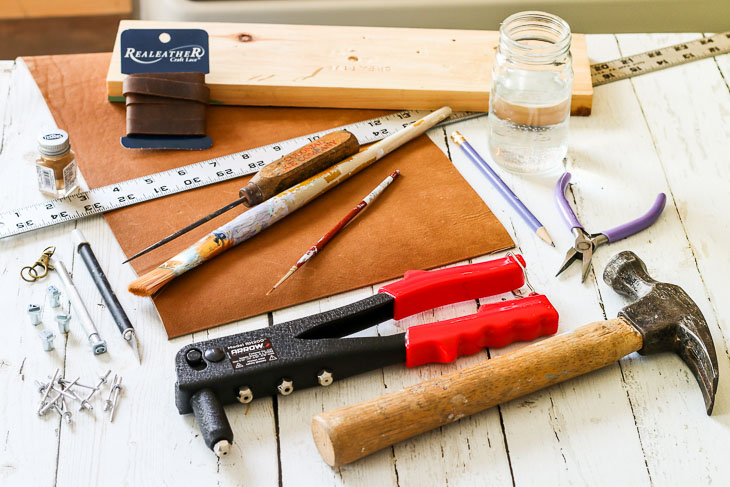
(I’ve included affiliate links for your convenience. I earn a small percentage from a purchase using these links. There is no additional cost to you. You can read more about affiliate links here.)
- Arrow Rivet Tool RH-200S
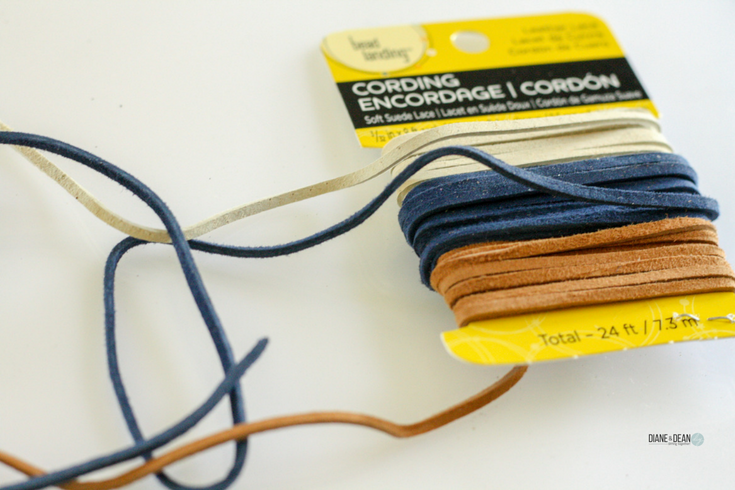
- Leather Band
- 1/8″ x 1/8″ Rivets
- Safety Glasses
- Ruler
- X-acto Knife (or Scissors)
- Cutting Surface
- Awl
- Hammer
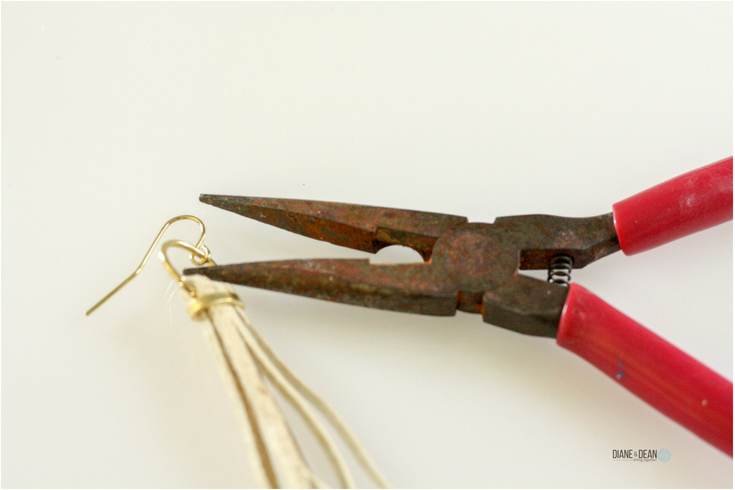
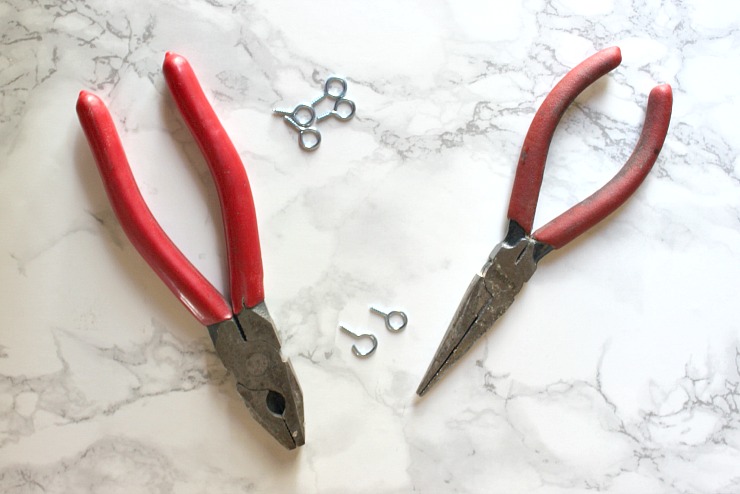
- Needle-nosed Pliers
- Jewelry Clasps
- Scrap of Wood
- Metal Leather Stamps
- Paintbrushes (small and large)
- Water
- Enamel or Acrylic Paint
How to Make DIY Leather Word Bracelets:
Grab your coffee and watch this three minute video to learn how to make a stamped leather bracelet. Or keep reading for the step-by-step tutorial.
Instructions for Constructing the Leather Bracelet:
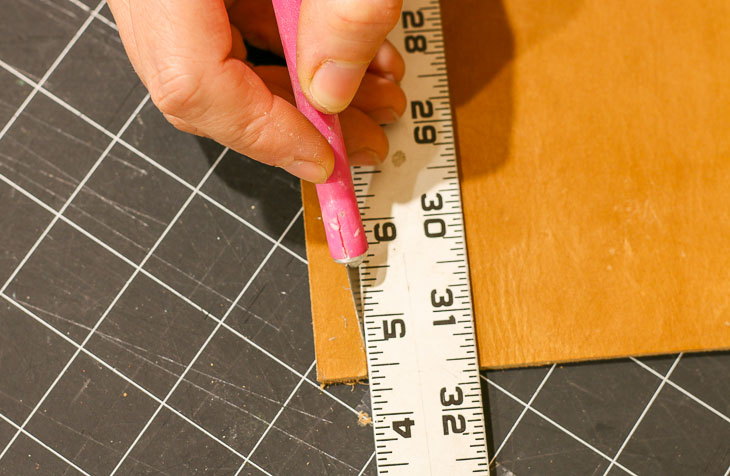
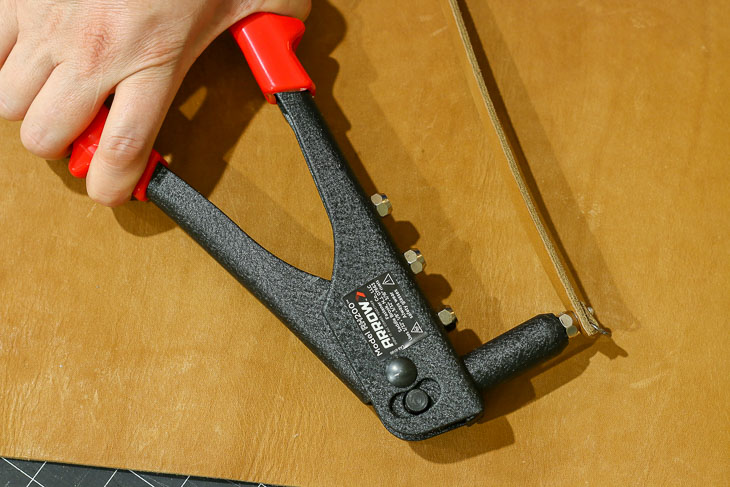
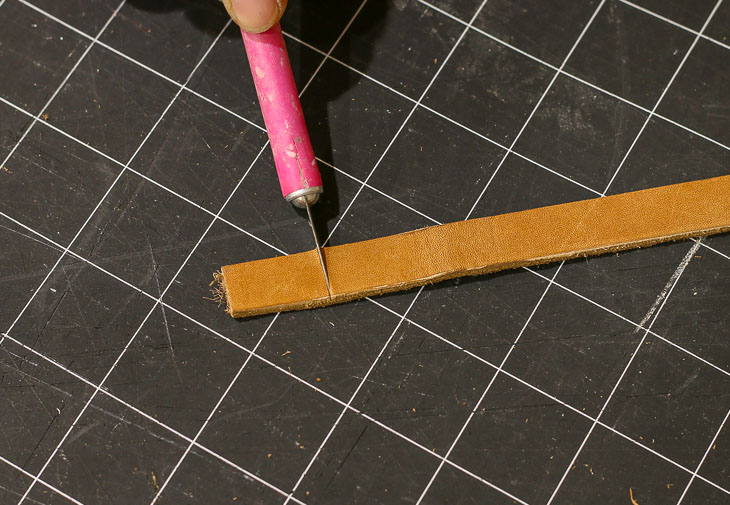
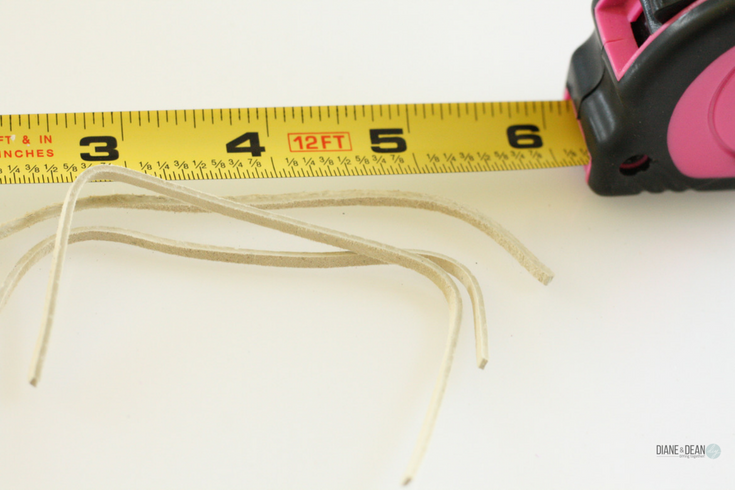
Step 1. Cut your leather into strips or bands approximately 1/2″ wide. (If you purchased pre-cut leather strips, skip this step.) Using a sharp x-acto knife, and a ruler as a guide, make several passes with your knife until the blade cuts through the leather.
Step 2. Taper one end of your band by cutting off the corners.

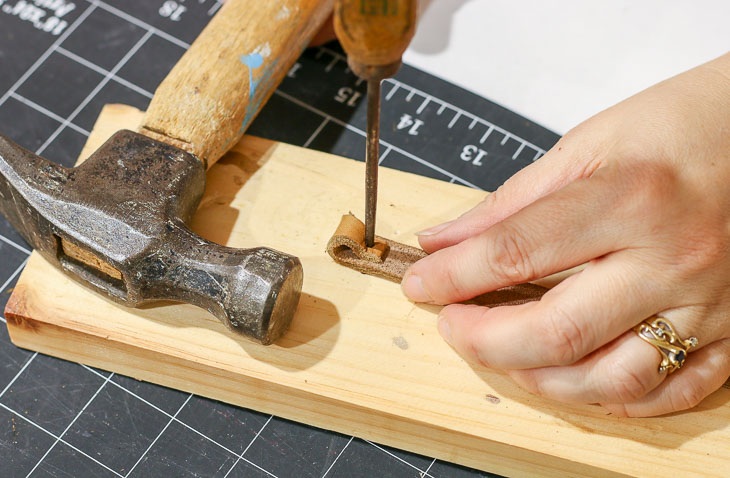
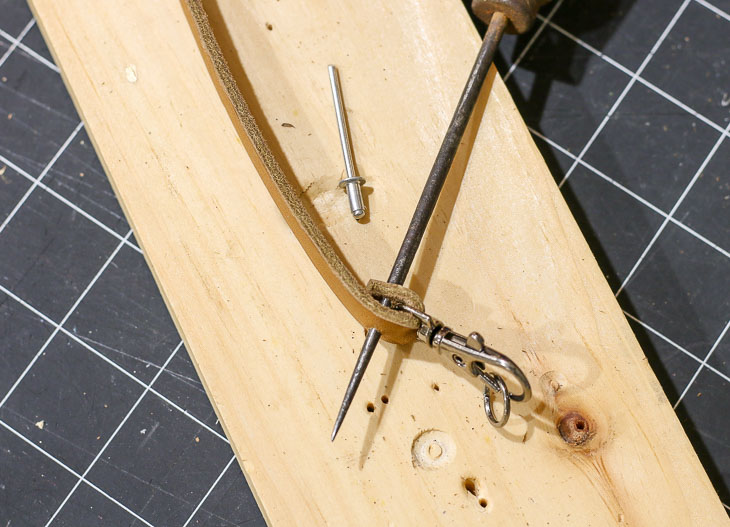
Step 3. Position your leather band on a scrap piece of wood. Using your awl, poke a hole into the leather band at the tapered end. Hammer the awl until it punctures the leather.
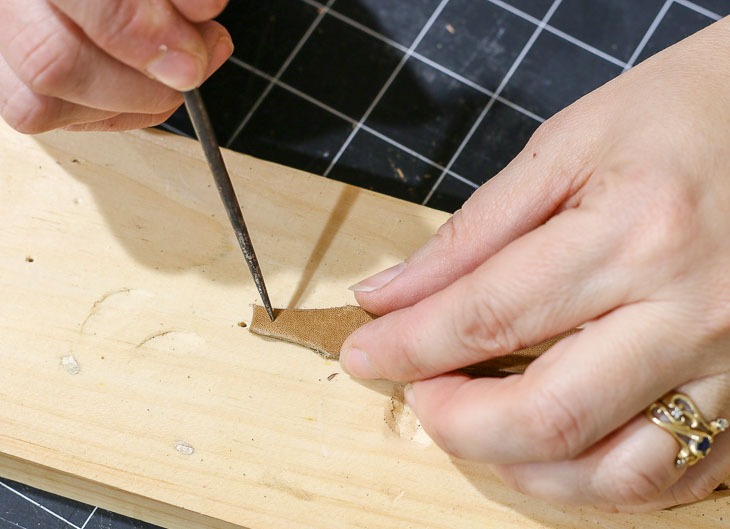
Fold over the tapered end and poke the awl through the first hole and into the band again as shown below. Use the hammer to strike the awl and punch the second hole.
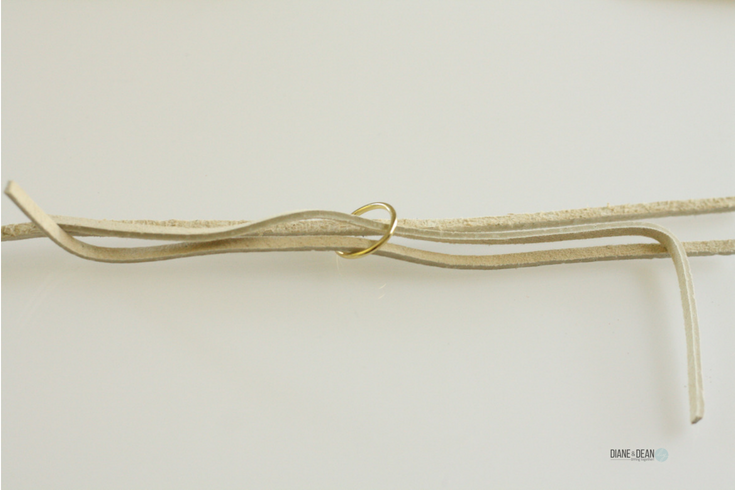
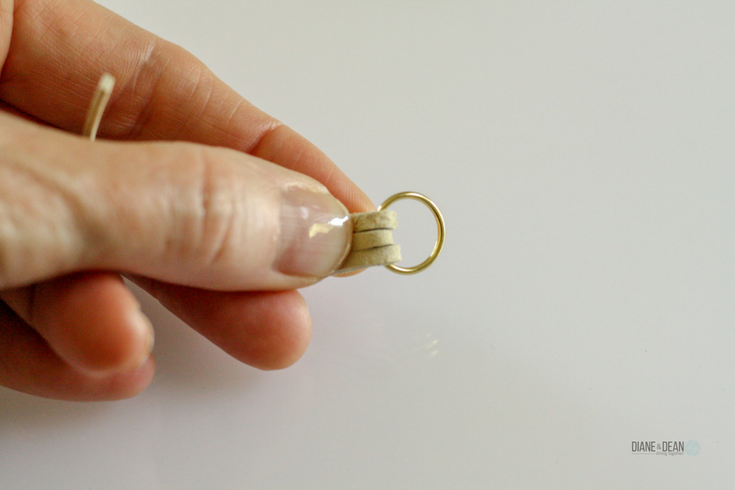
Step 4. Feed your jewelry clasp through the tapered end.

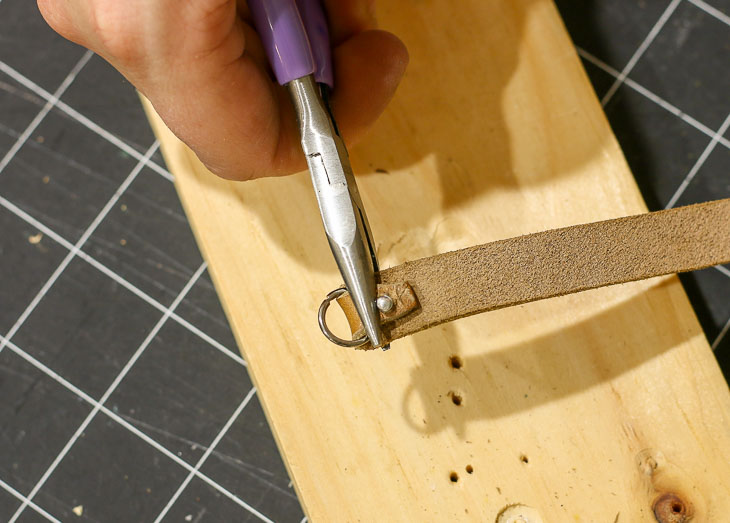
Step 5. Insert the short end of the rivet through the two holes. If the rivet won’t fit, try widening the holes by working the awl through the holes.
You can also try using pliers to help squeeze the leather over the rivet.
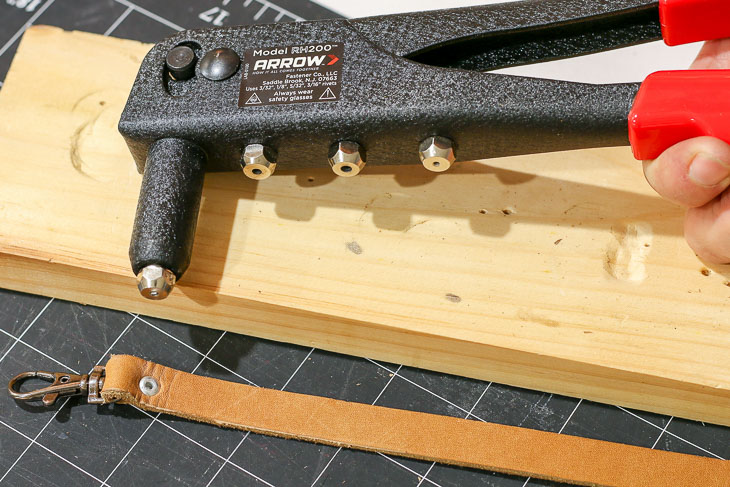
Step 6. Feed the long end of the rivet fully into the rivet tool.
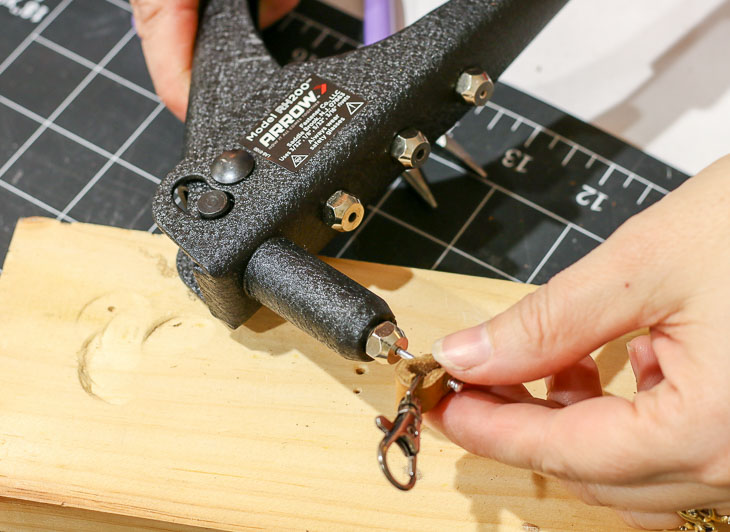
Put on your safety glasses. Squeeze the rivet tool handles multiple times until…
…SNAP! The long end of the rivet will automatically snap off when the rivet is set.
Step 7. Wrap the bracelet around your wrist, mark the length that’s comfortable for you. Subtract the length of your clasp from this mark then add 1/2″ back to account for the fold over.
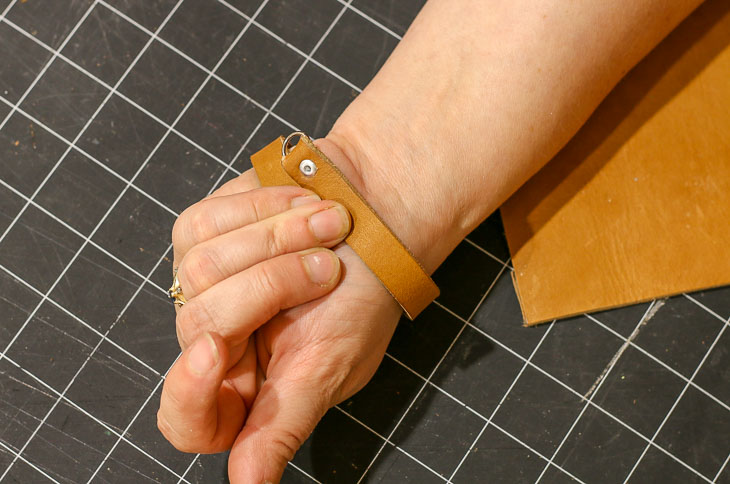
Now you can cut the band to length.
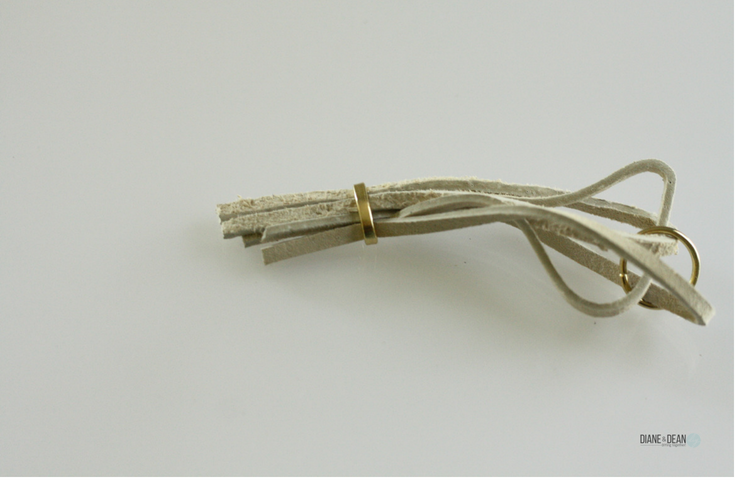
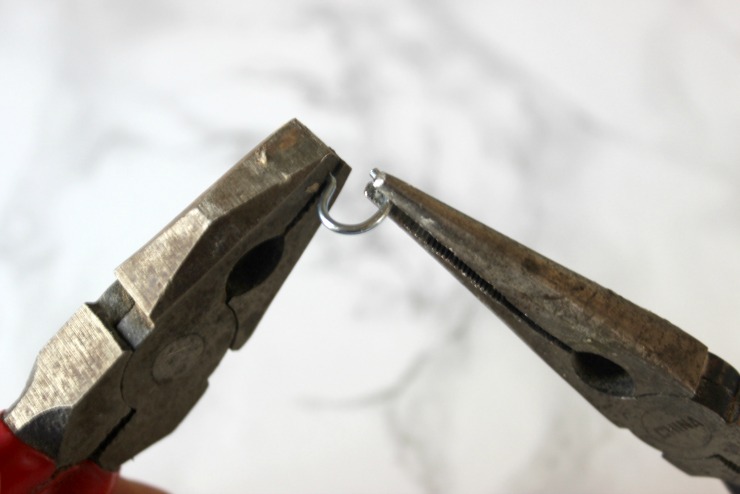
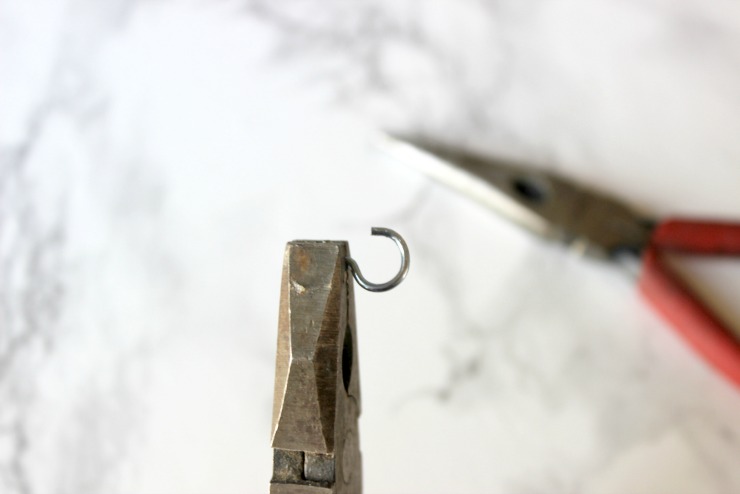
Repeat steps 2 – 6 above to secure a jump ring to the other end of your bracelet.
Instructions for Stamping Leather:
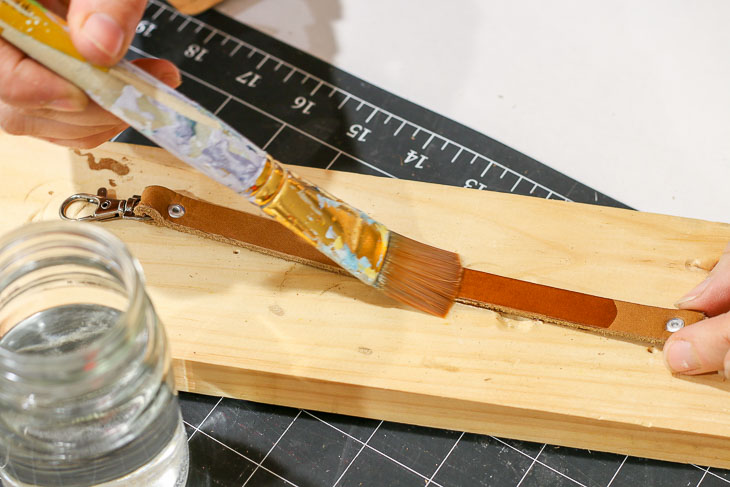
Wet the leather to soften it. Let it sit a minute or two to allow the water to penetrate the leather.
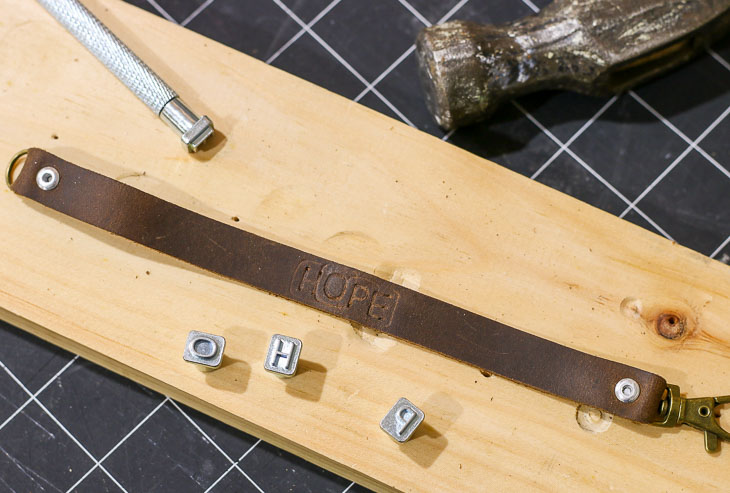
The easiest way to center a word on your bracelet is to start with the middle letter(s). Set the metal letter stamp in place and strike it lightly with a hammer. For a crisp letter, roll the stamp and hammer it lightly several times.
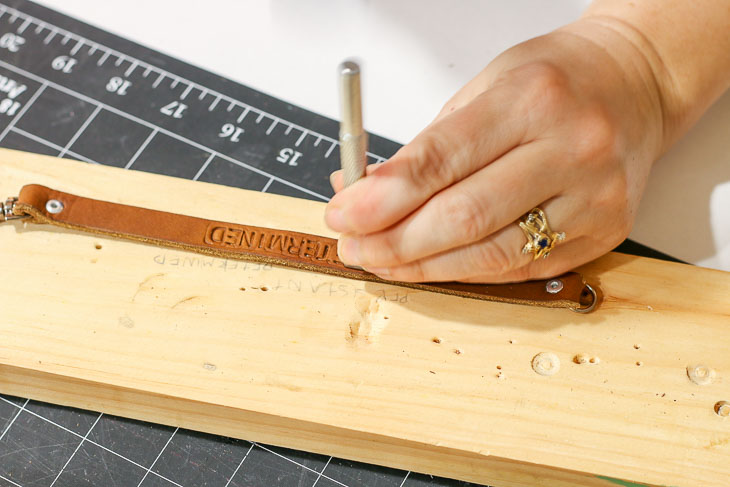
Continue stamping letters to the left and right of the middle letter(s).
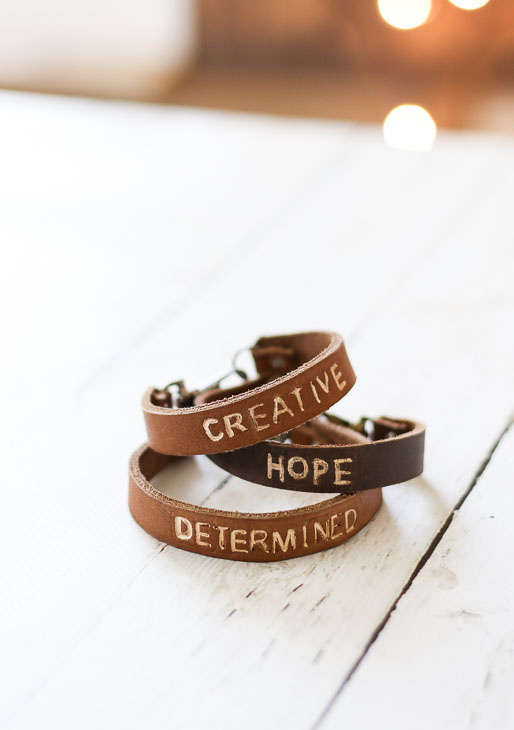
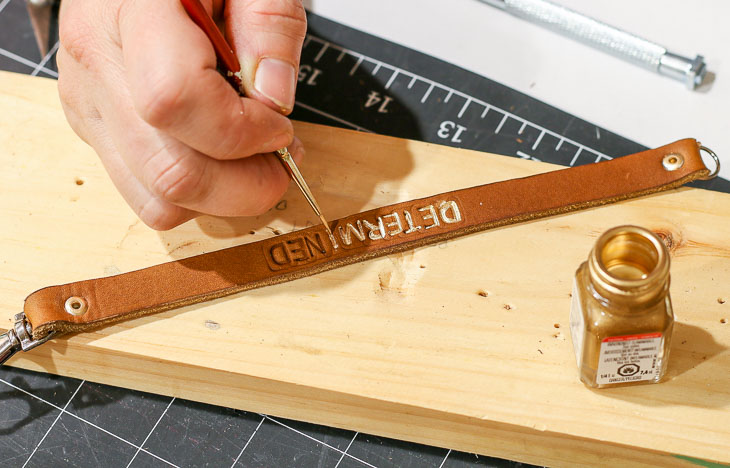
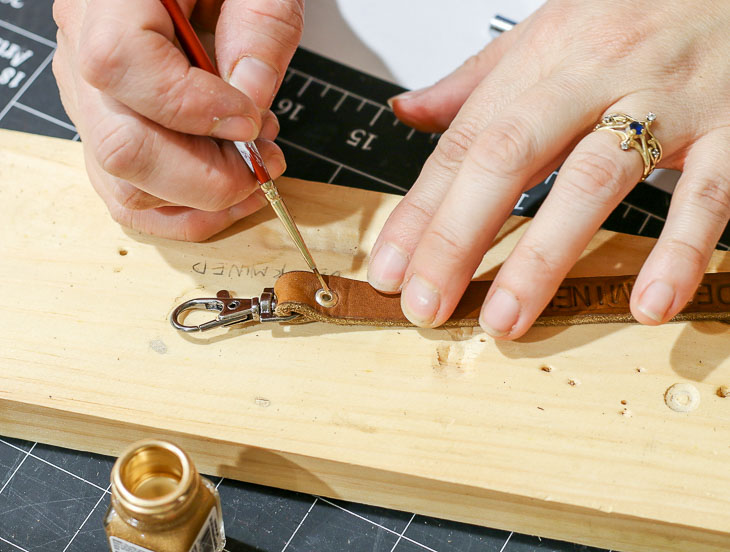
You don’t have to paint the letters, but I like how the word shows up better. You can use any acrylic or enamel paint to fill in the letters. The key to crisp letters is a steady hand, a good fine round brush (size 00 or smaller), and moving the band around to comfortably fill in each stroke (no need to be a contortionist). If you screw up, use the x-acto knife to lightly scrape up the paint.
If you want, you can paint the rivets with enamel paint.
Allow the paint to dry.
What word would you put on a bracelet? Do you choose a word to define your year?

Disclosure: This is a sponsored post for Arrow Fastener. I was not told what to write. All words and ideas are my own. I am very particular about the brands I work with, and only partner with companies that provide quality materials and/or services.
If you haven’t done so already, be sure to *subscribe to my YouTube channel!

*My followers on YouTube get sneak peeks of some of the projects I’m working on, so subscribe today!
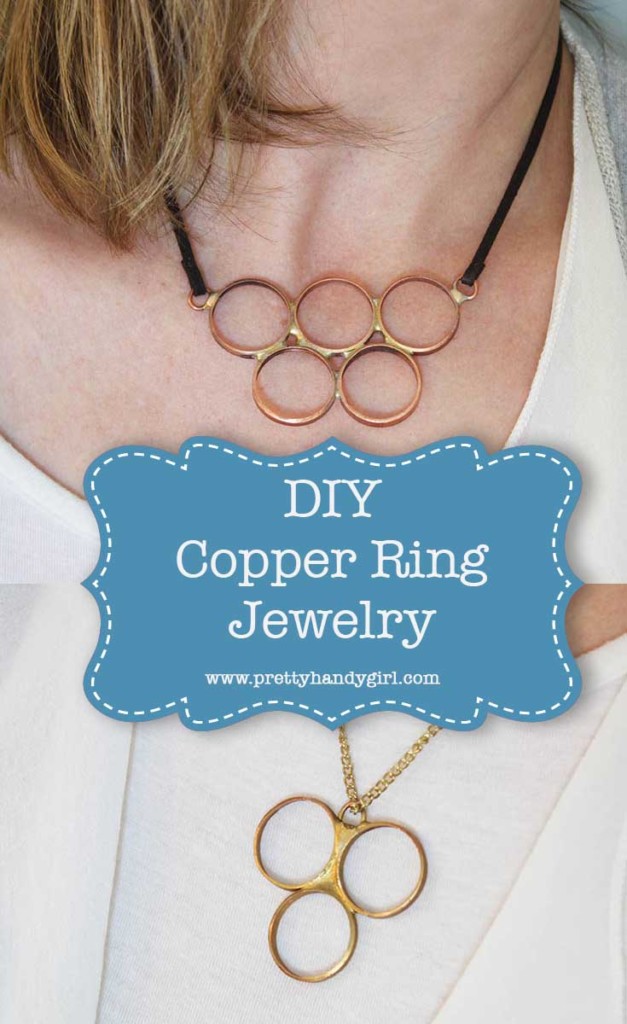
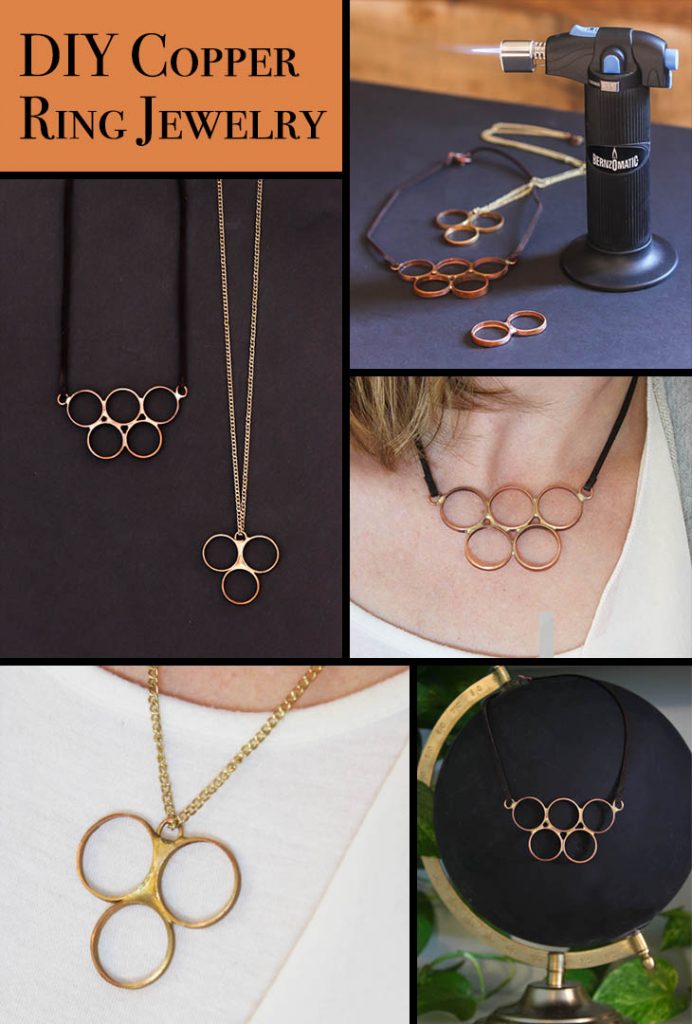
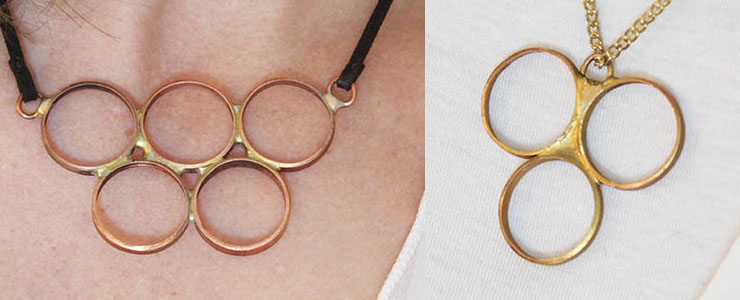
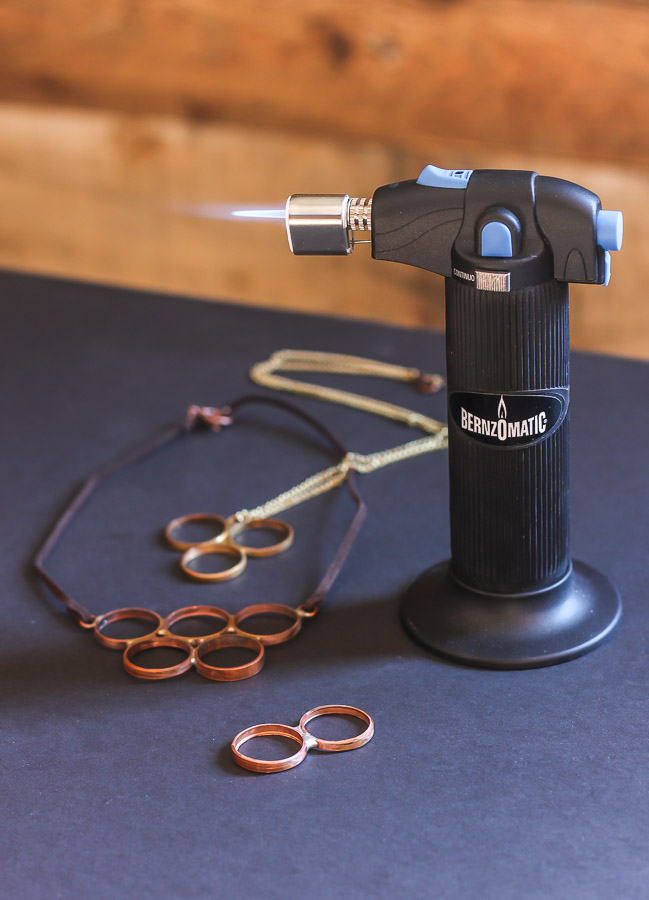
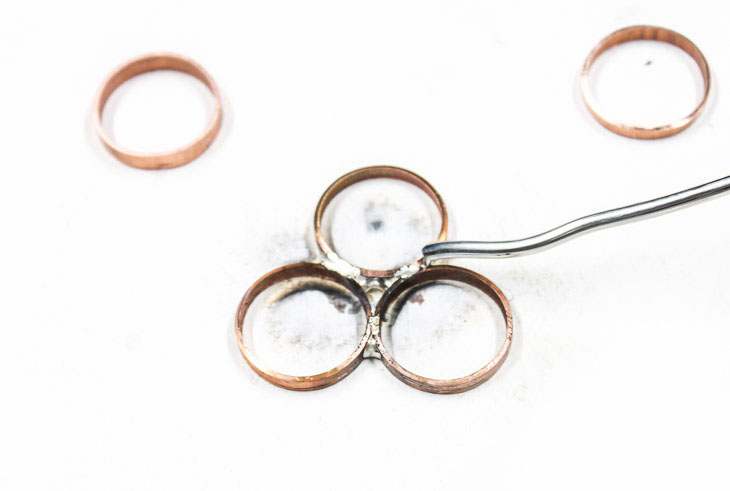
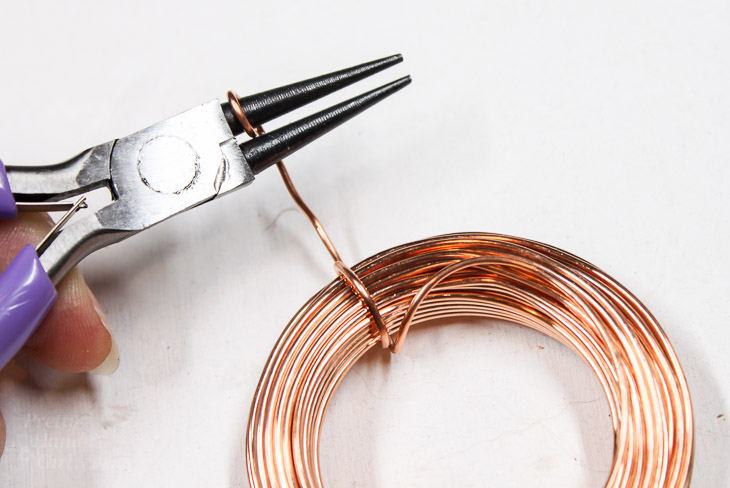
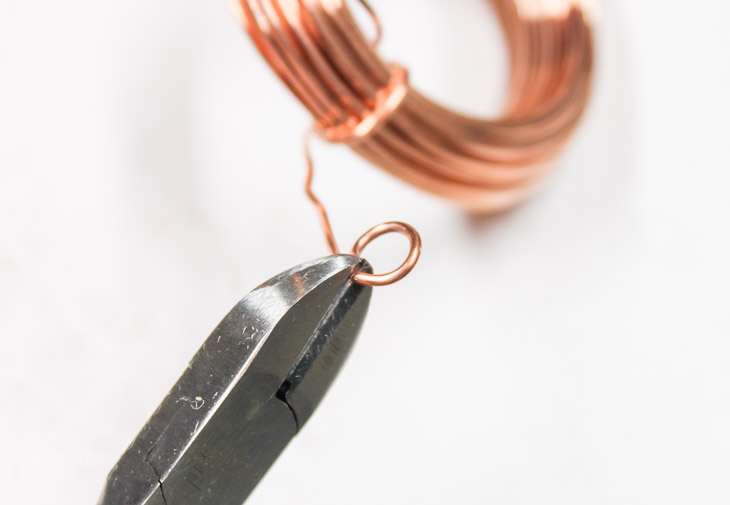
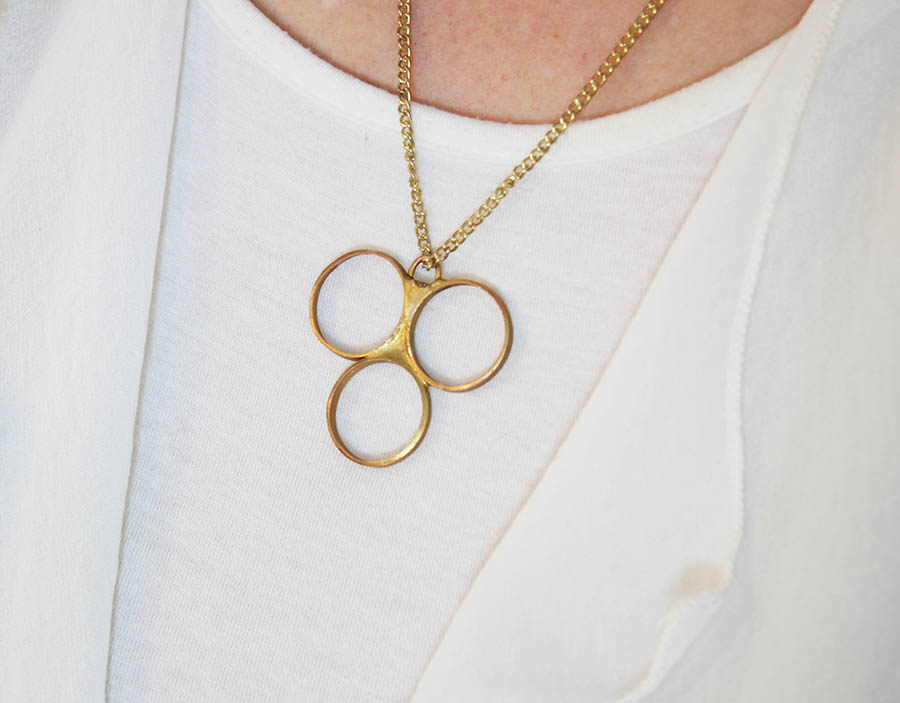
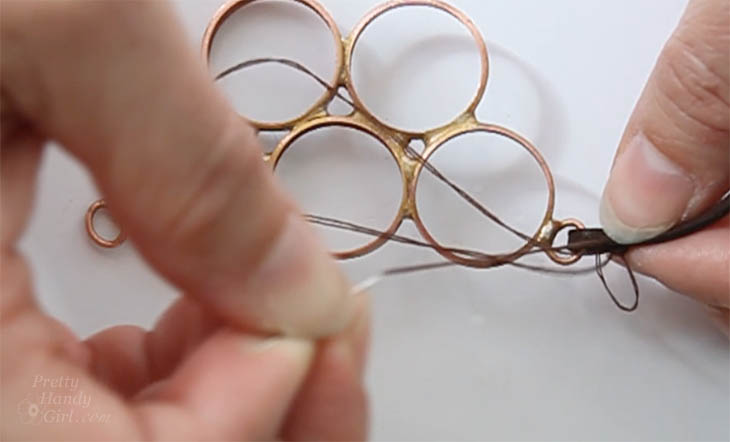
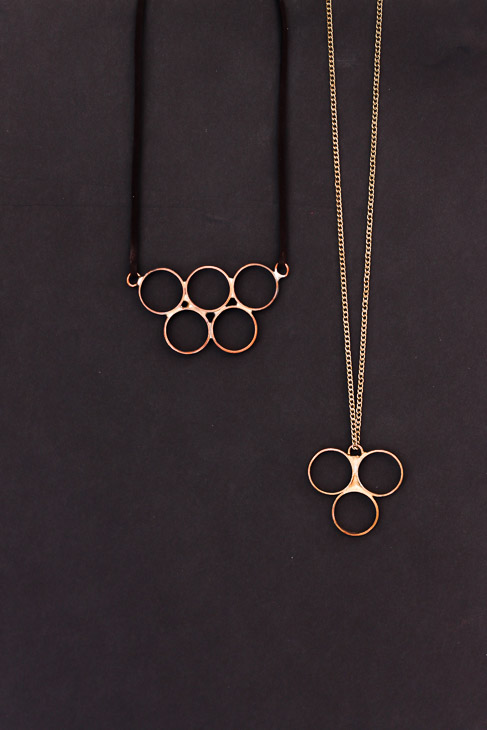
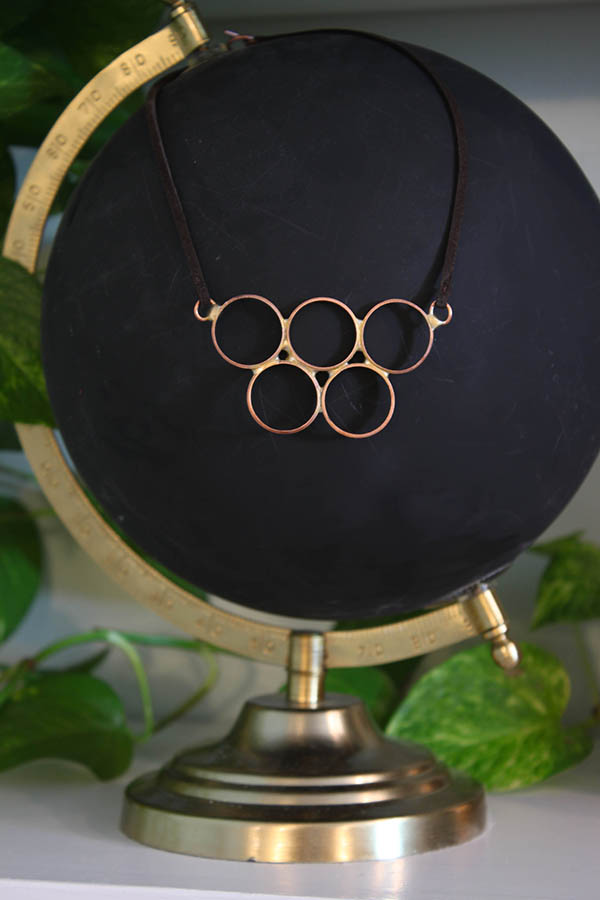
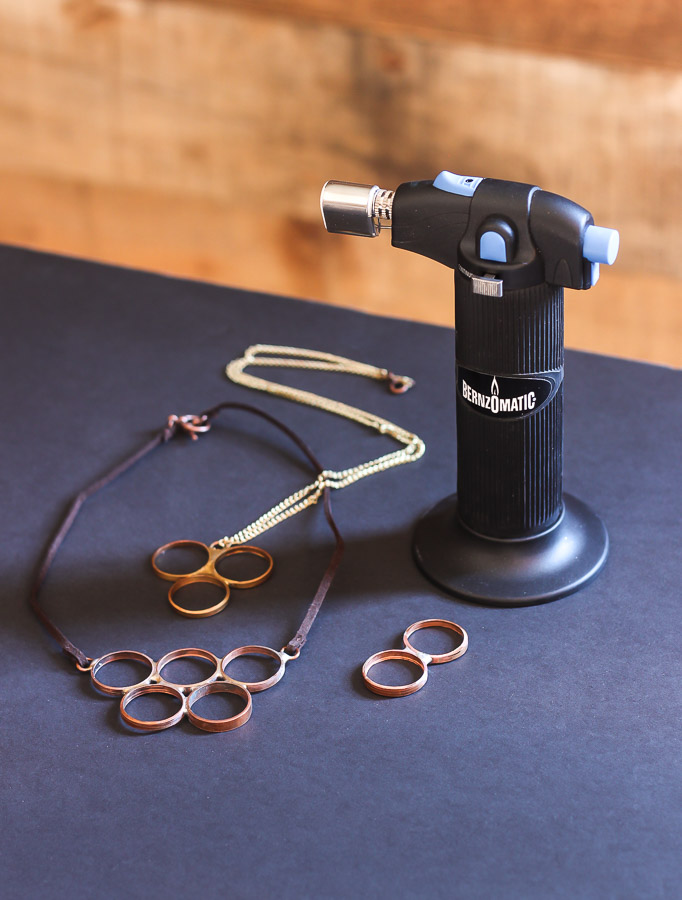
Thanks for joining me for this little jewelry making craft today. If you liked this tutorial, you’ll love these copper ring necklaces:

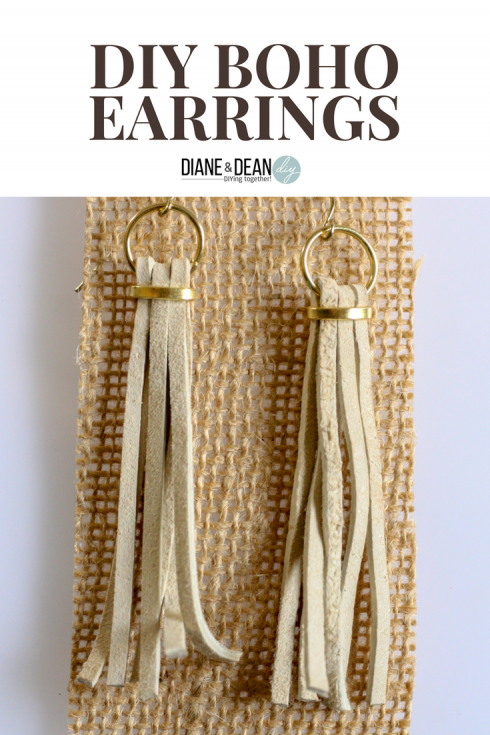 DIY Boho Style Earrings
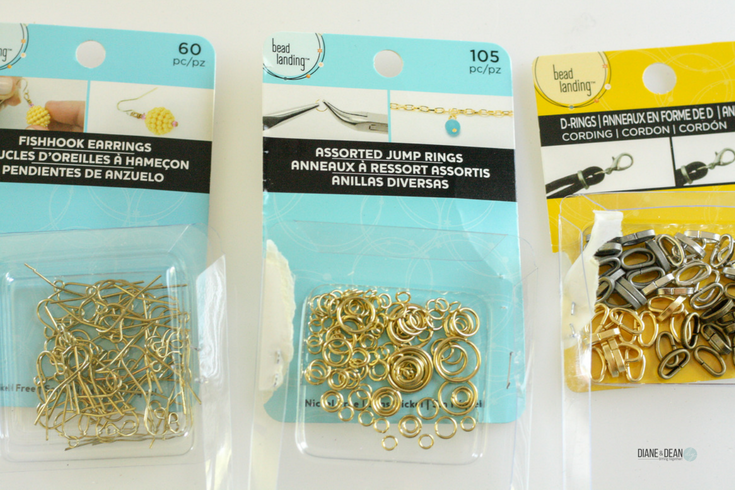


 ~
~