 Fall Tablescape and Coffee Bar
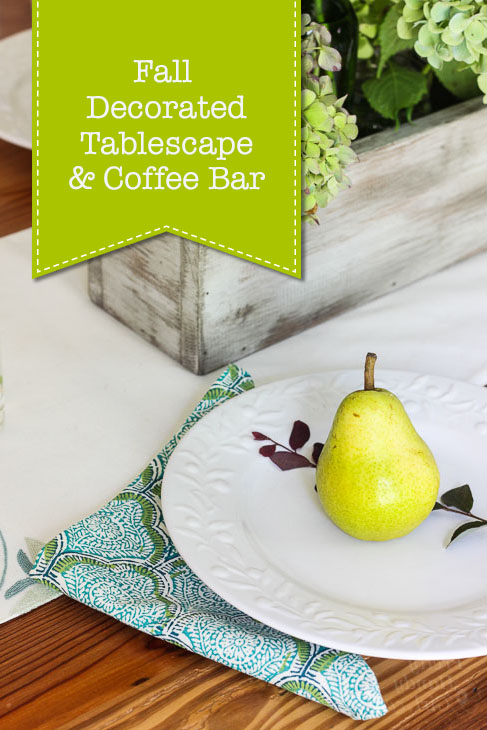
Welcome! I’m so glad you could join me today. I enjoyed taking a little time off from my investment house projects to decorate the house for autumn. It’s always fun to twitter around and create a beautiful tablescape. Last year’s tablescape had plenty of orange, yellow and pink accents. But this year I chose a palette filled with blue, green, and accents of purple that complimented our fall hydrangeas. I also had fun adding a little coffee bar. Won’t you come on in and stay for a while? I’m brewing some fresh coffee and have baked pears for you to sample. Don’t forget to help yourself to some coffee.
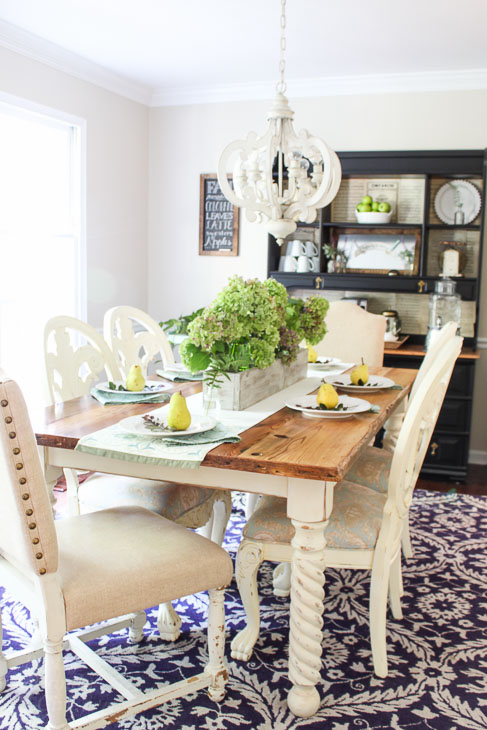
Several years ago I sold our old dining room table and decided to build my own rustic farmhouse table. I love it and kick myself for not making this table sooner. It was a fairly quick build, you can find my tutorial to build your own farmhouse table here.
(I’ve included affiliate links in this post. I earn a small percentage from a purchase using these links.
There is no additional cost to you. You can read more about affiliate links here.)
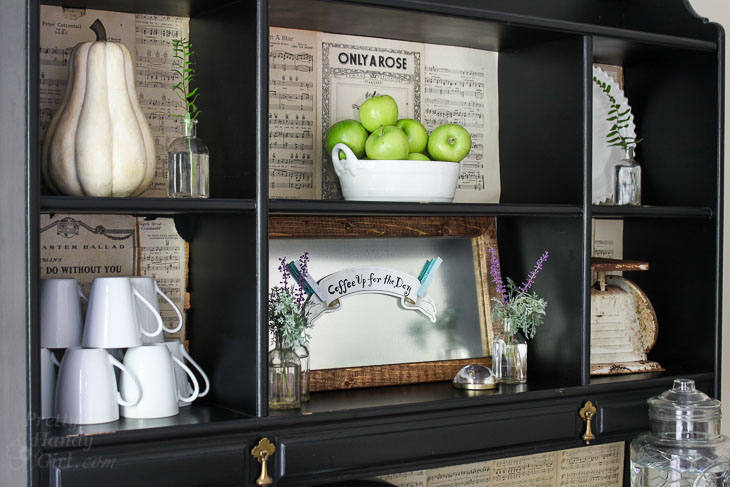
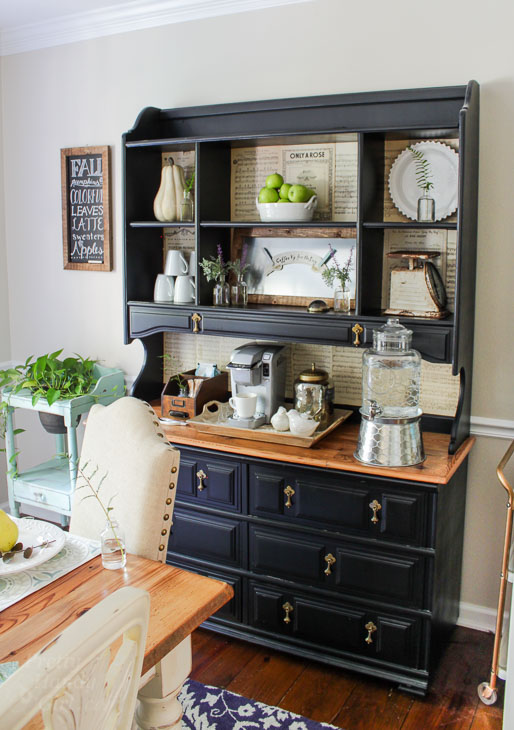
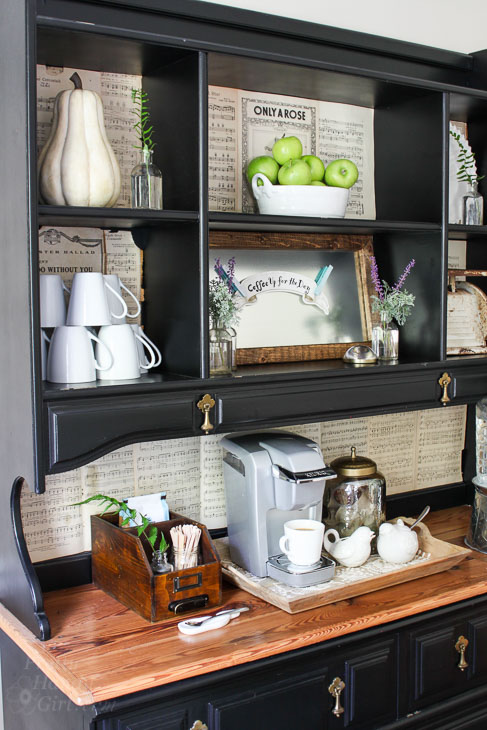
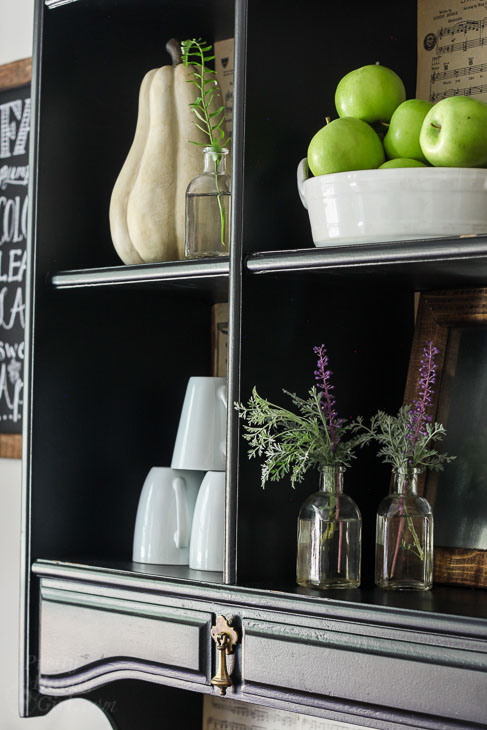
Right before I started decorating, I received my monthly Sand Dollar Lane Box. Inside were several items including the chalkboard and magnetic zinc frames you see on the tour. In addition, a little wooden desk box and some other pretty little things were inside the box. I am particularly enamored with the little gold magnifying paperweight and a small whale dish that brighten any space. (Did you spot them above?)
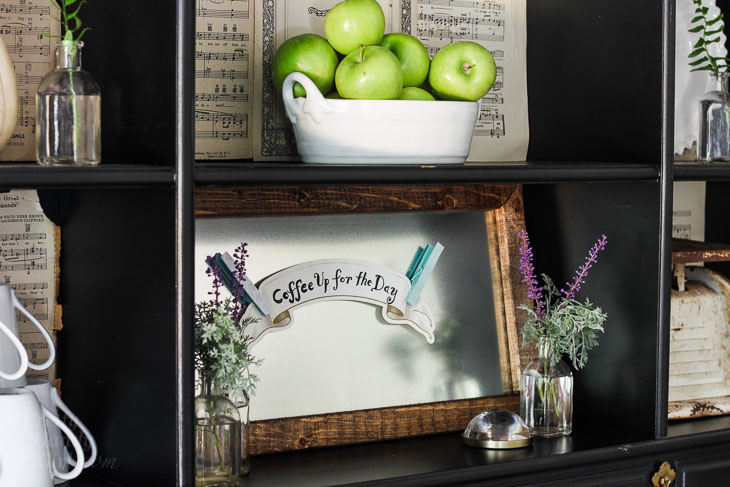
Here’s a better view, can you see the pretty paperweight on the shelf above? I might need to feature it more next time. The bowl the apples are in was in my subscription box last month. Leen really knows how to pick some cute farmhouse coastal decor!
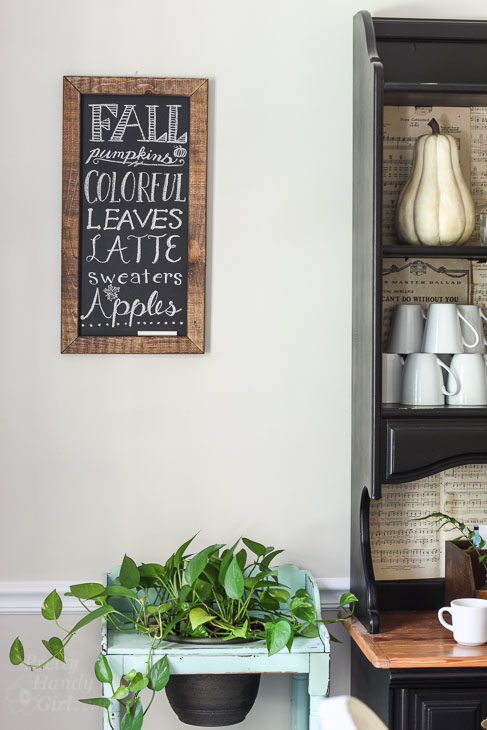
When I received the chalkboard in the Sand Dollar Lane Box, I knew I wanted to make a fall words chalkboard sign. I don’t seem to spend as much time making chalkboard art anymore, so this was a fun little activity. As inspiration, I used some of the lessons I learned in the Busy Girl’s Guide to Handlettering Course. And because I love sharing, here is the free chalkboard art printable available for you to download here (print it our use it as a template for your own art.)
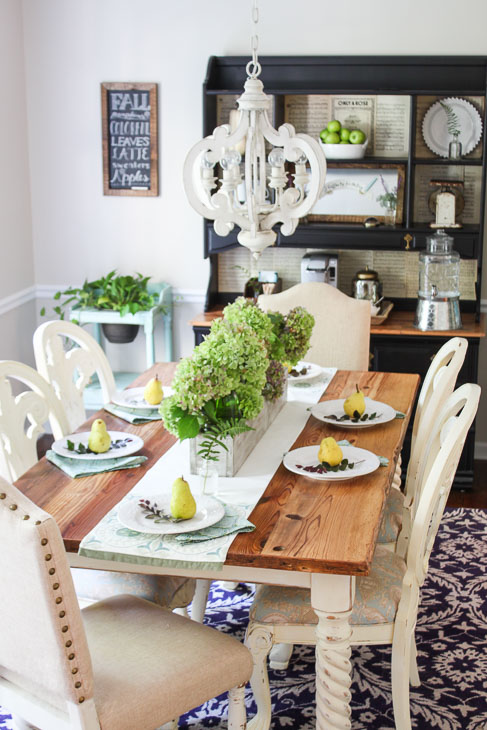
This year’s tablescape is relatively simple. I built a rustic painted trough to display hydrangeas in, making a beautiful centerpiece.

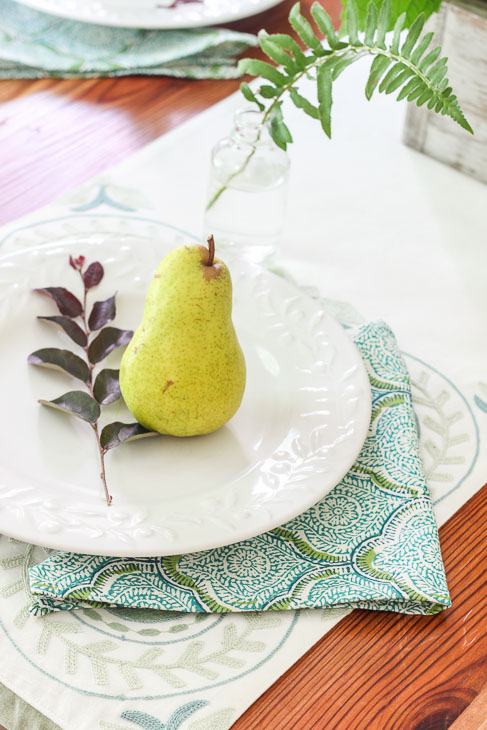
Then I used a pear and a loropetalum clipping at each place setting.
While decorating the dining room, I decided not to buy any flowers or greenery this year. I had two reasons for this decision:
- I struck out finding seeded eucalyptus anywhere. I might need to order some from a florist. (Anyone have a good resource?)
- I wanted to challenge myself to use what I have. You know what? I was amazed at how much greenery I was able to harvest from my yard!
Ferns, loropetalum, monkey grass and the hydrangea bushes were overly abundant this year. The clippings from them worked nicely in my fall decor. I encourage you to take a look in your yard, you’d be amazed what you can use for fresh greenery!
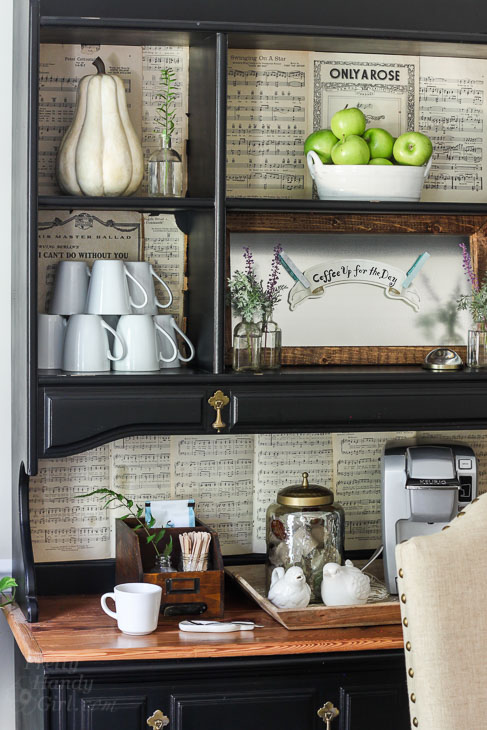
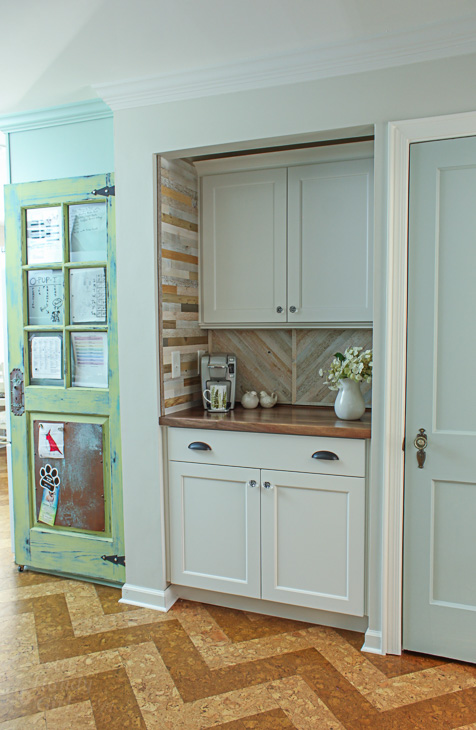
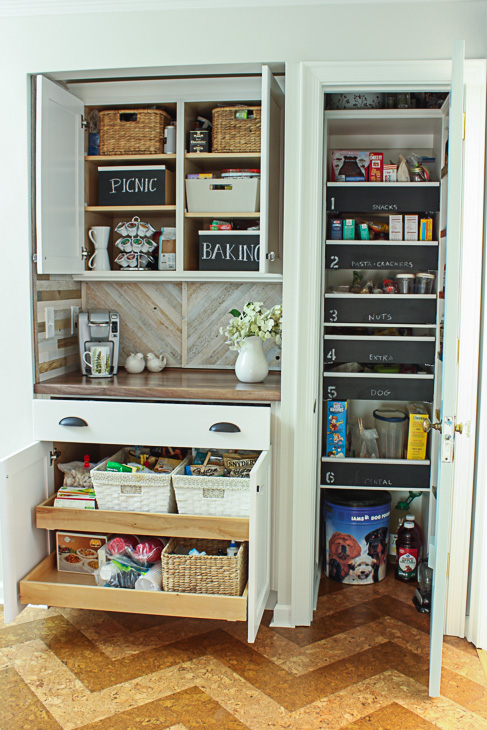
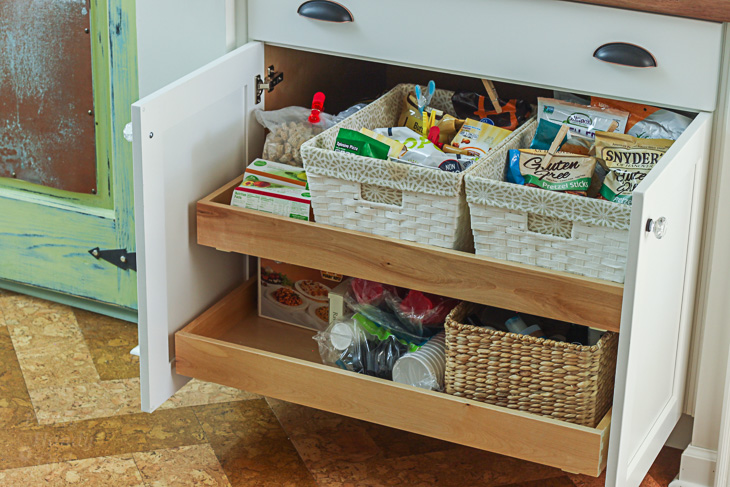
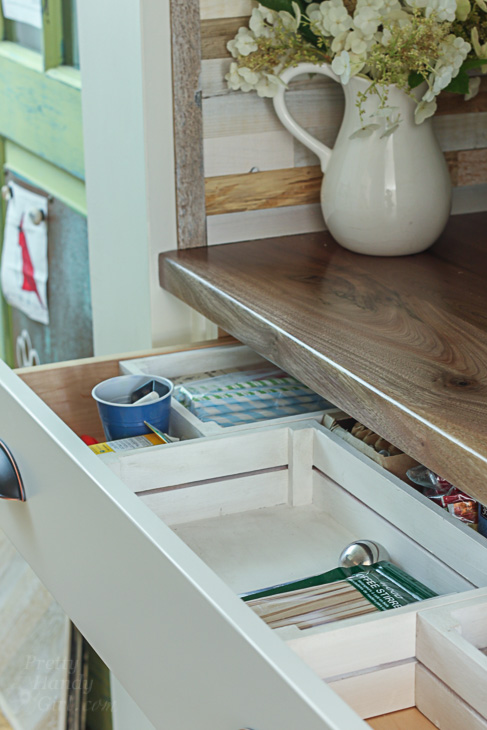
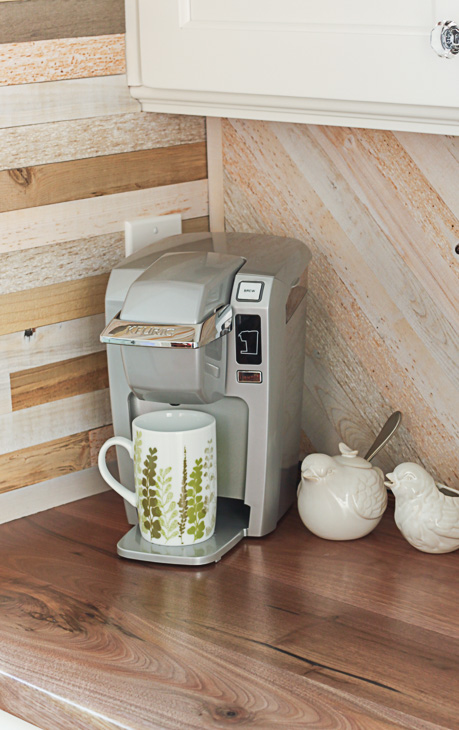
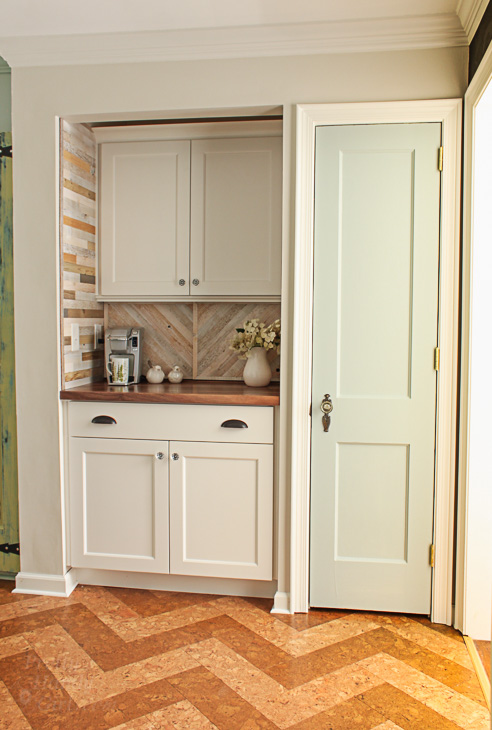
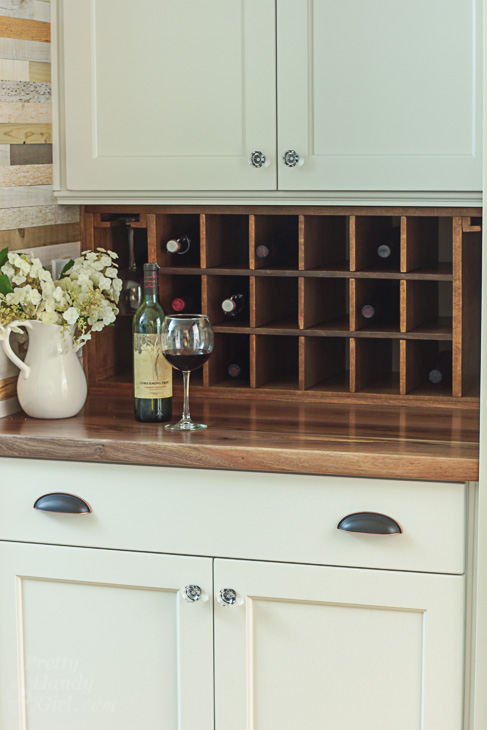
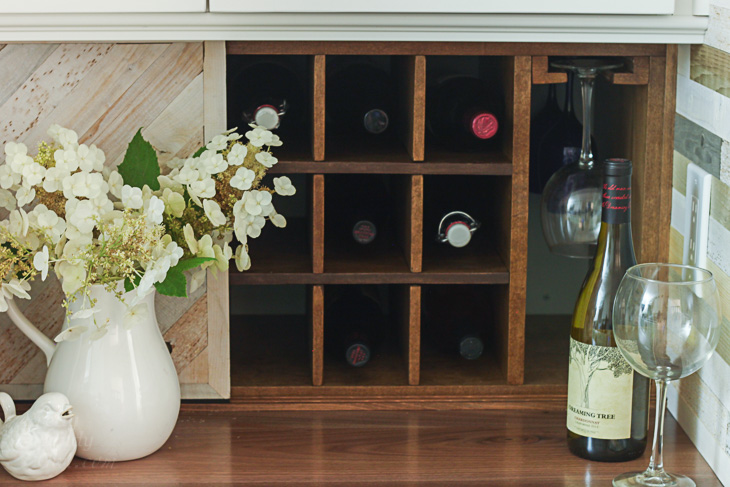
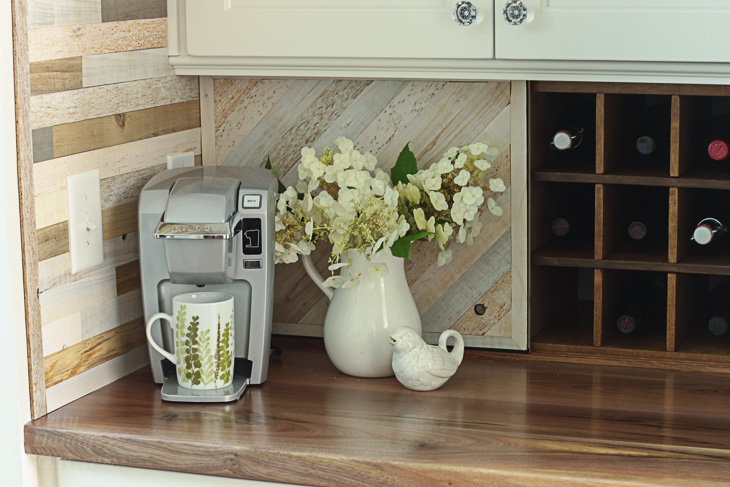
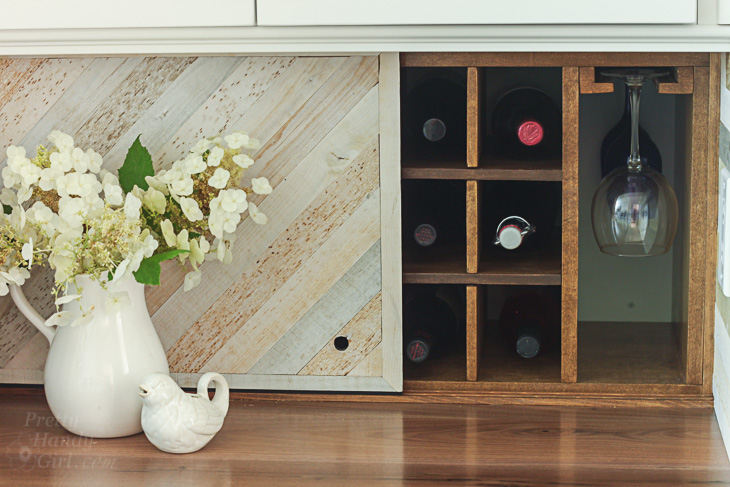
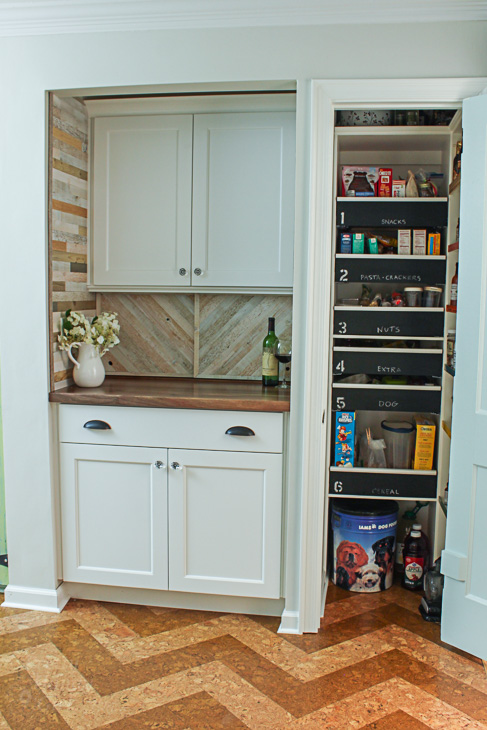
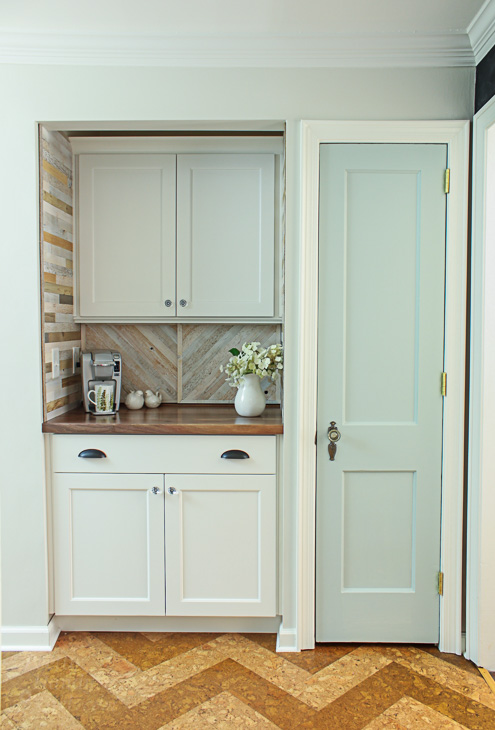
Usually we use the hutch in our dining room for a hot cocoa bar during the holidays, but I decided it would be nice to create a little coffee bar to enjoy for the fall. Who doesn’t love a pretty coffee bar? (Especially if you make your own frothy healthy coffee at home.)
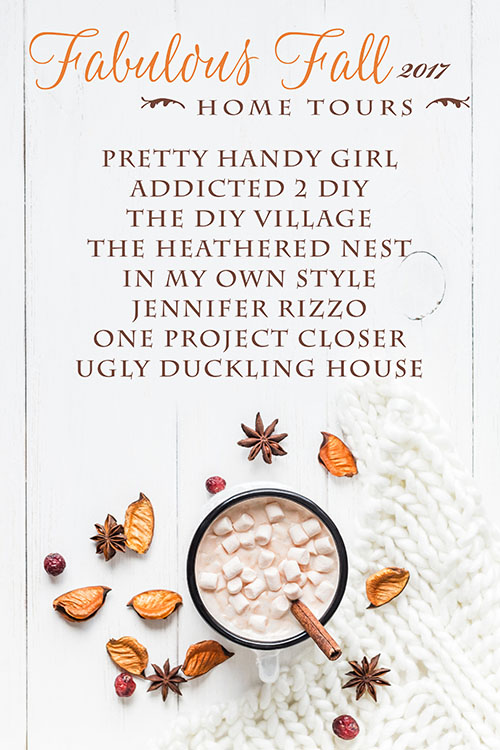
I hope you’ll come back tomorrow for the Fabulous Fall Home Tours. I’ll be joined by seven more of my talented friends!
See you in the morning.
![]()
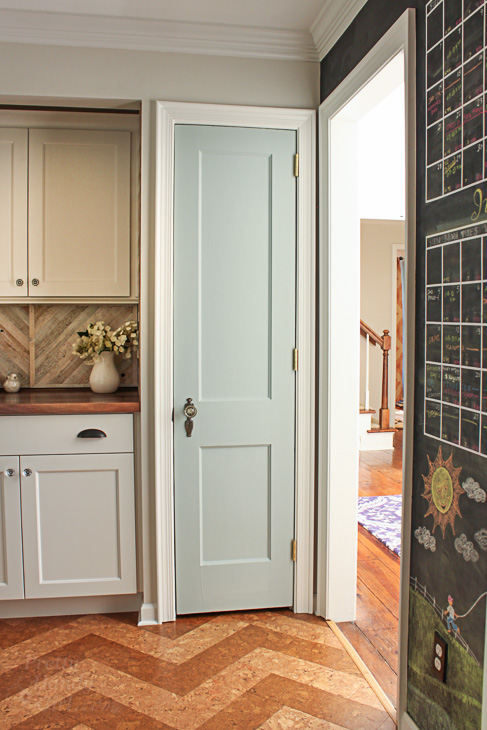
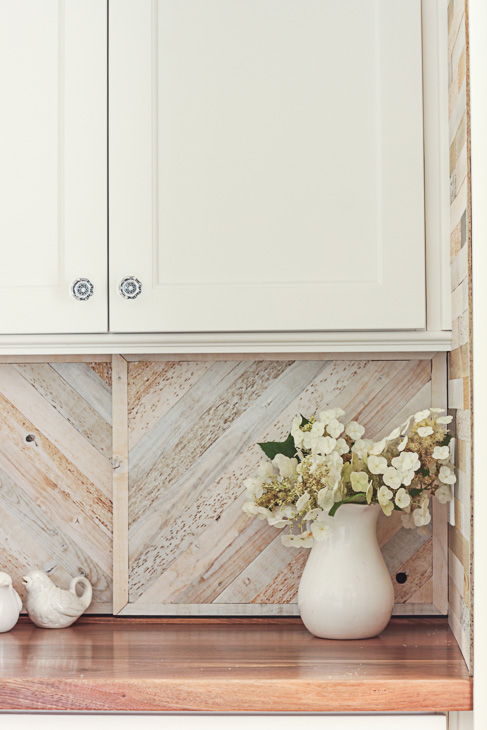
Wall Paint Color in this room is Benjamin Moore Elmira White.