 Saving Etta: Downstairs Shared Bathroom Reveal
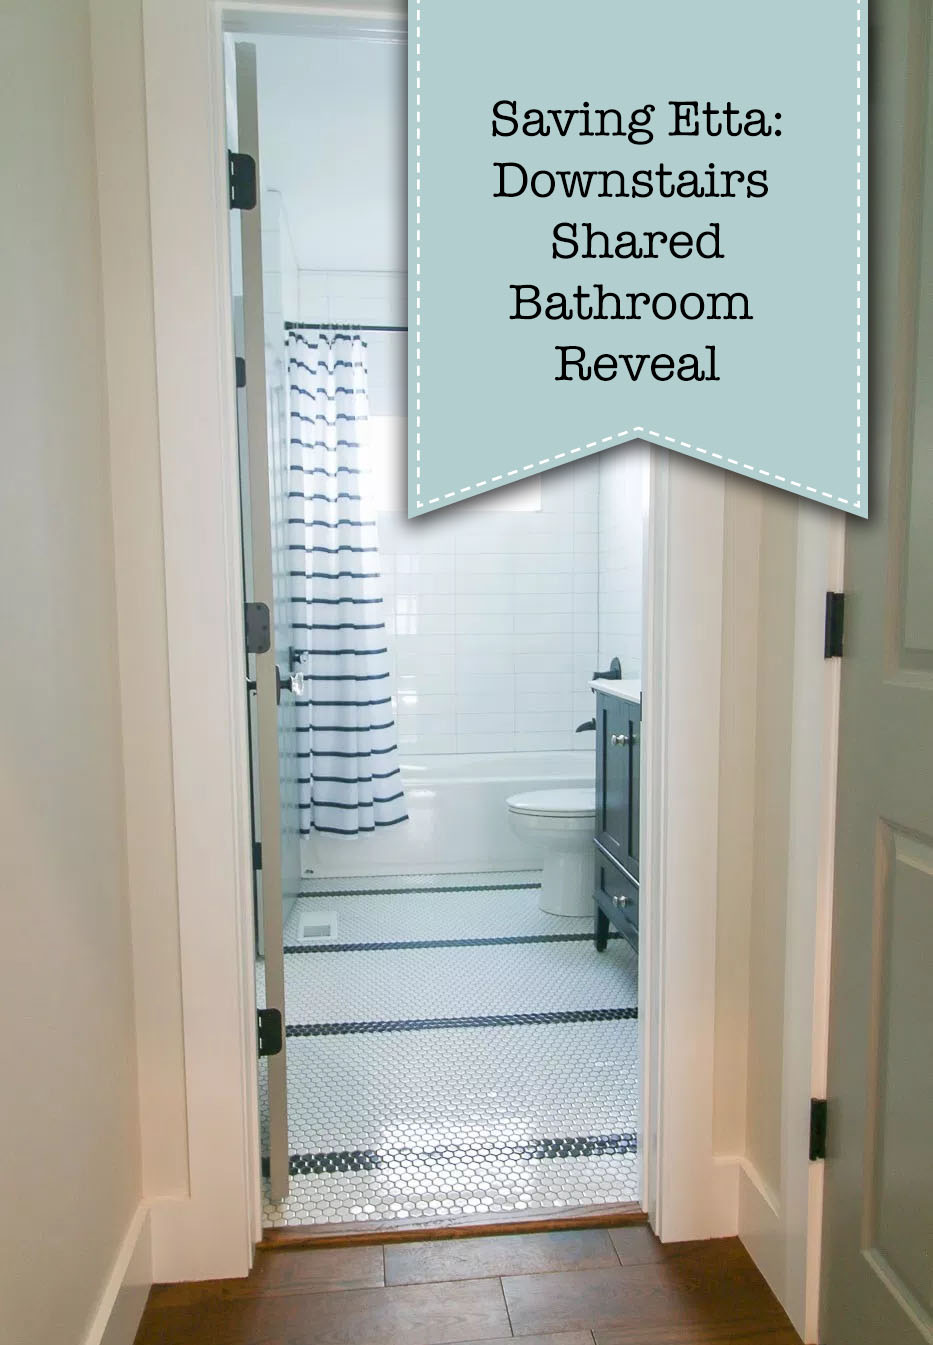
The downstairs shared bathroom in the Saving Etta house was designed to function as an en suite bathroom to one of the bedrooms, but also to have a second door opening to the main hallway for guests or for anyone to use. I can’t take credit for the architectural plans in the Saving Etta house, but I can take credit for the fun design choices I made when putting in the finishing touches on the house. (All product sources are listed at the end of this post.) The downstairs bathroom was one small room where I had lots of fun with the floor tile.
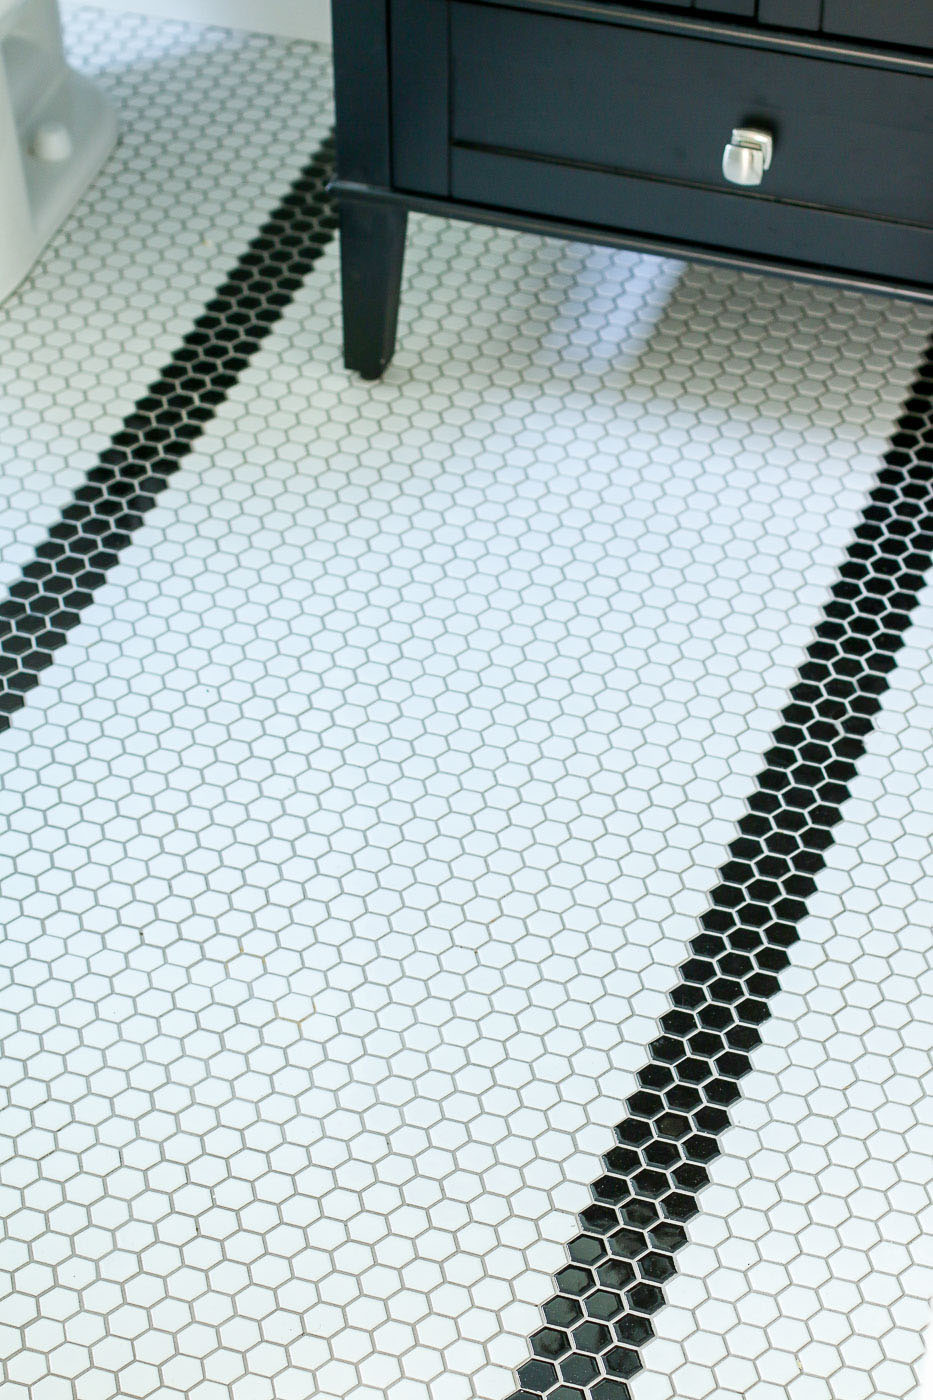
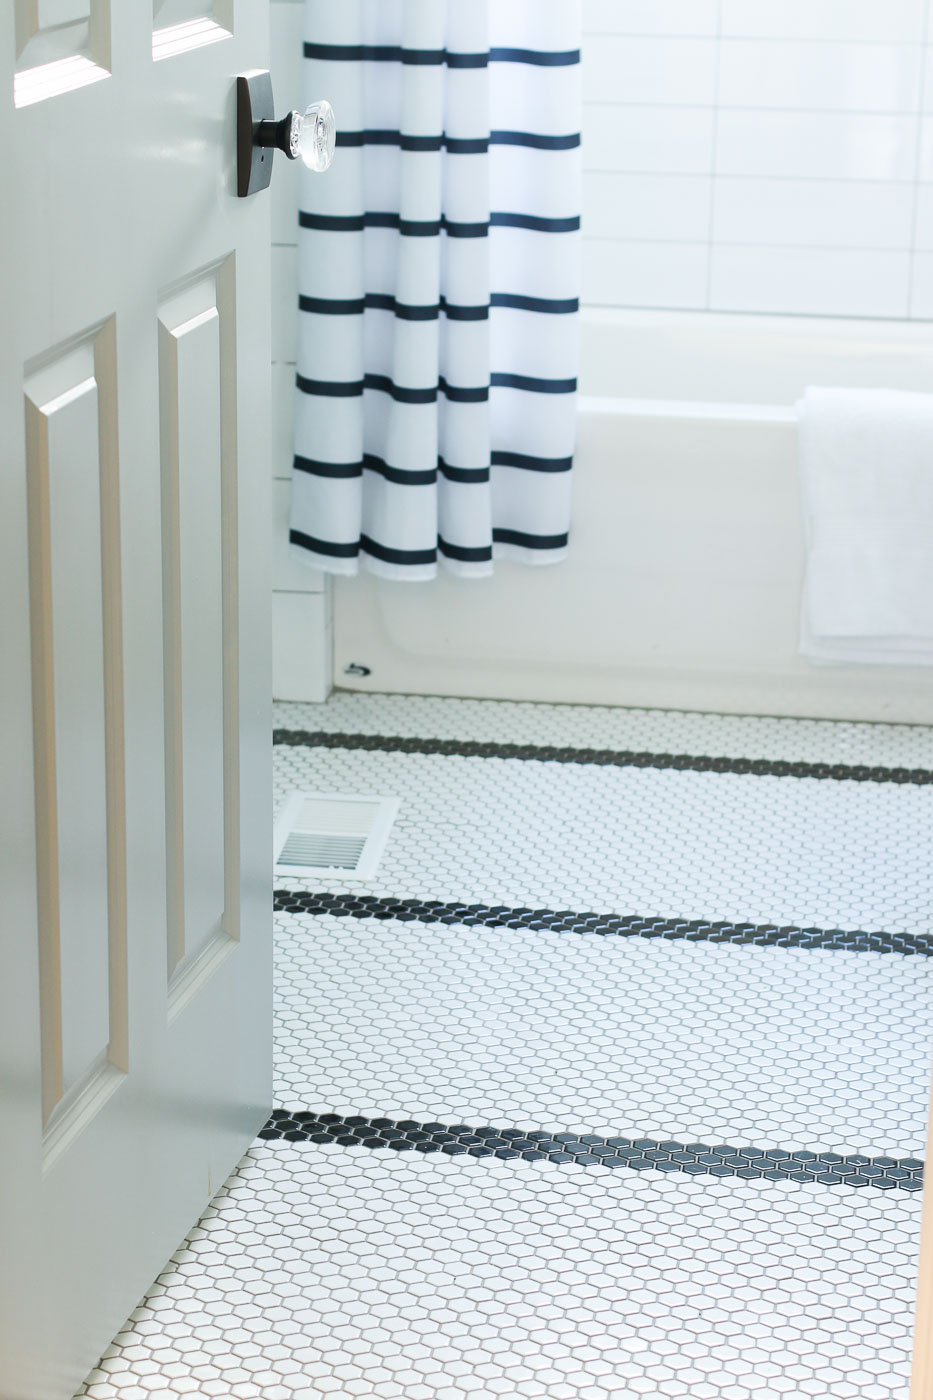
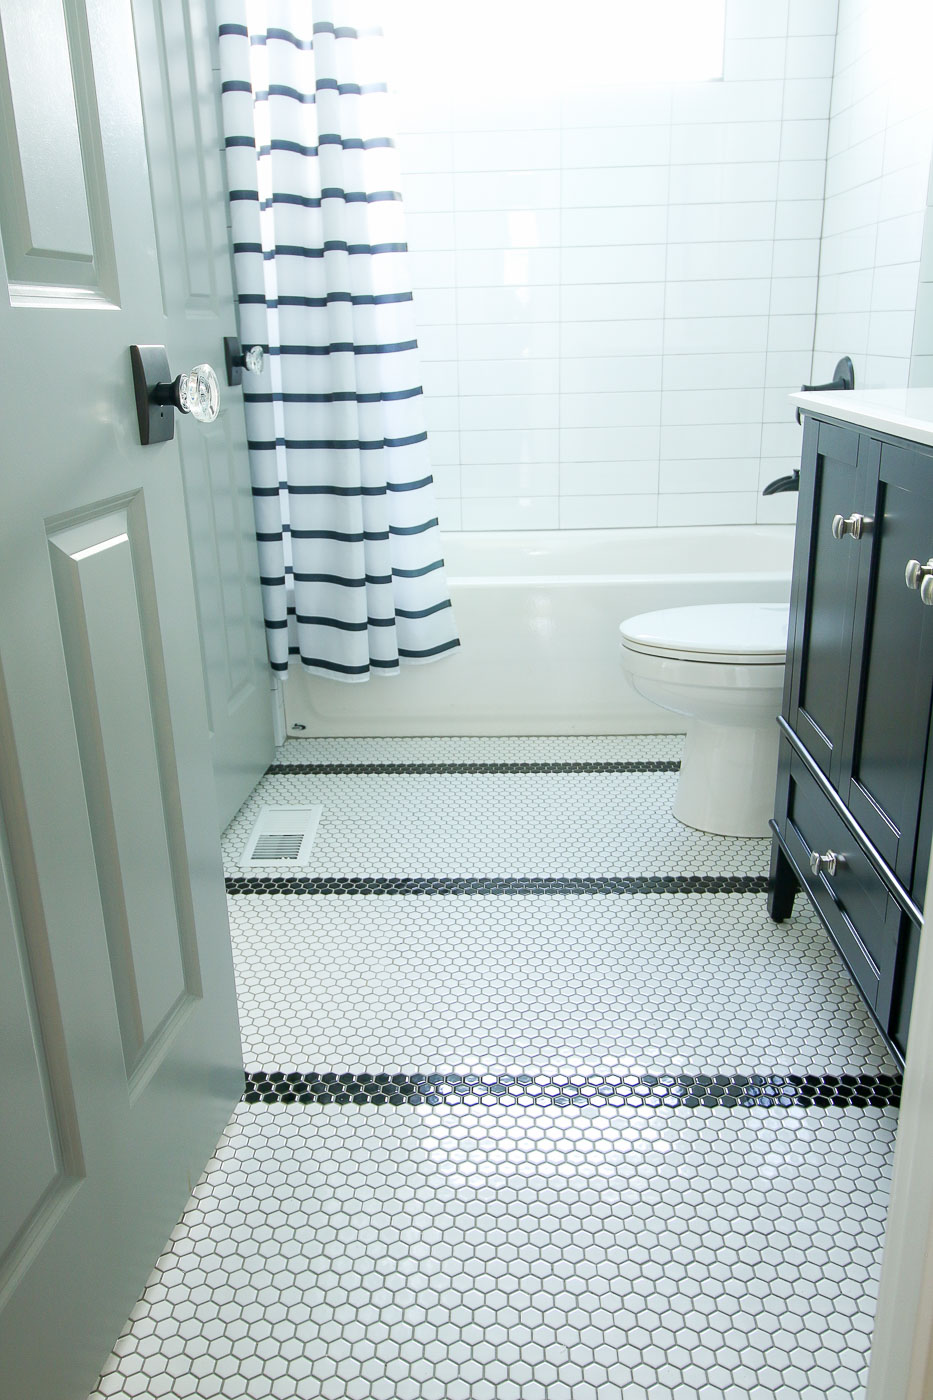
Stripes! From the beginning I knew I wanted to use classic tiles in the bathrooms. And possibly tile a border in one bathroom. If you’ve seen Mandi’s daughter’s bathroom in The Merc you’ll appreciate why I wanted to add a border to the floor.
But, if you’ve ever tried to design a border using little hex tiles, you’ll quickly learn that you can achieve a straight line from left to right, but when you try to create a straight line 90 degrees from the first stripe, it looks like a squiggly line. Bummer. However, sometimes it takes road blocks in your path to help you find a more creative solution you like even better.
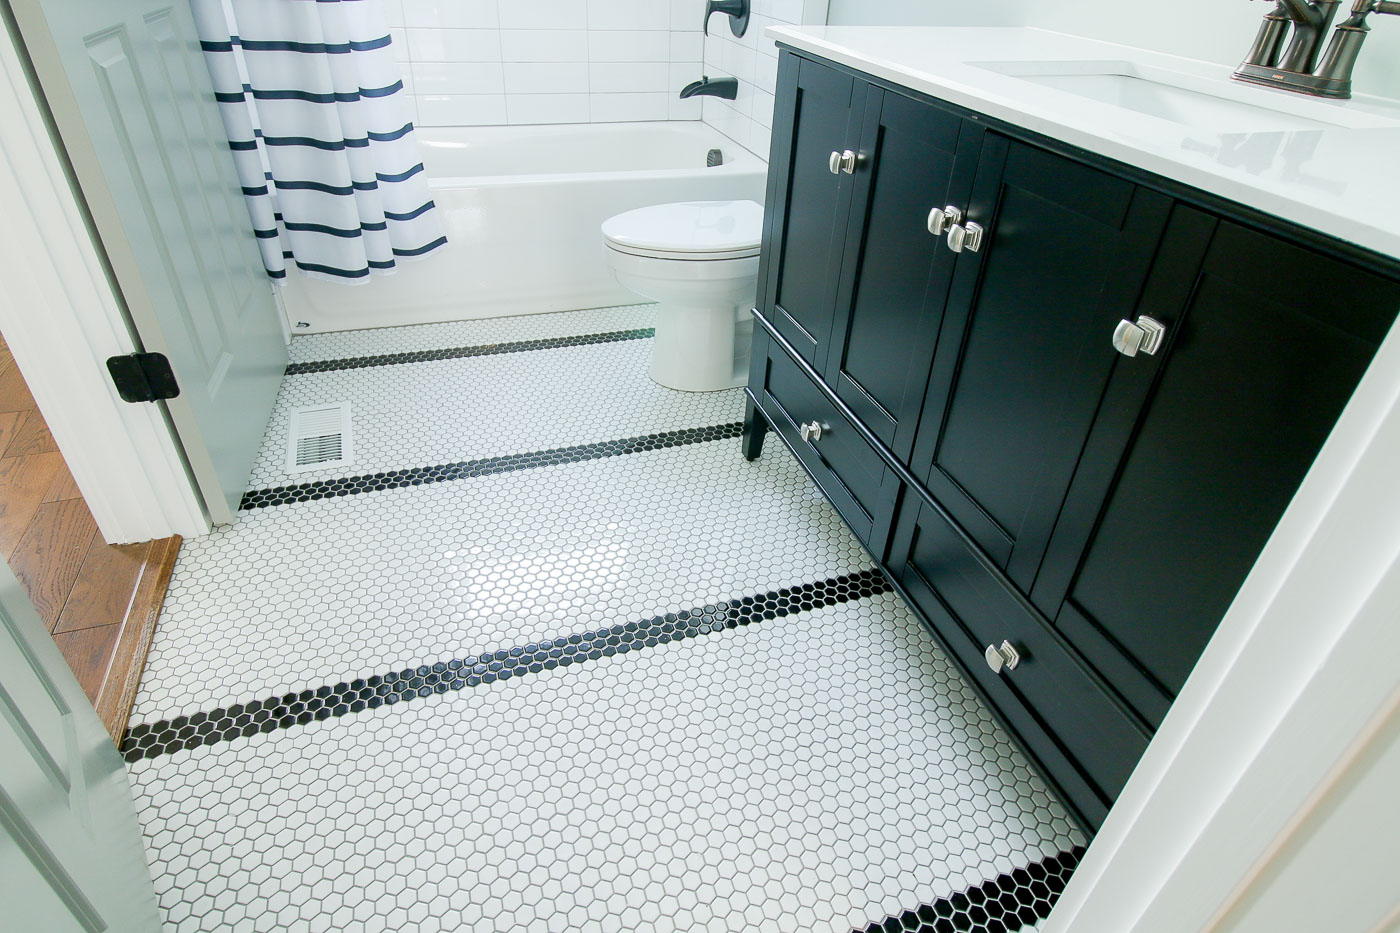
I used Jeffrey Court mosaic tiles (available at Home Depot) in white and black to create this unique look. And my tile setter did a phenomenal job with the installation.
Before I take you further into the bathroom, I want to thank all the Saving Etta sponsors. As you all know, I’m very particular about the brands I work with and I can honestly say my sponsors are the cream of the crop when it comes to selling products for your home and lifestyle.

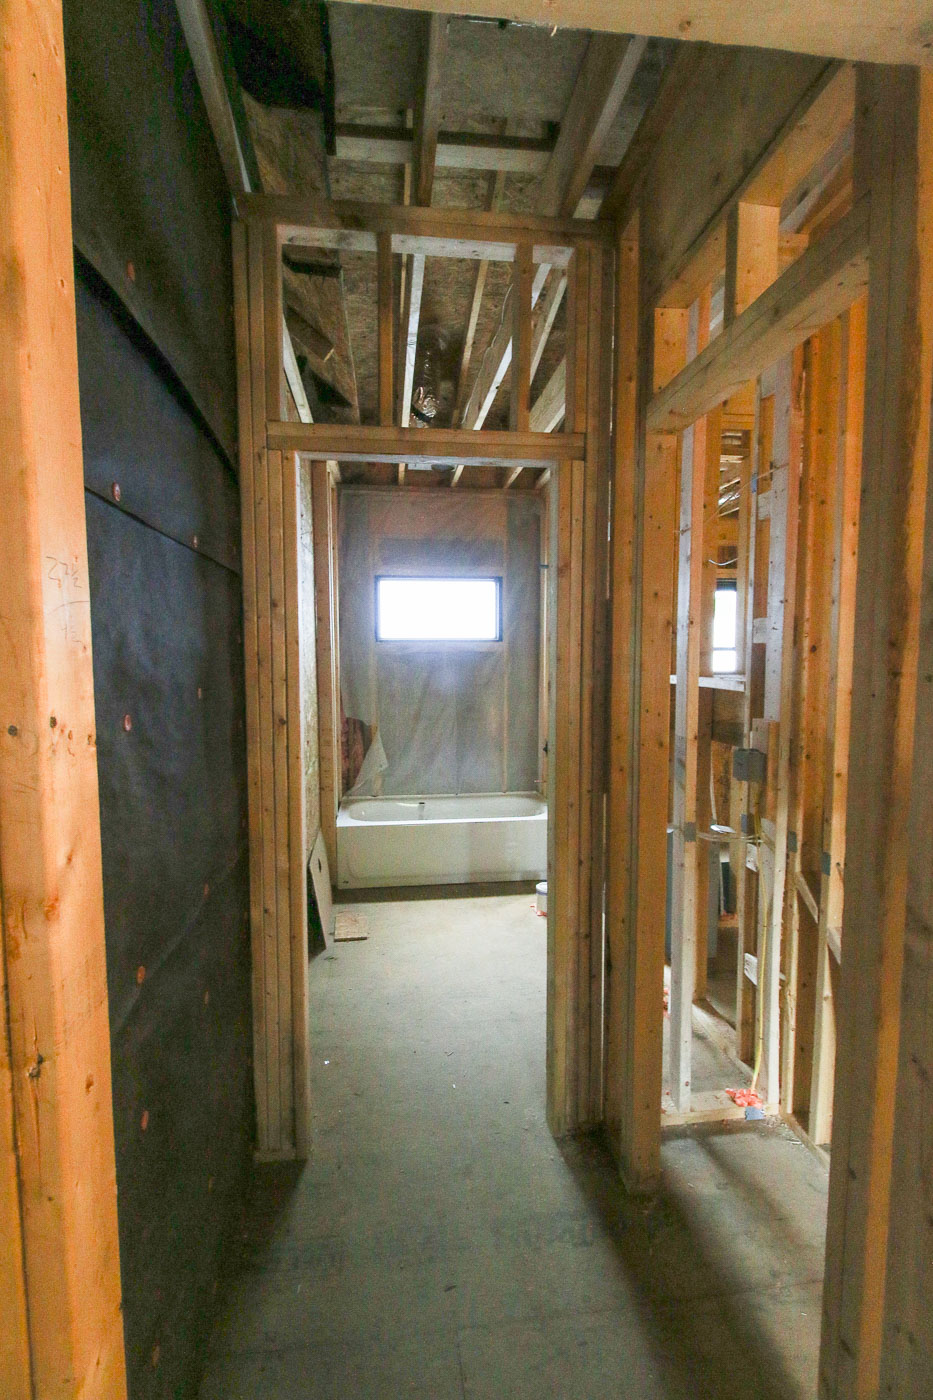
Bathroom Before:
As you learned the other day, the original house only had one bathroom and it was definitely not anything pretty.
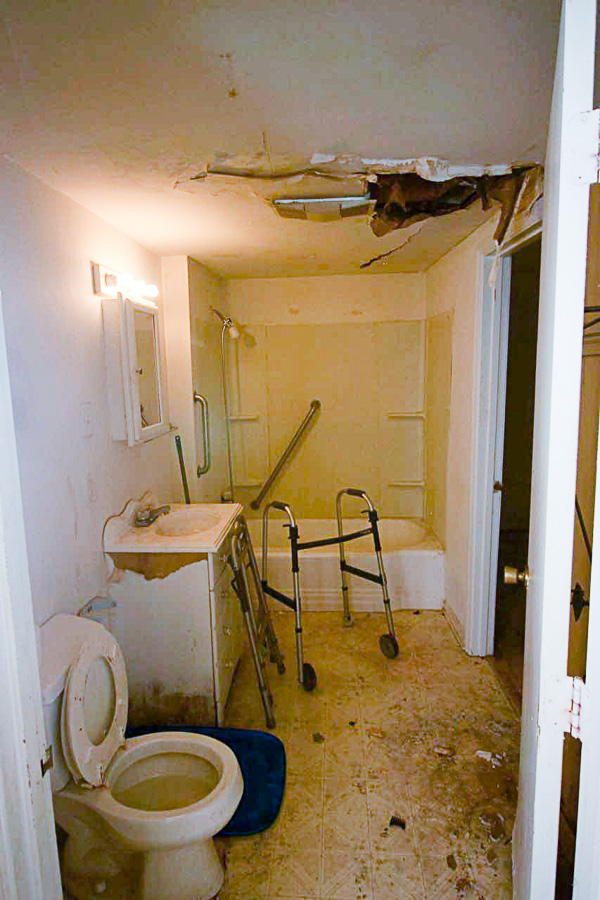
After the back of the house was removed, we began to build back in the same footprint. As you can see in the photo below, the wall on the left was the original back wall of the 1900 portion of the Saving Etta house.
After framing, I had my drywall contractor install Purple drywall throughout the bathroom. If you don’t know why it’s important to use purple drywall in kitchens and bathrooms, you’ll want to read this post.
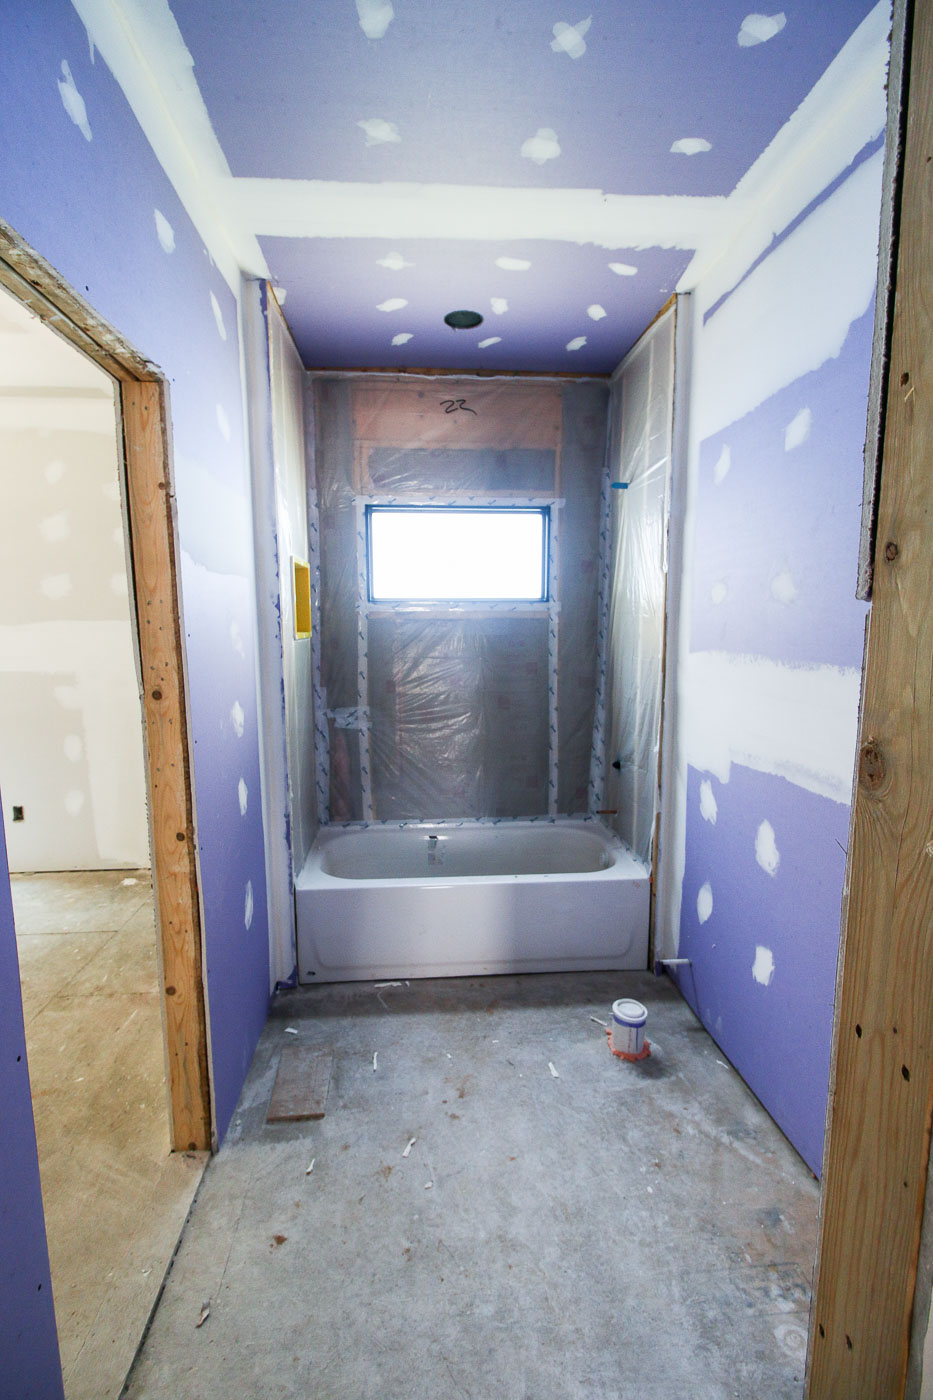
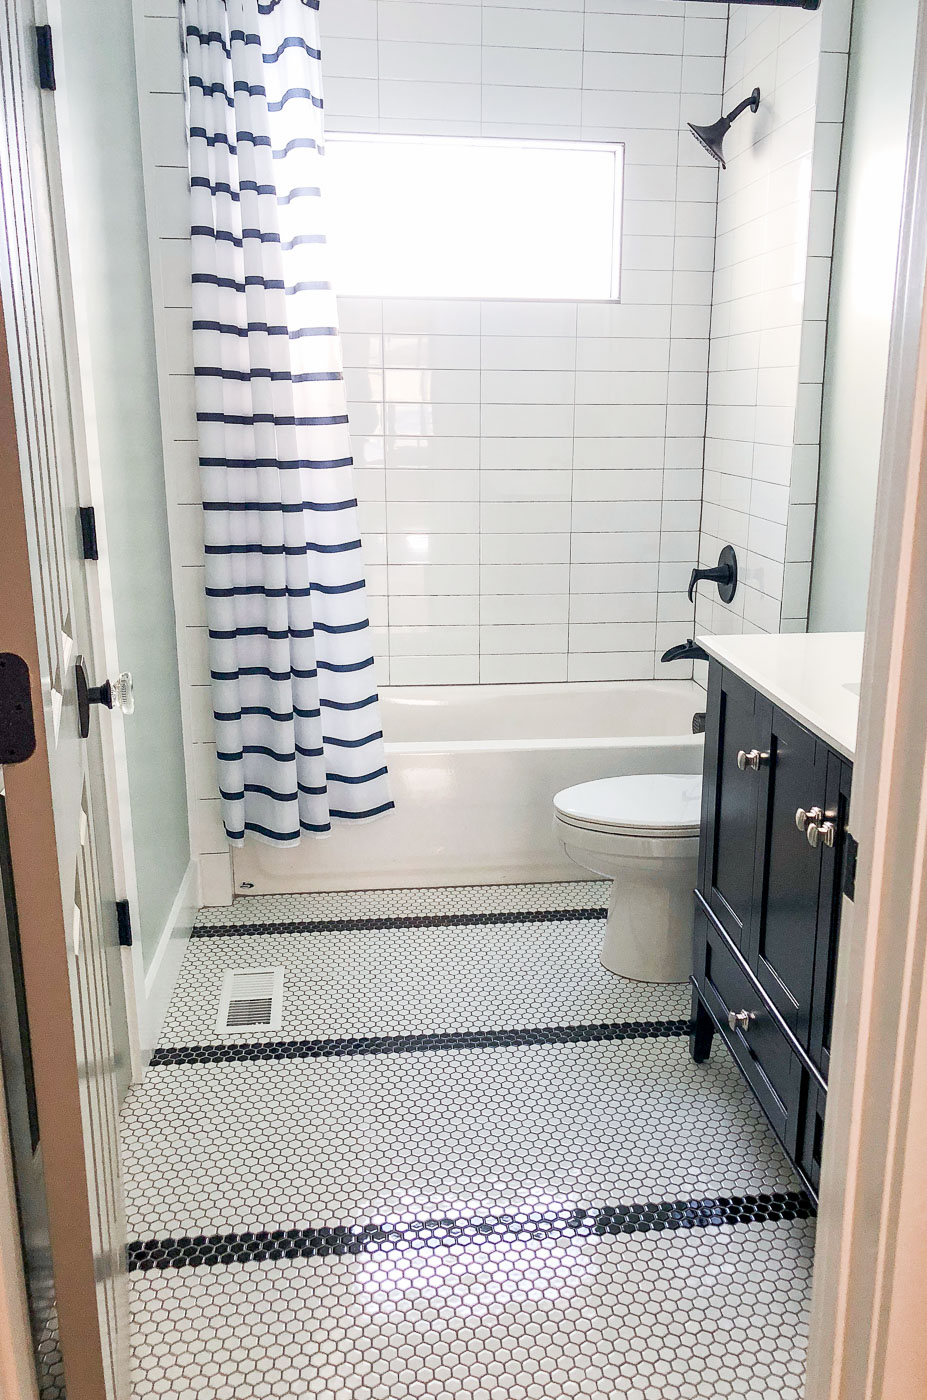
The transom window over the tub lets in a ton of natural light, but no peeping eyes! It’s obscure glass from Plygem’s Mira window line.
The Downstairs Shared Bathroom Reveal:
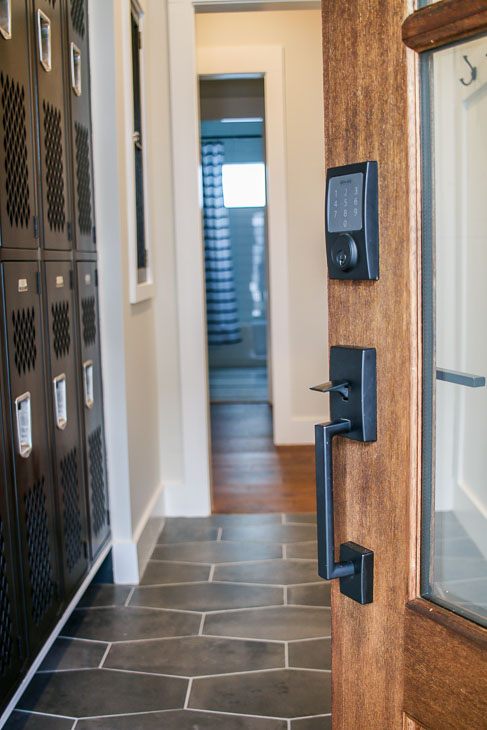
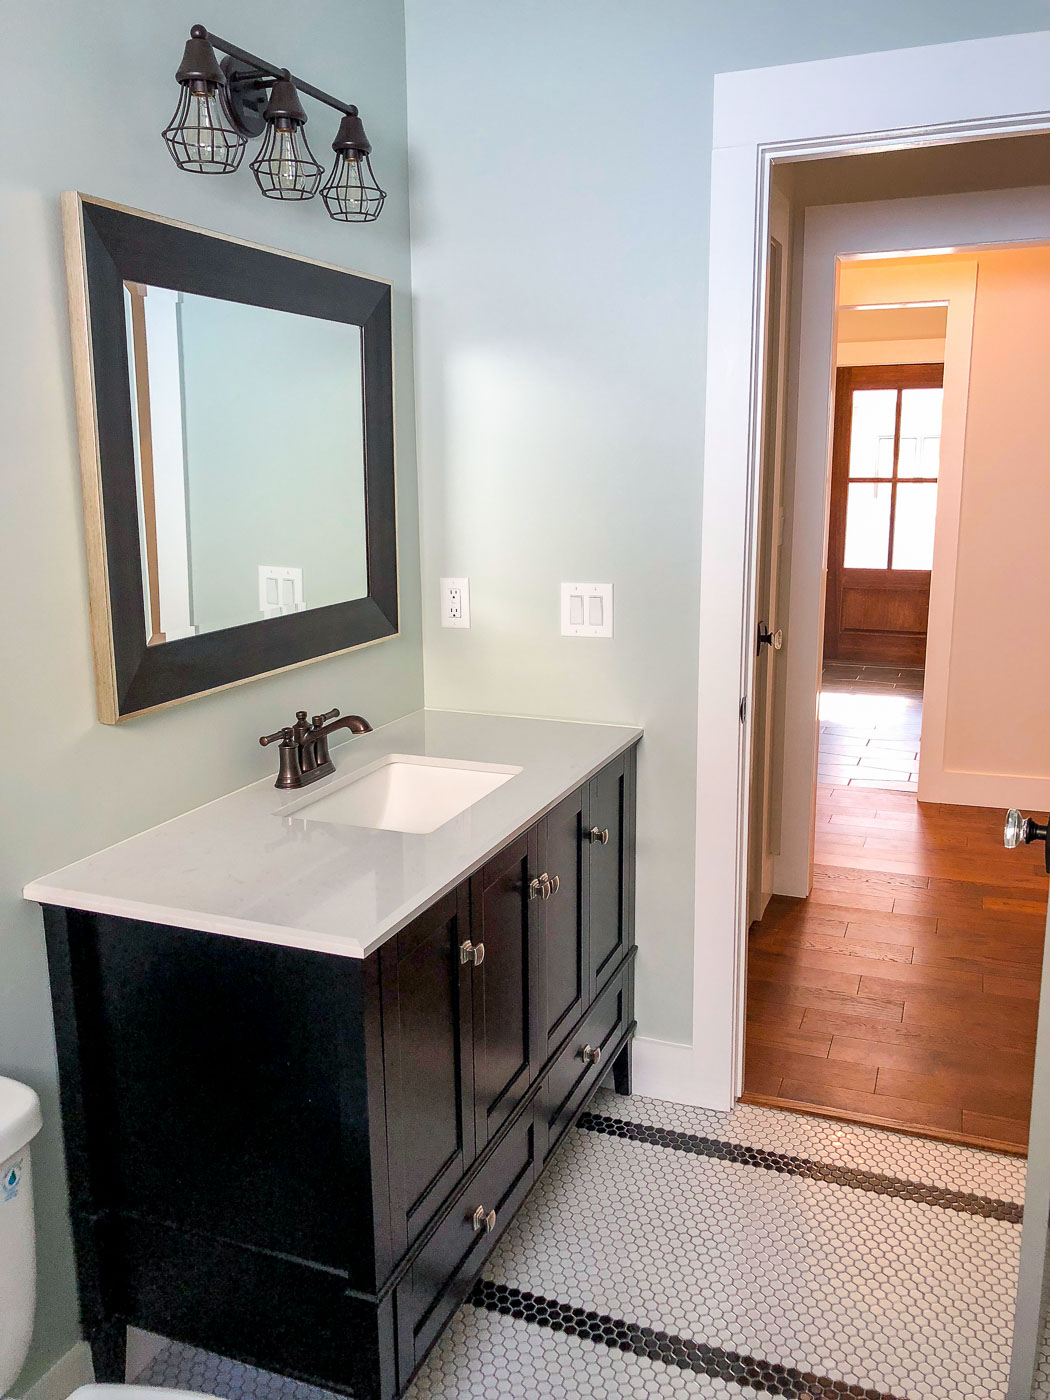
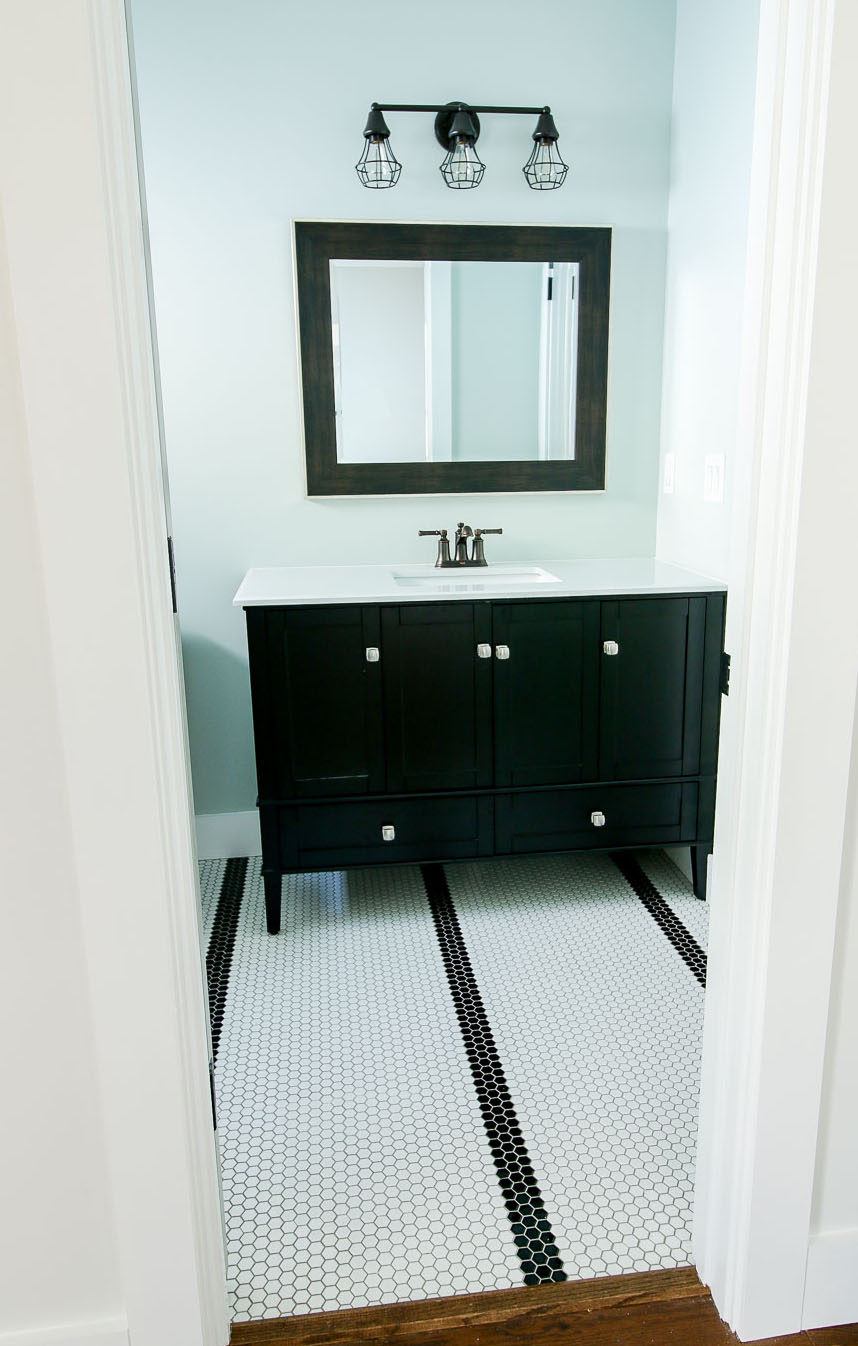
You’ve already seen the mosaic hex tile floor. Continuing with the black and white striped theme, I made sure to stage the bathroom with a striped shower curtain (could you ask for a more perfect match?) Of course, who can deny the beauty of the glass door knob. These Schlage Hobson knobs were used throughout the house and they are undeniably gorgeous and equally amazing to touch.
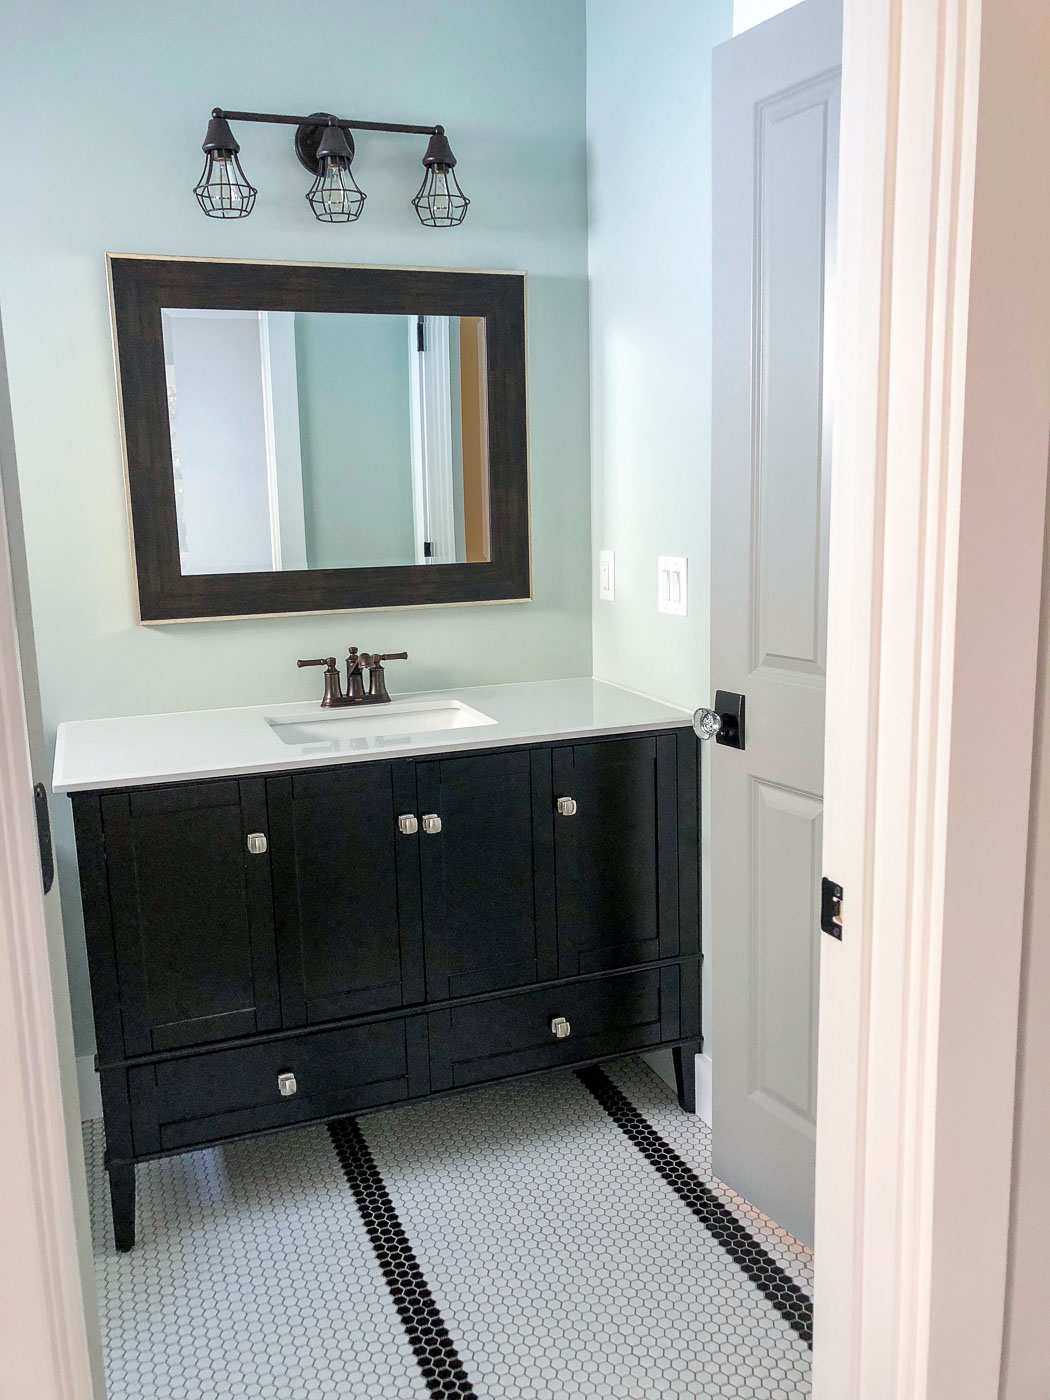
The vanity I chose for this bathroom was a wonderful surprise. The price was a steal compared to the master bathroom vanity. When it arrived, I expected a cheap quality vanity, but was relieved to find it had strong construction, adjustable hinges, and came complete with a quartz (marble look-a-like) countertop and integrated sink. In contrast, the vanity in the master bathroom didn’t come with a top or sink. You can read more about that vanity and my opinion of it here.
This vanity is heavy, so I was thrilled that the delivery from Wayfair included placing it in the room of your choice at delivery.
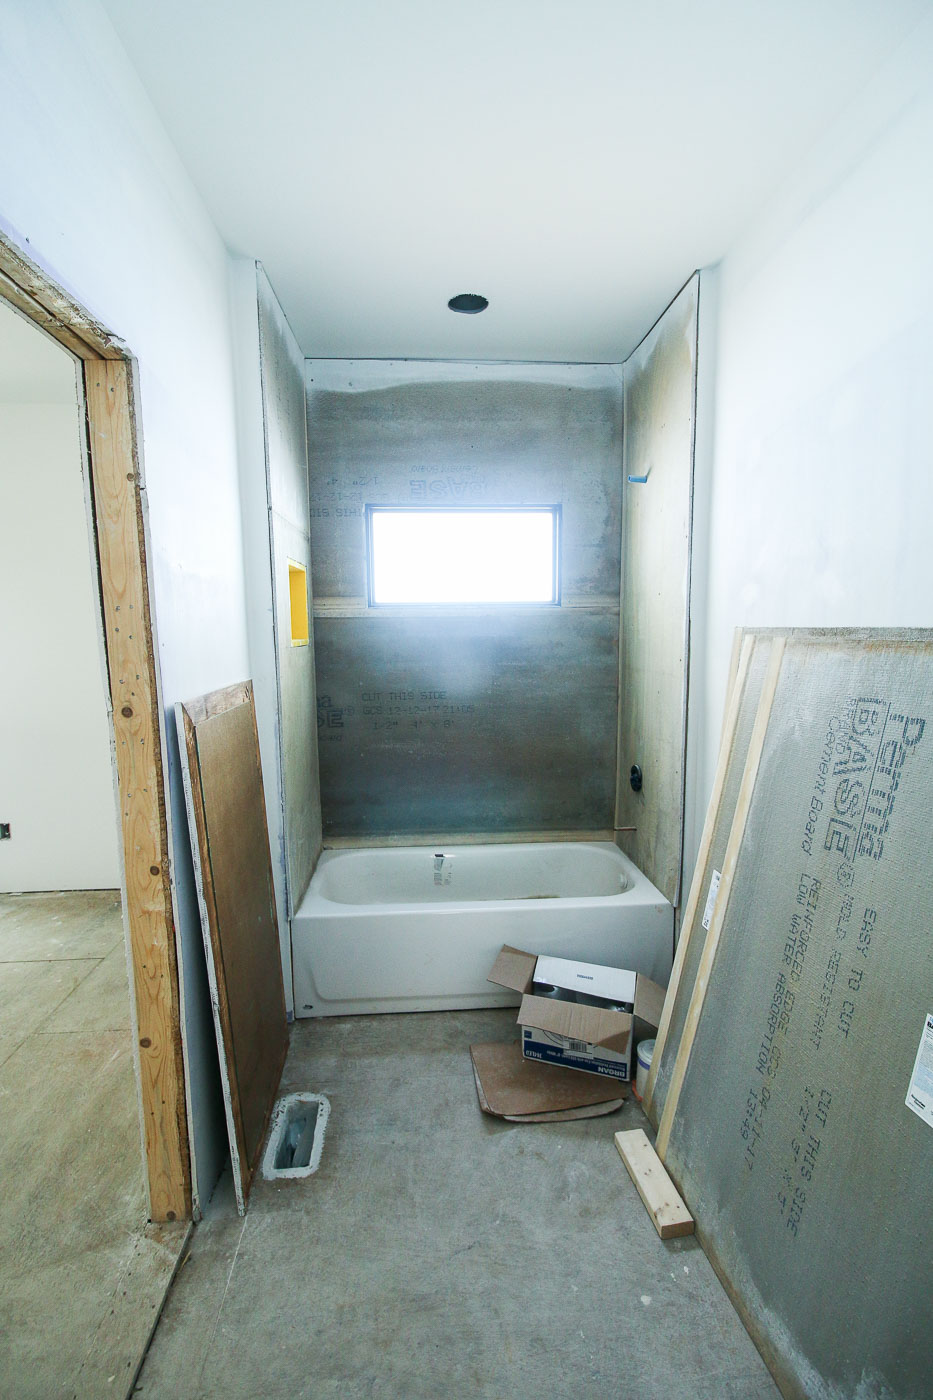
One lesson I learned from this bathroom was to double check measurements during framing. My plumber was the first to point out that the bathroom width was 6″ wider than the tub. After some creative brainstorming, I decided to take the easy route and add some framing on either side of the tub to make up the difference.
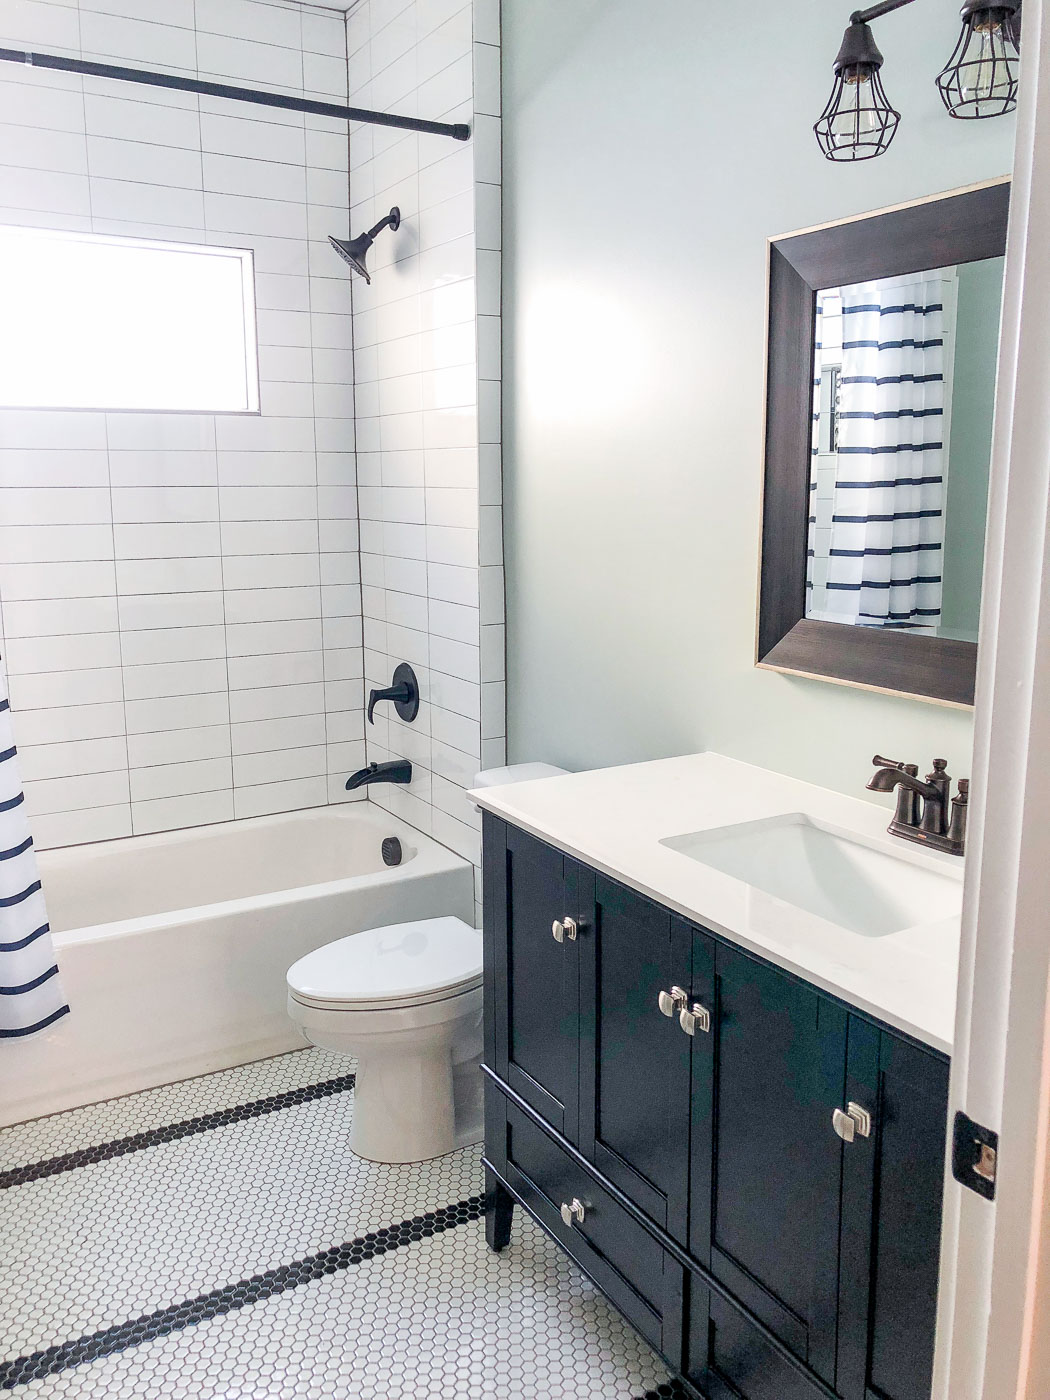
Obviously the tub surround turned out okay, but it wasn’t without challenges. Especially because I made the mistake of paying my drywallers to install the cement board. I learned after they left what a sloppy job they did. My tile installer had to perform some miracles to plumb and straighten the walls. I’ll definitely leave that task to the tile setter next time (and save money not paying for the same project twice.)
![]()
Time to talk dirty. Well, not exactly, but I want to share with you another inexpensive fixture that surprised me. The toilet!
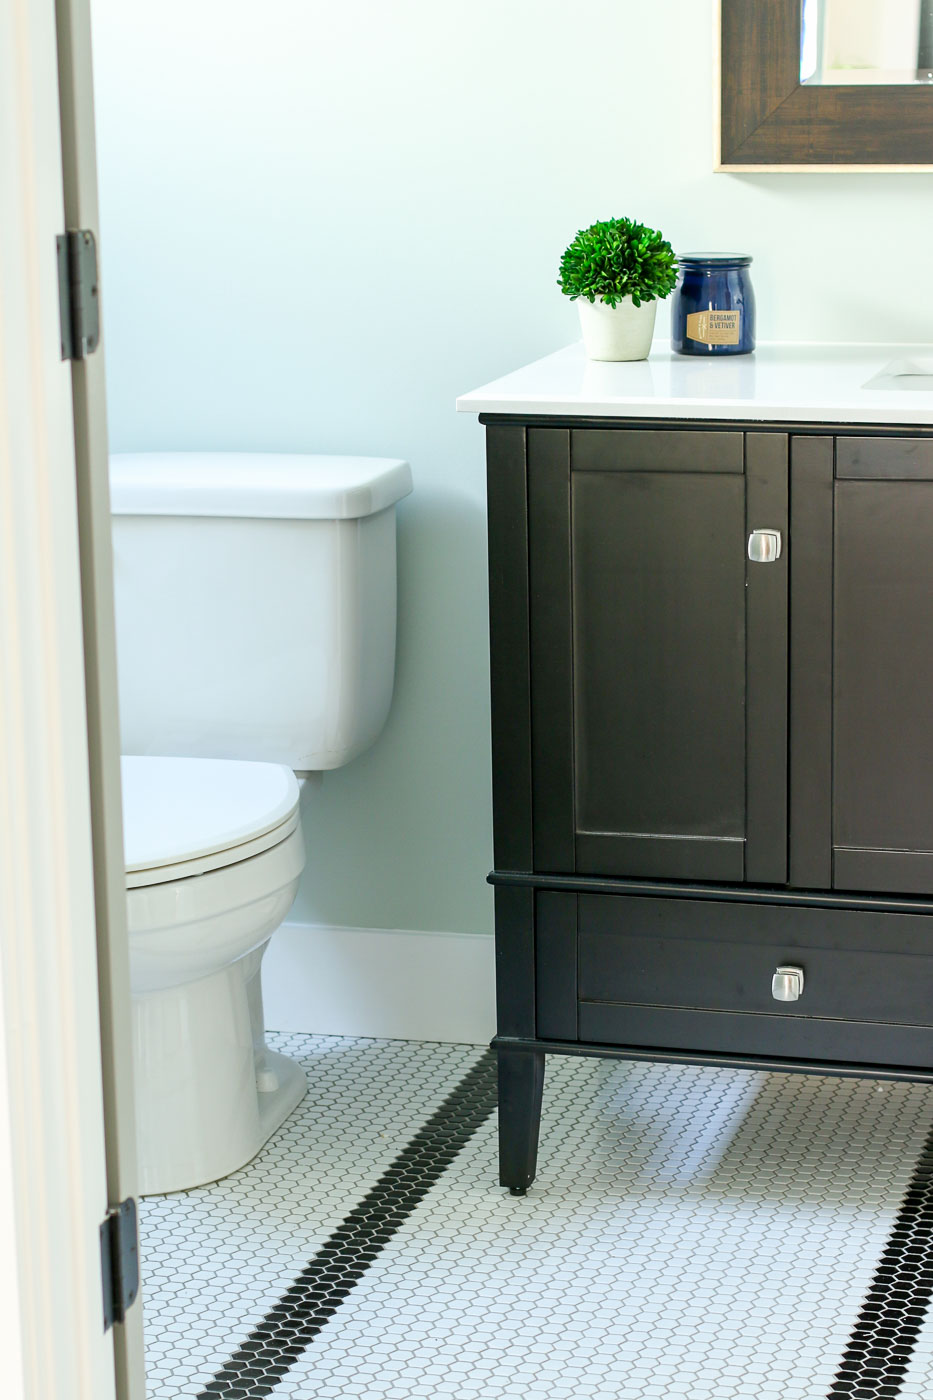
It is a very modestly priced ProFlo toilet that really performs well. In fact, I’ll probably get the same toilet for our master bathroom. It doesn’t have any fancy features or look special, but frankly I just want it to work well under pressure (if you know what I mean.)
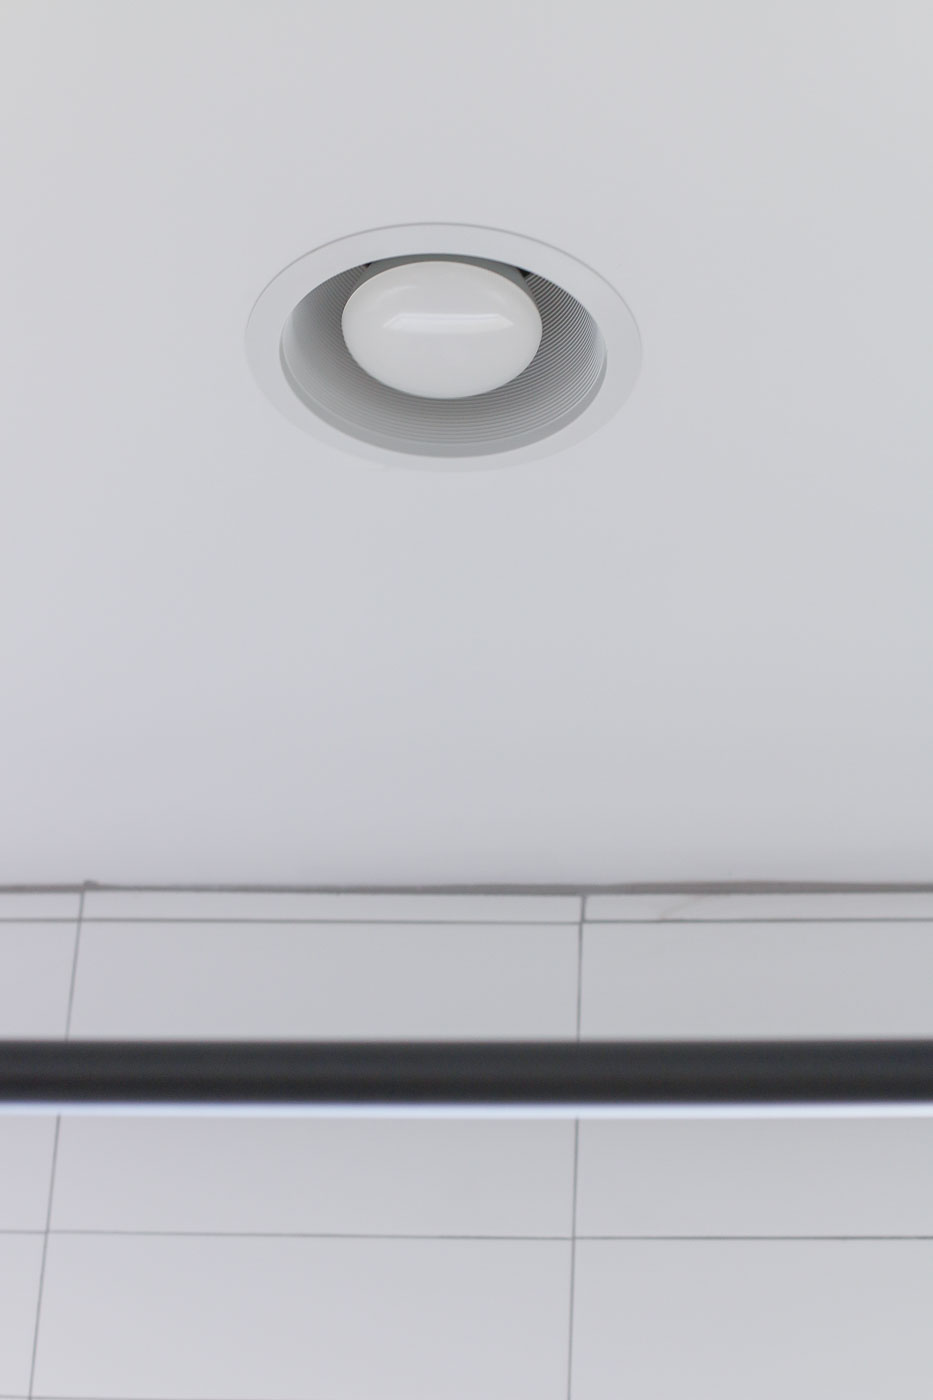
Speaking of things I will use in my own bathroom, I must install another Broan Exhaust Fan and Light. This low profile recessed light doubles as the exhaust fan! Talk about hard working.
Want to hear something funny? After my drywall installers finished the job, I discovered they had sealed the junction box for the vanity light into the wall. My electrician and I were able to find it and cut a hole. Then I realized I had forgotten to purchase the light fixture for this spot. Luckily he had enough work to keep him busy while I ran to purchase a light fixture for over the sink.
I’m so happy with how this bathroom turned out. It’s the perfect bathroom for the homeowners and their guests.
What are your favorite features? Would you change anything? Is there anything you learned while renovating your own bathroom? Please share!
![]()
Sources:
(I’ve included affiliate links for your convenience. I earn a small percentage from a purchase using these links. There is no additional cost to you. You can read more about affiliate links here.)
Black Hex Tiles by Jeffrey Court
White Hex Tiles by Jeffrey Court
Recessed Light Exhaust Fan by Broan
Wall Color: Emmie’s Room by Magnolia Home Paint
Door Color: Cupola by Magnolia Home Paint
Disclosure: I received materials and/or compensation from the sponsors of the Saving Etta project. These were the bathroom sponsors: Ask for Purple, Plygem, Broan-Nutone, Schlage, Magnolia Home Paint, KILZ, Jeffrey Court Tile. I was not told what to write. All opinions and words are my own. As always, I will notify you if you are reading as sponsored post or if I was compensated. Rest assured I am very particular about the brands I work with. Only brands I use in my own home or that I’ve had a positive experience with will be showcased on this blog.


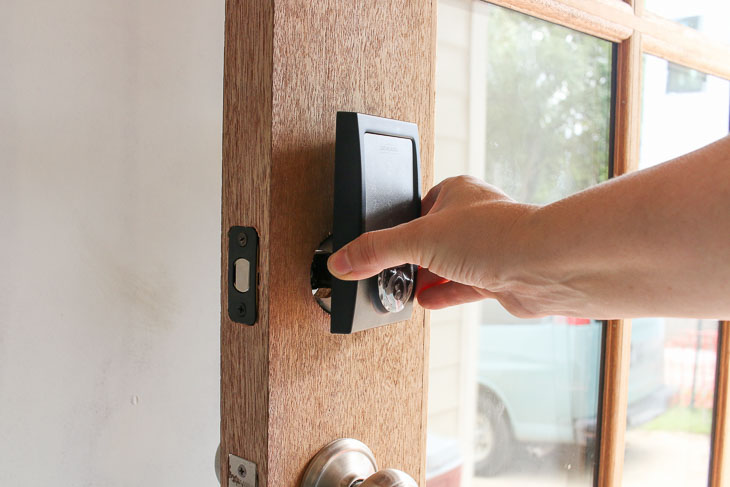
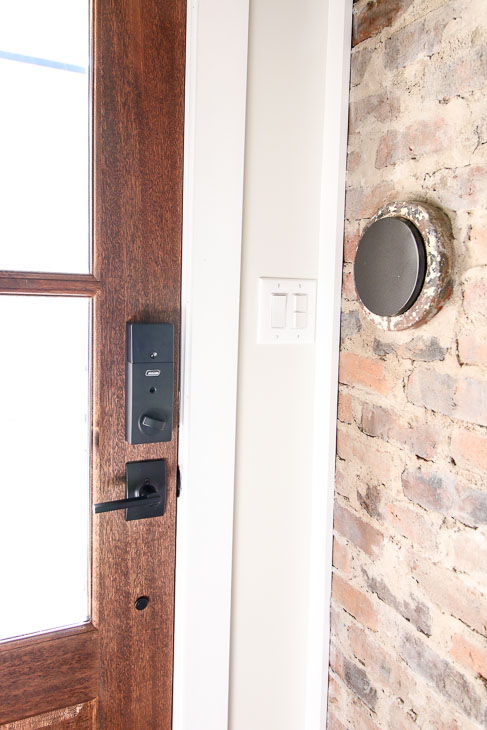
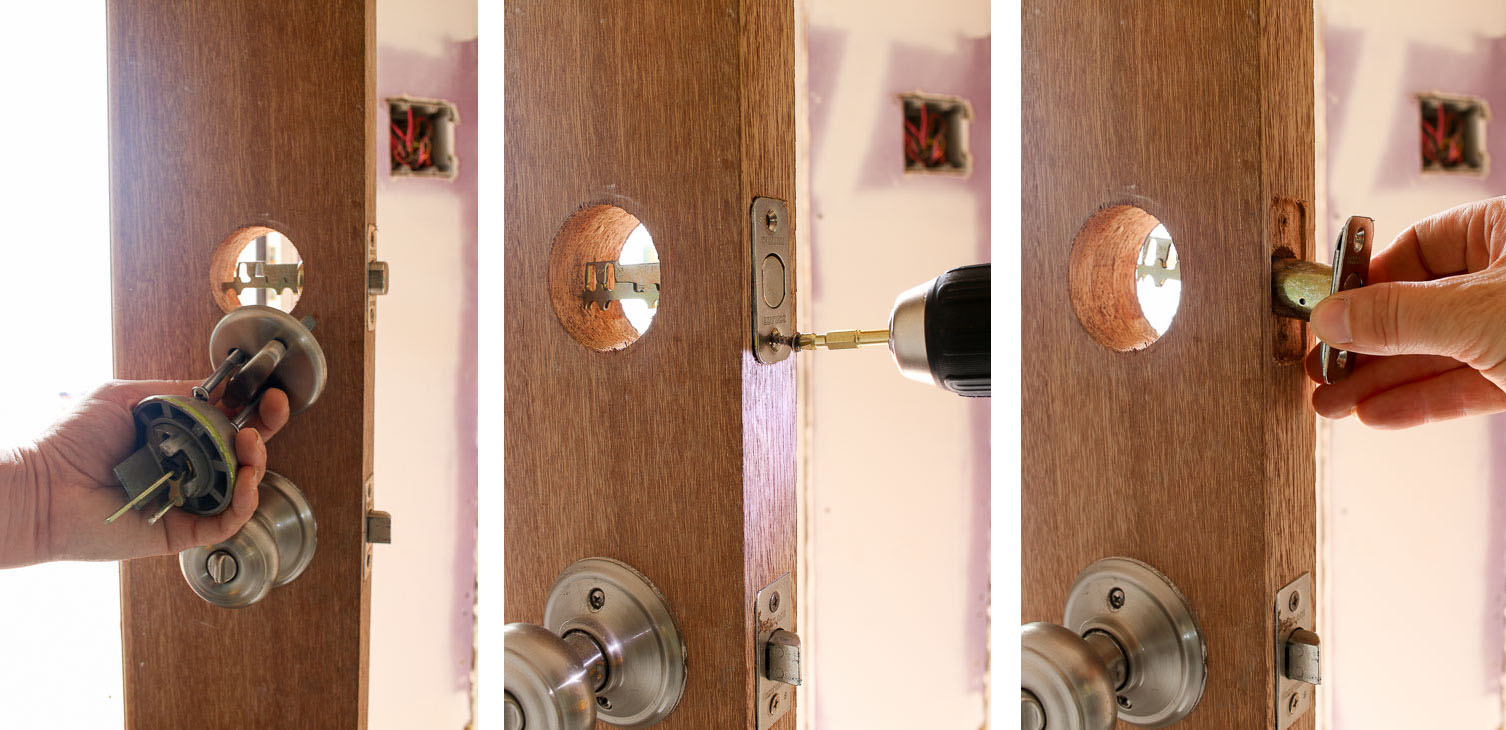
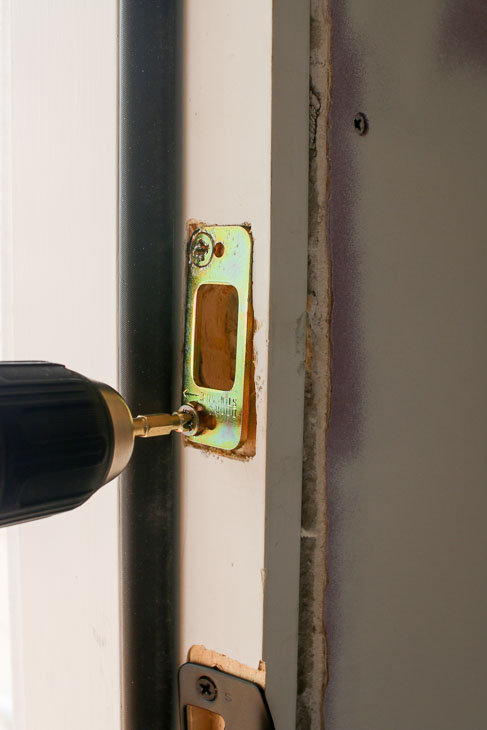
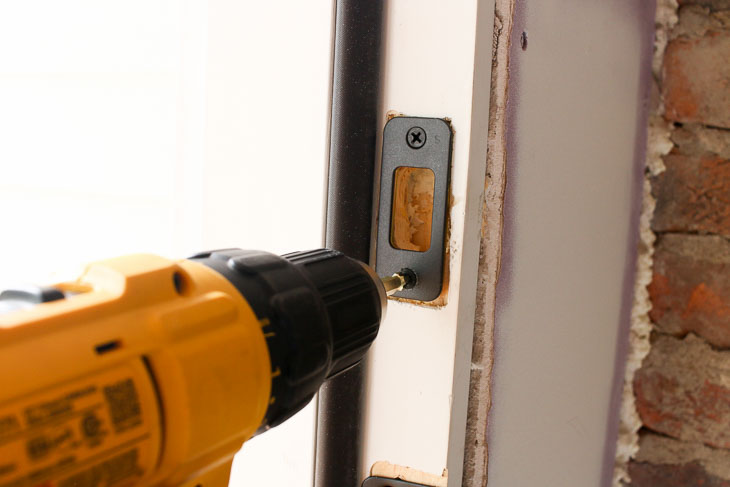
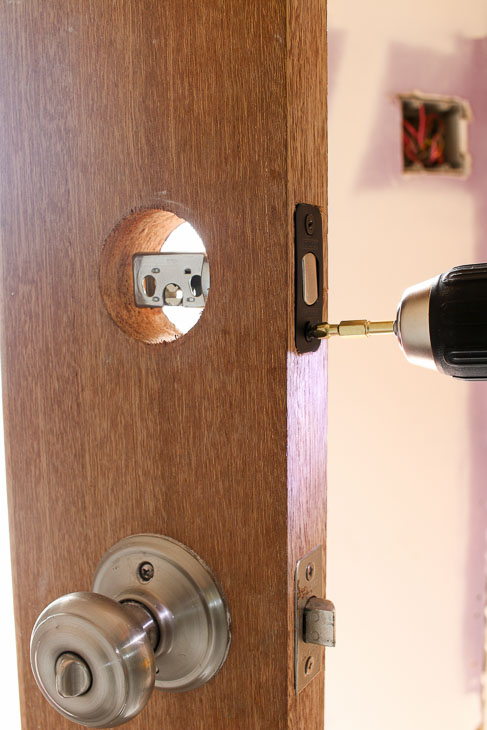
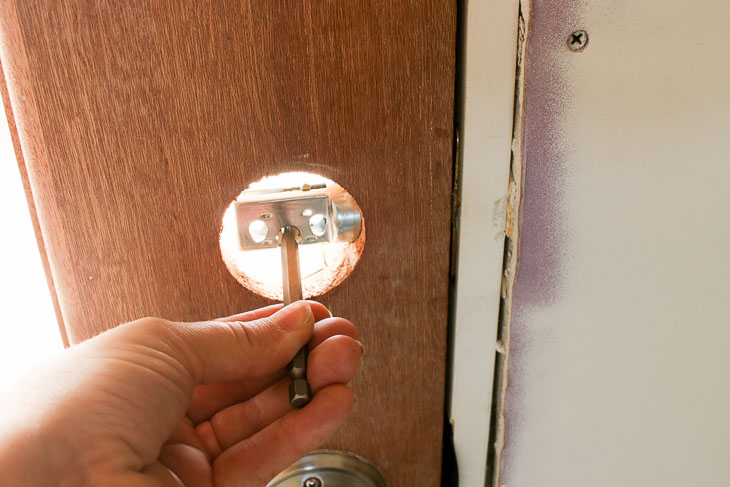
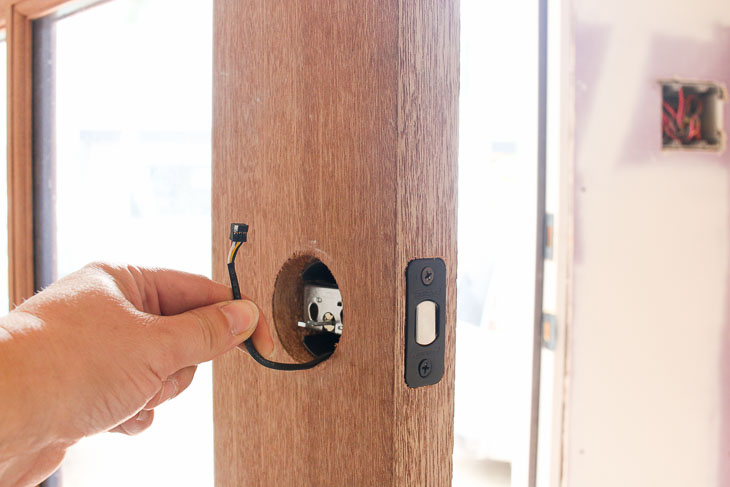
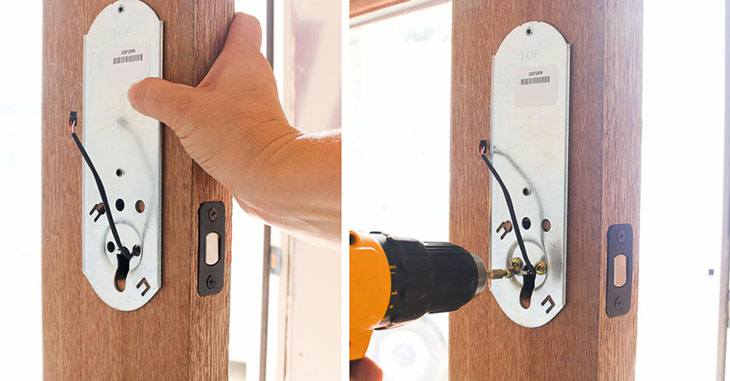
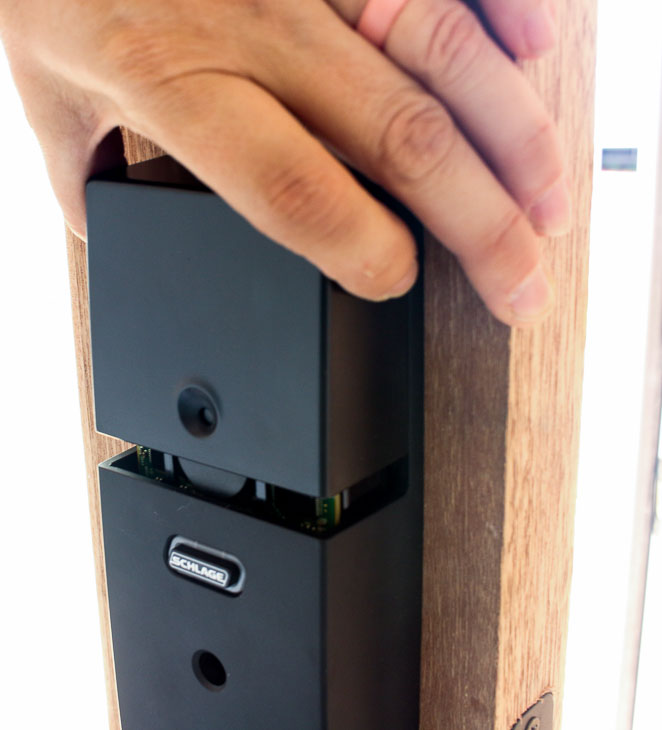
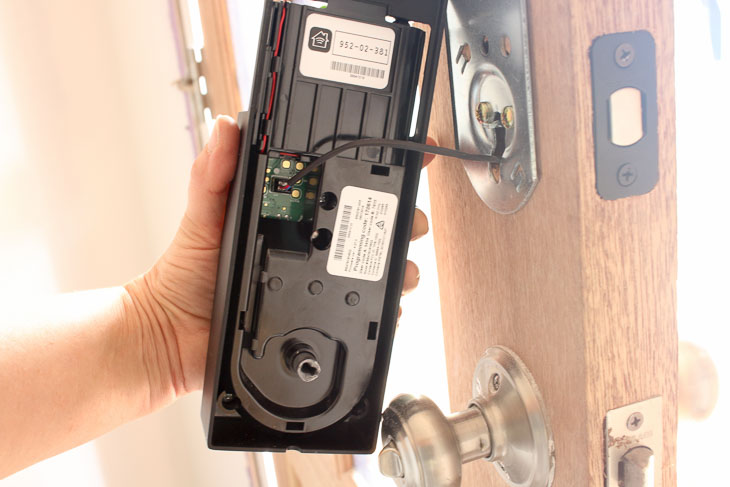
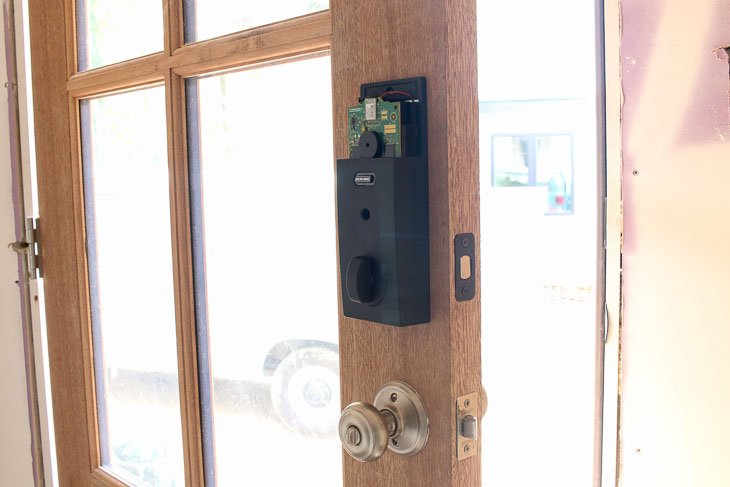
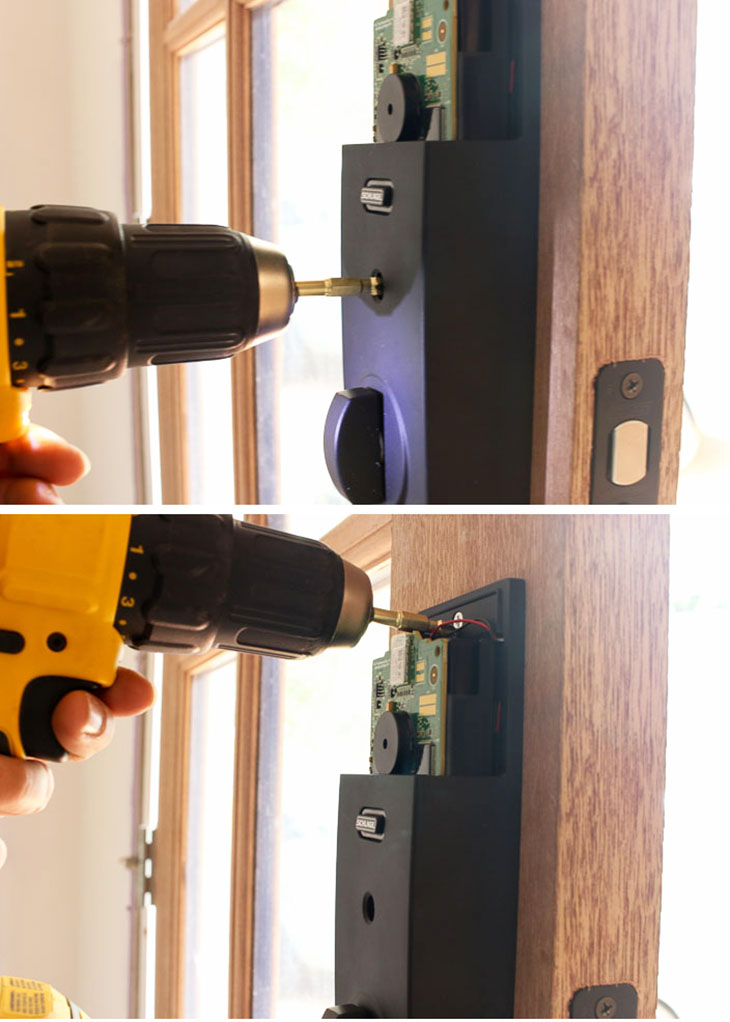
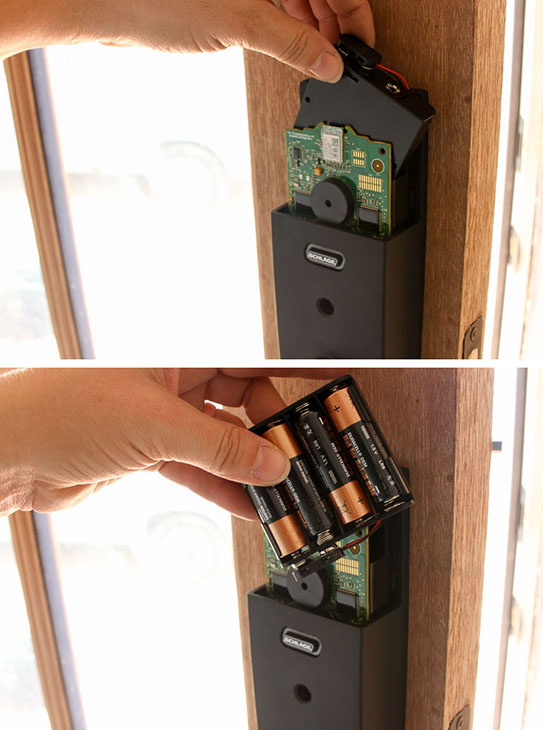
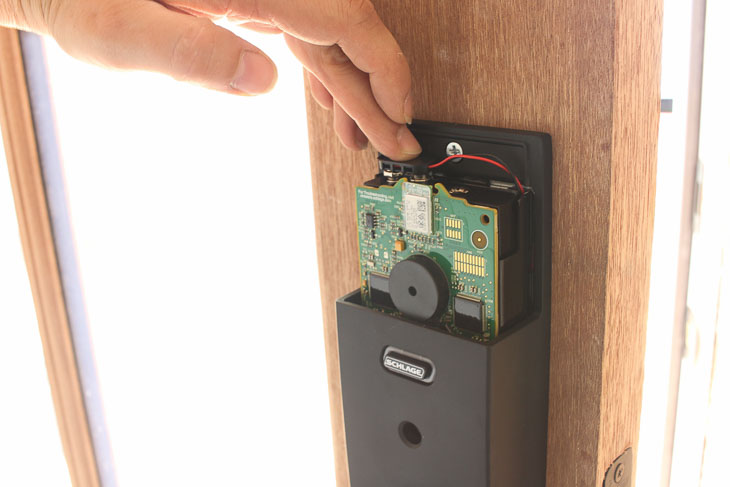
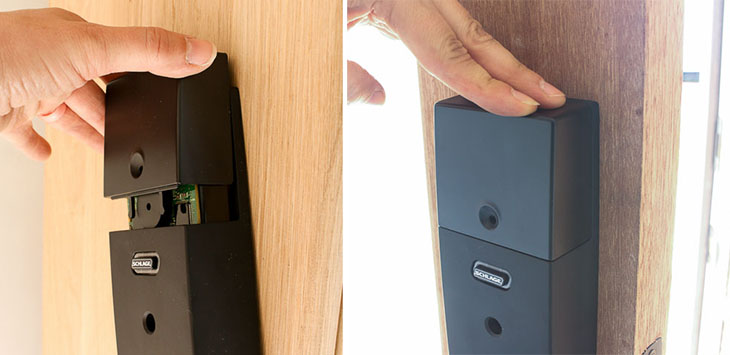
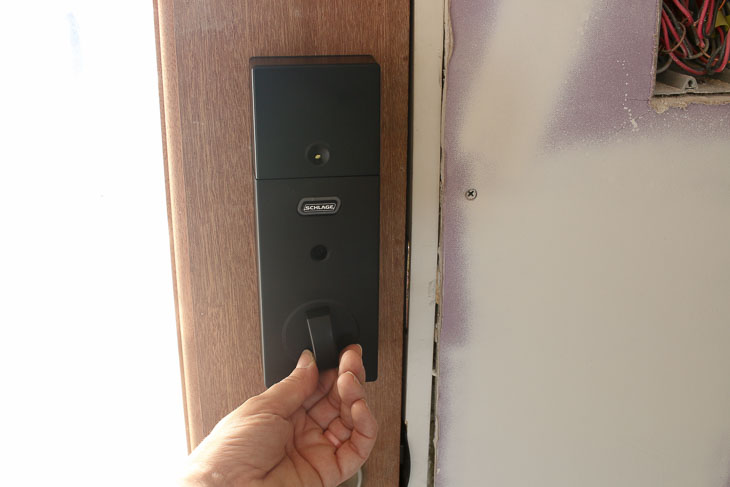
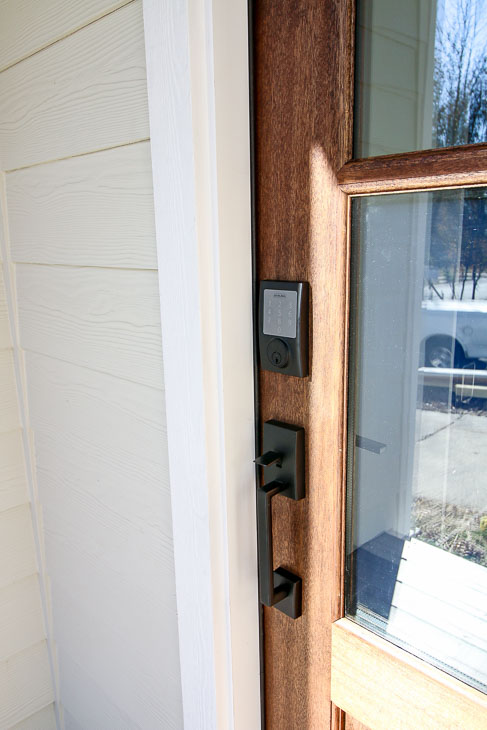
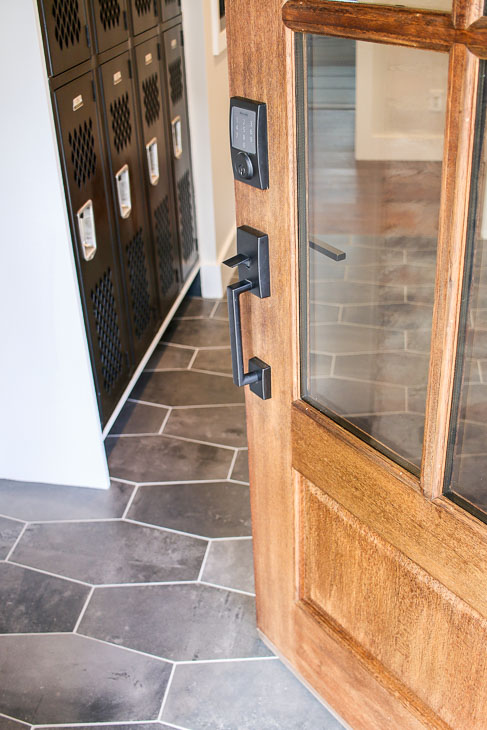
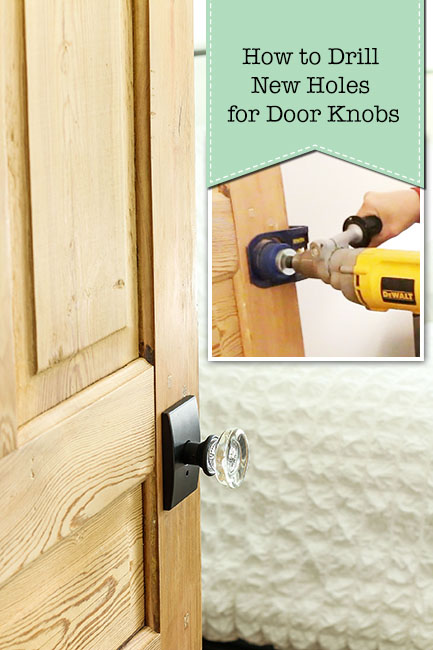
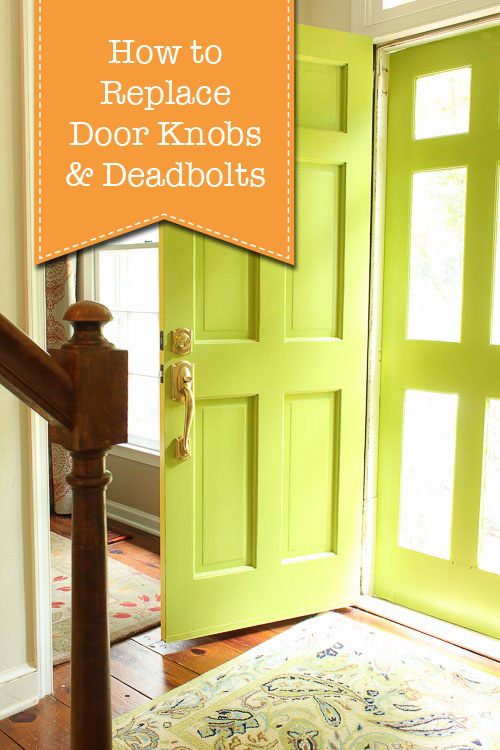
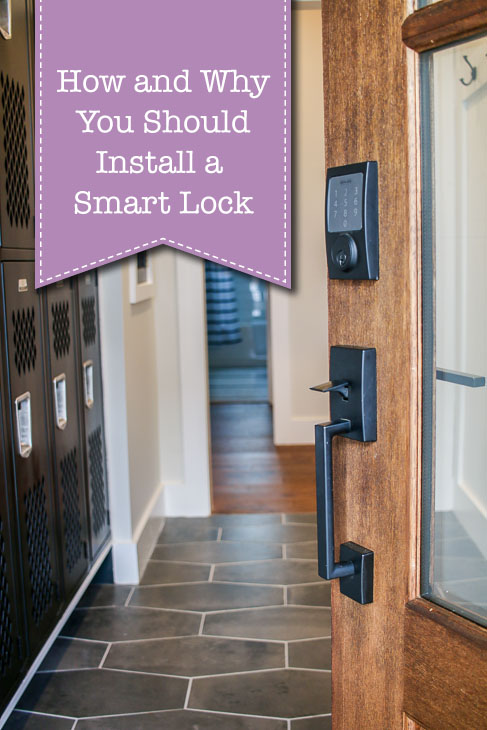 How and Why You Should Install a Smart Lock on Your Door