“SANTA CLAUS IS COMIN’ TO TOWN!” Cover your ears because a very tone deaf woman (myself) was belting out the Christmas songs this weekend. With Thanksgiving behind us, I released the restraints and broke out the Christmas décor. The kids are loving it and counting down the days until old St. Nick comes down our chimney!
 Christmas Morning 2009 – Magic North Pole Snow Footprints (Baking Soda y’all!)
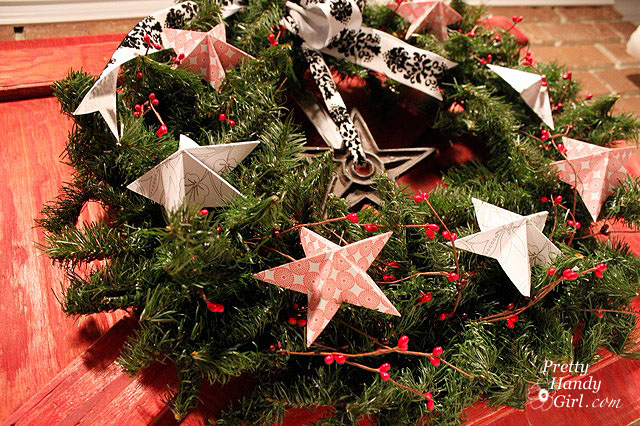
As I told you the other day, I wanted to create a rustic country theme this year in our living room. So, without anymore restraints….here it is!
 I spy with my own two eyes, a Pottery Barn Inspired Lantern from the Habitat ReStore!
 I told you I had a plan for those old pool balls!
 Do you think I achieved my goal? Rustic? Country?
 Goal or not, I think I like it.
 Although it took me four days of noodling to decide I have to let it be.
 I can’t tell you how long I’ve been looking for an affordable cake stand.
 Thieve’s market in Raleigh had THREE! Count them…1…2…3!
Of course I only bought one, so if you need one, head on over there.
 Yeah, Baby! You know I couldn’t pass up those rusty sleigh bells at SuzAnna’s!
  An old cheese grater (you can’t see it but it has a candle inside.)
 An old sports stop clock and one of two large acorn decorations.
I couldn’t resist them, after all Raleigh IS the City of Oaks.

 Another PB Inspired Lantern. Love these $5 finds!
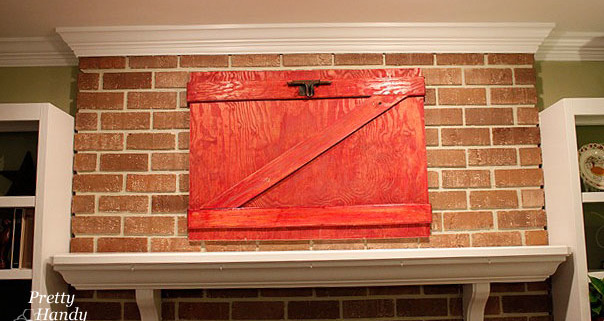
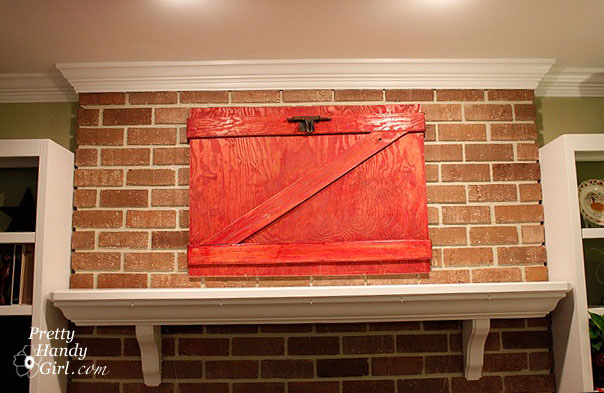
 Each year I try to think of a new and creative way to display all our holiday cards.
 This year I put together two shutters to make a screen. The tutorial is HERE!

That concludes the living room tour. If you aren’t bored to death,
I’ll show you a small vignette I have in our kitchen on top of the pie safe.


 Isn’t she adorable? That little angel found her way into my shopping bag at SuzAnna’s.
I hope you all have a fabulous holiday season!
Now cover your ears again as I sing to Santa Baby (because I’m no Eartha Kitt!)

Pin for later!