diy french cleat

I am going to teach you how to securely hang heavy objects on the wall with a board and a few screws. Using a French Cleat has been a tried and true method for hanging heavy objects and is used by professional cabinet makers and DIYers alike. It can be incorporated into the item being built or added after the fact.
DIY French Cleat

How to Make a French Cleat

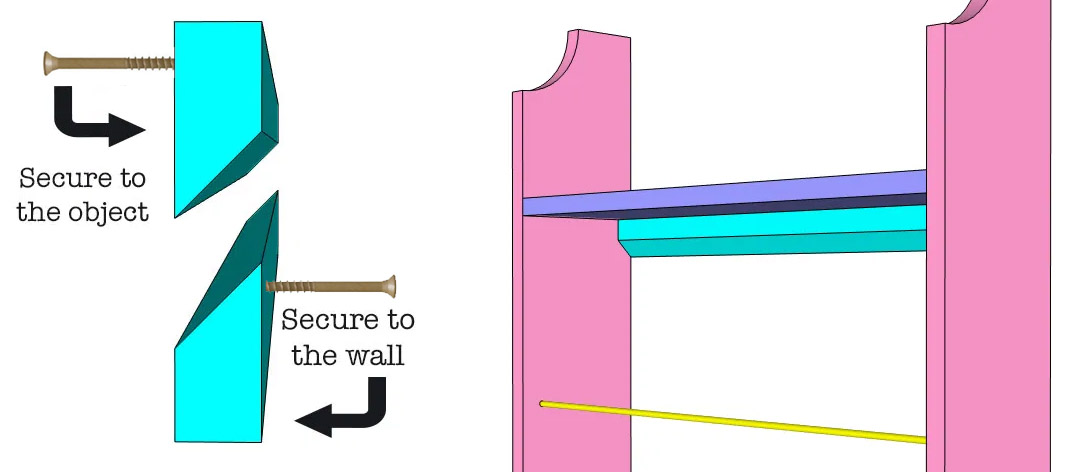
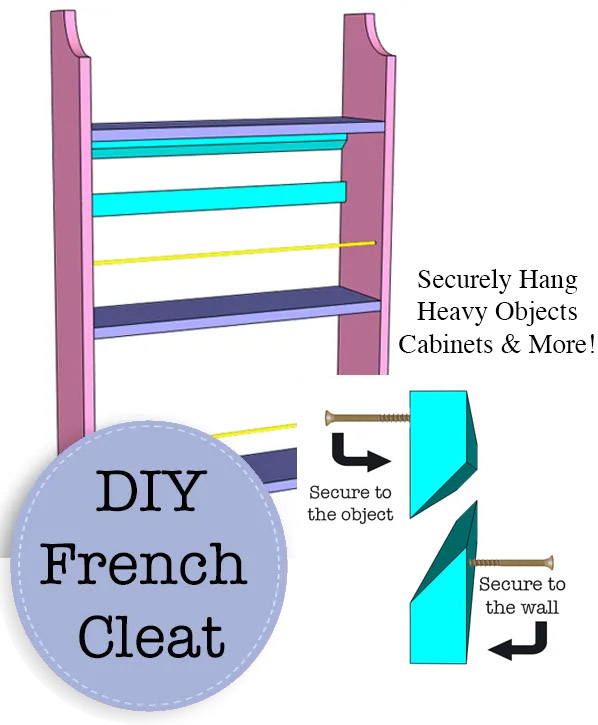
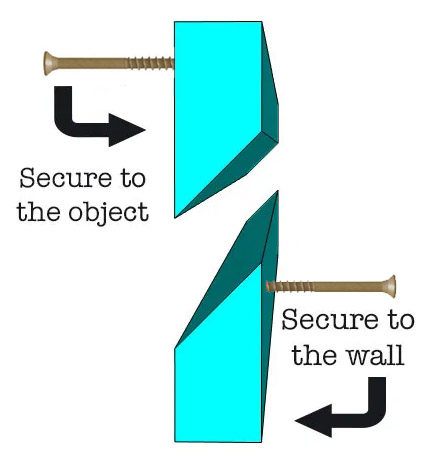
What is a French Cleat?  A French Cleat is a board or molding with a 30°-45° bevel cut attached to the wall along with a corresponding beveled board or molding attached to the object to be hung on the wall. That sounds a little confusing but check out the diagram below and it will all make sense. First let’s grab a few supplies.
DIY French Cleat

Materials:

(I’ve included affiliate links for your convenience. I earn a small percentage from a purchase using these links. There is no additional cost to you. You can read more about affiliate links here.)

  • 1″ x 3″ board or 3/4″ plywood strip (3″ minimum width)
  • 2″ screws

Tools:

Instructions:

Step 1:

Measure the length that you need your French cleat to be. Typically a french cleat is the length of the item to be hung on the wall and spans the length of at least 2 studs in the wall that the item will be secured to.

Step 2:

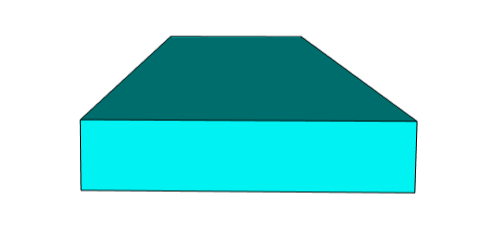
Adjust your table saw or circular saw to a 30°-45° bevel and rip your board along the center. (For tips on using a table saw safely, read this article.)

Step 3:

Secure the top piece of the cleat to the item to be hung (see diagram shown below). This can be done with pocket-holes, glued under a shelf, or with screws to the back of the item. (You may want to pre-drill your holes to avoid splitting the wood.)

DIY French Cleat

Step 4:

Choose the height at which you want to hang the item on the wall and mark where the bottom cleat will be placed. Mark the studs that the cleat will be screwed into and secure the cleat to the wall using wood screws and a level in the orientation shown above. (Again, you may want to pre-drill your holes to avoid splitting the wood.)

Step 5:

Gently place the object above the wall cleat and lower until the two pieces are securely nested together.

Often times the weight of the object and the angle of the beveled cleat is enough to keep the object securely in place. But, if you’re worried about children lifting the item, you can add a screw through the hanging object into the cleat or a wall stud for peace of mind.

DIY French Cleat

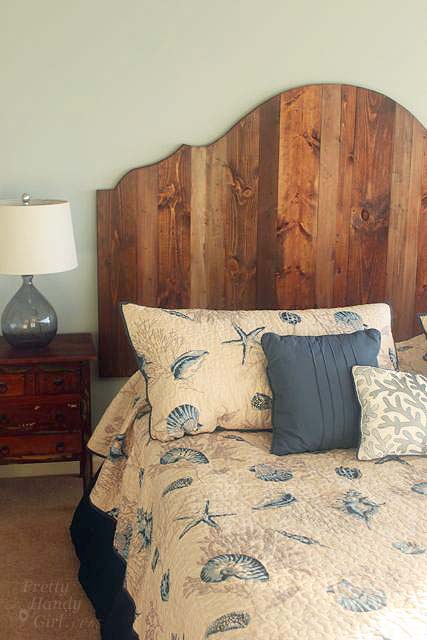
And if you’re excited about using a French Cleat, you might like to make a headboard that is hung on the wall using a French Cleat!

rustic-king-headboard-side-view

This is a great tip for hanging cabinets on the wall as well. I hope you try your hand at making and using a French Cleat soon. Let me know how it goes!

Hi! I’m Kristen, from In Her Garage, and I am a self-taught woodworker and DIY fanatic from Minnesota where I live with my husband and our two daughters. Between being a wife, mom and, registered nurse, I try to make as much time for DIY as possible. My love for building came after our family built our current home in 2015. After we moved in, we needed furniture and instead of spending massive amounts of money to order the pieces we wanted I decided that I would build them myself. I started with a buffet table plan from the fabulous Ana-white and quickly set out to remodel my entire home office.

Since then I have started a side business building furniture for the people in my community. I love hearing my clients talk about the pieces they wish they had whether it be a rustic buffet table, a one drawer side table, or a toy box and then making it a reality for them. While starting my small business it made perfect sense that I would document my building journey so I simultaneously launched the In Her Garage blog and I love sharing my plans, tips and tricks.

Making something beautiful with your own two hands through a little preparation and determination is an amazing feeling and I hope to bring inspiration and know-how to those looking to tackle a big or small project.
I am so glad that you found me here and please feel free to connect with me on Pinterest, Instagram, Facebook, and Youtube to see what I am working on right now.


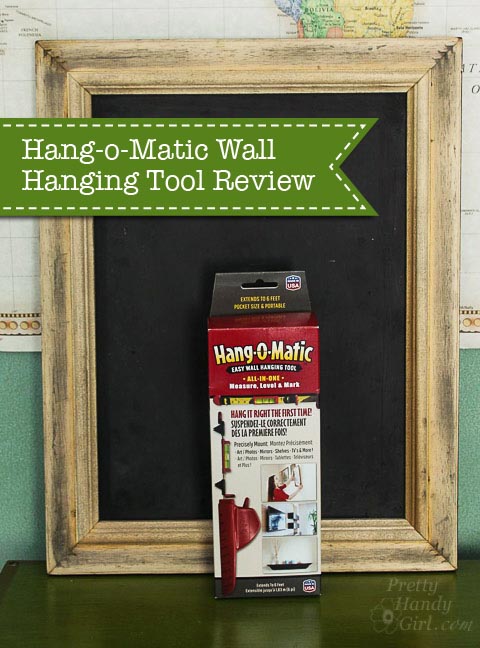
Hang-O-Matic Wall Hanging Tool Review | Pretty Handy Girl

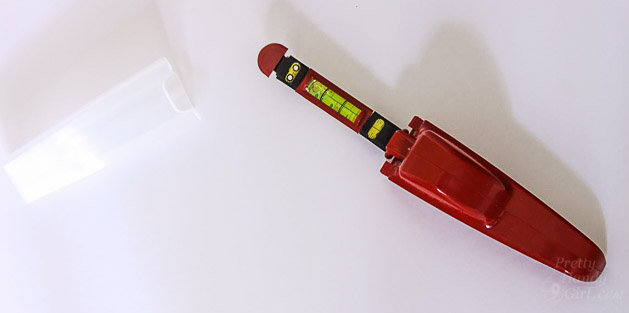
This is one of the multitude of gadgets that gets sent to me for review. Most don’t make it to the light of the blog. But, this little gadget has proved useful in my toolbox. Stick around to learn how you too can Hang Art easily using Hang-o-Matic. And why I gave this little tool a second chance.

The creators of Hang-o-matic sent me this tool to try out. The first one I received was defective. The moveable clip was loose and wouldn’t stay put. I explained to the creators that I didn’t like the tool because the point wouldn’t stay where it was set. Apparently there had been some production issues and they shipped me a second one. I was doubtful, but after trying the tool a handful of times, I have to admit it is the perfect tool when you are hanging art, decor, or mirrors that have two hooks.

Instructions for Hanging Art Easily using Hang-o-Matic:

Remove the cover from the ruler/level section.

Hang-O-Matic Wall Hanging Tool Review | Pretty Handy Girl

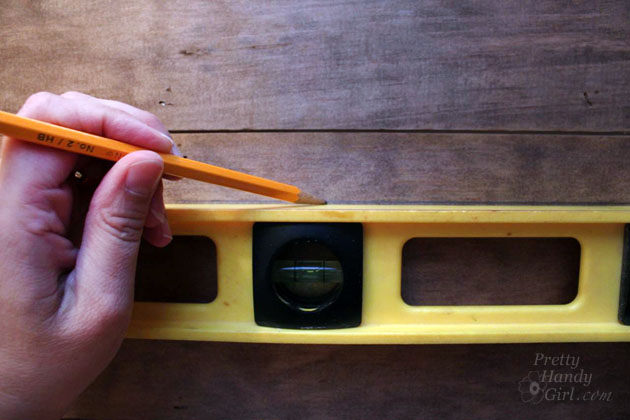
Mark the height you want to hang your art with a pencil. Read more

Pros and Cons of 4 Types of Picture Hangers

Pros and Cons of 4 Types of Picture Hangers

Hello! It’s Jessica, from Decor Adventures and I’m back this month with some very handy tips to help hang items up on the wall. Do you ever wonder which picture hanger to use? Did you know there are several ways you can hang things up? From curtains to art and mirrors to lightweight decorations — there are many options for hanging (and sometimes you don’t even have to put a hole in your walls.)

I live in a 115 year old house that has both plaster and drywall, and I’ve experimented with many types of ways to hang items on the walls. Today I’ve compiled The Pros and Cons of 4 Picture Hangers.

1. Picture Hooks and Nails:

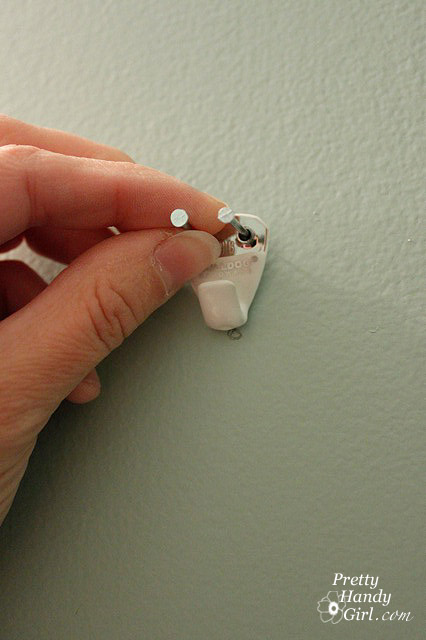
This is probably the most common way to hang up items. Simply mark where your item will go and hammer in your nail and hanger. Brittany shows you how to hang up items when putting together a gallery wall here.

insert-nails-into-hanger

Pros:

Hooks and nails come in many lengths so they can work well in most walls and are easy to use. They are also affordable and go into a wall quickly. All you need is a hammer.

Cons:

Hooks and nails don’t always work in every wall type and can rust. They can’t be used in plaster walls. When hanging heavier art, you need to find a stud to nail into. Read more

Sport Gear Storage in a Small Space | Pretty Handy Girl

My home is protected by ninjas! Well, actually Tae Kwon Do athletes, but they are ninjas in training. So, don’t even think about breaking into our house or they will open up a can of whoop ass on you! 😉

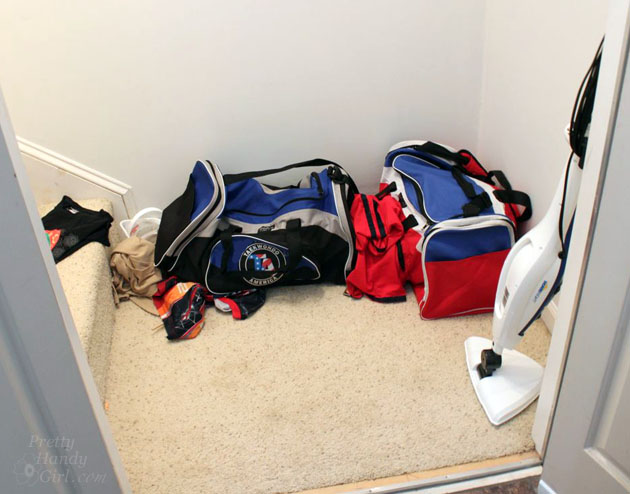
Unfortunately, where my boys are plentiful in kicking and punching skills they lack in the picking up your stuff department. Which means that the bottom of the stairway to our bonus room is usually the dumping ground for their gear bags, clothing and gear.

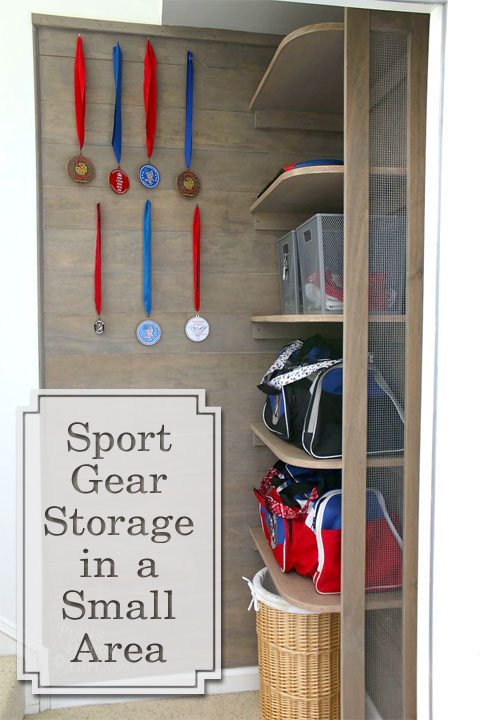
Sport Gear Storage Shelves in a Small Space | Pretty Handy Girl

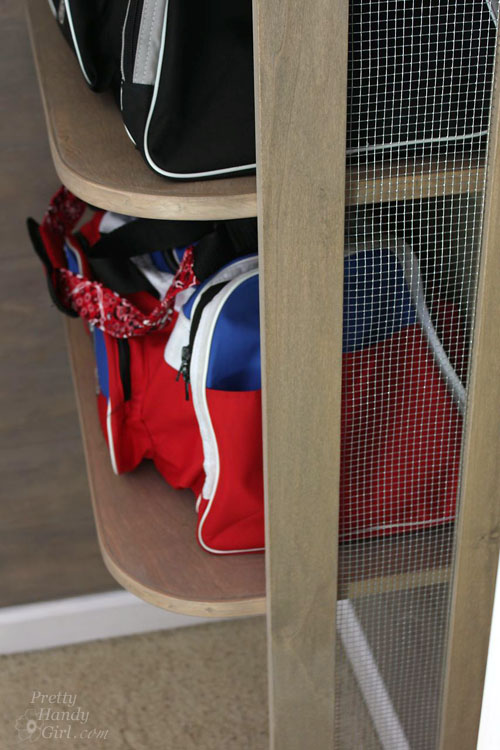
I knew I could “up” the amount of storage we had in this small unused space by going vertical. I designed and created Sports Gear Storage Shelves in the small space at the base of our bonus room stairs. Adding mesh siding gives the storage system a locker vibe and allowed for better air flow around stinky sports gear.

Sport Gear Storage Shelves in a Small Space | Pretty Handy Girl

Want to know how to build your own Sport Gear Storage Shelves? Hang out for a while and I’ll walk you through the step-by-step tutorial.

Materials:

Cut List:

  • 5 – 15″ x 24″ plywood (shelves)*
  • 5 – 1 x 3 x 15″ (shelf cleats)
  • 5 – 1 x 3 x 23″ (shelf cleats)
  • 2 – 1 x 3 x 88″ (sides of support frame)
  • 2 – 1 x 3 x 4.5″ (top & bottom of support frame)
  • 1 – 5.5″ x 84″ piece of wire mesh
  • Rip edge banding 1/4″ thickness from one 1 x 3″ board

* You should be able to get a sixth shelf cut from your plywood if you wish to use it for a base.

Instructions:

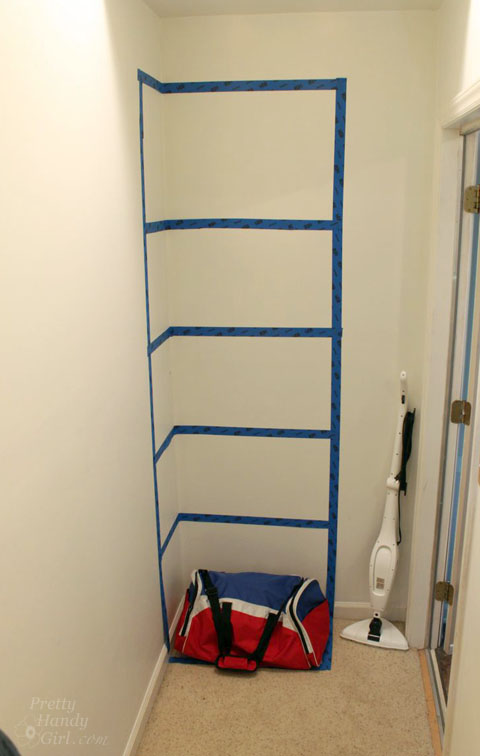
Before beginning to build, sketch out your design with painter’s tape. Take note of the height of any baskets or gear bags you will store on the shelves. This should give you the ability to visualize the storage shelves and make any alterations to your design before you build. Once you are happy with the layout, write down your shelf heights.

Sport Gear Storage Shelves in a Small Space | Pretty Handy Girl

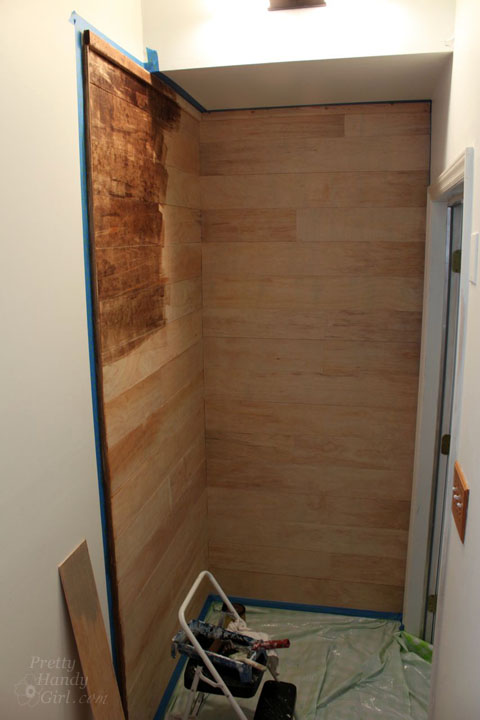
You may wish to clad the walls in wood planks like I did before you build the shelving. If you decide to add the planks, here’s the tutorial for planking your walls.

Sport Gear Storage Shelves in a Small Space | Pretty Handy Girl

Measure and mark the heights of your shelves.

Sport Gear Storage Shelves in a Small Space | Pretty Handy Girl

Using a level, draw a pencil line where the shelves will rest.

Sport Gear Storage Shelves in a Small Space | Pretty Handy Girl

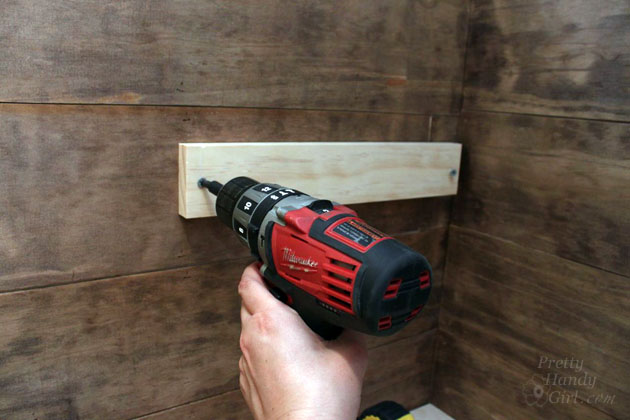
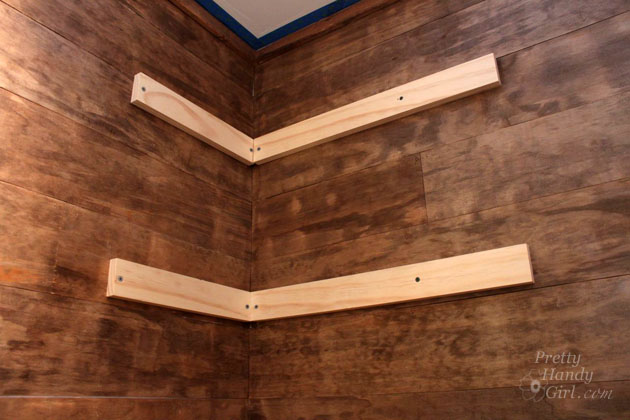
Secure the 1×3″ cleats below the pencil line using 2 1/2″ wood screws into studs.

Sport Gear Storage Shelves in a Small Space | Pretty Handy Girl

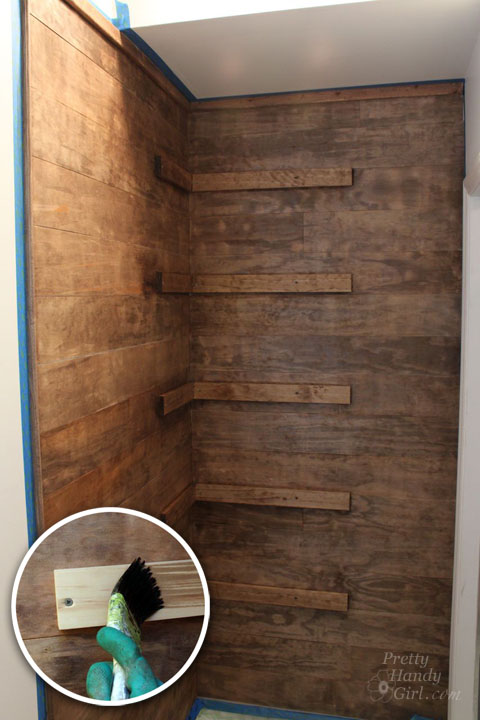
Continue securing shelf cleats to the wall with screws into available studs.

Sport Gear Storage Shelves in a Small Space | Pretty Handy Girl

Paint or stain the cleats to match the wall color.

Sport Gear Storage Shelves in a Small Space | Pretty Handy Girl

Building Curved Shelves with Edge Banding: Read more

5 Ways to Find a Wall Stud (without a stud finder) | Pretty Handy Girl

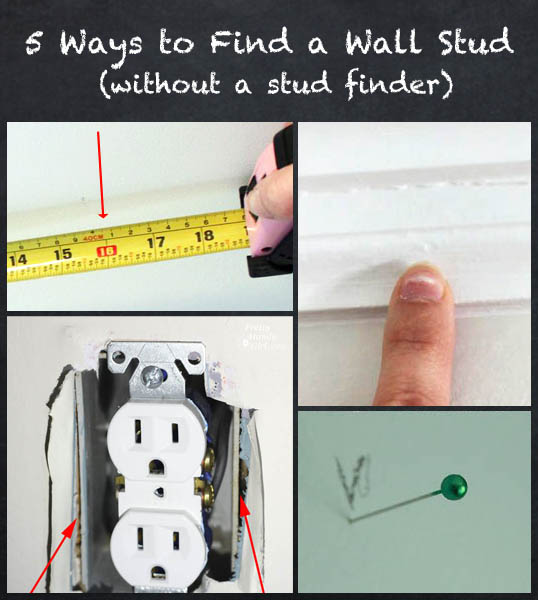
Using a stud finder is the quickest and easiest way to find a stud. But, if you don’t have one or are too lazy to find yours (I’m often guilty of this), you can use one of these ways to find a stud.

5 Ways to Find a Wall Stud (without a stud finder) | Pretty Handy Girl

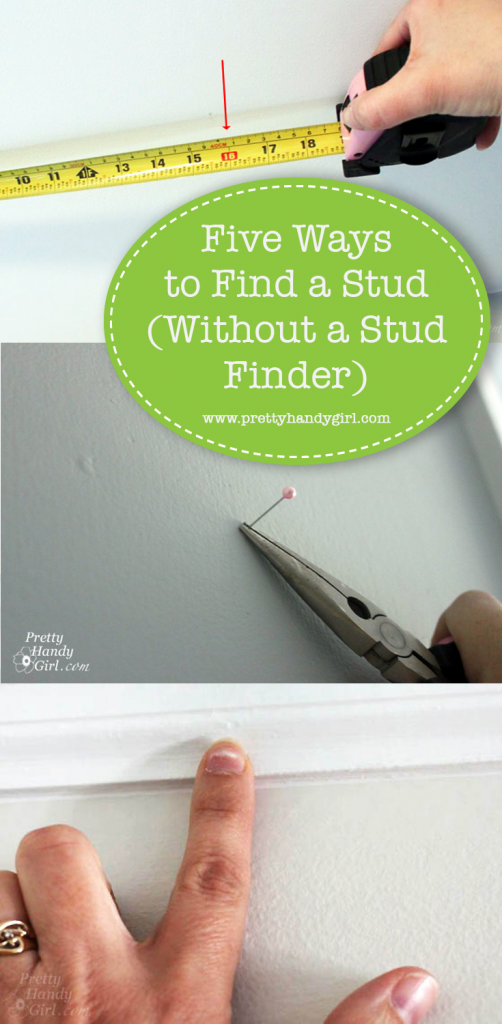
5 Ways to Find a Stud (without a Stud Finder)

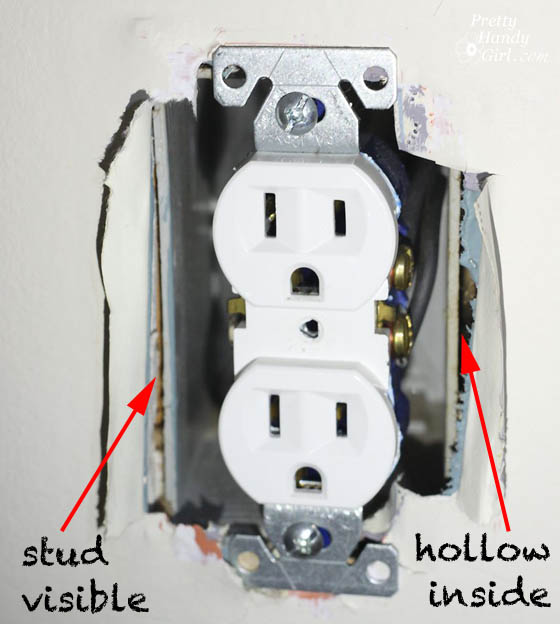
1. Measure from an outlet – remove an outlet cover and inspect the outsides of the box. One side will usually be nailed to a stud.

stud-visible-from-outlet-box

Then measure out to the left or right at 16″ intervals. US building code requires wall studs to be spaced at least 16″ on center (meaning the center of the studs.) This will help you locate studs. However, recognize that in locations near doors/windows or openings there may be a stud at less than a 16″ interval.

5 Ways to Find a Stud

2. Look for popped nails or dimples on the wall – It doesn’t always happen, but in older houses you might see nail pops where the drywall was nailed to a stud. In newer construction this is less likely to happen because screws are used.

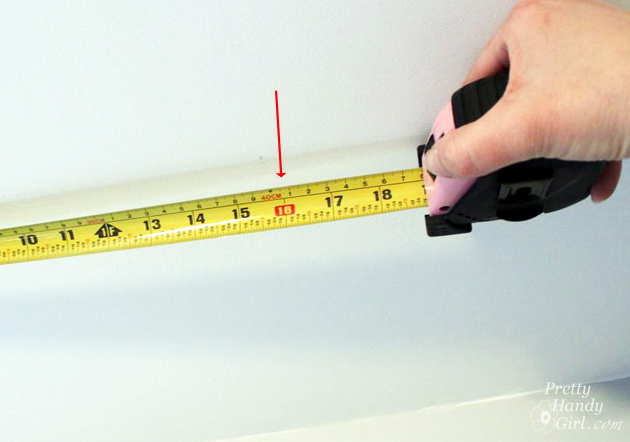
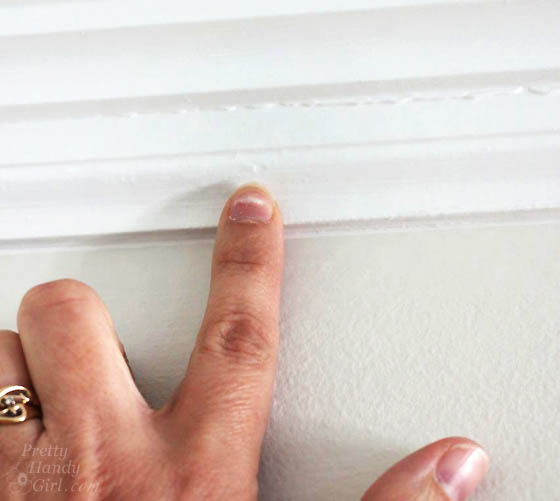
3. Look for nails in your baseboard or crown moulding – inspect your crown or baseboard moulding for nails that might indicate where it was attached to a stud.

locate-nail-in-moulding

4. Knock on the wall – You should use this method in conjunction with the methods described above. Use your knuckle to knock along the wall horizontally. A stud location will have a higher pitched sound and feel hard against your knuckle. Lack of a stud will have a lower pitch and hollow sound.

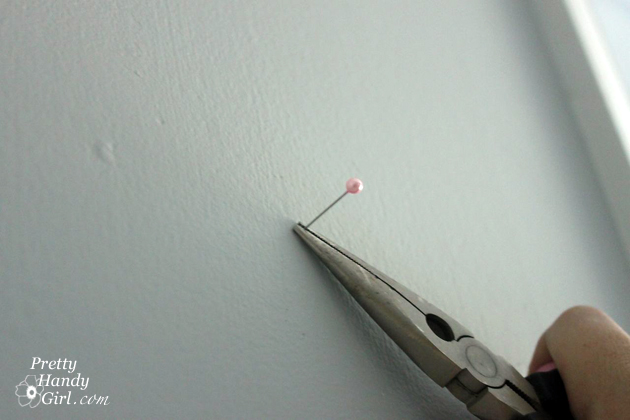
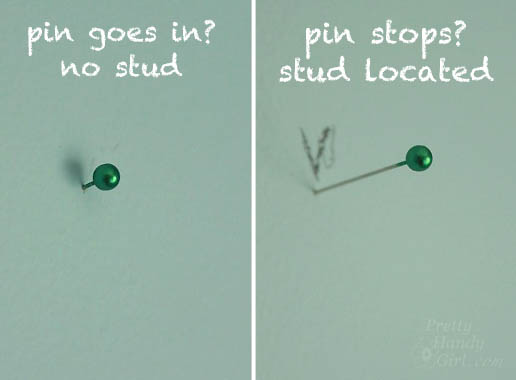
5. Use a small pin – Once you think you’ve located the stud, use a small quilter’s pin to verify that you found the stud.

Wall-mounted IKEA LILLÃ…NGEN Mirrored Cabinet turned Stuffed Animal Storage | Pretty Handy Girl

If the pin sinks in up to the head, there is no stud there. If the pin sinks in about 3/4″ and then stops, you found the stud.

pin-locating-studs

The pin method will save you the hassle of creating a larger hole only to realize that you missed the stud.

Okay, now go find your stud! {snicker, hee hee}

PHGFancySign

Pin for later!

how to find a stud without a stud finder