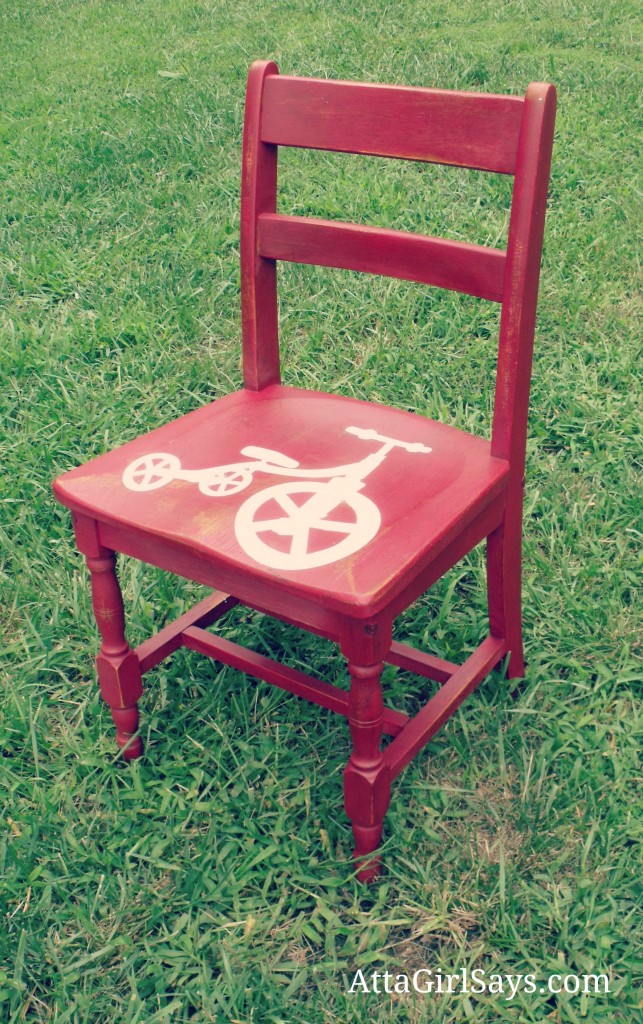
Last month, I was a little nervous to try a new power tool. I know…I know…shock and disbelief! But, y’all came to my rescue and helped share all your tutorials for using the Silhouette and other craft cutters. You really have to see all the wonderful projects that were linked up, like Atta Girl’s Tricycle Chair:

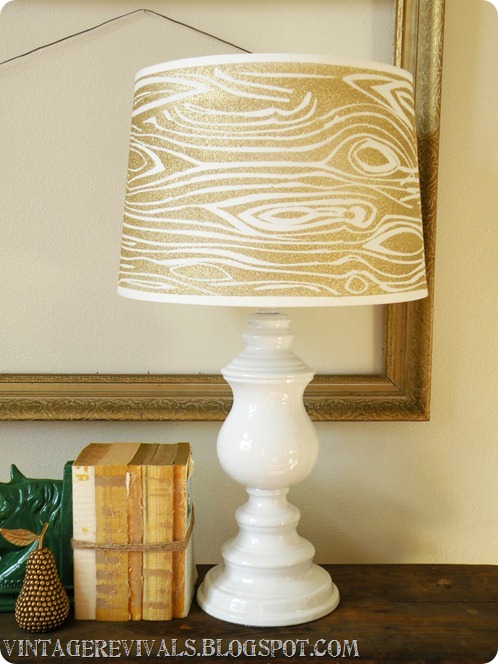
And Vintage Revival’s Wood Grain Lamp:

and I yelled “Stick a Fork in Me I’m Done Procrastinating!” when I laid eyes on All Things Thrifty’s Knife and Fork curtains:

After reading all your project tutorials, I was able to get a handle on my fear of the unknown and try out the Silhouette. Read more

How many of you are moms (raise your hands)? And how many of you moms out there have rambunctious kids home for the summer? So, y’all with your hands raised will likely recognize this:

That was my cute adorable bird salt shaker that was obviously the brunt of some serious fun my boys were having. Grrrrrr.

And so the time had come to get those boys outside. No matter that the temperature was 102F with a heat index warning. Enough is enough! There was the safety of small innocent birds to worry about.

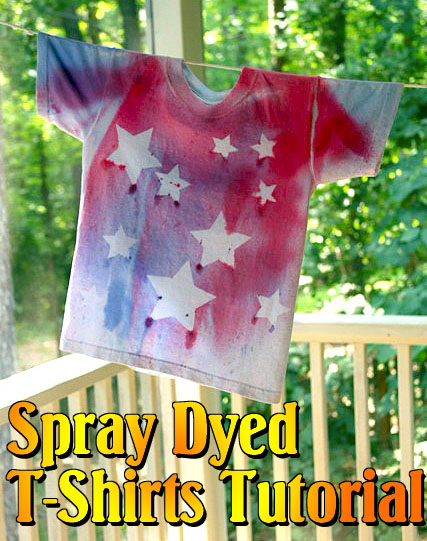
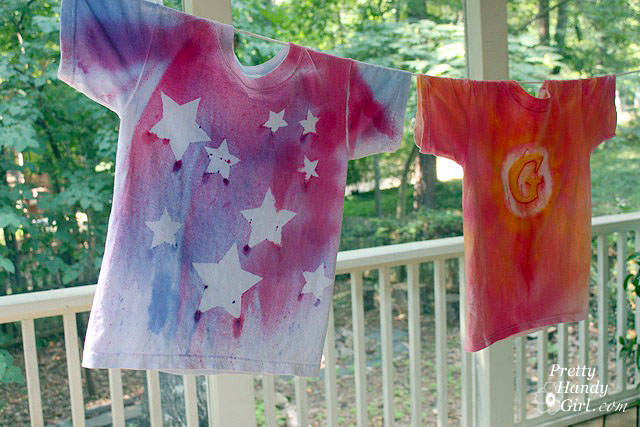
I came up with a fun plan to let my boys make their own t-shirts with spray bottles filled with dye and some ScotchBlue painter’s tape. The results were beautiful and unique!

Read more

Pottery_barn_like_organizational_box

I love a challenge. If you hold an object up to me and ask me how it can be transformed, I can usually name a few different things. So, when the Elmer’s #Look4Less Challenge was introduced, I jumped at the opportunity!

For this challenge I chose to recreate Pottery Barn’s Sliding Chalkboard Wall Organizer. I loved the idea of a sliding board and a bulletin board in the back. But, I especially loved the rustic wood look.

However, I wasn’t crazy about the price. (Obviously that didn’t stop the item from selling out!) So, if you want one for yourself, I’ll save you $100 and show you how to make your own!

My version cost approximately $30 (cost estimate based on materials used. If I used a 1/2 can of spray paint I calculated half the cost.) Personally, I spent about $10 out of pocket on this project because I had a lot of the supplies already. Plus, Elmer’s was kind enough to sent me some of the materials to make the project (shown as links below.)

Be sure to read the end of this post to learn how you can win your own Elmer’s materials!

In addition to the new art supplies, I bought an old drawer to use for the structure of my organization unit. I paid — are you ready for this — two dollars at our local Habitat ReStore! Seriously, only $2 for the main component of my wall organizer unit.
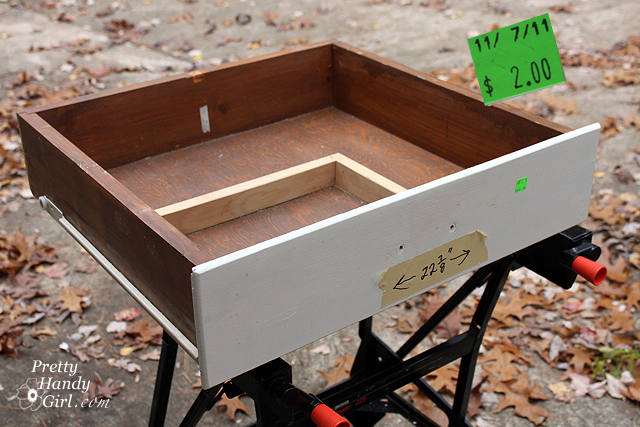
Here is a list of the rest of the supplies I used:


  • Krylon chalkboard spray paint
  • Drawer
  • Damp rag
  • Painter’s drop cloth
  • Batting
  • Wooden ruler
  • 1 Knob
  • Washers
  • Rustoleum brown spray primer
  • Behr glazing liquid
  • Valspar mocha glaze
  • Acrylic or latex paint (dark brown tester sample)
  • Acrylic or latex paint (light tan tester sample)
  • Wood putty
  • Saw
  • Hammer
  • Drill and drill bits
  • Handsaw
  • Brad nails
  • Finish Nail
  • Construction glue
  • Clamps
  • Pencil
  • Trim molding
  • 1″ x 1″ wood strips (or square dowels)
  • Duct tape

Prepping the drawer:

Remove any hardware from the drawer. Use a handsaw to trim off the sides of the face of the drawer. You want the sides to be flush with the sides of the drawer. The top and bottom of the face can extend beyond the drawer.
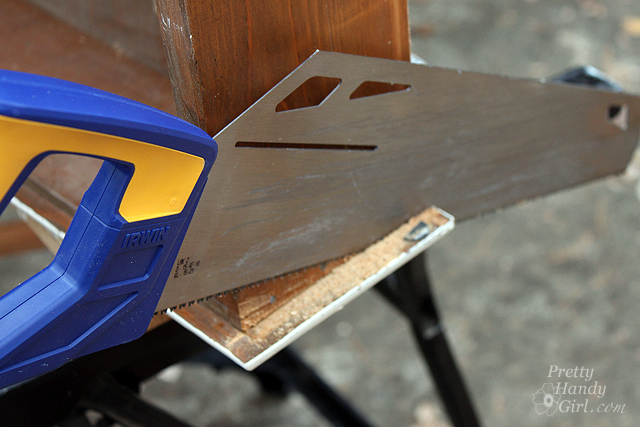
Orient the drawer so the face is now the bottom of the wall organizational unit. The rear panel of the drawer is now the top of the unit.

Add decorative trim molding to the top as shown:
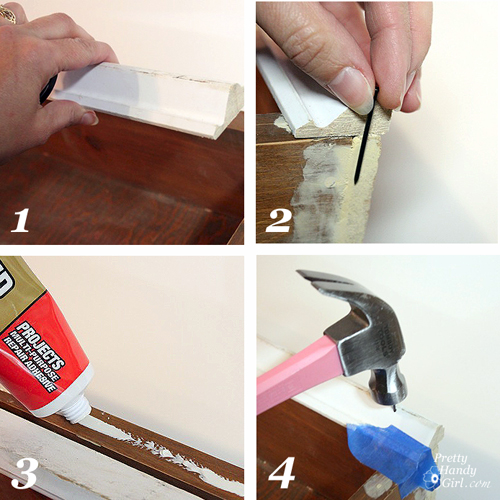
  1. Cut decorative trim molding to the width of the top of the unit/drawer. (Check with your local Habitat Restore for inexpensive trim.)
  2. Choose a finish nail that is long enough to go through the molding and into the drawer. Drill a few pilot holes into the molding (to avoid splitting the wood when you hammer a nail into it.)
  3. Run a bead of construction glue on the top of the drawer. Lay the molding on top of the glue.
  4. Use finish nails to hammer through the pilot holes and attach the molding to the drawer.

Wipe off the drawer/unit with a wet rag.


Faux painting the unit:

If you are dealing with a mixture of wood finishes (some paint, some stain), you will want to prime and paint your unit. I decided to give mine a faux rustic wood treatment (because I love that rustic wood look!) Here are the basic steps:
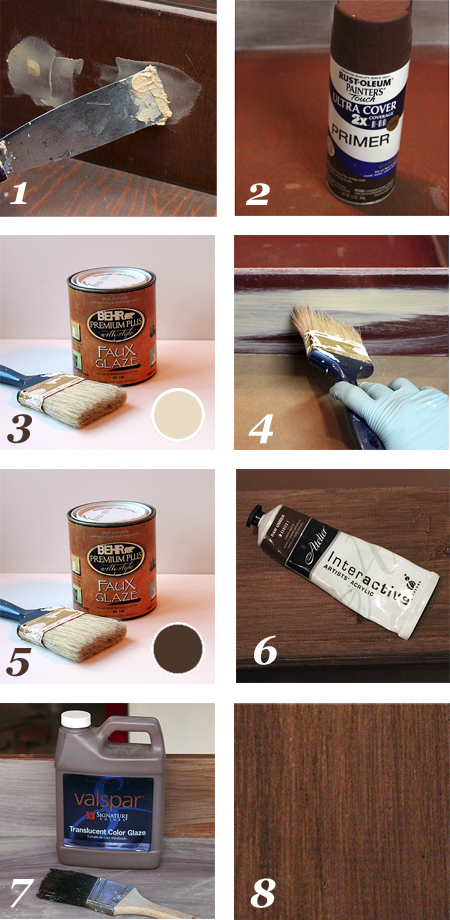
  1. Use wood putty to fill any holes or cracks. After the putty has dried, sand it smooth. Wipe off any dust from the wood using a damp rag.
  2. Prime the entire box (minus the back) with Rustoleum brown primer.
  3. Mix 1 part glaze to 2 parts light tan paint.
  4. Brush the mixture onto the unit using a tattered paint brush. Keep the strokes in long lines to mimic wood grain.
  5. Let that layer dry. Mix 1 part glaze to 2 parts dark brown paint.
  6. Brush it on the unit using the same technique as step 4.
  7. Finish up by brushing a coat of Vaspar Mocha glaze over the entire unit.


Creating the bulletin board:

After the glaze has dried, cut a piece of Elmer’s White Foam Board the dimensions of the inside of the drawer/unit.
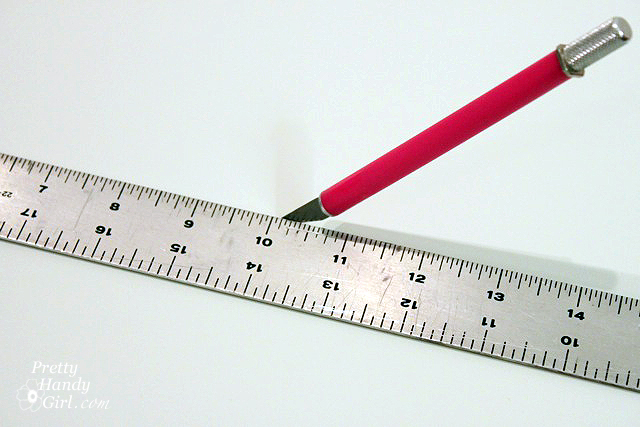
Cut a piece of batting the same size as the foam board.

Cut a piece of painters’ drop cloth 2-3″ wider (on all sides) than the foam board.

Layer the drop cloth, then the batting and top it with the foam board.

Wrap the edges of the drop cloth around the foam board and secure it with duct tape.

Add a few Elmer’s CraftBond Glue Spots Pop-up Medium to the back side of the foam board and press the board into the back of the unit. Instant bulletin board!


Adding a graphic letter to the bulletin board:

Print out a large letter, number or symbol. Cut out around the shape using an x-acto knife.
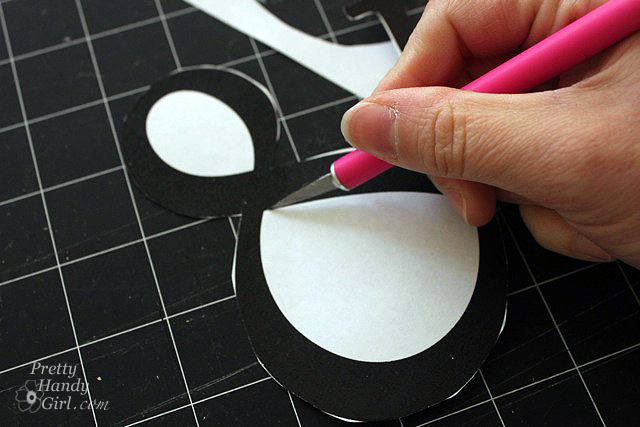
Position the cut out onto the bulletin board and trace around the edges lightly with pencil.Use an Elmer’s Painters gold paint marker to color inside the pencil tracing.
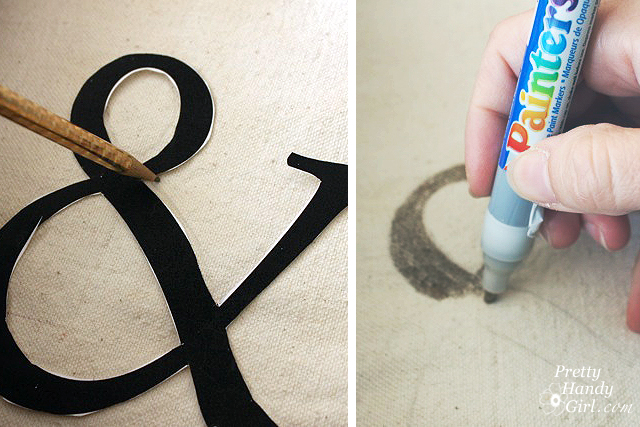
 

Creating the sliding chalkboard:

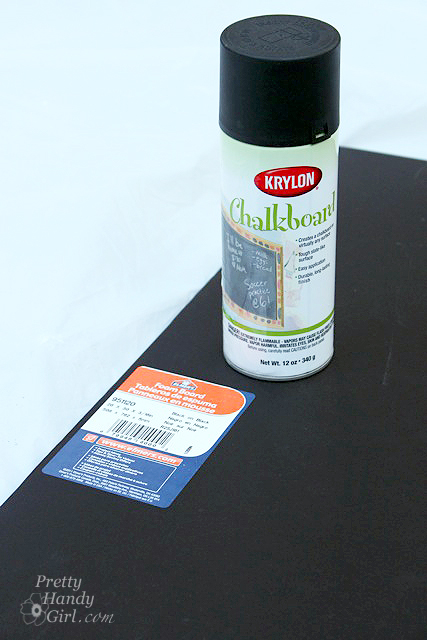
Cut the Elmer’s Black Foam Board the height of the interior of the drawer/unit and about 1/3 the width.

Spray the black foam board with the chalk paint. Add 1-2 more light coats per the directions on the can.
Measure the interior width at the top and bottom of the organizational unit. Cut two 1″ x 1″ strips of wood (or square dowels) for the top and 2 strips for the bottom. Drill a hole in each end of the strips.
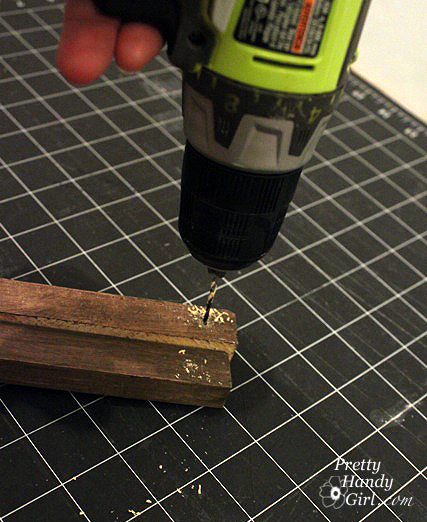
Measure out 1″ from the bulletin board, on the bottom of the unit. Mark this location. Repeat for the top . Run a bead of construction glue onto the bottom of the wood strip and then adhere it to the bottom of the unit at the 1″ measurement mark.

Hammer brad nails into the predrilled holes. Repeat for the top of the cubby. (Two 1″ square strips are shown, but only install the back ones at this time.)

If the chalkboard paint has dried, rub a piece of chalk all over the board to season it. Wipe it clean with a dry cloth.

Drill a hole into the chalkboard where you want the handle. Feed the handle through. Add washers to the backside of the chalkboard if you need to take up some of the slack on the screw.
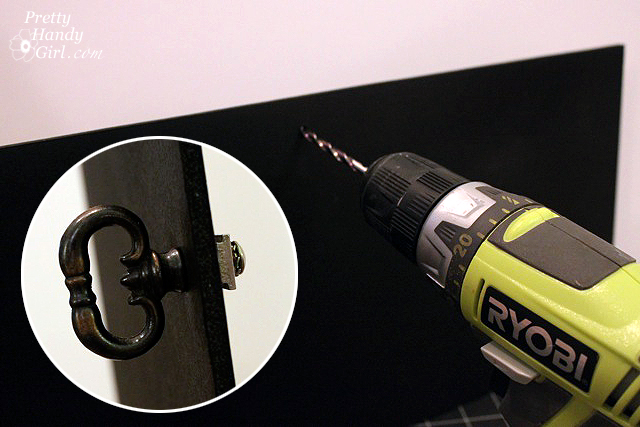
Insert the chalkboard into the wall unit and rest it against the first strip. Add the second strip in front of the chalkboard and attach it the same way you did above.

Be sure that the wood strips are not too snug against the chalkboard. The board should have enough freedom to slide back and forth freely.


Finishing touches:

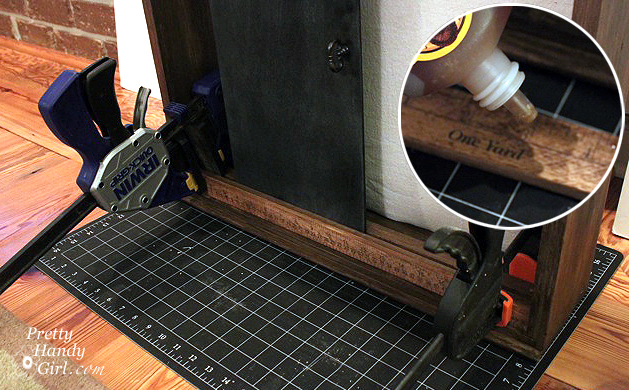
If you want to give your ruler some age, rub a walnut stain onto the wood. Let it dry. Glue the wooden ruler to the front of the wood strip on the bottom using construction glue.

Clamp the ruler in place and let it dry overnight.
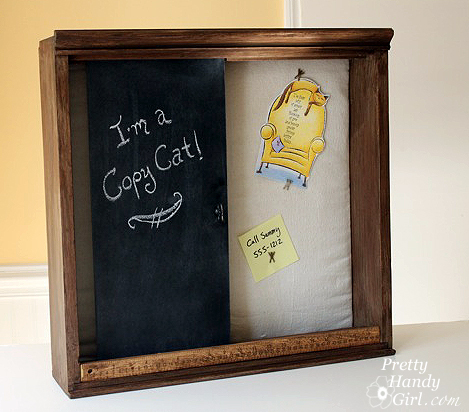
Add your pushpins and a message to the chalkboard and enjoy your efforts! You just saved yourself $100!!! Woot!
If you want instructions for hanging the unit, check out this post on hanging objects on the wall (the right way) the first time.

I’m pretty pleased with my Pottery Barn copy cat. Not to be mean or anything, but I like mine better because of the ruler,

the decorative crown molding,
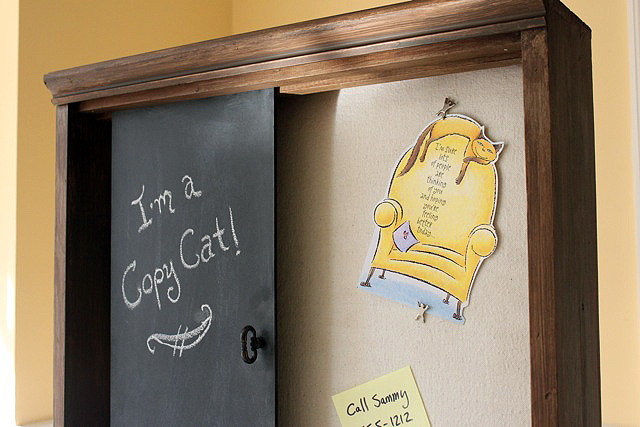
and most of all for the price!!!
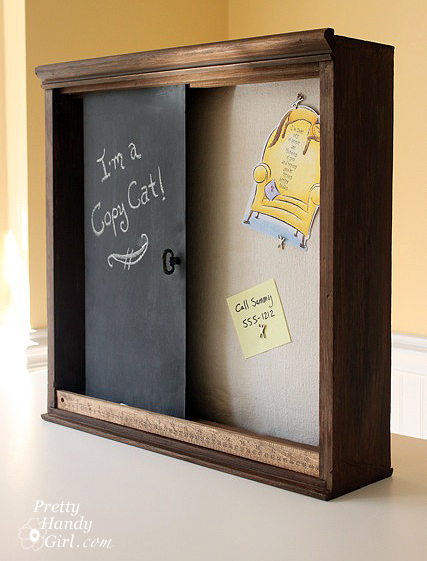

Do you like my Pottery Barn knock off? Or does it still look like an old discarded drawer to you?


Disclaimer: This project has been compensated as part of a social shopper insights study for Elmer’s #gluenglitter #collectivebias #CBias. I was paid a small fee and sent some Elmer’s products. However, the ideas and opinions expressed in this post are solely mine.

Sharing with Sawdust and Paper Scraps – Build{hers} Link Party

Did you like this post? Want to be notified when there are more fantastic tutorials by Pretty Handy Girl? Sign up to receive emails in your inbox:

Enter your email address:

Delivered by FeedBurner

Or follow me on Twitter or Facebook so you can be the first to know!


When Courtney (The Joy of Decorating) organized the Raleigh group for I <3 Thrifting Day she took us to an “off the beaten” path shop. Tucked into an industrial zone off Capital Blvd. in Raleigh, you would miss it unless you were specifically looking for it.

Here are just a few of the inspirational photos I took on my visit to Revival Antiques & Accessories:

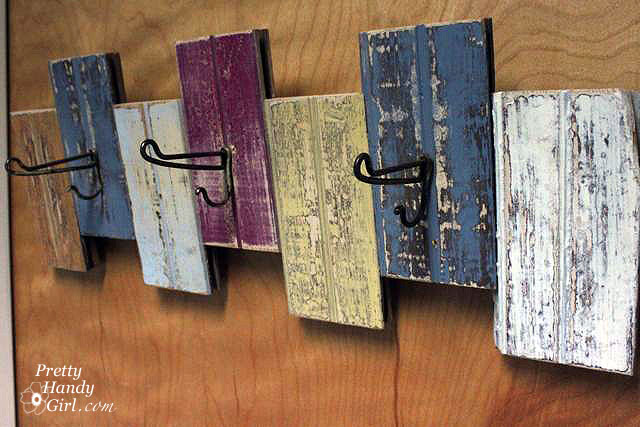
Old bead board or flooring pieces cut, painted and turned into a coat rack!
 

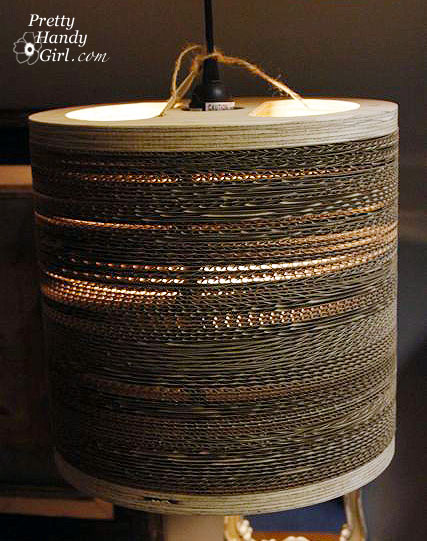
A pendant light made from corrugated cardboard!

Here’s a closer look at the cardboard.

Give me chippy paint or give me death! Okay, I know I’m being dramatic, but I seriously love anything rustic with chipping paint.

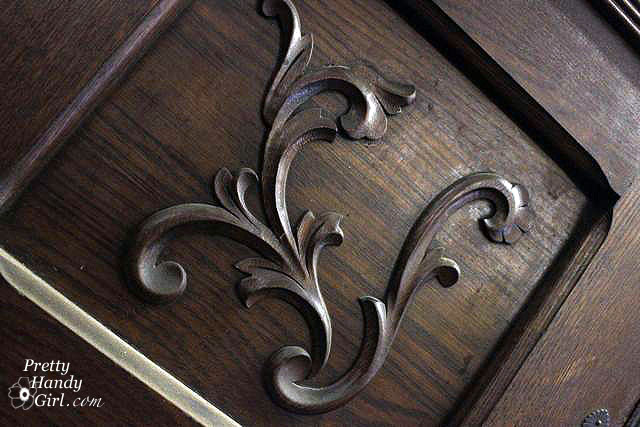
Decorative scroll embellishment on an armoire.

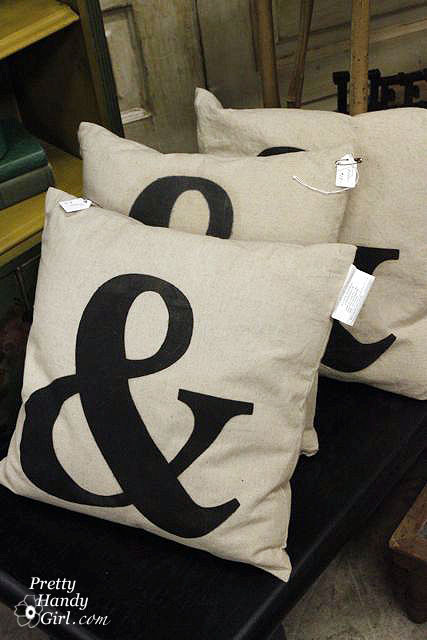
Just think how easy these ampersand pillows would be to make!

Hello, does this vignette remind you of Miss Mustard Seed? Me too.

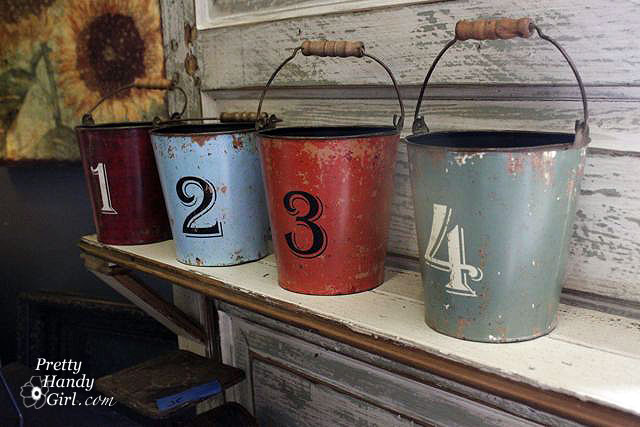
Painted and numbered chippy buckets.

Another scale and a buggy wheel. Makes my wheels churn thinking what I could make with it.

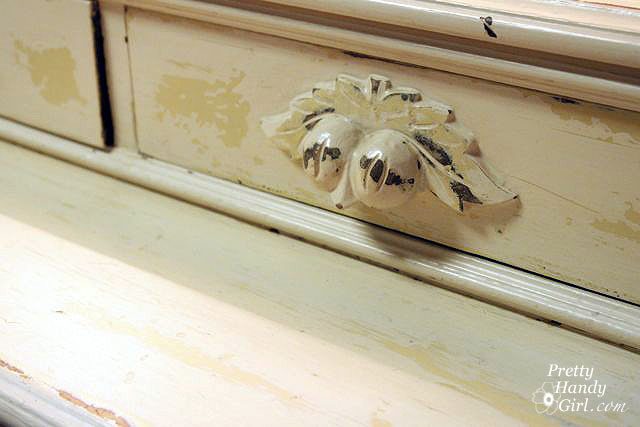
I just love the detail on this drawer pull (and of course the chippy paint.)

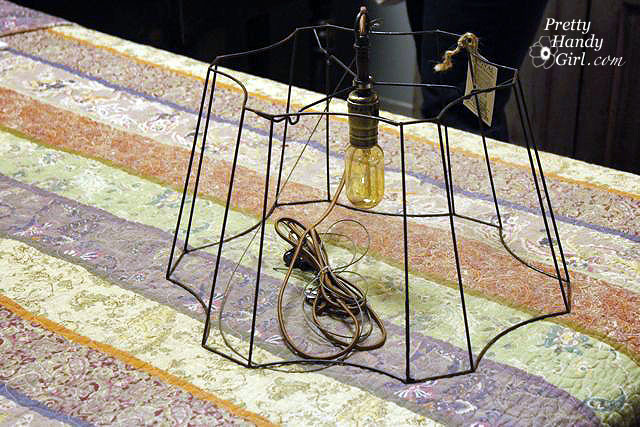
Bare wire framed pendants are very popular right now.

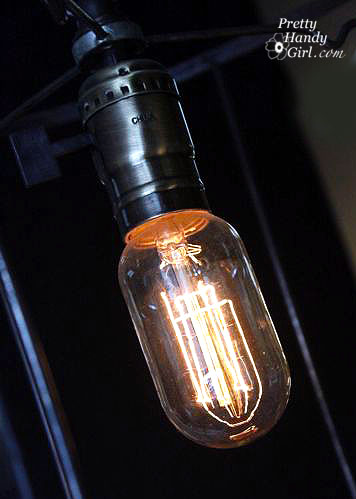
I think I like the pendant even more because of the antique light bulb.

Antique cameras are sculptural and easy to decorate with.

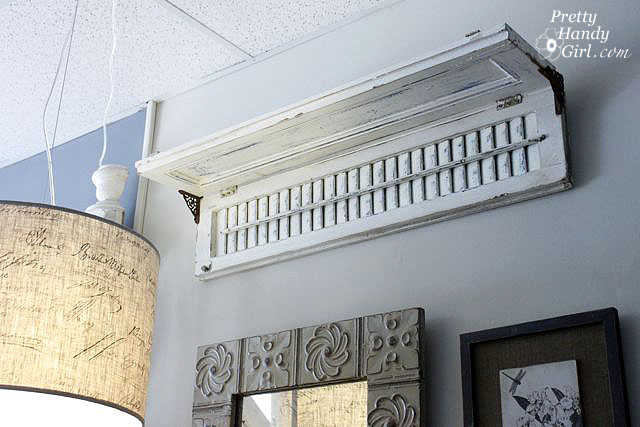
I spotted this shelf made from old shutters.

Or you could turn an old shutter into a coat rack.

This armoire is too stunning for words!

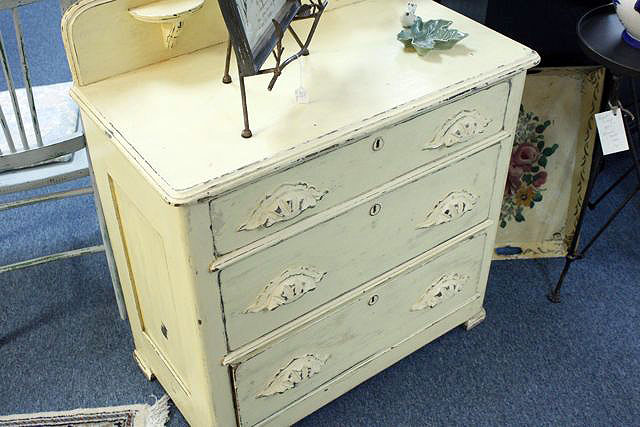
If I owned this dresser, her name would be buttercup.

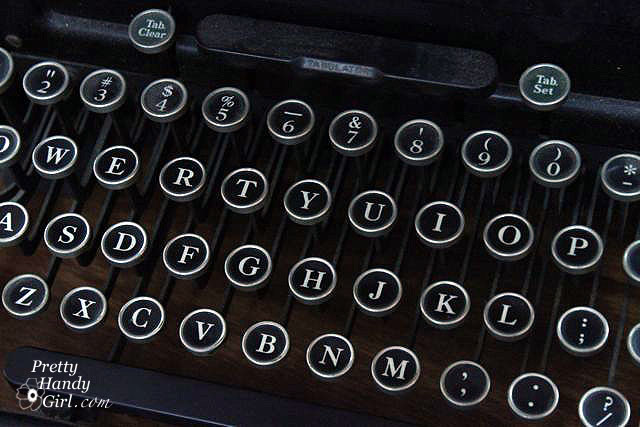
Old typewriter keys are just graphic goodness.

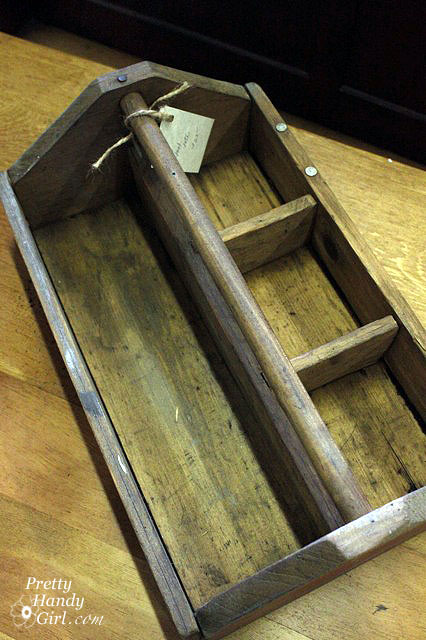
This tool caddy is adorable, but I bet it would be easy to make. I think I could use Julie’s (Follow Your Heart Woodworking) tool caddy tutorial that appeared on Funky Junk Donna’s.

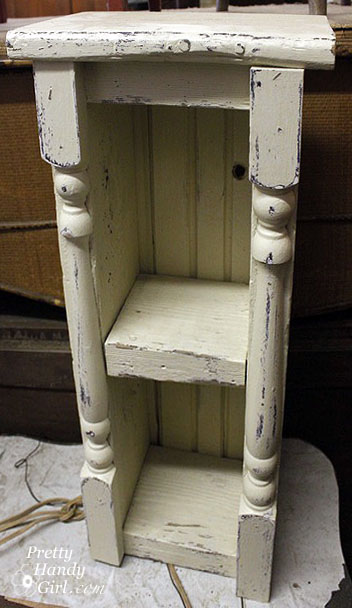
A cute little nook shelf. Complete with (you guessed it) chippy paint and beadboard.

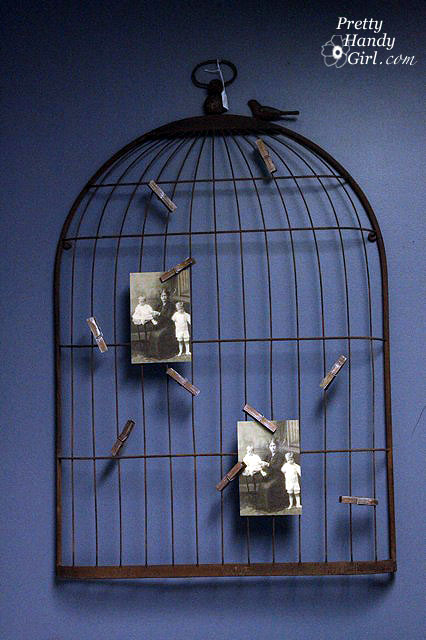
This birdcage photo display gives me a few ideas. How about you?

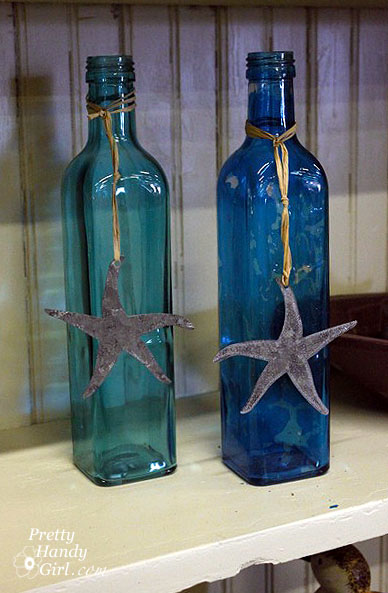
2nd only to chippy paint, I love blue bottles!

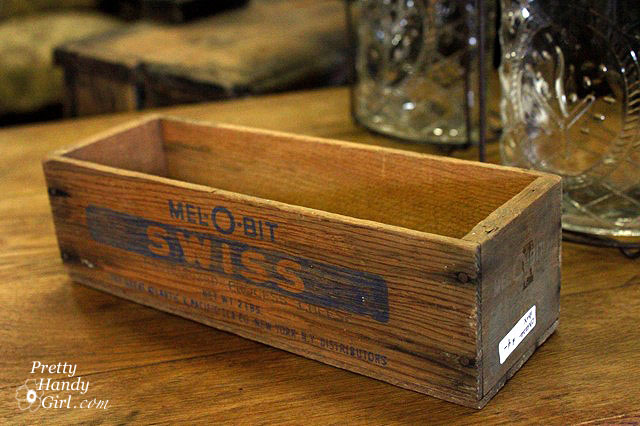
Little antique crates can be found everywhere at ReVival Antiques.

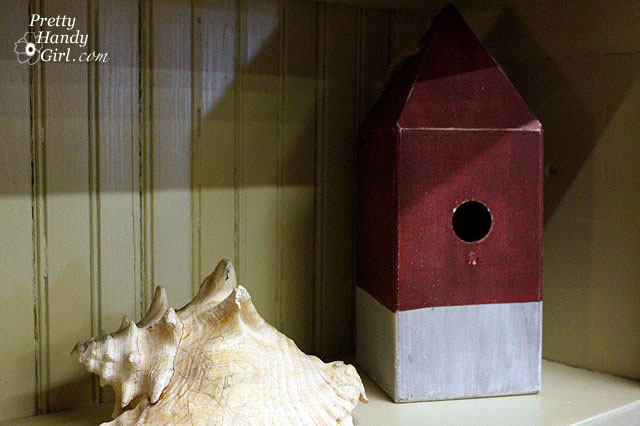
A buoy birdhouse! How adorable.

{Yawn!} That’s it for today, I’m ready for my cat nap.

If you liked anything you saw in this post, be sure to visit or contact:

Revival Antiques & Accessories
1505 Capital Blvd, Suite 14-A
Raleigh, NC 27603

919-833-3444
www.revival-antiques.com

Disclaimer: This is NOT a sponsored post. Revival Antiques doesn’t know me, they didn’t poke or prod me to write this. It is just one of those places that I thought you might like to visit with me. So, I brought you along for the visual tour.

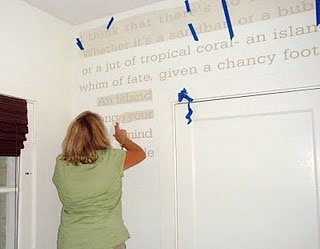
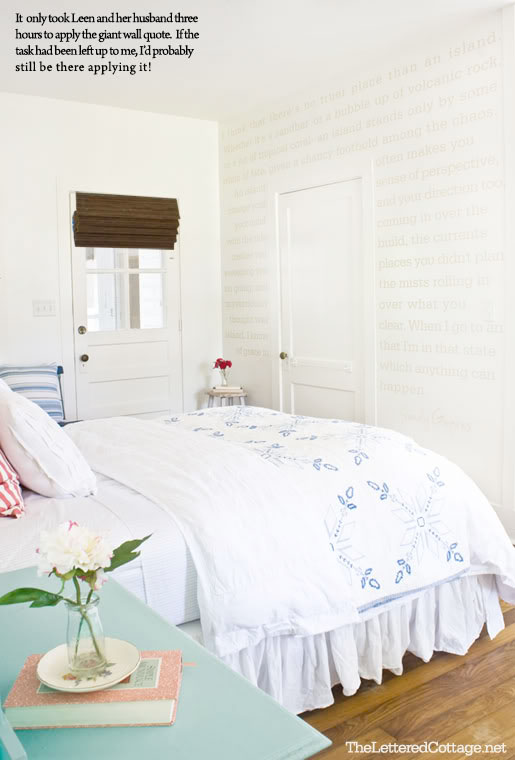
I had the opportunity to meet Leen the Graphics Queen last week when she, her husband and her two sweet boys were in town. We met at Monkey Joe’s (an inflatable playground) and our boys had a fun and energetic afternoon playing together. If you haven’t heard of Leen, she is widely known in the decorating blog circles as the go-to gal for wall decals and vinyl. She helped Layla & Kevin install an ENTIRE wall of words for a beach cottage makeover.

Beautiful, don’t you think?!

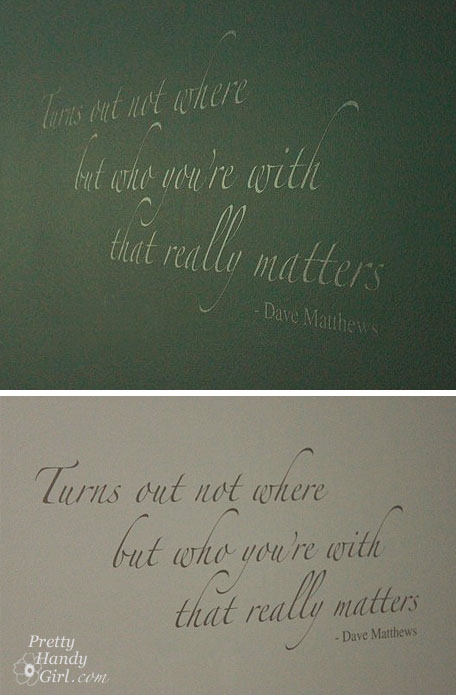
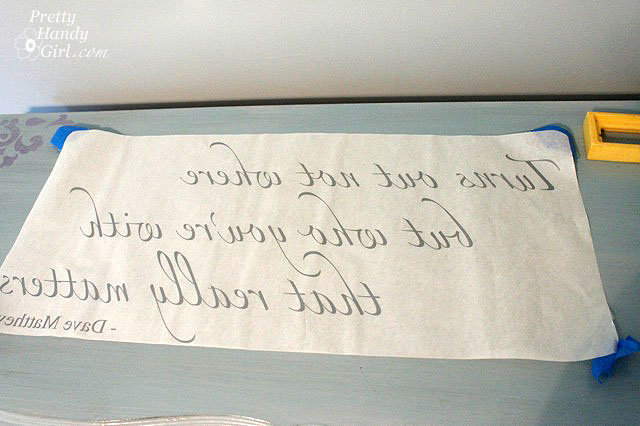
I asked Leen to make me a custom quote for our bedroom wall, the one where I had agonized over what phrase to put. After months of thinking about quotes, one came to me and I knew it was the quote for us. You see Pretty Handy Guy and I are HUGE Dave Matthews Band fans, and this lyric has special meaning to us:

Leen sent me a few samples of vinyl colors to help me decide. I fell in love with the silver vinyl which changes color depending on the lighting and where you are standing in the room (as shown above.)

If you’ve never installed vinyl before, it isn’t terribly difficult, but it does help to know a few tricks of the trade. Here is how I learned to install vinyl (back in the days when I worked for the sign and banner company):

Materials:

(I’ve included affiliate links for your convenience. I earn a small percentage from a purchase using these links. There is no additional cost to you. You can read more about affiliate links here.)

Installing a Wall Quote:

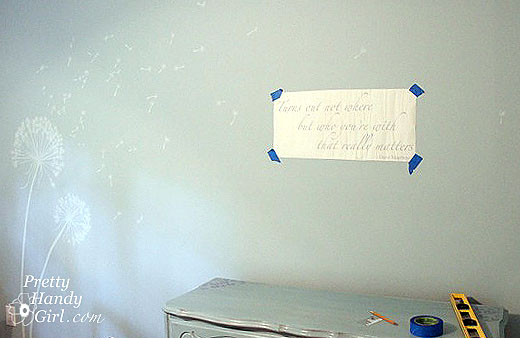
Start by hanging your vinyl (front, lettering, backing and all) on the wall using painter’s tape to hold it. Adjust the location until you like where the decal will rest.

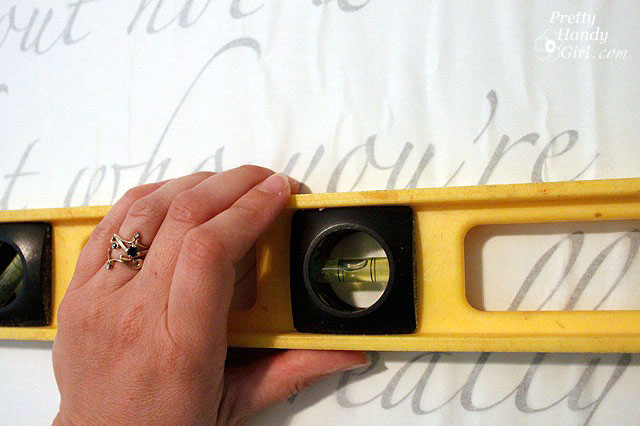
Set a level up against the bottom of the middle line of text. Adjust the placement of your decal until the type is level.

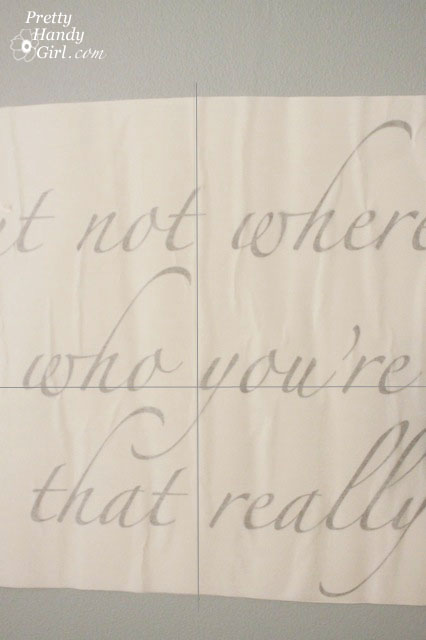
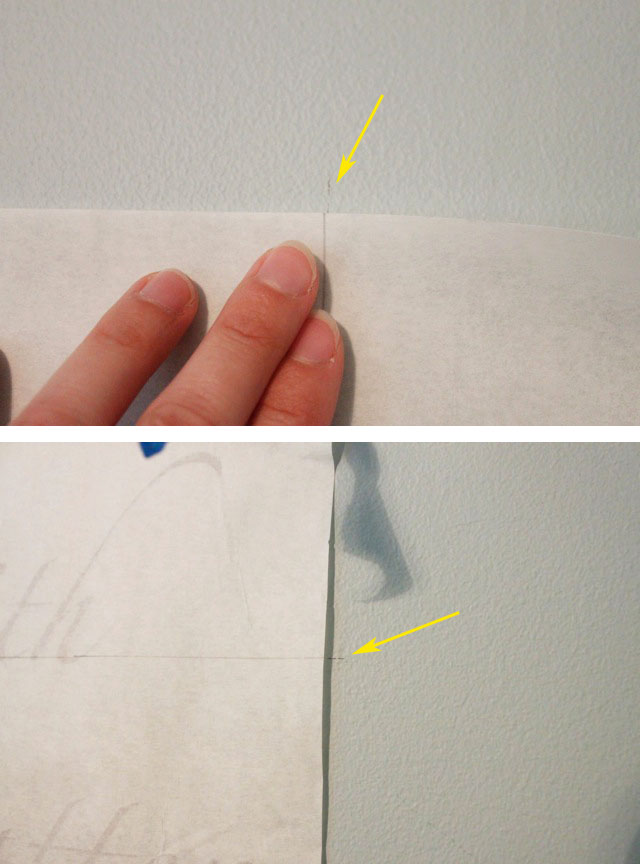
Draw a level horizontal line across the paper and let the line extend slightly onto the wall. Make a vertical line that is plumb (level up and down) and be sure to extend your line slightly off the paper and onto the wall.

You should now have intersecting lines that run vertical and horizontal on your wall graphic and four small tick marks extending onto the wall.

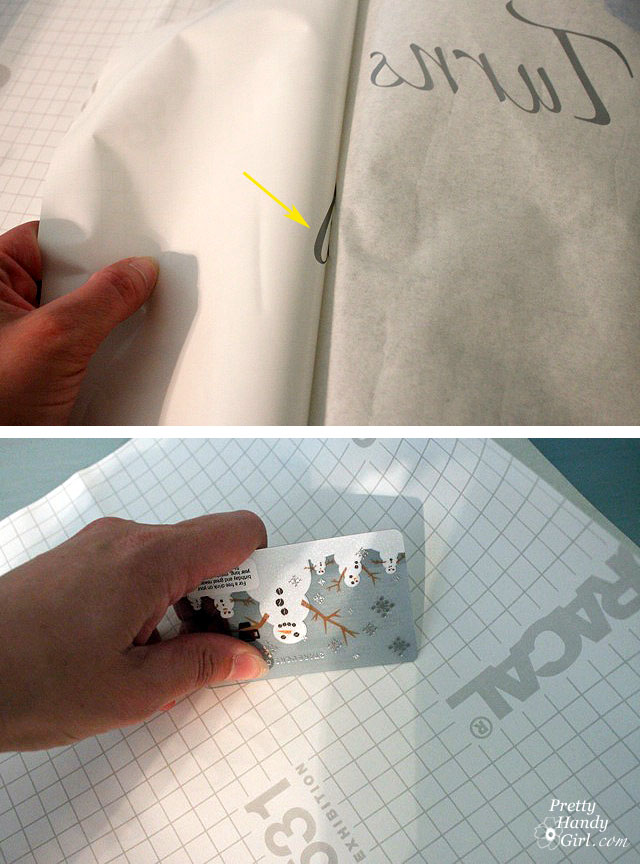
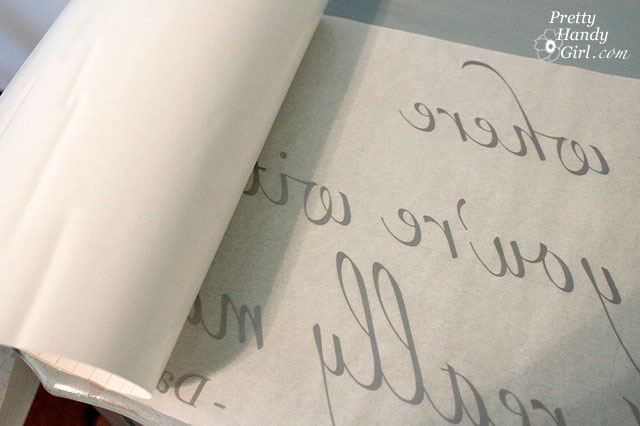
Remove your wall quote and lay it on a flat surface. Begin to remove the opaque shiny backing paper (it may have a grid or lettering on it.)  Your decal should stick to the clear semi-transparent sticky sheet that was on top of the quote. If some letters come up, simply lay the paper back down and rub it firmly with the gift card and try again.

Continue peeling off the backing paper.

Be careful not to touch any of the lettering (or they can stick to your fingers and won’t remain in proper placement.)

You are now looking at your lettering in reverse on a sticky sheet. Good job, the hard part is over. Well, almost over.

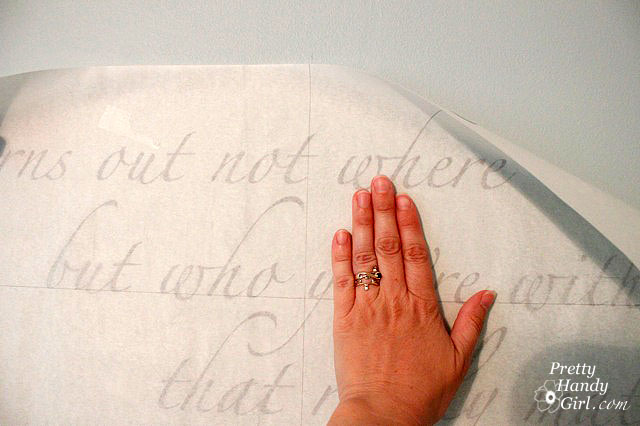
Carefully pick up your quote and turn it so the sticky side faces your wall. Line up your lines with the tick marks still on the wall being VERY CAREFUL not to rest the sticky paper onto the wall. (If it accidentally sticks, carefully pull it off being sure that the letters come off with the sticky paper.)

When all four tick marks are lined up with your horizontal and vertical lines, gently press your decal down. Starting from the center, rub your hand from the center out to the edges to adhere the quote and the sticky paper to your wall.

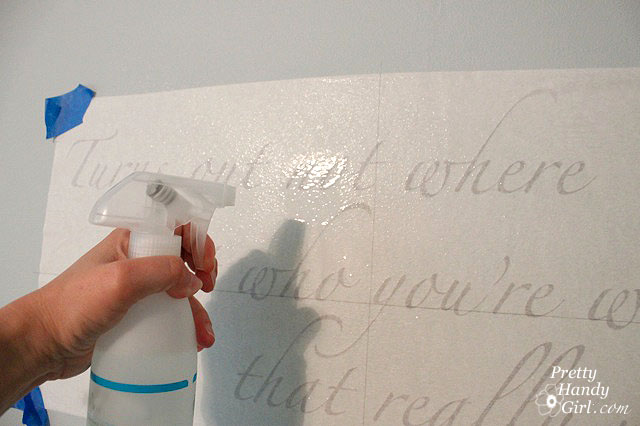
Lightly spray water all over the sticky paper. This will loosen the sticky paper and release the vinyl decal.

Use your gift card to burnish (sign shop lingo) the letters onto the wall. Use firm pressure and be sure to rub all the letters with the card.

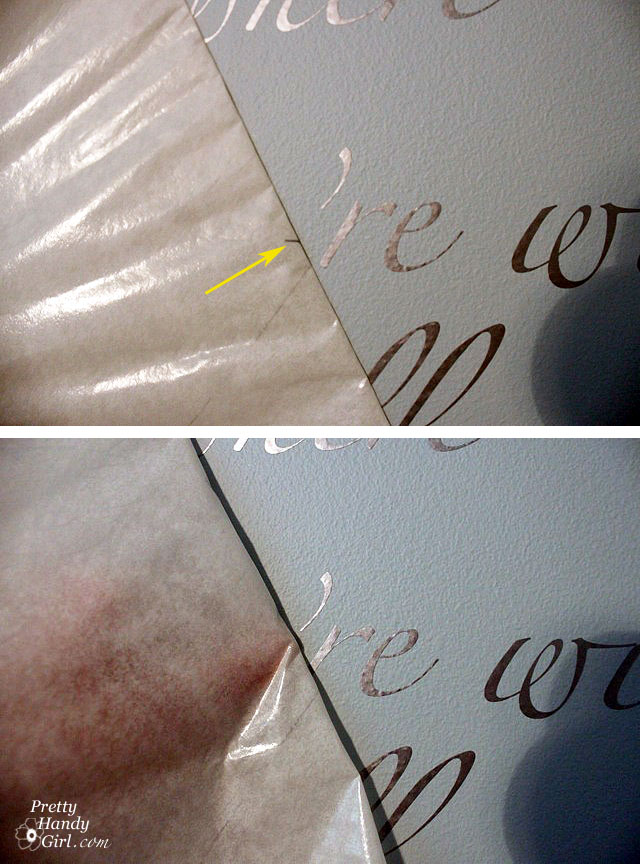
Carefully begin to peel the sticky paper off the wall. If the letters start to peel off with the paper, lay the paper back down over that letter and rub your finger on top of the paper to press the letter back onto the wall.

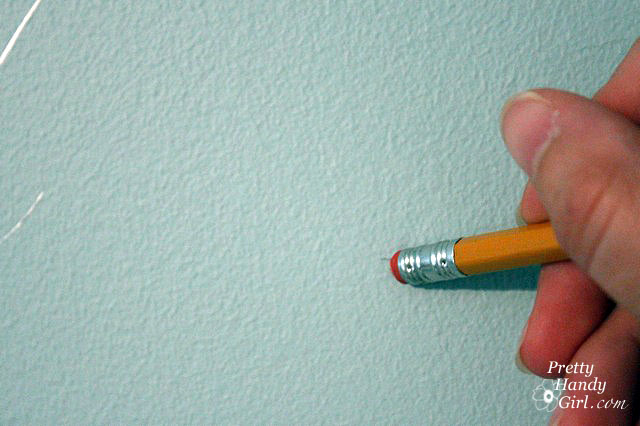
When the paper backing has been removed. Erase your tick marks.

Now stand back and admire your new wall quote!

Thank you Leen for helping me complete my bedroom makeover! I LOVE IT!

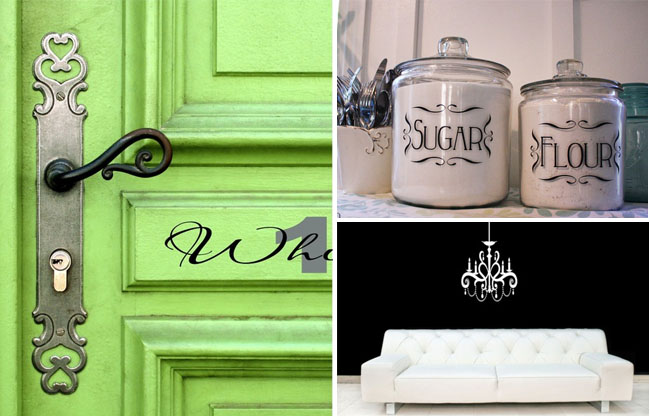
Take a few minute to browse through some of Leen the Graphics Queen‘s beautiful decals in her website.

Some of my favorites are:

Home Decor Accents

Trees and Flowers