Faux Chippy Painted Metal Pail with Liner

I was strolling through our local Goodwill last week looking for goodies donated by people trying to claim a last-minute tax write-off. I came across a bucket with a $1 price on it and knew I could transform it into a beautiful aged painted pail.
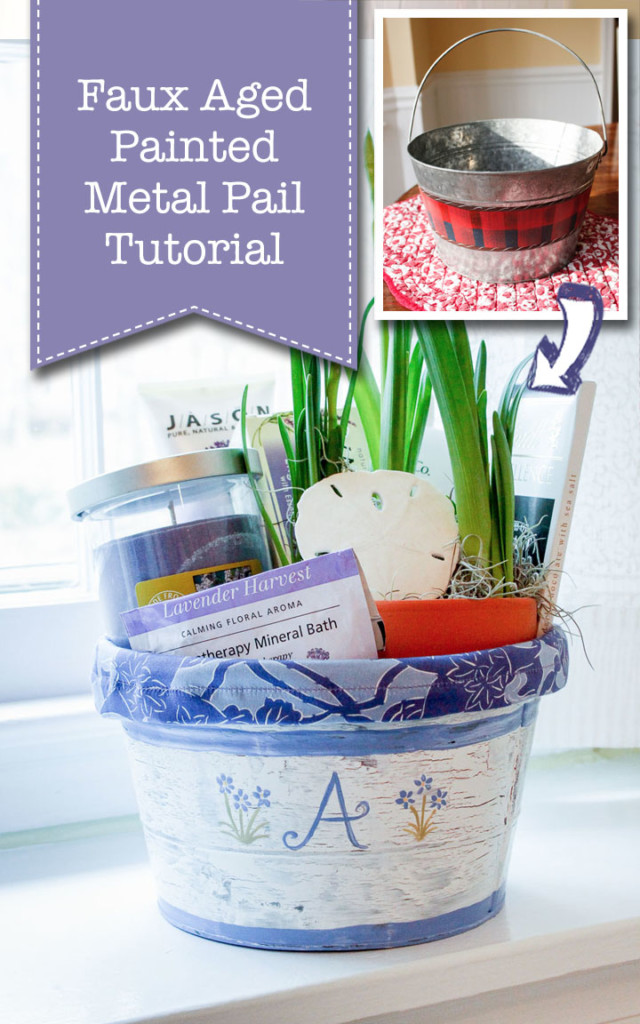
DIY Aged Painted Metal Pail Tutorial

Aged Painted Pail Tutorial

Recently I found myself browsing our local thrift shop looking for a last-minute gift idea for a friend. I spotted a dated pail for only $1 and quickly grabbed it and ran to the register.
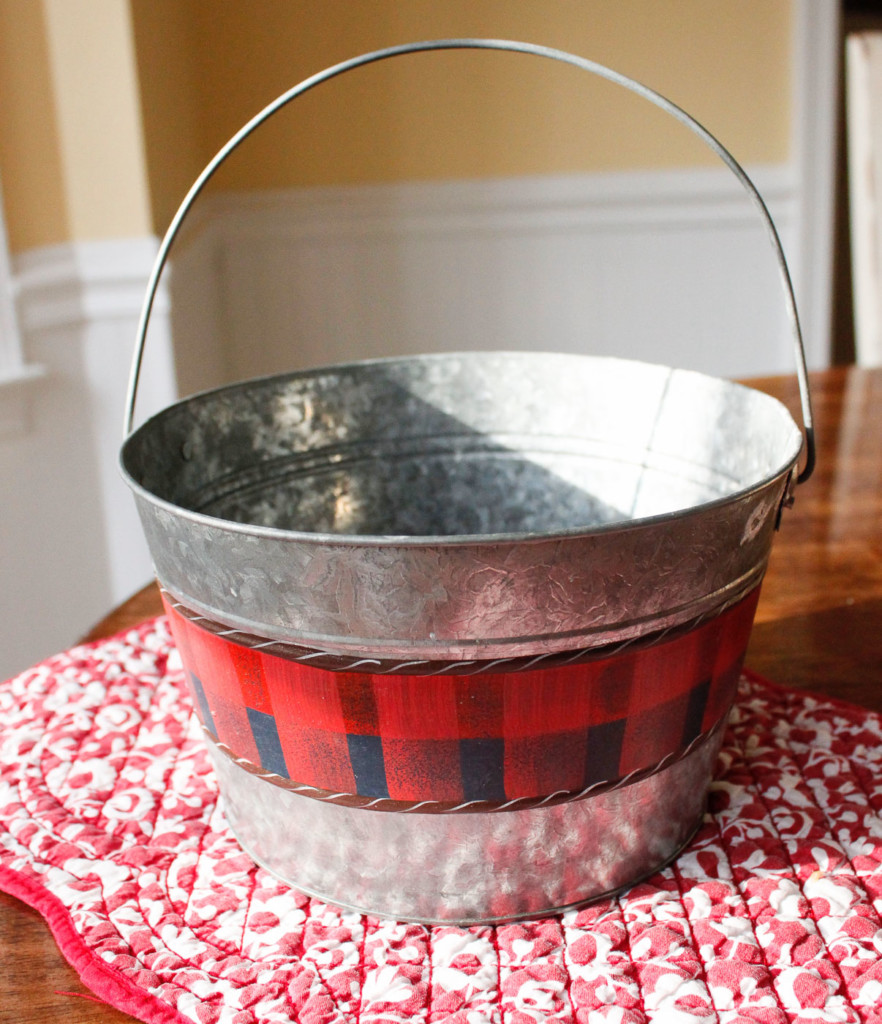
little red buffalo check painted pail

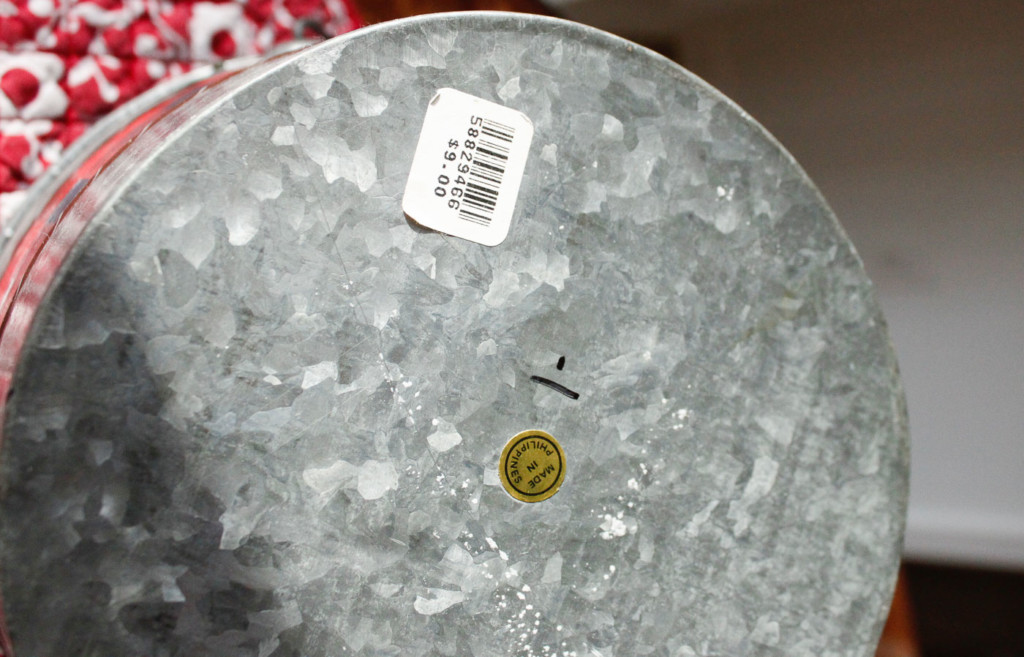
The pail had the original $9 price tag still on it, so I prayed the cashier wouldn’t scrutinize the major markdown to one dollar!

$1 markdown on pail with $9 original sticker

I knew exactly what I wanted to do with it. Miss Mustard Seed’s aged painted pails have been stored in my memory banks since I first saw them in August. (And that is saying a lot, considering I can’t remember what I ate for lunch today!) Marion used crackle medium, but I remember seeing a tutorial for crackle medium using regular Elmer’s glue mixed with a little water instead. Me being the frugal DIYer I am, I decided to give it a go. Are you curious to see if it worked? Me too.

How to Create a Faux Aged Paint Technique on Metal:
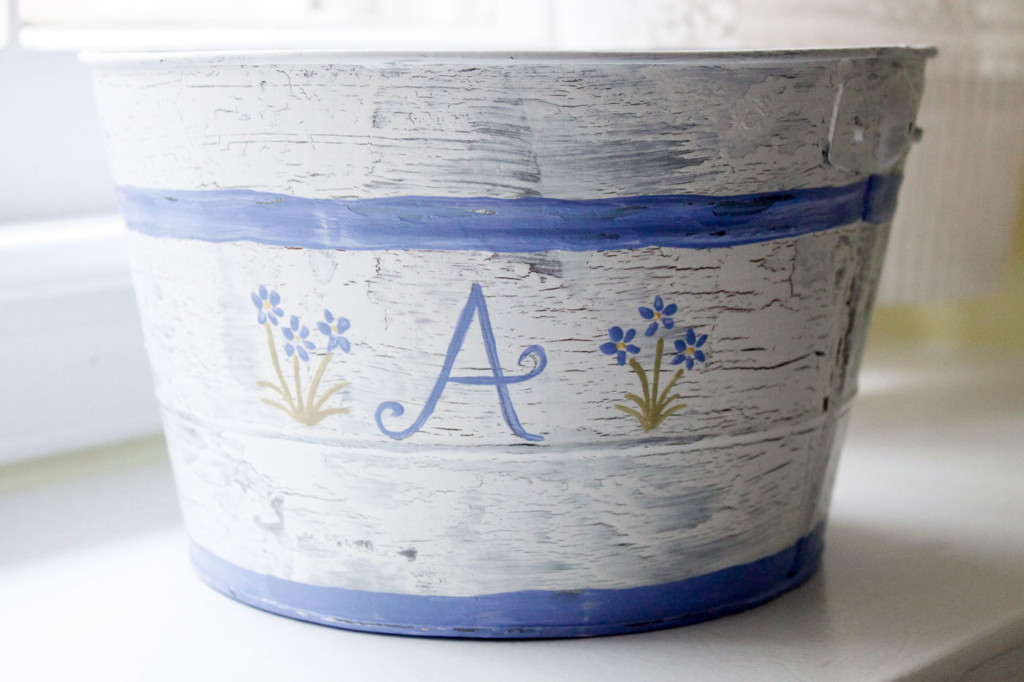
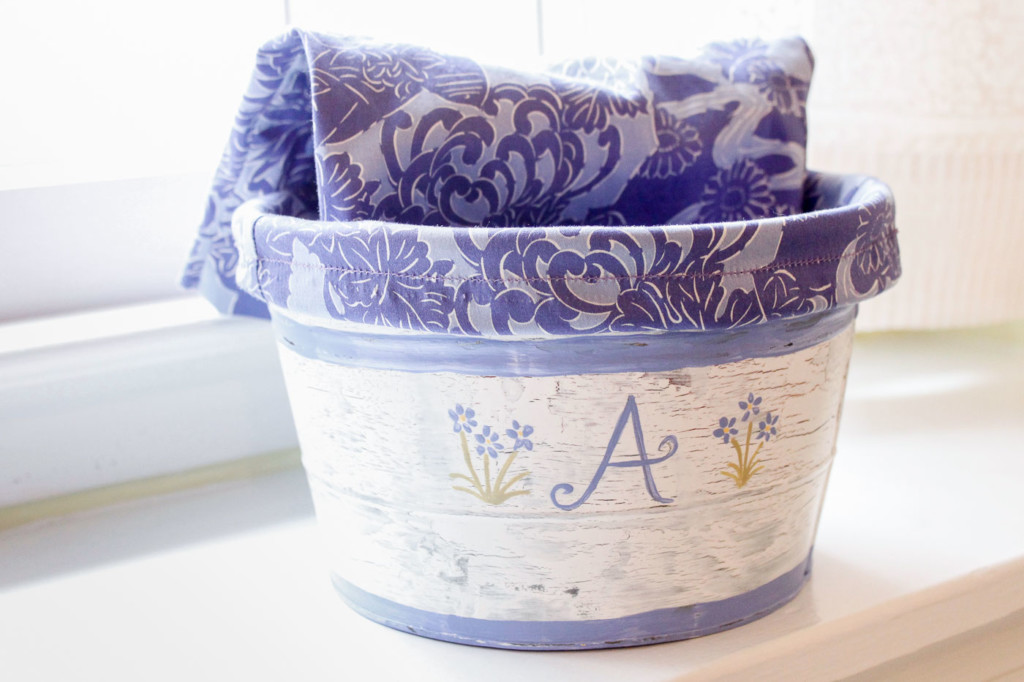
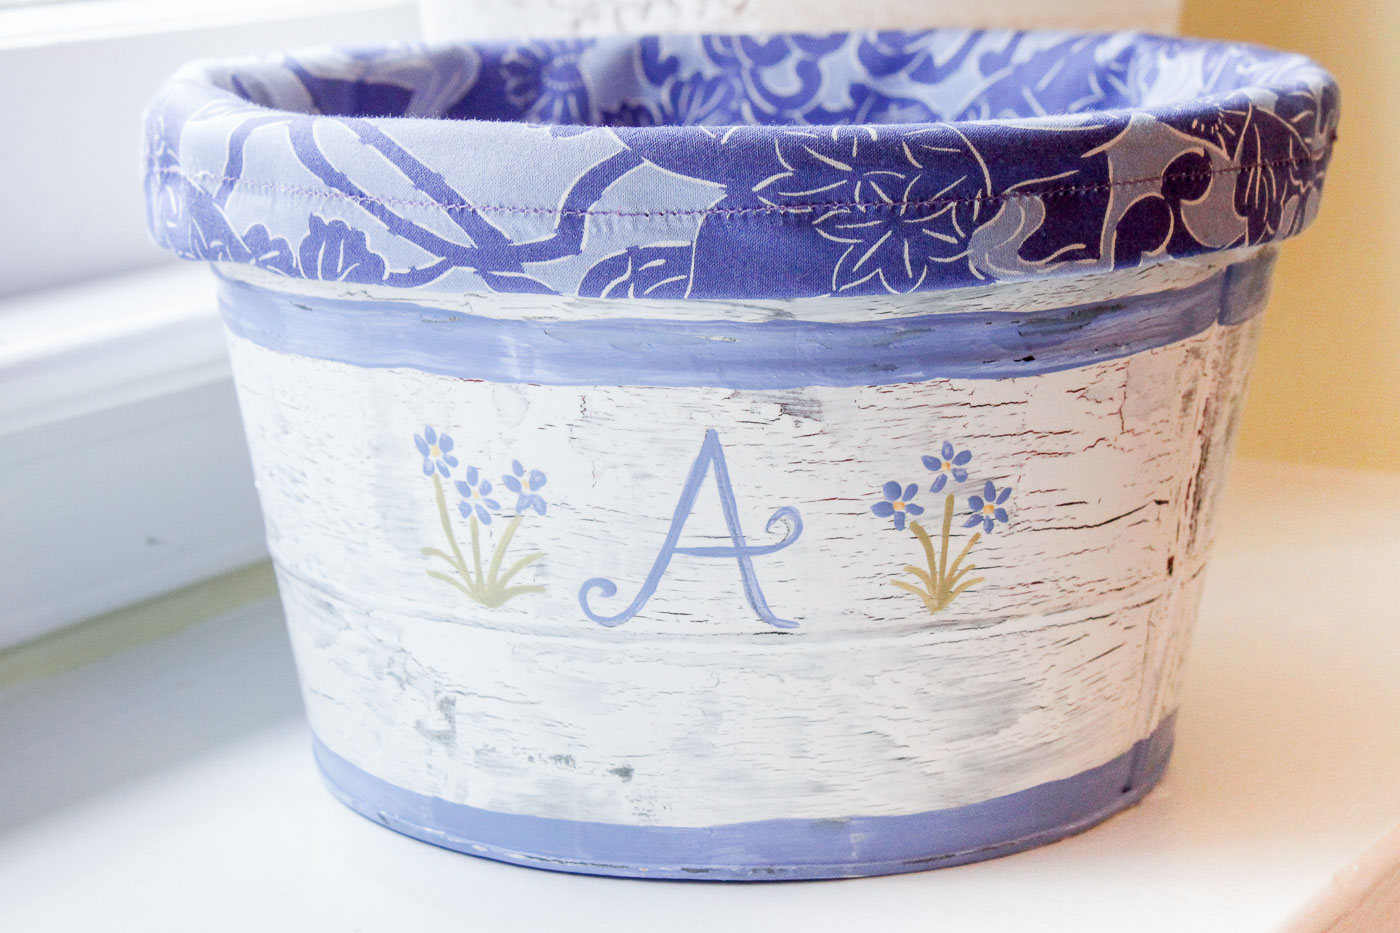
hand painted "A" monogrammed pail

Let’s gather a few supplies and get to work creating a beautiful bin for storage or a gift basket.

Materials:

(I’ve included affiliate links for your convenience. I earn a small percentage from a purchase using these links. There is no additional cost to you. You can read more about affiliate links here.)

Instructions:

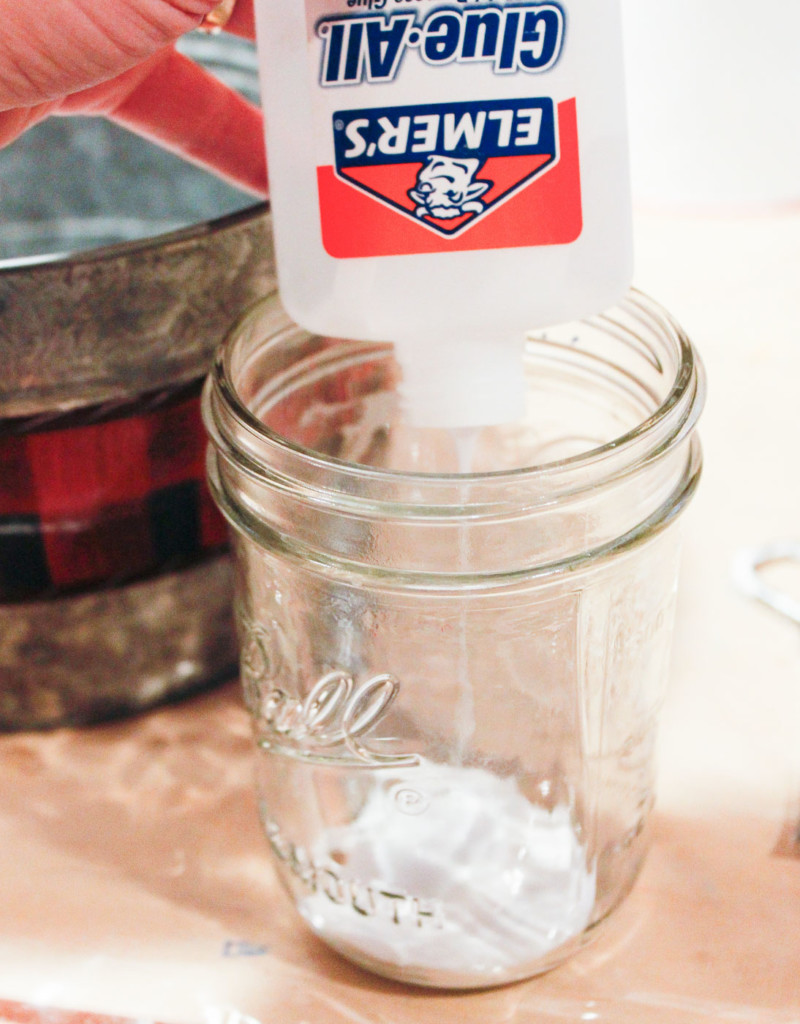
adding elmer's glue to empty jar

I only used enough H20 to water down the glue so it would be easier to paint on.
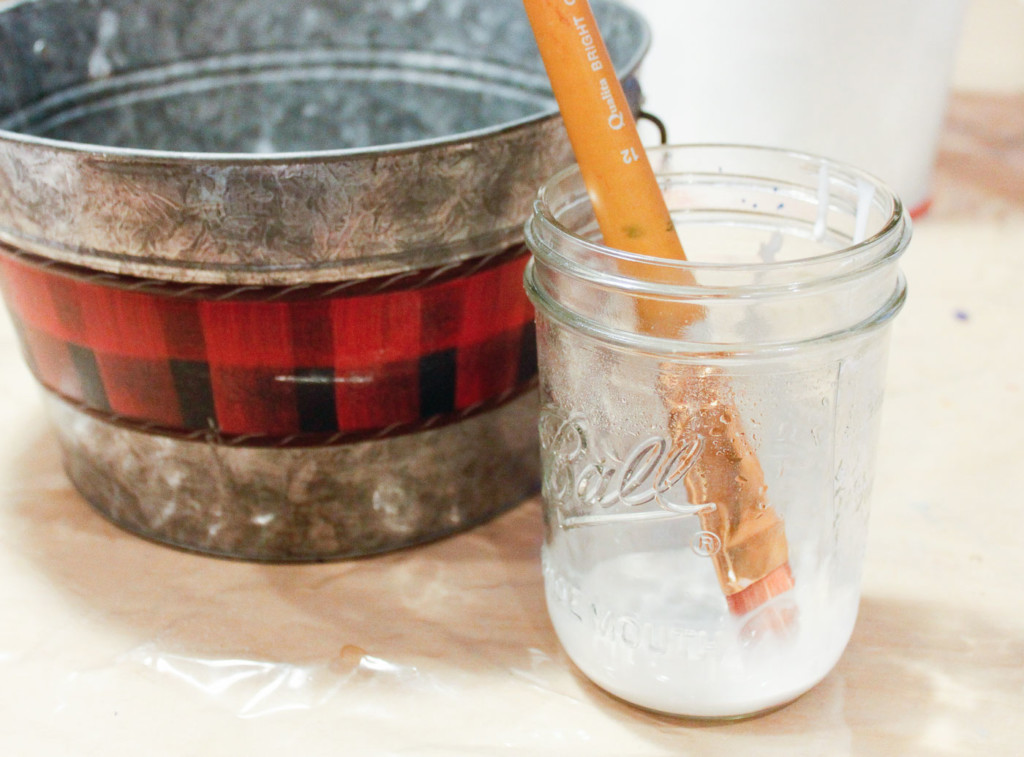
mixing glue with water

I brushed it all over the outside of the pail (bottom too!) And let it dry.
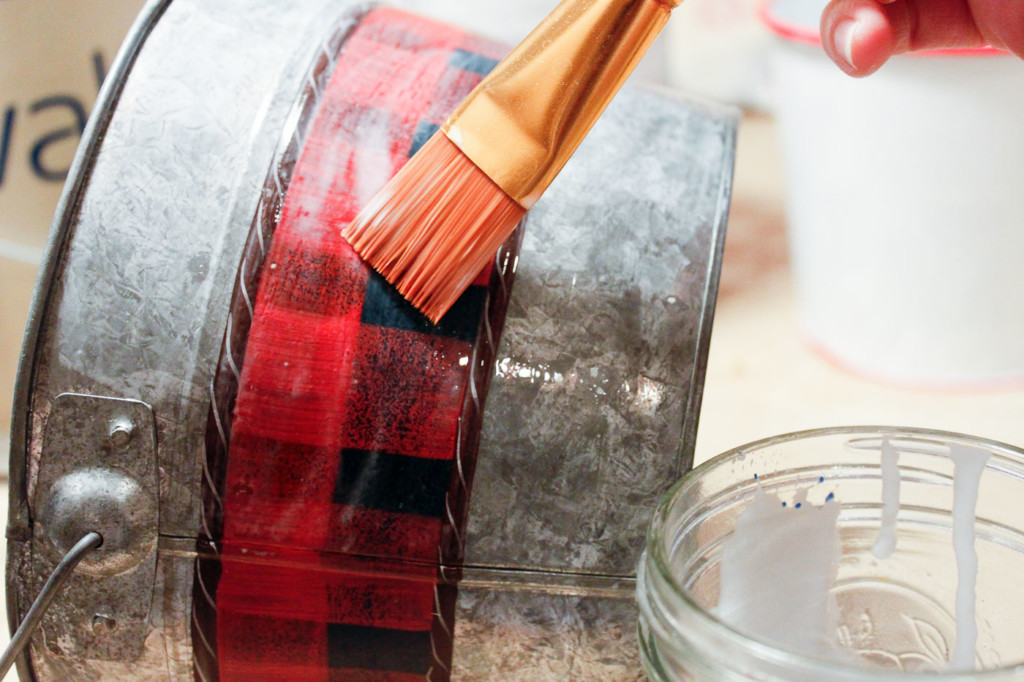
painting watered down glue onto pail

Next I pulled out leftover flat white paint that we use on our ceilings and painted one coat on the pail. I had to work quick, because the paint got gooey quick and you don’t want to keep brushing over the paint when it starts to dry (trust me on this one.)
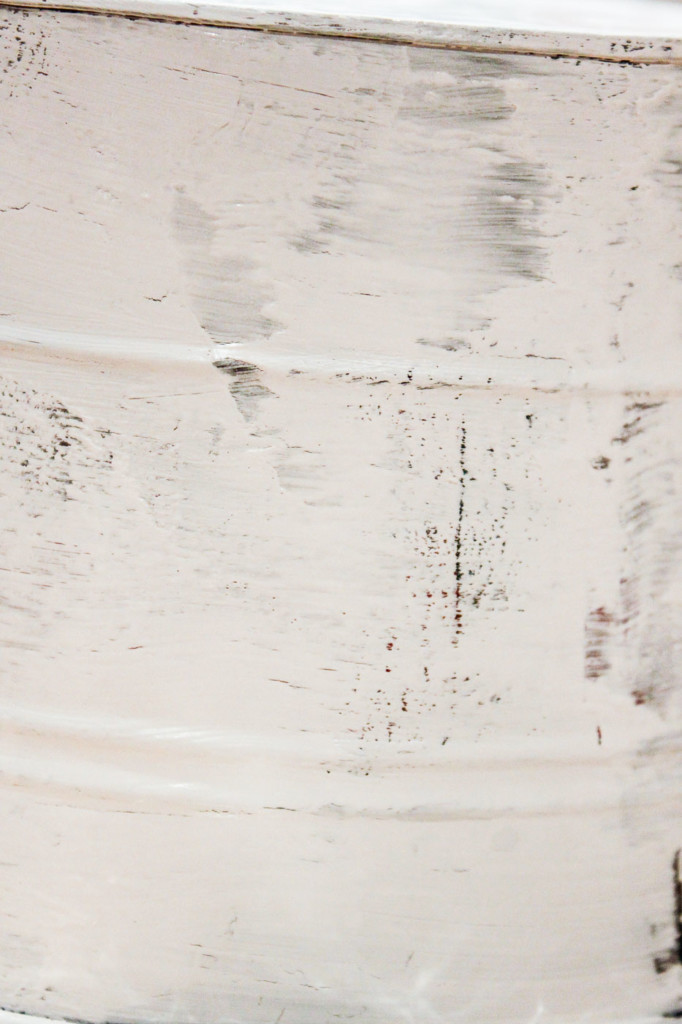
closer up painted chipping pail

After the white paint dried, I took out some acrylic paints and painted some stripes, flowers, and a monogram.

hand painted "A" monogrammed pail

To protect the paint from chipping off, I added a coating of matte mod podge. I have to admit, I’m still amazed a little Elmer’s glue and water worked to create a chippy crackle finish!

Isn’t it cute? Much better than the original.
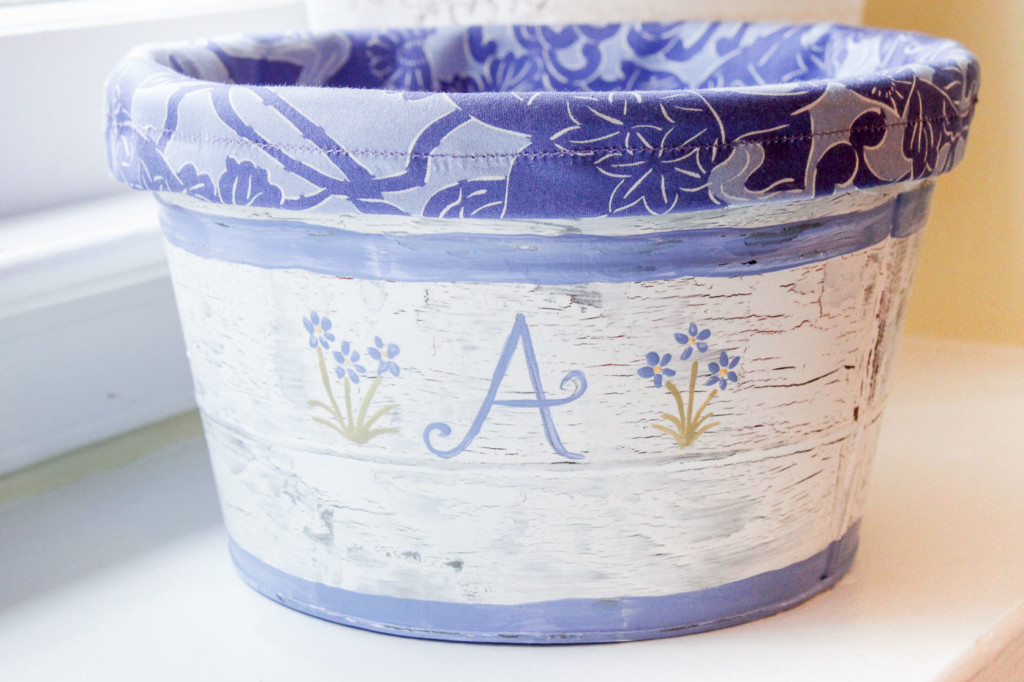
Faux Chippy Painted Metal Pail with Liner
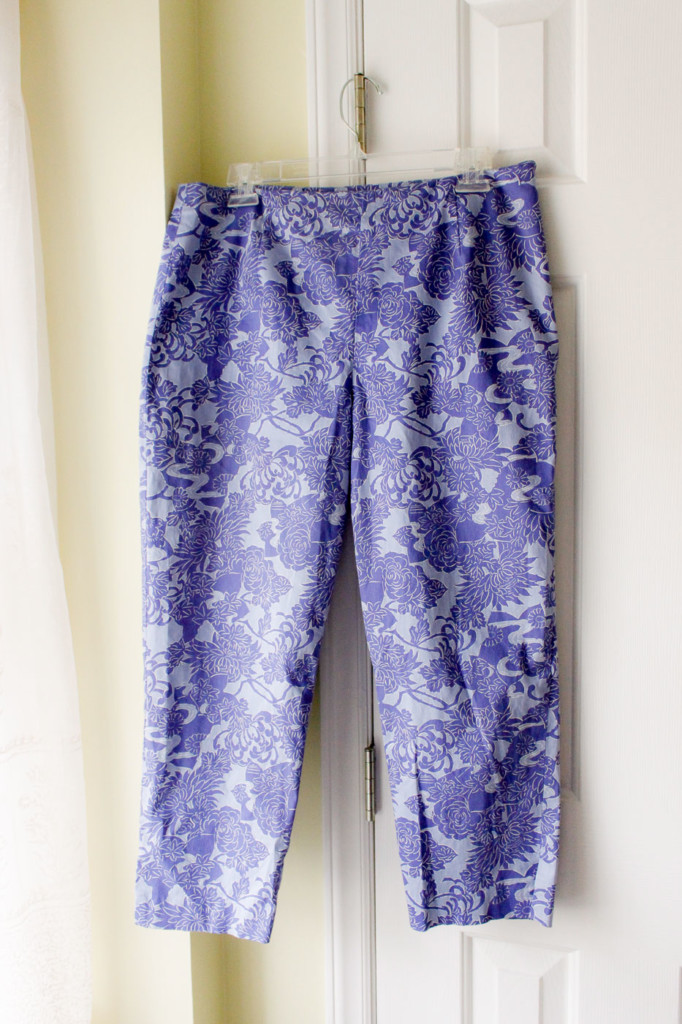
Purple print pants hanging on a hanger.
Can you believe it? That cute liner used to be a pair of second-hand pants.
pants leng hanging out of painted pail
The liner was super easy to make, tutorial HERE.
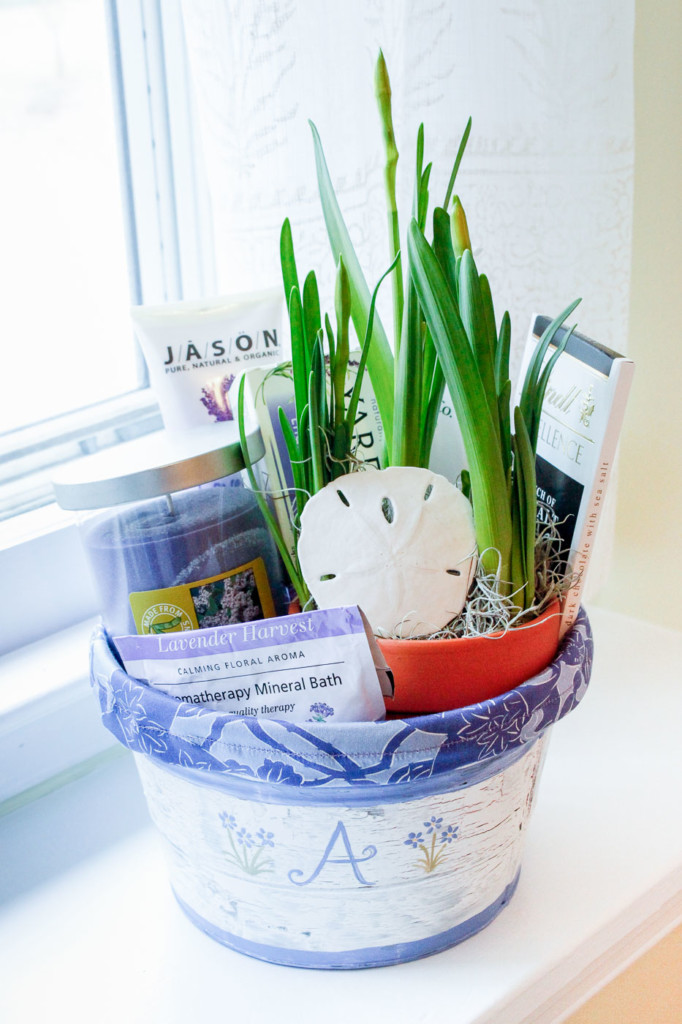
Spa-themed gift bucket on hand-painted chippy pail
This Aged Painted Pail can be filled with anything, but I chose a spa-theme for this gift basket. What would you put in this vintage painted pail?
Want more ideas for gift baskets? Here are 31 Last Minute Gift Basket Ideas!
31 last minute gift basket ideas social media images
creative gift wrapping

This is it, the last day of my Creative Gift Wrapping Tutorials. I saved these adorable silhouetted animals for last.

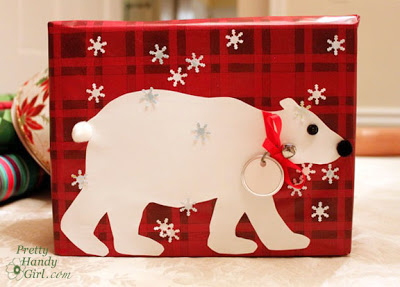
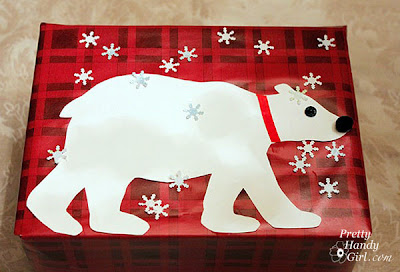
Snowy Polar Bear
Materials:
 
Wrapping paper
White card stock paper
Snowflake hole puncher
Key tag
Satin ribbon
Jingle bell
Black & white pom poms (nose & tail)
Small black button
Elmer’s glue
Hot glue gun
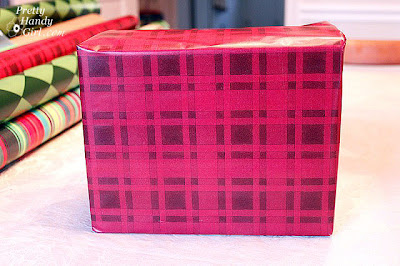
Wrap your present as you normally would.
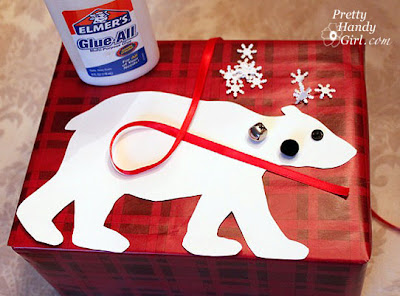
Using this template (click on the photo for a larger version and then print it out), cut out the polar bear shape on white card stock. Better yet, if your printer will handle it, print it out on card stock and then flip your bear over to the white side.
Glue your bear onto the gift package.
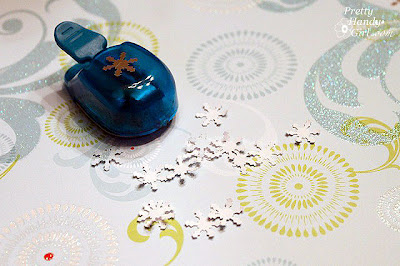
Punch out some snowflakes. (I used some white and some light blue that would show up better on top of the white bear.)
Cut one piece of red ribbon for the bears collar. Then glue the collar and snowflakes onto the package using Elmer’s glue. Then glue the button and pom poms using hot glue.
 Thread a jingle bell onto some satin ribbon, then tie a bow onto a key tag.

Hot glue the bow/jingle bell onto the bear’s collar.

 Factoid: Polar bears are my favorite animal! Did you know that a polar bear’s skin is actually black? And the bear’s hair is actually transparent hollow tubes. This serves three purposes: 

  1. The tubes are hollow so they store air in them. This acts as an insulator. 
  2. Plus, it helps the polar bears buoyancy while swimming. 
  3. Remember how I said their skins is black? Well, because the fur is actually transparent, it allows the sun to reach the bear’s skin and help warm them. Cool, huh?! 
Dove of Peace
Materials:
 
Wrapping paper
White card stock paper
Satin ribbon
Sprig of rosemary or other evergreen twig

Hot glue gun

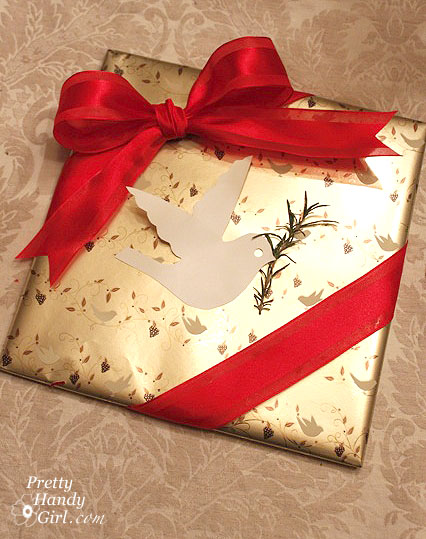
Wrap your present as you normally would.

Add your ribbon on the diagonal corners.
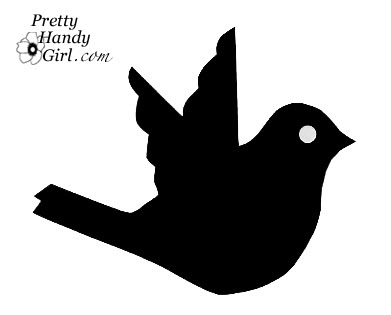
Click on the dove silhouette below to see the full size image. Print it out on the cardstock paper and cut out the shape to use as a template, or use the reverse white side of the shape.
 
Use a hole punch to cut out the eye. Hot glue your dove to the package and hot glue the rosemary underneath the dove’s mouth.

Have fun with this creative package. Add the words PEACE, or bend the wings up to make them three dimensional.

This dove will work on a variety of sized gifts. Here she is on a vertical present.

“Peace on Earth, Goodwill Toward Men”


handmade projects

Welcome back. If you are up for some more creative gift wrappings, let’s get going.

Hanging Ornaments
Materials: 
Wrapping paper
Curling ribbon
Buttons
Snowflake Embellishments
Hot glue gun
Elmer’s glue
Circle template: jar, glass, compass

Scissors

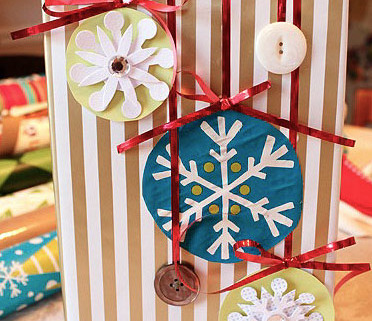
Wrap your present in wrapping paper.
Using your circle template, trace different sized circles on colored paper and/or wrapping paper. Cut out the circles. Lay them onto your package with a few buttons to determine the desired layout.
Cut curling ribbon to the lengths needed to meet the ornaments and glue them with Elmer’s glue onto the package. Glue the ornament circles and buttons next using hot glue. Add stickers or snowflake embellishments on top of the circles. Finish by tying some bows with the curling ribbon and attach them just above the ornaments with hot glue.
“Deck the Halls”
Here is my girlfriend, Renee’s ornament package.
I love the little “x’s and o’s” she added for her daughter.
Musical Snowman 
 
Materials:
Wrapping paper
Printed sheet music (do a google image search for: sheet music)
Snowflake hole puncher
white or scrapbook paper
Snowman sticker or embellishment
Elmer’s glue
 
Limber up those thumbs and get to work punching out mini snowflakes. Or better yet, let the kids do it (my boys had a ball making all these snowflakes.)
Wrap your package as you normally would. Using a solid color or wrapping paper with less detail seems to work best.
Tear the printout of sheet music to make the snowy hill. Lay it on top of the package and crease the edges so it wraps around the box.
Glue on the music sheet first. Then layout your snowflakes and snowman and glue them on.
 
 Feel free to add snowflake embellishments or circle hole punches if you want.
Tomorrow is the last day of my SIX days of Creative Gift Wrapping.

Click HERE to see an adorable polar bear and dove!

Chalkboard Tags for Gift Wrap

What happens when you have more gift wrapping ideas than presents? I guess I could go buy more presents, but I think Pretty Handsome Guy might not be too happy about that. So, I’ll have to stick with just six days of Creative Gift Wrapping. That’s right, two more posts filled with creative gift ideas! I hope you like them.

Yesterday I showed you some nature inspired gift wrappings, today we’re delving into the popular toxic spraypaint hobby of chalkboard painting! I think 2010 can officially be declared the year of the chalkboard paint. I have seen it EVERYWHERE!

Chalkboard Note Gift

Materials:

Chalkboard paint
Foam core
Chalk or chalkboard pen
Wrapping paper
Ribbon
Hole Punch
X-acto knife
Pencil
Ruler

Measure and cut out a 4″ x 6″ rectangle of foam core. The trick to clean cuts in foam core is to use a brand new x-acto blade! It is that simple.

To make perfect diagonal corners, measure 1″ from the corner (across and down) and make  marks. Then draw a diagonal line connecting the two points. Cut off the triangle.

Use your hole puncher to punch a hole in the middle of the top edge.

Spray paint or paint chalkboard paint onto your foam core. Let it dry.

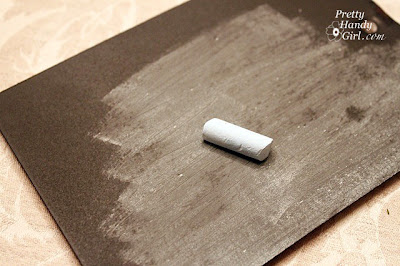
Season your chalkboard rectangle by rubbing chalk all over the board. Then wipe it off. This will eliminate the chalk message “burning” into the chalkboard and will allow the recipient to re-use the board.

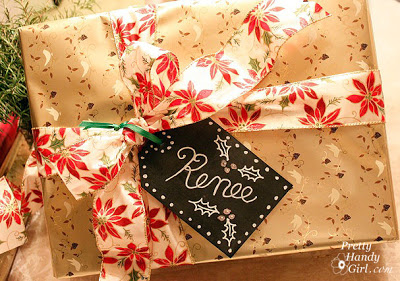
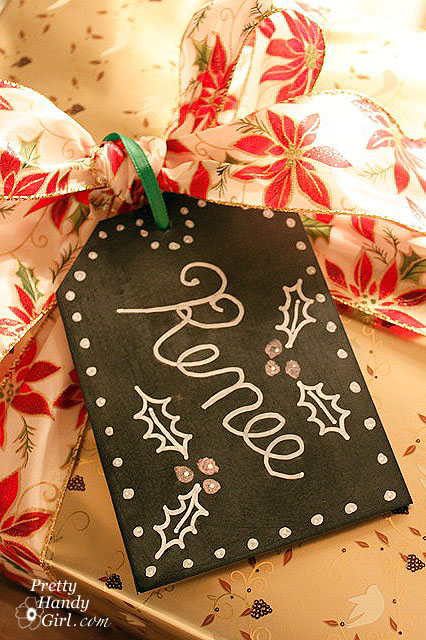
 Write a message on the chalkboard tag.
 Wrap your present and attach the tag to your present’s bow.
Now your gift recipient has a cute little re-useable chalkboard tag.
 
 Merry Christmas Renee!
Clothespin Clipped Chalkboard Message Board

Materials:

Chalkboard paint
Foam core
Chalk or chalkboard pen
Wrapping paper
Ribbon
Hole punch
X-acto knife
Pencil
Ruler
Clothespin
Silver or Gold acrylic paint
Paintbrush
Hot glue gun

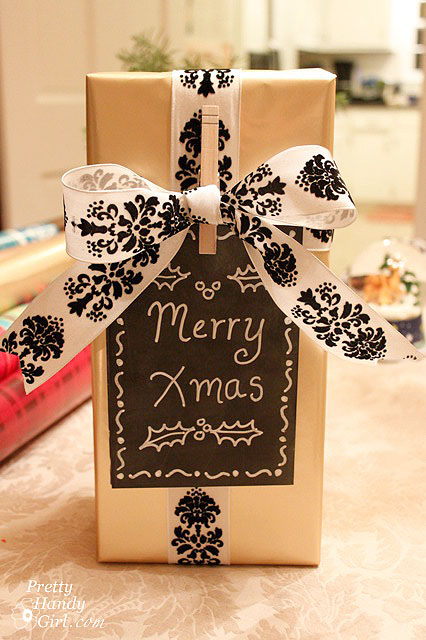
Follow the instructions above for making a foam core chalkboard. Eliminate the steps on cutting diagonal corners and adding a hole for this one.
Take apart the clothespin and paint both sides using the silver or gold acrylic paint.
Wrap your present as you would normally.
  Wrap ribbon around your present, but don’t tie a bow. Just make a knot.
 Make a separate bow out of the same ribbon and use hot glue to attach it to the clothespin.

Clip the clothespin over the knotted bow on your package and slide your chalkboard into the clothespin.

 “Merry Christmas Baby!”

Bonus: I thought I’d share with you two more gift packages that were pretty simple and quick. The first one I hot glued crocheted snowflakes from Lillian Vernon onto them (thanks for bringing them to my wrapping party, Renee!)

The second one is an ovaltine can that I wrapped with gift wrap, added some monogram stickers and put a bow on top. Easy peasy!

I hope you will swing on by and check out Day #5 of my Creative Gift Wrappings!

Today I have two creative gift wrapping ideas that have a more natural feel. Perfect for the eco-conscious recipient in your life!

Rosemary Gift with Bells

Materials:

Brown paper bag or wrapping paper
Fresh cut rosemary
Red ribbon (fat)
Smaller ribbon
Jingle Bells
Hot glue gun
Deckle scissors
Letter stickers
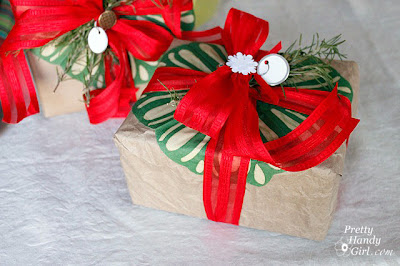
Plain gift box

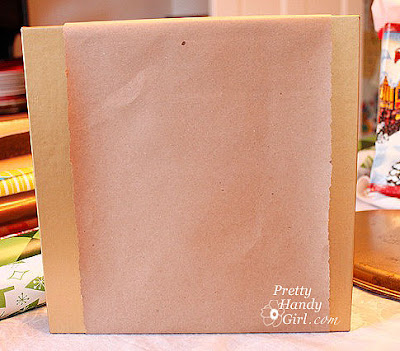
Cut a band of brown paper for around the middle of your gift box. Cut the edges of the band with deckle scissors. Secure the band around the package with tape.

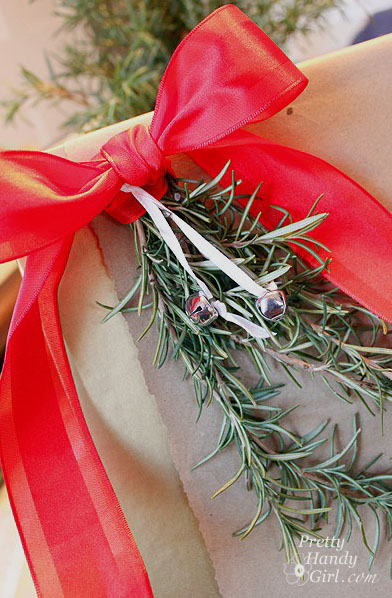
Arrange some springs of rosemary on top of the package.

Tie the sprigs together with red ribbon.

Attach a few jingle bells with smaller ribbon. Then secure the ribbon, rosemary, and jingle bells to the package with hot glue.

Add some decorative letters to the bottom of your gift.

“It’s beginning to smell a lot like Christmas!”
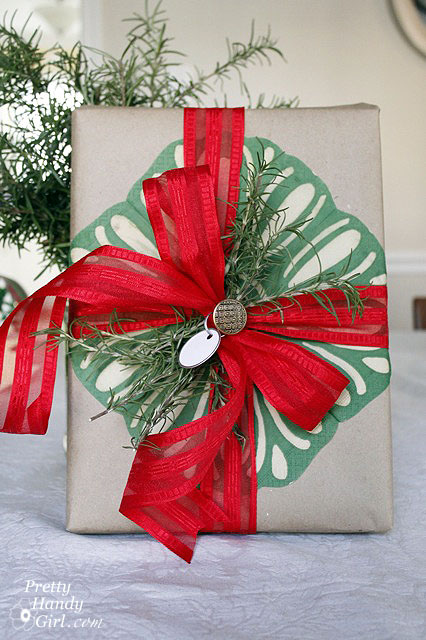
 Rosemary Gift with Beverage Napkin

Materials:

Brown paper bag or wrapping paper
Fresh cut rosemary
Red ribbon
Decorative beverage napkin or doiley
Button or embellishment
Hot glue gun
Letter stickers
Plain gift box

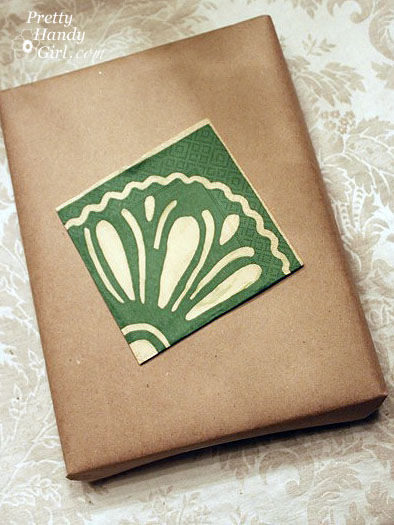
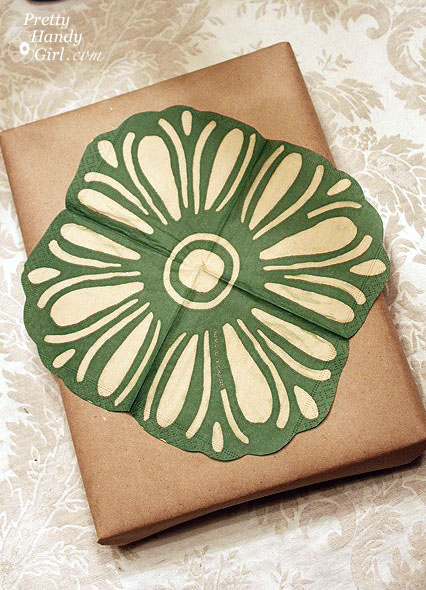
Wrap your gift in brown paper. Take out one beverage napkin.

 Cut around edges of napkin.
 Open napkin and glue to the package with a small amount of hot glue.
 Tie a red ribbon around the gift.

Tuck some rosemary into the bow and hot glue a button on the center of the bow.

 And who says you have to use brand new brown paper? I like the texture of this re-used brown paper. Now that is what you call eco-chic!

“Brown paper packages tied up with string. These are a few of my favorite things.”

Want more creative gift wrapping ideas? Check here for Day #4.