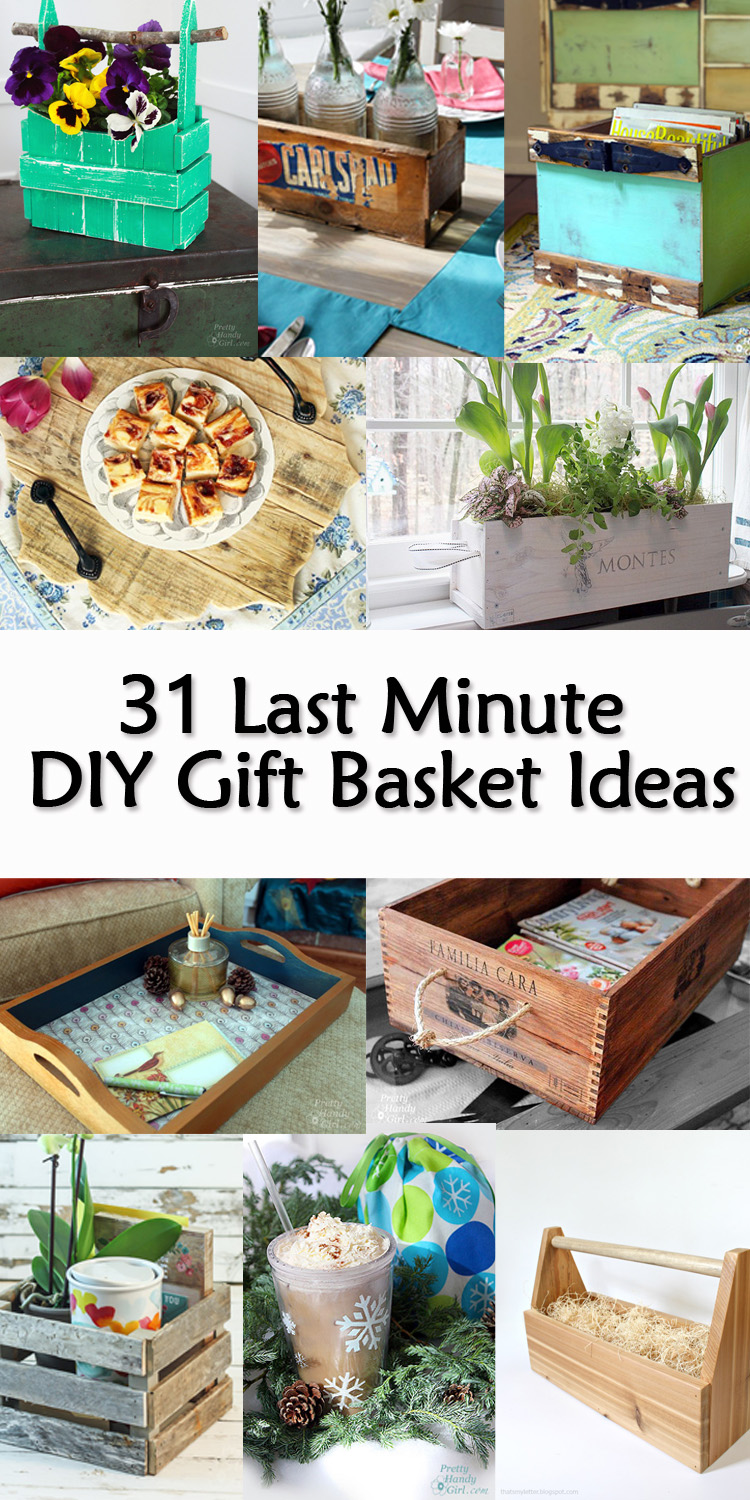
I’m sure you are feeling that crunch to get gifts for those last people on your list. Or maybe your cousin you haven’t seen in years is suddenly coming for a visit. I get it, there’s nothing worse than feeling the pressure to purchase last minute gifts for people. Today I’d like to ease your burden and offer you 31 Last Minute DIY Gift Basket Ideas. The best part about this collection is that they can be tailored to even the most quirky and unique people in your life! Most of these ideas only take half an hour to make and you may even have many of the supplies on hand. Oftentimes the supplies for a DIY Gift Basket are no further than your scrap wood pile or a quick trip to the local hardware store.
Gift baskets can take many forms. They can be a crate, a basket, a tray, or anything that holds things can become a gift basket. I love giving gift baskets because you can use the “basket” long after the contents have been used or consumed. Plus, they don’t require gift wrapping!
Gift Caddies:
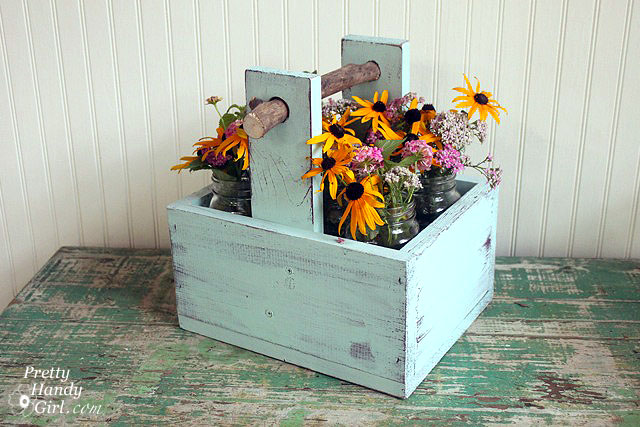
One of my favorite caddies was made out of an old wooden box and a branch. Once painted and distressed, this Branch-Handled Rustic Caddy would look adorable filled with seed packets, gloves, garden sheers, twine and a trowel! But, that’s just my idea, fill it with anything you want.

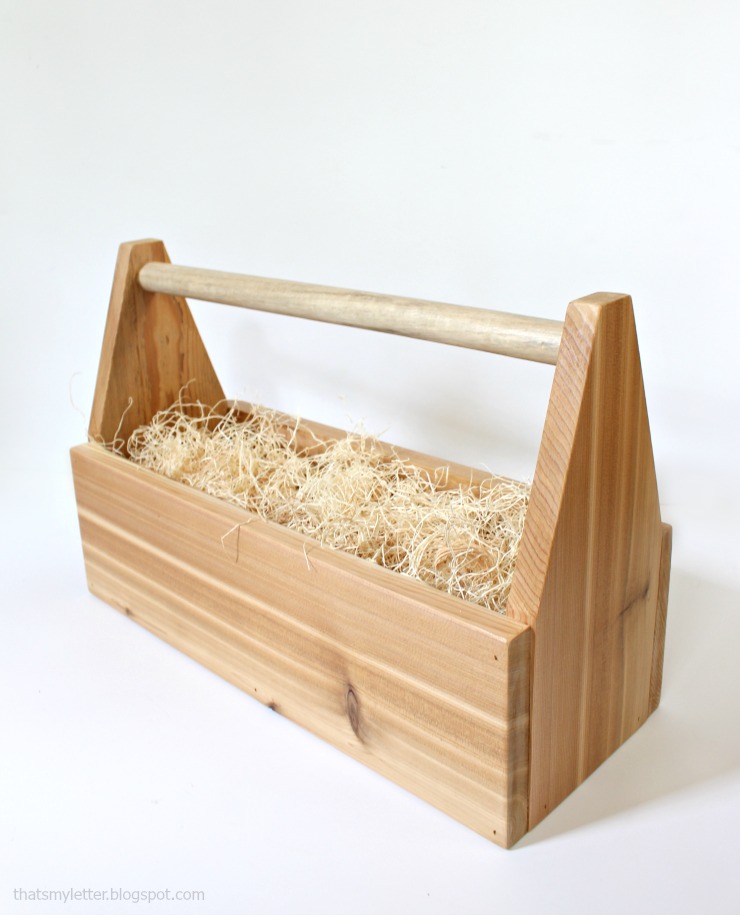
This multi-functional caddy has nice clean lines and would thrill anyone after they remove all the gifts. How fun would it be to fill this caddy with a bottle of wine, some crackers, cheeses, and other munchies.

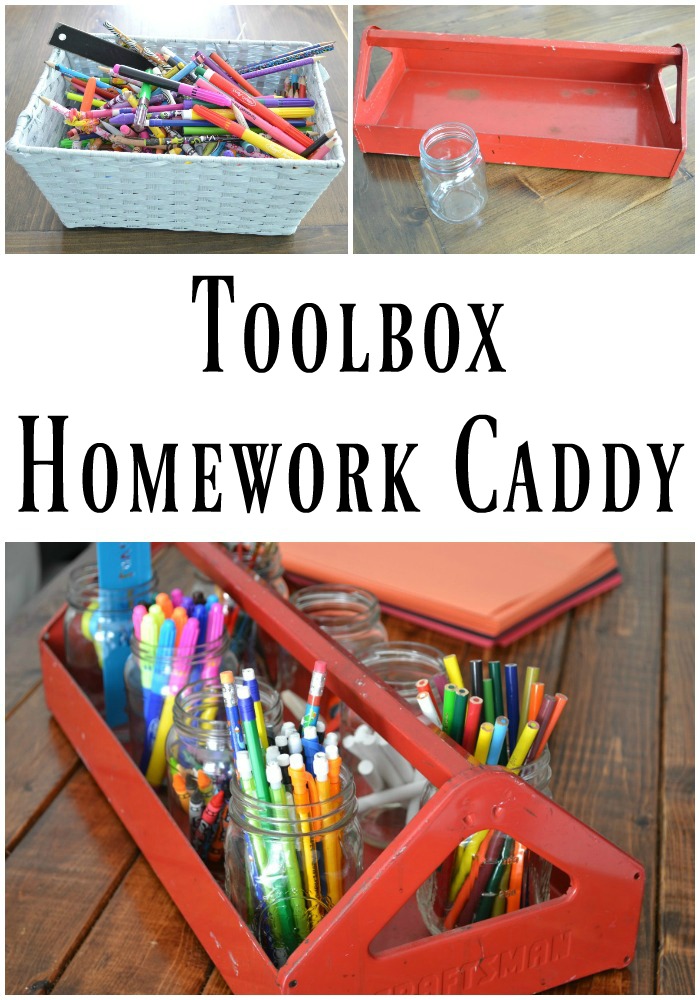
How impressive would it be to buy a vintage toolbox caddy and fill it with lots of little gifts? This gift idea requires no building, crafting or sewing, making it a snap to assemble.
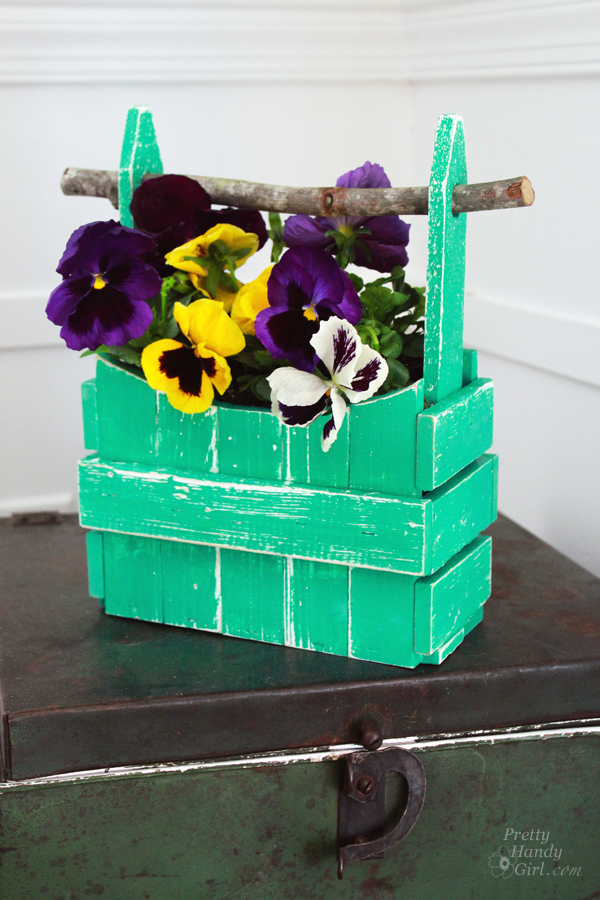
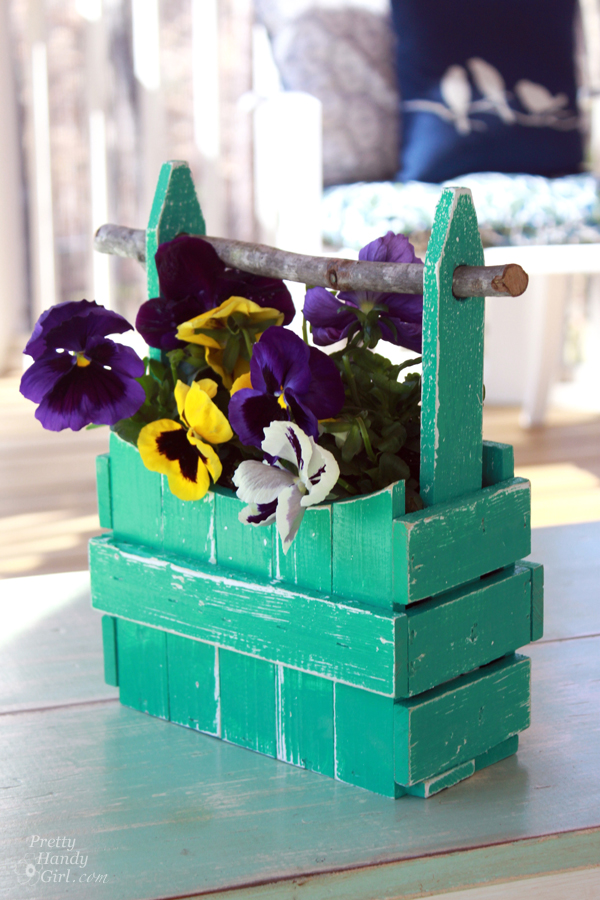
Sometimes you have a few smaller items to gift, and don’t want to use a large basket. In that case, this pint-sized picket fence caddy would make an adorable gift basket.
I’ve seen a lot of beer caddies in stores that look flimsy, but this custom built caddy will definitely hold a six pack of micro-brews without sweat. Add a wall-mount bottle opener and you have the perfect gift for that guy or girl on your list that loves a good brew.
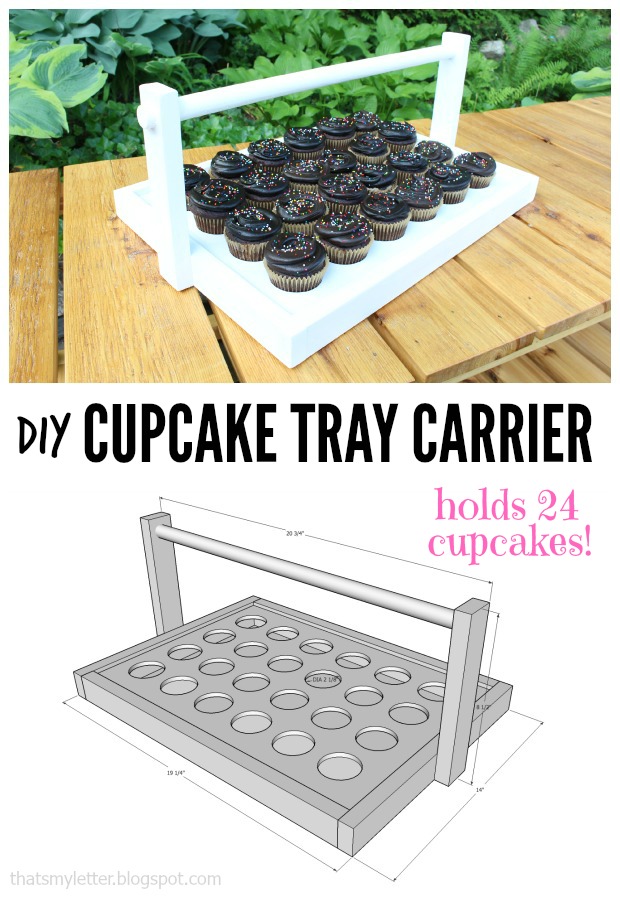
Can you name one person who wouldn’t appreciate getting a DIY Cupcake Tray Caddy filled with cupcakes? Neither can I, so get working on this cute project and use it for a gift basket this holiday season.
Gift Crates:
The only difference between a caddy and a crate is the lack of a handle, although a few of these crates have rope or ribbon handles on the sides.
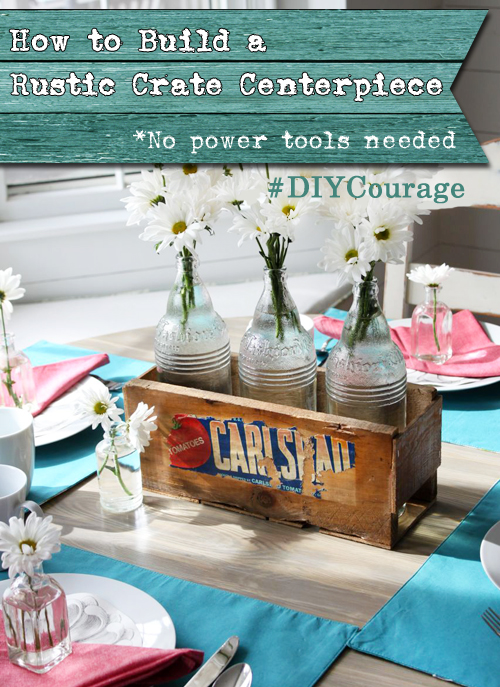
I get it, some of you haven’t broken out the power tools yet (but if you want to learn, I have an entire library of power tool tutorials.) In that case, feel free to Build this Rustic Crate using no power tools! None, nada, zilch. And you can still create a beautiful custom crate to fill with gifts (or flowers.)
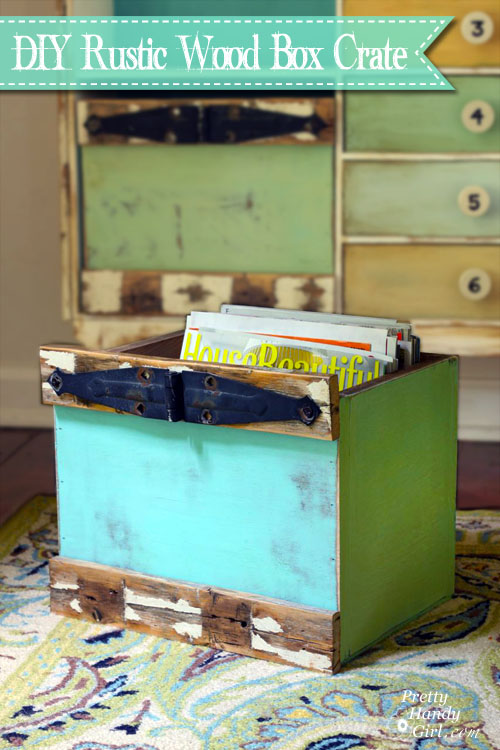
Creating your own DIY Rustic Wood Box Crate is a great way to custom build a larger gift container for gifting bigger items (think pillows, throw blankets, or a plant.) When the gift has been opened, your recipient can use it for storage. For fun, you could add to the character and charm, by attaching some rusty hinges or odds and ends you’ve been hoarding.
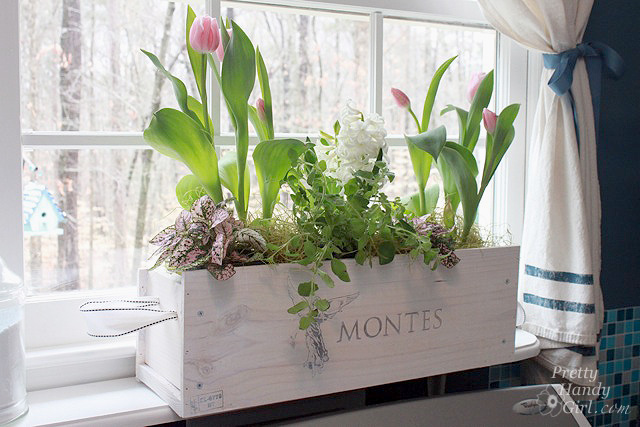
Forced bulbs are a beautiful and thoughtful gift for the holidays. Why not gift them in a unique White-Washed Wine Crate?
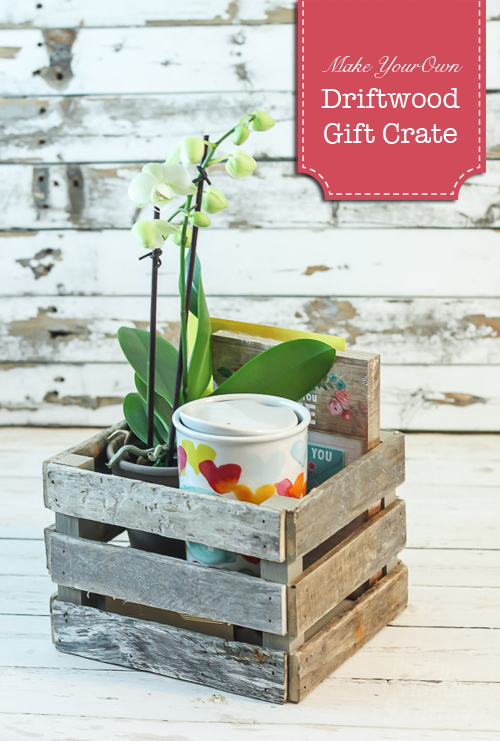
I love repurposing driftwood. A few years ago I collected lots of driftwood from my favorite beach and kept it in my workshop until I came up with this fun Driftwood Gift Crate idea.
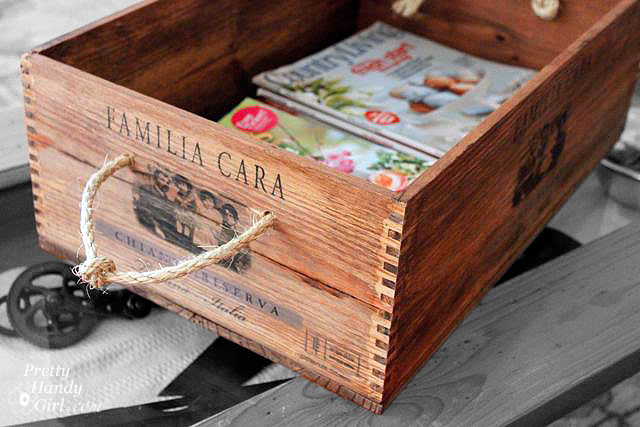
You can’t get a more simple gift crate than this! To “make” this Rustic Wine Crate, ask you local wine shop or Costco if you can have their extra wine crates? Stain the outside, drill a hole for rope handles and fill this crate up with some gifts.
Gift Trays:
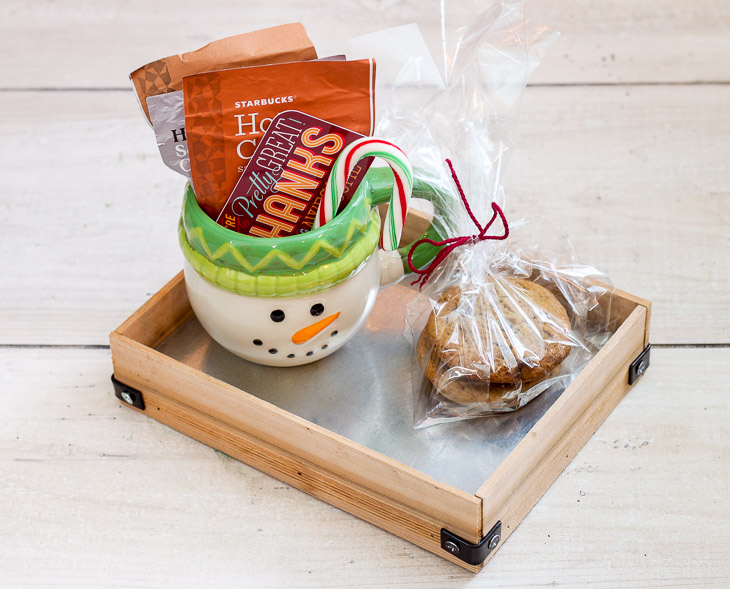
Trays are one of my favorite bases for a gift basket. You don’t have to add a lot to make it look full. And trays are perfect for use anywhere in your house. They help corral items to keep things looking neat and organized. If you worry about items falling off, use double stick glue dots or cellophane to keep the items secured onto the tray.
In the spirit of all things shiny, you can make these simple sheet metal trays to hold anything you want to give to a friend or family member. Plus, you can use up your scraps of wood in the process!
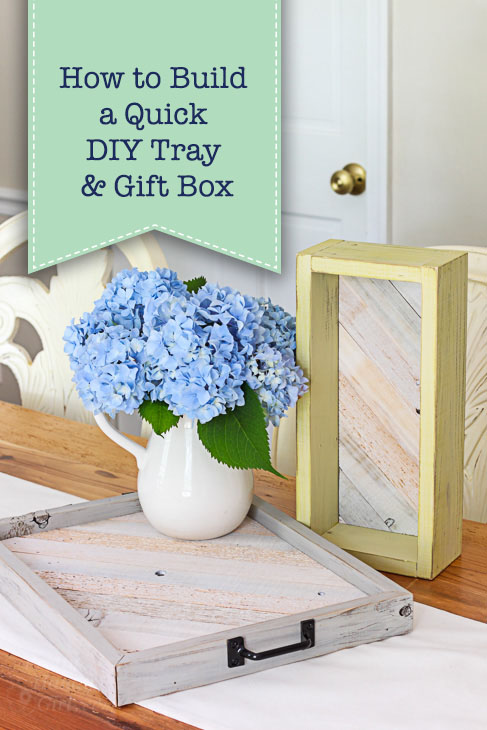
I love a customizable project that allows you to Build a Tray or Gift Box to the size you want. These cute little gift trays can hold anything you want them to. Simply gather your gifts and measure the size you want to make the box. The tall and skinny one works well with just a bottle of wine inside!
If you’ve taken on a room renovation, you may have loads of scrap moulding laying around. Why not use those scraps to make adorable Scrap Moulding Trays. These little trays provide many uses: from organizing desk items to corralling hair products. You’ll surely find something special to add to this gift tray.
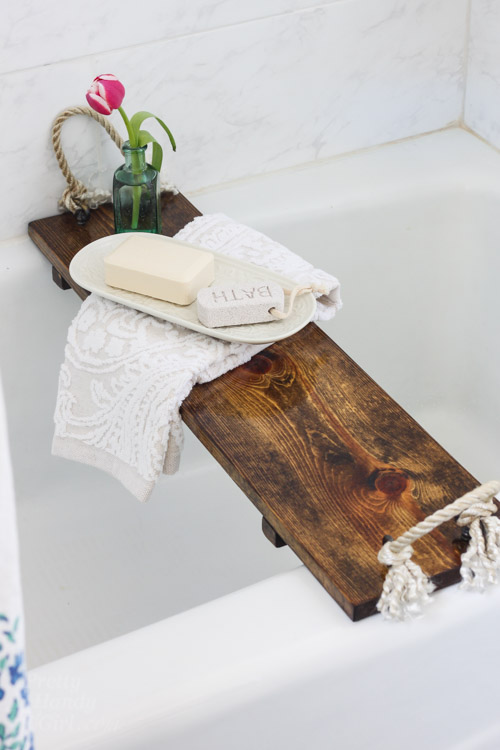
One of the easiest trays to make is this DIY Bathtub Tray. Think about how nice it would look if you tied beautiful towels, soaps and a bath bomb to the surface! Makes for an instant spa-themed gift basket.
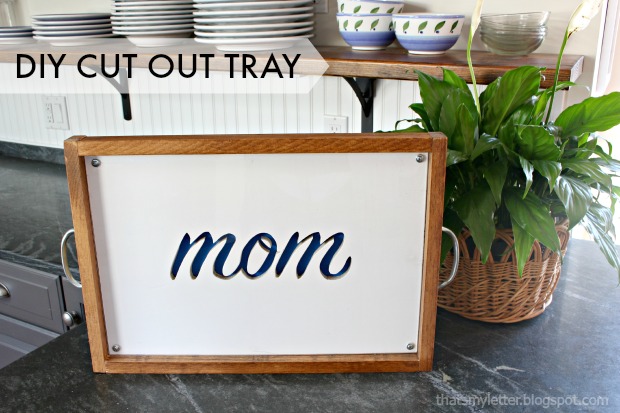
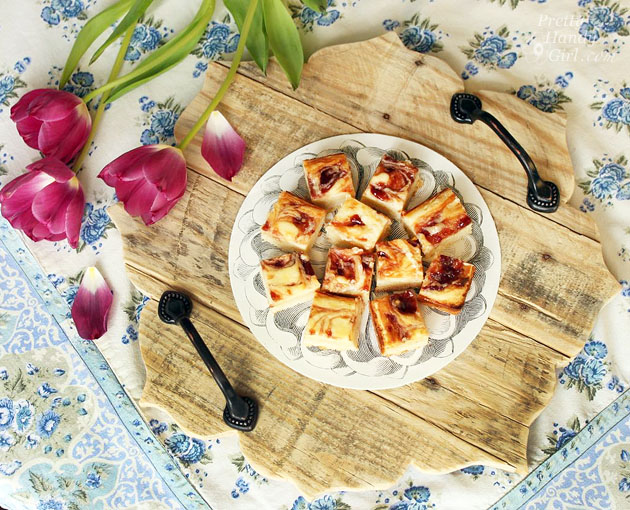
Building a tray is a simple idea, but you can elevate the gift by creating a DIY Cut Out Tray with the recipient’s name on it. Talk about being the “talk of the season” when you deliver this beauty with baked goodies on top.
What to do with all those scraps of pallet wood you harvested? How about a Rustic Scalloped Pallet Wood tray to serve as a gift platter?
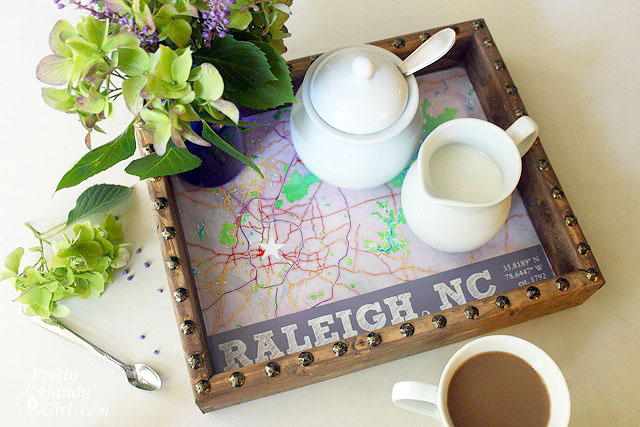
This City Pride Rustic Tray is an easy DIY project using scrap wood and upholstery tacks. As a bonus, I’ve included my source for making free watercolor prints of your favorite city. How cool would it be to gift someone with this map tray filled with local goodies?
If you are scared of the power tools, this Painted Scrapbook Paper Tray can be made using a few items from your craft store. Purchase an unfinished tray, paint it, and get crafty. Then fill it with thank you cards, cookies, or anything your gift recipient might like.
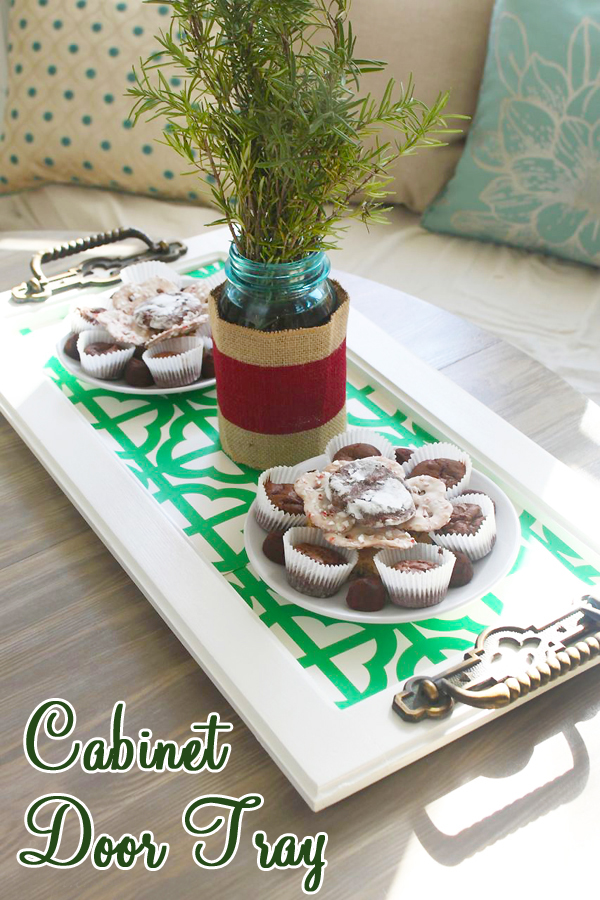
What could be better than a fun upcycled gift idea? Make a tray out of an old cabinet door and then load it up with baked goodies.
Gift Bins, Pails, and Baskets:
These round vessels can be extremely inexpensive options for gift baskets. Hunt your local thrift store, dollar store, or the hardware store for a bin or pail to use as a gift basket.
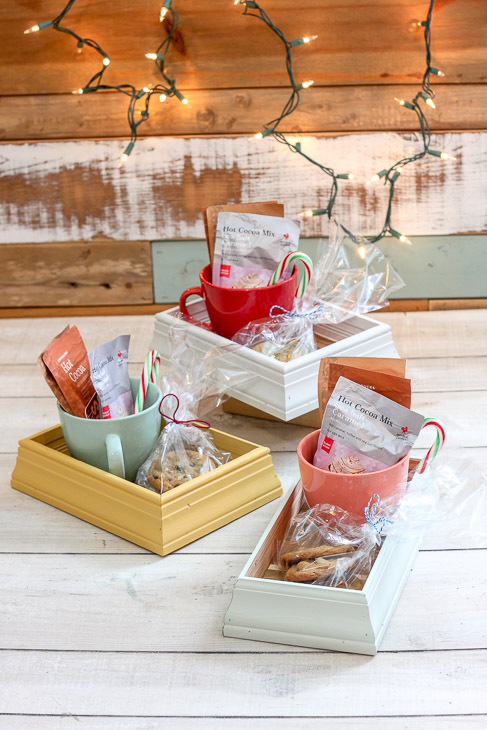
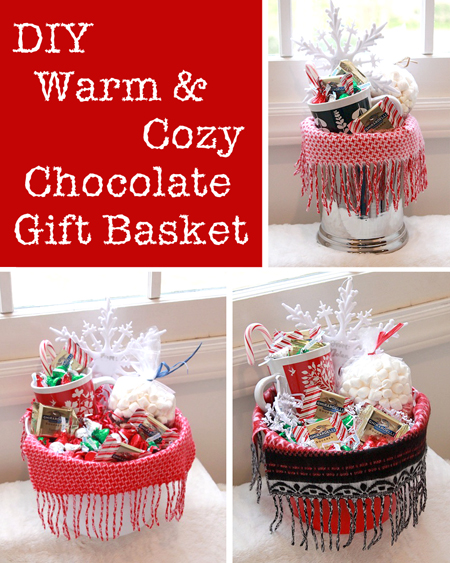
Dollar Store pails and buckets are one of my favorite vessels to use for gift baskets. For the holidays, I like to tuck an inexpensive scarf inside to line the bucket and then fill it with chocolates, hot cocoa mix, and a Dollar Store mug. These are the perfect Instant Warm & Cozy Gift Baskets for last minute gifts.
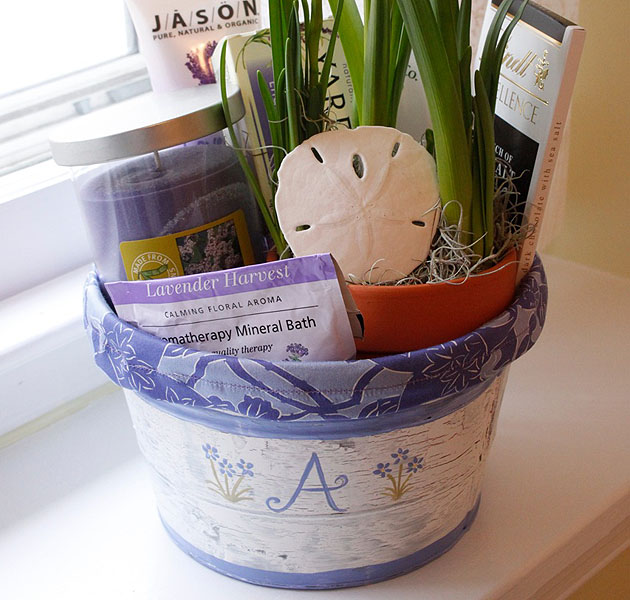
What busy Mom doesn’t deserve a spa day? Why not create this Aged Painted Pail Gift Basket and fill it with some indulgent bath salts and treats. You’ll love my frugal idea for making the fabric liner. I bet you’ll never guess what I used!
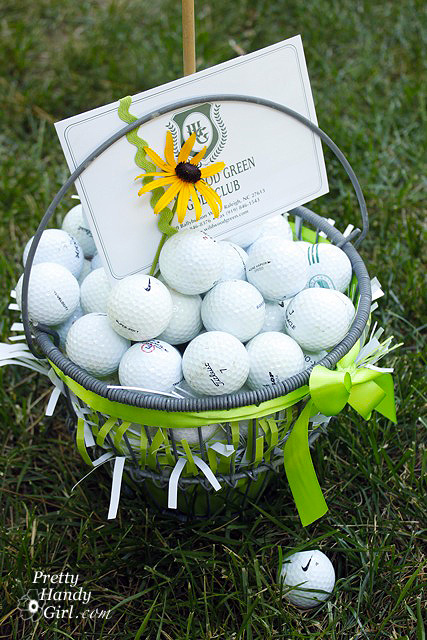
So you have a golf lover on your list?! You can’t go wrong with this Golf Gift Basket. Don’t stress about buying all the golf balls. Read my blog post to learn my secret to making the basket look full and not spending a ton on golf balls.
A homeowner will always find good use for this Hostess Gift Basket in a Chalkboard Pail. Especially when you tuck a Lowe’s Gift Card into the basket. Include some scented soaps and candles to freshen their home for the holidays.

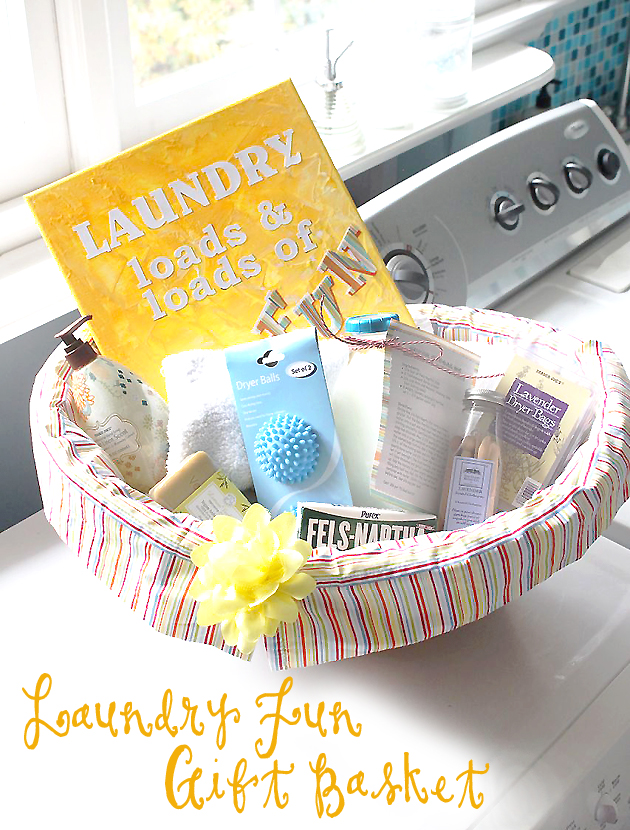
Who says laundry isn’t fun? This Laundry Fun Gift Basket is also the perfect gift for that person who is moving into a new house or apartment (or the new college student.) Sew a basket liner and fill it with DIY Laundry Detergent and more. (Bonus, you will save them loads of money when they learn they can make their own DIY Laundry Detergent.)
Creative Gift Containers:
Remember when I said anything that can hold items can be a gift basket? Well here’s the proof. Tuck a gift card inside a mug, glass, or jar with some snacks and you have an instant gift basket!
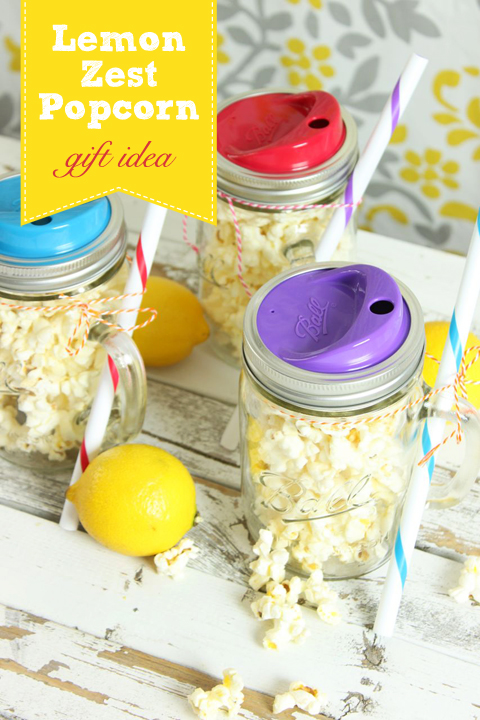
This is a gift idea I threw together for my sons’ teachers one year. Make some Lemon Zest popcorn and throw a movie theater gift card (wrapped in plastic) in the center of a mason jar mug. Then fill popcorn around the card. The teachers raved about this gift idea.
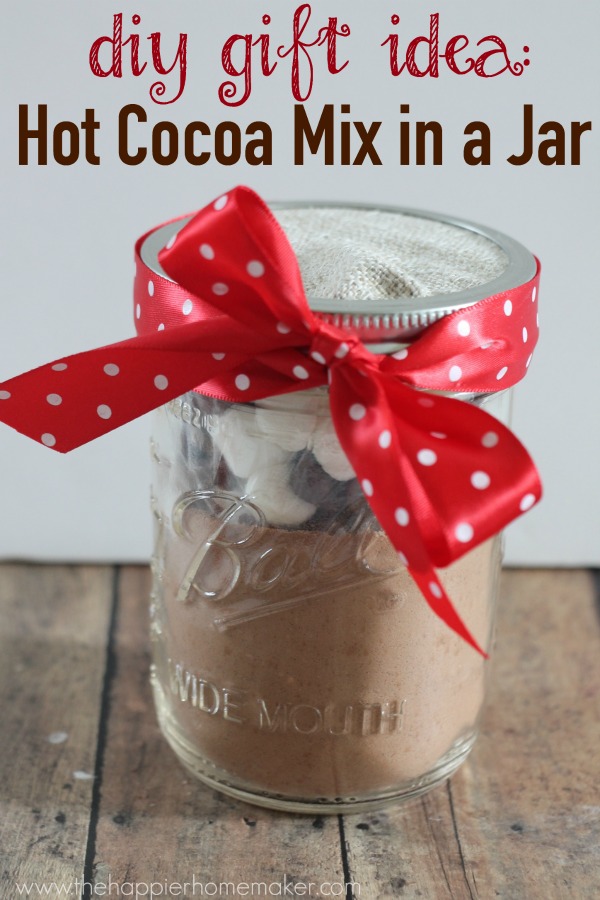
Who wouldn’t love this DIY gift idea: Hot Cocoa in a Jar. It can be incredibly fun to line up a bunch of mason jars and fill them with hot cocoa mix and top it with a bow. Even the kids can help make this gift idea.
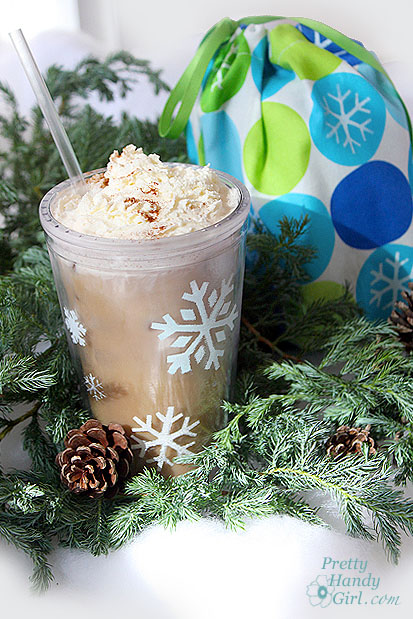
Coffee lovers will flip for this idea! Sew a draw string pouch and include coffee and an insulated cup inside to make a super simple Coffee Lover’s Gift Idea
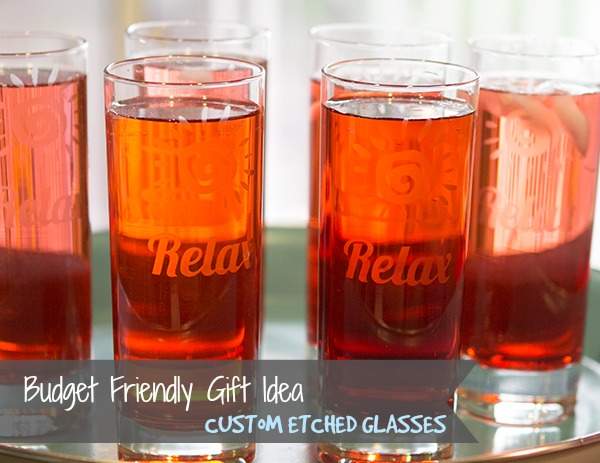
These Custom Etched Glasses are gift enough on their own, but if you wanted to use them as a gift, personalize one and fill it with a gift card and some sweets for your special gift recipient. Or make one for a teacher and fill it with pencils, pens, and a gift card to an office supply store.
These chalkboard painted mugs are right on trend with the chalkboard craze. Fill them with some hot cocoa, coffee, or a gift card to Starbucks and you are done.

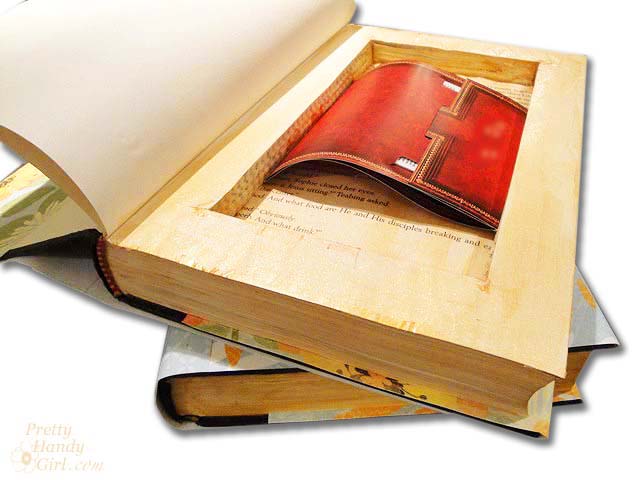
Okay, I get it, sometimes purchasing a gift card is the simplest solution for that hard to buy for friend. Why not hide the gift card in a super secretive book with hidden storage? Tuck the gift card inside and watch your friend’s reaction as they open your gift.
Do you have any creative DIY gift basket ideas? I’d love to hear them in the comments below. Hope you have a Happy Holiday!

Love these ideas? Be sure to pin this image for reference throughout the year!
You’ll also love these DIY Gift Ideas:
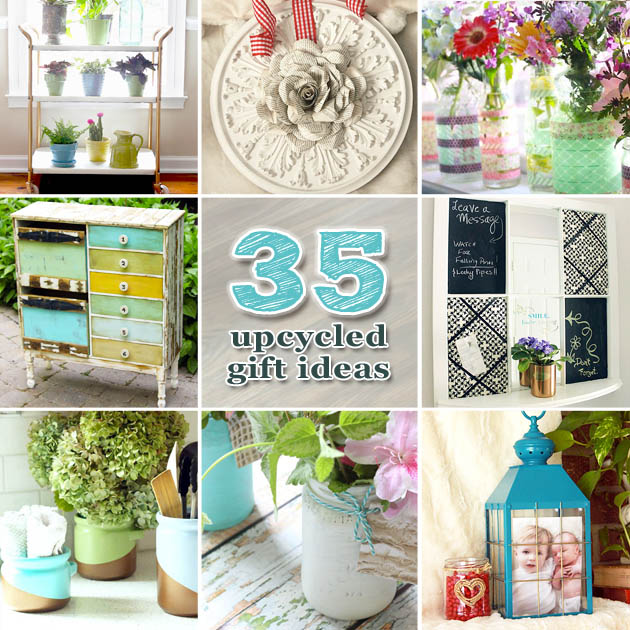
35 Upcycled Gift Ideas
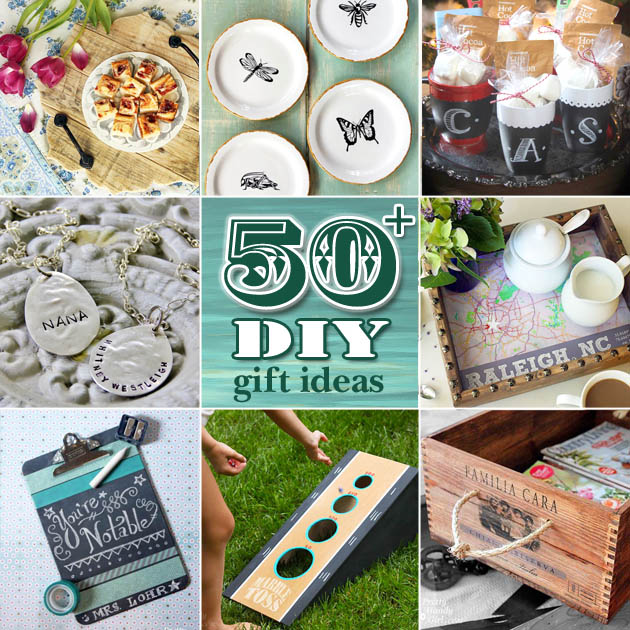
50+ DIY Gift Ideas


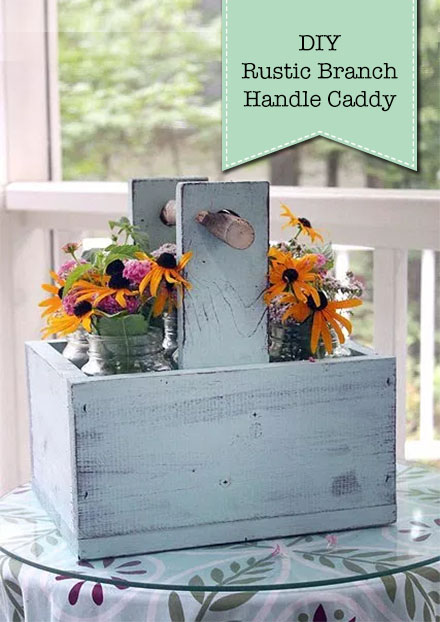 Rustic Wooden Caddy with a Branch Handle


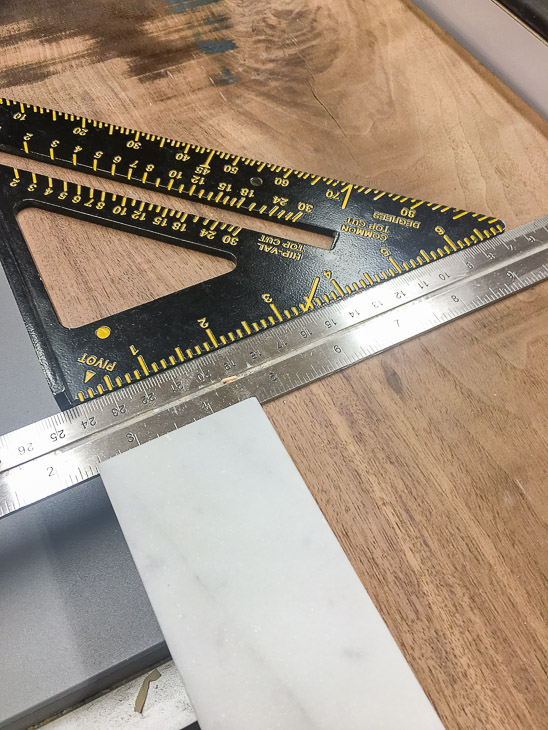
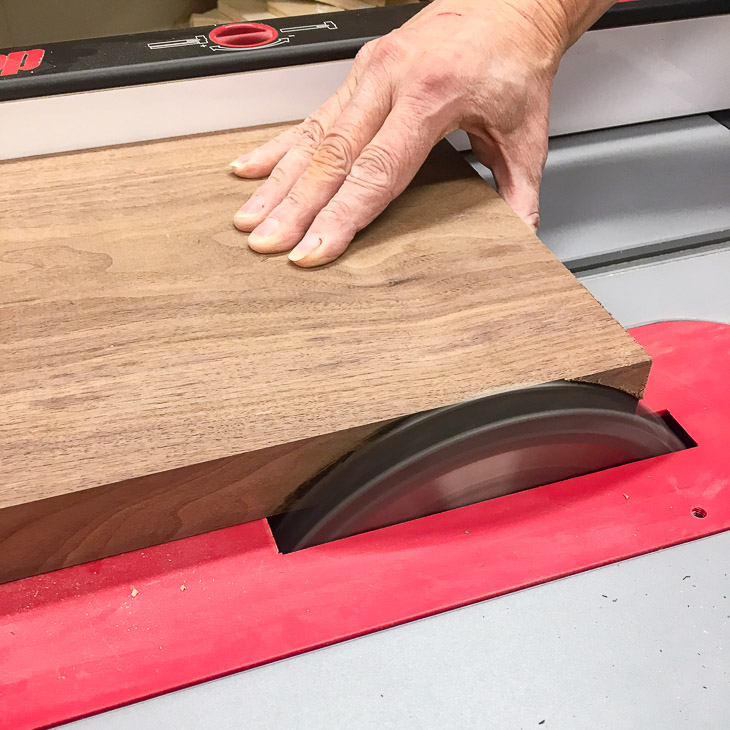
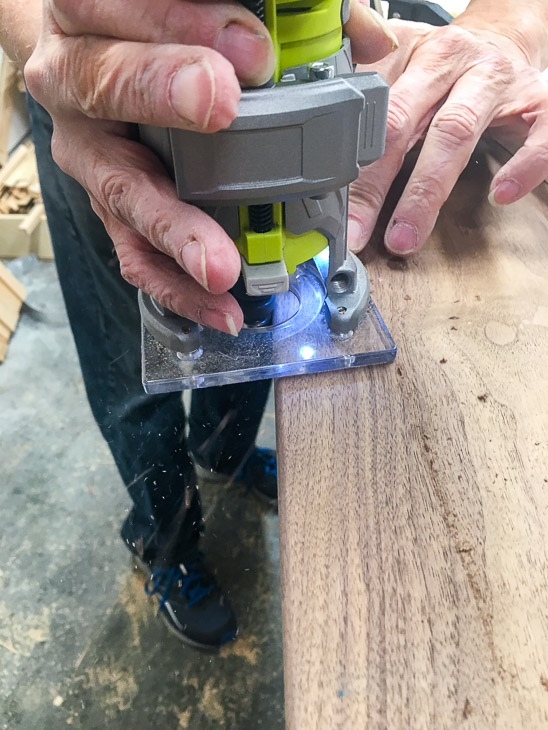
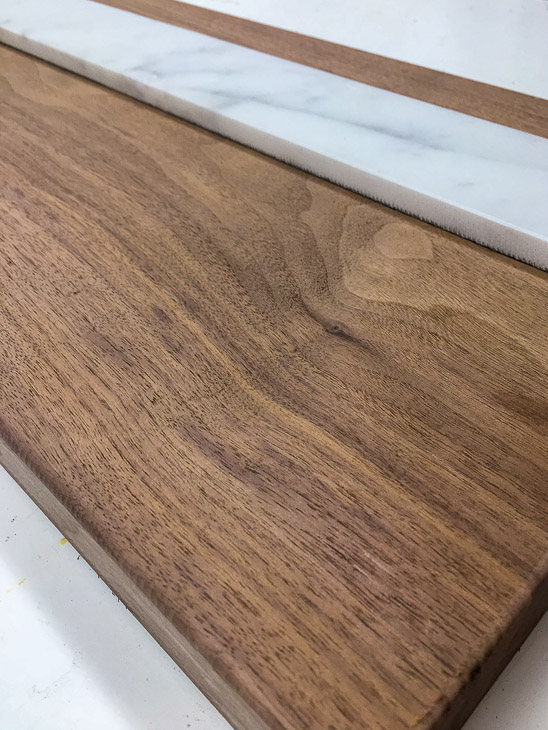
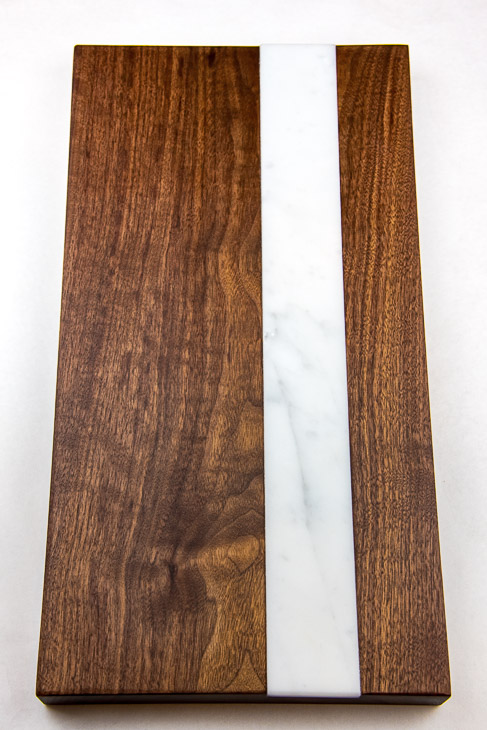
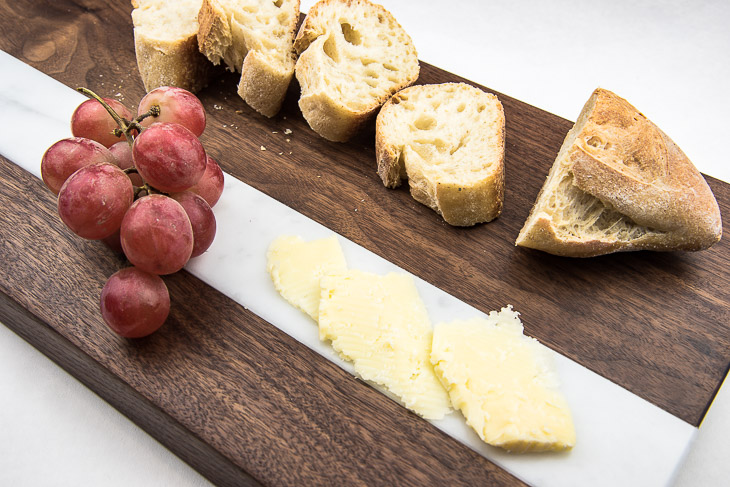
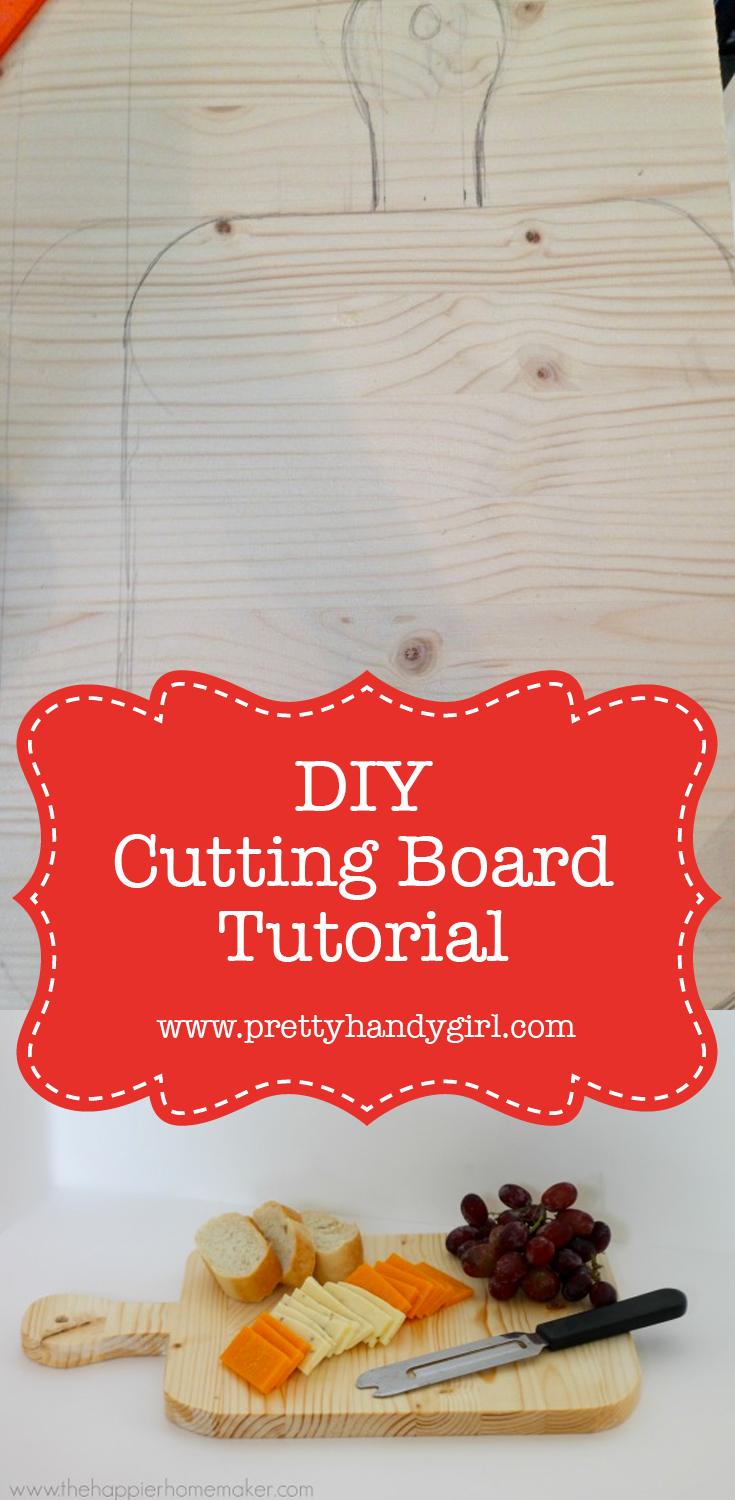
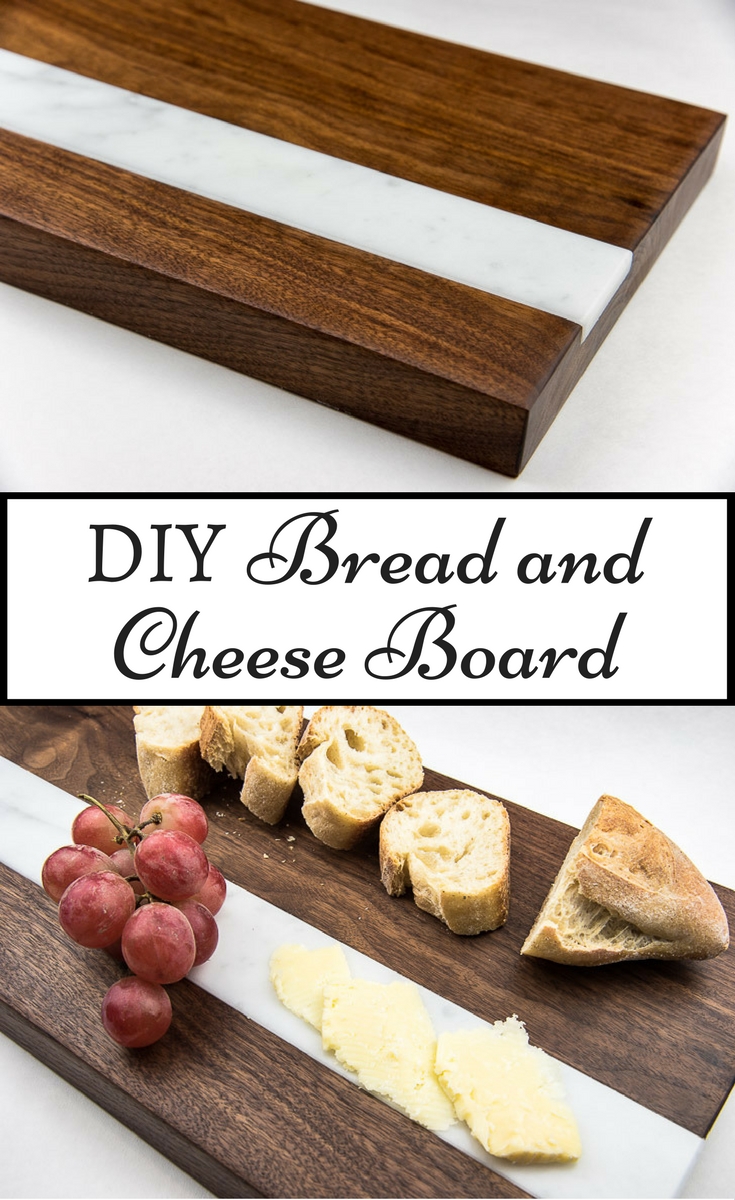 DIY Bread and Cheese Board