Learn my tips and tricks to create a beautiful thriving garden bed in no time.
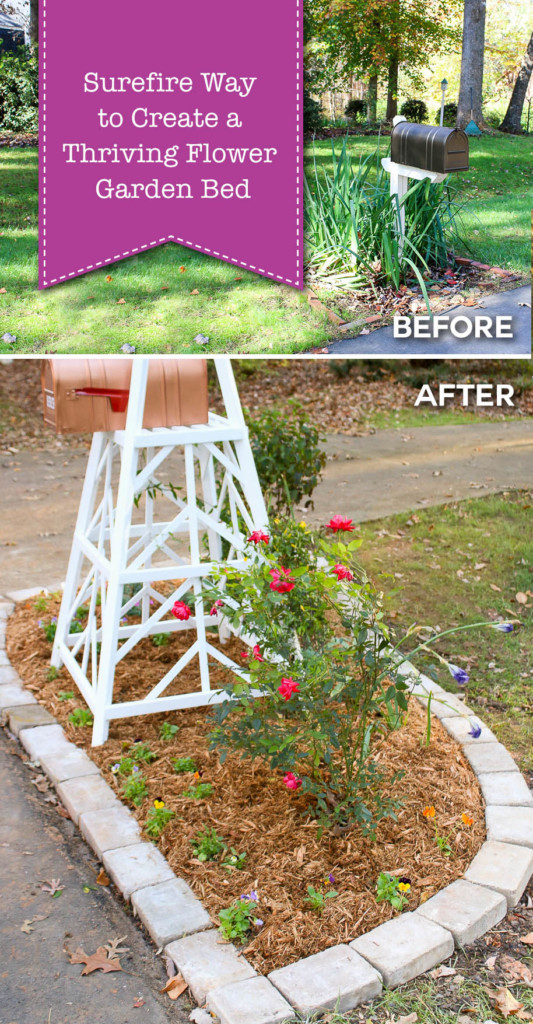
The SureFire Way to Create a Thriving Flower Garden Bed
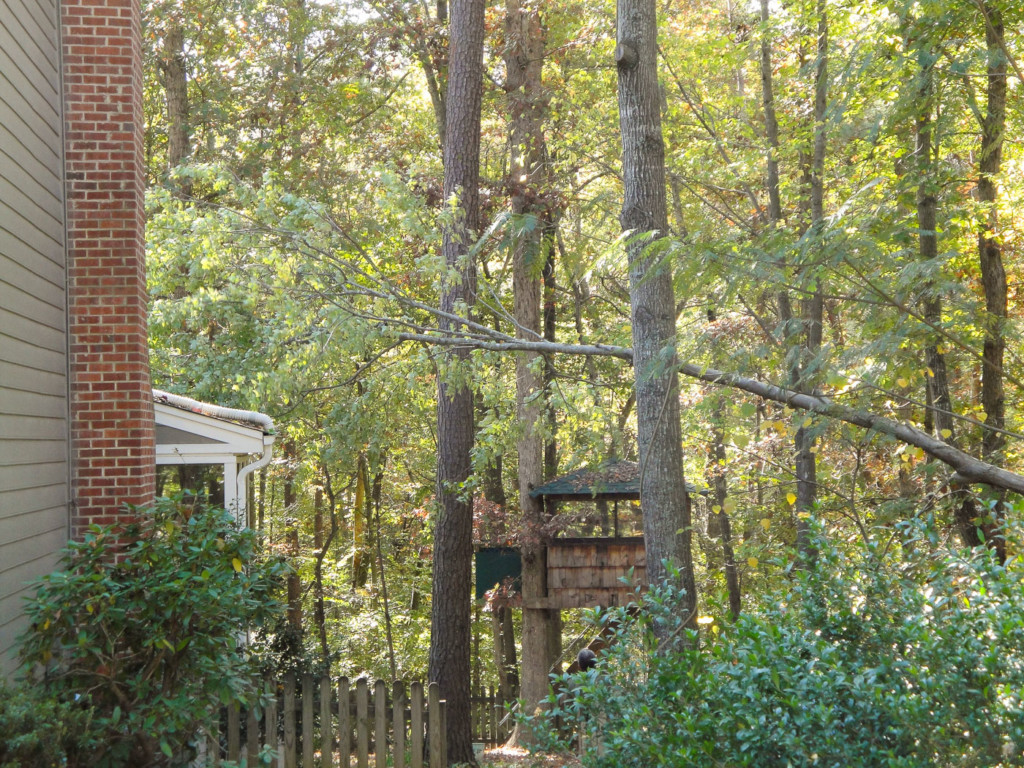
We live on a beautiful tree-filled lot in North Carolina. I love all our trees, but sometimes I crave a spot for beautiful sun-loving flowers. The area near our mailbox is one of the only places that gets enough sun for a full-sun flower garden. Unfortunately, that spot by the mailbox wasn’t really thriving.
Back when I first created that flower bed, I was an inexperienced gardener. I didn’t condition the soil, and the only thing that really seemed to be happy there were a few transplanted iris tubers from our backyard. They never bloomed in the backyard, so I figured they’d be happy in a sunnier spot.
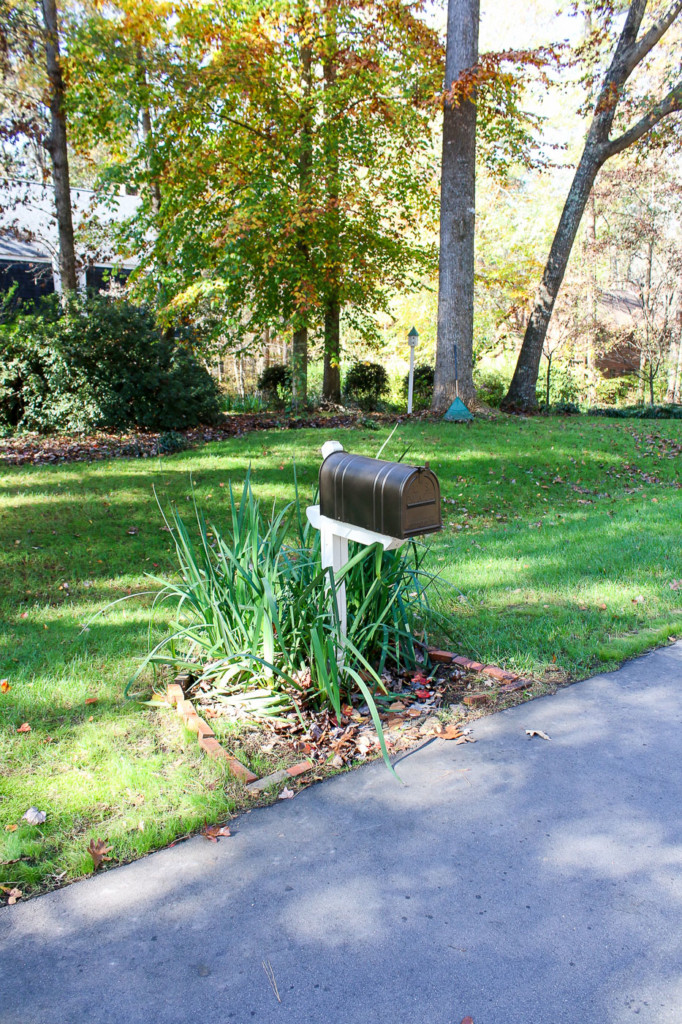
Each year I anxiously awaited some pretty iris blooms, but every summer I was disappointed. This Spring something unfortunate happened, that was actually a blessing in disguise. Our mailbox got hit and it split the mailbox post in half. At the time I was too busy to deal with it, so I put a few screws into the post and left it alone through the spring and the summer.
Now that Fall is here, it’s the opportune time to amend that area and plant a thriving sunny flower bed!
Why Fall is the Best Time to Plant a New Garden Bed?
Summer can be a formidable environment here in North Carolina. The hot weather quickly dries up any moisture in the soil and the sun can scorch tender shoots from new plantings. But, once Fall arrives, the temperatures are milder and not as harmful to those tender new plants. While it might seem like the plant isn’t growing when planted in cooler weather, under the soil those roots are growing and getting established. When Spring arrives, the plant will be more established and ready to send out new shoots and flowers.
How to Decide Between a Straight or Curved Bed?
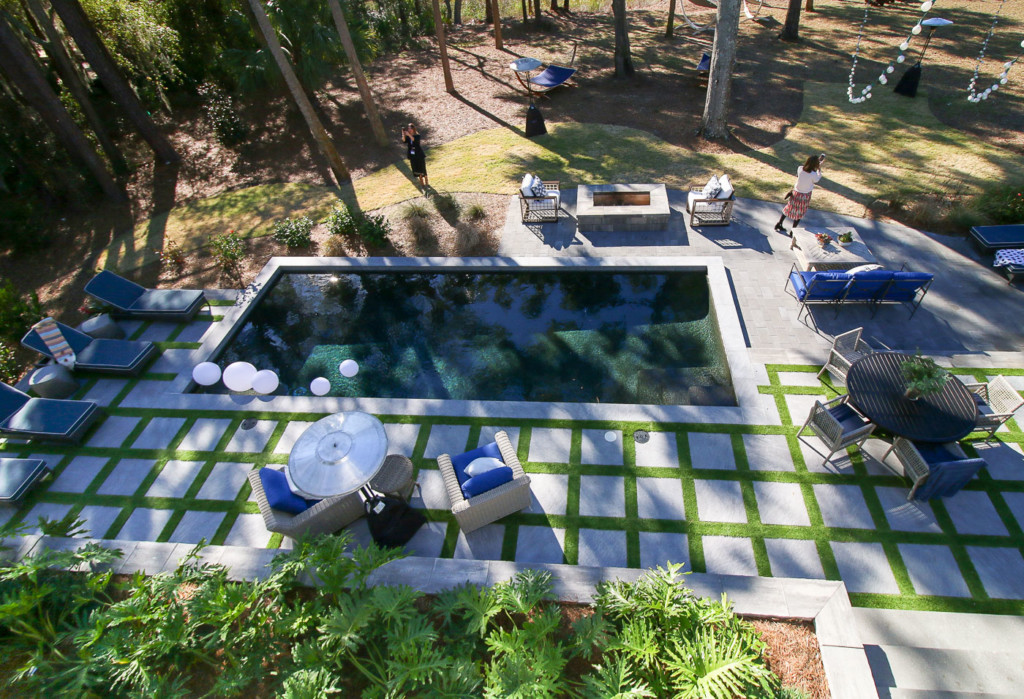
It may seem daunting trying to decide a shape for your flower bed. Unless you have hardscapes that dictate your shape, look at your house style to help decide.
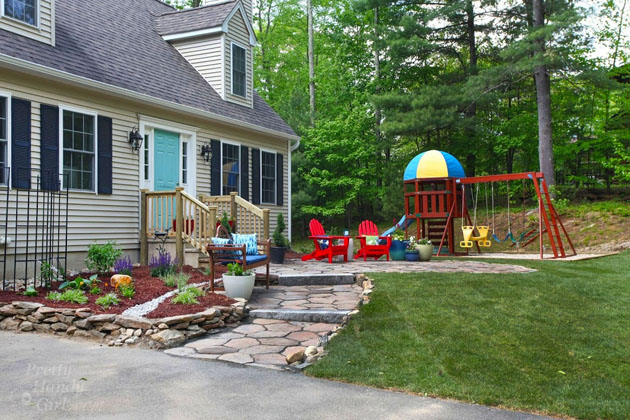
This right-angle styled backyard looks great against a large transitional coastal home.
Meanwhile, in Massachusetts, this Cape Cod style house looks right at home surrounded by loose curving beds.
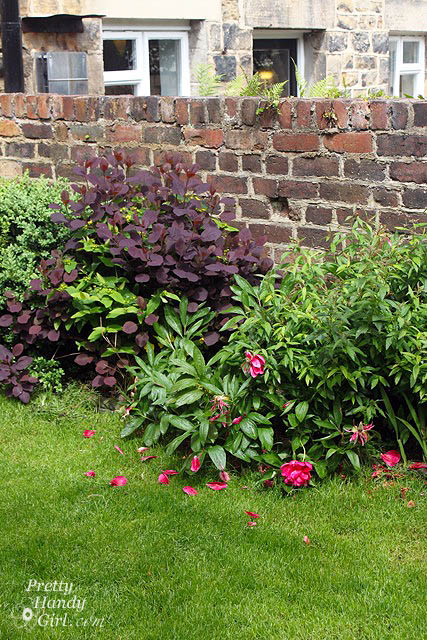
An English countryside row house is perfect for informal plantings that hug the brick wall but spill into grassy areas.
In the city, where planting areas may be small, a few neatly planted foundation plantings look perfect.

Of course, these aren’t rules that can’t be broken. Ultimately, it’s your yard, so make it a reflection of what you love!
Planning Your Flower Bed:
Interesting flower beds have a variety of colors, shapes, sizes, and textures. Create a sketch for your ideal garden bed before heading to the nursery. In your plans, position taller plants at the back of your bed and shorter plants in the front. Make sure you leave enough room between plants as they fill out and mature.
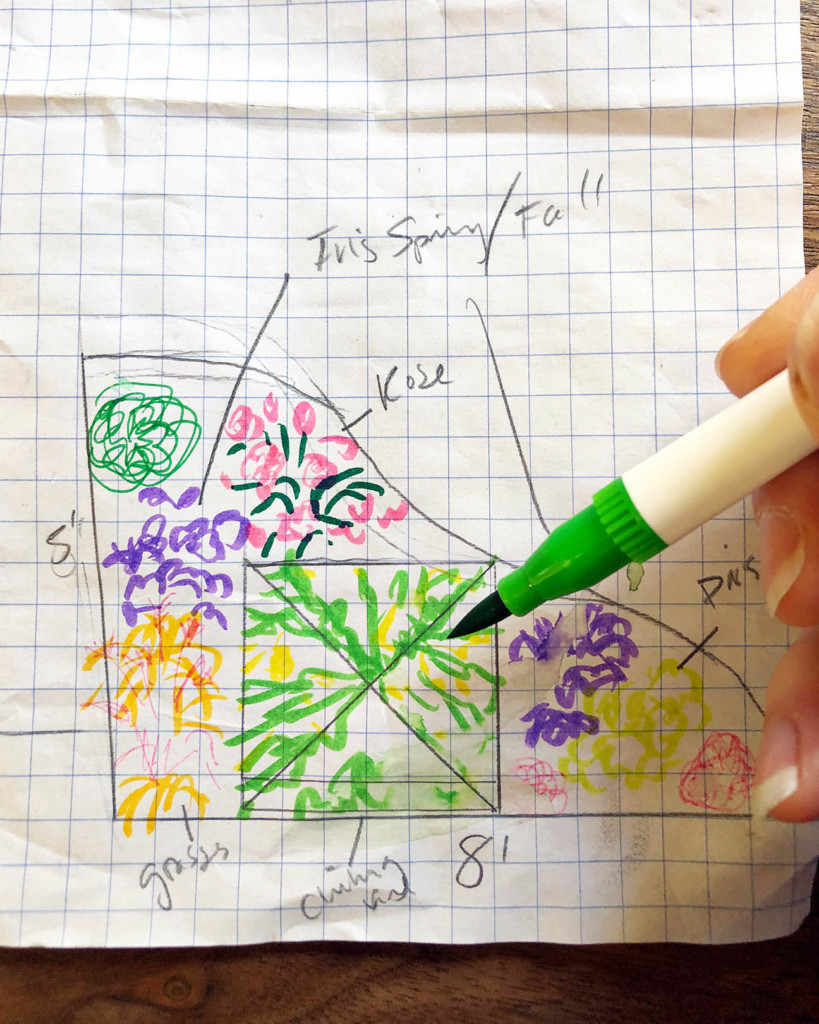
Although your plans might change once you reach the plant nursery, at least you have a general idea for what you want before being overwhelmed (or underwhelmed) by the choices.
Perennials or Annuals:
Perrenials are plants that grow and return every year. They are the “plant it and be done” way of gardening. By contrast, annuals are plants that typically bloom once and then die. Some annuals will deposit seeds to start new plants next year, but typically they don’t return in full force like the parent plant. Although they don’t last, annuals are a great way to inject new colors and style into your existing flower bed (especially while you are waiting for perennial plants to fill out.
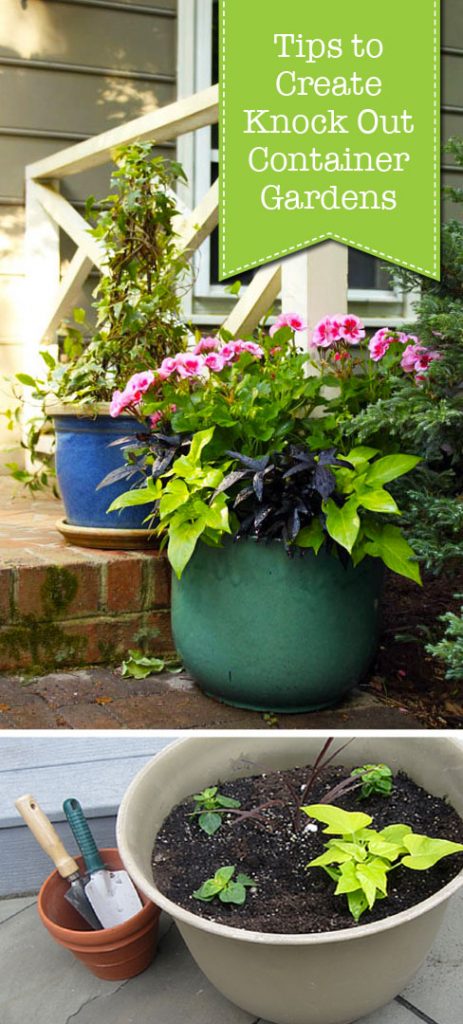
When combined, perennials and annuals can create a beautiful flower bed. Personally, I like to plant mostly perennials in a flowering bed because I’m lazy and I still get beautiful new flowers every year. Annuals are usually reserved for my planter pots. (You can learn how I create knock out container gardens in this article!)

However, to give some much-needed color to my new flower bed, I added some annuals (specifically some pansies). Our climate is usually mild enough that they will bloom once again in the Spring before dying. Then I’ll swap them out with seasonal perennials in full bloom. Buying plants in the Fall and Spring will give you a better idea of how the mature bed will look throughout the year.

What Exactly is Full Sun, Part Sun, Part Shade, and Shade Conditions?
Plants each need a certain amount of sun, but those amounts and types are varied. To successfully determine the amount of sun your property receives, create a sun map by observing your yard throughout the day. (Tip: Don’t create your map in the winter or early spring before the trees have all their leaves out or you may be surprised when that sunny area is mostly shaded in the summer.)
- Full Sun – Plants with a full sun denoted on their label need a minimum of 6 hours of direct sun to thrive.
- Part Sun – Plants in the part sun category must receive 3-6 hours of direct sun to be happy. But they require some protective shade or dappled shade the rest of the time.
- Part Shade – Plants in the part shade category can also handle 3-6 hours a day, but they like early morning or dappled shade as opposed to receiving their sun in the mid-day when the sun is at its hottest.
- Shade – These plants love nothing more than a good shady spot under a tree or shaded by a structure all day. They can handle a little morning or dappled sun, as long as they get to stay cool the rest of the day.
Tools & Materials to Create a Successful Flowering Garden Bed:
(I’ve included affiliate links for your convenience. I earn a small percentage from a purchase using these links. There is no additional cost to you. You can read more about affiliate links here.)
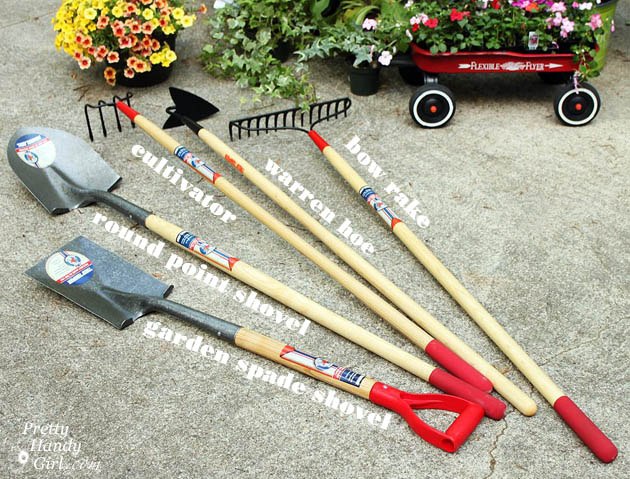
Materials and Manual Garden Tools:
To create a new flower bed, you’ll need a few supplies.
- Garden Spade Shovel
- Round Pointed Shovel
- Small Hand Trowel
- Hand Cultivator
- Garden Rake
- Kneeling Pad
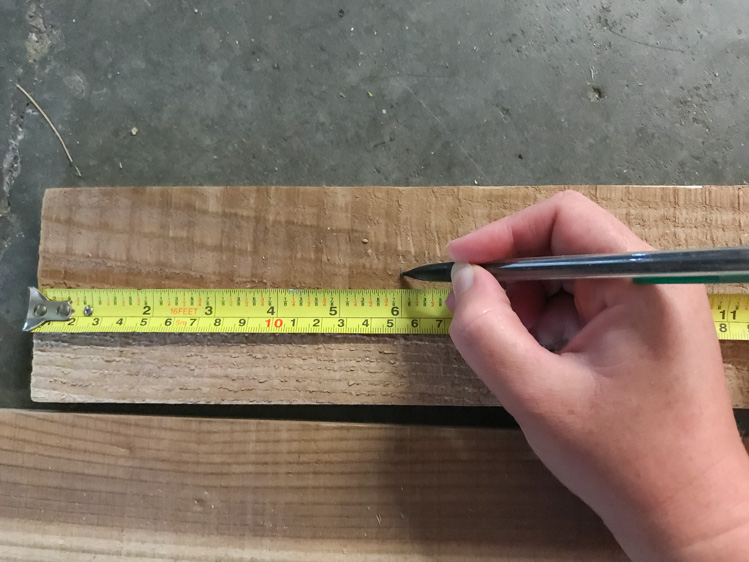
- Tape Measure
- Marking Spray Paint
Optional: Garden hose or string & stakes
Landscaping Power Tools:
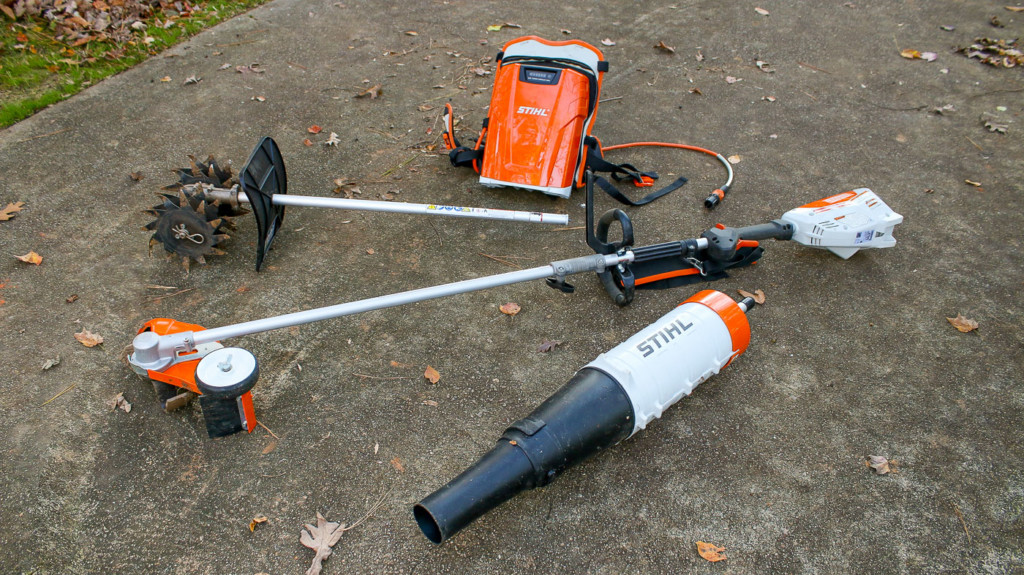
Although you can create a flower bed by hand, having power tools at your disposal will not only save you time, but they can save you from an aching back and sore muscles. I can tell you first hand, breaking up tough red clay and compact soil can be one of the most sole-crushing activities if you don’t have a power cultivator! While creating my new garden bed, I fell in love with the power and versatility of the STIHL Battery-Powered KombiSystem.
Here’s where I need to let you know this post has been sponsored by STIHL. If you’ve been around for a while, you know I absolutely love the quality and power behind the STIHL name. For this project, my friends at STIHL sent me the battery-powered KombiSystem and some attachments to try out.
What’s so Great about the STIHL KombiSystem?
If you’re like the majority of homeowners, you don’t have a lot of storage in your garage or shed for yard tools. Although I built this cute garden shed a few years ago, it’s become the default storage for everything from yard tools, to bikes, and beach gear. We’re running out of space in there, which is why I love that the KombiSytem consists of one powerhead that powers a wide variety of attachment tools. This will save you tons of space in your yard storage area and allow you to acquire new tools as you need them without buying a new machine for each landscaping task.
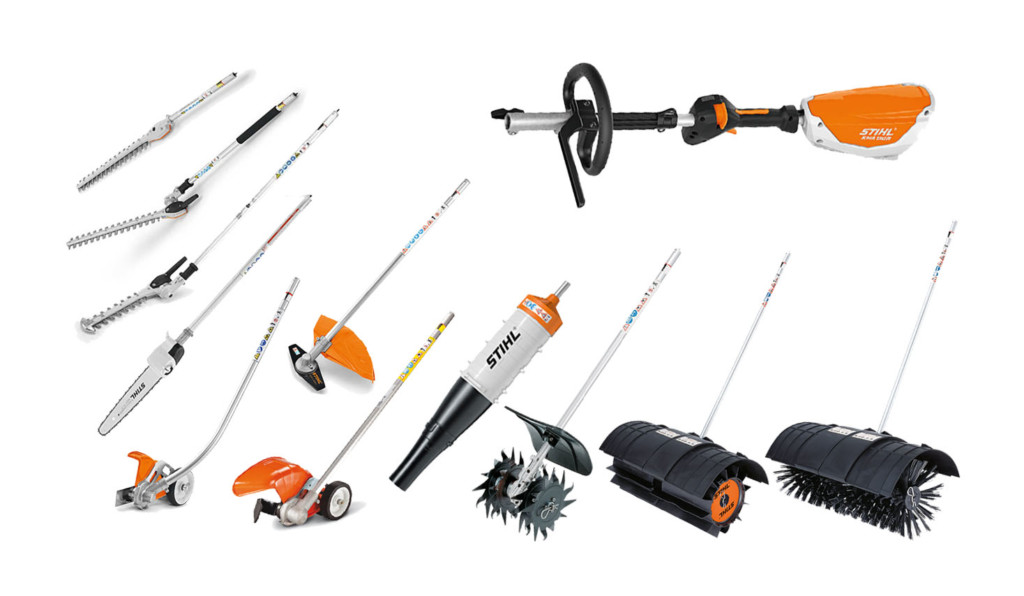
Powerhead: KMA 130R
Attachments from Left to Right: Straight Hedge Trimmer, Adjustable Hedge Trimmer, Adjustable Scythe, Pole Pruner, Lawn Edger, Brush Cutter, Bed Redefiner, Blower, Mini-Cultivator, Power Sweep, Bristle Brush Sweep
(Not Pictured: String Trimmer, Reciprocator, and newer attachments can be found here.)
While you are saving space, there’s no lack of power with the KombiSystem powerhead! The powerhead are available in a battery-powered unit or several gas-powered ones. Personally, once you go battery-powered you never go back! Several years ago, STIHL convinced me to try one of their battery-powered mowers. I thought for sure it would fail to keep up with our 2/3 acre of lawn. Boy was I wrong. Since then, we’ve slowly replaced our gas tools with battery-powered STIHL tools. What I like most about the battery power versus gas, is finishing all our landscaping tasks without smelling like a gas station!
Lest you think battery-powered landscaping tools are only for neat little postage-stamp-sized yards, we live on a heavily-wooded lot. Our landscaping is a constant battle against nature therefore, there’s no room in our yard storage area for wimpy landscaping tools.
Personal Protective Equipment:
When using power tools, it’s imperative to wear appropriate protective gear. When creating your new flower bed, you’ll need to have these on hand:
- Closed-toe Shoes (or Waterproof Work Boots which are better for landscaping)
- Gloves (my current favorite outdoor yard gloves)
- Safety glasses (protective shades for sunny days)
- Hearing Protection (Bluetooth enabled to let you listen to tunes)
How to Create a Thriving Flower Garden Bed in No Time
When you’re starting from scratch, creating a new garden bed can seem like a daunting task. But, I’ll show you the quickest and most effective way to create a thriving flower garden bed in no time! As I mentioned above, you can use manual hand tools, but you’ll soon find yourself fighting against hard-packed earth and wish you had power at your disposal.
Laying Out Your Border:
If your new flower bed consists of straight lines, use stakes and string (or long pieces of pipe or lumber) to layout your bed. But, if you want beautiful curves, you can’t beat a garden hose. The hose won’t easily create sharp bends, which means it will keep your lines smooth and aesthetically pleasing. Plus, it will hold its shape long enough to let you outline the bed with spray paint.
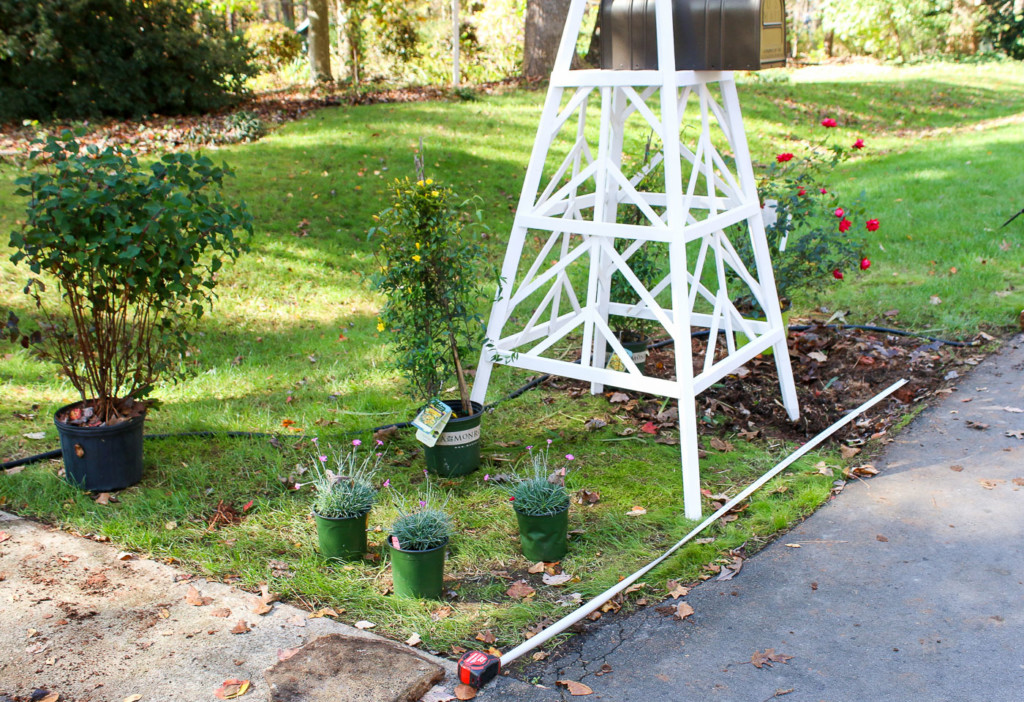
Once your bed outline is defined, set your plants and any objects into the bed and make adjustments to your bed perimeter as needed.
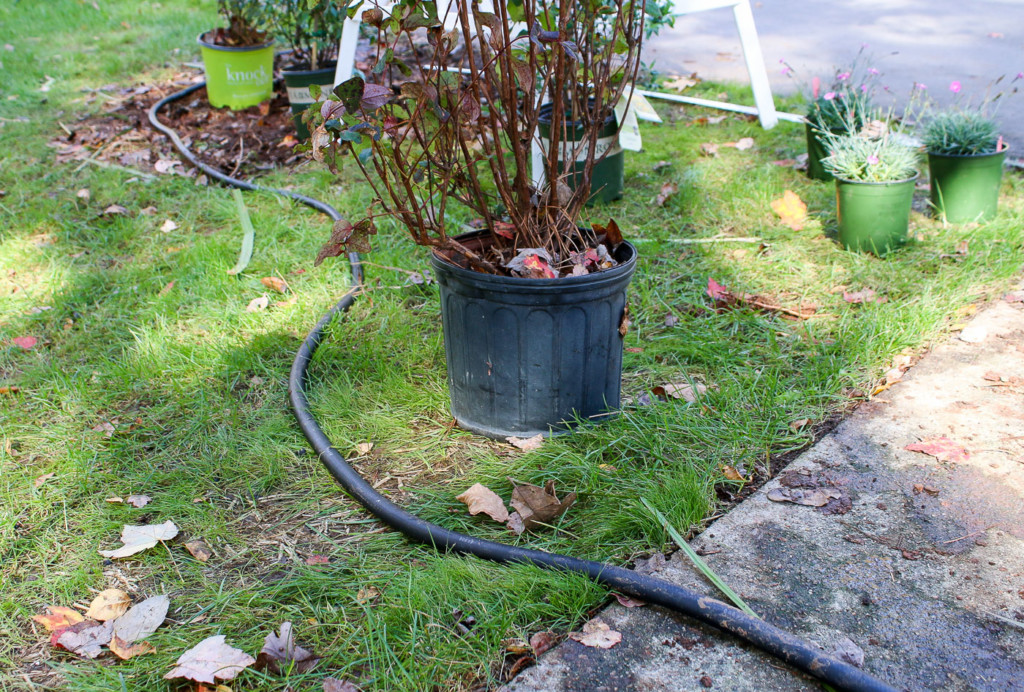
Outline your bed shape with spray paint and then it’s time to dig in that dirt! I created a video so you can learn the quickest way to create a new flower garden bed. (Hope you get a good laugh at my husband’s commentary.)
Video: Quickest Way to Create a New Flower Bed
Conditioning the Soil:
If you’ve ever dug a hole in a new spot and planted something only to find it dead a few weeks later, you now know how important it is to condition the soil before planting. New plants need soft and nutrient-rich soil to thrive. Think about how tiny and tender new roots are? They aren’t strong enough to push through tough red clay or compact soil. Plus, they need soil rich in minerals and nutrients to support healthy growth. To condition the soil, mix some native dirt with good quality topsoil and compost (if you have some.)
Composting: Black Gold for Your Garden and Flower Beds
If you haven’t started a compost pile, what are you waiting for?
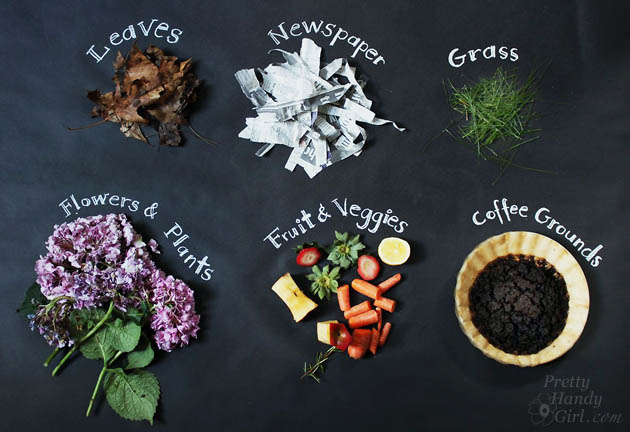
This is FREE nutrient-rich soil for all your gardening needs! It’s also a great way to recycle your veggie scraps, coffee grounds, eggshells, fresh flowers, and even your newspaper! To learn how easy it is to start a successful compost pile today, read my article here.
Free the Roots:
Potted plants can have roots that have outgrown the pot. When this has happened, they will grow around the inside edge of the pot creating a root-bound situation.

It’s important to cut into the perimeter of the root ball and free the roots to encourage them to grow out into the new soil.

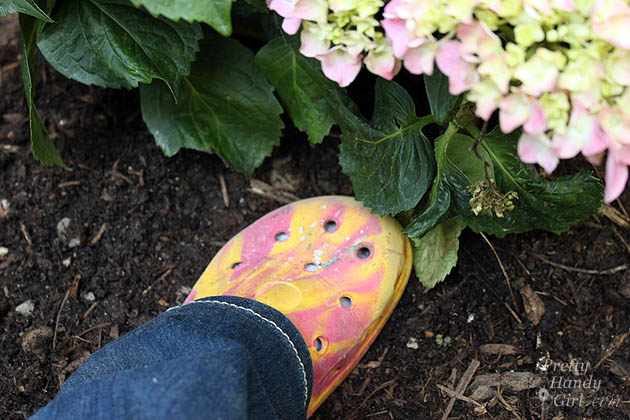
Planting for Optimal Success:
Now that you have your good soil and a plant ready to spread its roots, it’s time to plant. For the best chance at survival, dig a hole twice as wide as your plant’s root ball. Add several inches of quality topsoil and compost into the base. Then put your plant in the hole. Fill the sides around the rootball with more topsoil and compost material. Then gently step around the plant to compact the soil against the root ball. Doing this will get rid of any air pockets around the roots.
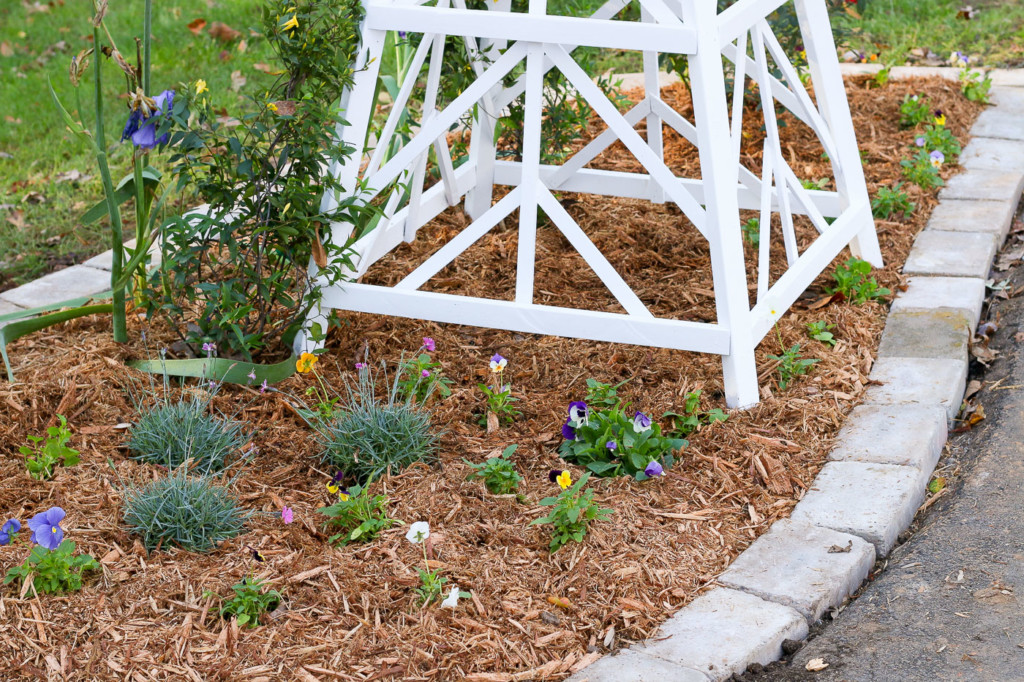
Types of Mulch:
Mulch is an important addition to any flower garden. It helps retain moisture so your plants don’t need to be watered as often. Mulch also acts as a weed barrier. And finally, it acts like a blanket protecting new root systems from a sudden cold snap.
Shredded Hardwood Mulch: Shredded mulch is my preferred choice of mulch. It’s easy to acquire, organically breaks down adding nutrients to the soil, tends to stay put, and adds a nice dark brown color letting the colorful flowers really shine. The faster decomposition is the only negative to this choice because you need to re-apply yearly.
Pine Nuggets: Pine nuggets tend to last a little longer than shredded mulch. It also adds a nice dark color around flowers. But, pine nuggets are lightweight and tend to float or blow out of the bed easier than shredded mulch.
Pine Straw: Pine straw is an easy mulch to get your hands on. It’s sold in bales and is lightweight and easy to spread. If you have lots of pine trees, you probably have plenty of free pine straw. Unfortunately, when first spread, pine stray doesn’t retain moisture as much as other types of mulch. It also decomposes quickly. Finally, a strong wind can blow pine straw out of your flower beds.
Rubber mulch: A while ago, someone discovered old tires could be turned into mulch by shredding and coloring it. This seemed like an environmentally-friendly idea at the time (because how many discarded tires can we reuse for creative projects)? Ultimately, using rubber mulch has several downsides. It’s been highly popular under playground equipment because it offers a little cushion. But, colored mulch easily stains clothing. When heated by the sun, it emits a rubber odor. Rubber mulch can also burn, and heaven forbid it catches fire, it will spread toxic fumes into the air. Finally, although it doesn’t break down as quickly as natural mulches, it will eventually break down and leach chemicals into your soil (not good for your garden!) Let’s all agree to stick to natural materials for mulch, okay?
Watering:
New plants need more water than established plants. Water the soil until damp daily for two weeks. Skip watering if you have rain in your forecast. Too much water can cause a host of problems, so try to water deeply once a day until the soil is wet, but not soggy.
After two weeks, you can lighten up on watering and only water if you haven’t had rain in a while.
What to Do if Plants Die?
The first rule of gardening is to learn from your mistakes and don’t give up. If your plant dies, try to determine why. Did it get too much water, was the soil not conditioned? Was it getting too much sun or too much shade? Do you have deer or animals that ate it or perhaps you had a harsh winter that killed your plant. It’s also possible the plant wasn’t healthy when you bought it. (Many nurseries have a warranty of new plants, check with them to find out how long they will guarantee your plant.)
Regardless of how a plant died, don’t beat yourself up about it, go ahead and dig it up and put something else in the spot. Every gardener learns from their mistakes. Over the years they learn which plants thrive for them and how to make some plants happier.
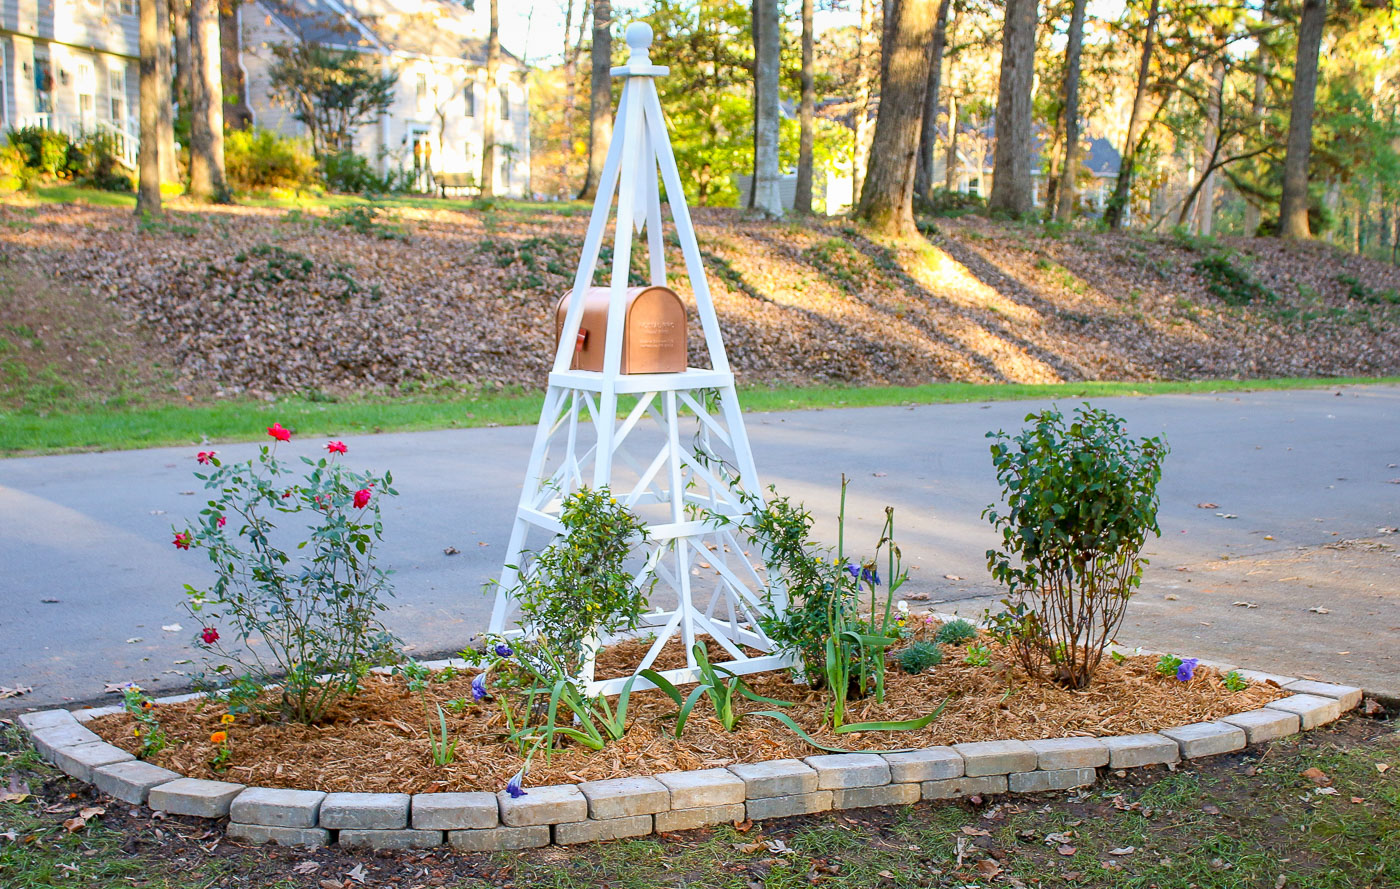
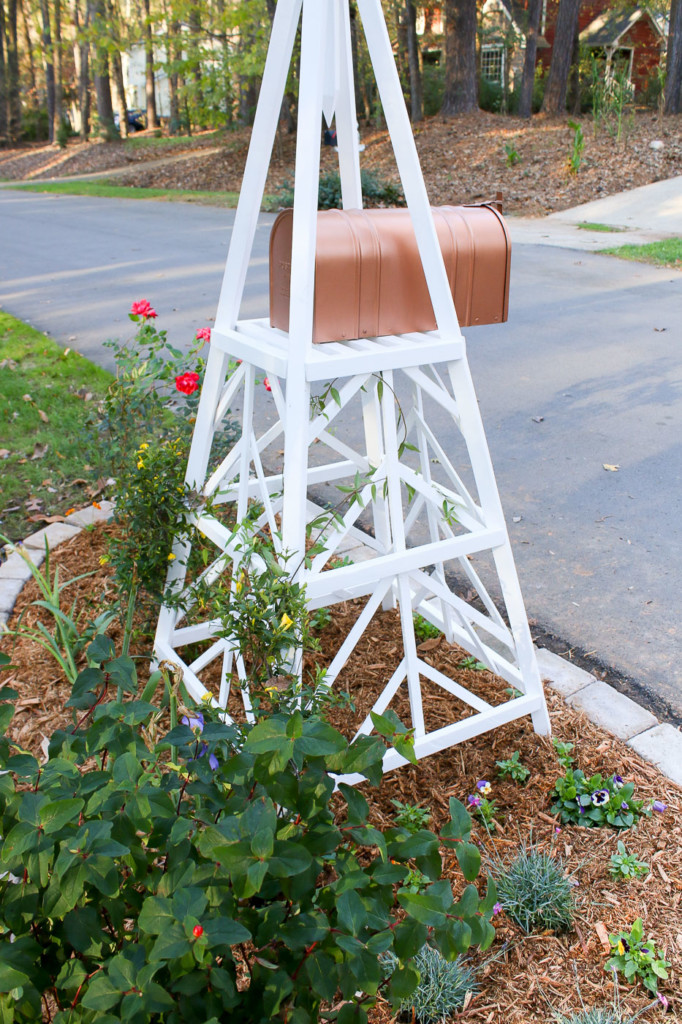
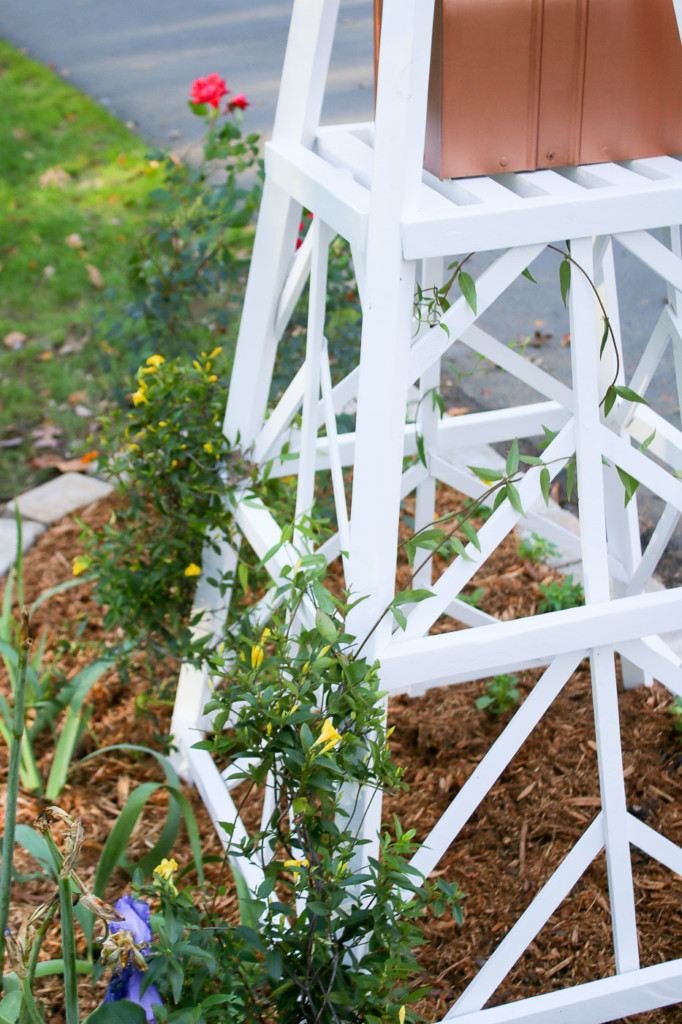
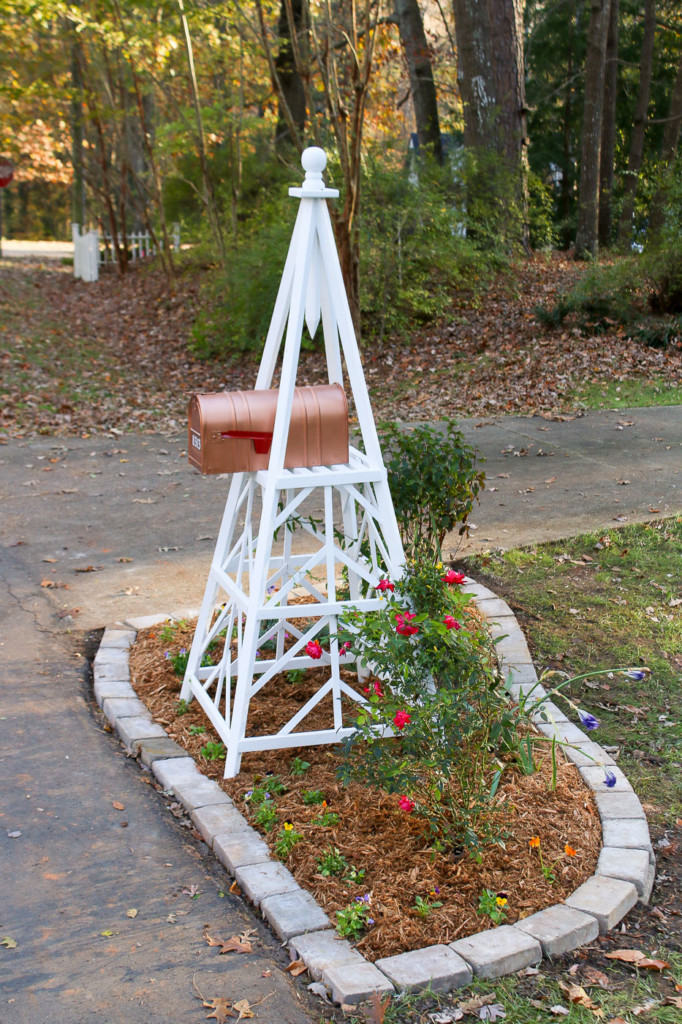
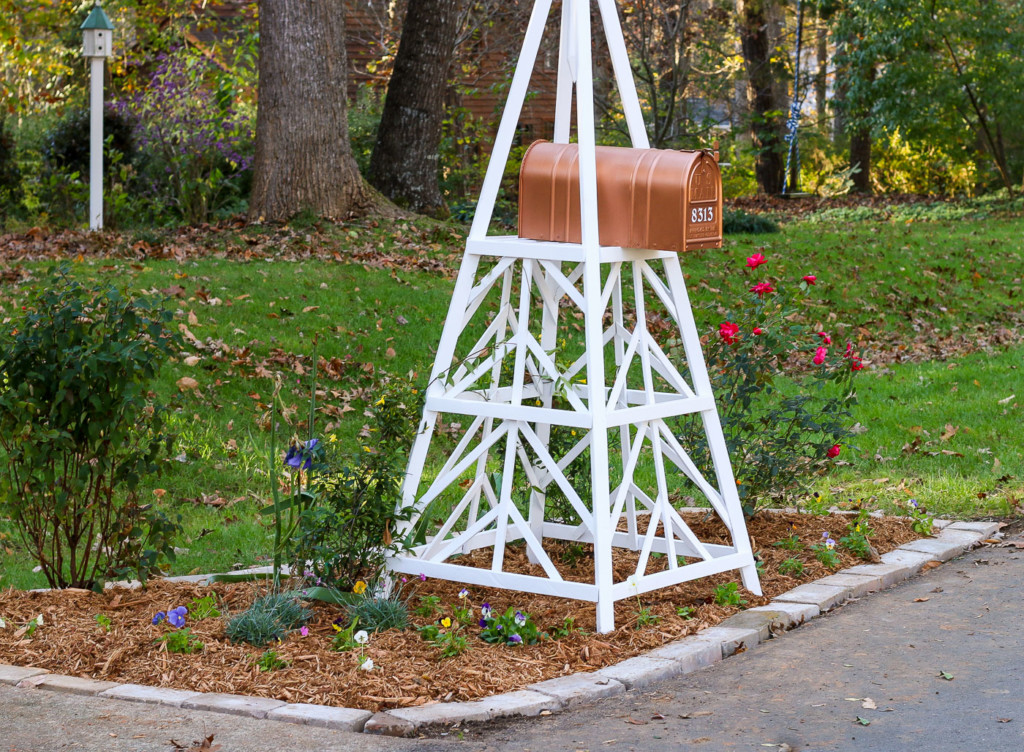
I leave you with some pictures of my new flower garden around the mailbox! When you plant your new flower bed I’d love to have you share them with me!
If you like our new mailbox obelisk, I’ll share plans for you to build your own soon.
In the meantime, learn how to paint any metal copper for cheap!
And finally, learn how to use concrete pavers for professional-looking edging.
What do you think? Big improvement?
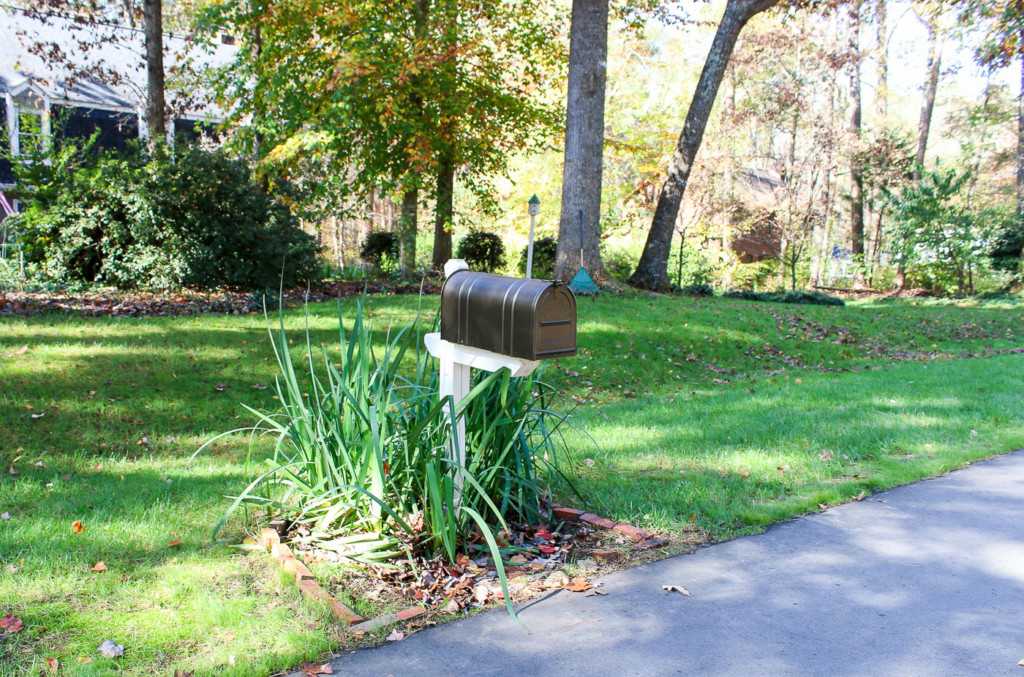
BEFORE:
AFTER:
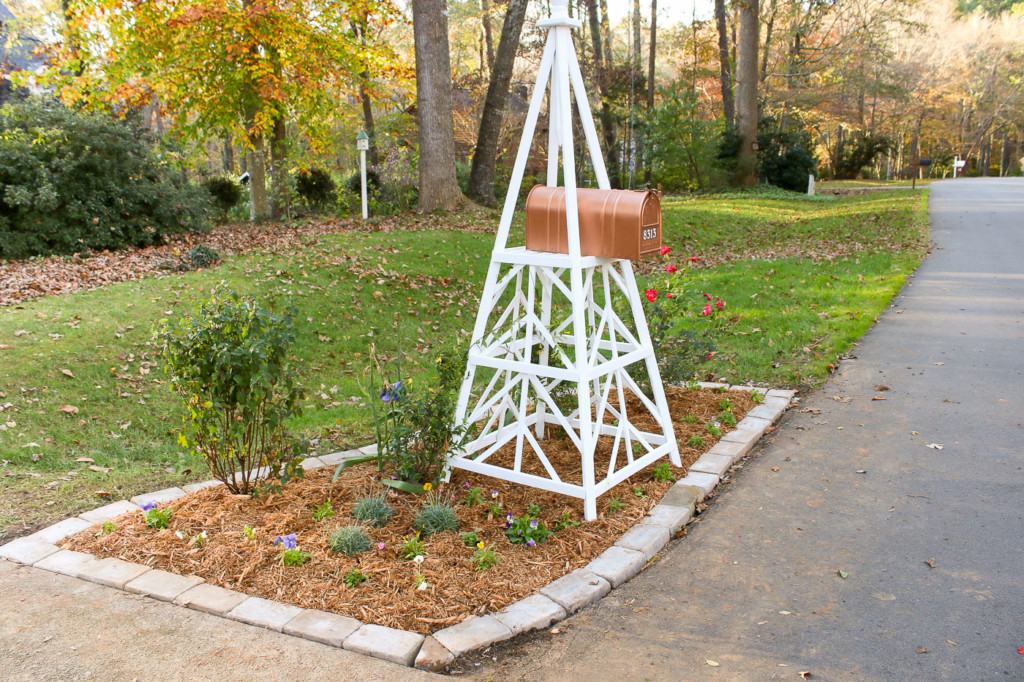
I think I’m going to love a sunny spot for more flowers this year!
![]()
Disclosure: This is a sponsored post for STIHL™. I was honored to work with them on this project and was given complimentary products. All words and opinions are my own. I have not been told what to say. As always I am very particular about the sponsors I work with and you will be told if you are reading a post that has been sponsored or in which materials were provided.
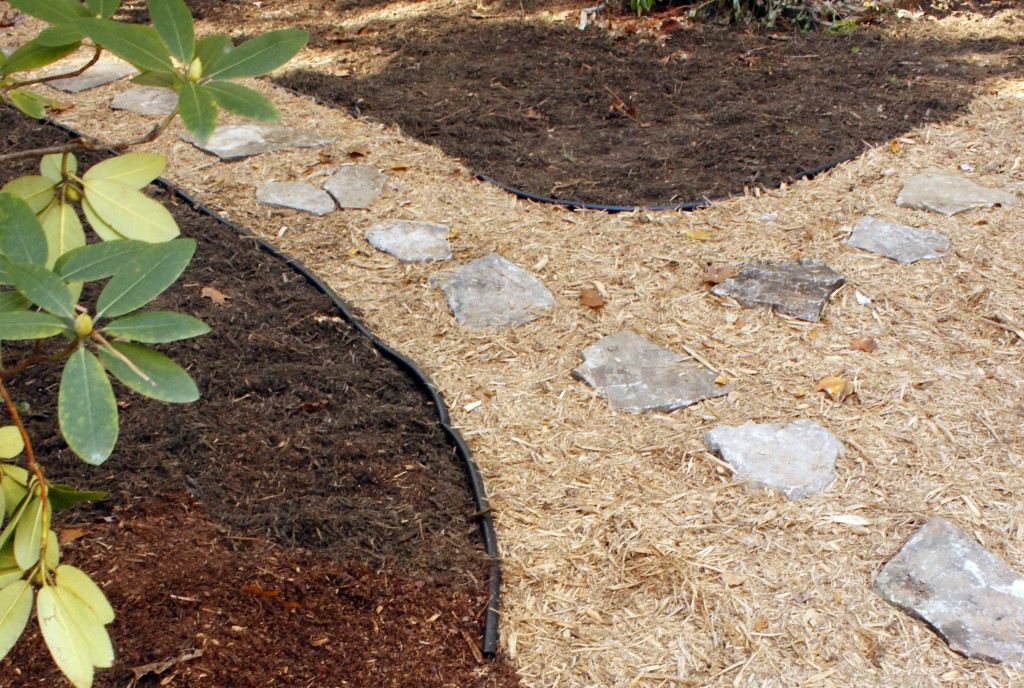
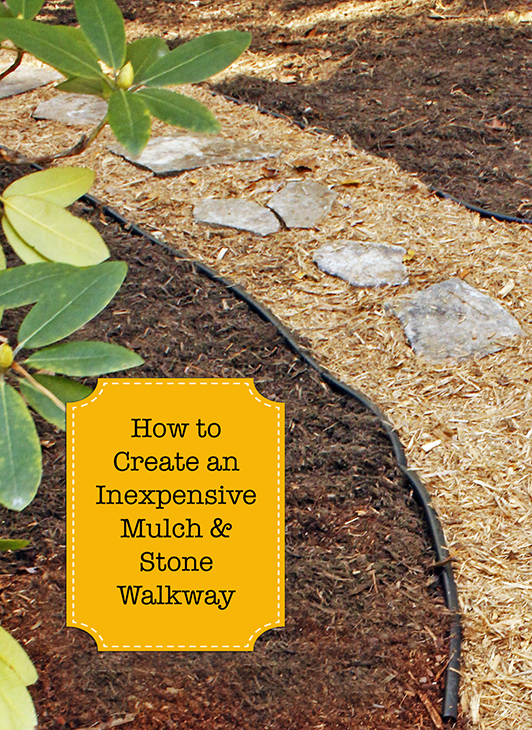
If you liked this tutorial, you’ll love my tutorial for creating an easy and inexpensive mulch and stone path:
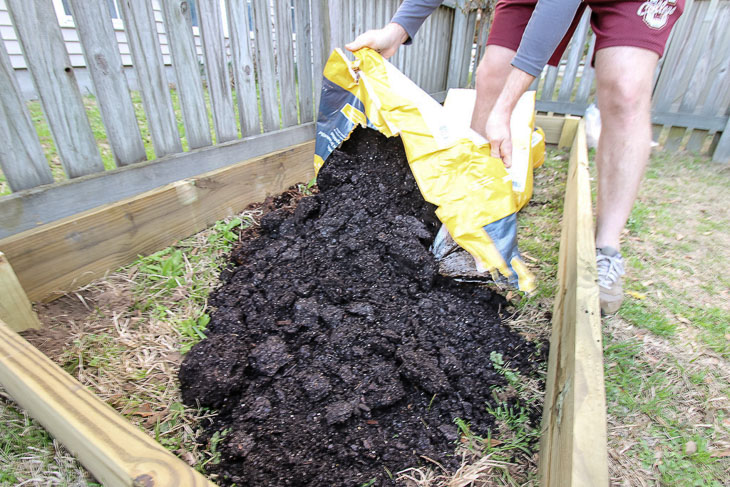
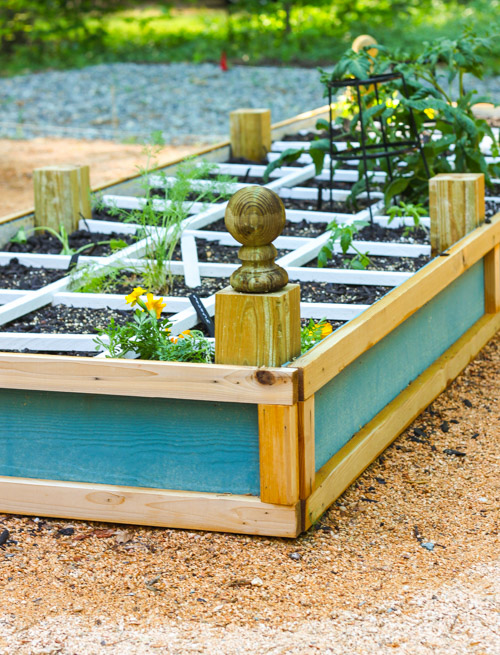
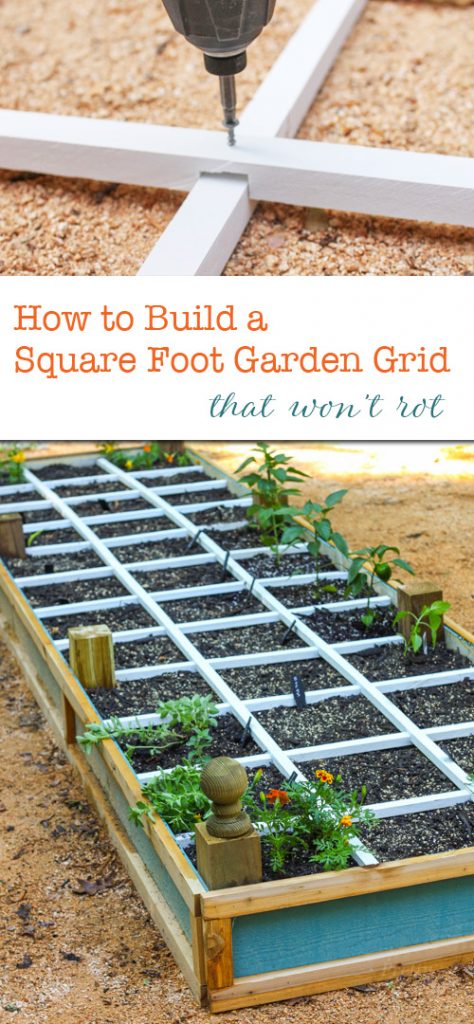
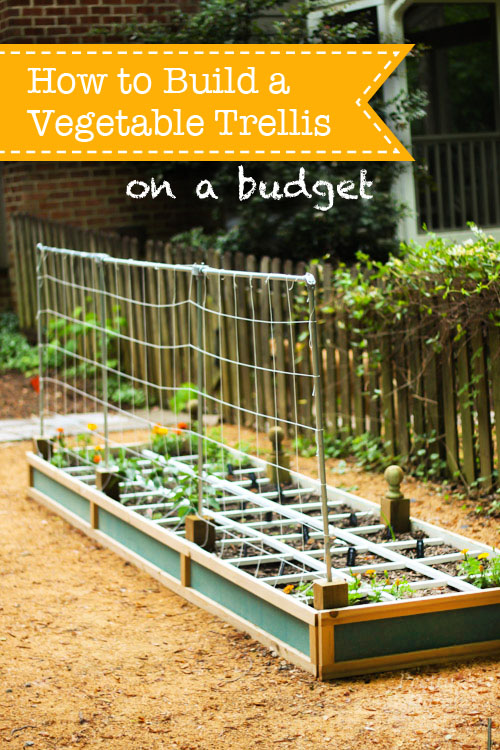
Or how to create a rot-resistant raised garden bed:
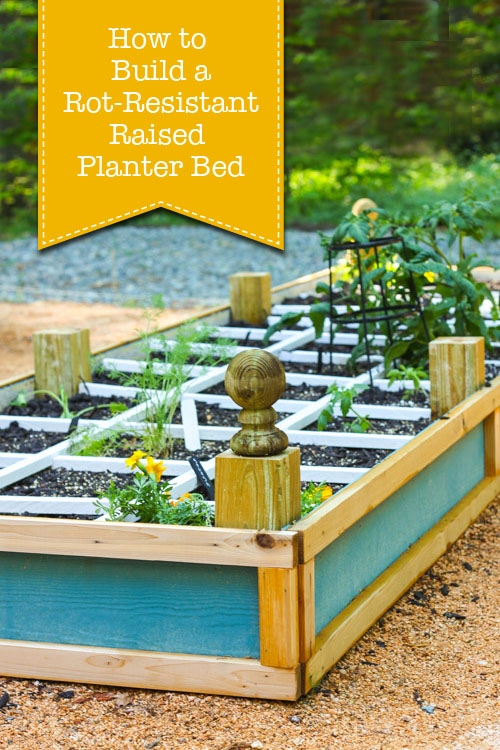


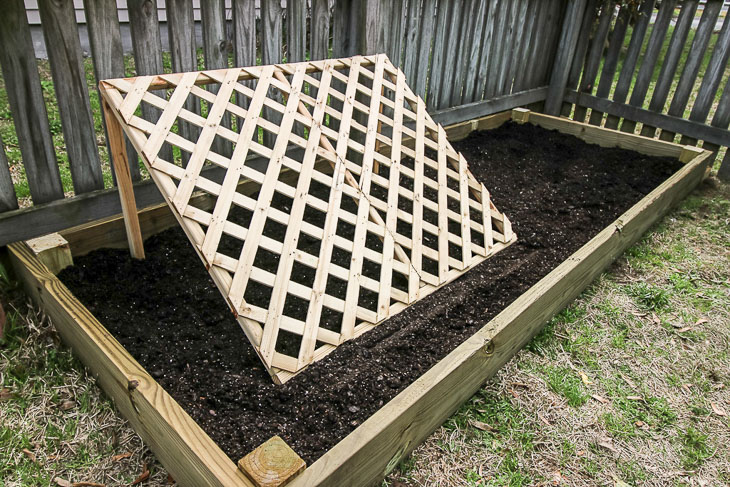
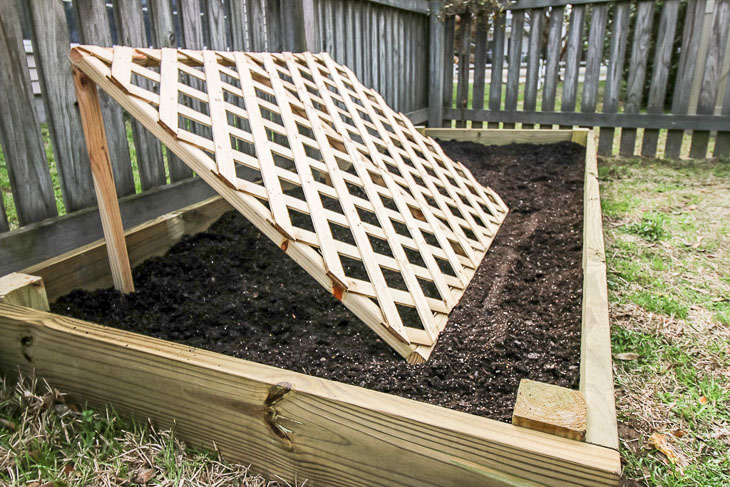
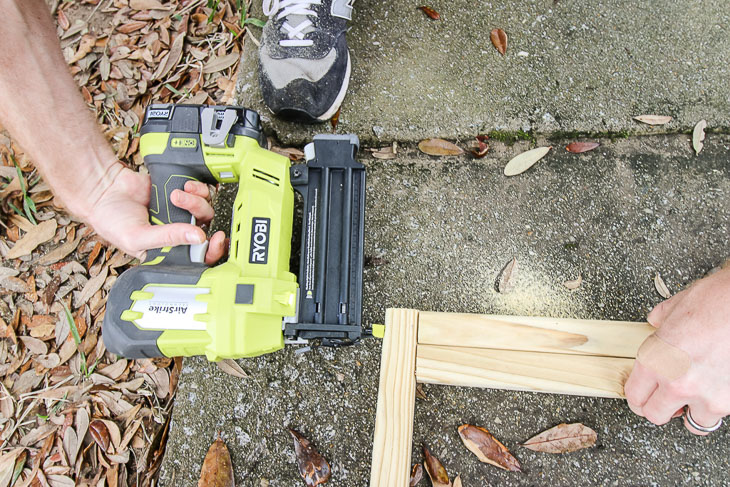
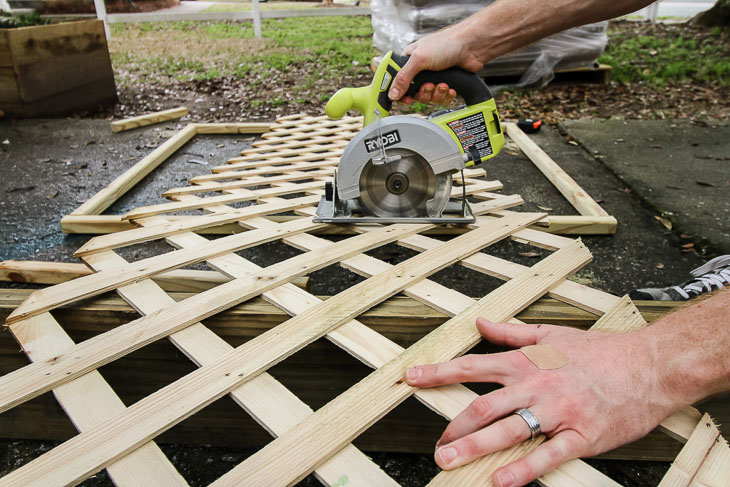
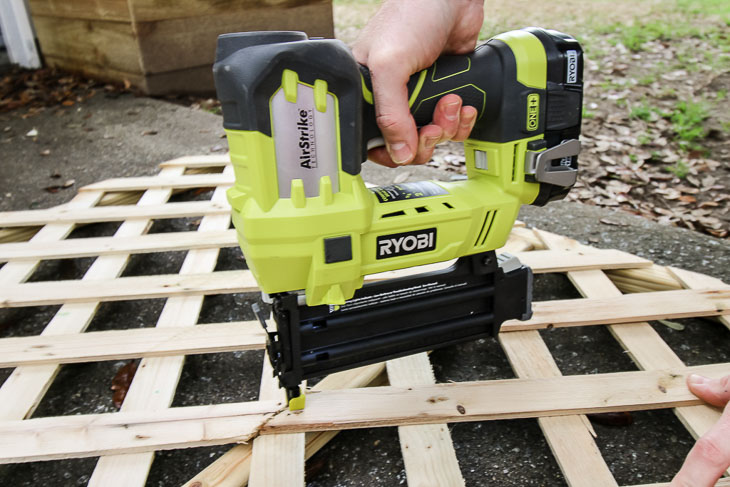
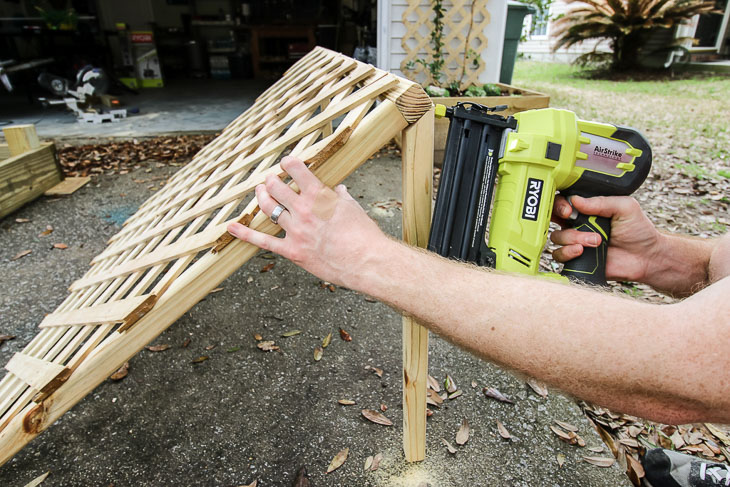
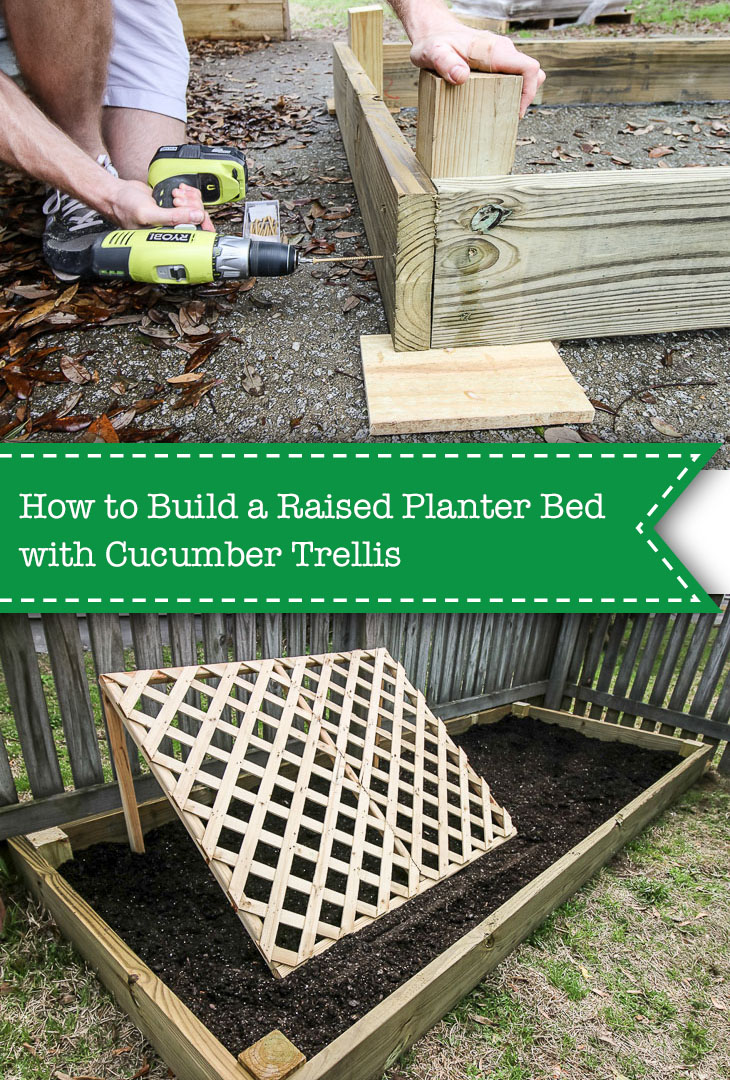 How to Build a Raised Garden Bed with a Cucumber Trellis