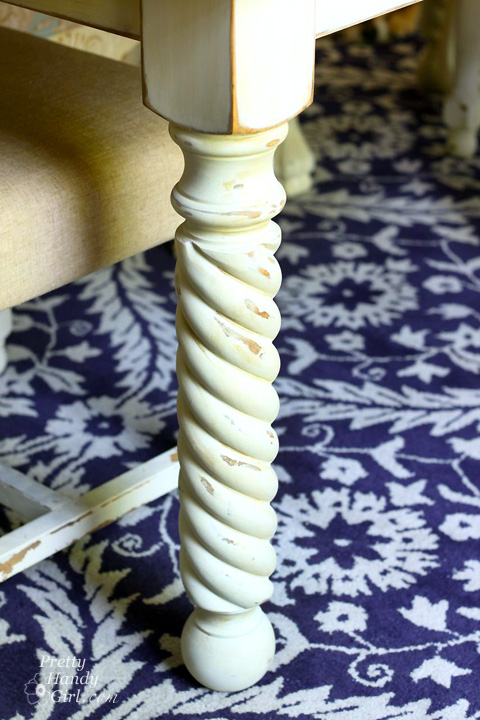
Aging and antiquing furniture legs is an easy task if you want to fake age on a table or chairs. With some stain, paint and glaze you can fool most people into believing that your new furniture is an antique.
There are many ways to age and antique furniture. This tutorial will show you my favorite technique for table and chair legs.
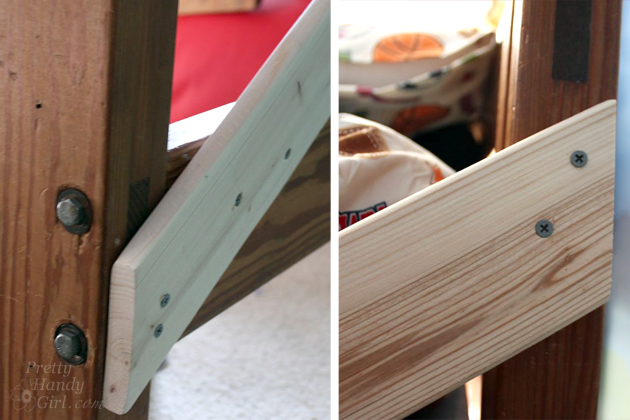
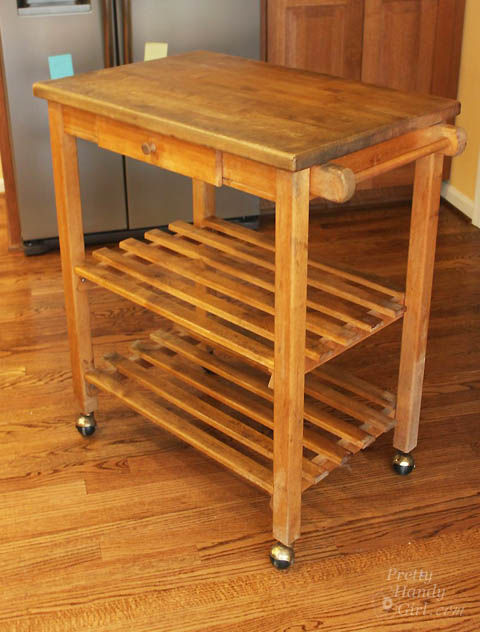
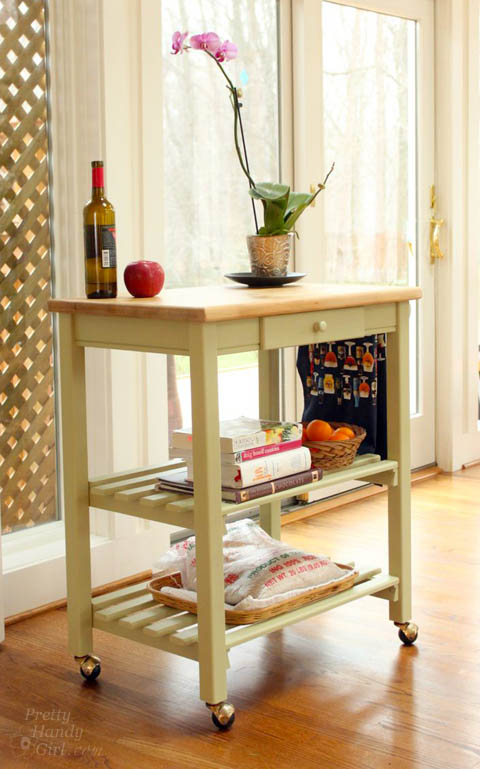
If you’re just stumbling upon this post, I shared the tutorial for building a table last week. The table legs I used are the rope twist legs from Osborne Wood Products. I worked with Osborne Wood Products and custom designed the legs, so you won’t find them anywhere else. I do think they should have named them the “Brittany” legs or “Pretty Handy Legs.” LOL. I’m just excited that they provided me with a set for my table at no charge. 😉
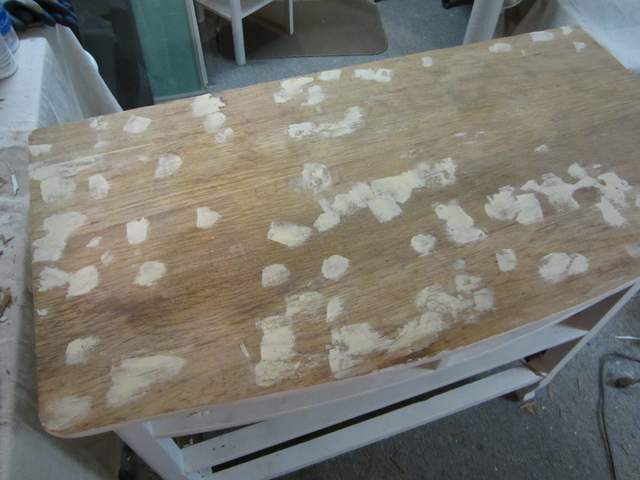
This tutorial works best with unfinished wood, but you can skip the staining step if you have pre-finished furniture.
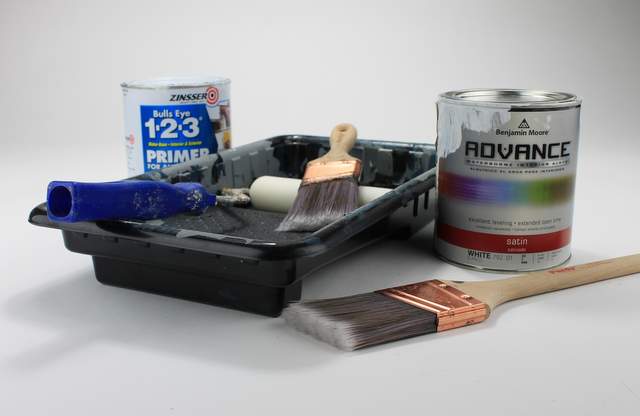
Materials:
(I’ve included affiliate links for your convenience. I earn a small percentage from a purchase using these links. There is no additional cost to you. You can read more about affiliate links here.)
- Furniture
- Minwax Early American Wood Stain
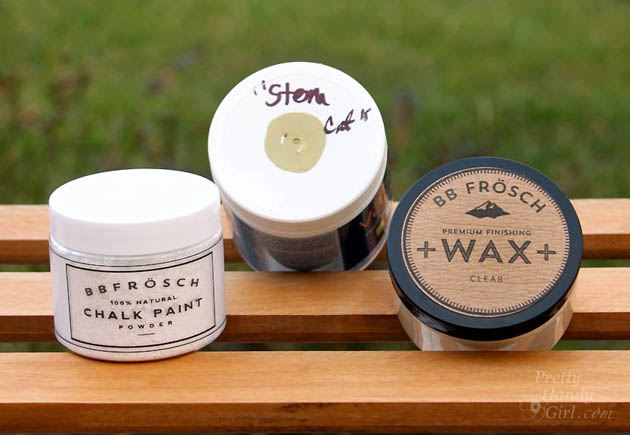
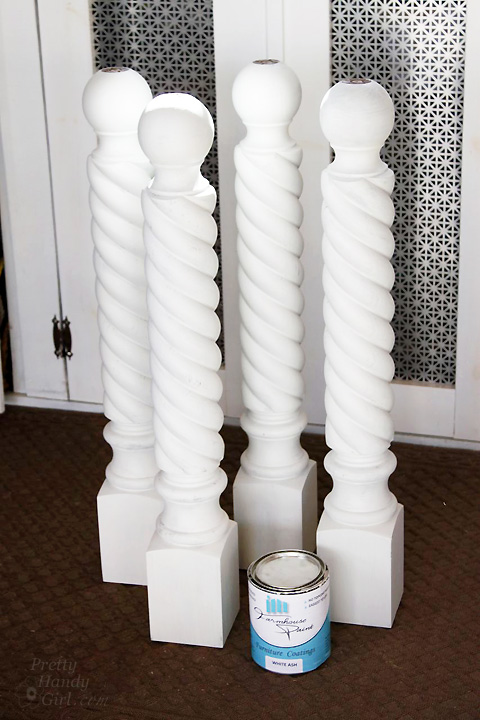
- White Chalky Paint (I used Farmhouse Paint)
- Miss Mustard Seed Milk Paint (Linen)
- Modern Masters Tintable Glaze
- Modern Masters Van Dyke Brown
- Modern Masters Coffee Bean
- Rag
- Paintbrush
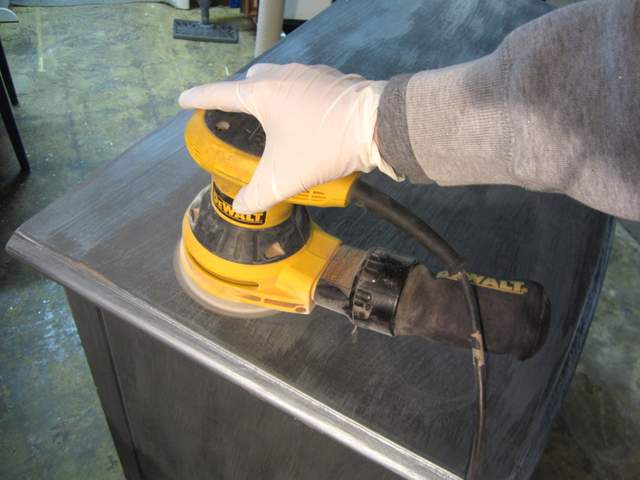
- Sander
- Sanding discs
- Miss Mustard Seed’s Furniture Wax
Instructions:
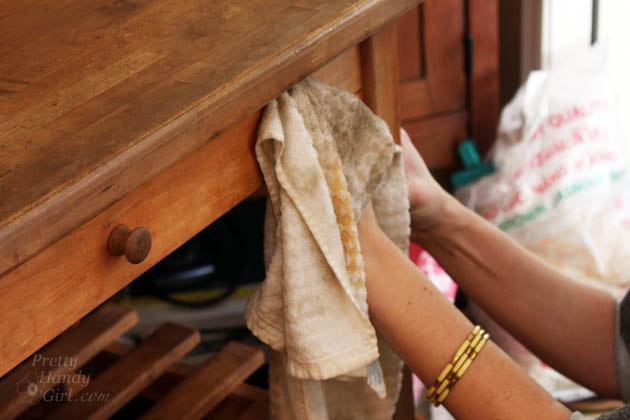
Stain your furniture leg with the dark stain. Follow up with a second coat if you desire. Allow the stain to dry.

Paint the legs with white chalky paint. Add a second coat if you need more coverage.
Mix up the Miss Mustard Seed Milk Linen colored paint and brush on a layer of milk paint on top of the white paint. (For more variety, you could use a contrasting color instead of linen.) Read more