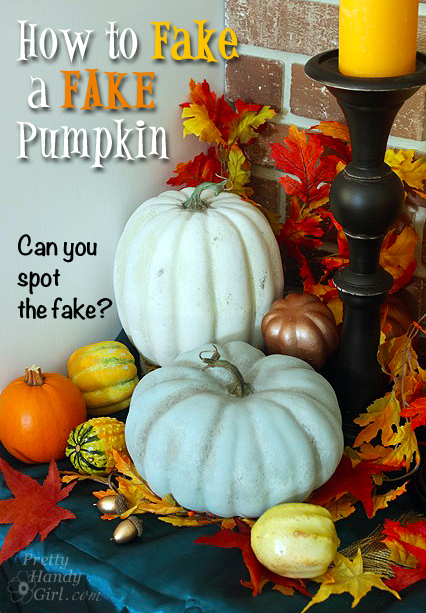
How-to-faux-paint-a-fake-pumpkinHow to Fake a Fake Pumpkin

Have you seen those neon orange fake pumpkins and nearly vomited because you wouldn’t dream of decorating with them. I mean—get real—everyone would know they were fake. Ah ha, but have you seen the price tags? $1 – $6? For that price you might just be willing to take a leap of faith with me, wouldn’t you? Awesome, because I’m going to show you how to faux paint a fake pumpkin so you can decorate with them year after year and fool your friends.

Materials:

(I’ve included affiliate links for your convenience. I earn a small percentage from a purchase using these links. There is no additional cost to you. You can read more about affiliate links here.)

materials

Instructions:

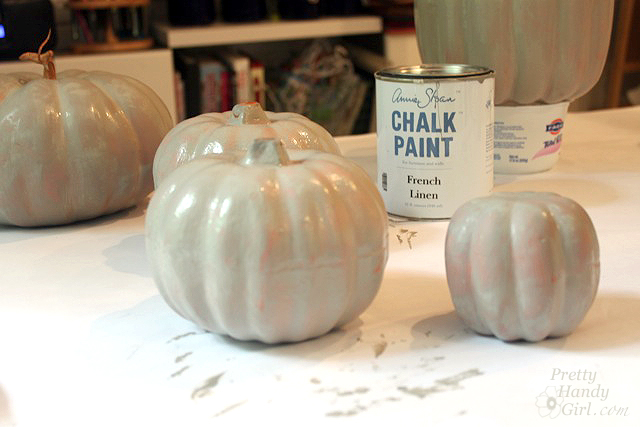
Start by painting all the pumpkins with Chalk Paint (use gray, white, green and blue paint.) Allow the pumpkins to dry.

paint-pumpkins-french-linen


Painting Realistic White Pumpkins:

It helps to look up some pictures of real pumpkins to refer to.

pure-white-country-grey

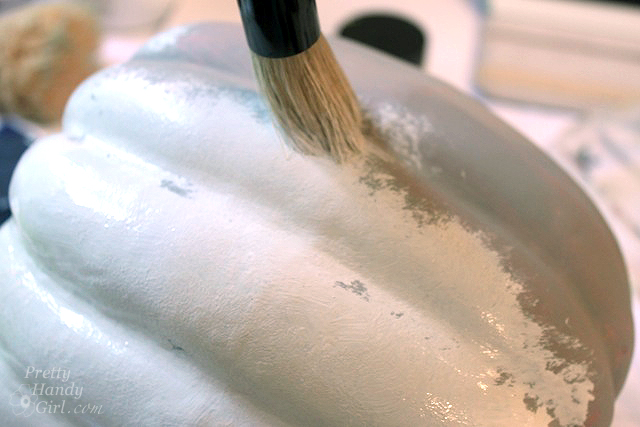
Using the stencil brush, paint a mixture of grey and white on one of the pumpkins.

paint-white-mixture

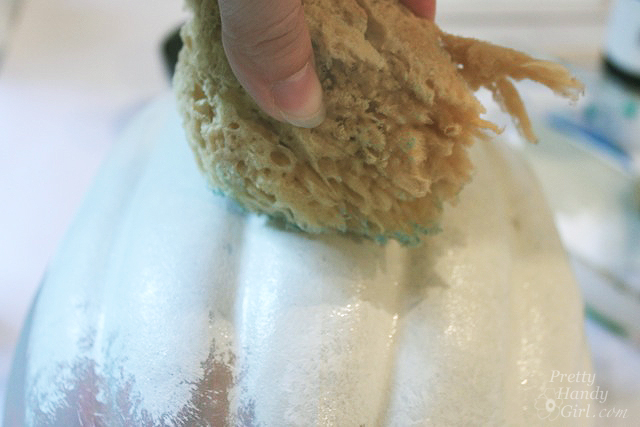
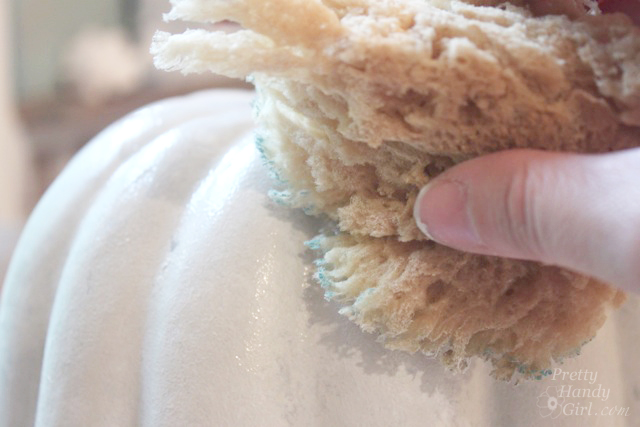
Before the paint dries, dab some of it off with the sea sponge. (Keep your sea sponge dry, not wet during the process.)

sponge-off-white

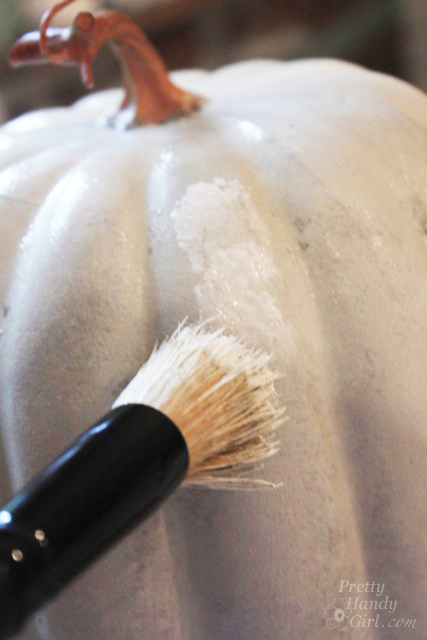
Dip the stencil brush into the white paint and add paint on the outer most bumps on the pumpkins. This is adding highlights.

highlights_on-white-pumpkin

Dab the highlights gently with the sea sponge to blend.

sponge-off-white-2

Use the fan brush dipped in a small amount of green paint inside the pumpkin ridges. Dab the ridges with the sea sponge to blend.
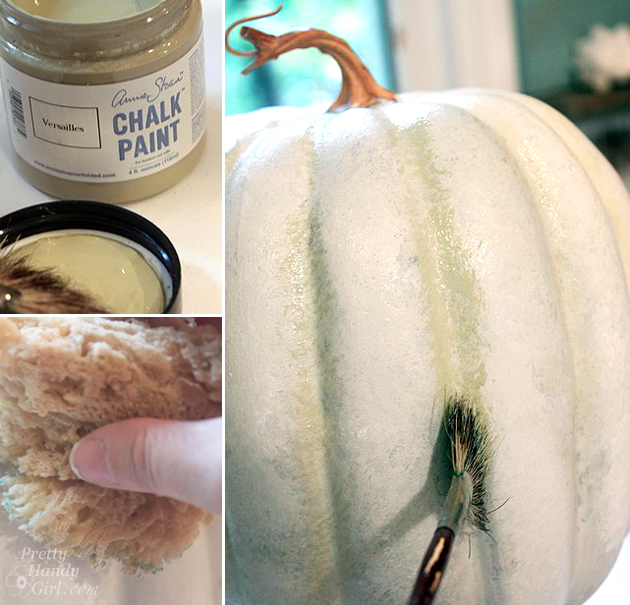
white-gourd-pumpkin

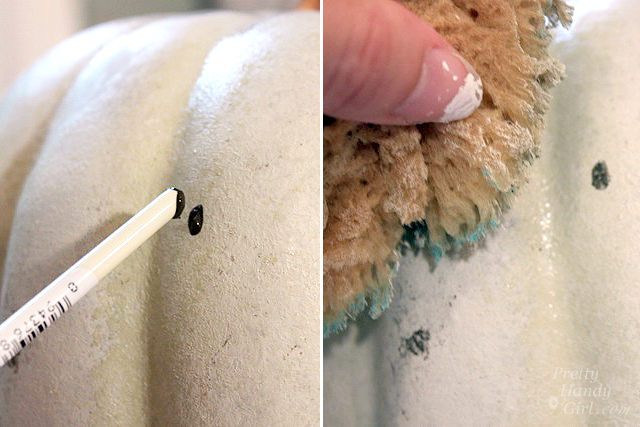
Have you ever seen a truly unblemished pumpkin? I think not. It’s time to add some spots or marks on the pumpkin to truly fool your friends. Dip the end of the paint brush into brown paint and dot it onto the pumpkin. Blot the spot with a sea sponge and maybe even transfer a few new spots with the sponge.

add-blemishes

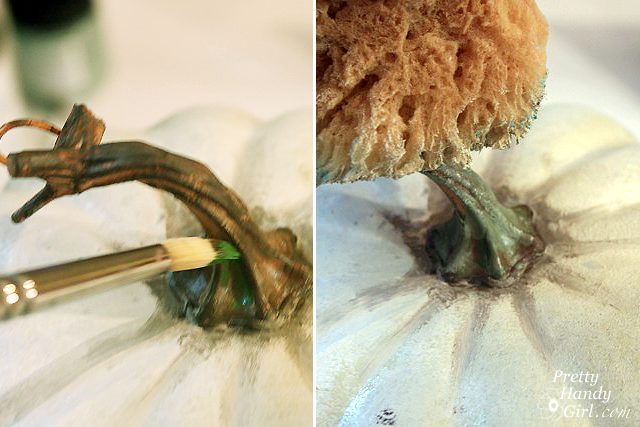
Paint grey around the base of the stem and into the grooves with the round paint brush.

add-dark-depth-around-stem

Paint brown and green paint onto the pumpkin stem. Blend slightly with the sea sponge.

paint-sponge-stem

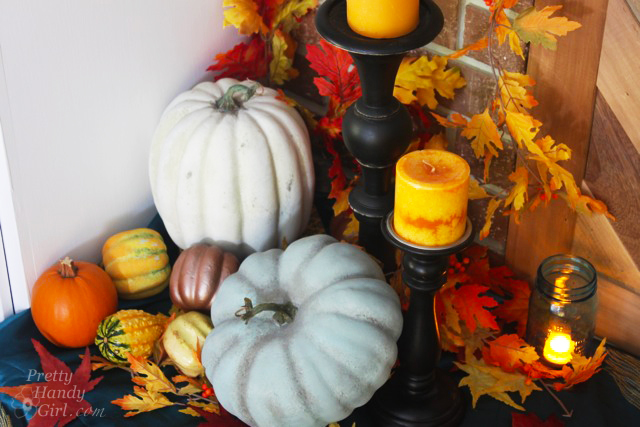
Can you spot my fake white pumpkin? Well, of course you can because I just showed you how to paint it. But, it will definitely fool your friends!
grouping_left_pumpkins

Painting Realistic Blue Pumpkins:

Painting blue pumpkins uses the same technique as painting the white pumpkins, only using a few different colors.

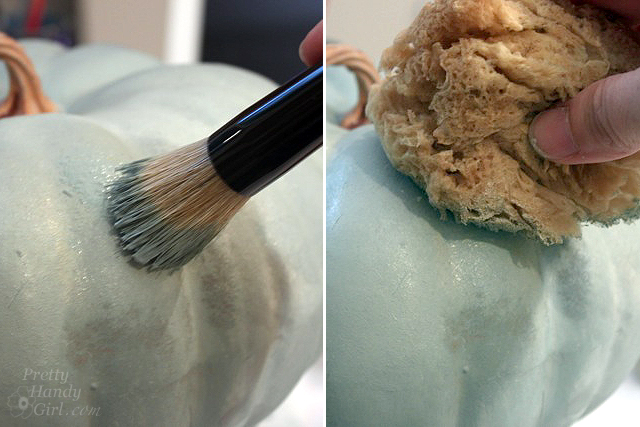
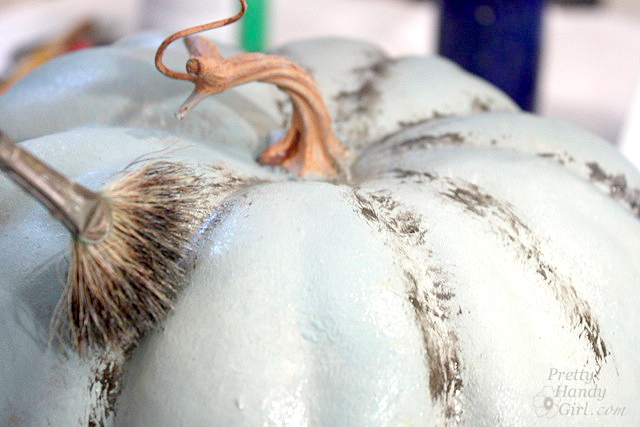
Use the stencil brush to paint blue onto another pumpkin. Dab the blue paint while it’s still wet with the sea sponge.

add-duck-egg-blue-sponge

Use the fan brush dipped in gray and brown craft paint to fill in the ridges.

darken-crevices

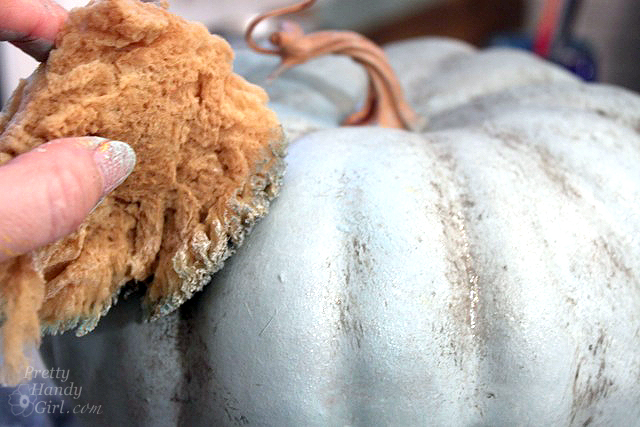
Dab the paint with the dry sea sponge to blend.

sponge-crevices

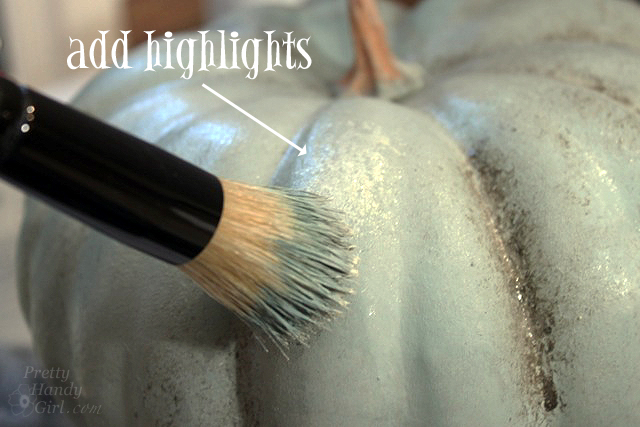
Add some highlights with a mixture of grey and white. This serves two purposes. 1) It adds dimension. 2) It tones down the excess blue on the pumpkin.

add-highlights

Paint the stem the same way you learned above.

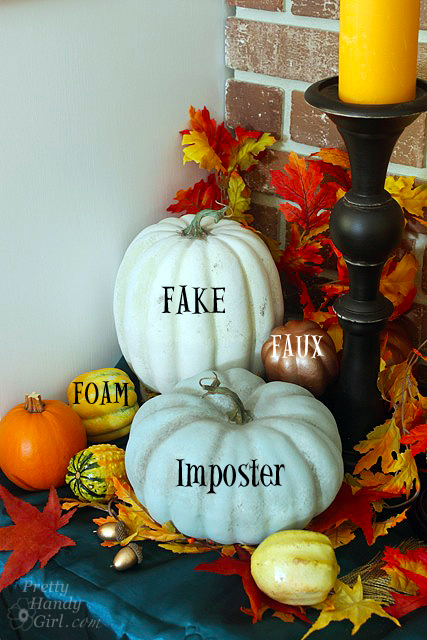
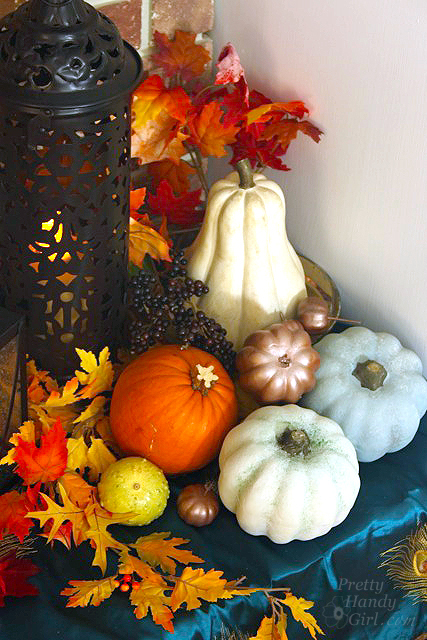
To truly fool people, set up your fake pumpkins with some real pumpkins and real gourds. Sooo, can you spot the fakes?

guess-the-fakes

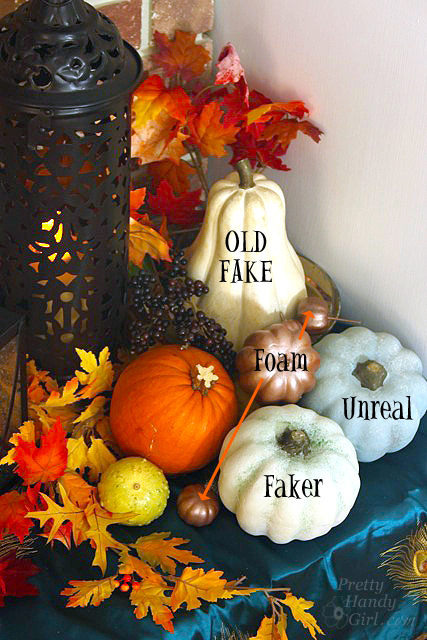
How many did you get right? The metallic gourd is simply spray-painted with copper spray paint. But, I did try my hand at faking a green and yellow gourd using the same technique as the pumpkins, but adding green to the top and yellow to the bottom.

the_fakes

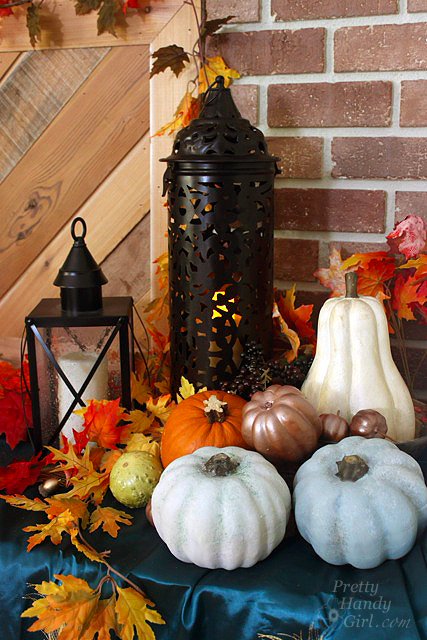
Okay, I’ll give you a second shot. Guess the fakes:

vertical-fall-vignette

How did you do this time? Ha, you can now apply for a job as an art forgery detective ;-).
truth_fake_gourds
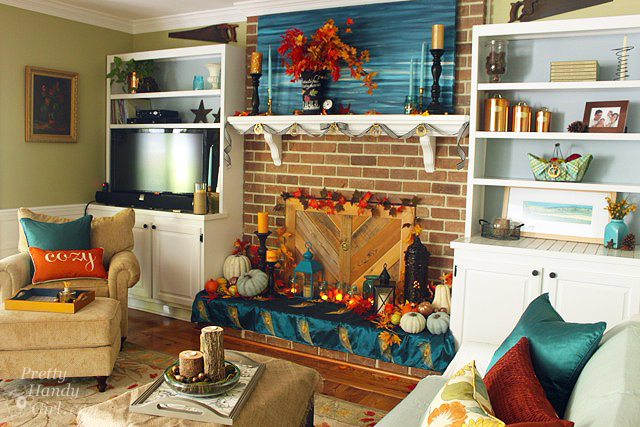
Now seriously, how many people will be viewing your pumpkins that close? Umm, next to no one. Normally they’ll view them from afar.

full-living-room-shot

Get your paints and palette out and go fake some fakes! It will be our little secret.

fall-vignette-grouping

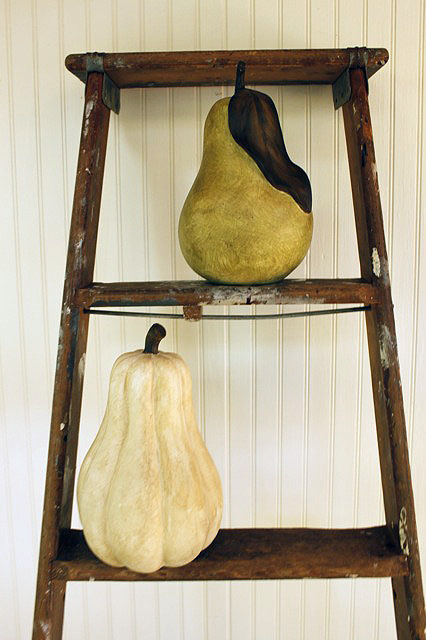
PHGFancySignDid you like this painting post? Ahhh, then I know you’ll like this Ballard Pear painting tutorial:

Or if you’re feeling like taking on a larger scale project…how about Faux painted bricks!

Or perhaps you’d like to perform some faux zinc painting magic:

You can do it! I know you can.

Today you have been invited to take a house tour at my friend Holly’s home. Holly is a good friend of mine, so luckily I didn’t have to beg too much for her to let us into her home. But, before we go in I want to tell you a little more about her. She wears many hats. She is a wife and mother of two boys first and foremost. But, she also runs Storywood Designs, a furniture refinishing business and Framed by Storywood, her Etsy Shop. She has a wonderful eye for color and design (which is evident in her furniture pieces and home décor.) When I first walked into her home, I knew I could live there and not have to change a thing.

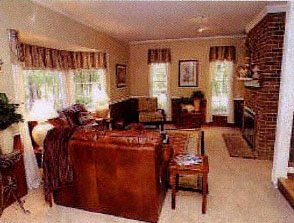
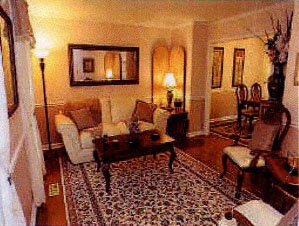
Holly and her husband bought their 1980 home a few years ago. There were plenty of touches from previous owners that she worked with or covered in a creative way. I scanned the real estate flyer (sorry about the quality) to give you an idea what their house looked like when they bought it. The changes they made are phenomenal and yet they didn’t break the bank to do it.

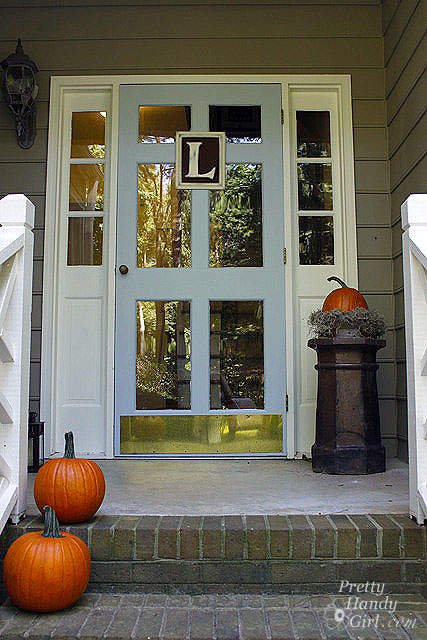
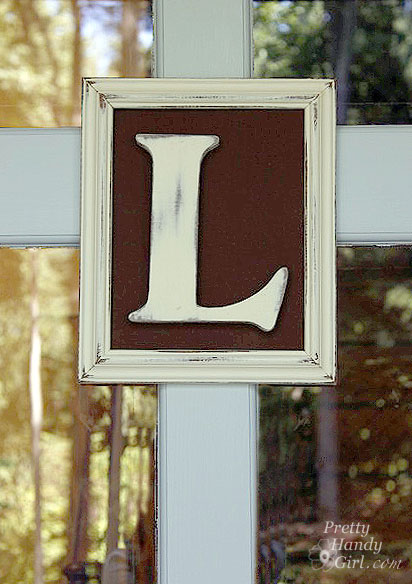
Are you ready for the tour? Wipe your feet and come on it. Do you like the initial on her door?

She sells them in her Etsy shop!

Here we are in the living room, but this is what the room looked like a mere 3 yrs. ago:

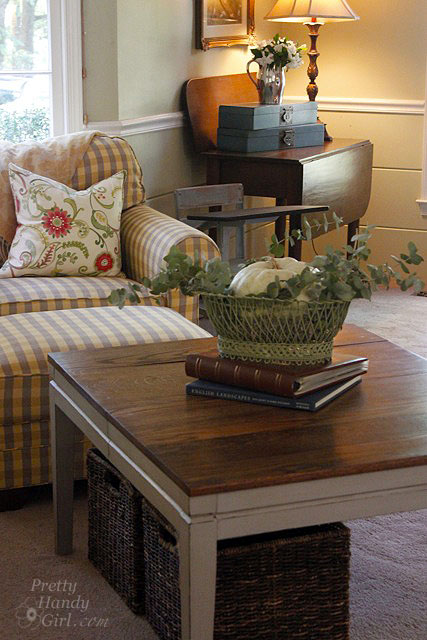
And here is the living room today!

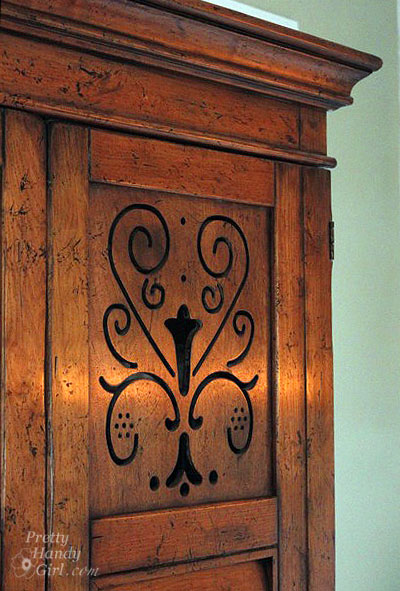
I know armoires are starting to go out of style, but this one is gorgeous with the cut out panels! If she ever tries to get rid of it, I’m grabbing it!

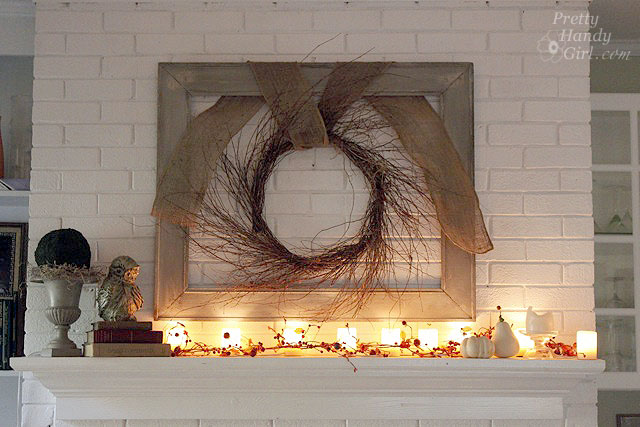
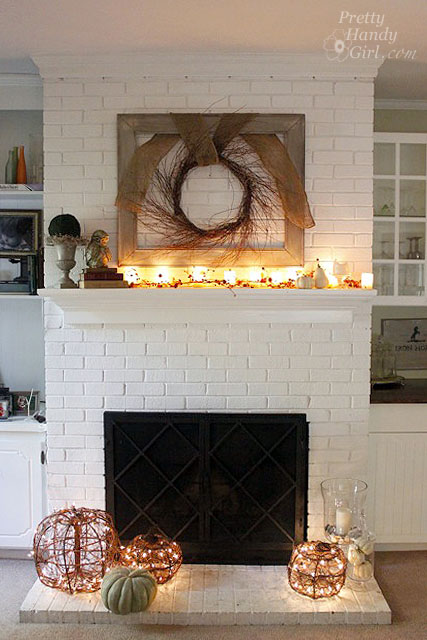
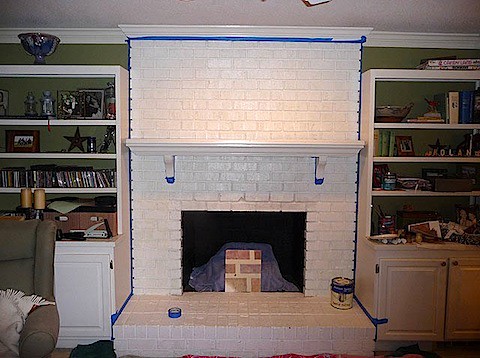
They painted the fireplace white and it really brightens up the room. See, I can appreciate a painted white fireplace, even though I repainted ours to look like brick.


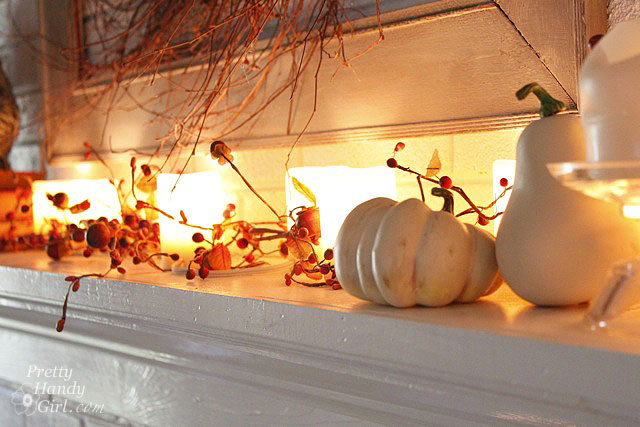
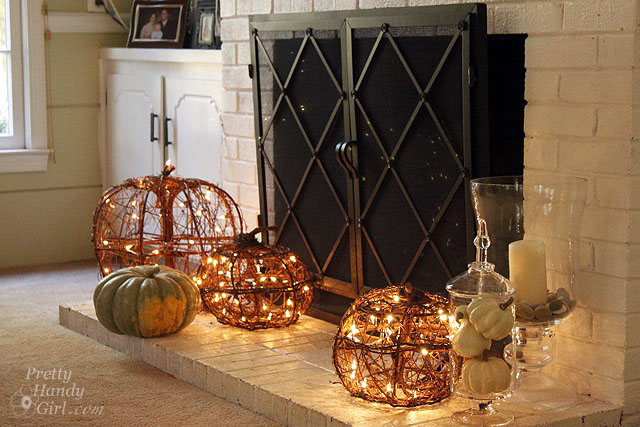
I love all her fall décor. Especially the lit pumpkins on the hearth.


Beside the fireplace are sweet built-in cupboards and cabinets with wood countertops. It adds charm to the small niche.


Now we make our way into her kitchen  — my favorite room and the most stunning transformation. This was the kitchen before:


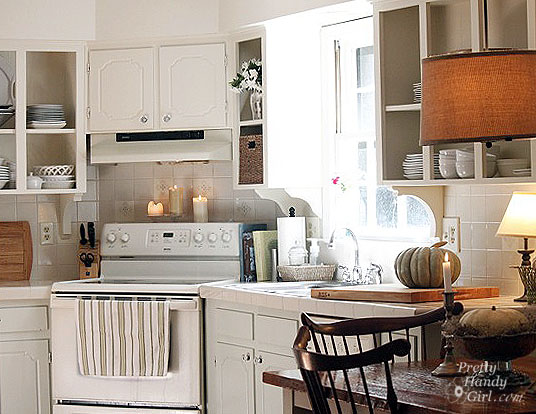
Get ready to catch your jaw before it hits the floor.


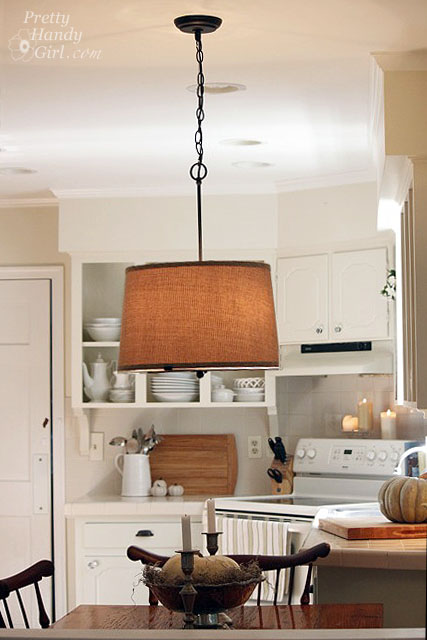
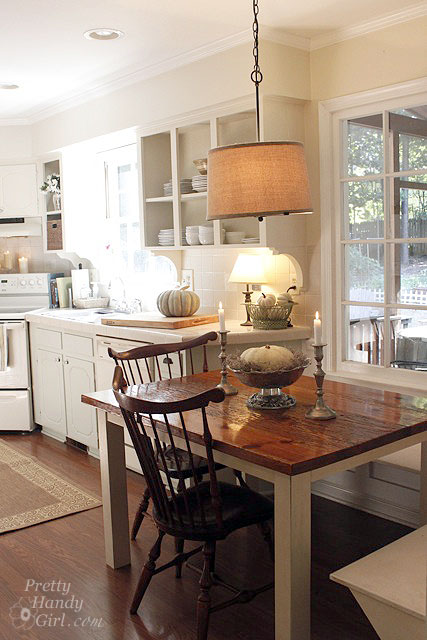
The pendant light adds lots of warmth and texture to the space.


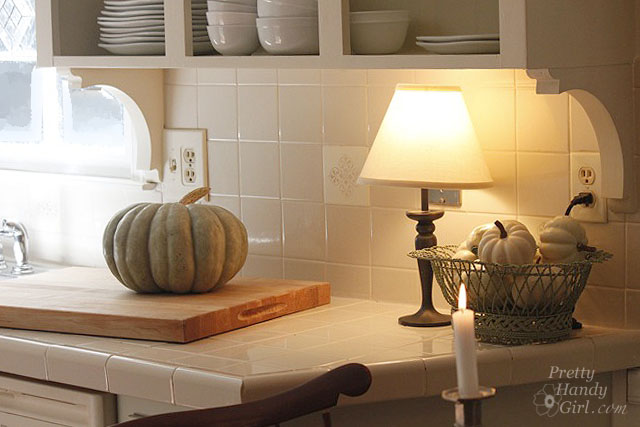
Adding corbels under the upper cabinets was a genius idea for adding instant charm. I am itching to do the same thing to our kitchen cabinets. When I do, you can be sure I’ll share a tutorial.


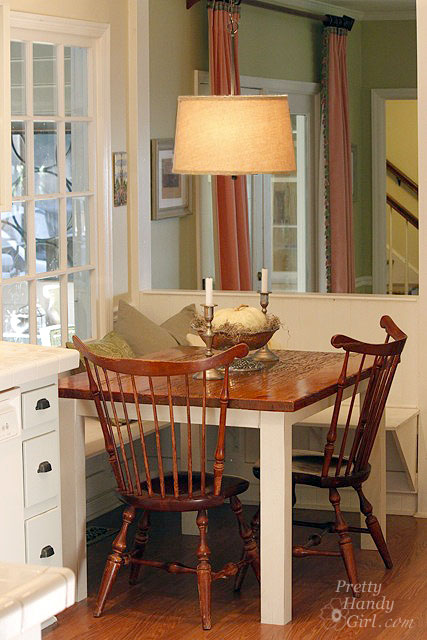
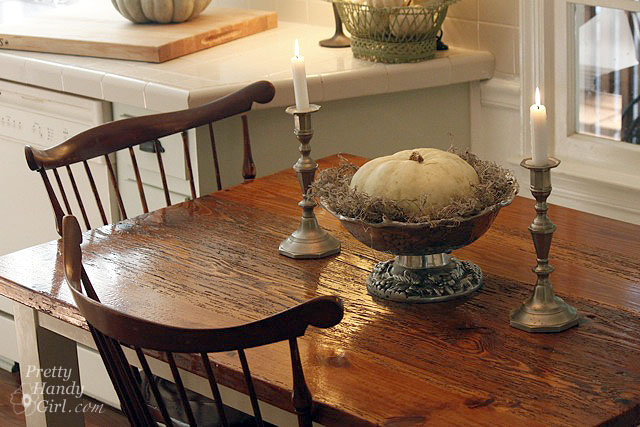
Holly and her husband made the kitchen table. The wood was whistling for my attention the entire time I was photographing the kitchen. And with lines like this, how could I help but stare?


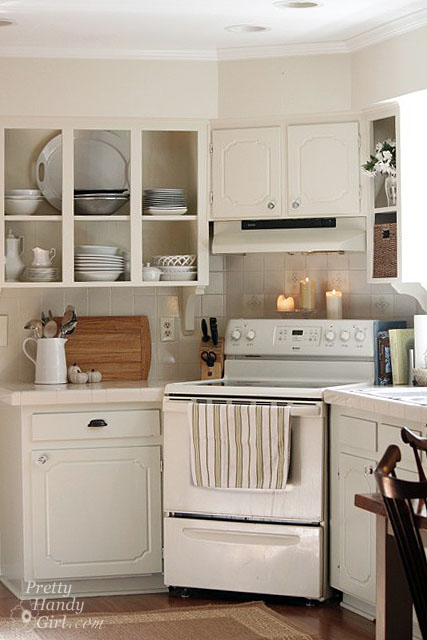
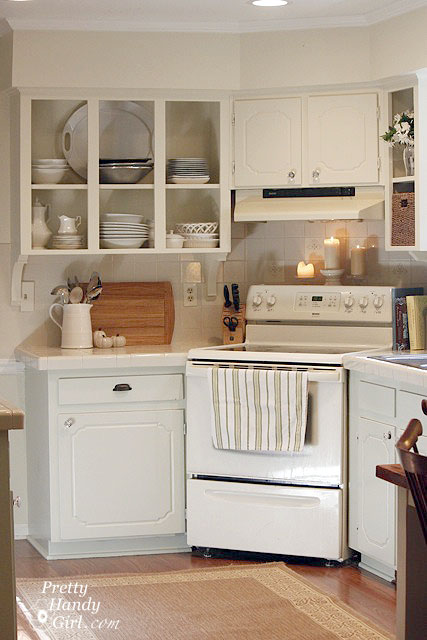
By removing many of the upper cabinet doors they made the kitchen feel larger and more airy.


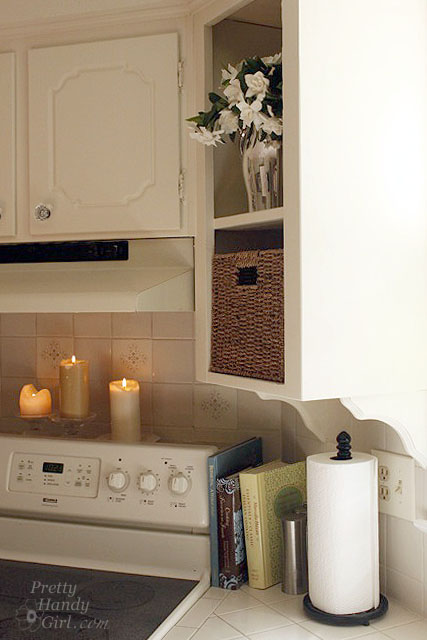
Did you see those little decorative tiles? Would you believe that they had hideous country scenes before. Holly simply painted over the scenes and added a stencil! What a smart idea!


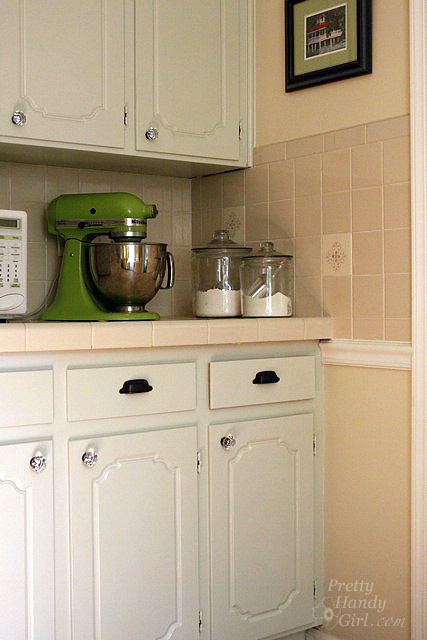
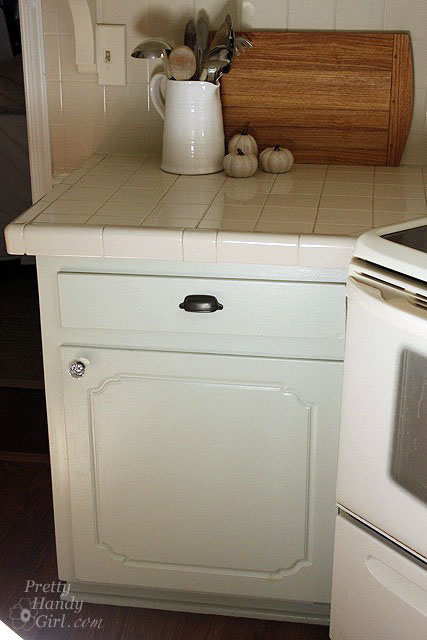
Just in case you wondered (because I definitely wanted to know), the base cabinets got a coat of white sage paint by Olympic. (Holly says that Olympic discontinued the color so Lowe’s had to custom mix it in their kitchen and bath enamel paint.) The top cabinets and walls are painted Benjamin Moore Lancaster White.


Setting out a little lamp adds some warmth to this corner of the kitchen.


The breakfast area has built-in benchs on two sides. The pillows make the space feel cozy.


One of Holly’s frames turned into a chalkboard:


Okay, right this way to the dining room.


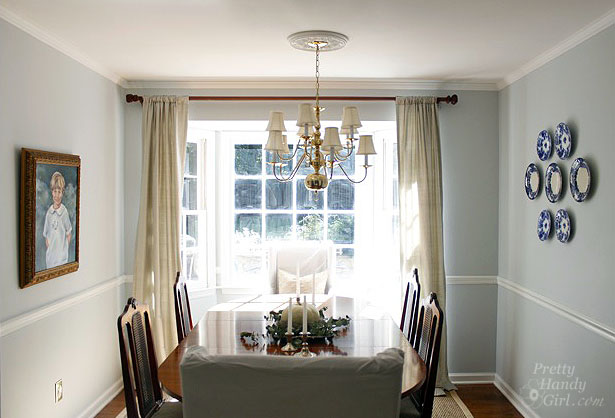
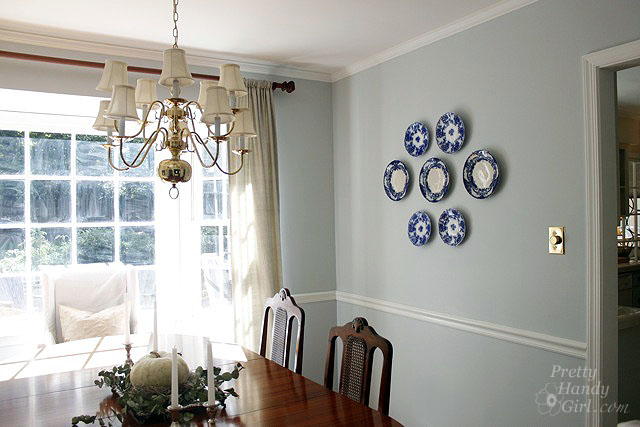
I really want to display my blue and white china like she has done on this wall.


Adjacent to the dining room is her sitting room. Here is the before picture of that room:


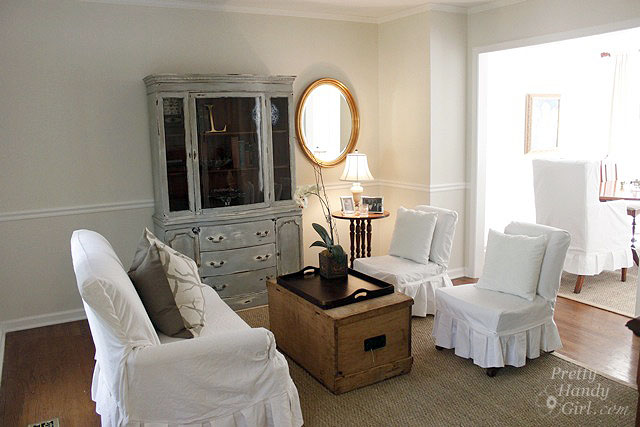
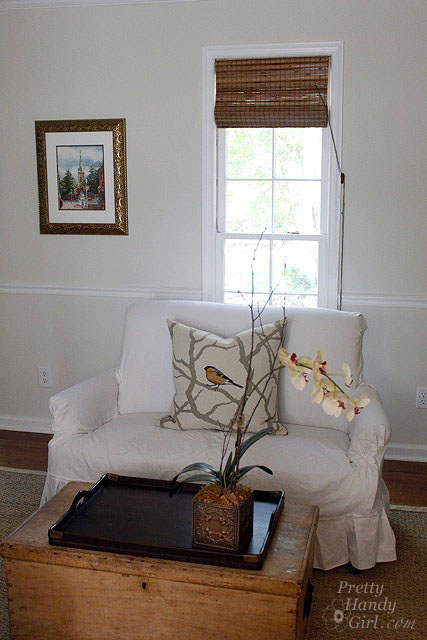
She and I (well mostly Holly) just repainted the room a very neutral gray. I can’t believe what a big difference it made.


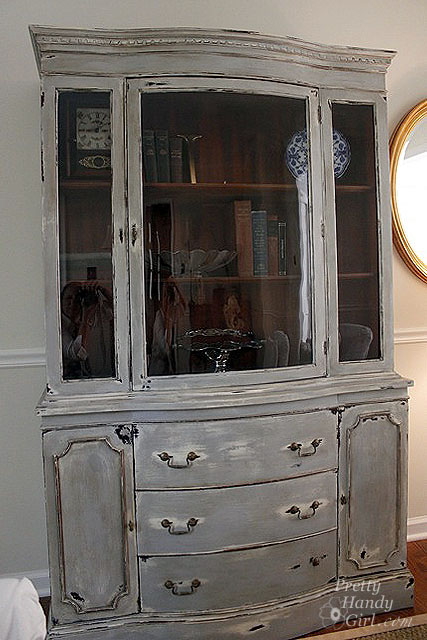
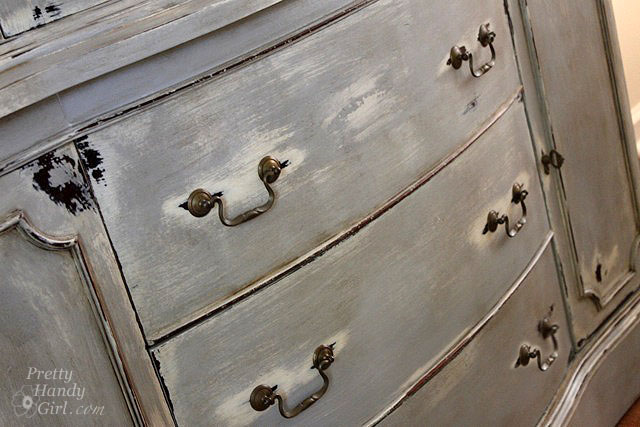
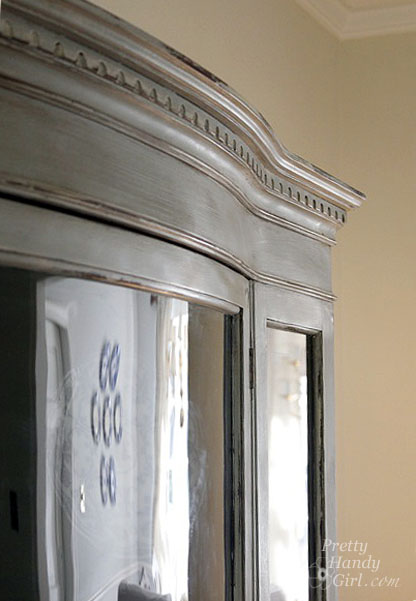
The china cabinet is a recent refinishing project that Holly just completed. The distressing on this piece is perfect!


Check out those layers of paint and glaze. Scrumptious!


And the bowed front and curved glass make this cabinet unique.


Speaking of distressing, here is another one of Holly’s tables that she refinished. This little table would make a perfect breakfast table or just a side table. It is for sale right now!

I’m jealous of her talent. Maybe I can convince her to take me as her understudy.


Thank you Holly and family for letting us tour your home. Your hard work really shows in your beautiful home.

BedWallView

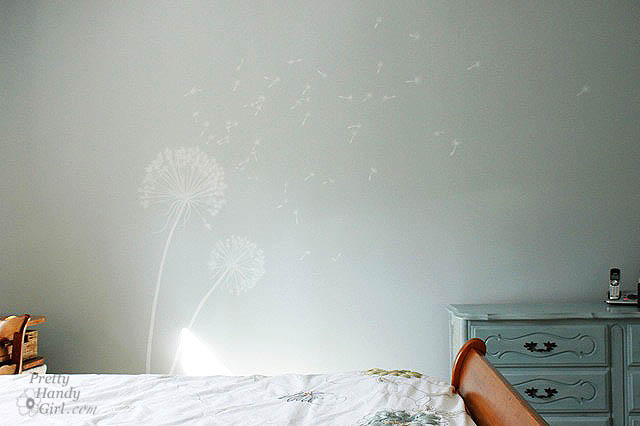
I’m back from a wonderful weekend getaway with three of my fellow mom friends. We enjoyed laughter (with a few snorts), good conversations (with no interruptions), cake (without a care about calories) and a few glasses of wine (with no whine from children!) It was heaven. As promised, I finally have the tutorial for painting this dandelion wall graphic.

MePainting Read more

Up on the rooftop click click click, down through the chimney with Good St. Nick!
AngledFireplace.jpg
I think about this song when I gaze at my beautifully painted fireplace. That’s right, I said painted! Those bricks you see – well – they are bricks, but that isn’t their real color. It is faux painted!

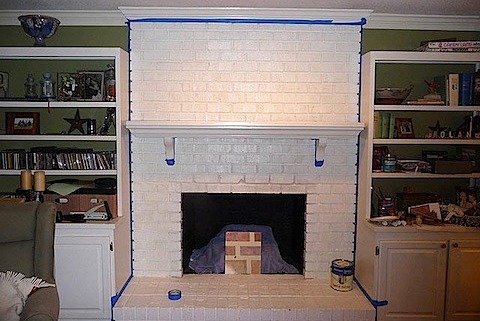
Last year this is what my fireplace looked like:
BeforeBrick.jpg

If you want to see how I did it, hop on over to Remodelaholic on Friday for the tutorial.

In the meantime, I want to share with you some other fabulously faux painted fireplaces. These three readers each contacted me after reading my post on faux painting brick and sent me photos of their fireplaces!

I think you will agree that they all did a fabulous job. Way to go gals!

“I came across your website looking for ideas on what to do with my painted white fireplace. After a year of living in the house, I couldn’t take it anymore. The layers of paint were too thick to strip and refinishing would have cost too much right now. So I gave your helpful hints a try. I am amazed how great it turned out. Next, get rid of the awful tiles and put in wood flooring. Thank you so much for posting your refinished fireplace and how-to.”
 
Thank you.
Pam Blackburn
Levittown, PA

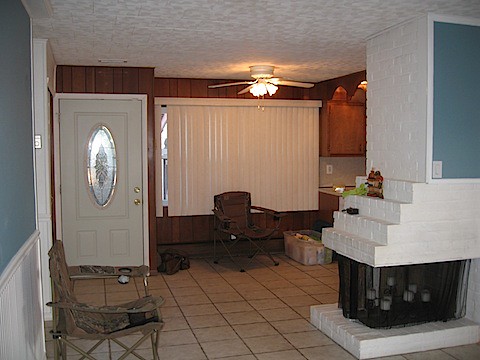
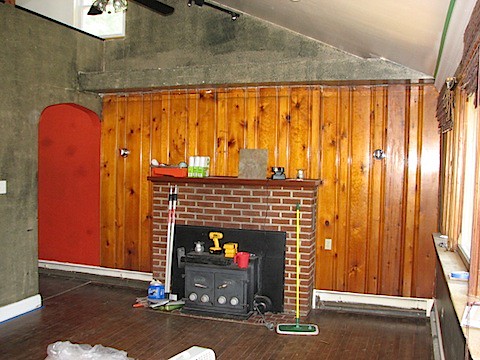
Pam’s Fireplace Before:
IMG_1548.JPG

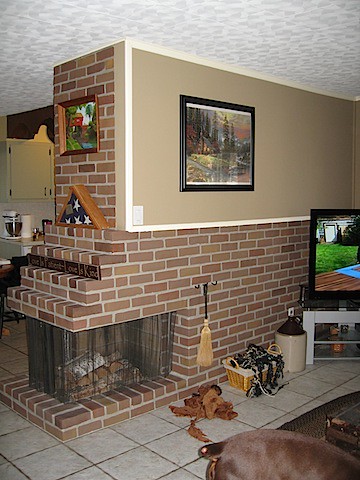
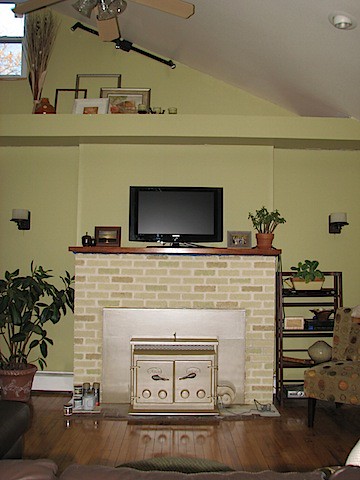
Pam’s Fireplace After:
IMG_2335.JPG

“Thought you’d be interested in seeing how your idea worked for me. Attached are before and after pictures. Thanks for your help – my fireplace looks awesome now – just have to buy a mantel.”
 
Louise Russell

Louise’s Fireplace Before:
127.JPG

Louise’s Fireplace After:
IMG00006-20101127-1535.jpg

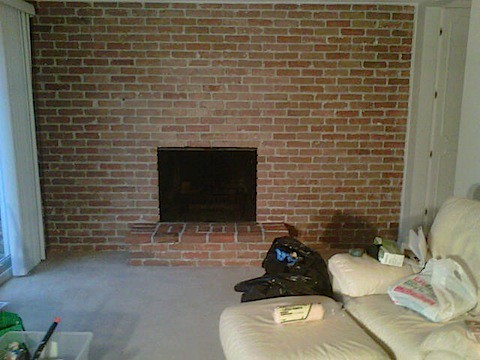
And finally, Megan took her fireplace in a different direction. She had an ugly red brick fireplace and turned it into a light taupe beauty.

“I found your great blog on the internet a few weeks ago and just wanted to thank you for giving my husband and I the courage to paint the fireplace in our new house! You really gave us the confidence we needed to try and brighten up our fireplace on our own! Thank you so much!! We had been quoted $1200 to have the bricks refinished, and I ended up spending about $30 with your method! The attached “after” shot was taken before I was completely finished, but it’ll still give you an understanding of where everything was headed and how much of an impact your tutorial made on us! Thank you!!”

Megan Cahill

Megan’s Fireplace Before:
Living Room Before.jpg

Megan’s Fireplace After:
Living Room After.jpg

So what do you think? Are those amazing transformations or what? I think all three are definitely Santa-worthy now.