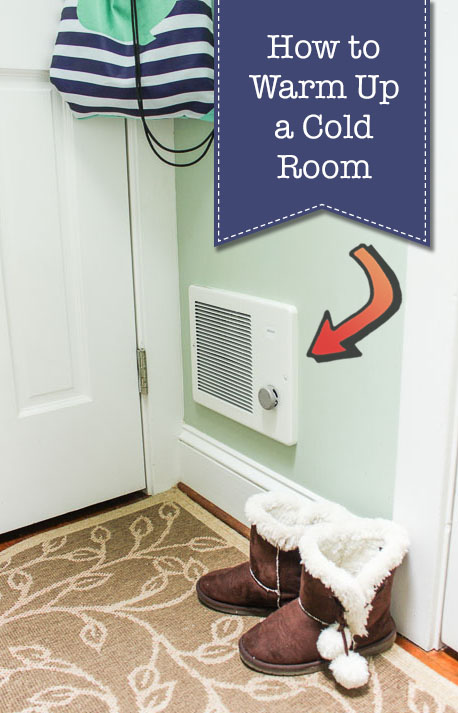
Warm Solution for a Cold Room
I’m excited to share this solution with anyone who has a cold room in their home. Sometimes a room may be cold because it lacks a heating duct, is missing insulation, or is on a concrete slab. Whatever the reason, today I’m going to share with you a Warm Solution for that Cold Room in your house.
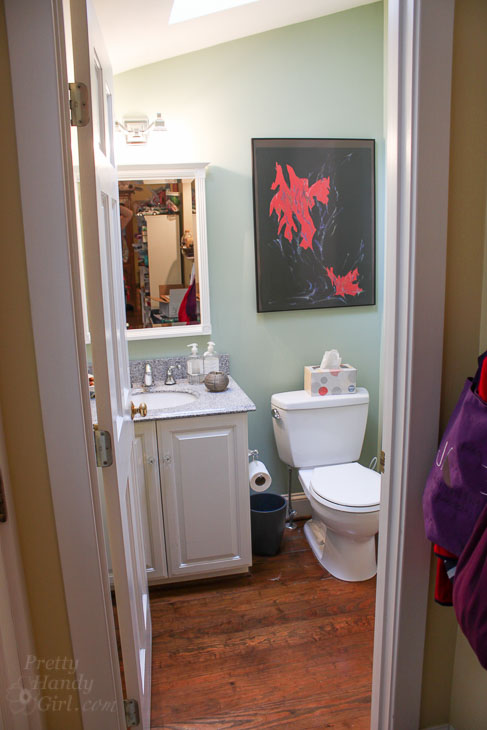
My friend Beth has a bathroom in her home that no one (including guests) want to use. Unfortunately, I experienced the shock of using this bathroom once before and vowed never again. The half bathroom, added onto their home, has always felt like an ice box in the winter. And as you know, a cold bathroom means a cold toilet seat. Need I say more?
Beth had accepted the fact that she couldn’t do anything about her frigid bathroom without tearing down all the drywall or adding a vent (which would be messy and costly solutions). Then I discovered these wall heaters from Broan. Being that I am a Broan-NuTone influencer, I reached out to Broan to find out if I could get a complimentary heater for Beth’s bathroom. Of course, they felt for Beth’s situation and gladly agreed to send me the Broan 170 Wall Heater.
Notes: A few notes about installing a wall heater. View the available heater options from Broan. The heater you need will depend on several factors. Contact Broan’s customer service department for assistance selecting a heater that is right for you. This tutorial is strictly for informational purposes. You need a licensed electrician to install the heater. You may need to pull a permit when adding a supplemental heater to your home. Check with your local building and permit office to find out what the requirements are.
Finding a Location for the Wall Heater:
Locate a good location for the heater. Ideally you want an interior wall that doesn’t have insulation. Check to make sure the wall studs are far enough apart to allow the heater housing box to fit inside the studs. (Need help locating your studs? Here are 5 Ways to Locate Wall Studs without a Stud Finder.) Make sure that the location for your heater does not have any flammable items nearby. (Curtains or towels located near the heater could pose a fire risk.) Finally, assess the air current direction from your heater. You need the air to flow freely into the room and not be blocked by doors or other items.
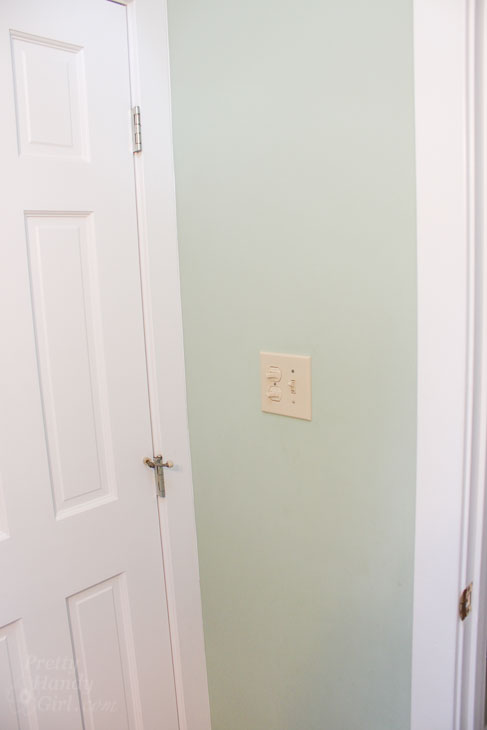
Preparing the Wall for Installation:
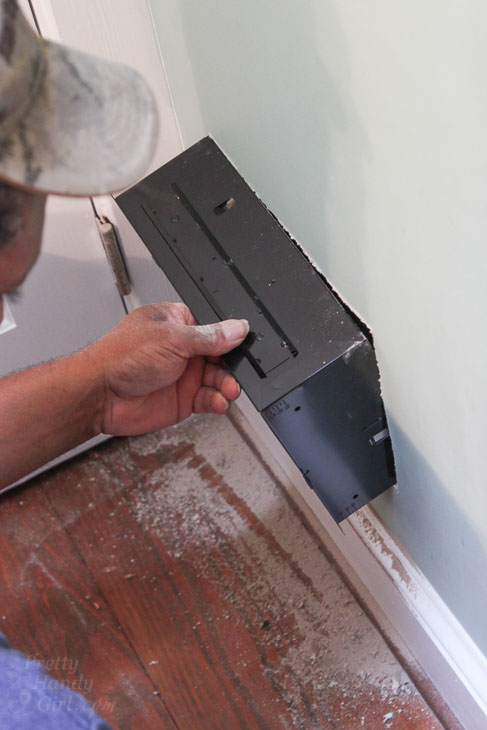
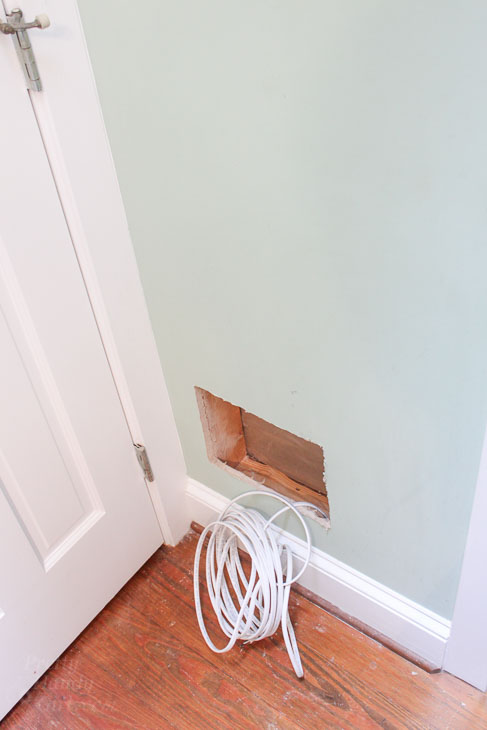
After locating an appropriate space for the heater installation, use the metal housing box to trace the opening size onto the wall. Cut through the drywall with a drywall saw or oscillating tool.
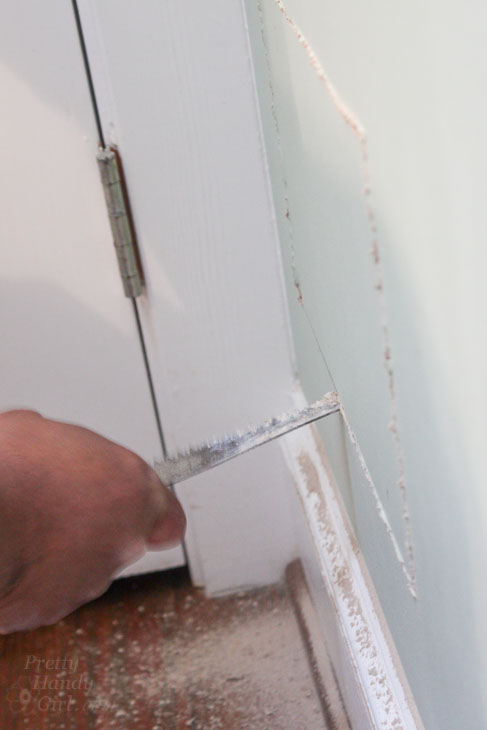
Check to see if the housing will fit in the hole you just cut. Make any adjustments as needed. (Beth’s wall studs provided the exact opening for the wall heater (lucky us!) If your wall studs are further apart, you can use the mounting brackets that come with the heater.)
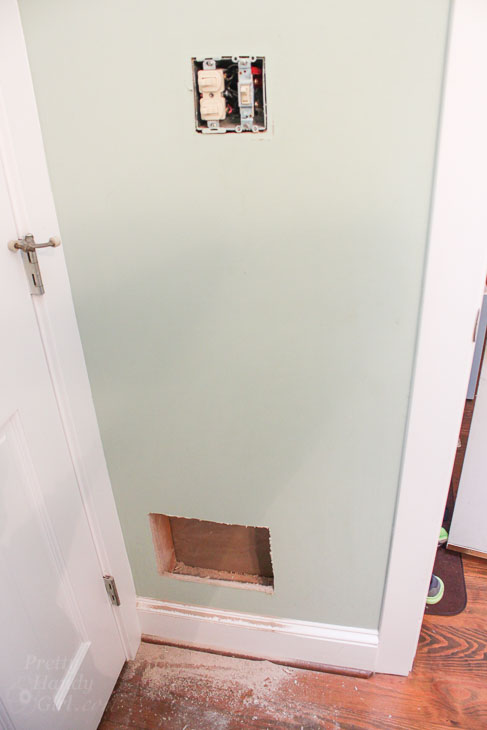
The location for Beth’s heater just happens to be underneath two switches, but we needed to run new wiring to accommodate the electrical load the heater needed.
Adding Dedicated Electrical for the Heater:
**The power should be shut off during installation of the wall heater.**
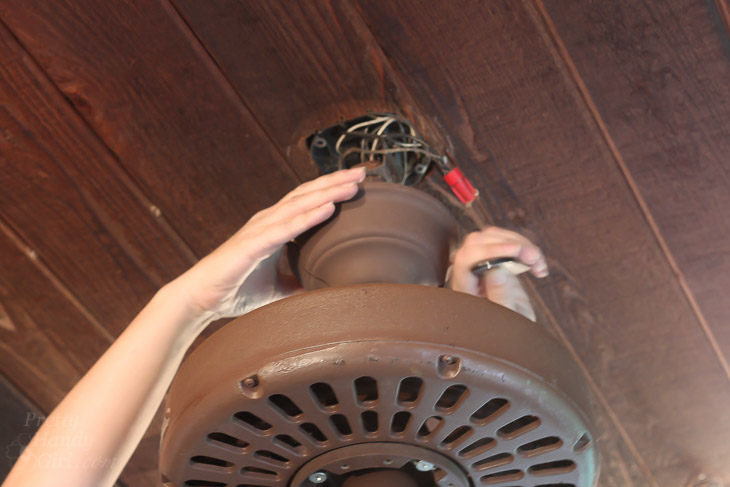
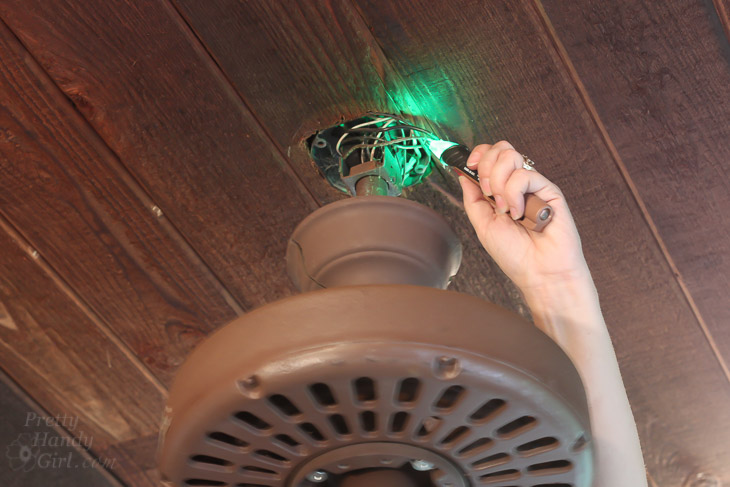
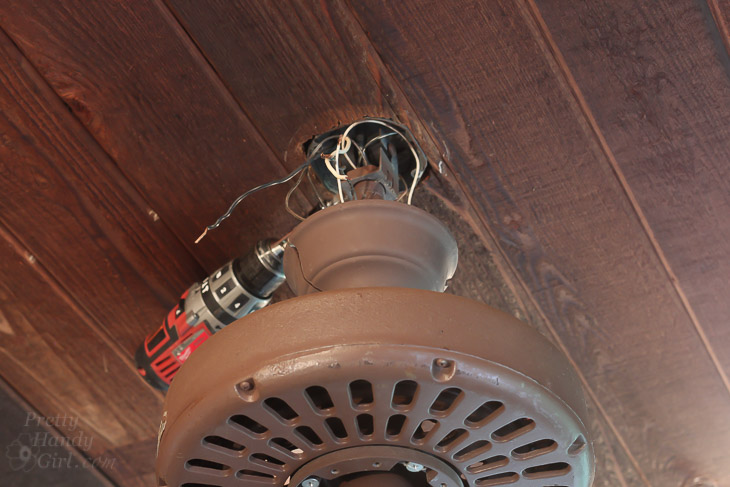
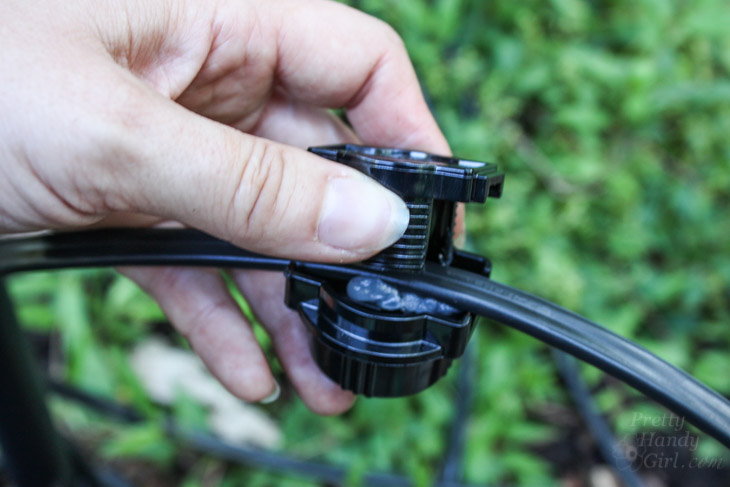
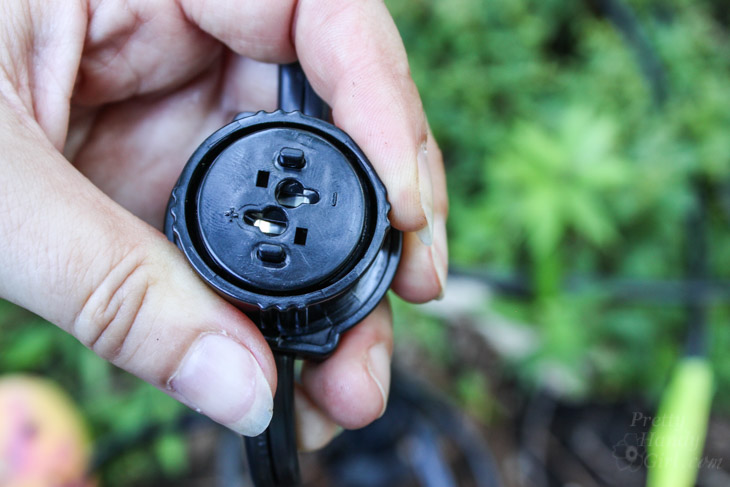
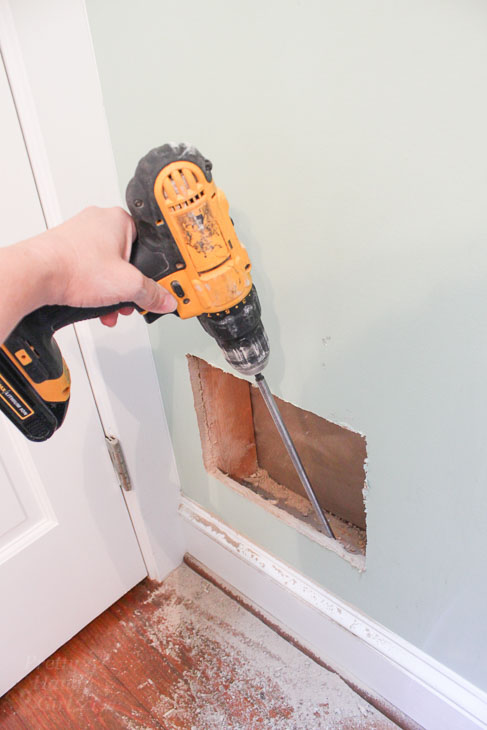
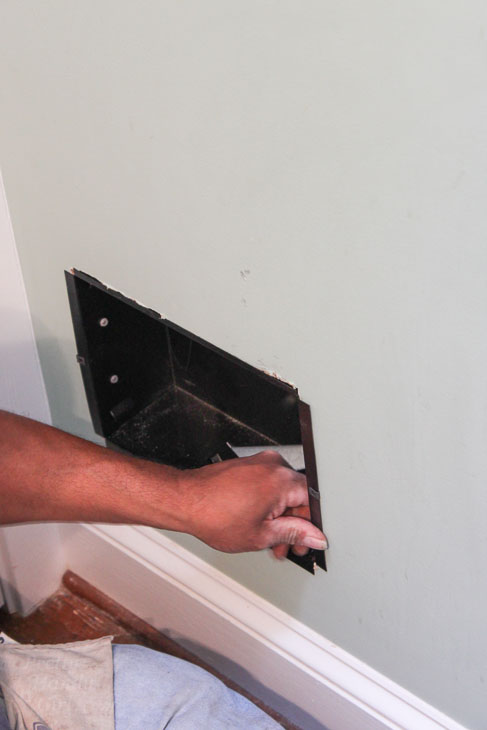
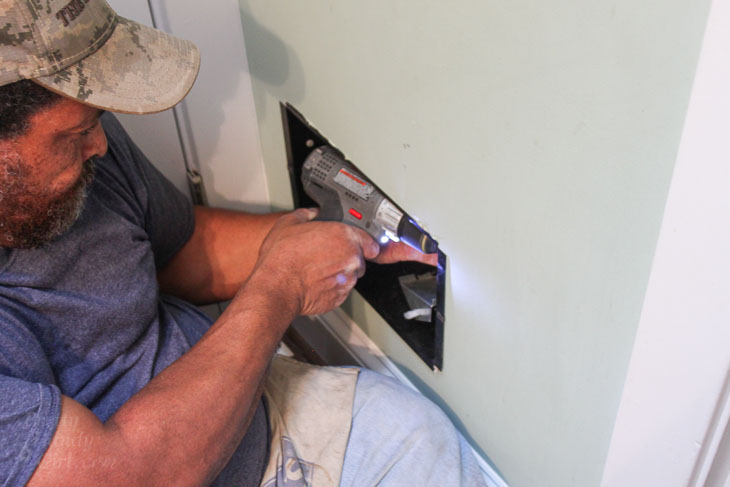
We drilled a hole through the bottom of the wall plate inside the cavity.
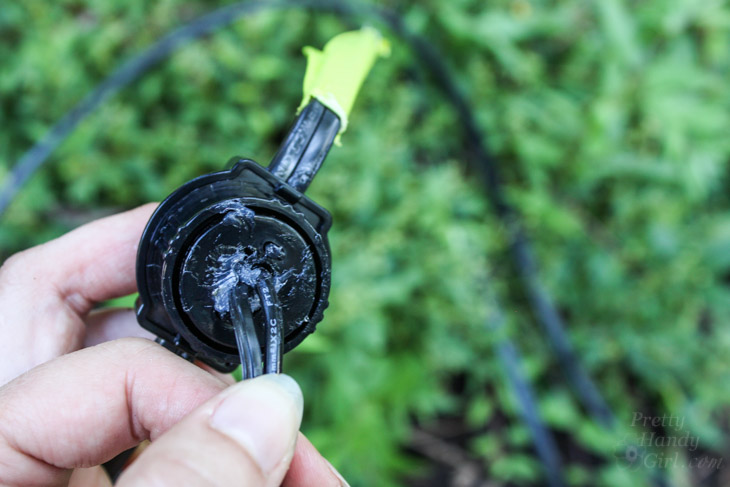
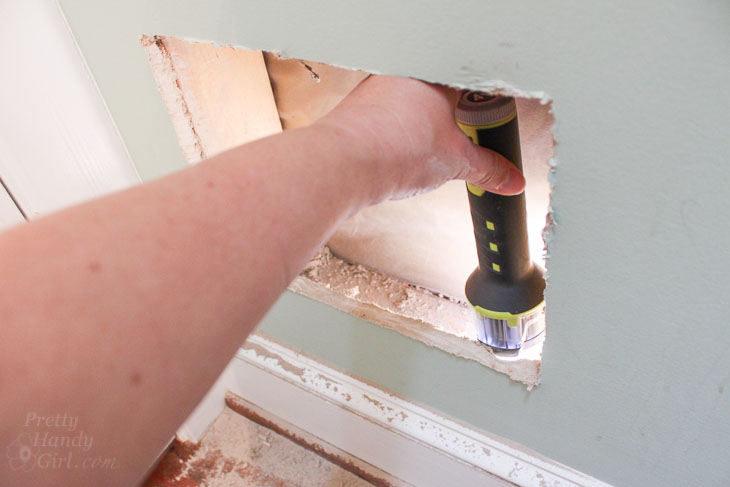
As the electrician went into the crawlspace, I shone my flashlight down through the hole to assist with locating the newly drilled hole.
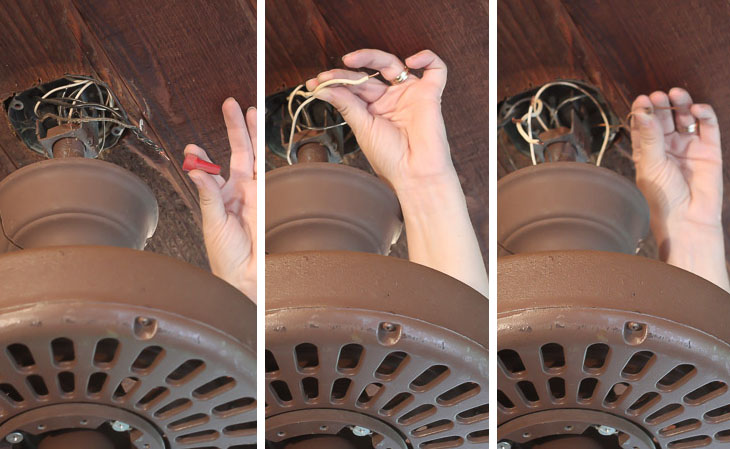
The electrician fed wiring up through the hole. . .
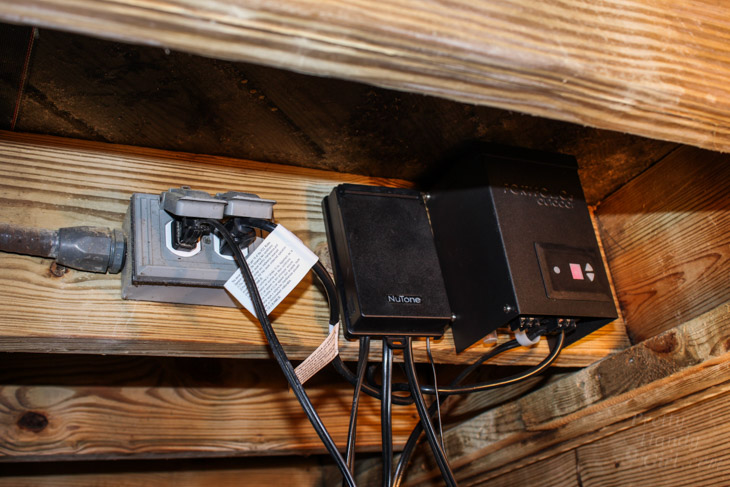
. . . and ran the other end of the wiring to the circuit breaker. After fishing the wiring into the space below the circuit breaker, he fished the wiring into the circuit breaker box (not shown below.) Depending on your circuit breaker, you may need to have a split breaker added if you don’t have room for a new breaker.
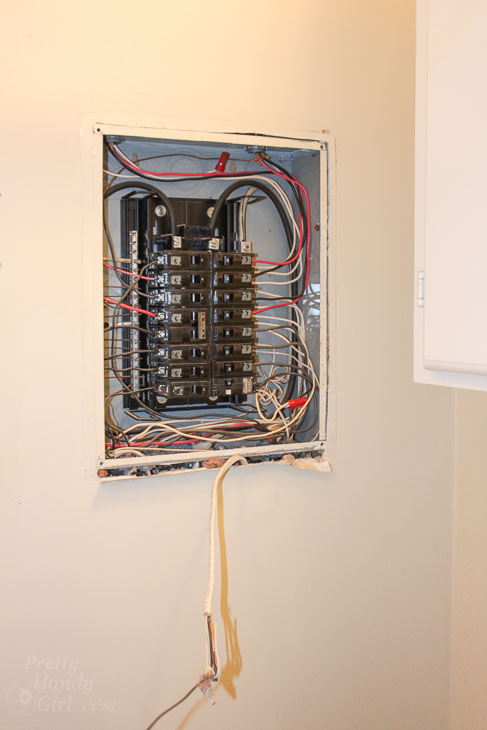
The electrician should handle installing the new breaker and connecting the wiring inside the breaker box.
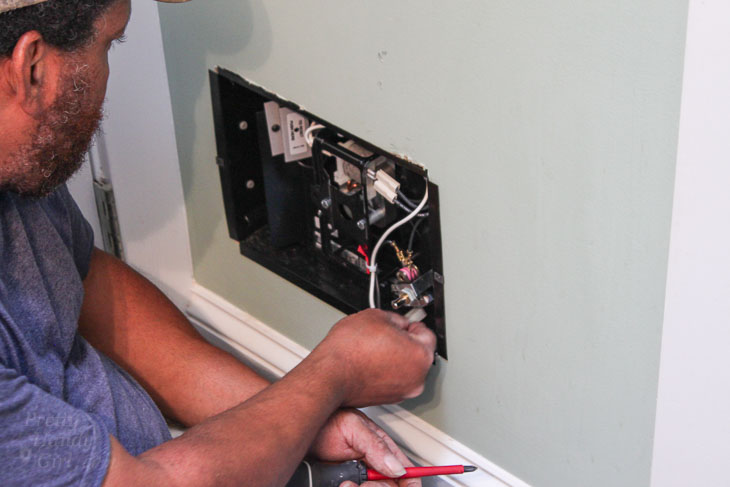
Installing the Wall Heater:
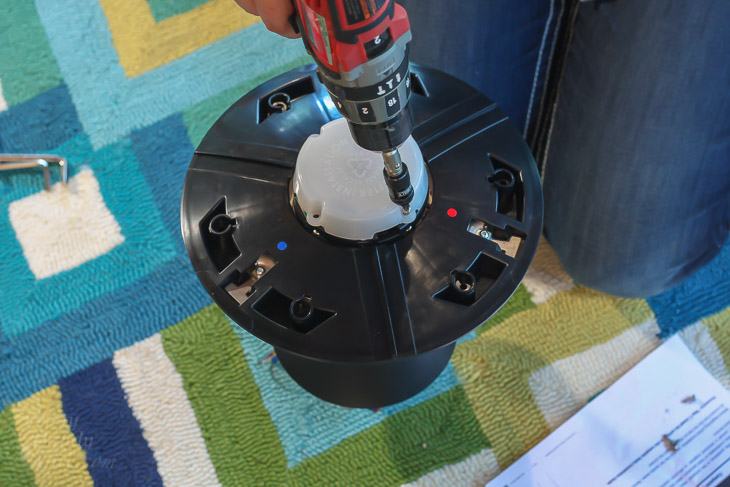
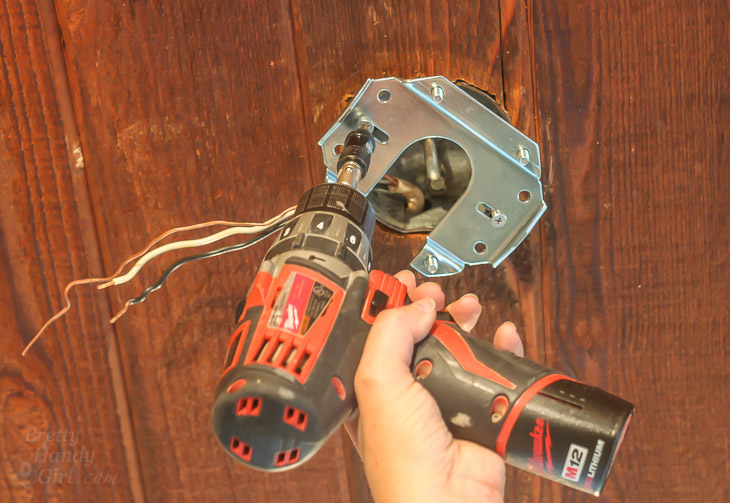
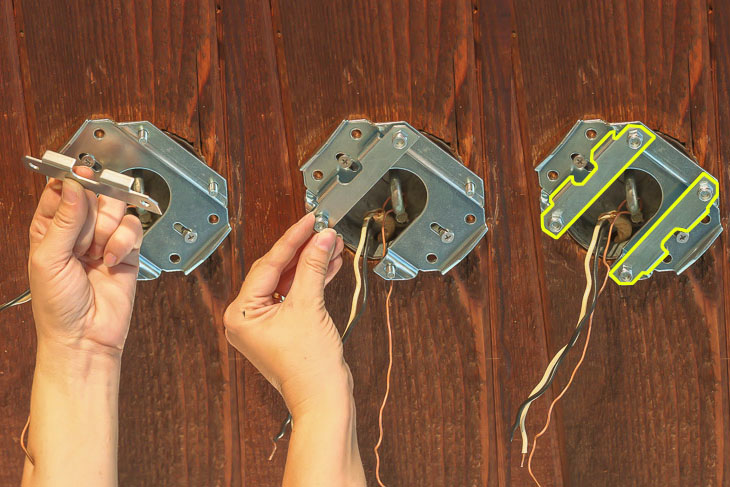
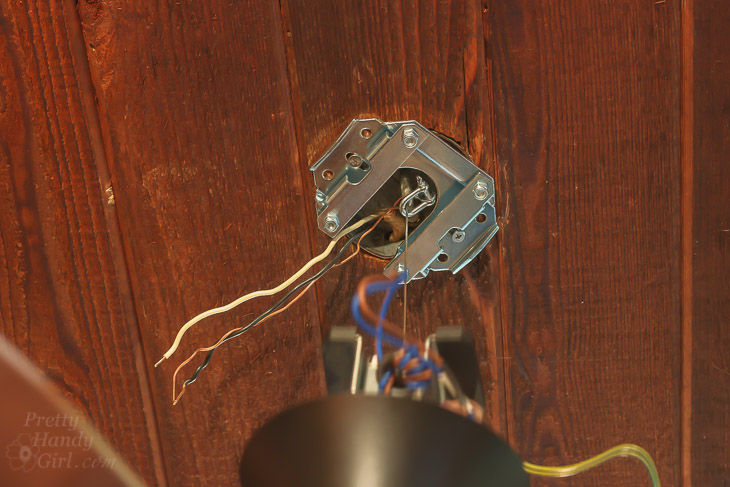
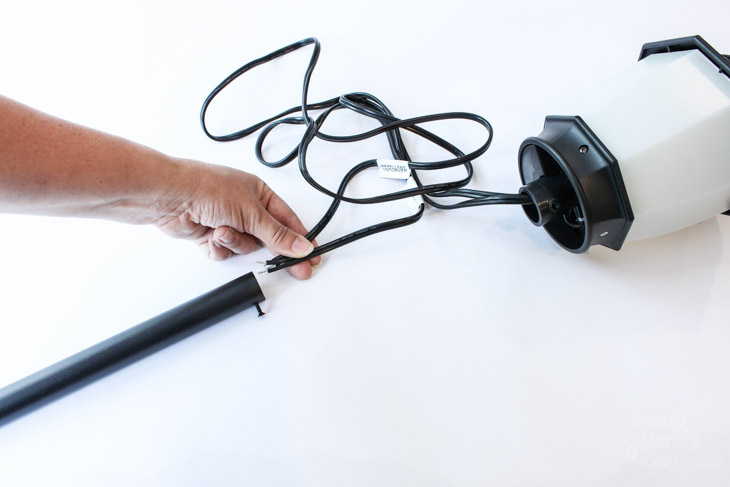
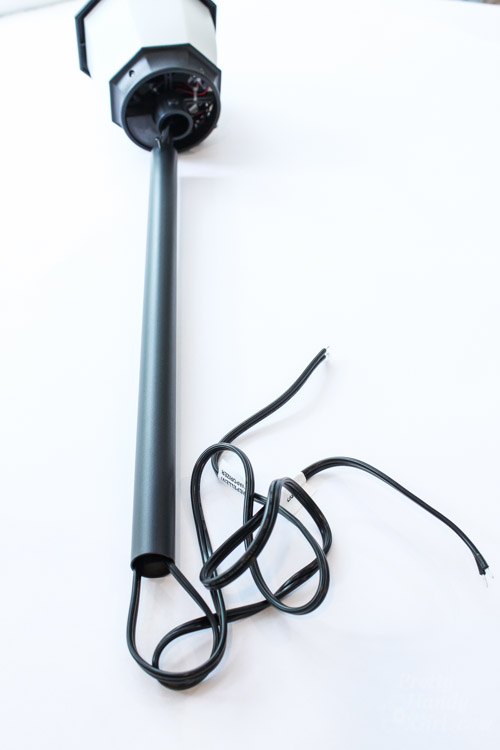
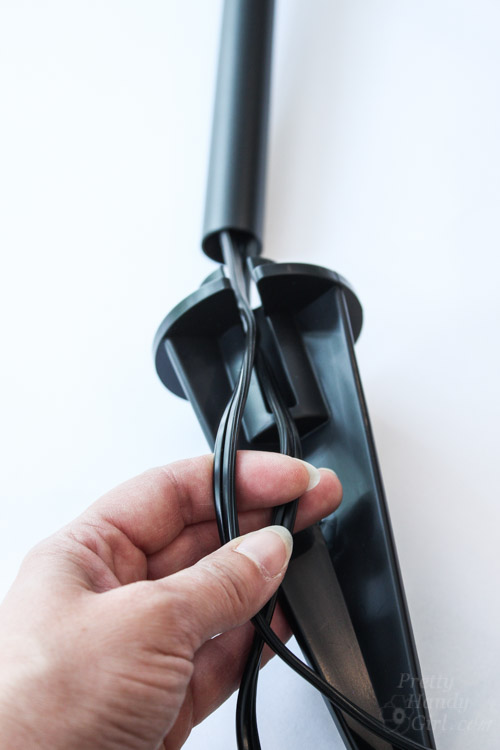
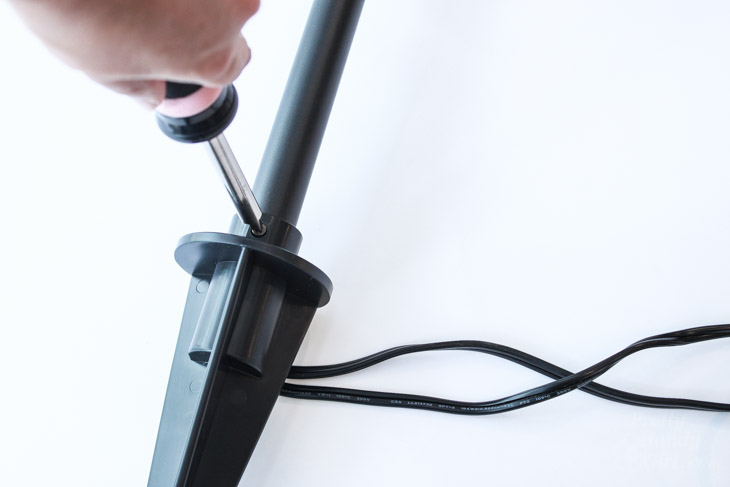
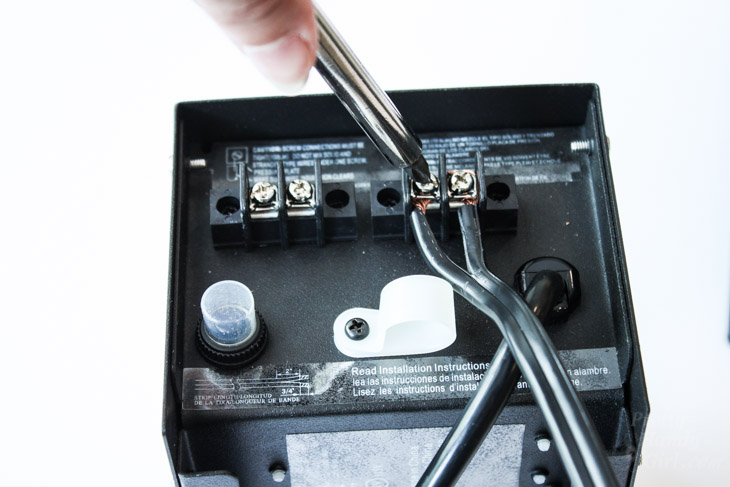
The electrician inserted the electrical wiring through the bottom knock out hole in the housing box and then set it into the wall.
He secured the housing box with mounting screws into the studs (or he could have used mounting brackets if the studs were further apart.)
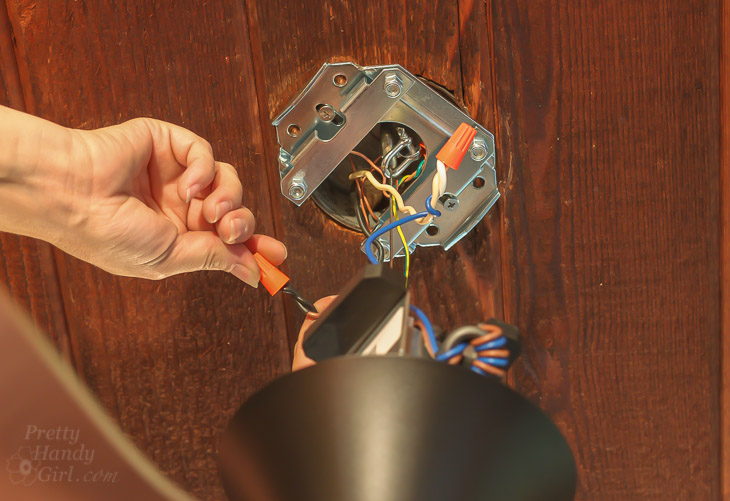
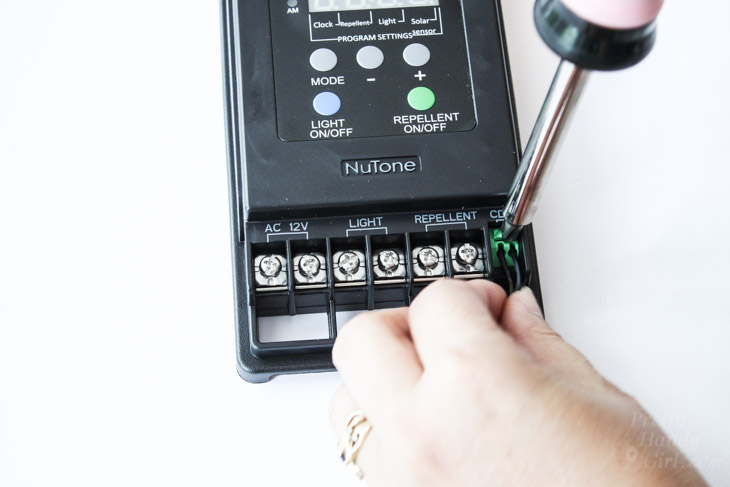
The electrician wired the heater to the house wiring following the installation instructions and wiring diagram that came with the heater.
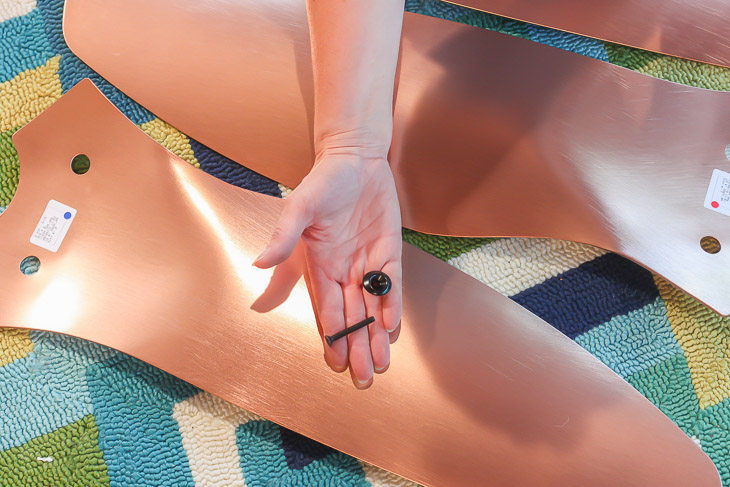
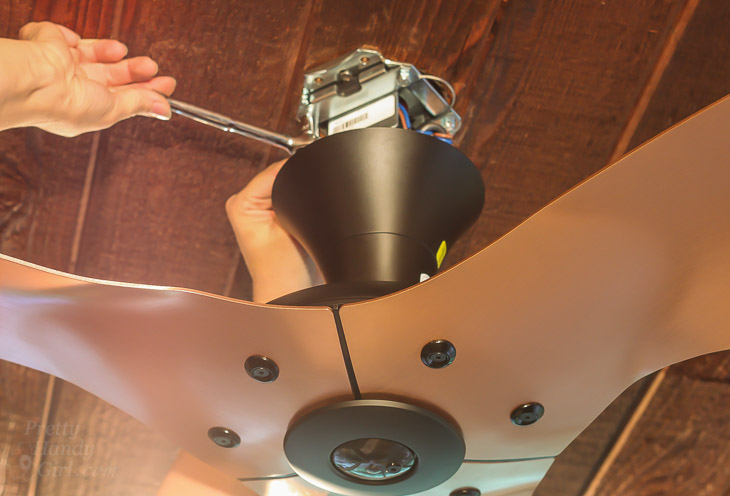
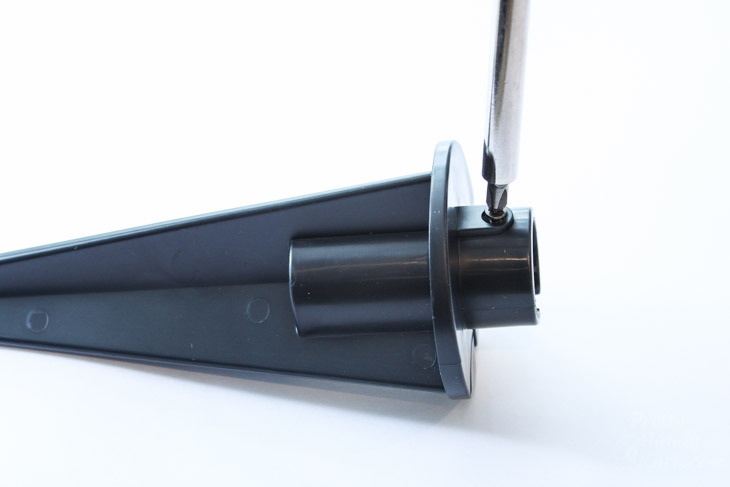
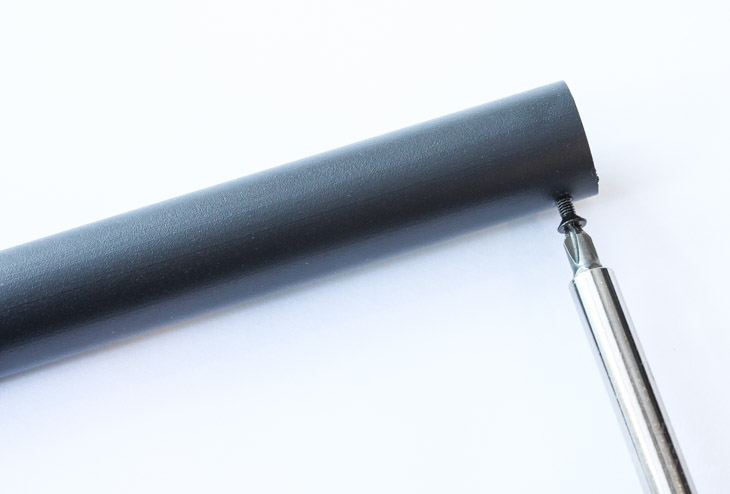
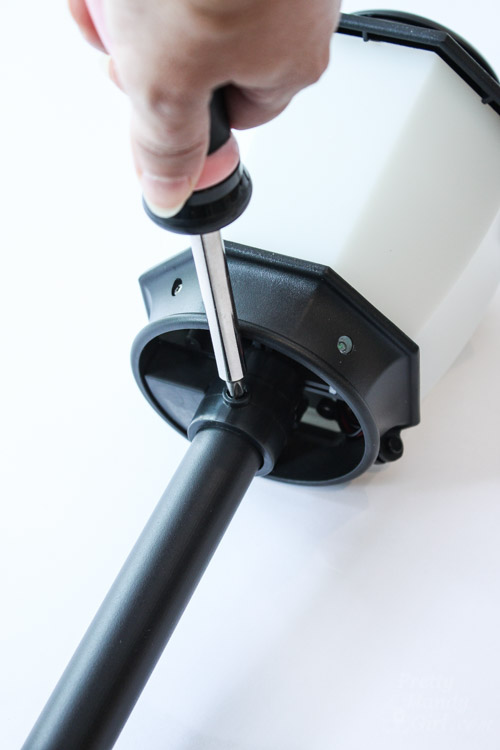
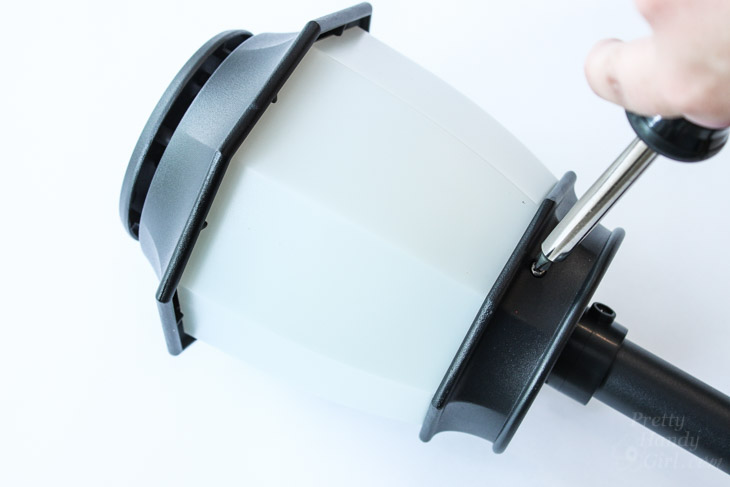
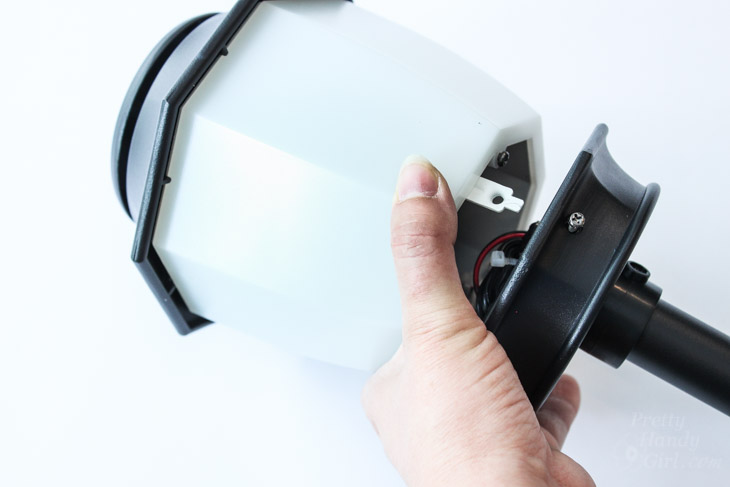
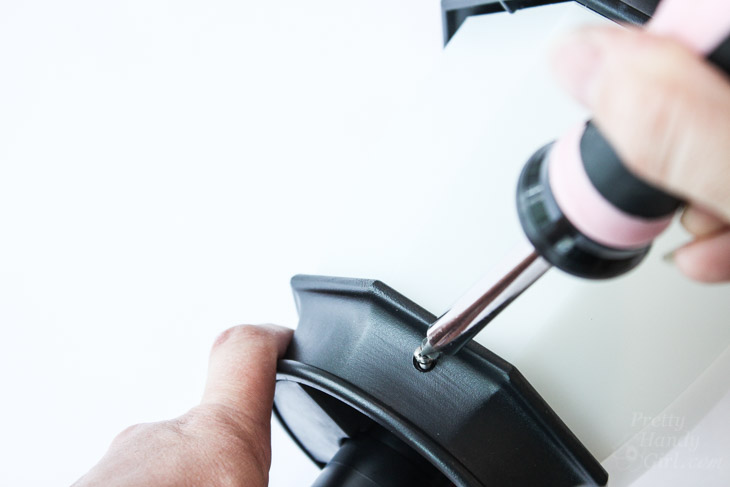
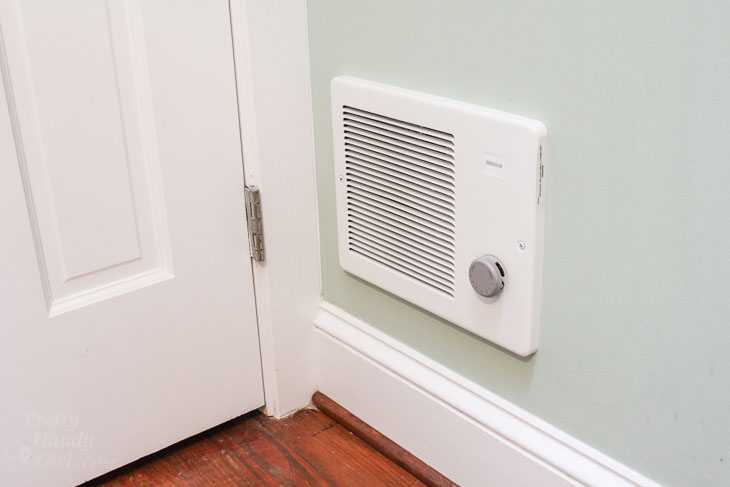
Then he attached the grille to the heater with the two screws provided.
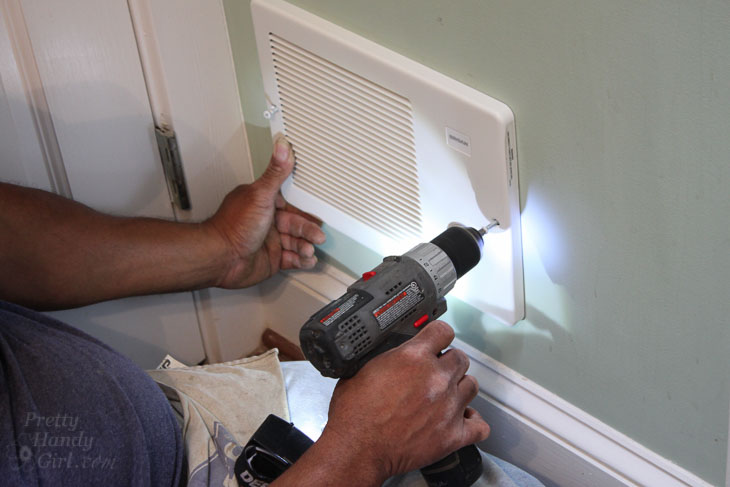
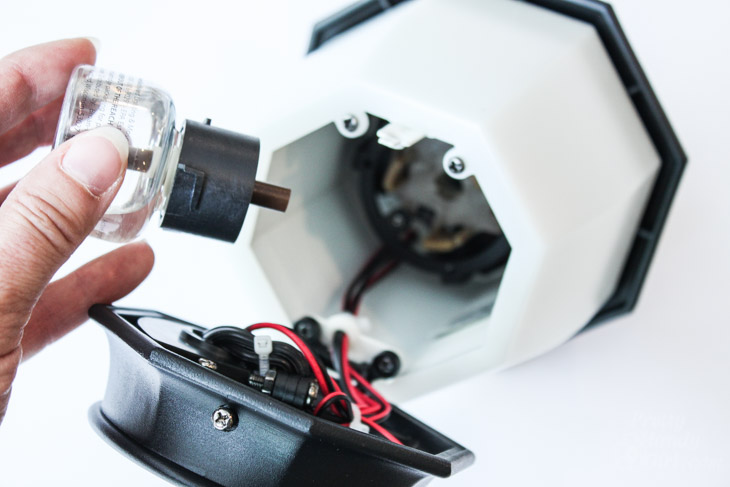
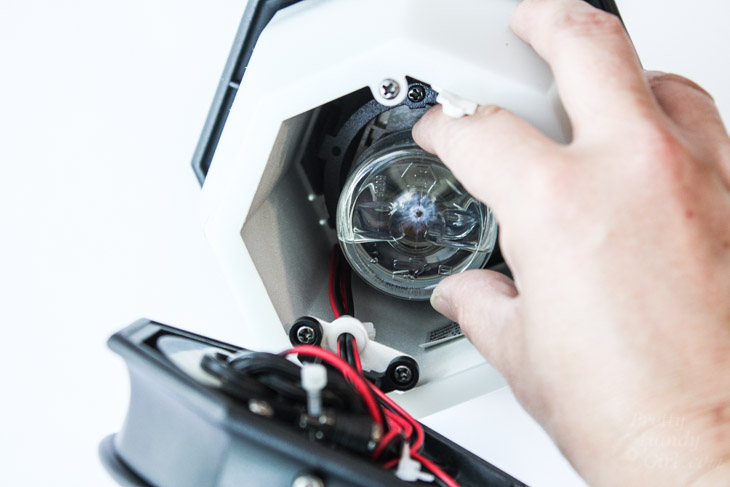
The thermostat knob was pressed onto the thermostat stem.
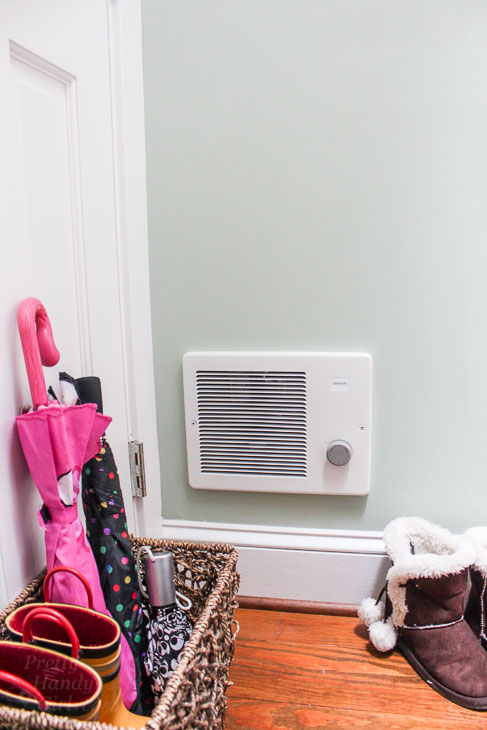
The electrician turned the power back on and I tested the wall heater.
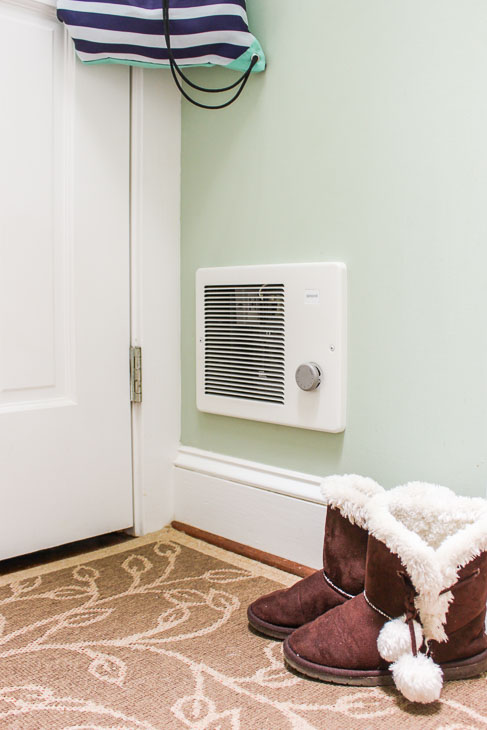
Oh my! The warm heat blowing out of the heater was an immediate improvement in this cold bathroom.
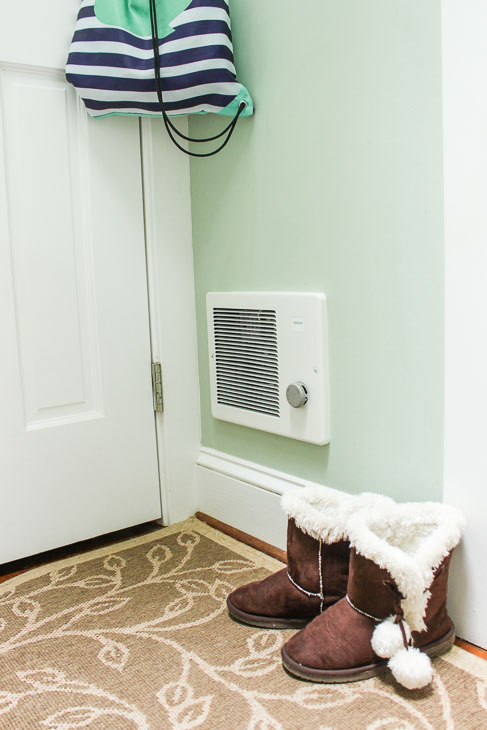
Beth and her family are so happy with the new heater. She told me, “For ten years, our bathroom was labeled the Cold Bathroom. Today, my son announced the bathroom has a new name: the HOT BATHROOM.”
Now when Beth and I take our walks with the dogs I have no qualms about running in to her house to make a quick pit stop. LOL.
Do you have a room in your house that is more like an ice box than a climate controlled room? Did you know you can add a supplemental heater? Check out all these Broan heaters that could solve your cold issues.
![]()
Disclosure: This is a sponsored post for Broan. I was not told what to write. All opinions are my own. I was compensated for my time and efforts to create this tutorial. As always, I am very particular about the brands I represent and you will always be notified when you are reading a sponsored post on PrettyHandyGirl.com.