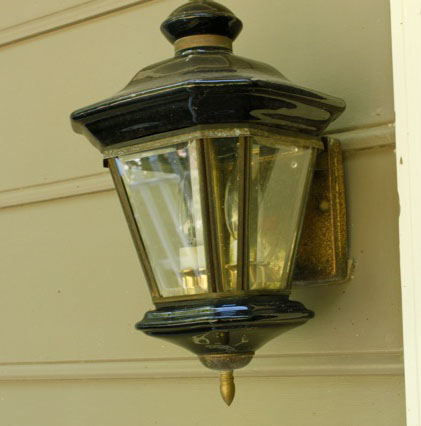
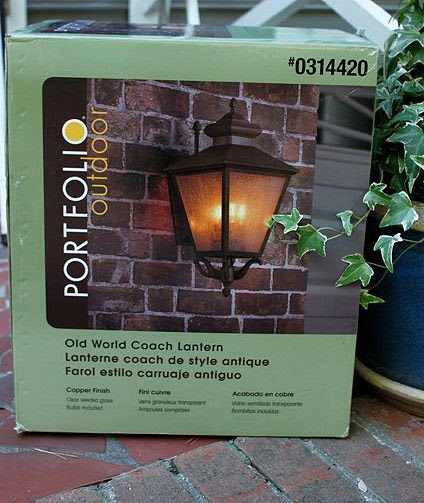
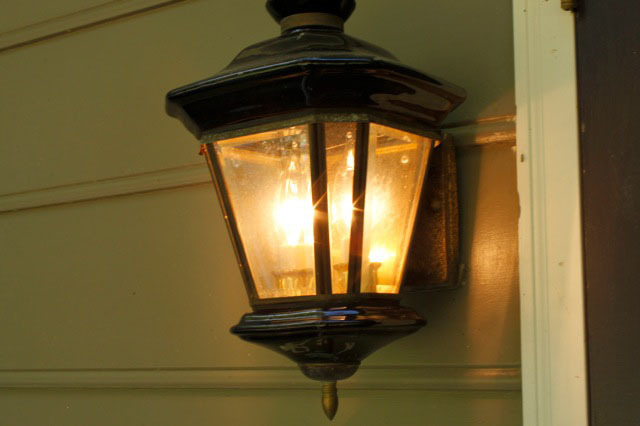
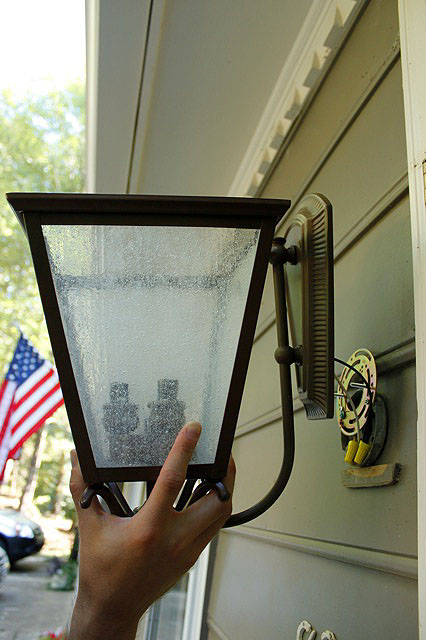
If you’ve been following the Pretty Handy Girl blog, you will recognize this copper wall sconce from the reading nook post. It was a $5 find at the Habitat for Humanity ReStore!
The sconce was a wall mount, but plug in kind. The lamp was in excellent shape, but it needed a longer cord, I wanted to ditch the brown cord, and add a switch on the cord.
I have to tell you, re-wiring a lamp is one of the easiest electrical DIY projects to tackle. Especially on this sconce since it doesn’t have a long pole that the wires have to feed through. Hopefully, after reading this post, I can convince you to go ahead and fix that lamp. Or put a rolling switch on a light fixture you currently use.
Required Safety Tip: BEFORE WORKING ON ANY ELECTRICAL DEVICE, BE SURE IT IS UNPLUGGED OR YOU HAVE TURNED OFF THE POWER TO THE LIGHT FIXTURE OR OUTLET.
Okay, now that we have that out of the way, don’t be scared, you can do this!
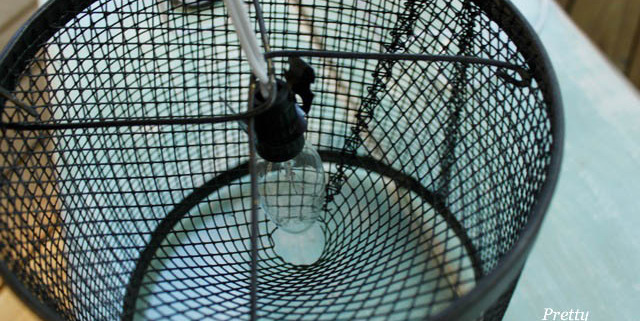
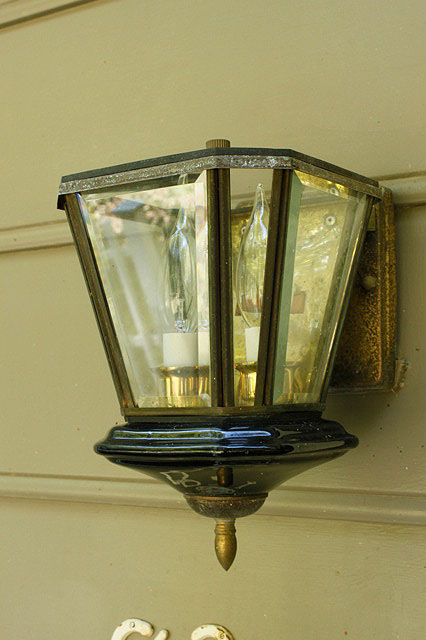
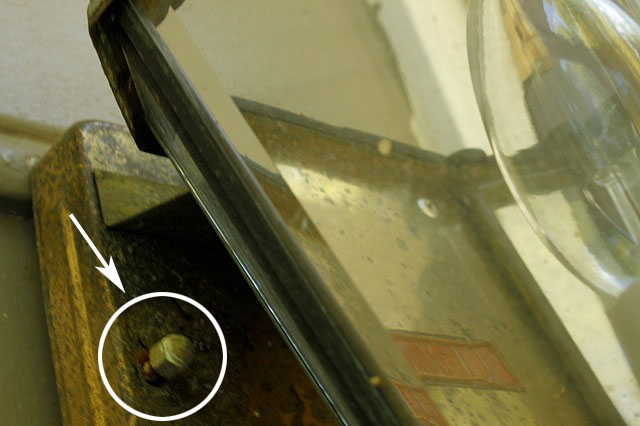
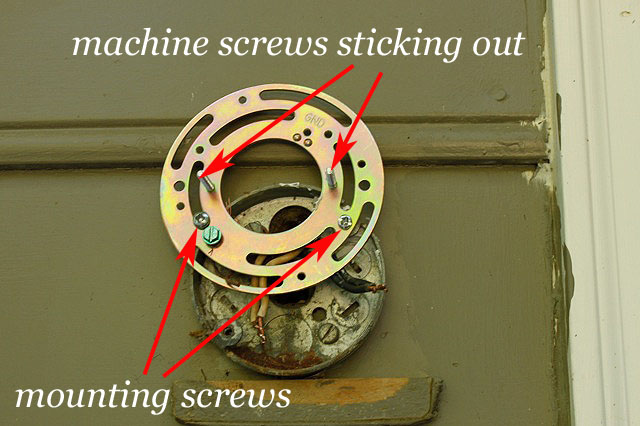
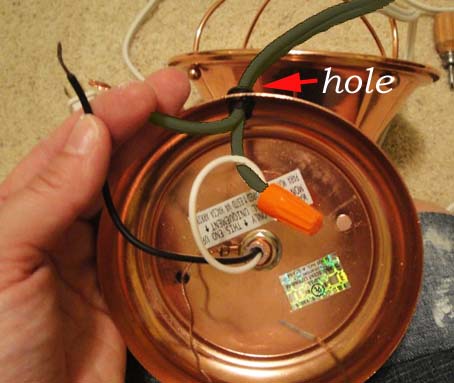
At this point, I actually looked inside the lamp. What the heck is that? Where are the threads?
Oh drat, someone broke a bulb and left the base screwed inside the fixture. I have never tried the “potato” solution, but this other method works great for me every time!
The Pretty Handy Girl’s Guide to Removing a Broken Light Bulb
1. Unplug your lamp :-).
2. You need two needle-nosed pliers to grip the metal base of the bulb at the 9 o’clock and 3 o’clock positions.
Gently twist the base to the left or counter-clockwise. Always remember: Lefty Loosie, Righty Tighty!
3. Keep twisting until your base is free.
Voila, it is fixed!
Now, time to remove that ugly brown wire and then add a switch to the cord.
Rewiring a Light Fixture
Tools needed:
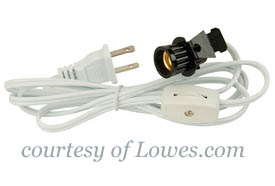
New lamp cord
Utility Knife
Wire strippers/cutters
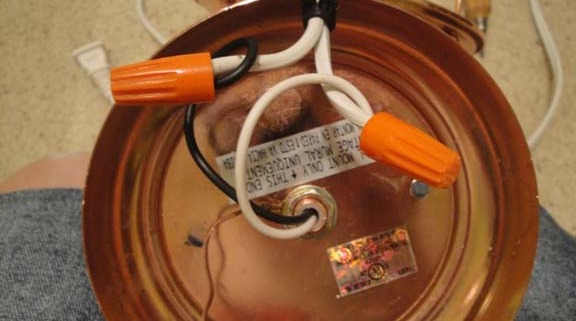
1. Unscrew the wire nuts. And untwist the wires.
2. Firmly pull the cord out of the hole. If you have a lamp with a long pole body, you will want to tape the new cord to the old so that the new cord is fished through the lamp as you are removing the older one.
3. Then feed the new wire back through the hole.
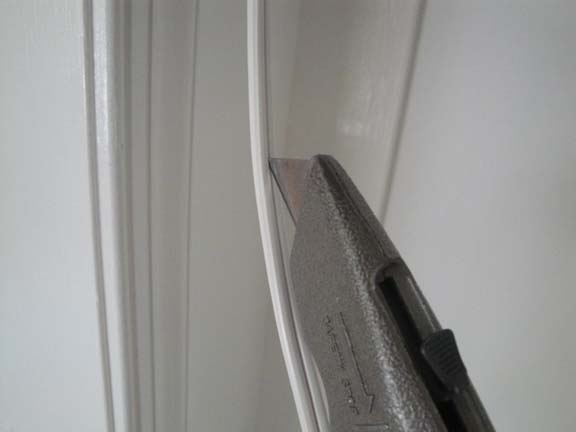
4. At this point (if you need to), you can trim your lamp cord to size using wire cutters. Then you will need to separate the cords slightly using your utility knife to cut gently on the center seam. Then strip off about 3/4″ of the white insulation using your wire strippers to expose your wires.
Wire strippers are pretty easy to use. Choose the hole that will just lightly cut the insulation, but not the wires inside. You can gently clamp down and watch as the insulation is scored. then you may need to rotate the cord 90 degrees and repeat. With the wire strippers firmly closed around the cord, pull the strippers toward the end of your cord. If the insulation is cut all the way through,it should slide right off.
5. Look carefully at your lamp cord. There should be two wires enclosed in the protective tubing. One side will either have writing on it or will have ridges that run the length of the cord. This “marked or identified” side is the neutral side. It will connect to the white wires in your lamp.
6. Twist the neutral side with the white wire in your light fixture. Twist the smooth unmarked side with the black (or hot) wire on your lamp.
* For some odd reason, my light fixture also had a bare wire (can also be green) or ground wire. I suspect that my fixture used to be a hard wired kind, but someone converted it to a plug in. If this happens to you, see my note at the end of this section.
7. Then twist wire nuts onto your wire connections being sure that you cannot see any exposed wires. If you do, cut your bare wires a little shorter and re-twist them together. Then for extra security try to fold the two wires so they are away from each other.
Hey, congratulations! You just rewired a light fixture!
If you want to install a switch on your cord, stay with me…If not, go treat yourself to a cappuccino! You deserve the reward.
* Note about bare or green wire: If you have a green or bare wire (ground) on your lamp, it is advisable to ground the wire by connecting it to something metal that is separate from the lamp. I chose to wrap the bare wire around the screws I used to mount it on the wall.
Installing a switch onto your lamp cord
Tools needed:
Switch
Instructions (if they came with the switch follow them instead of mine.)
Utility Knife
Wire strippers/cutters
Screwdriver
Required Safety Tip: BEFORE WORKING ON ANY ELECTRICAL DEVICE, BE SURE IT IS UNPLUGGED OR YOU HAVE TURNED OFF THE POWER TO THE LIGHT FIXTURE OR OUTLET.
Sorry, just needed to remind you. No need to lose any readers due to electrocution.
1. Determine where you want your switch located on your cord.
2. Using your utility knife, cut a 1 1/2″ slit between the two cords at the location the switch will be.
3. Look carefully at the wires. You will be cutting the smooth or unmarked wire in the center of your split area. This is your hot wire.
4. Open your switch with your screwdriver. Be careful not to lose the screw or the nut on the reverse side.
5. Now lay your cord inside the switch as shown. If the cut side doesn’t fit neatly on the divided side of the switch, you can cut one of the wires a little shorter.
6. Place the cover back on the switch and screw it back on tightly. You will need to make sure the cover and back fit snuggly together with no gaps. It might help to squeeze the covers together firmly before inserting the screw. This is important, because there are little metal prongs that need to pierce into the wire insulation and touch the bare wire in order for the switch to work.
7. Go ahead and plug in your cord and test the lamp. Roll the switch, if it doesn’t work you will need to UNPLUG THE CORD and press the switch together firmer and/or tighten your screw.
DONE! You just installed a switch on your lamp cord. Congrats to you!
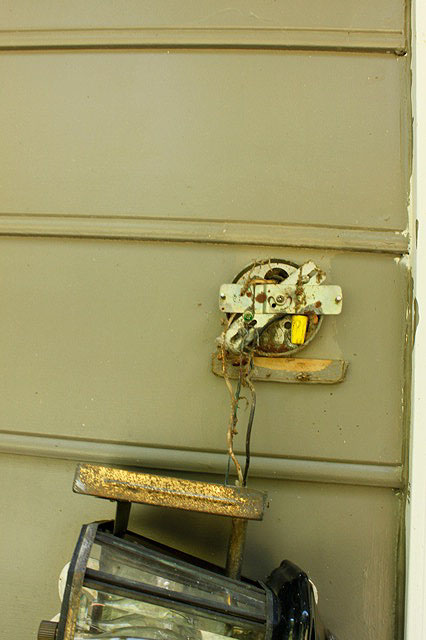
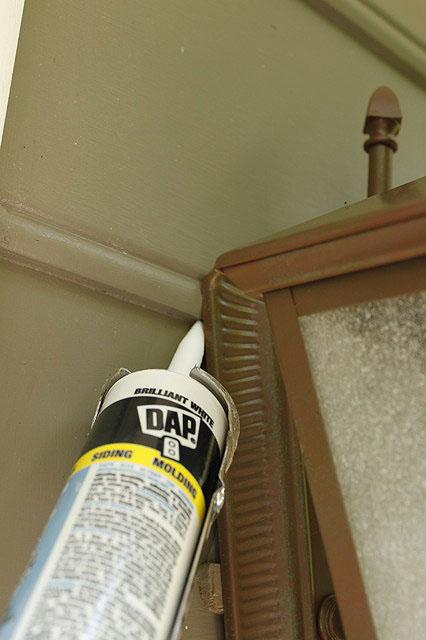
For my sconce in the
closet turned reading nook, I used cable tacks to secure the cord around the trim of the closet. Then snaked the cords as close to the trim and baseboards as possible. This keeps the cords out of the way and makes it look cleaner.
Well, if you stuck with me through this post, I have some eye candy for you.
A view from my flower bed this morning:
Lonely rose amongst the black-eyed susans
Abundant flowers in the flower bed, speaking of bed…