how to make glass bead magnets horizontal photo

Make glass bead magnets with the kids for a simple and easy craft project to help you get through those long summer days when the kids are home.
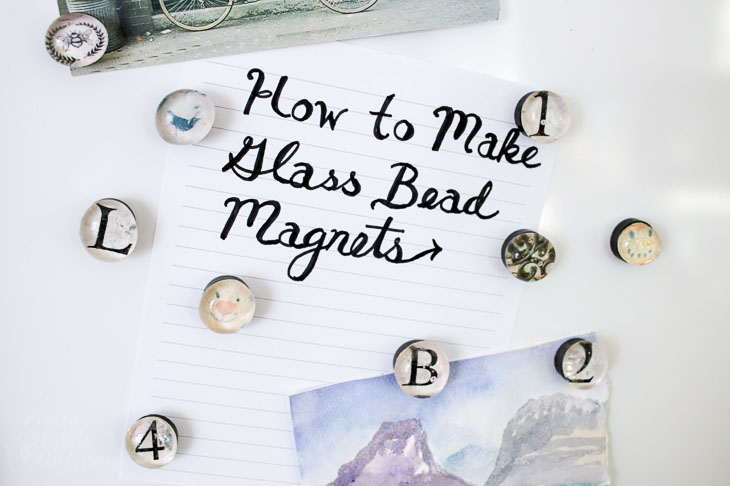
how to make glass bead magnets horizontal photo

How to Make Glass Bead Magnets

I love working with mod podge, especially for this decorative book with a secret hiding place and this vintage map lampshade. But, when it comes to a craft the kids can safely work on, I chose these Easy Decorative DIY Glass Bead Magnets.

We recently visited the Art Museum in Chicago and I found myself swooning over the beautiful paperweight collection. The glass magnifies the design inside the weights allowing you to see all the intricate details. While I don’t foresee making my own glass paperweights, the kids and I could get creative and use glass beads to make some beautiful magnets.
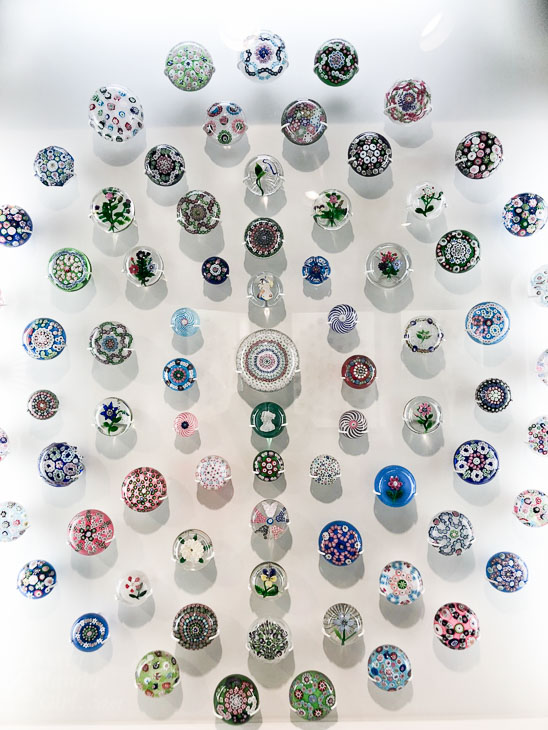
beautiful paper weight collection

A while ago, I happened upon a craft tutorial creating decorative push pins with glass beads. The next day my boys and I picked out glass beads and the rest of the supplies at AC Moore. My 3 and 6 year old were so excited when I pulled out the Oriental Trading Catalog and asked them to pick out their favorite pictures. We spent over an hour chatting and giggling as they cut out pictures from catalogs and magazines. If your children are looking for specific photos, you can always print them out from your computer first. Once you have your images, you are ready to get creative!

Materials:

(I’ve included affiliate links for your convenience. I earn a small percentage from a purchase using these links. There is no additional cost to you. You can read more about affiliate links here.)

glass bead magnet materials - scissors, mod podge, pencil, E-6000

Instructions:

Lay your bead on top of a picture you want to use.
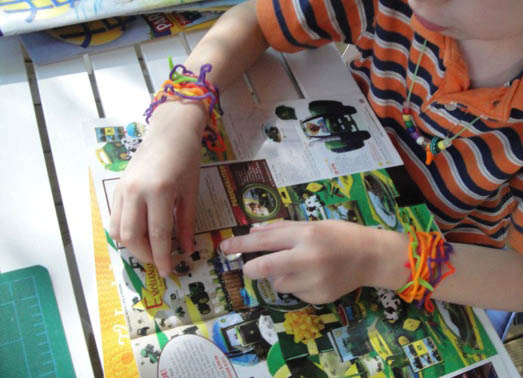
boy laying out glass beads onto magazine pictures

Trace around the pictures and cut them out with an x-acto knife.
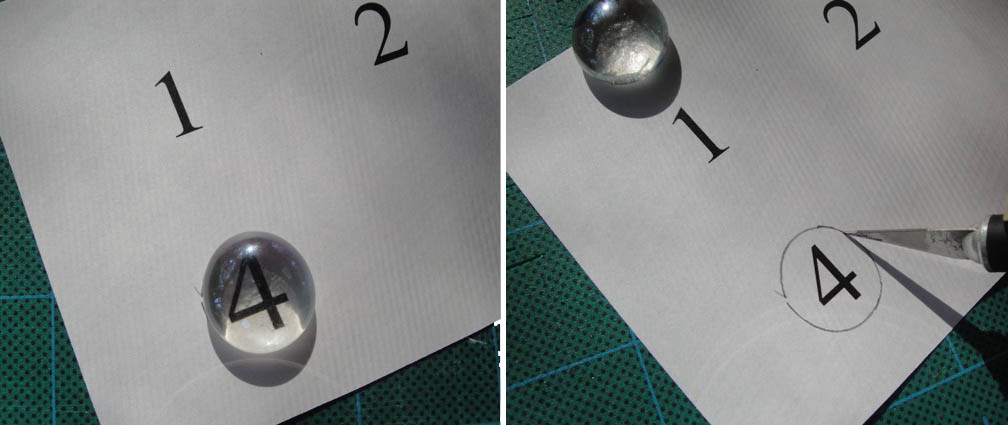
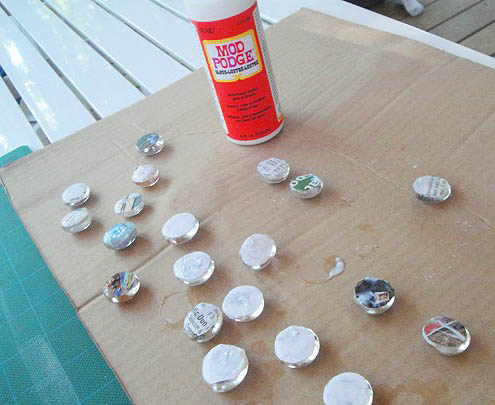
Paint mod podge on the front of the picture.
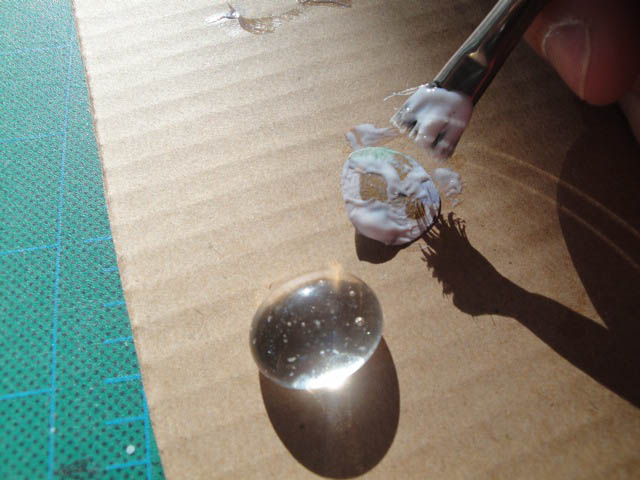
Center the glass bead on top of the picture. Then seal the picture by coating the back of the image with more mod podge.
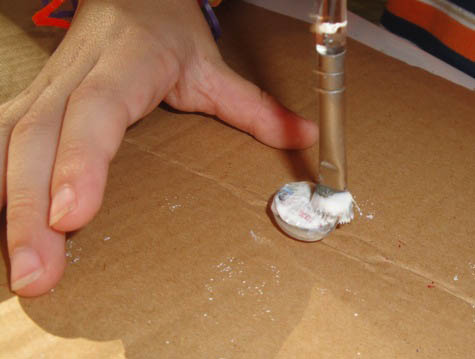
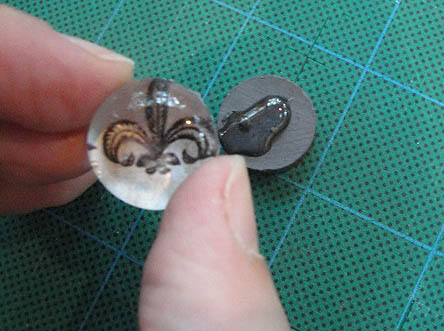
After the beads dry, take out the magnets. Apply a dab of E-6000 glue to the magnet…
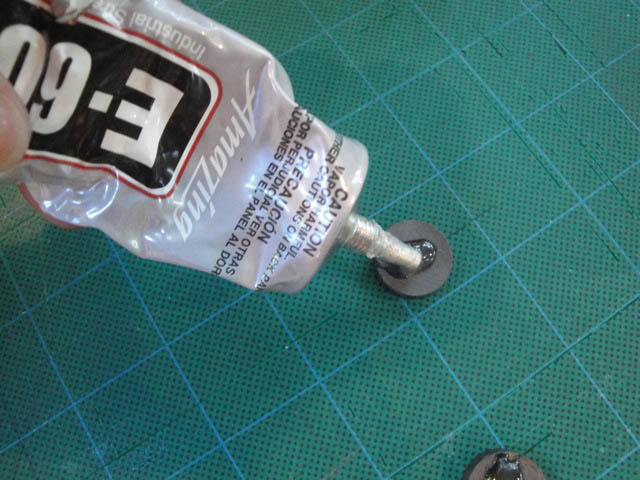
adding a small amount of E-6000 glue to the magnet

…then set the glass bead on top.


Within 30 – 45 minutes they should be dry and hardened.
Now you have beautiful custom glass bead magnets.
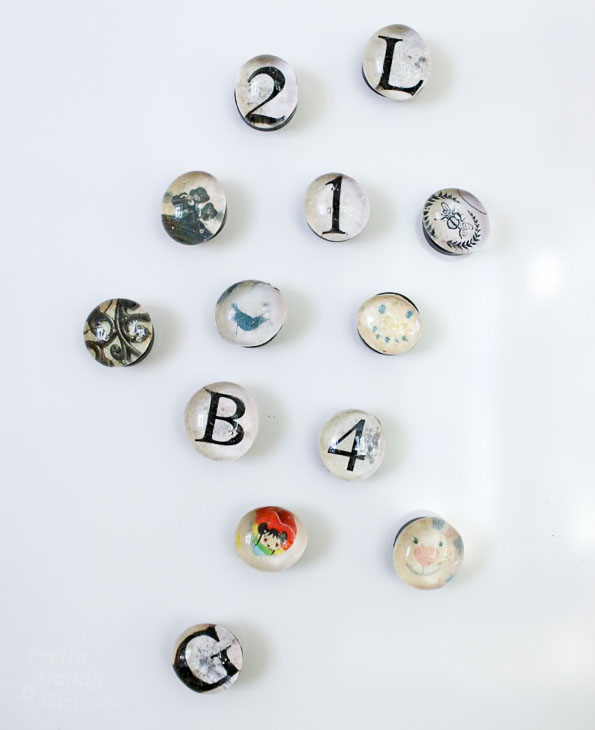
finished glass bead magnets

I chose mostly black and white images and graphic numbers and letters for my set.
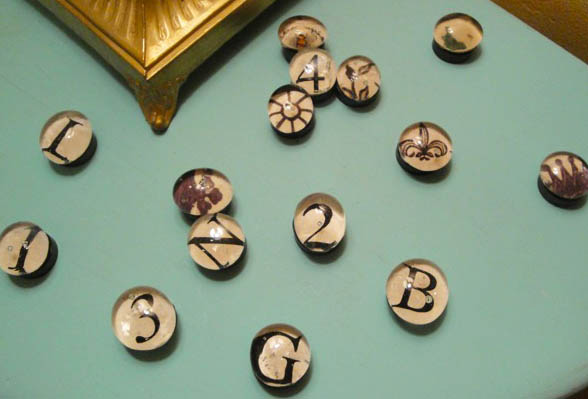

The kids on the other hand – well, let’s just say they do love their cartoon shows!
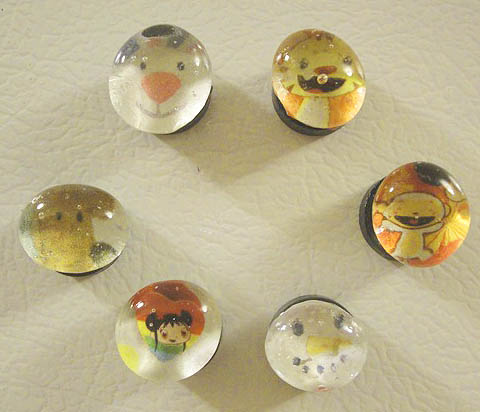

Let me know if you make your own glass bead magnets. What images will you use?

Be sure to pin this image for a friend. You know how hard it is to keep the kids entertained over the summer, right?!
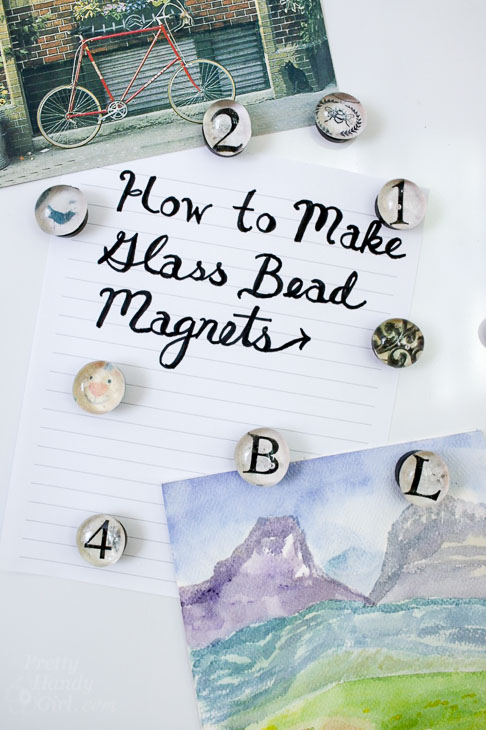
how to make glass bead magnets vertical photo

Metal Number Sign | Pretty Handy Girl

Metal Number Sign | Pretty Handy Girl

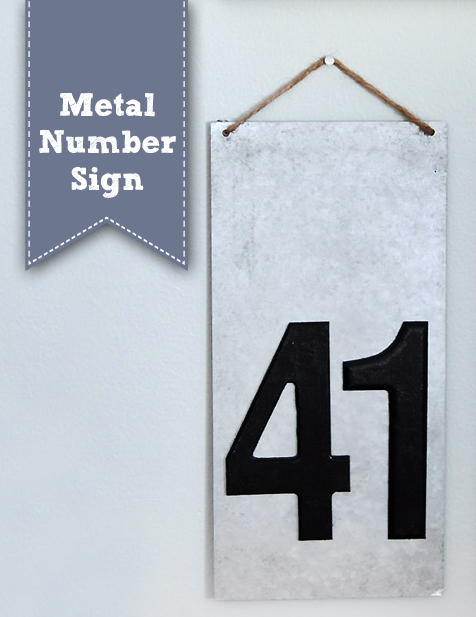
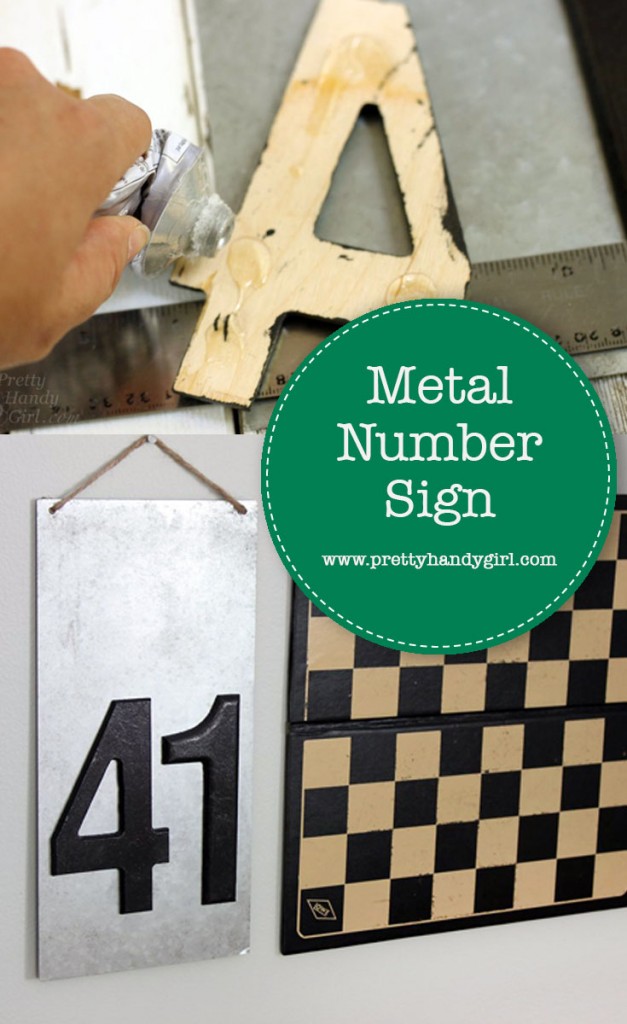
Want a quick and easy way to display a favorite number? Create a metal number art sign for your wall; for wedding tables; to commemorate your favorite athlete, etc.

Materials:

Metal Number Sign | Pretty Handy Girl

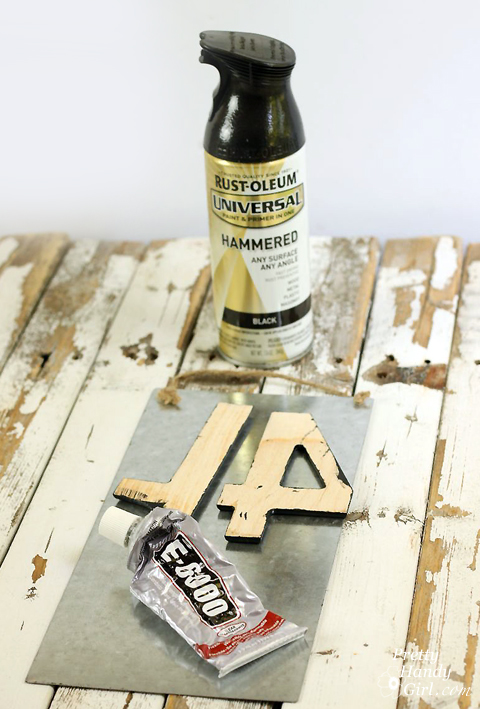
  • Metal sign (found at Michael’s)
  • Spray Paint
  • Numbers
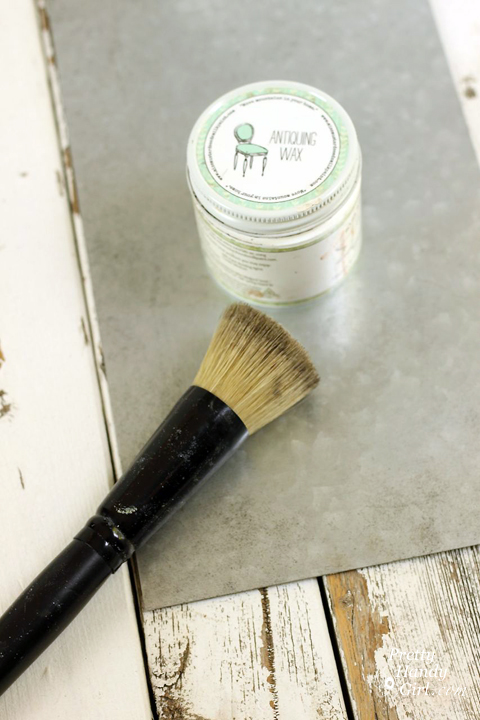
  • Antiquing Wax
  • Wax brush
  • E-6000 glue
  • Ruler

(Note: You can make your own metal sign by cutting sheet metal and drilling holes into the top. Add some rope to hang it from. I just took the quick route and bought mine.)

Instructions:

Spray paint your numbers any color you like. While the numbers are drying, add some age to the metal sign by pouncing some antiquing wax to the edges.

Metal Number Sign | Pretty Handy Girl

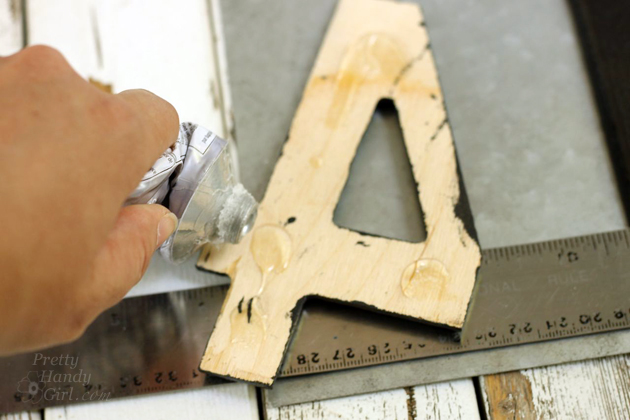
Add glue to the back of the numbers.

Metal Number Sign | Pretty Handy Girl

Center them and line them up using a ruler to help keep them even.

Metal Number Sign | Pretty Handy Girl

Allow the glue to harden and hang your metal number sign anywhere you please.

Metal Number Sign | Pretty Handy Girl

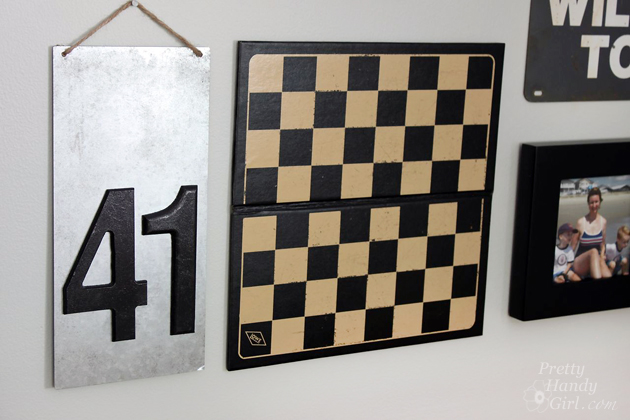
Can anyone guess the significance of #41 on our wall? I’ll save you some time, it’s not my age.

PHGFancySign


Pin for later!

DIY jewelry holder tutorial | Pretty Handy Girl

Today I have one fabulous thrifter and DIYer! She’s well know for her DIY projects as well as showing off yours! Please welcome Roeshel from DIY Show Off.

page_break_2
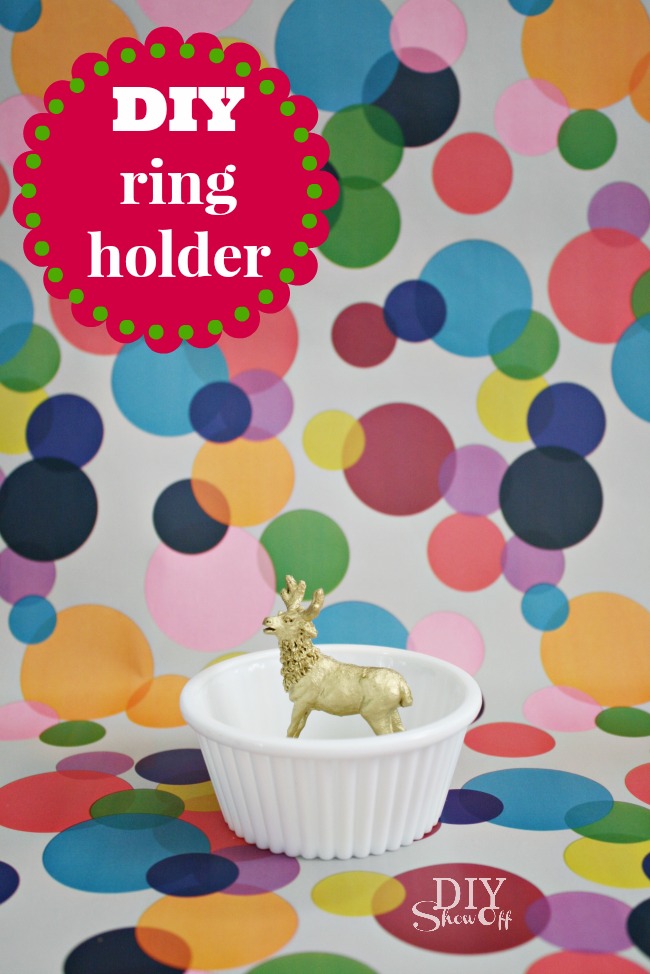
Hi, Pretty Handy Girl friends! I’m Roeshel from DIYShowOff and today I’m excited to be sharing a super easy DIY gift idea for the Très Frugal Gifts series. a DIY ring holder!

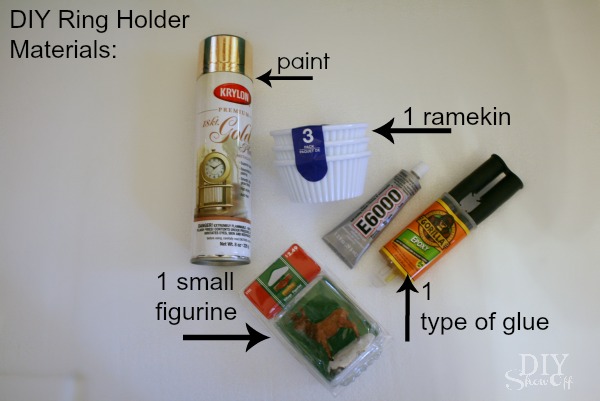
Materials: 

  • Ramekin (Dollar Tree 3 for a $1)
  • Deer Figurine ($2.50 at KMart in the holiday ornament section).
  • Gold spray paint
  • Industrial strength glue

DIY Ring Holder Tutorial Materials

Use what you have on hand to keep your costs down! You can use left over paint and glue. This ring holder can also work using things you may already have at home. Ornaments with a top that fits a ring, plastic toys like a giraffe with a long neck or an elephant with a trunk. I personally use is a cat and the rings slide onto the tail. A finial or dowel would be pretty too! Or how about that dried out highlighter/marker? Paint it! For the base, jar lids or small saucers/plates would work equally as well. Tight budget? Search the junk drawer!

Instructions:  Read more

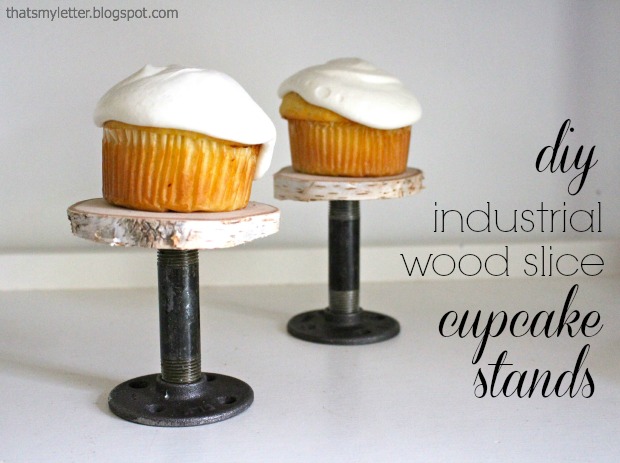
cupcake stand

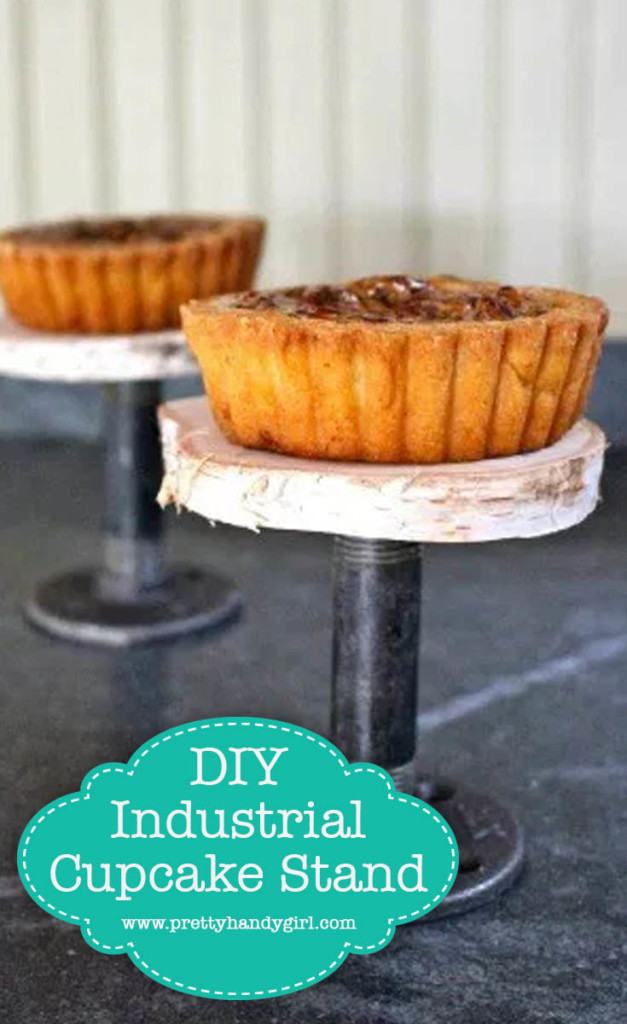
Make these DIY industrial cupcake stands now and you’ll be ready for all the upcoming holidays, Thanksgiving and Christmas are fast approaching!  The cool black steel plumbing parts base combined with the natural wood slice platform lends itself to an unexpected industrial feel.

Each cupcake stand costs $5.50 in parts (not including the birch log), very reasonable for a unique, DIY project that could easily lend itself to become a favor or small gift.

cupcake stand 3

Supplies required (for one DIY Industrial Cupcake Stands):

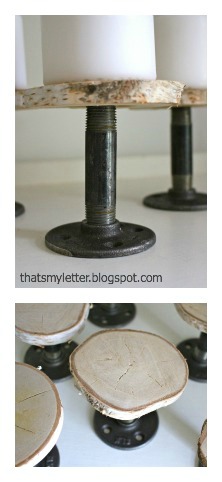
  • 1/2″ black steel floor flange
  • 1/2″ x 3 1/2″ black steel nipple
  • birch log (approx. 5″ in diameter)
  • hand saw or circular saw
  • palm sander or sandpaper
  • drill
  • 3/4″ circular drill bit
  • E-6000 glue

DIY Industrial Cupcake Stands Instructions:

cupcake stand 4

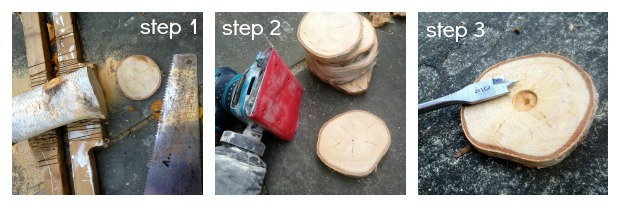
Step 1: Using a handsaw or circular saw slice off 3/4″ thick disc of wood from the birch log. (If you’re concerned about bugs, you can bake them as shown here.)

Step 2: Sand wood slices smooth.

Step 3: Using a drill with a 3/4″ circular bit drill out a small hole for the nipple piece, only about 1/4″ deep, be careful not to let the tip of the bit pierce through to the other side of the wood slice.

cupcake stands 5

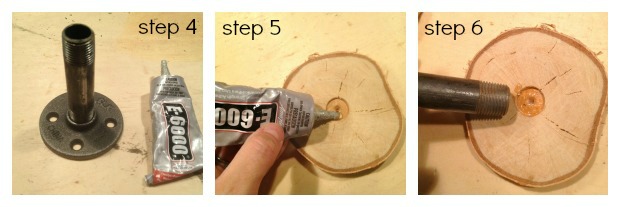
Step 4: Apply E-6000 glue to one end of nipple and screw it into flange.

Step 5: Apply E-6000 glue to circular hole in wood slice.

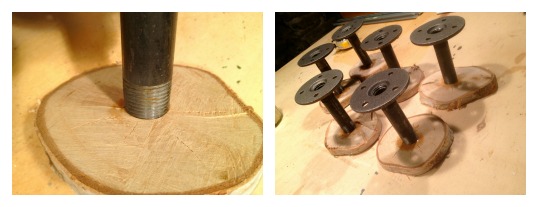
Step 6: Gently ‘screw’ other end of nipple into wood slice.

cupcake stand 6

Let the glue dry while the cupcake stands are upside down.

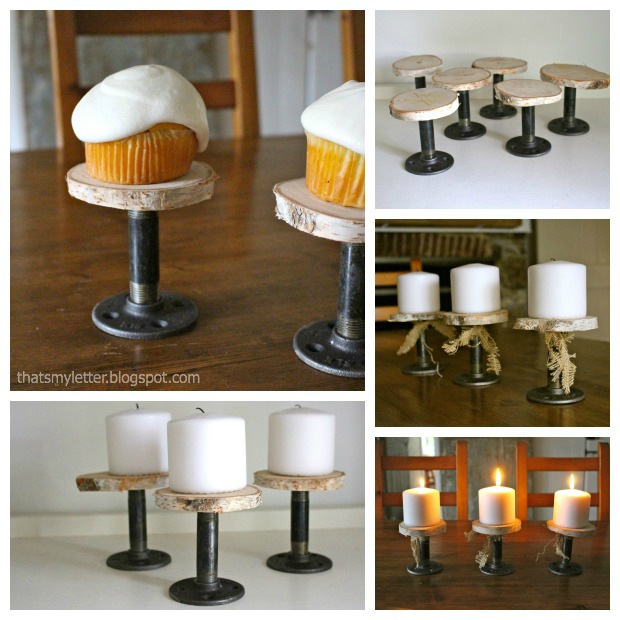
When dry, flip the stands over and load them up!  They are perfect not only for cupcakes but candles too:

cupcake stand 2

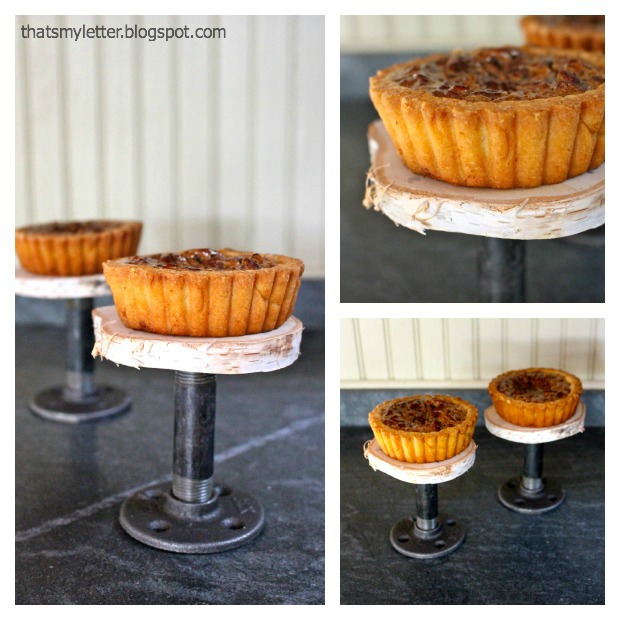
Cupcakes, candles and individual pies too!  Mini pumpkin and pecan pies are on definitely my Thanksgiving menu this year:

DIY Industrial Cupcake Stands

Jaime signature~ Learn more about Jaime ~


Pin for later!

DIY Industrial Cupcake Stands


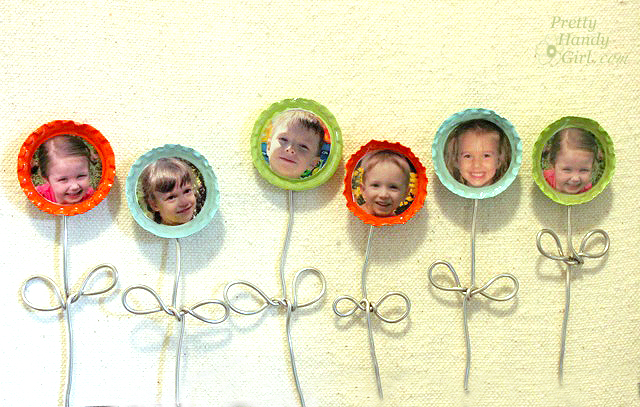
I hope you all enjoyed the 10 Days of 15 Minute Gift Ideas. I really wanted to include this gift idea because they are adorable and were well received last year, but they take more than 15 minutes. But, they cost next to nothing to make. So, if you find  yourself with a little extra time (LOL, who am I kidding.) I hope you enjoy making these bottle cap flower magnets, complete with smiling faces of the ones you love. Here’s the tutorial: Read more