Welcome back, I hope you are ready to paint with me today! If you are just stopping by and haven’t prepped your room for painting, you may want to take a moment to read Painting Like a Pro Step 1 and Step 2.

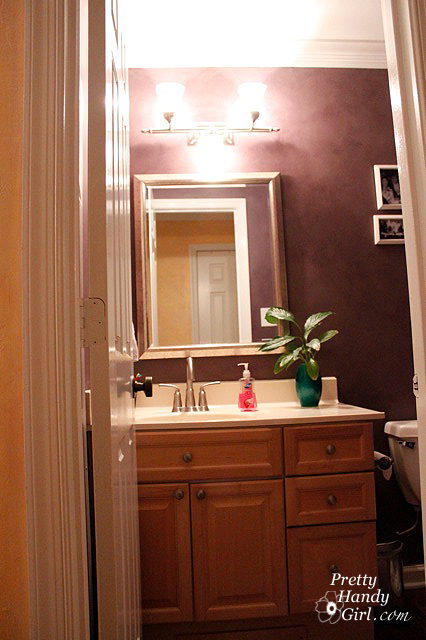
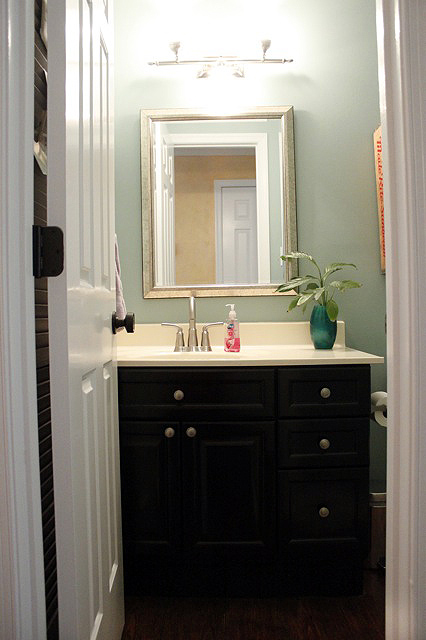
Okay, are you ready? I’m going to show you how I painted my downstairs half bathroom, the professional way!

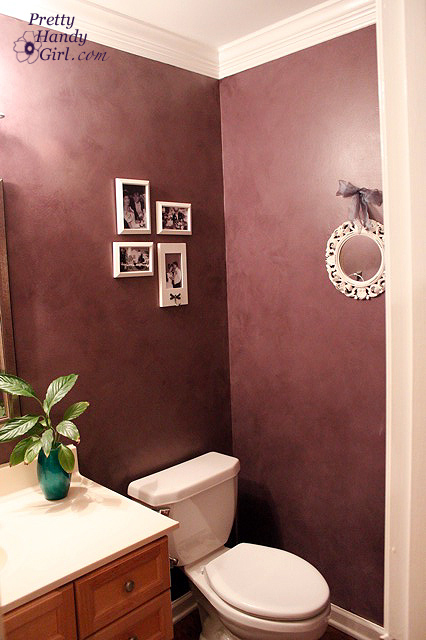
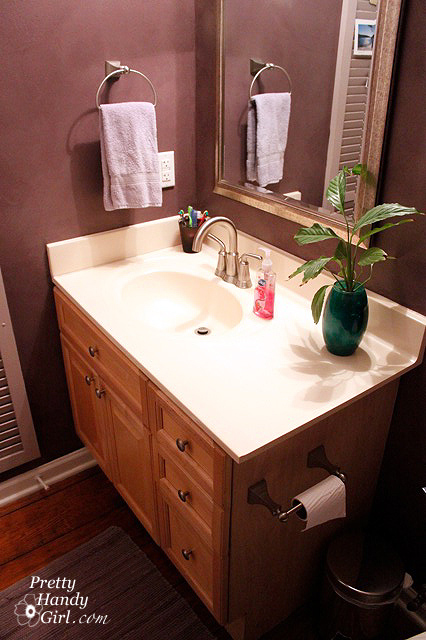
Before

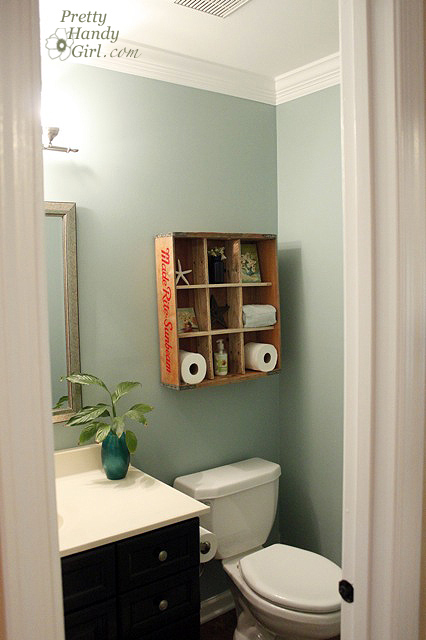
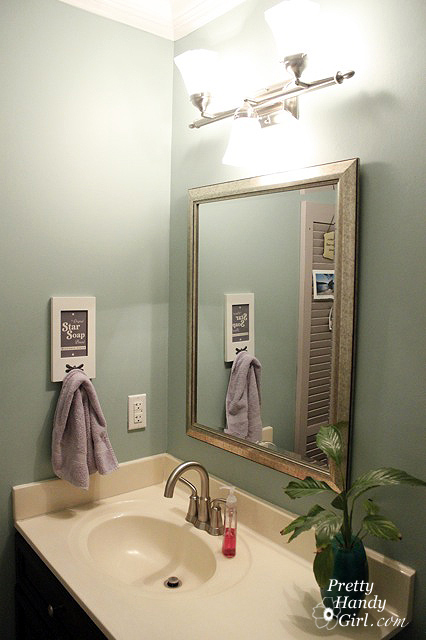
After

Materials:

  • paint tray
  • two plastic grocery bags (optional)
  • a paint roller with a regular nap for smooth walls. If you have a textured wall (orange peel, cottage cheese or as “My Boy’s Teacher” showed me: sand texture) you may need a thicker napped roller.
  • 2.5″ angled painter’s brush
  • edger (optional)
  • Painter’s tape (I prefer the Scotch Blue Delicate Surfaces tape)
  • a damp rag
  • sanding block with 200 grit or higher sand paper
  • damp sponge with a bucket of fresh water
  • x-acto blade (optional)
  • small flat artist’s brush

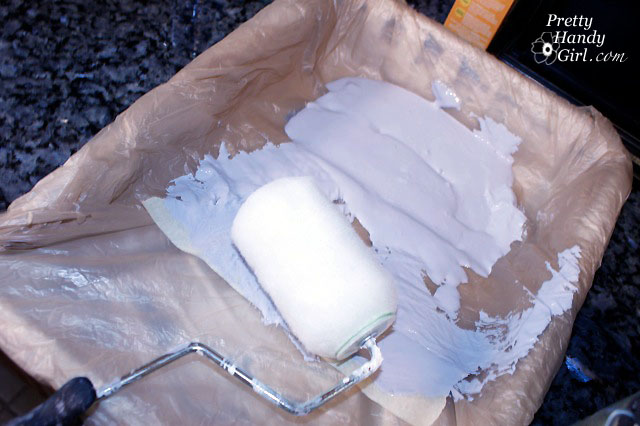
Go ahead and pour your paint into a paint tray (make a liner with grocery bags as I show HERE.)

Only fill the tray about half full (more than shown in the picture), you need some blank space at the top to squeeze the excess paint out of the roller by rolling it back and forth.
 

Painting Walls and Ceilings:

When I paint a room, I always paint the ceiling first, unless it REALLY doesn’t need painting. It is more efficient to paint the whole room while you have the tarps down and supplies out. Besides, you know you won’t go back and paint the ceiling another day. Am I right?!

You can paint the ceiling the same way I paint walls, just use an extension pole and a two-step ladder for painting the border. Don’t worry about taping off the walls or trim right now. I’ll tell you when to tape later. The only time I would use tape now, is if I need to mask off something like the vanity, a light fixture or a wall I’m not going to paint.

1. Begin by painting the border on your wall. Use either a paint brush or the edger. If you are using the Aura paint, let this border dry before you move onto the next step. If you are using another brand/type of paint, work quickly and move onto the next step.

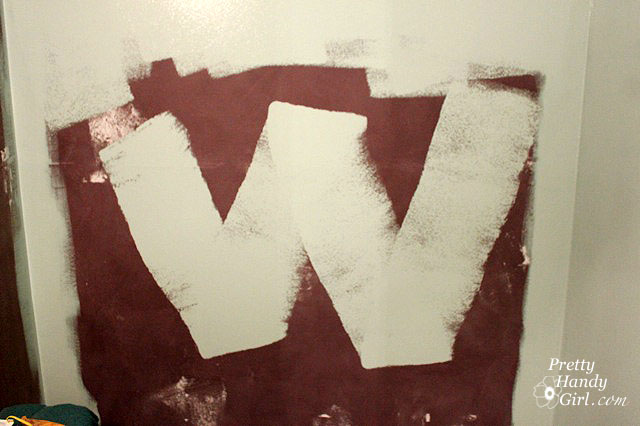
2. Use your roller to roll out a 3 – 4 foot “W” shape. Try to roll into the edge while it is still wet (unless you are using Benjamin Moore Aura paint.)

3. Roll the roller back and forth, up and down and in random directions until you have filled in a 4′ square section of wall.

4. Roll the roller very lightly over your square to make sure the coat of paint is even; feather the edges; and to rid the wall of any start and stop roller marks.

Start on the next section with another “W” shape and repeat steps 1-4 until you have covered your wall in paint. Then move on to the next wall. Keep in mind that you will need at least two coats of paint. You’ll get a more durable paint job, more even coverage, and it will look professional if you use two coats of paint. So, own up to the fact that you will need two coats!

A few words of caution while painting:

  • If your paint has started to dry and {{gasp}} you see a spot you missed or a bug in your paint, resist the urge to roll over it. Wait until it dries, then sand or paint the messed up area.
  • It is best not to overload your roller with paint. Too much paint can drip and run. If that happens, use your damp rag to wipe it up immediately. And remember, you are going to use two coats, right?!

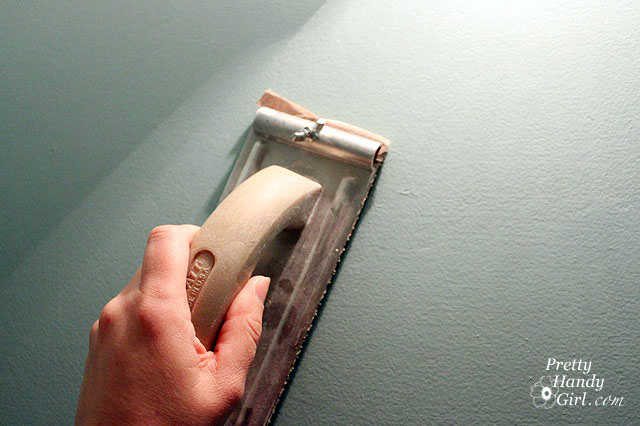
Now that you have completed the first coat (and it is dry to the touch), pull out the sanding block. Lightly sand all the walls. You are just knocking down any bumps (or bugs) and giving your paint layer a little “tooth” for the next coat to adhere to.

Then wipe down your walls with a damp sponge to remove all the sanding dust.

The sanding between coats may seem like overkill to you, but trust me, the sanding step makes a difference! And you wanted to know how to paint like a professional, didn’t you?!

Now, go ahead and paint your second coat of the wall color repeating Steps 1-4 above, for  painting a border and rolling the paint inside.

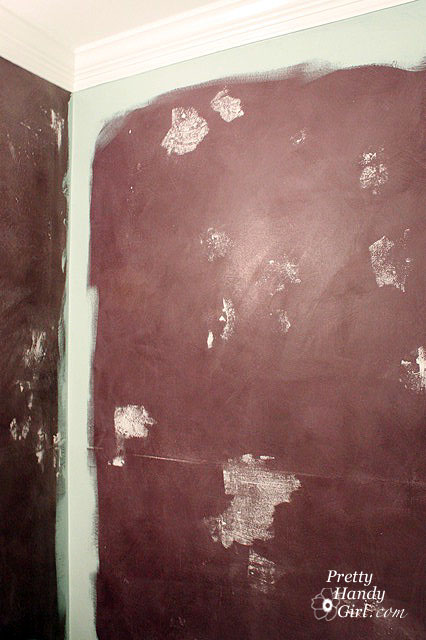
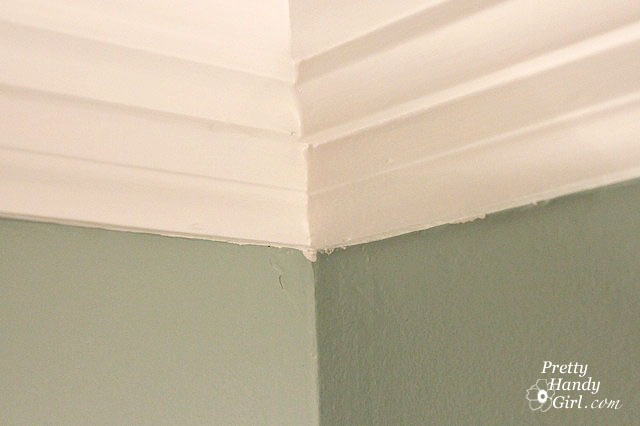
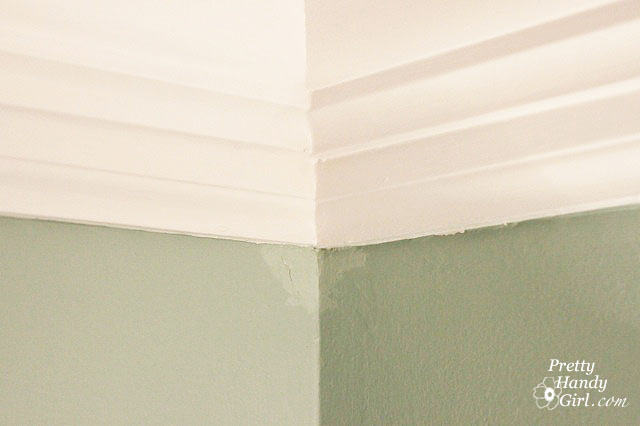
Done? Well, not quite. Remember when I showed you this the other day?

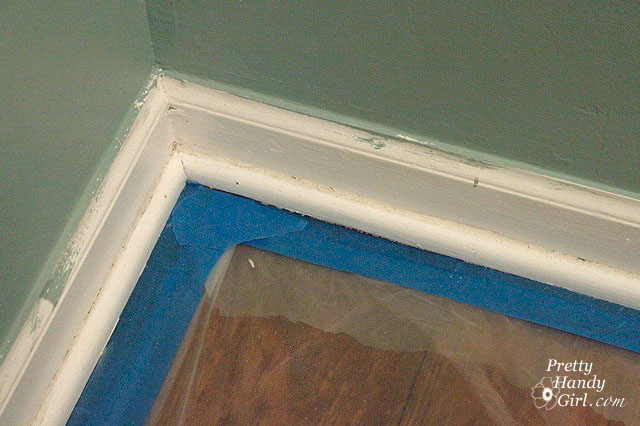
Yes, the wall paint is on the trim. That is okay, I want it like that. I knew I was going to paint the trim and wanted to make sure that the wall color went right up to my trim, it’s all by design baby, trust me.

At this point you have painted the ceiling and all of the walls in your room. If you are sure your walls are dry (at least 1 hour or more), then you can move on to the trim.


Painting the Trim:

Now you can go ahead and tape off the edge of your walls where they meet the moulding. Then use the matte medium  trick I showed you HERE (or you can use a small amount of wall color if you like) to seal the edge of the tape on the wall side.

Go ahead and paint all your trim with a 2 1/2″ paint brush dipped in a small bucket of trim paint. I prefer Purdy brushes because they last for years! See my post on cleaning brushes HERE to see how I protect them from wearing out.

Be sure to put two coats of paint on the trim, this will help to keep it looking new and stand up to the “Matchbox Demolition Derby” games that ensue in your home. (What? You don’t have those games in your house? Lucky for your home.)

When the paint has dried partially (don’t wait too long), go ahead and remove all the tape.

If you don’t have any imperfections, you better go play the lottery right now! If you are human and normal you will have a few. No big deal. You can use one of two techniques (I use both).

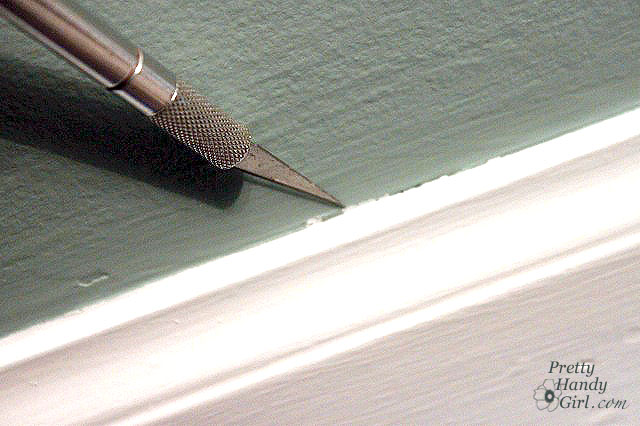
1.Gently scrape any excess paint off with an x-acto blade.

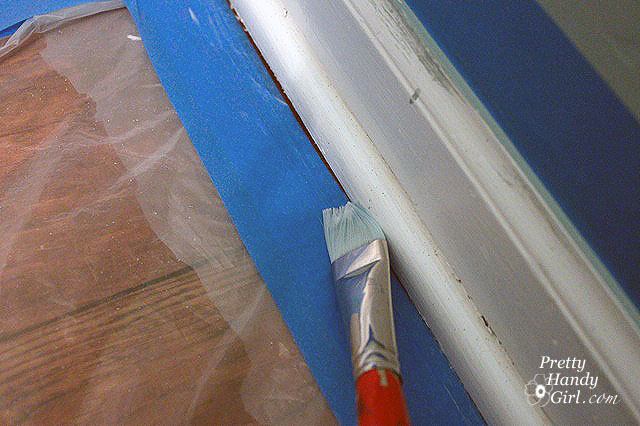
2. Use a small square artist’s brush and paint over any seepage. I like to shake my can of paint and remove the lid to expose just enough paint on the lid for touch ups.

Horray, you are done! Now you can tell your friends, “I’m sorry I can’t give you the name of my painter, because I painted the room myself!”

Here are the before and after pictures of our half bathroom. I am LOVING the results. I have a few more tutorials for you from this project. I promise, they will come in due time.

Before – Beech Wood Vanity

After- Painted Vanity Black

Before – Towel Ring on Wall

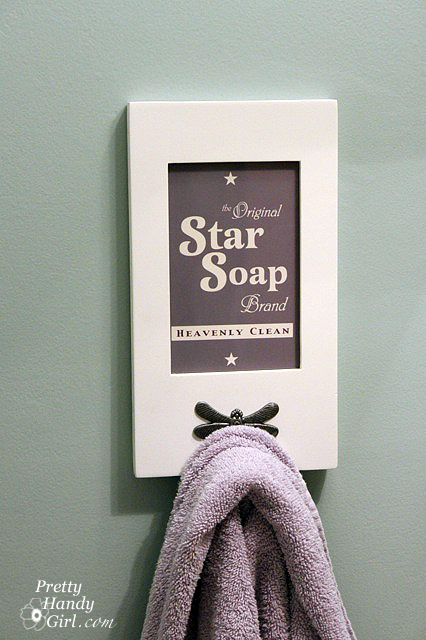
After – New Towel Hook on Wall

DIY – Vintage Soap Sign

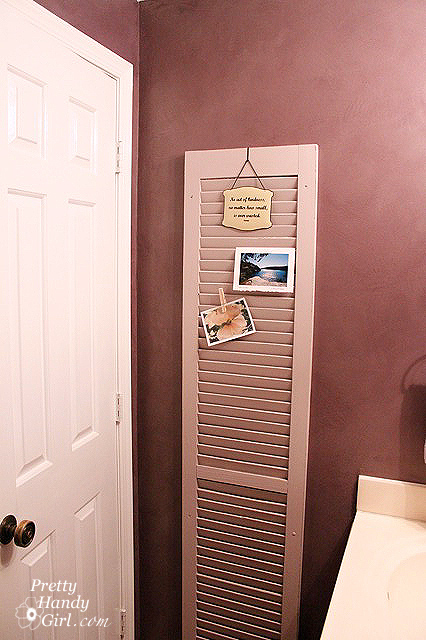
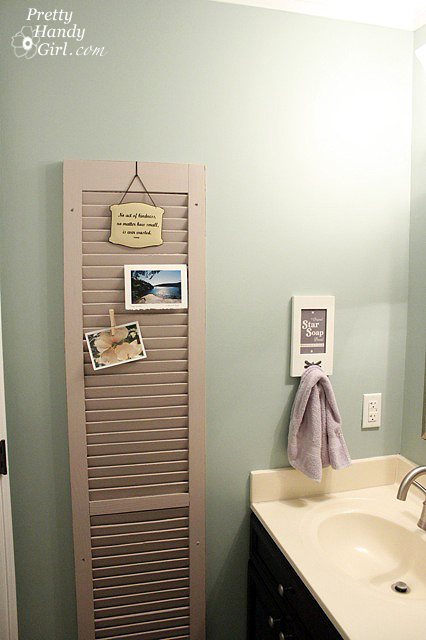
Before – Shutter on Wall behind Door

I would love to know if you paint a room using my Painting Like a Pro tutorial. And how it worked for you!

Other Steps in this Series:

Step 1. Prep work

Step 2. paint and sheen


No Solicitors Sign

We live on a quiet street in a peaceful neighborhood in Raleigh. Unfortunately, every so often, my son’s peaceful naps were interrupted by: DING DONG! And when I answered the door, this is who greeted me.

ARRGGGHHH!

I finally decided to halt the door-to-door salespeople in their tracks. Especially after a neighbor informed me that sometimes these so-called salespeople aren’t actually selling anything. There have been a few incidents of burglary in our neighborhood, and one of the burglars had actually knocked on doors the day before. Apparently he was casing the home to see what homes were empty at what times. Plus, it offered them an opportunity  to peek inside and see if there were any valuable items inside. Scary! Especially when I’m home alone with the little ones.

I decided to take matters into my own hands and create a No Solicitor Sign.

While at Goodwill, I searched for two small picture frames.  The frames I bought were in good shape, but I added some new paint and glaze to give them a fresh look.

I printed out a simple message on decorative paper and inserted it into the frames.

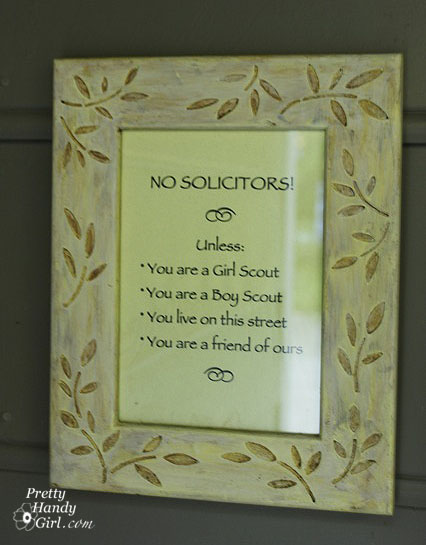
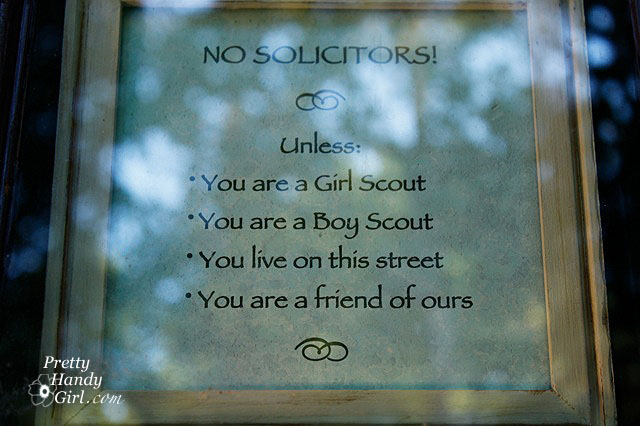
No Solicitors! Unless:

  • You are a Girl Scout.
  • You are a Boy Scout.
  • You live on this street
  • You are a friend of ours

This message seemed to cover all the bases and still allow for the kids selling muchies!

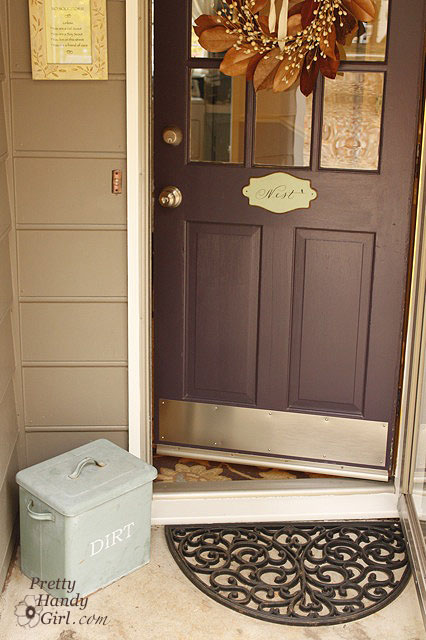
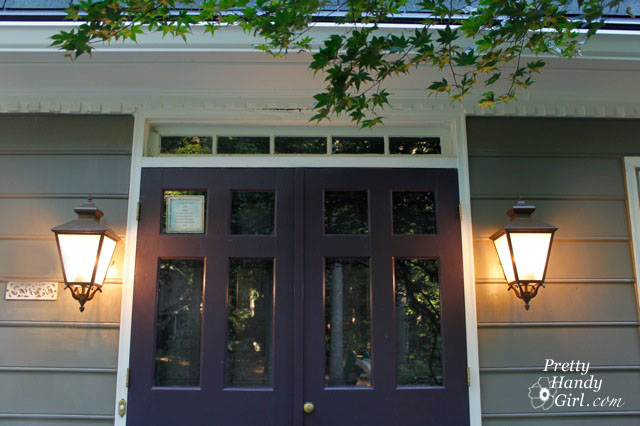
I hung one sign by our side door.

And put a second one inside the storm door of our front door.

I can honestly say that we have not had a single unwanted salesperson knock or ring our doorbell since I hung the signs.

I’m not the only one who can’t stand solicitors, Becca from Blue Cricket Design cut some vinyl for her side light by her front door. I can’t help but smile every time I see it. 😉

Blue Cricket Design’s Sign

Want your own No Solicitor Sign? Download it HERE!

I hope you’ve enjoyed the posts on “Falling in Love with Your Home” in February. We’re in the home stretch (yes, pun intended) now. Today I have my roomie from Blissdom, Sandra from Sawdust and Paper Scraps. She and I love our power tools, and LOVE to build things. I think it would be a blast to work on a collaborative project one day. She’s definitely my soul sister.

Please welcome the lovely Sandra from Sawdust and Paper Scraps who is going to show you how to disguise an ugly view!

Good morning Pretty Handy Girl fans! I’m Sandra from Sawdust and Paper Scraps, here to share an easy and inexpensive project to transform and beautify a window with a less-than-stellar-view!

(Or a window where you want privacy without blinds or drapes like a bathroom or shower.)

We have a basement and even after I added casing, trim and paint to the inside of my window… it was still really unattractive- outside!

So I went to Lowe’s and bought a $14 roll of frosted glass vinyl window cling!
Before installing, I made sure my window was as clean as possible.  I had to clean AND scrape off some paint because SOMEONE was a little sloppy!  (uhem-me)

I installed it on one window by myself and it was something like a scene from an I Love Lucy rerun.  Vinyl flopping down over my head, sliding off one side while I was trying to smooth out the other…
Definitely easier to install with 2 people. But do-able with only one!

The instructions for the stuff I bought said to spray the window and the sticky side of the vinyl (with a liquid that you can purchase separately. But, you can also use a soapy water mixture in a spray bottle).  You have to peel off the backing which I did just a little at a time while person 2 sprayed and then stick it to the window.

After you put the vinyl on the window, use a utility knife to trim off the excess and a credit card or little squeegie to smooth out the wrinkles and push the extra liquid out from under the vinyl.  While it’s wet, you can pull it off and reposition it- so keep it all wet until you have it placed just right.  Then let it dry.  That’s it!

Easy.

I think it’s a big improvement for relatively little cost or effort.

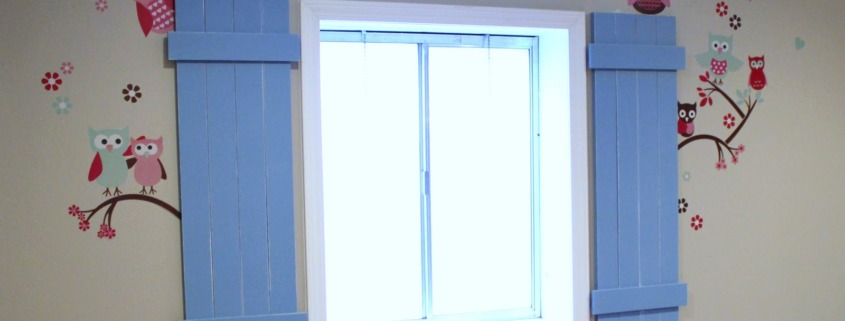
This particular room is my daughter’s playroom so I also built some shutters,


a wall of storage,

and a playhouse. If you’re looking for another project to whip up!

But it all started with the window-well.

And a little vinyl cling!

Thanks for having me Brittany!  And thanks for letting me share with you all one thing I did to help me “Fall in Love with My HOME!”

Thank you Sandra! Great tutorial. I love how easy and quick that solution was. If you haven’t been to Sandra’s blog, you need to zoom over there now. She is the Queen of built-ins and decorative mouldings. Plus, she has just enough crafts to keep you creative!

Mousetrap-MemoTrapFinal

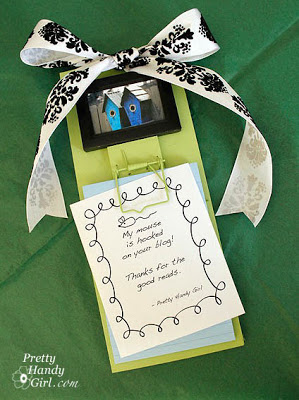
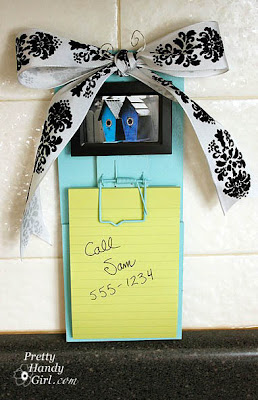
I’ve been dying to show you this project, but didn’t want to give away any secrets. You see, I made them for a few bloggers out there in the home décor blogland. And as luck would have it, most of these special women are here at Blissdom! As a tiny token of my appreciation for their inspirational blogs, I put together a little gift bag. Inside (among other things) was this one-of-a-kind memo pad.

With a note attached.
“My mouse is hooked on your blog!”
Get it? The notepad holder is a mousetrap and I was playing on the word, mouse (the one for your computer). Corny, I know.
So, you want one for yourself? I’m happy to share with you the tutorial.
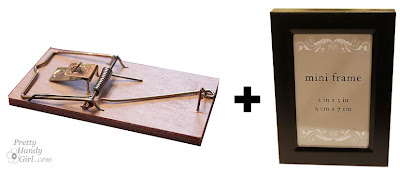
The memo pad started life as a mousetrap (4 for $1) and a mini picture frame also $1 at the Dollar Store!

Materials:

Wooden mousetrap
Small picture frame
Cabinet Toe kick boards or other thin scrap wood (1 – 4.5″ x 4.5″, 1 – 4.5″ x 10″)
Wire
Ribbon
Notepad
Corrugated cardboard
Small 2″ x 3″ picture
E-6000 glue (optional)
Gorilla glue
Primer
Paint
Sandpaper
Needle-nosed pliers
Saw (hand saw is fine)
Drill and bit (for hole)

Start by removing the hook and trap hold parts with pliers. Then remove the bait hook.
All that will remain is the spring and snapping bar.
Cut the excess wood from your mousetrap with a handsaw.
(I used mine in a miter box for a straight cut.)
Sand down the rough edges.
You will need to cut down your scrap wood to the dimensions below.
The 4.5″ square piece is the same thickness as the mousetrap.
This insures an even surface for the memo pad to rest on.
Following the directions for the Gorilla Glue,
I wet each piece of wood and then added the glue.
Glue the 4.5″ square piece to the bottom of the larger piece of wood. Then glue the mouse trap right above the square piece. Make sure your snapping bar is facing down, as shown below.
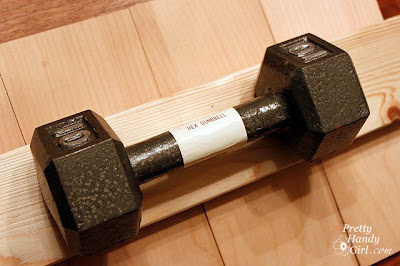
Set a weight on top of the wood to “clamp” it while the glue dries. (About an hour or so.)
Anyone know what these hand weights are good for?
Beats me, I only use them to weigh down projects.
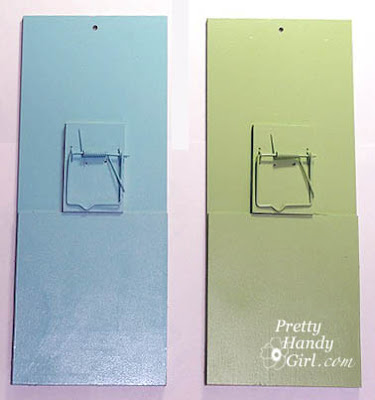
After the trap is dry, spray your boards with 1 or 2 coats of primer.
Then follow up with your favorite color paint.
At this point, you will want to drill a hole through the top of your board.
Take apart your picture frame and discard the backing.
Replace it with a piece of corrugated cardboard cut to size. Slide in your picture.
Carefully add a small line of E-6000 glue* to the back of the frame and glue it just above the mouse trap. If you use too much glue, it will glue the cardboard to the frame and you won’t be able to switch out your picture from time to time.
*You could use Gorilla glue for this step, but the glue expands and might glue your frame shut so you can’t change the pictures.
Create a bow with the ribbon and slide a piece of wire through the bow knot.
Secure the bow by threading both ends of the wire through the hole at the top of your mouse trap memo holder. Twist the wires together to make a loop for hanging.
Add your memo pad and you have a unique little note center.
So do you think those wonderful bloggy ladies will like it?
It isn’t too cheesy is it? (Pun definitely intended!)
Hey all, I’m safely at Blissdom now and meeting many other inspiring bloggers. Unfortunately, there is one blogger who, sadly, I won’t be meeting. Jessica from Decor Adventures. She is as sweet as can be and a real kindred spirit when it comes to DIY projects. Instead she’s staying home to kick DIY butt in her basement, but agreed to take some time to meet you all in my absence. Take it away Jessica!
Jessica

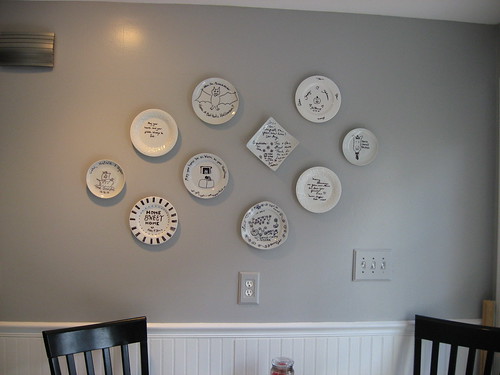
Hello Pretty Handy readers! I’m Jessica from Decor Adventures, a professional by day and project addict by night, decorating my new 111 year old house. Today I want to share with you how to hang plates on a wall.  It’s so simple, with no visible hardware, you’ll be hanging them up in no time.

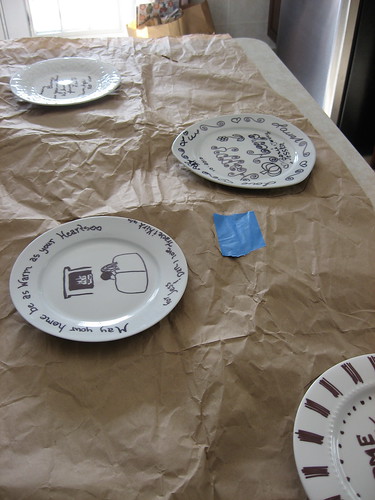
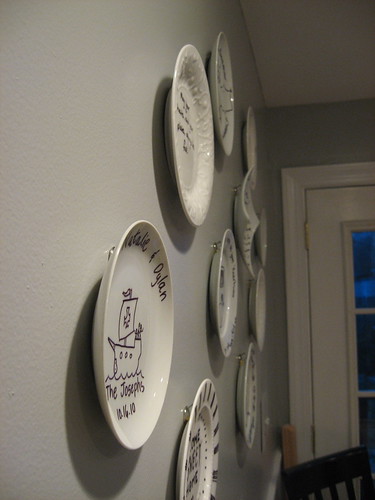
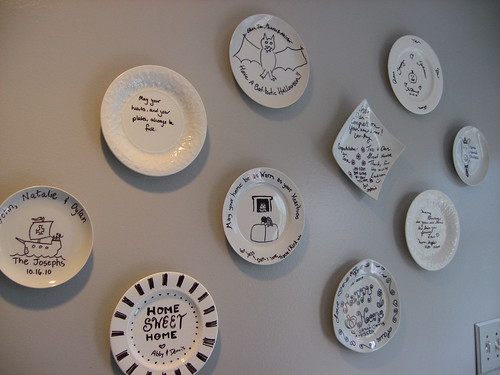
When we had a housewarming party last fall, we made our guests participate in a fun little activity while helping to decorate all at the same time. I got some inexpensive plates at the thrift stores and asked our guests to freestyle it!  We had them decorate plates to hang in our house with their well wishes for our first place.

Kitchen

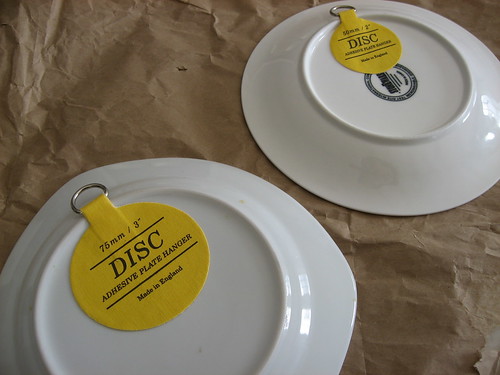
First the secret is Dischangers. They are easy to order online, ship super quick and come in different sizes to hold various weight.

To use them, moisten the disc and secure it to the back of your plate then let it dry overnight. Make sure you wait, even if you want them up right away. You don’t want any plates crashing to the ground because the glue is wet!

Plates

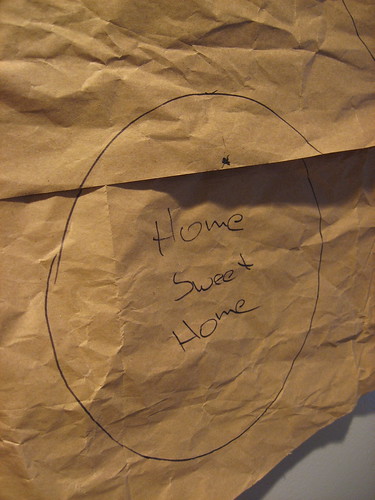
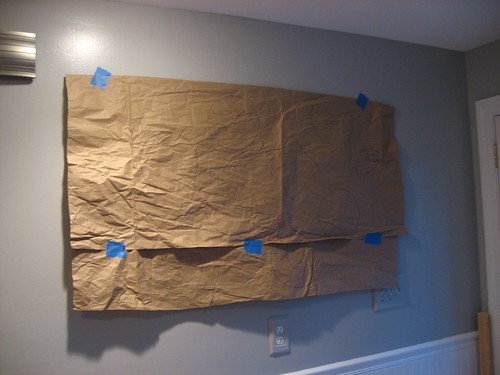
To make my arrangement I used a technique I saw online where you make a grid of your art on a piece of paper, hang it on the wall, nail in the holes, hang up your art, pull the paper away and presto! Art on the wall. This actually can be done with different wall arrangements, plates, art or photos, etc.

To get started I pulled out a piece of packing paper that came in box from an item I ordered. I was that thick butcher paper. I laid it out on the counter space which was just about as big as my wall area.

Then I arranged the plates on the paper how I wanted them to look on the wall. This way I could move them around without having to hammer a new hole in the wall.

Plates

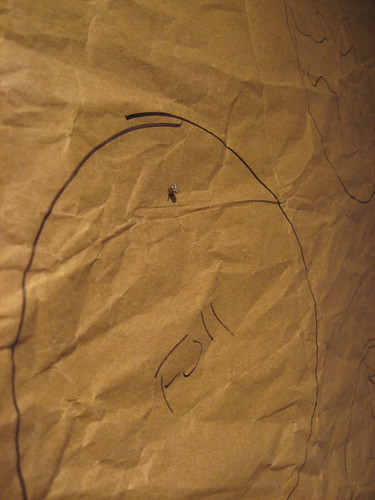
Then I traced each plate onto the paper with a sharpie, making sure it didn’t bleed onto the counter underneath. You can write on the plates or art which piece it is. This will help to see what you’ve got going where.

IMG_8563

Then I removed the paper from under the plates and hung it up on the wall with painter’s tape. Now you’ll see the placement of your art/plates.

IMG_8561

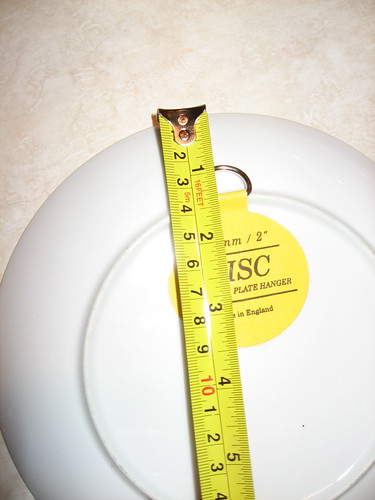
After that, measure where each nail hole goes,

IMG_8562

mark that spot on your “plate” on the wall,

IMG_8563

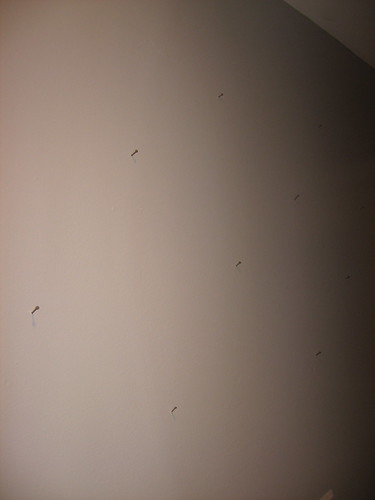
and hammer one in!

IMG_8565

Once you carefully remove the paper, you’ll have your nails all ready to go.

IMG_8566

Lastly, simply hang up your art and you’re done.

IMG_8570

Plates

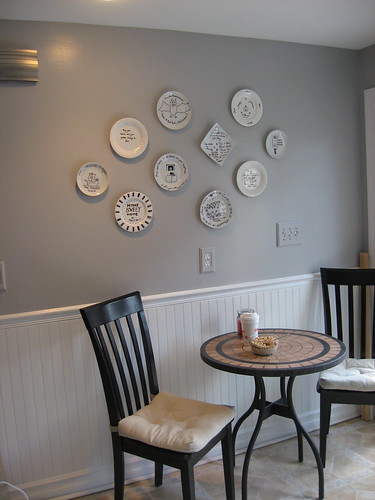
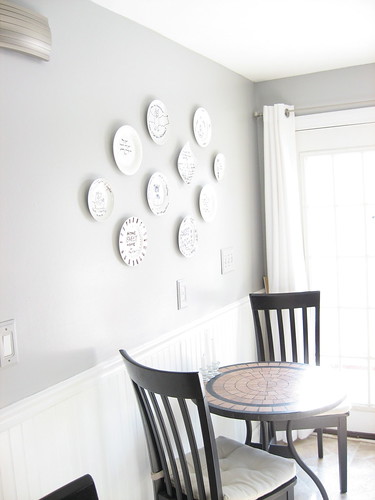
This is the little bistro corner in our kitchen. So when our friends come over they get to see their handiwork.


Kitchen

IMG_8812

Hoped you learned something today with my plate art. Do you have a technique for hanging things up on the wall? Any tips you want to share?

Thanks again to Pretty Handy Girl for letting me visit!

Please give Jessica a round of applause. Wasn’t that a great tip for hanging plates? I think I’ll be using this technique to hang our family photo wall soon!

You should hop over to her blog where she and her husband are doing some crazy renovations to their home.