Do you have an ugly builder’s mirror? I’m betting about 85% of you do. The other 10% were lucky to buy a home that has a beautifully framed mirror. And the remaining 5% either made or bought a new mirror with a frame! When I was first introduced to MirrorMate on Kate’s blog, I could barely contain my excitement. There was finally a fix for the ugly builder’s mirror in my kids’ bathroom {happy dancing}! I could finally say adieu to the stained, rusted and chipped behemoth in the bath and yet I wasn’t adding anything to the landfill in the process!

Bethany, who works for MirrorMate, helped me pick out the perfect frame for our bathroom. And shipped it as soon as the frame was available. Unfortunately, the frame arrived right before I left to surprise my sister in Ca. Then I came home and got deathly ill. So, the poor frame sat in our garage for a month. As soon as I started feeling better I jumped right into the bathroom makeover project. I have to tell you, the makeover was inspired by the beautiful MirrorMate frame. I just couldn’t put that beautiful frame into the fishy bathroom. It just would look like the grown up in a child’s playground.

Putting the frame together and framing the mirror was a piece of cake. Here is how we did it:

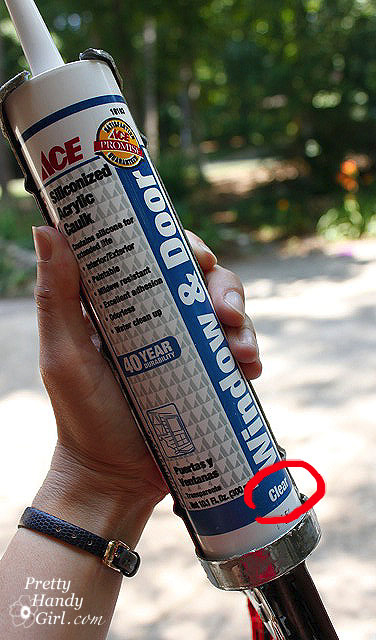
1. Unpack the MirrorMate and accompanying supplies.

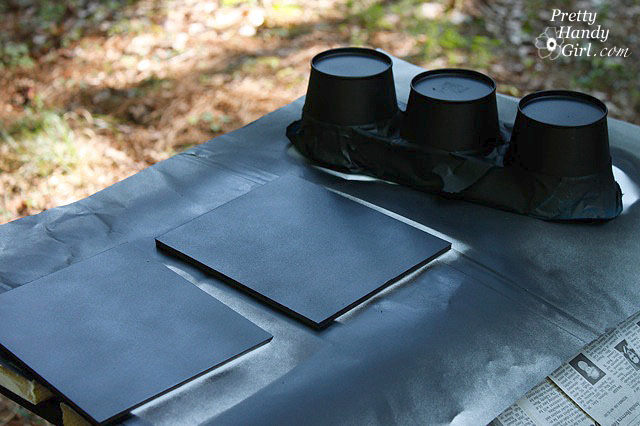
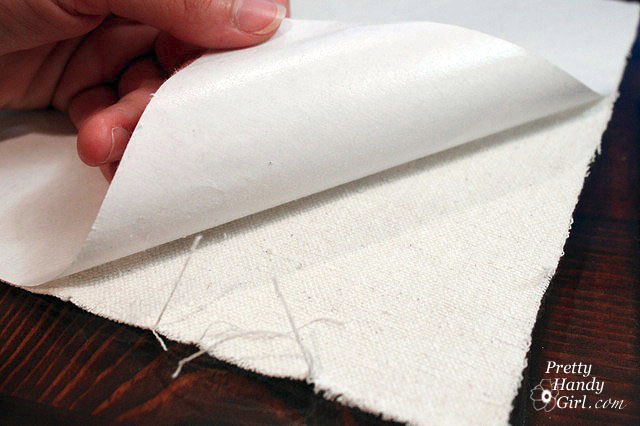
2. Spread the frame and pieces out. Use wax paper (or old cereal bags) under the corners to protect your work surface from the glue.

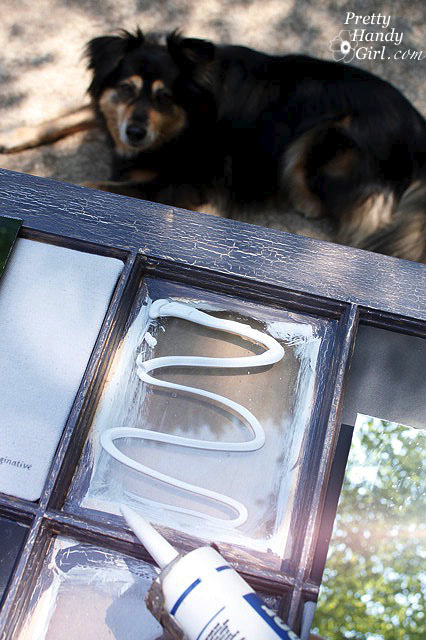
3. Glue each corner.

4. Insert the small connector pegs into the slots at the corners. You might need a hammer to lightly tap them in.

5. Wipe off any excess glue with a damp rag (or baby wipe).

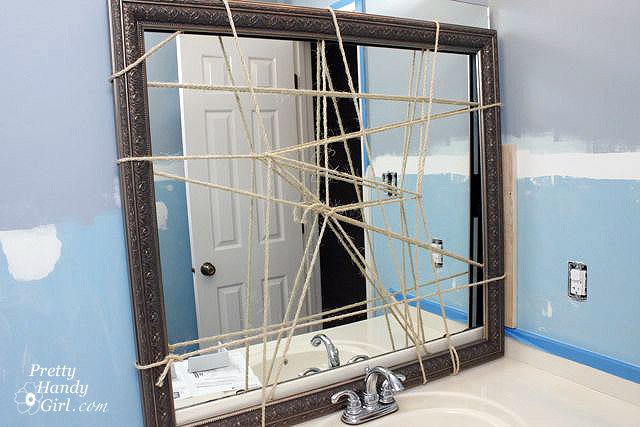
6. For added strength and to hold the frame while it dried, I chose to “clamp” my frame by typing rope around it. This was not a necessary step, but I think it helps insure a tight joint, so I did it.

Please tell me that I’m not the only one who started singing. “Spiderman, spiderman, does whatever a spider can, spins a web…”


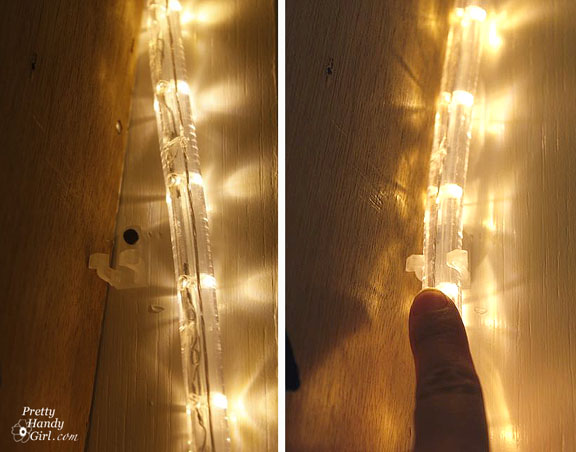
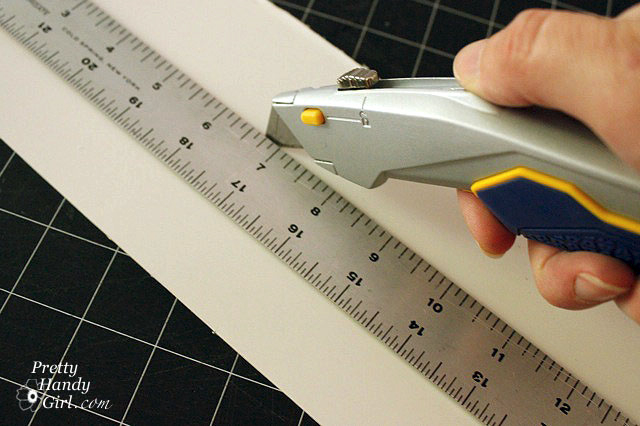
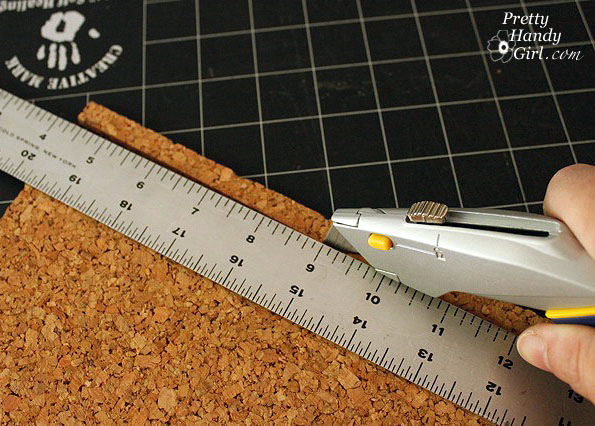
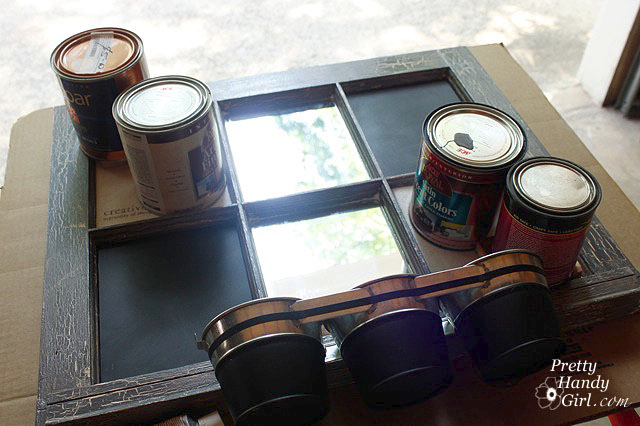
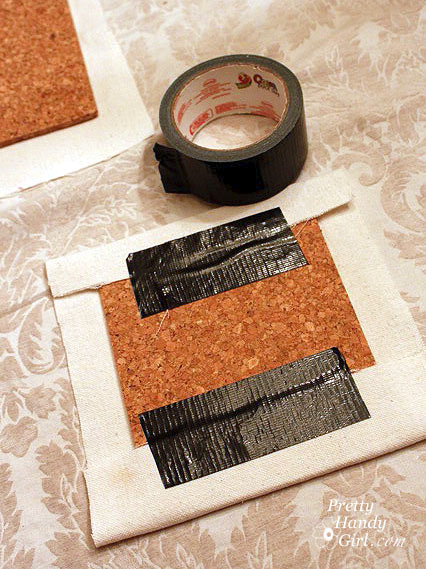
While the frame is drying, assemble the cardboard guides for the MirrorMate installation.

Add the double stick tape to the back as shown in the directions:

After allowing the frame to dry for an hour, get your DIY partner to help you move the frame. You must be careful not to lift or carry the frame by the corners or it could come apart. I left the rope on it until we moved it into the bathroom (just to be safe.)

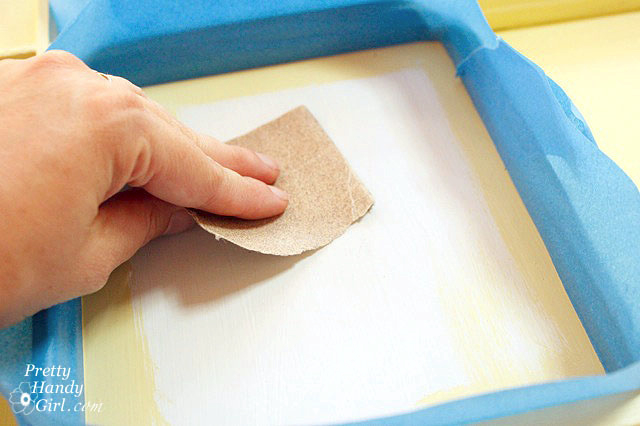
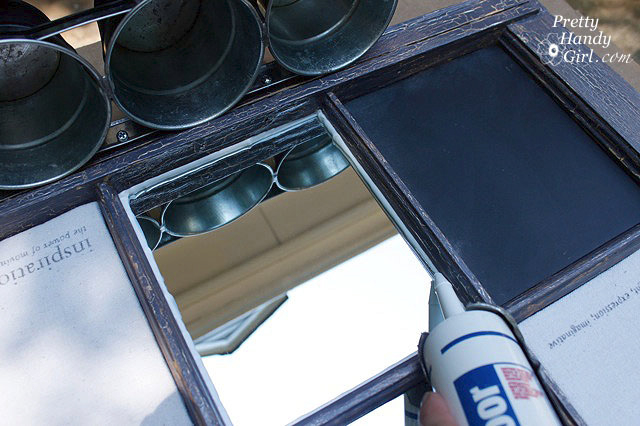
Clean your glass with rubbing alcohol (especially where the frame will adhere to the mirror.)

Put up with your handsome assistant insisting on reading the directions (even though you already did and are anxious to move along.)

Have your assistant hold up the frame and then have fun telling him to move it to the left. No, wait a little to the right. Well, maybe back to the left. {Hee, hee.}

Level the frame.

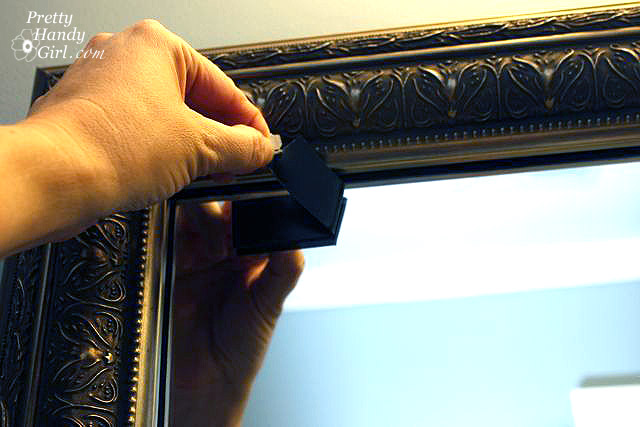
Insert the corner guides directly into the top two corners. Be sure the guide is touching the frame’s inner edges.

Remove the frame and then peel off the tape backing.

Then lift the frame back up with the help of your assistant. Align the frame onto the corner guides and press firmly onto the glass. You only have one shot at this, so go slow.

Remove the corner guides and the glue strips from the mirror.

Now stand back and admire your newly framed mirror! GORGEOUS, don’t you think? And the installation was a snap (or should I say a stick. LOL!)

No one will ever know that you are hiding a dirty stained, chipped and rusty secret underneath!


One final look at the finished product and a sneak peek at the finished bathroom. I’ll be sharing with you the board and batten tutorial soon.


One final note: I have to warn you, DO NOT put painters tape on your mirror or you will be crying the blues like I was.

I immediately contacted Bethany to see if she could send me some touch up paint. I can’t even tell you how helpful she was and when she reported that it was actually hot press leaf on the frame and not paint, I figured I’d be doing some creative treatment on the side. But, instead, she insisted on sending a new frame immediately (which arrived 2 days later!) MirrorMate has the best customer service and she told me “We want our customers to be happy with their purchase, even if that means sending a new frame.” Wow, now that is a company I want to do business with!


Disclaimer:

I was sent a complimentary MirrorMate frame for a product review. I can honestly say that this post reflects my opinions and I was not swayed to write a positive post. Nor was I paid to write this post. For more information you can read my disclosure statement.

I promised to show you how I lit my son’s bookcase. It really isn’t anything fancy.

But, a promise is a promise. Here is the view of the back of the bookcase:

I purchased the LED rope lights at Home Depot. They came with little snap in holders. You simply drive a screw into the mounting hole. Then snap the rope light into the holder.

On the top edge, I used a long channel strip (sold separately near the rope lights. It has a self adhesive backing. Then you firmly press the rope light into the channel. This took some serious strength, but I finally got the length of the rope light inside the channel.

Finally, I plugged the light into a timer.

The lights are set to come on at bedtime and turn off shortly before sunrise.

That’s it! And this is probably the shortest tutorial I ever wrote.

So, I’ll share a few pictures from my sister’s flower garden in California. Check out all the pollen on the back legs of this bee! They are the orange masses hanging from his legs.

The bees were loving the agapanthus as well.

The pink blossoms are from a lemon tree that grows in their back courtyard. Sadly none of them were ripe while I was there. I can only imagine how fresh and sweet lemonade from those fresh picked lemons would taste. Mmmmm!

Be back later this week with more DIY tutorials!

Artist Inspiration Board

Hey guys, today I’m dishing up a triple dose of posts for you. I’ve been busy, really busy, super busy! And you don’t know the half of it. As you are reading this, I’m on my way home from California. I flew out to surprise my little sister for her birthday. She and her husband are expecting their second child and I wanted to go all “Pretty Handy Girl” on their home ;-D.

First, you can read my tutorial for making this whimsical message center, from a curbside window, over at my friend Sandra’s blog,

Then you can come back here and read about this Artist’s Inspiration board also made from an old window.

Finally, if you like what you see you can head over to Parentables to see an entire post on curbside transformations! You won’t believe some of the before and afters!

Okay, ready? Well, let’s get this show on the road.

Materials:

  • Old divided light windows
  • Foam core
  • Tin snips
  • 3M duct tape
  • Scissors
  • Primer
  • Chalkboard paint
  • Irwin mat knife (or x-acto knife)
  • Clear Caulk (window and door sealant)
  • primer
  • fine grit sand paper
  • Two colors of paint (gold and medium gray)
  • Crackle medium
  • Polyurethane
  • Foam double stick tape
  • mirror
  • ruler
  • mirrored glass
  • tin pots, buckets or recycled cans
  • drop cloth bulletin boards from THIS post

Prepping your window:

You will need to clean, prime and paint your window before beginning this tutorial.

Here is what I did during the prep phase: Cleaned the windows (I used a bleach solution because there was mold and mildew present.) I repaired the glazing that was cracked and missing. I used paintable caulk. No need to buy glazing.

Prime the entire window, glass and all! Once the primer has dried, use the sandpaper to gently rough up the primer (especially on the glass. But, be careful not to scratch through to the glass.)

For the beautiful crackle finish on my window, I started by painting the window a metallic gold color.

When the gold had thoroughly dried, I coated the entire window with the crackle medium. Once that had dried, I painted a medium gray on top. That’s when the magic happens. The paint separates and reveals a hint of gold. It is important not to go back over the gray paint after you paint it on or you will get a gloopy mess!

I finished off the painting prep steps by applying two coats of water-based polyurethane.

Tutorial:

Measure all the individual window panes. Be sure to measure only the exposed glass.

Transfer your measurements to cut 2 squares of foam core. Make sure your blade is sharp! Dull blades will drag and tear the inner foam.

Next, transfer your measurements to cut two pieces of cork board. Cut the cork board with a ruler and mat knife.

Finally cut two pieces of mirrored glass to fit the remaining two panes (need help cutting glass? Have a professional do it, or watch Sandra’s tutorial HERE.)

You should now have 2 pieces of foam core, 2 pieces of cork board (wrapped in drop cloth as I showed you the other day), and two pieces of mirrored glass.

Dry fit all the cut squares to make sure they will fit in the window openings.

Take the foam core and tin pots outside. Spray them with primer.

When the primer has dried, spray the foam core and buckets with a few coats of chalkboard paint.

To view how to print onto painter’s drop cloth, refer to my tutorial here.

To attach the chalkboard foam core, mirrored glass, and drop cloth squares, you will need clear window and door caulk. Snip the top off at an angle. Insert a straightened coat hanger into the tip to puncture the inner lining of the caulk.

Put a fair amount of caulk onto each glass of the window. (Lazy supervisor in the background!)

Press the individual squares into it. Weight the drop cloth squares (with paint cans) while they dry.

To secure the chalkboard and mirror sections, run a bead of caulk along the edges of the boards.

Use a damp paper towel to smooth and clean up the caulk edging.

Once the caulk has dried, you can affix the tin buckets to the window. Drill holes through the bucket bracket or tin cans.

Attach a screw through the hole and screw it into the window pane.

To add a hanger to your memo center, flip the window over and measure down 3″ on both sides.

Use a drill to drive the screws into the D-ring style hangers.

I made this artist’s board to sell, but honestly I’m having a hard time parting with it. So, it may just find a home in my painting studio (aka Bonus Room). But, maybe you could convince me otherwise. How much would you pay for this one of a kind artist’s board? I keep thinking it is a real life version of Pinterest.

Don’t forget to view more of my curbside transformations.

I’m so excited to share this tutorial with you. I knew it could be done, but honestly I didn’t believe it until I tried it. When I saw THIS cute project over at Home Frosting, it got my creative wheels turning.

I asked Lesa for a few clarifications and she gave me the courage to try feeding drop cloth material through my printer. {gulp}

Printing on material is fairly easy to do if you have the right materials.

Materials:

  • Laser or ink jet printer (I only tried it on the laser printer, but it can be done on either.)
  • Reynolds Freezer Paper
  • Iron
  • Ironing board
  • Sheet of letter size paper
  • Scissors
  • 3M Duct Tape
  • Cork Board
  • Irwin mat knife
  • Painter’s drop cloth bleached and washed until soft

Start by creating your words that you want to print in Word or any other program.

Set your iron to preheat.

Tear off a sheet of Freezer paper slightly larger than letter-size paper. Cut the freezer paper down to 8.5″ x 11″.

Lay the freezer paper shiny side down on the drop cloth.

Press firmly on the paper and move the iron around constantly for about 15 seconds. Let the freezer paper cool for a minute and test to make sure it is lightly adhered to the drop cloth. If not, iron a little longer.

Now trim the edges of the drop cloth until it is the same size as the freezer paper.

Take your freezer paper/drop cloth sandwich to the printer. If you have an individual sheet feed location on the printer, it would be best to use it. But, it can be done without. Print the document you created earlier.

Oooo, sooo pretty!!! I actually ran my “sandwich” through twice to get it darker, but it was still too faint for my liking.

If you have the same issue, you can go over the letters with a ball point pen.

Peel off the freezer paper.

Now, cut your cork board. (If you are using the these cork boards in a window, be sure to pre-measure the individual window panes first.)

I have to tell you that Irwin sent me another tool to try. The mat knife. Their claims sounded outrageous, claiming it can cut better than other mat knives. “Whatever” is what I thought. But, as usual, they proved me wrong. I used the Irwin knife to cut BOTH cork board and foam core!

Have you ever cut foam core with a mat knife cleanly? Not me, until now.

I swear to you that Irwin has not paid me to say any of this. I just like their tools. I am waiting for an Irwin tool that I don’t like and then I’ll let you know what it is. But, I wouldn’t hold your breath.

Line up the drop cloth where you want it with the cork board underneath. Fold one edge of the fabric over onto the back.

Secure it with the duct tape.

Pull the opposite side of the fabric and wrap it around the back. Continue until all the sides are taped to the back of the cork board.

And there you have it! A unique personalized cork board.

Want to see how to use the drop cloth bulletin boards in this Artist’s Inspiration Board?

Another project I completed before the birthday party was a quick makeover for a pair of ho-hum dollar store flower pots. My friend Heather helped me add some jute rope and fake flowers then set them out with utensils in them. Perfect for a summertime birthday party!

Materials:

  • Hot Glue Gun w/ glue sticks
  • Jute Rope
  • Flower Pot
  • Fabric Flowers
  • Scissors
  • Foil or wax paper (to protect work surface)

Instructions:

1. Plug in your hot glue gun to warm up. Cut the stems of your flowers about 2″ from the flower.

2. Turn the flower pot upside down. Put a dollop of glue against the rim of your pot and secure the end of your rope on it. Squeeze a line of glue around the pot rim and press the rope into the warm glue.

3. After one row is complete, add the flowers by bending the stems until they lay flat against the pot. Secure with a lot of glue. Then wrap the subsequent rows over the stems.

4. Continue gluing the rope onto the pot. Make sure to press each row of rope tightly against the row before it.

5. When you reach the bottom of the pot, secure the end of the rope with another dollop of glue. Be sure your rope doesn’t extend past the bottom of the pot or it could make the base wobbly.


Now set them on your table and fill with utensils. Later you can put a plant, flower or pens inside.

Are you ready for Independence Day? Would you like a quick and easy sewing project to add some patriotic flair to your home? Hop on over to Parentables to read my tutorial for making adorable star pillows.


And don’t forget, today (June 30th) is the last chance to enter the giveaways! I will be picking the winners after midnight tonight.