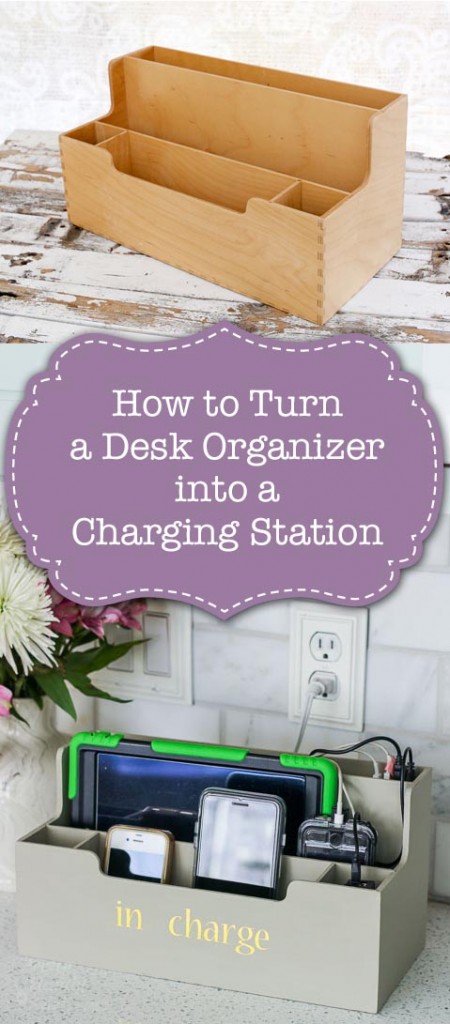
 How to Turn a Desk Organizer into a Charging Station
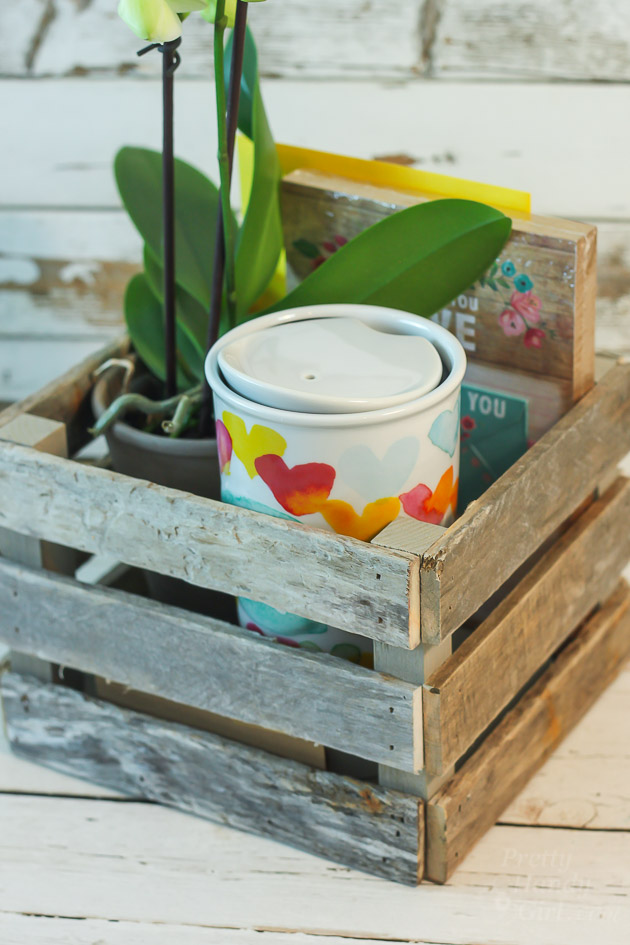
Do you have multiple devices that need charging every day, but they are cluttering up your counter or table? Luckily I have the answer to that problem and it involves this simple desk organizer.
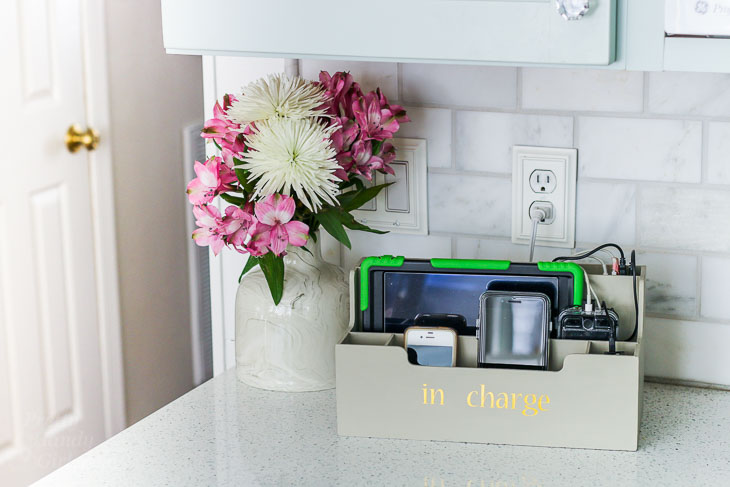
Would you believe that wooden organizer is now a stylish charging station!
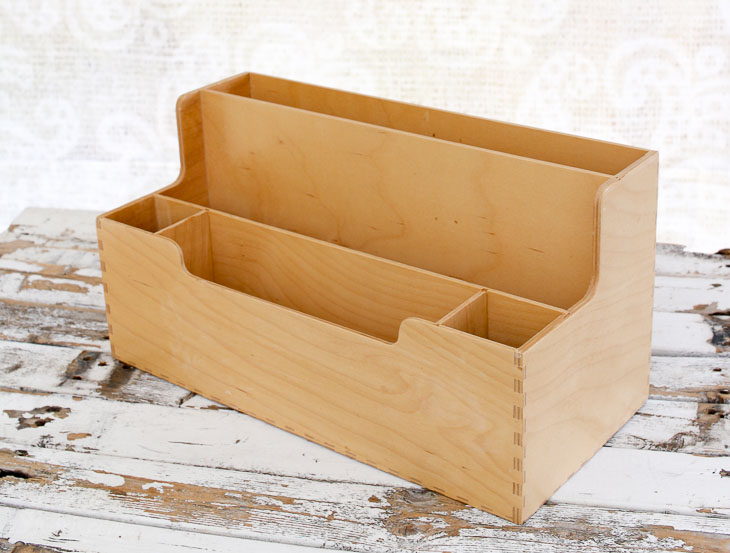
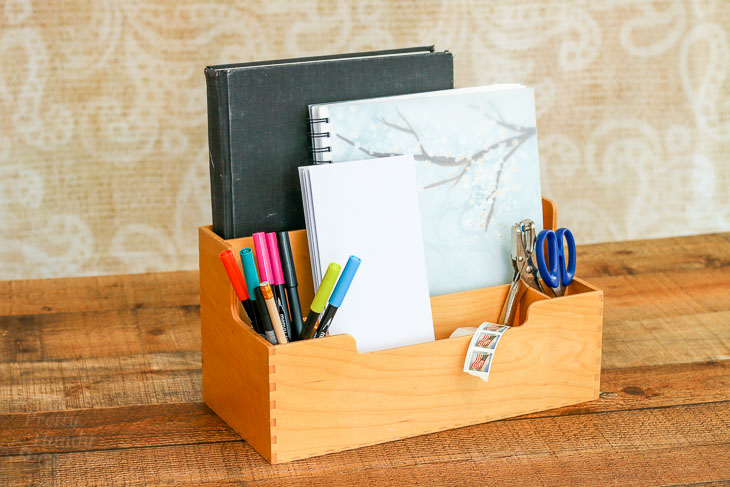
Here’s what a typical desk organizer holds. Functional? Maybe, but by thinking outside the box I came up with an even more useful option for our home.
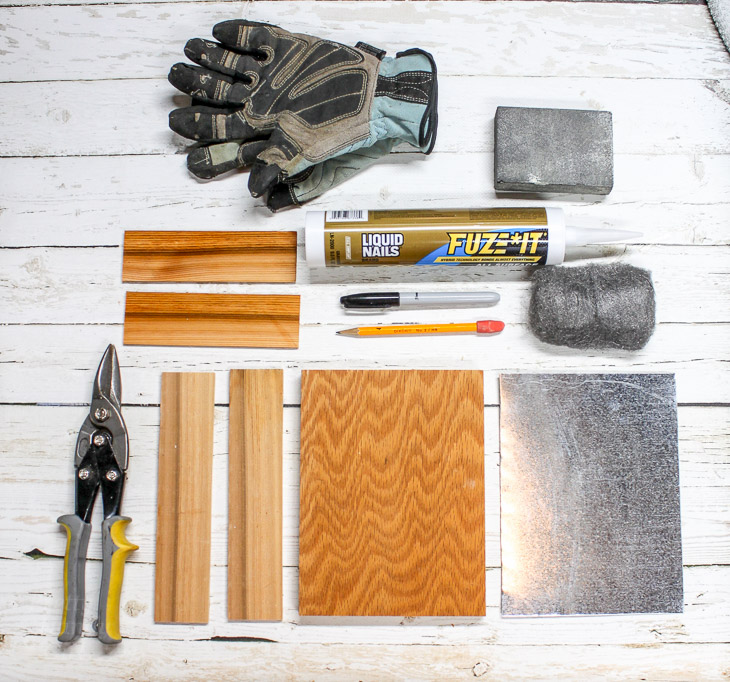
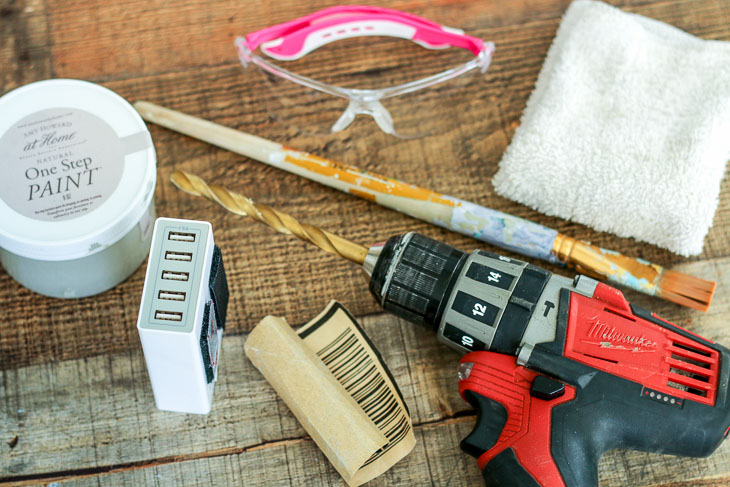
Materials:
(I’ve included affiliate links for your convenience. I earn a small percentage from a purchase using these links. There is no additional cost to you. You can read more about affiliate links here.)
- Similar Style Desk organizer (look for one at garage sales, thrift stores, IKEA, or an office supply store)
- Washcloth
- Drill
- Drill bit set
- Paint
- Paintbrush
- Sandpaper
- Adhesive velcro
- USB Charger with multiple ports
- Safety glasses
Optional:
(I’ve included affiliate links for your convenience. I earn a small percentage from a purchase using these links. There is no additional cost to you. You can read more about affiliate links here.)
Instructions:
Follow this simple video tutorial (or read below for the step-by-step instructions.)
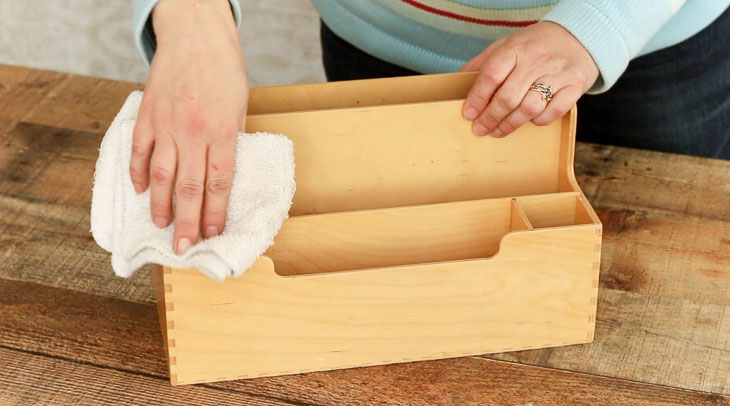
Start by giving your organizer a good cleaning. Make sure there is no dust or dirt.
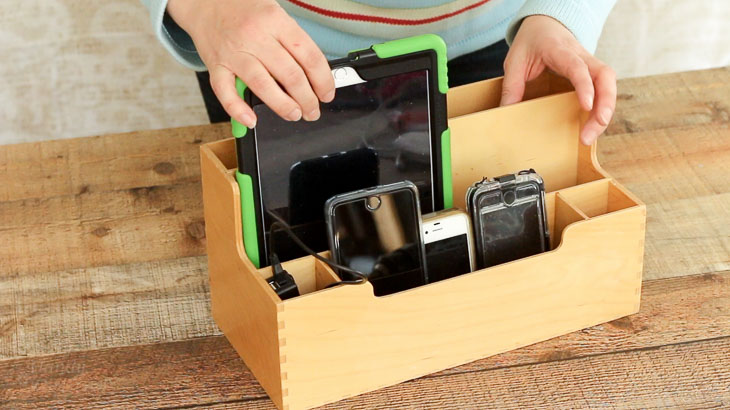
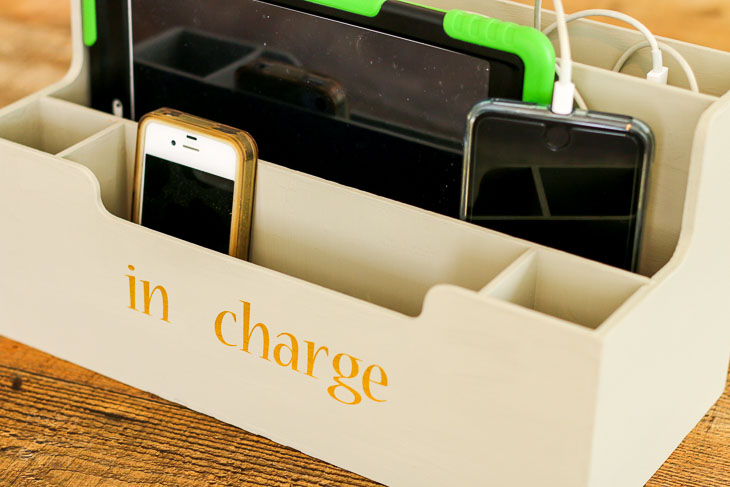
Place all your devices into the organizer to determine where you want them to rest when charging. Next, plan where you want the USB charger to go.
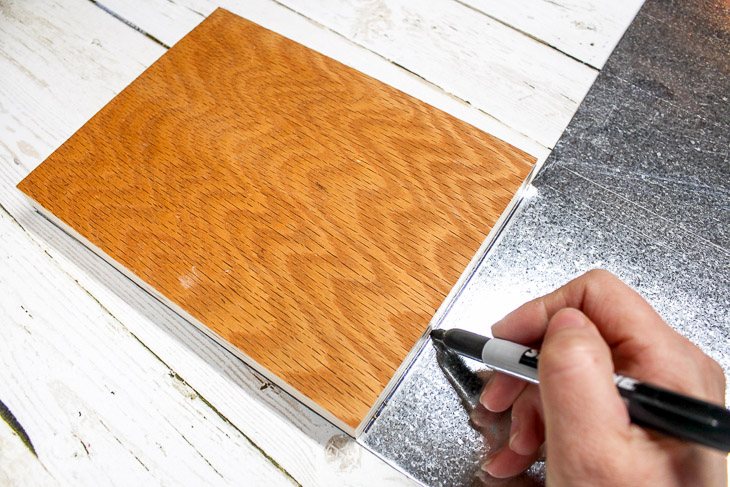
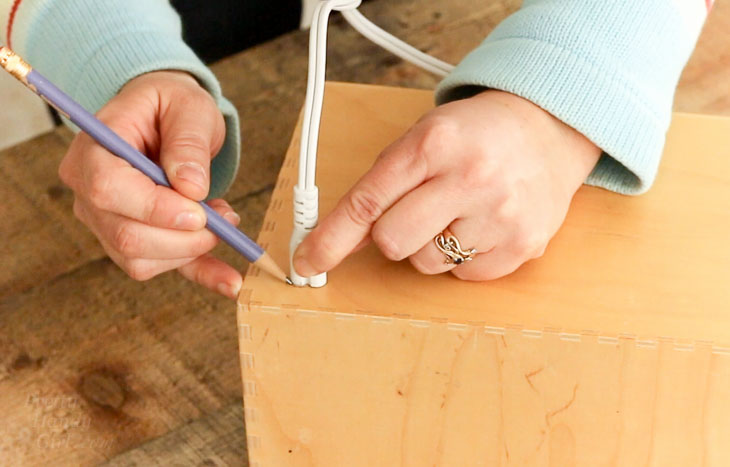
Mark the spot where the charger cord will need to come through the back of the organizer by tracing around the plug end.
Determine the size of bit you need to create the holes for the plug. You want it to be about the same size as the width of the plug. (Depending on the shape and size of your plug, you may need to drill two holes next to one another.)
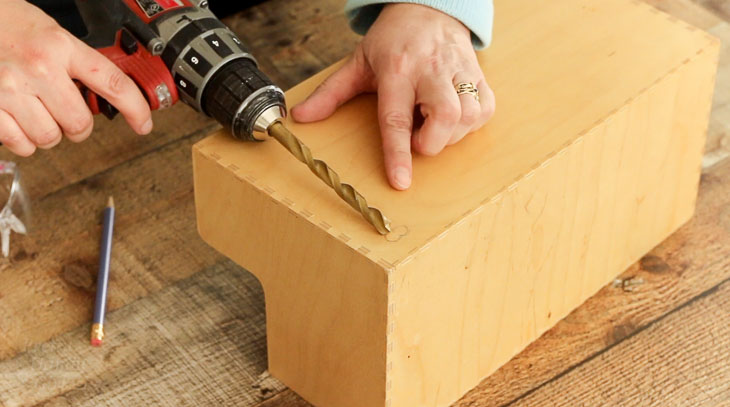
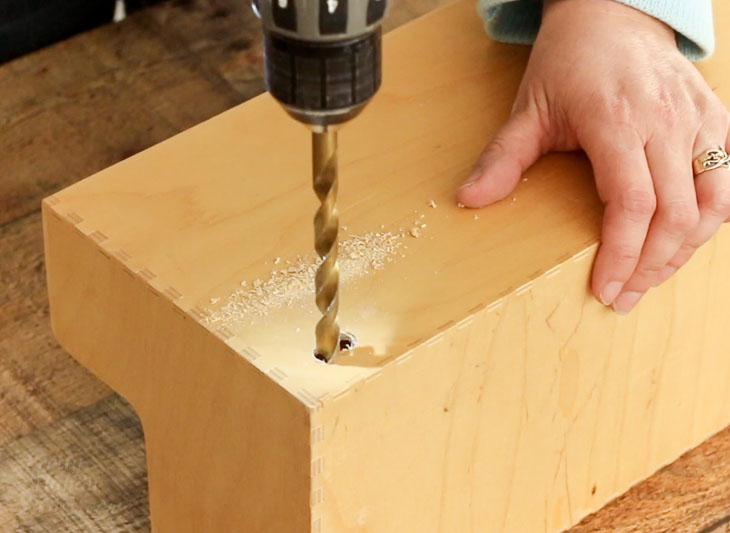
Put on your safety glasses. Drill the plug hole. Be careful not to let the bit sink too deep into the organizer to prevent damage to the other sections.
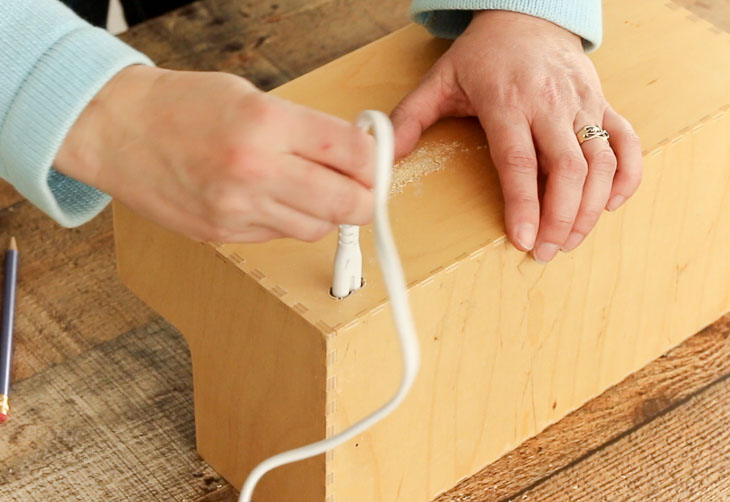
Insert your USB charger cord into the hole to make sure it fits. Wipe off any sawdust and sand any rough edges.
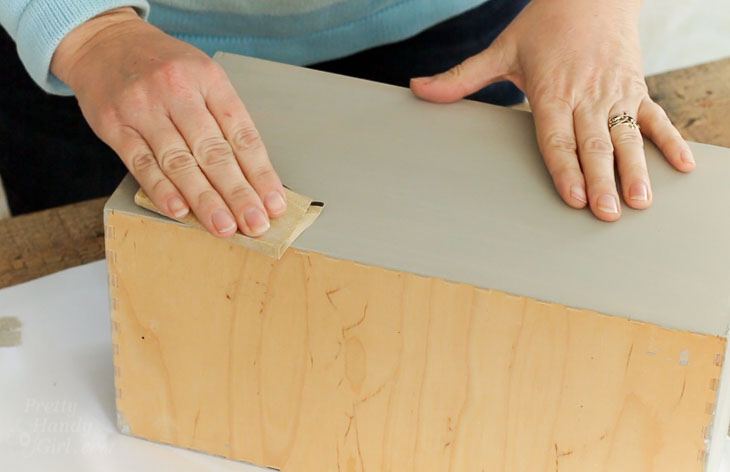
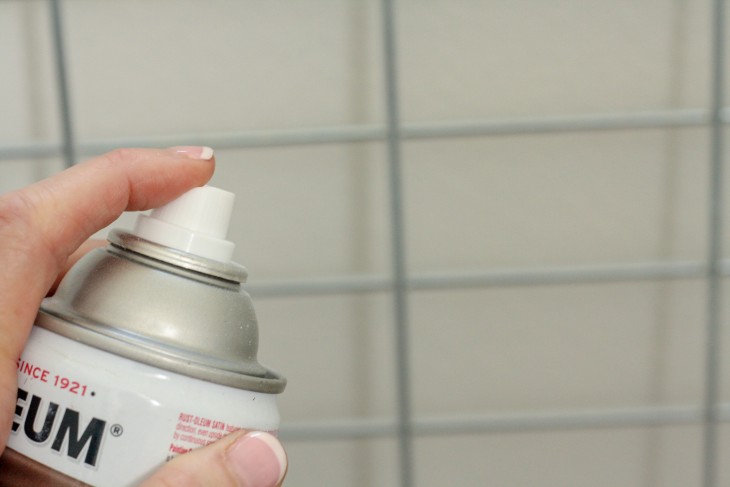
Paint your organizer any color you desire. I highly recommend using at least two coats of paint.
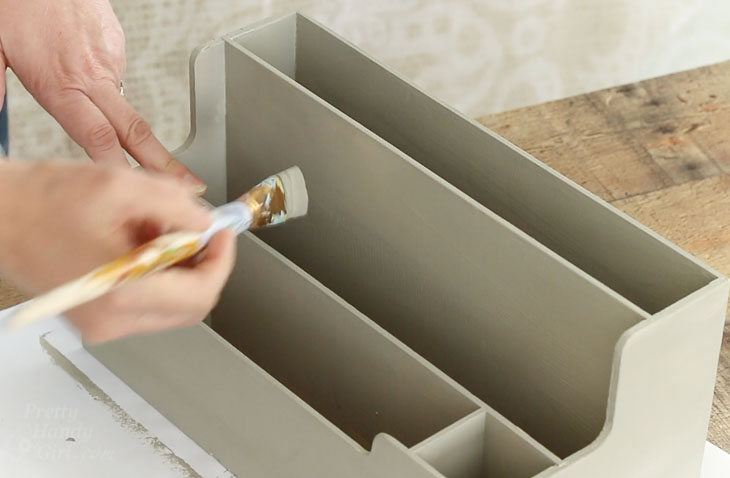
After the first coat of paint dries, lightly sand it before applying the second coat.
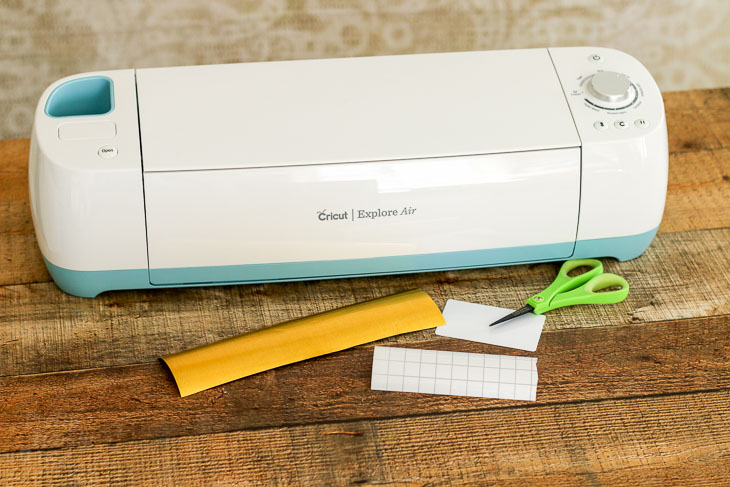
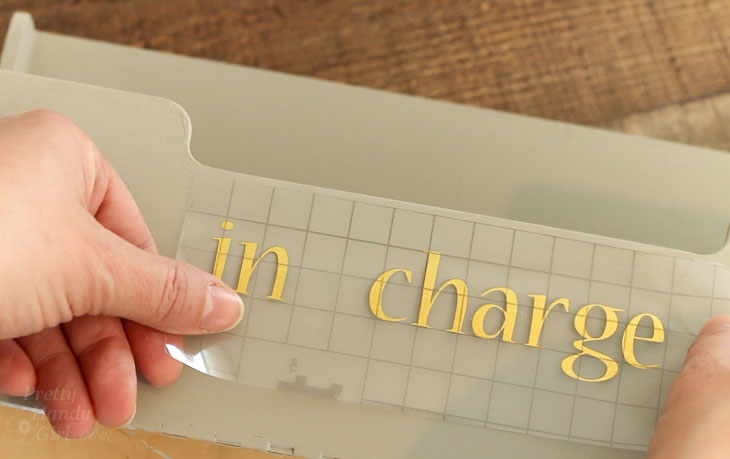
Optional: You may wish to use a vinyl cutter to create some fun lettering for your charging station.
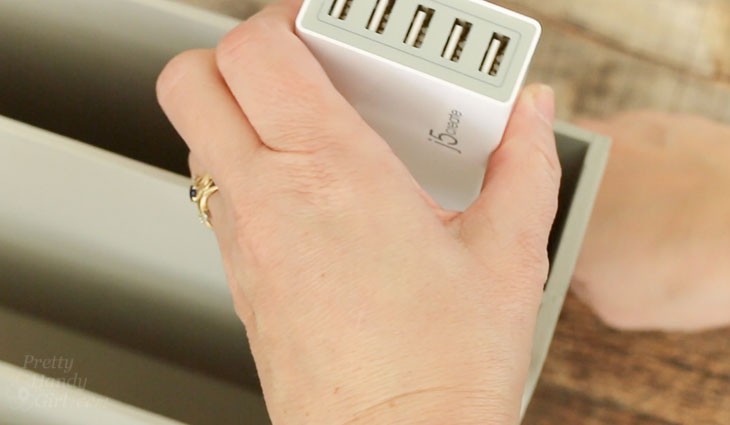
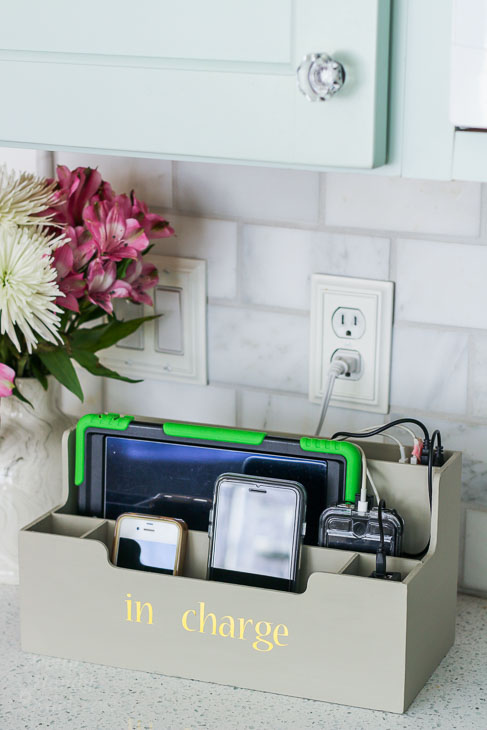
Place your USB charger into the organizer. Insert the cord through the back and plug it into the charger. Use adhesive velcro to attach the charger to the inside of the organizer.
Time to plug in all your devices and get them powered up!
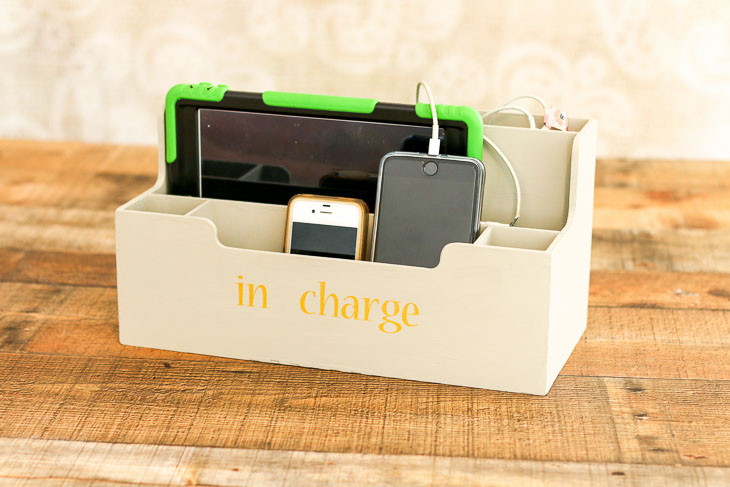
Now you have a beautiful and stylish charging station to organize your devices and keep them from cluttering your kitchen counters.
I hope you love this charging station as much as I do.
I’m curious where you charge your devices? Is the kitchen where they all get deposited or have I been doing this all wrong?

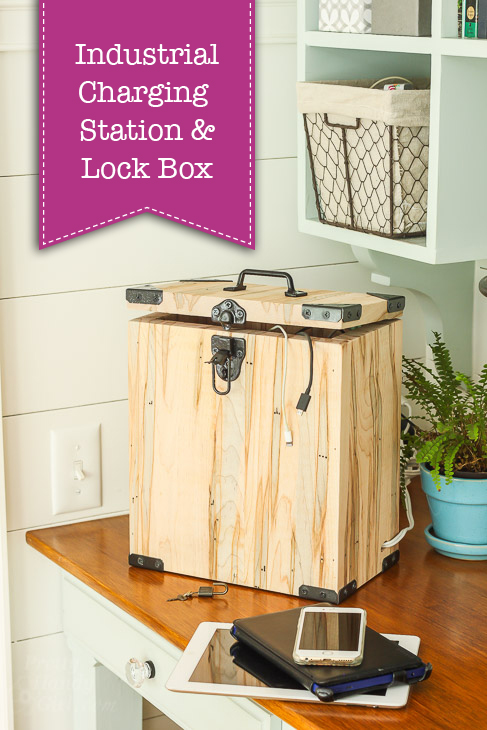
If you like this tutorial, you might also like this Industrial Charging Station & Lock Box.
Or these creative paint brush or pencil holder using scrap 2×4’s:


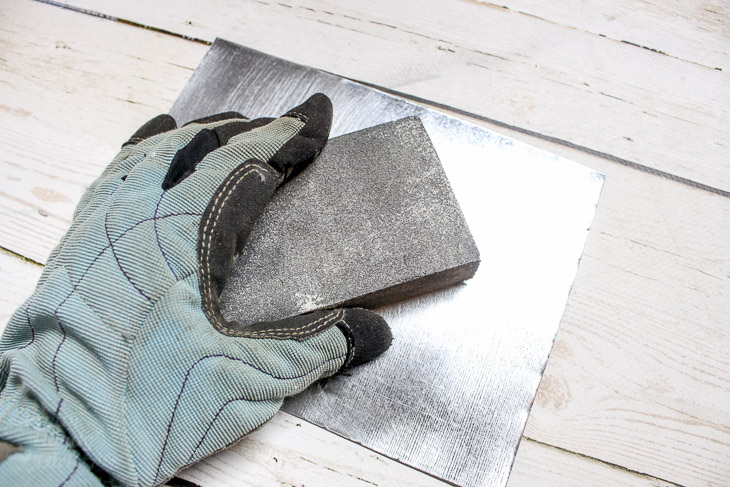
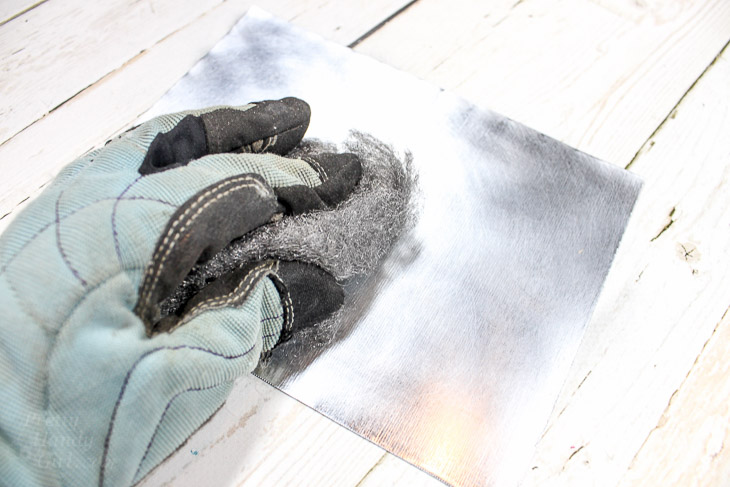
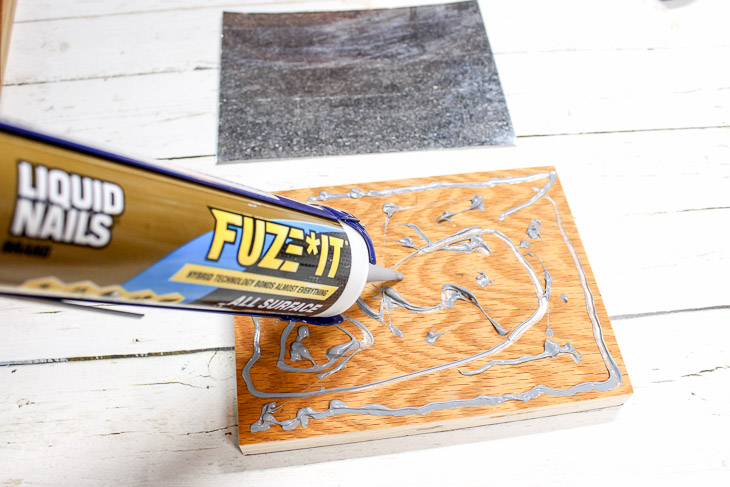
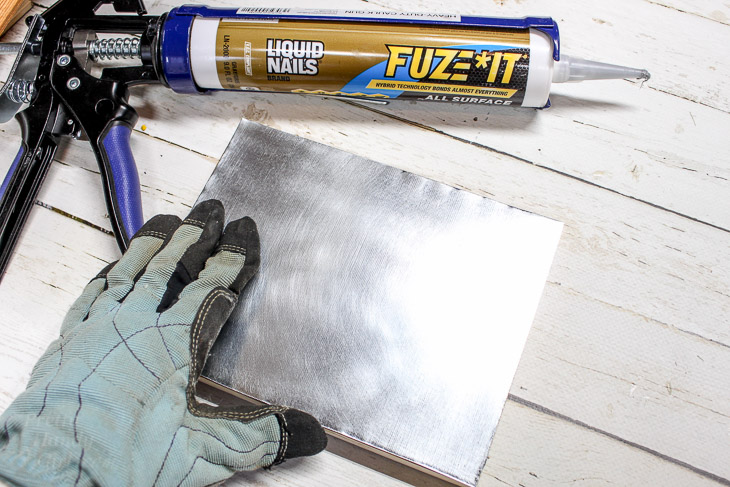
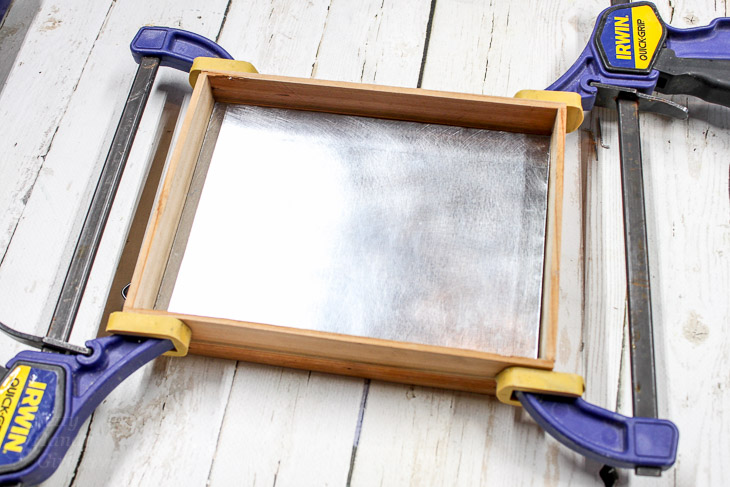
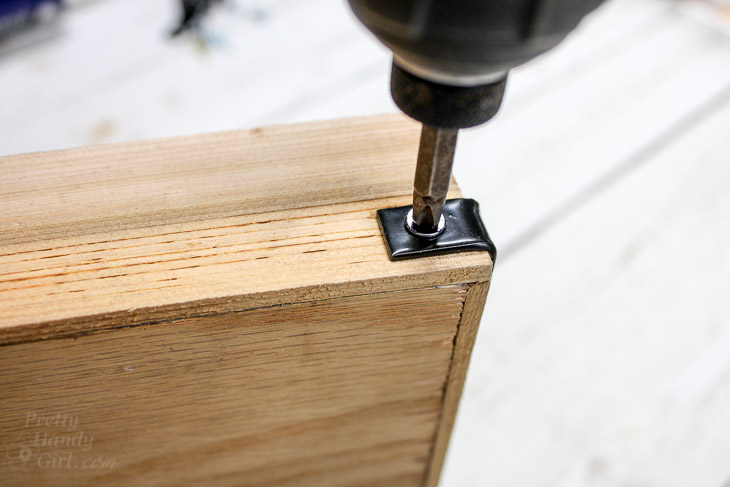
 DIY Sheet Metal Gift Trays