I have been looking for the perfect foyer light about three years now. In the search, I removed an ugly dated hanging light and replaced it with this:

Okay, it is a little better, but I still wasn’t in love! And that is the key to the right lighting, you have to LOVE it EVERYTIME you see it.

So, when I saw this Pottery Barn fixture, I knew I loved it!

Amanda at The Hand Me Down House made one that looks very similar. I always thought I might copy her design, until I found a hanging light that had similar lines at our local Habitat ReStore.

See that brass beauty in the front? Well, ignore the brass because I had plans to paint it. By the way, the iron chandelier went in my friend’s hallway.

And that cute little fixture hiding in shame at the back was turned into another Pottery Barn knockoff lantern.

But, on to the star of this post. My new foyer light! I disassembled the foyer light and set the glass globe aside. Then I attacked her with a one two punch using my new dynamic duo of spray paints.

Automotive primer first and then two coats of Rustoleum Oil Rubbed Bronze!

After putting the glass globe back on the fixure, I installed the light fixture (you can follow the same instructions as I showed in this post.)


Check out that beautiful new/old light fixture! I know it isn’t exactly like Pottery Barn’s but I love it none-the-less. How about you?

If you are an addicted blogosphere surfer, you are probably aware that there are two contests being sponsored by Home Goods right now. If you blog or write about your own personal Mom Cave, you could win $250 to spend at Home Goods! And what Mom couldn’t use that?!

Enter Your Mom Cave at Centsational Girl or at Between Naps on the Porch.

So, I wracked my brain trying to think of a space I could makeover into my own personal Mom Cave. Then I realized – HELLO – I already have a Mom Cave! My guest room is just that, a retreat from the 3:1 boys to girls ratio in our home!

From the moment I enter my Mom Cave I smell sweet blooming roses,

and a potpourri of floral soaps in a dish by the window.

This is the room where I sit to sew and create,
or read a new design magazine.
This is the room I can lock myself inside and stop being Mom for a while.
Among the fluffy pillows is where I sleep…
…when Pretty Handsome Guy is sick.
(Secretly, I can’t wait for him to travel for work so I can sleep in my girl’s retreat again.)
 
The walls are the perfect english cottage garden green.
A perfect palette to display fresh flowers and greens against.

Lest you think I spent a lot of money in this room, you will be surprised to learn that almost everything in this room was a trash-to-treasure creation. You can read more about my finds for this special room here.


A small desk and chair both broken and discarded.


And this little trash bench was made new again and given a  home by the window.
 

So, do you have a Mom Cave? If so, definitely show it off! Give us mamas something to drool over!

Whether you do have a Mom Cave or not, I encourage you to enter the Mom Cave contest here or here. Good luck y’all!

Here is the decoupage tutorial I promised you from the Diva of a Dresser makeover.

Materials:
Wrapping Paper, Decorative Paper or Wall Paper
Fresh Sharp Exacto blade
Mod Podge
Spray Adhesive (optional)
Paint Brush

I started by unrolling a section of wrapping paper large enough to fit in the side pane. Using my fingernail (hmmm, maybe that is why I can never grow my nails longer), I scored the edges of the wrapping paper along the edges of the panel.

Next I used a fresh exacto blade and carefully cut along the score lines in the wrapping paper (while still holding it against the dresser.) Set the paper panel aside.

Using my paint brush, I worked quickly to put a coating of mod podge inside the panel on the dresser, while being careful to cover every square inch.

Center the wrapping paper on top of your modge podged dresser panel and smooth the paper with your hands, working from the inside center of the panel out. Getting the wrapping paper lined up in the panel was probably the trickiest part of the process.

Then I followed up with a top coating of Modge Podge to seal the paper. I knew the paper was going to wrinkle, and I convinced myself that I was okay with it (being a perfectionist is tough sometimes.)

However, if you want to avoid the wrinkling, I tested the same wrapping paper on a wooden “W” and used spray mount adhesive on the back of the paper instead of Mod Podge.

After top coating the “W” with mod podge there were still a few wrinkles but not as bad as the dresser. (See, I couldn’t squash my perfectionist ways. I had to solve that minor imperfection.)

This concludes my decoupage tutorial, but if you are curious about the lengths I took to give my decoupaged panel some age, keep reading.

I didn’t like the stark black and white paper on my dresser. In the middle of drinking my instant coffee I had a lightbulb moment!

I decided to rub the instant coffee bag all over the panel. It worked, and gave the panel a nice warm “instant” age.

Later that day, I added my beachy blue glaze (all the while not being able to figure out why I kept smelling coffee. Duh!)

I played with adding the glaze and wiping some off until I achieved a hazy blue look with the wrapping paper design peeking through.

If you missed it or wanted to read more about this Diva of a Dresser makeover, click here.

Dear fellow mouse loving bloggers who have adorned your homes with these adorable mice silhouettes,

I admit it, I’ve been envious of your vermin. But, I knew I didn’t want to look all over town for those Martha Stewart mice silhouettes. So I thought I could buy them online. Low and behold, I stumbled across the tutorial to make your own! Thank you Martha. So, I downloaded the template here.

And, we set about cutting our own out of construction paper. I remembered that I had saved the excess chalkboard vinyl material from this Wallies set.

So, we used the excess to cut the mice and some other creepy critters I drew.

I’m sharing the template with you so you can make your own out of construction paper or if you happen to keep everything have some black vinyl laying around. (Simply click on the image below to view a larger size template.)

The boys had fun decorating.

And they just love trying to pet the spiders.

I just adore how my boys are fearless of creepy crawlies (both wall art and the real deal.)

Anyone else not afraid of spiders? I don’t like them in my house (and I’ve been known to kill a black widow), but I recognize that they are necessary in my yard (NOT IN MY HOUSE!)

I’ve had some time this week to catch up with some of my girlfriends. Sometimes this means it was a few minutes in the parking lot at preschool. Or a phone conversation. I definitely value their friendships and wish I had more time to spend with them (thankfully most of my girlfriends are mothers as well and recognize time is not something we have a lot of right now).

One of my good friends (who was also born a Cancer), and I were talking yesterday. It is really scary how similar our personalities are. She was naming off several traits that fit both of us to a tee. One of them was the ability to throw ourselves into something, not halfway but whole-heartedly!

I always thought this was a good trait (but certainly recognized how it can be all consuming sometimes). Then she stopped and said, “But there is one difference between you and I. When you see something new you want to learn, you throw yourself into it and revel in the challenge. Whereas, I am sometimes uncertain and afraid of failing.” I realize that we all have this fear of failure to a certain degree. Obviously some more than others.

 I have been skydiving once in my life. Was I scared? Yes!
But that emotion flew out the window, and then I loved it.
I will do it again someday, but not until my children are grown.

One of my challenges has been decorating. I wanted to share this with you because, decorating is not something that came naturally to me. In fact, I am somewhat tentative to even share some of these pictures with you. What I have learned has come from many designers and decorators (check out the list of “a few other sites you might like” on my sidebar) who have graciously shared their secrets and design tips with their readers through their blogs. One in particular has a motto that frees you from the “everything has to be perfect” mentality. The Nesting Place written by the Nester really forced me to forget perfection and “Just Do It!” (Sorry, Nike.) Her tagline says it all: “It doesn’t have to be perfect to be beautiful.” I encourage you to hop (no, make that LEAP) over to her blog and download this FREE eBook on “It Doesn’t Have to Be Perfect to be Beautiful.”

I read the eBook from cover screen to cover screen. And I have thrown away those “perfect” shackles and made my house MY home. And I did it without spending a lot of money.

I have finally embraced Autumn and am willing to share with you my fall vignettes and decorations. I want you to know that I purchased very little this month (thanks to a very special woman over at the T-shirt Diaries. She challenged fellow bloggers to forgo spending anything on crafts, etc. this September.)  If I purchased it this year, I’ll share with you where and how much I spent. If it isn’t listed, I already had it in my stash. But, it is likely that I found it, transformed it from junk, or got some amazing deal on it.

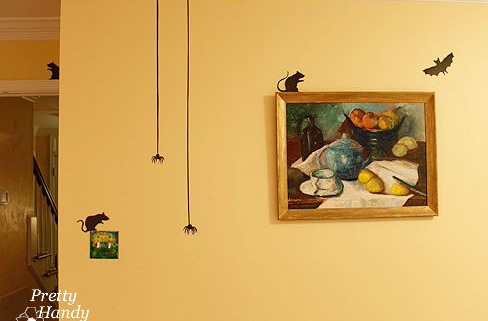
Without further ado, here is my imperfect and inexpensive decorating for fall:

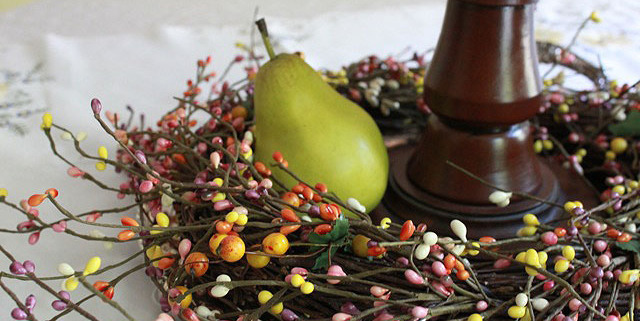
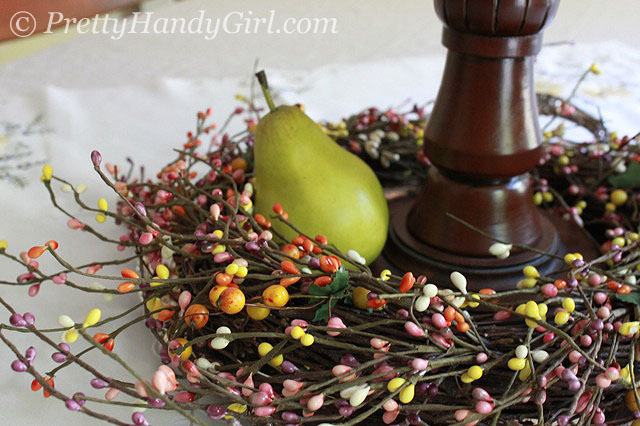
Wreath $12 from Home Goods purchased over summer.


 Bowl & fruit $15 from Craig’s List.


 Vase $2 from Goodwill, beauty berries & nandina berries from our yard.
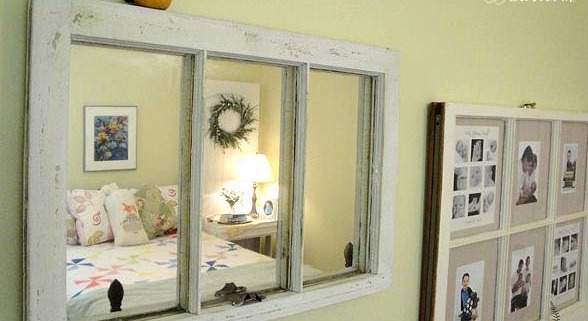
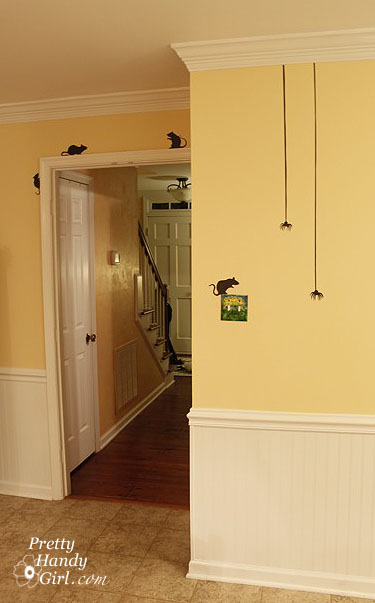
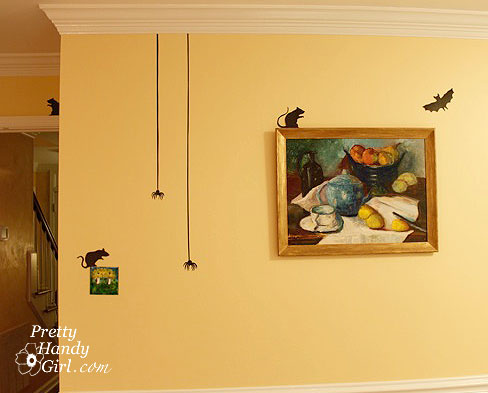
$3 Goodwill distressed chalkboard frame details HERE.
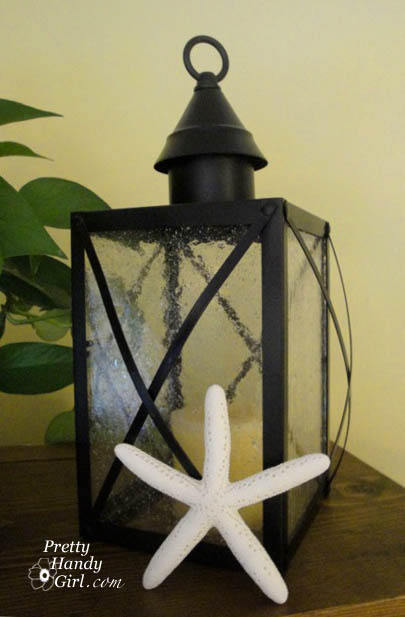
$5 Pottery Barn inspired lantern from Habitat ReStore. Details HERE.
 
 
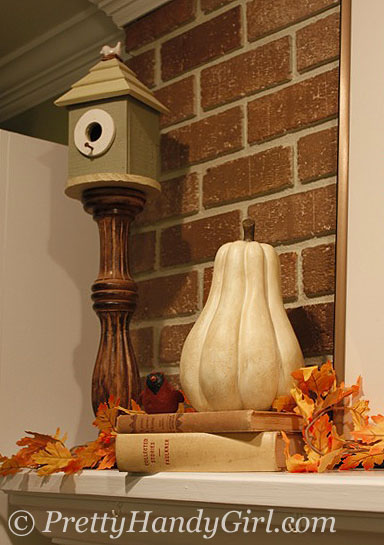
$2.49 Goodwill gourd painted HERE.
Books, bird, and birdhouse I already had.
Birdhouse is perched on $6 clearance candlestick from Target. 
 
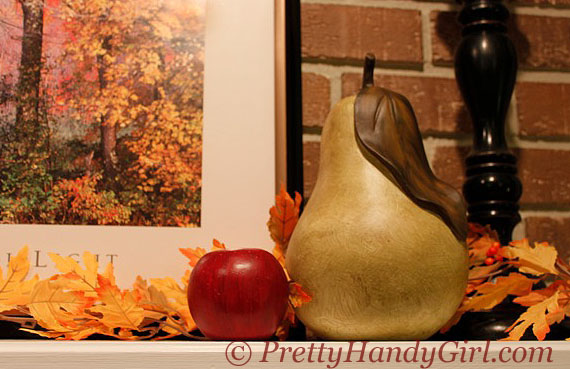
$2.49 Goodwill Pear turned Ballard Designs knockoff HERE.
Apple from Craig’s List bowl above.
 Two more black candlesticks from Target (forgot price).
Both on clearance. I spray painted them black.


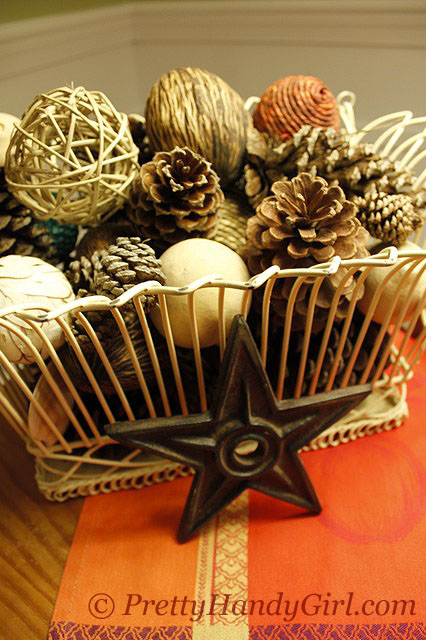
 Pinecones from our yard, orange/red dishtowel from the kitchen.
Basket fillers were free with 3 card Hallmark purchase.
 
Plant & pot clearance at Kroger $3.50
Books & cowbell passed down from our grandparents.
Pinecones & acorns from our yard.
Another dishtowel from the kitchen.
 
 
Urn from tag sale $3. It is heavy cast iron! 
Copper canisters were passed down to me when my grandfather passed away last year.


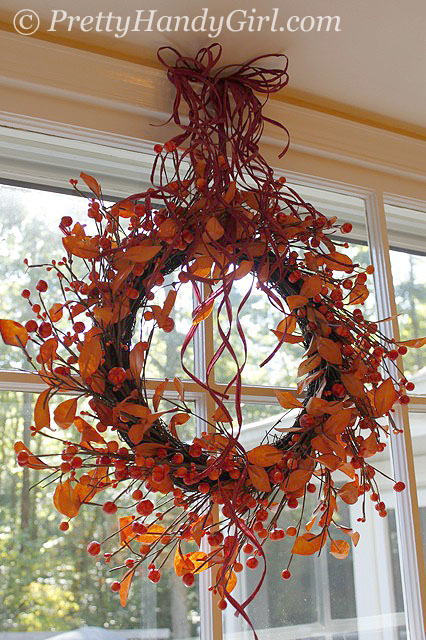
Splurge wreath! $19 at Michael’s last year.
Added maroon raffia ribbon this year.
 
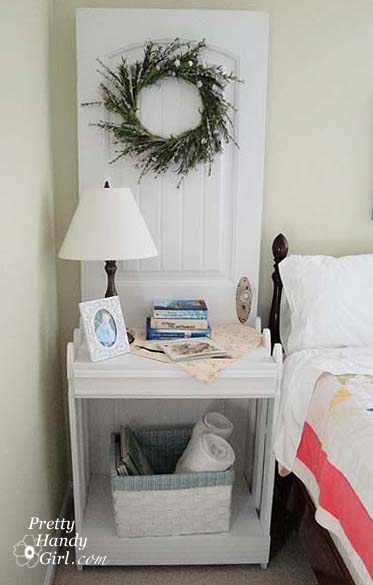
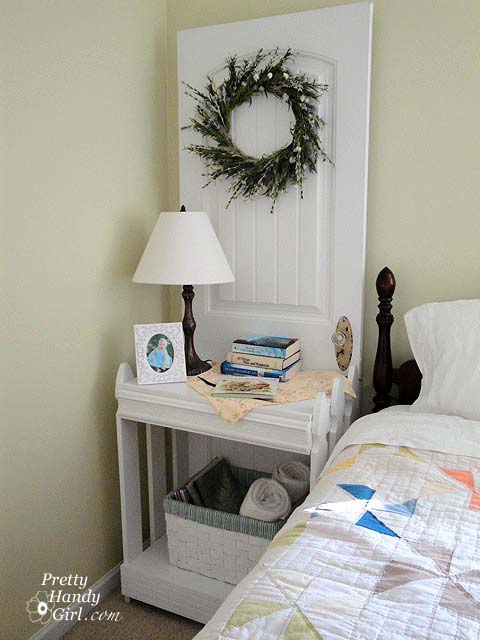
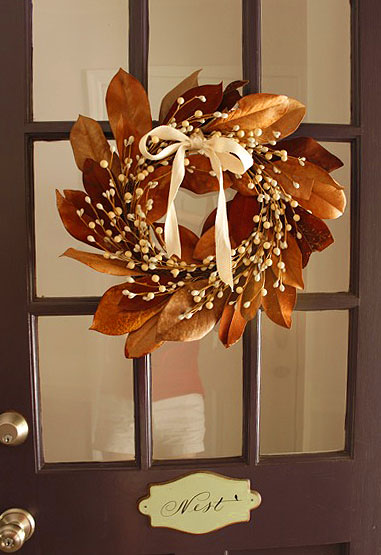
 Simple 5 minute magnolia wreath, details HERE.


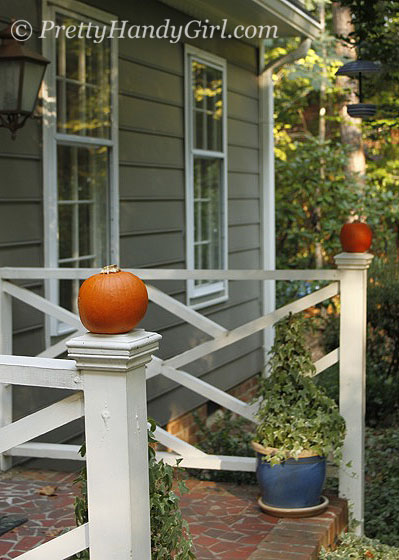
 Two pie pumpkins used as post finials. $2.50 each from Kroger.


 Grocery store pumpkins made into topiary and fringed rope (already had).


My boys love to get into the decorating act. 
They love to put their touch on our kitchen window each new holiday. 

I encourage you all to throw away that “perfect” mentality and try something new this month! It is okay if it doesn’t come out perfect. Love it if it is a reflection of who you are. If you hate it throw it away and use it as a learning experience, but don’t give up. Try it again!

Let’s not forget how we all learned to ride a bike or even walk. Were we afraid to try it? Probably. But, we tried it anyway. Did we give up when we fell the first time? No!