Vintage Map Lampshade | Pretty Handy Girl

Vintage Map Lampshade | Pretty Handy Girl
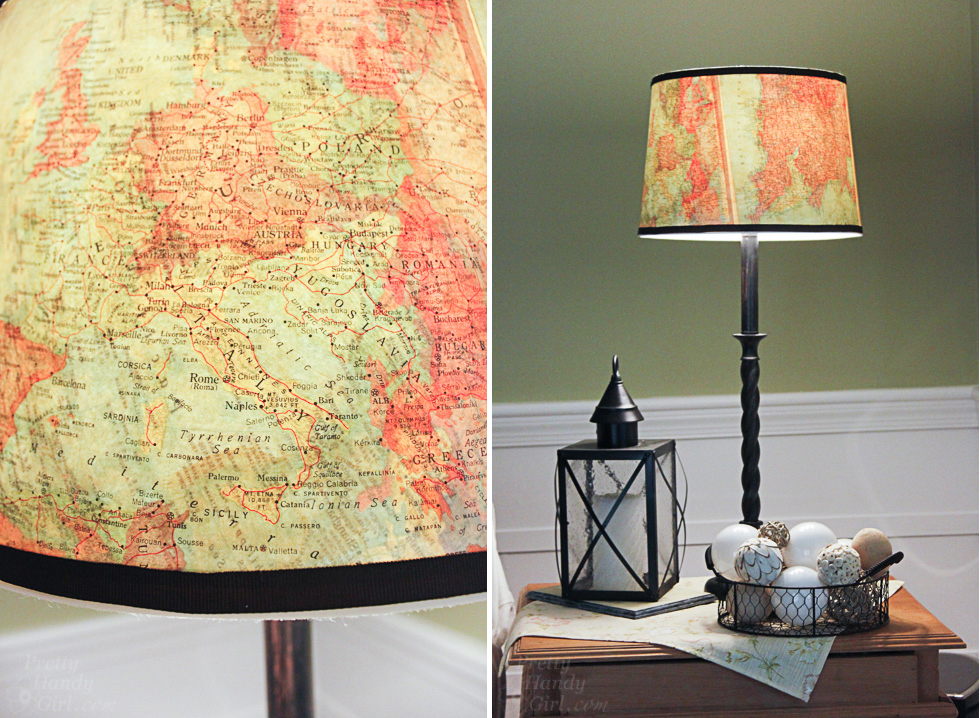
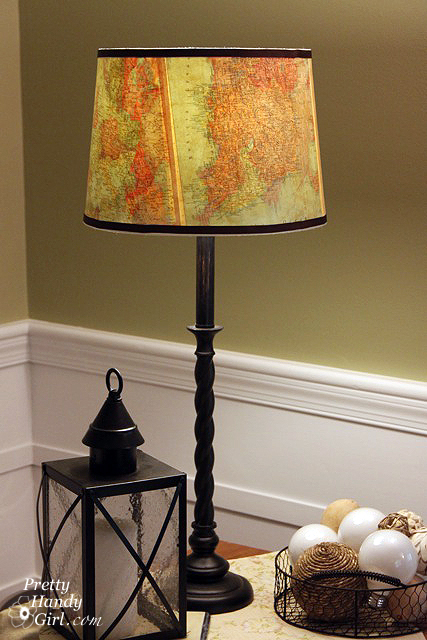
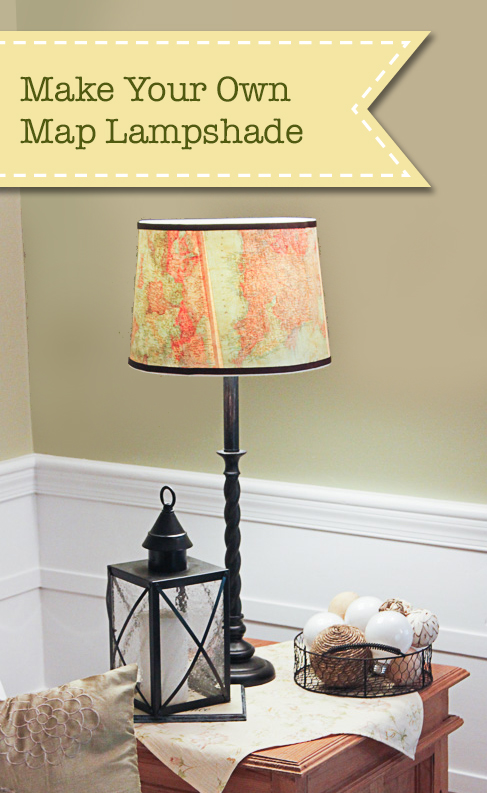
Do you want to update a plain vanilla lamp shade? Do you have a vacation you want to remember? You can do both with this vintage map lampshade!

The process to create a Vintage Map Lampshade is easy, especially if your lamp shade is close to a perfect cylinder. But, what do you do when you have a cone shaped shade? The instructions are a little more complicated, but I can show you how.

Pull up a seat and I’ll show you how to create a cool decorated lampshade. (Keep in mind you don’t have to use maps. You could use wallpaper, fabric, a poster, or anything you want!) Let’s do this.
Vintage Map Lampshade | Pretty Handy Girl

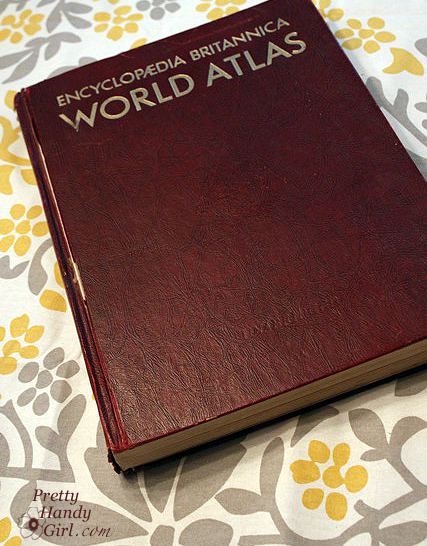
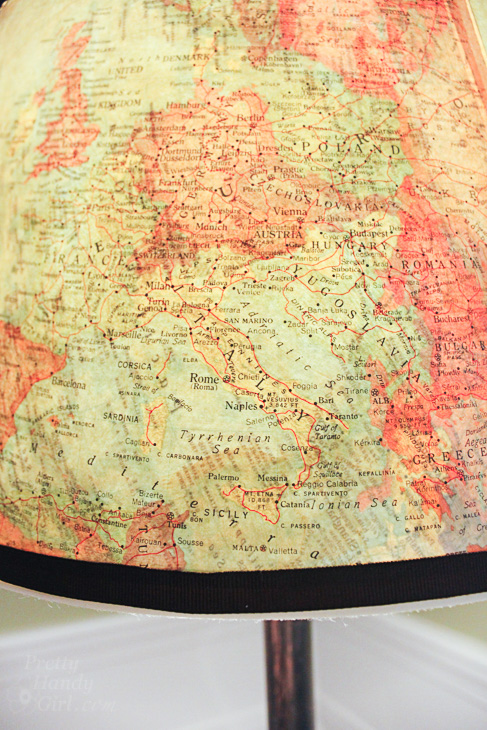
During a trip to my local thrift store, I discovered an old atlas and knew I could use it for oodles of projects. As I walked out of the store a flood of ideas came to me. One of them was to make a Vintage Map Lampshade.

Materials:

(I’ve included affiliate links for your convenience. I earn a small percentage from a purchase using these links. There is no additional cost to you. You can read more about affiliate links here.)
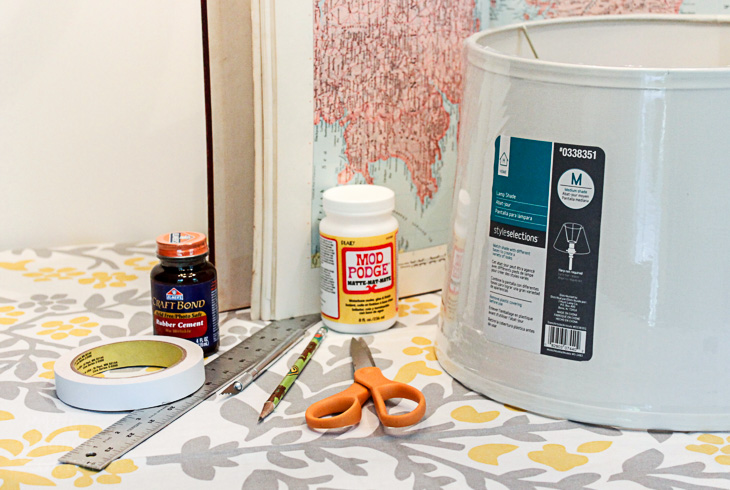
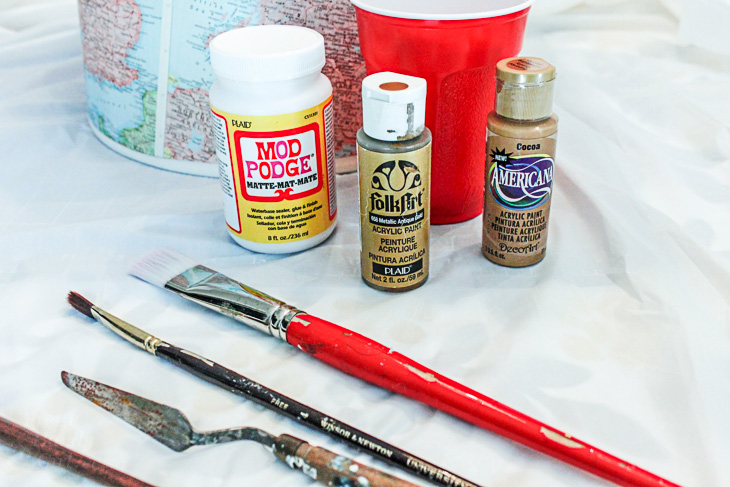
To add a vintage glaze you will also need:


Instructions:

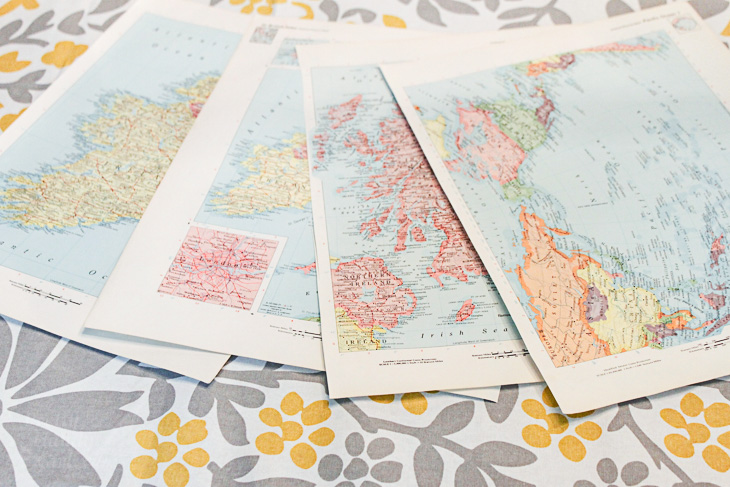
Start by selecting the maps or paper you want to use. Carefully cut them out along the spine using a fresh x-acto blade — don’t let your blade get dull. (I use a new one for each project. Your cuts are much cleaner when working with a fresh blade.)

Set your pages aside for now.
To make a template for your shade, roll out a large piece of craft paper. Lay your lampshade on the craft paper. Start at the vertical seam on the shade (to give you a visual of where to start and stop) and set your pencil along the bottom edge of the lampshade.
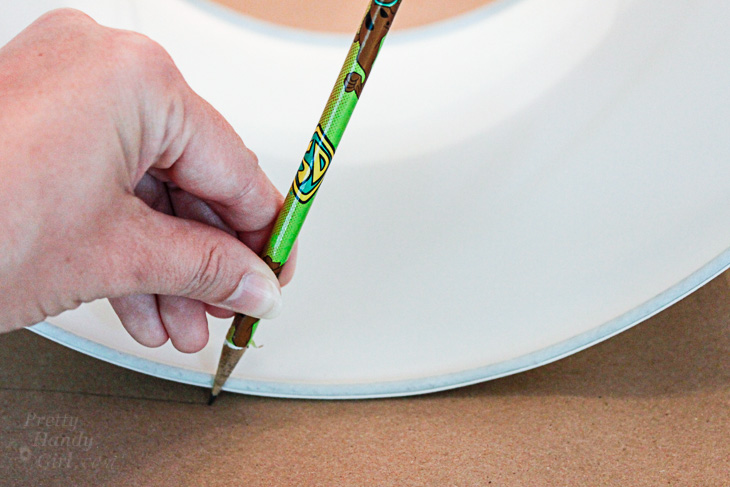
Gently roll the shade on the paper and mark along the bottom edge of the shade.
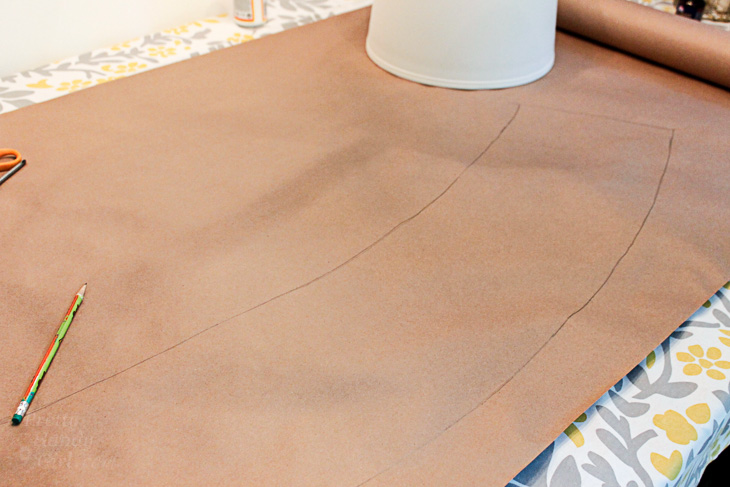
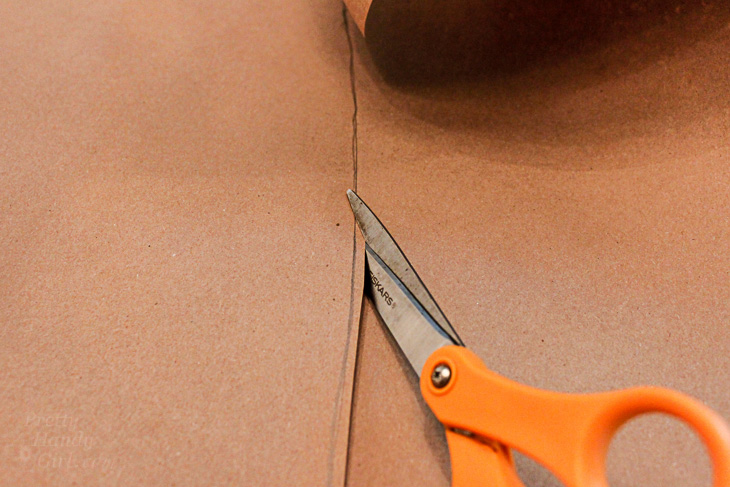
When you reach the end, reverse your shade and draw along the top edge. At the end, add an inch or two for overlap. Cut along the outlines to create your lampshade template.
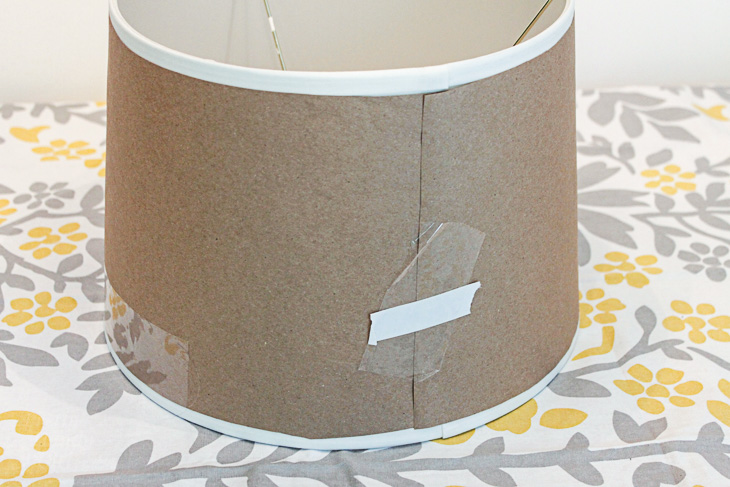
Tape the template onto your lamp shade using the low tack tape. Make sure it fits snugly.
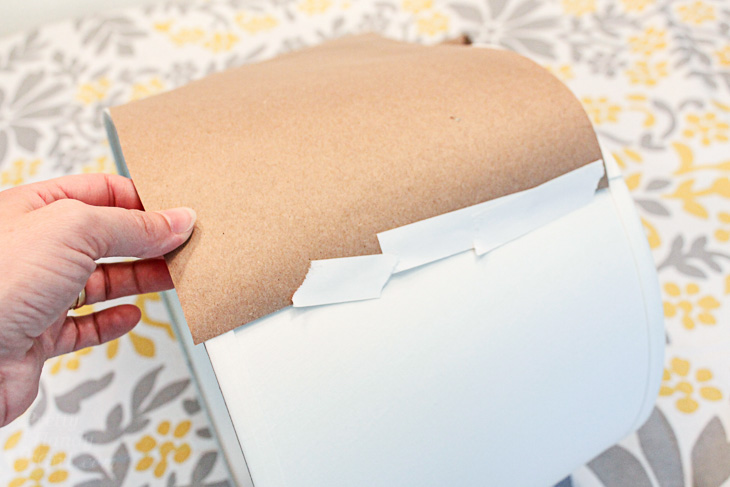
Trim any excess from the edge of your template. Should you choose, trim excess to allow room for the grosgrain ribbon.
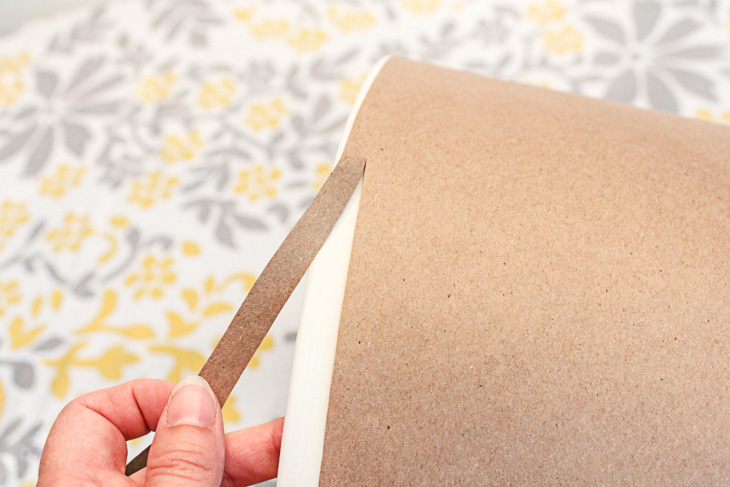
Make sure your template fits perfectly before you proceed.
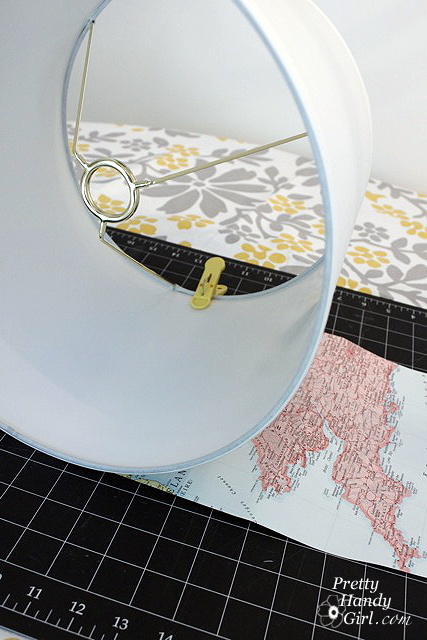
Lay out your craft paper template on top of the map pages. Make any adjustments to the page layout.
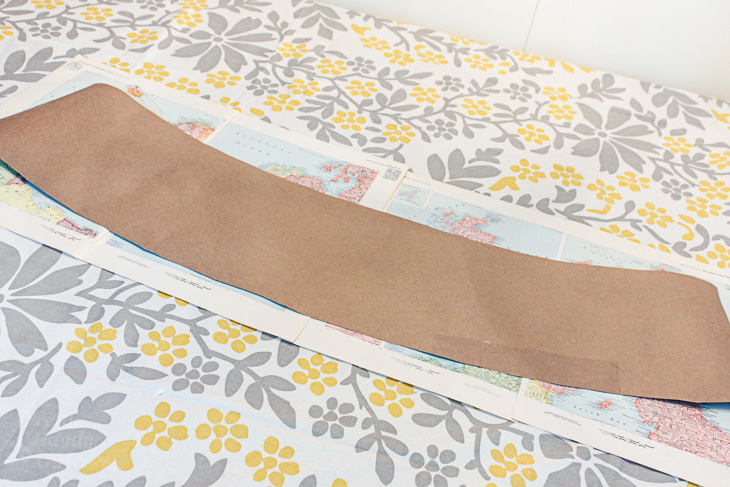
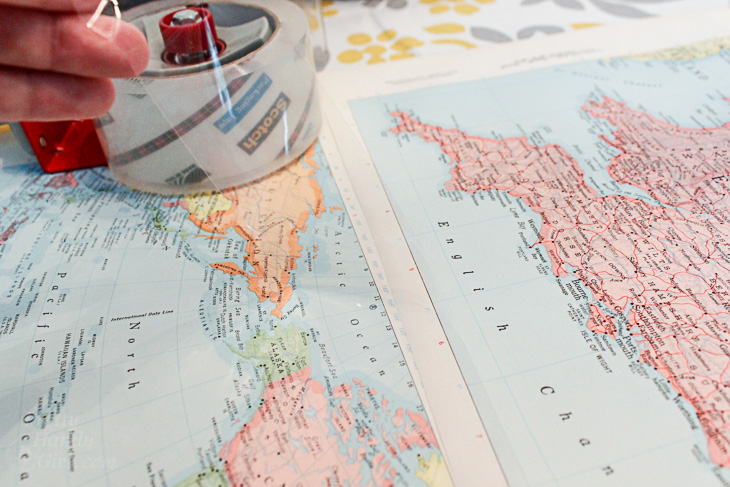
Tape your map pages together using clear packing tape on the inside only.
Trace the template on top of the map pages.
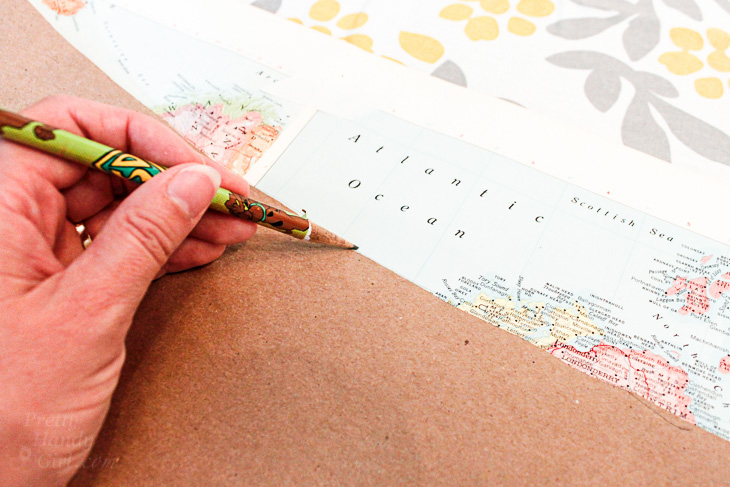
Cut out the shape along the pencil line.
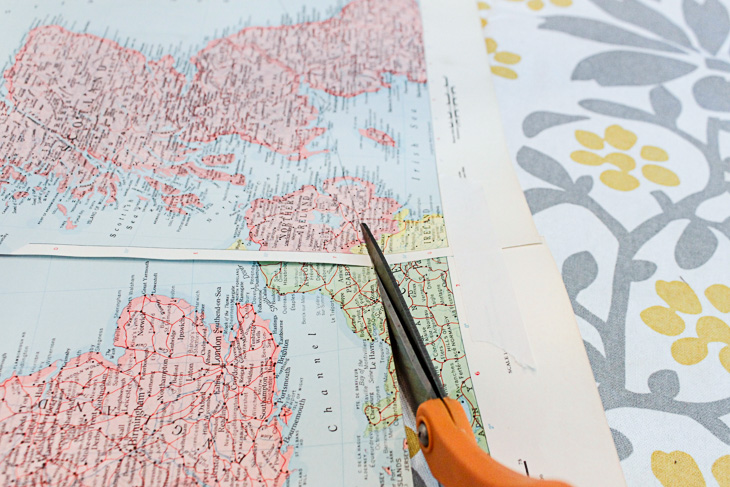
Wrap the lampshade with your cut out map pages.  Clip the edges with clothes pins.

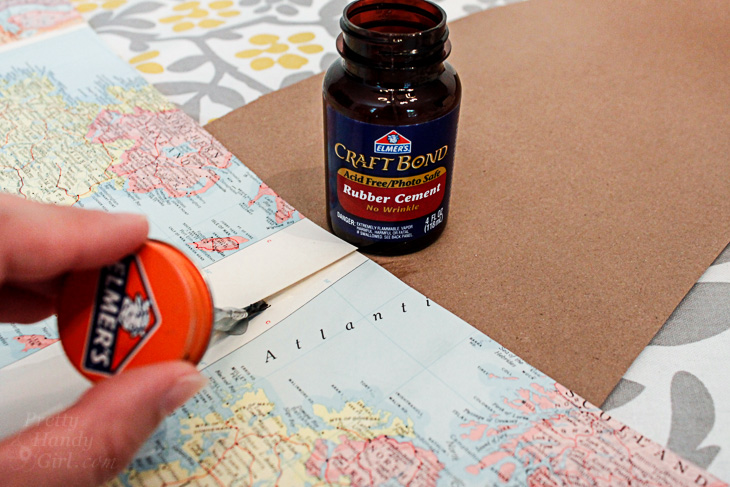
Working in small 8″ sections, brush rubber cement onto the map and the lamp shade. Wait a minute or two for the glues to dry. Then press them together. This is the best way to get maximum adhesion when using regular rubber cement. It creates a stronger bond than just one coat applied and joined while it is still wet. Alternatively you could use spray adhesive (especially if you are using fabric.)
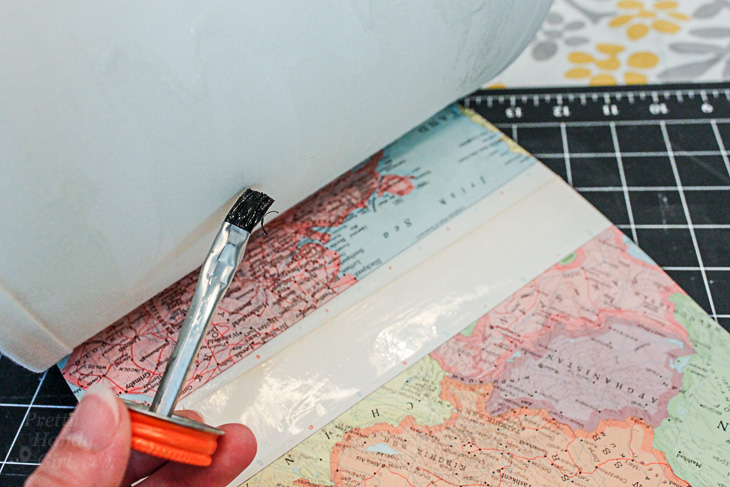
Continue by gluing another section until you reach the end. To finish the seams on the outside, brush some rubber cement under the seams where your maps overlap. Press and hold them down until the glue dries.
Add a Vintage Aged Glaze:

Time to give your maps a vintage aged look! Pour 2 parts mod podge into an empty cup. Add about 1 part cocoa paint. Mix them together. Test some of the glaze on a scrap piece of paper. If you like the glaze color, start brushing it onto the lamp shade. Be careful not to use too much of the glaze or the paper will start to wrinkle. (If it does, no worries, some of the wrinkles will come out when it dries. Any remaining wrinkles make it look old.)

Let the glaze dry.
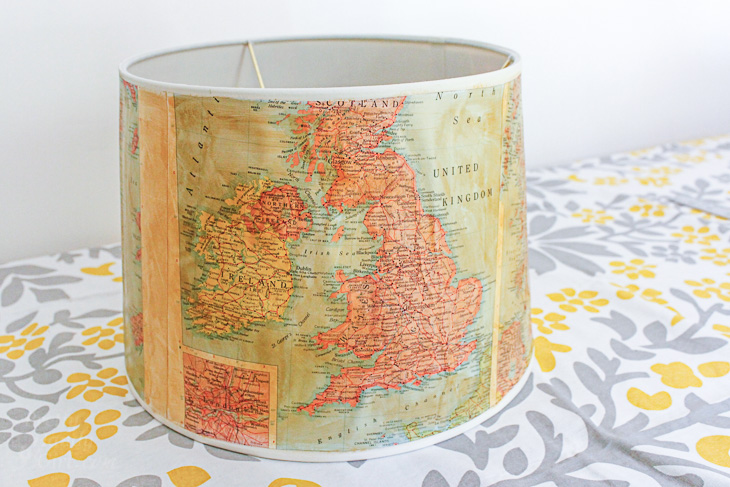
Cut two strips of grosgrain ribbon the circumference of your lamp shade plus an inch for overlap.

Hot glue the ribbon onto the top and bottom edges of your lamp shade. (Please, please, protect your fingers, read my hot glue gun safety post before working with hot glue!)
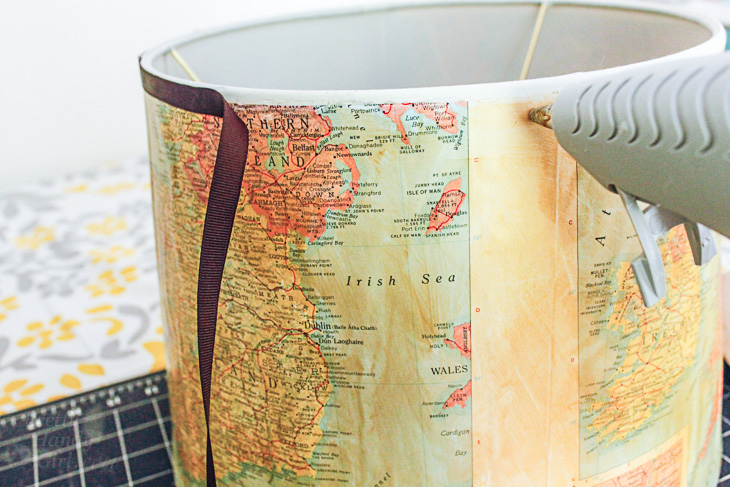

Put your lampshade on your favorite lamp.

Admire your unique lamp shade that brings back fond memories of a special trip.

If you make one of these, what map would be on your’s? Your home state? The place you were born? Where your family’s heritage resides? Or something completely different? I would love to hear your ideas.

Did you like this tutorial? Want to learn how to revamp another lamp shade with paint chips!
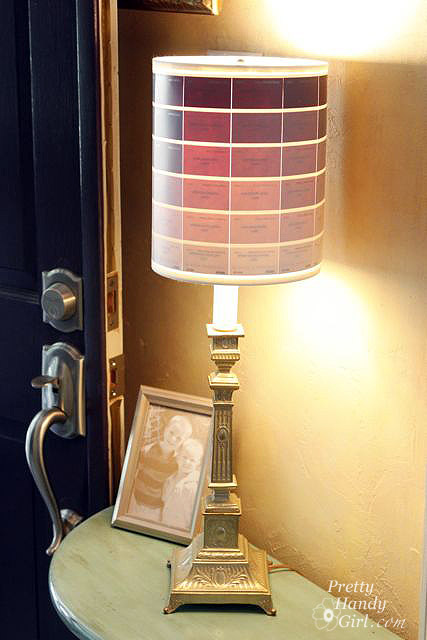
The result are a beautiful ombré lamp that is fun and colorful.


Children's Closet Library with Secret Pass Through | Pretty Handy Girl

Childrens' Closet Library with Secret Pass Through | Pretty Handy Girl

Turning the bonus room closet into a Children’s Closet Library is one of those projects that took longer than expected. Not because the work was harder, but because I took a break from the project for many months while other things took precedence. I’m thrilled to have this project complete and am ready to move on to something new.

Converting a closet in our bonus room into a children’s library started when my oldest son commented that he wanted me to add onto our house and build a library like the one in A Series of Unfortunate Events.

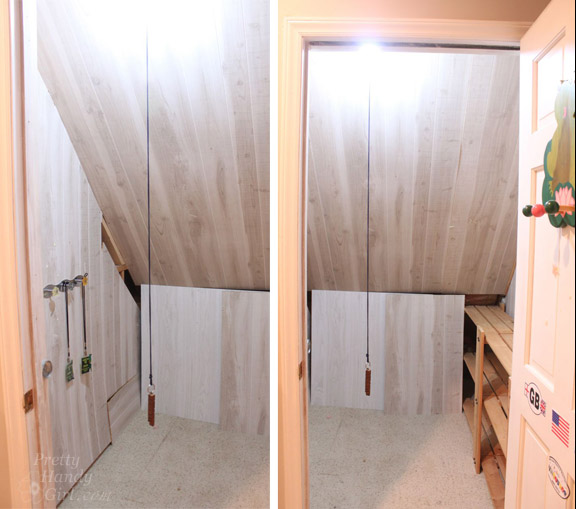
Obviously I had no desire to add onto our home. But, I began to form a plan about where I could add a library in our home. It became clear when I opened the toy closet in the bonus room and found myself getting angry that it was (once again) a mess. As I began clearing a path on the floor of the closet, it occurred to me that 90% of the toys in the closet were for young children and my boys had outgrown them. Time to clear out the closet and repurpose it for my book worms.

Childrens' Closet Library with Secret Pass Through | Pretty Handy Girl

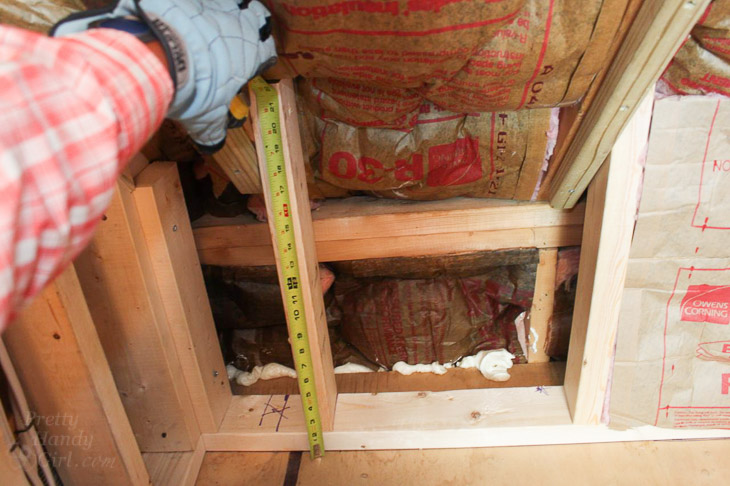
After removing the faux wood panels, I uncovered a mess of wiring and rewired a new light fixture into the closet. Some idiot had never put the wiring inside the wall, instead the guilty party wrapped the wires around the studs (NOT TO CODE!) Instead of re-routing all the wiring, I furred out a new wall to encase the wiring.

Childrens' Closet Library with Secret Pass Through | Pretty Handy Girl

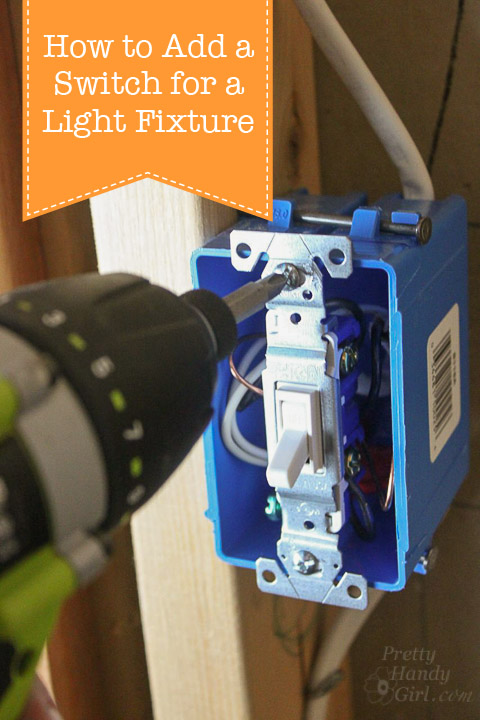
While the walls were open, I decided to install a new light fixture and a switch (instead of the annoying bare bulb fixture with a pull chain.)

How to Add a Switch to a Light Fixture | Pretty Handy Girl

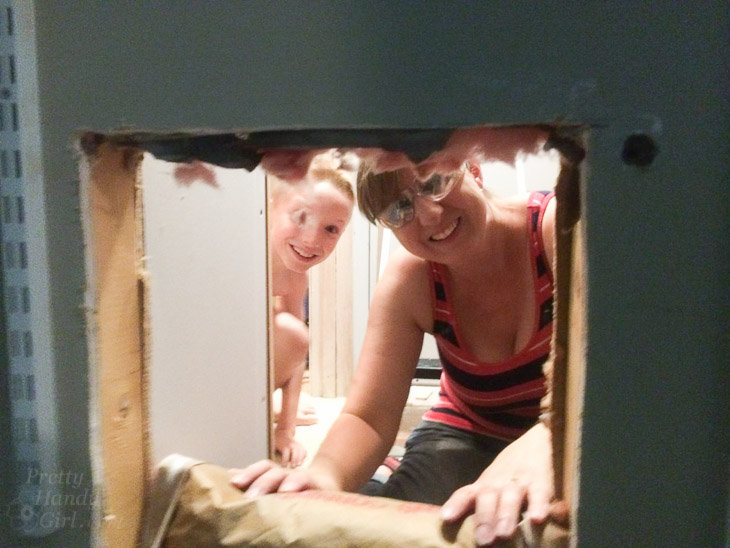
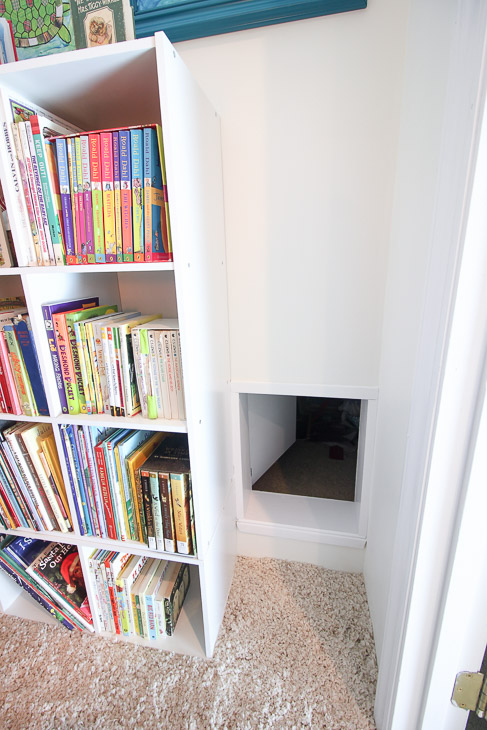
After adding some much needed insulation, the fun began! I cut a hole into the wall between my son’s bedroom closet and the bonus room closet. I think we felt a little bit like the astronauts the first time they docked to the International Space Station and saw the Russian astronauts though the hatch.

Childrens' Closet Library with Secret Pass Through | Pretty Handy Girl

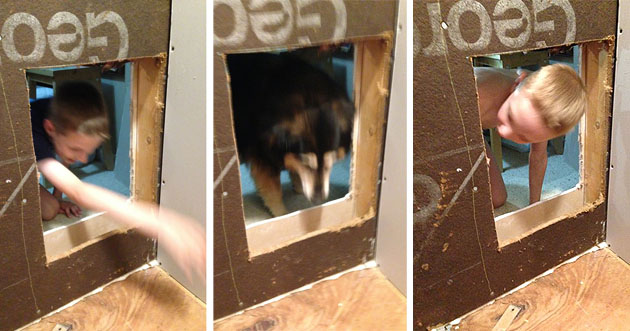
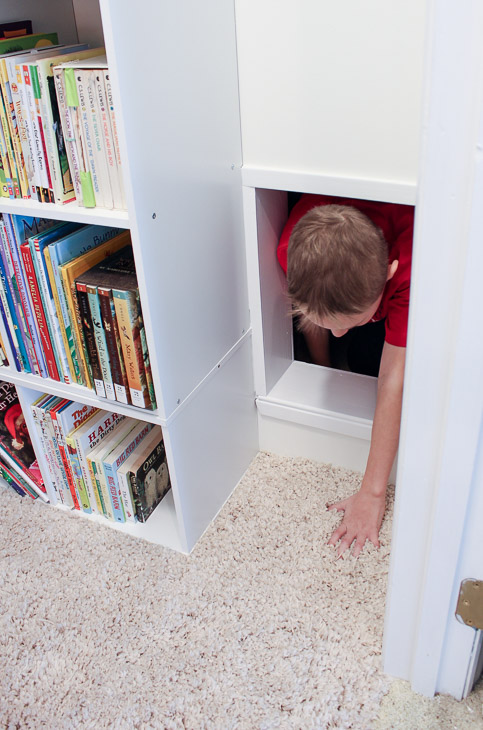
Before adding drywall, everyone had to test the pass through (humans and canines alike.)

Childrens' Closet Library with Secret Pass Through | Pretty Handy Girl

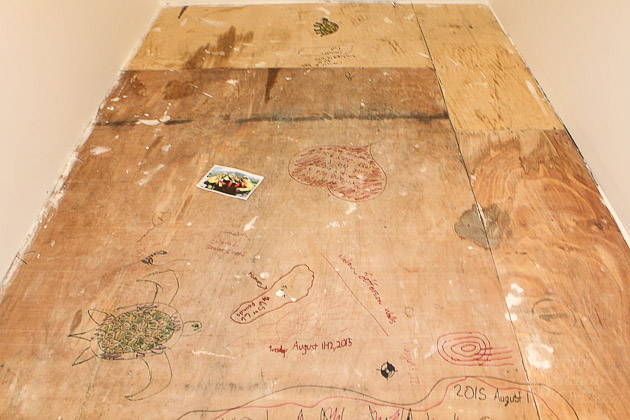
After I installed the drywall and painted, the boys and I drew some messages on the subfloor. We love leaving little notes and time capsules in our construction projects.

Childrens' Closet Library with Secret Pass Through | Pretty Handy Girl

The flooring was definitely a popular addition to this closet. I wish you could feel it.

Faking Wall-to-Wall Carpet with an Area Rug | Pretty Handy Girl

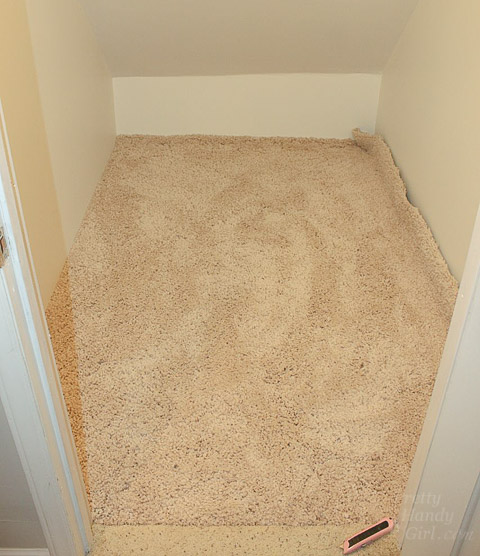
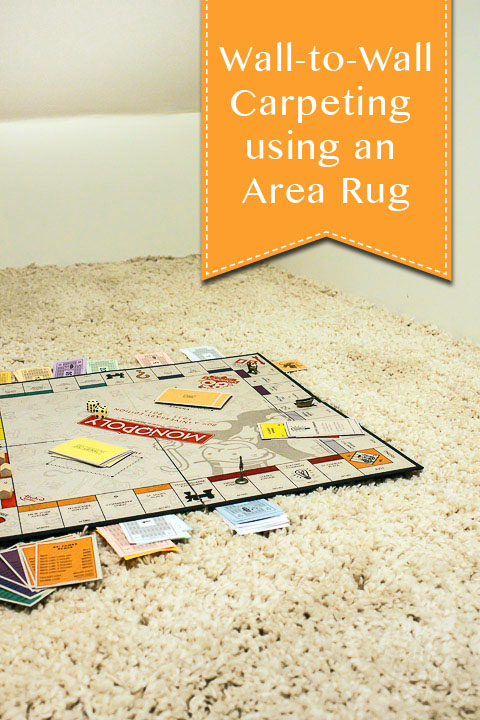
I purchased a fluffy shag chenille rug at Lowe’s that was used to create wall-to-wall carpeting in the closet.

Faking Wall-to-Wall Carpet with an Area Rug | Pretty Handy Girl

The final steps on the closet library was to add furniture and artwork.

Childrens' Closet Library with Secret Pass Through | Pretty Handy Girl

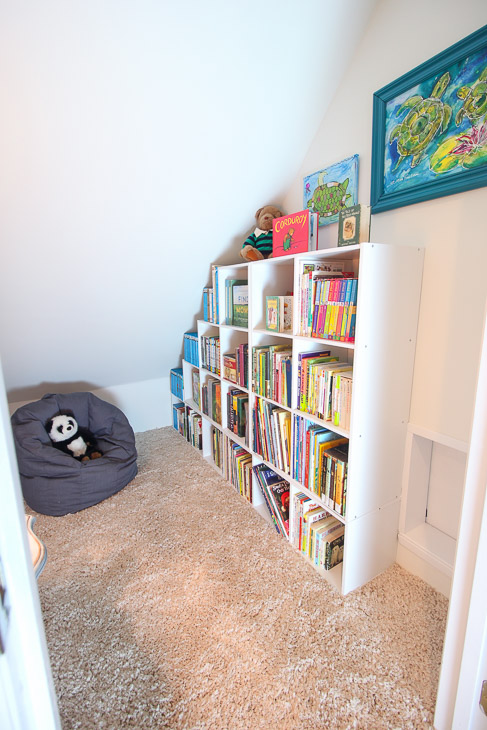
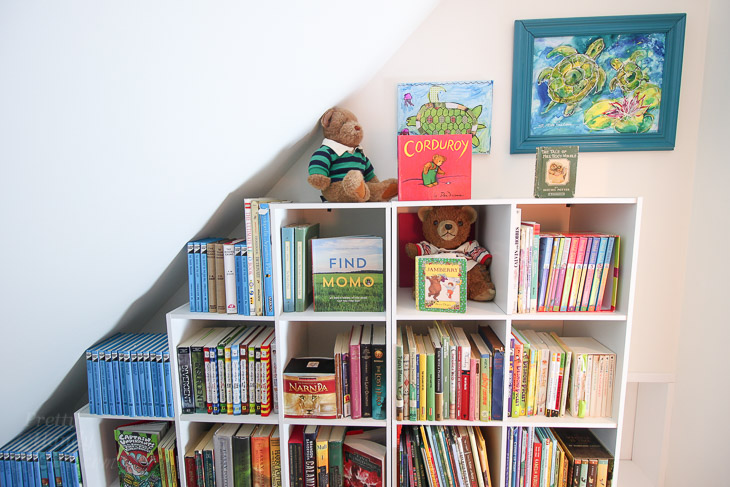
To create bookshelves, I used several IKEA Room Essentials cube storage units. Each unit is anchored to studs on the wall to prevent tipping.

Children's Closet Library with Secret Pass Through | Pretty Handy Girl

Two – 3 Cube Towers on the bottom, One – 6 Cube Shelves, and One – 3-2-1 Cube Organizer Shelf.

(I’ve included affiliate links for your convenience. I earn a small percentage from a purchase using these links. There is no additional cost to you. You can read more about affiliate links here.)

Childrens' Closet Library with Secret Pass Through | Pretty Handy Girl

After the shelves were filled. I trimmed the secret pass through and added hinges and a door on my son’s bedroom side.

Childrens' Closet Library with Secret Pass Through | Pretty Handy Girl

This allows him to lock the door for privacy. A simple window lock worked perfectly for this purpose. Then the boys quality tested my work on the pass through.

Childrens' Closet Library with Secret Pass Through | Pretty Handy Girl

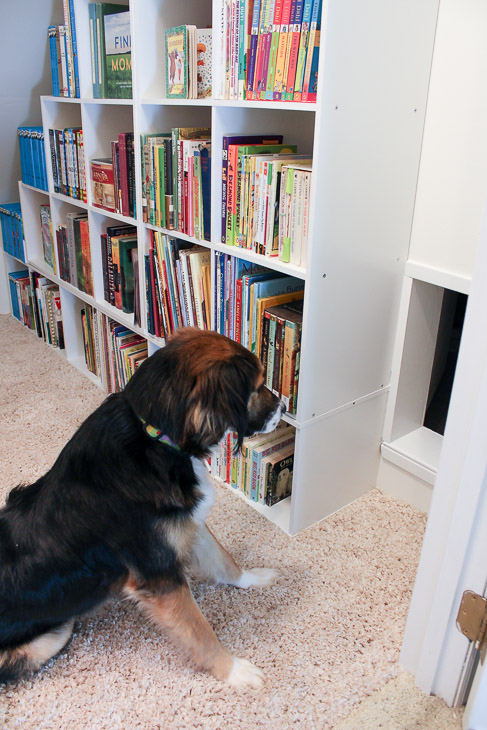
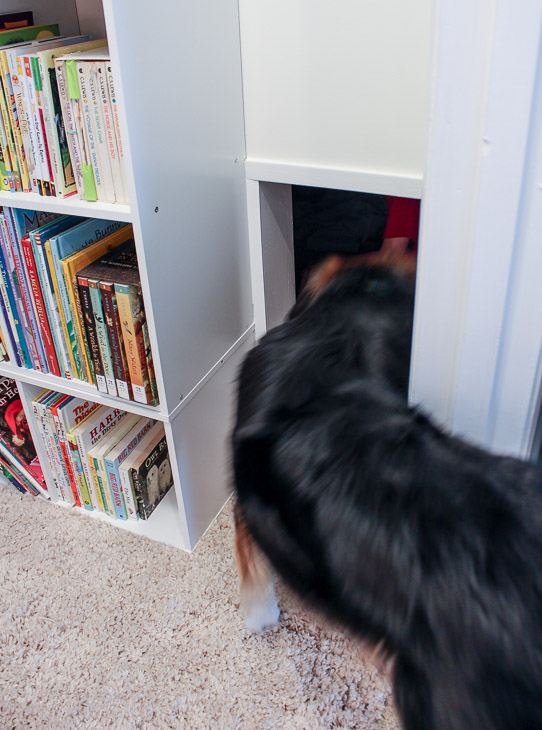
Bandit found the pass through very intriguing.

Childrens' Closet Library with Secret Pass Through | Pretty Handy Girl

Eventually he gave his stamp of approval.
Childrens' Closet Library with Secret Pass Through | Pretty Handy Girl

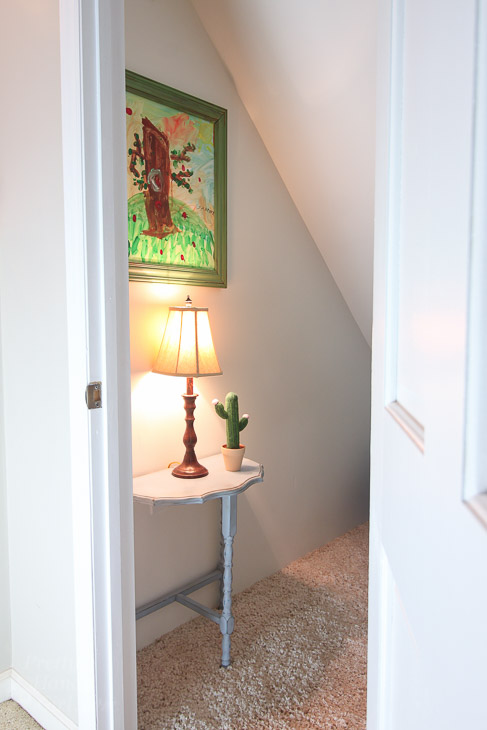
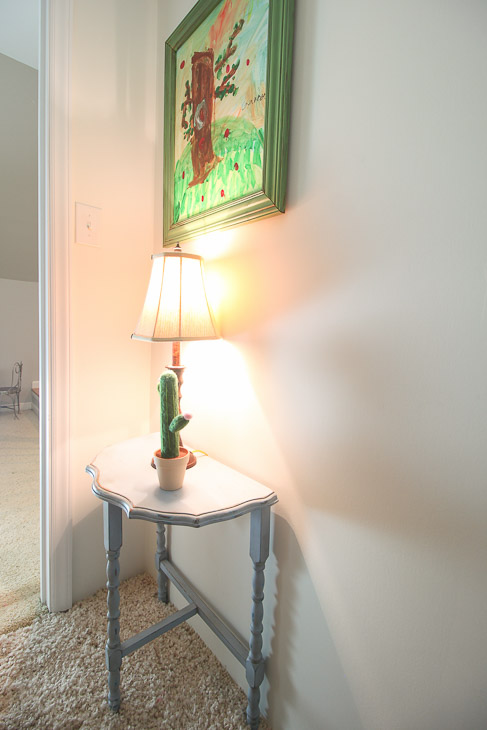
Even though the closet has overhead lighting, I added a small side table and lamp for a cozy feel.

Childrens' Closet Library with Secret Pass Through | Pretty Handy Girl

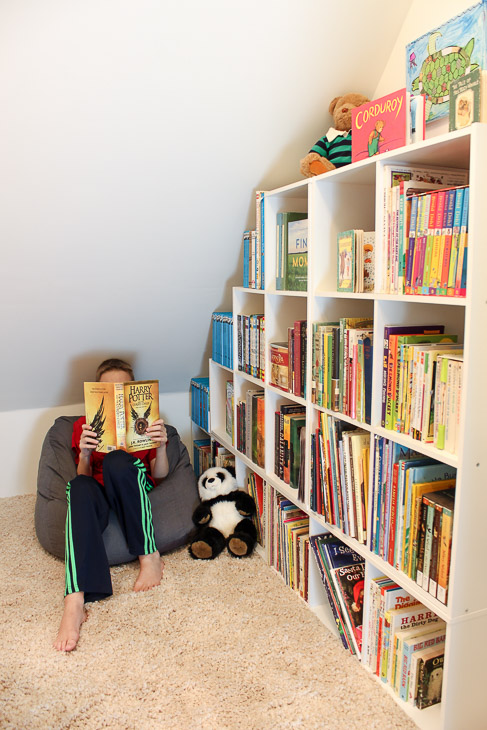
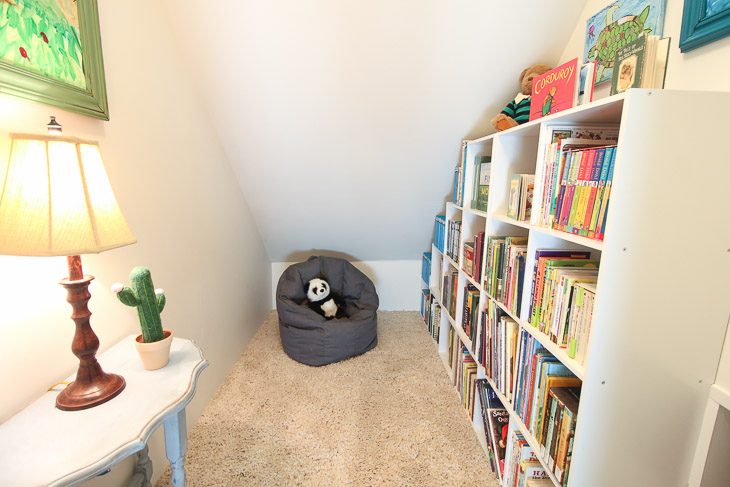
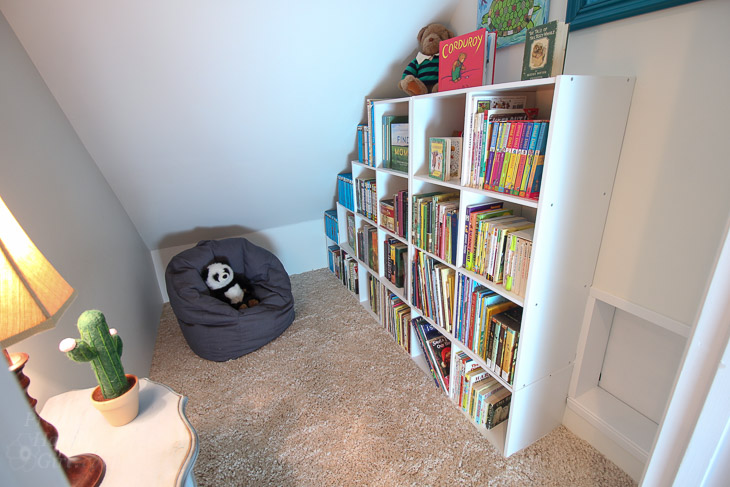
This is the best view of the children’s library closet. (It’s incredibly hard to photograph a closet!)

Childrens' Closet Library with Secret Pass Through | Pretty Handy Girl

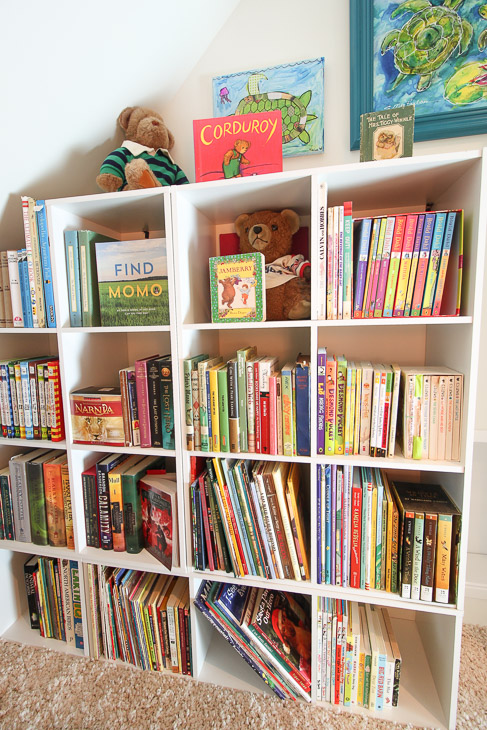
The cube storage shelves are the perfect height to accommodate most of their books.

Childrens' Closet Library with Secret Pass Through | Pretty Handy Girl

My 12 year old son filled and styled the shelves (honest!) He even added some teddy bears like the elementary school library has. So cute!

Childrens' Closet Library with Secret Pass Through | Pretty Handy Girl

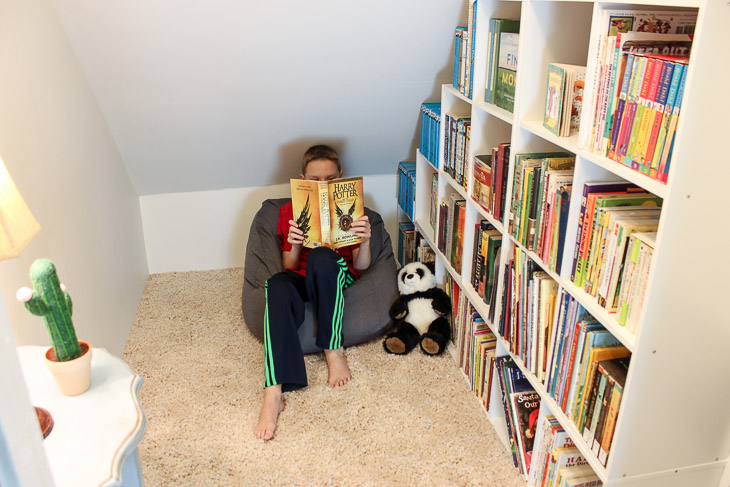
My boys have spent so much time burrowing in this library closet. I frequently find them in there reading, especially when I’m calling them to do chores.

Children's Closet Library with Secret Pass Through | Pretty Handy Girl

Here’s a final peek into the children’s library closet:

Childrens' Closet Library with Secret Pass Through | Pretty Handy Girl

Childrens' Closet Library with Secret Pass Through | Pretty Handy Girl

Do you have a small closet or nook in your home that can be used as a children’s library? It’s amazing how an ordinary closet can turn into something extraordinary.

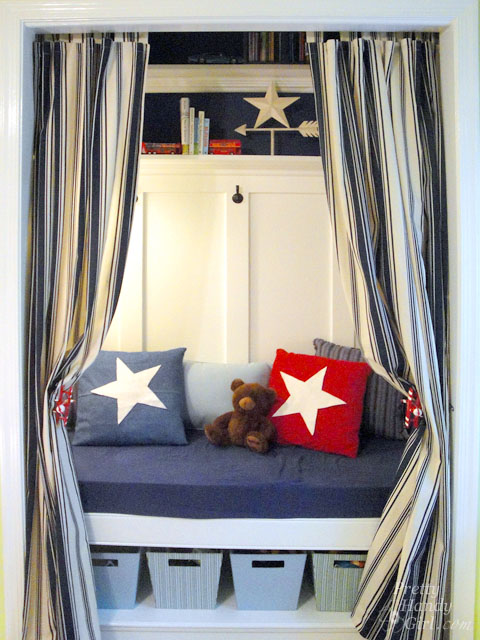
If you liked this renovation, you’ll definitely love my son’s closet turned reading nook.

Closet Reading Nook | Pretty Handy Girl

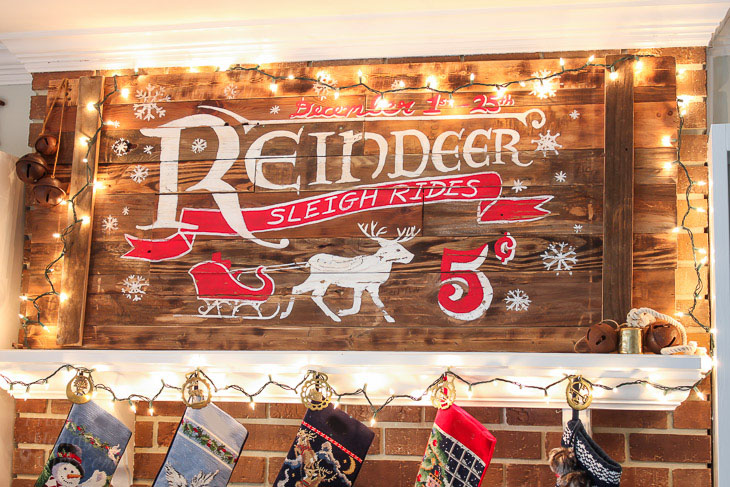
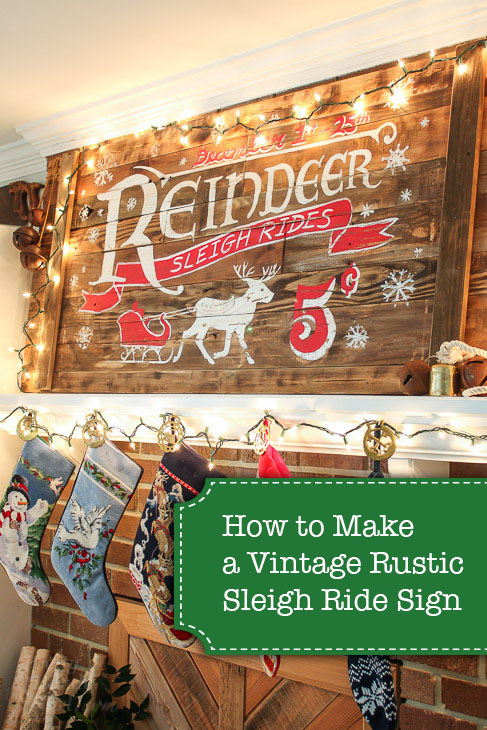
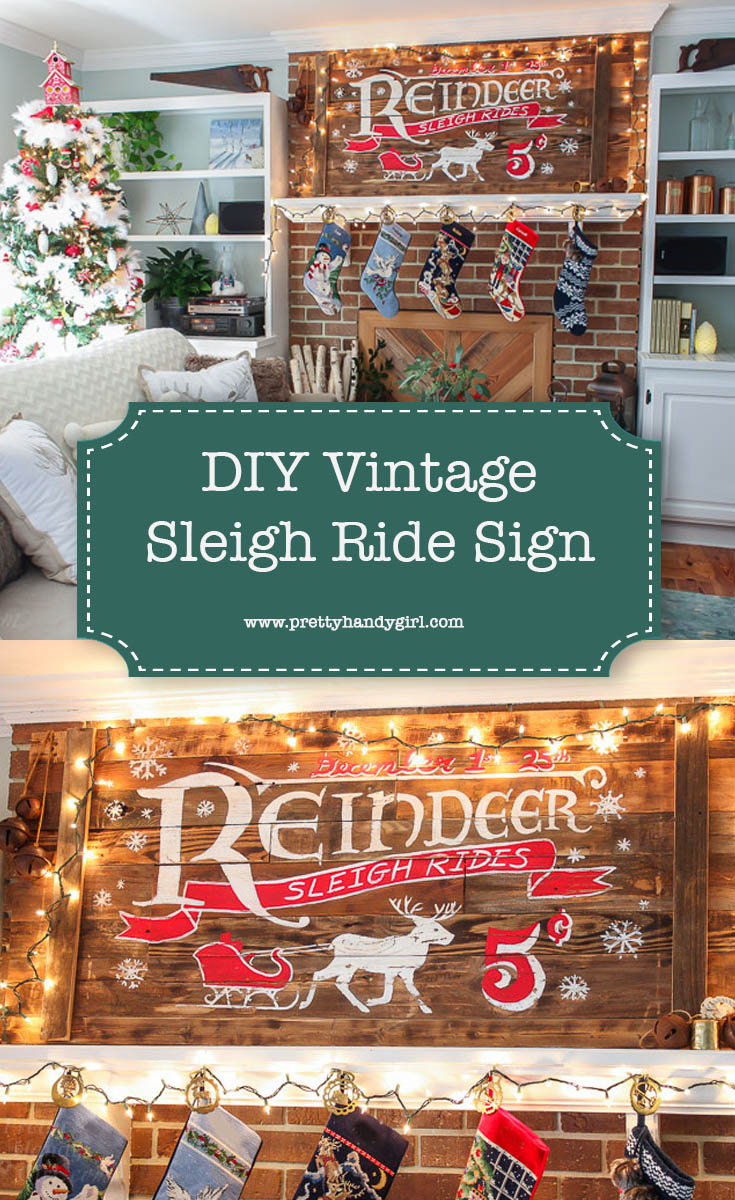
How to Make a Vintage Rustic Sleigh Ride Sign | Pretty Handy Girl How cool! You can use this technique to make or transfer any sign graphic.

How to Make a Vintage Rustic Sleigh Ride Sign | Pretty Handy Girl How cool! You can use this technique to make or transfer any sign graphic.

How to Make a Vintage Rustic Sleigh Ride Sign:

You guys, I’m super excited about this Vintage Rustic Sleigh Ride Sign I made using scraps from my workshop. This sign turned out 200 times better than I imagined in my head. I knew I had to share the tutorial with you so you can make your own vintage signs for any holiday! Let’s get this party started.

Sign:

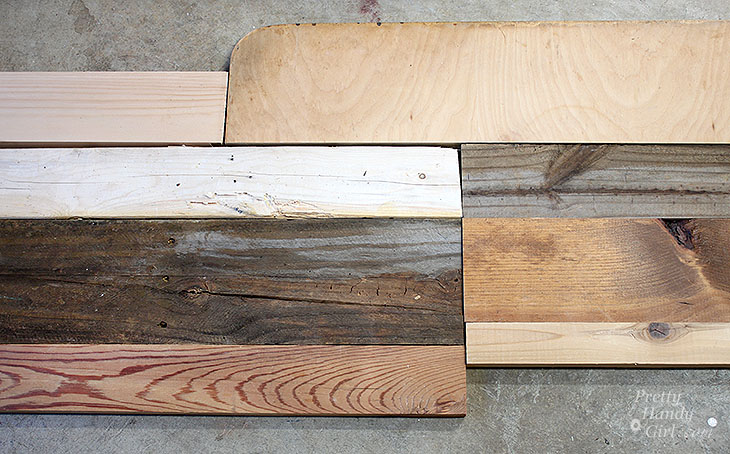
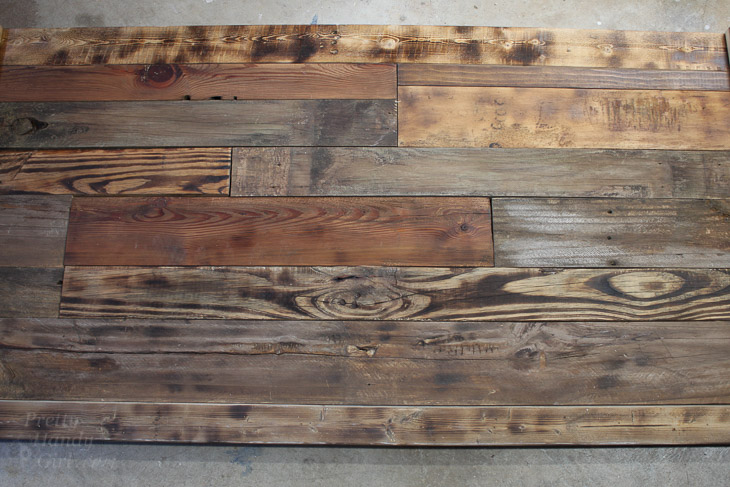
First I suggest measuring the space where you want to hang your sign (it would suck to build it too large or too small.) Begin laying out your scrap wood. It’s best to line up the same width boards along each row. If you need to, you can rip down scraps on a table saw.

scrap-layouts

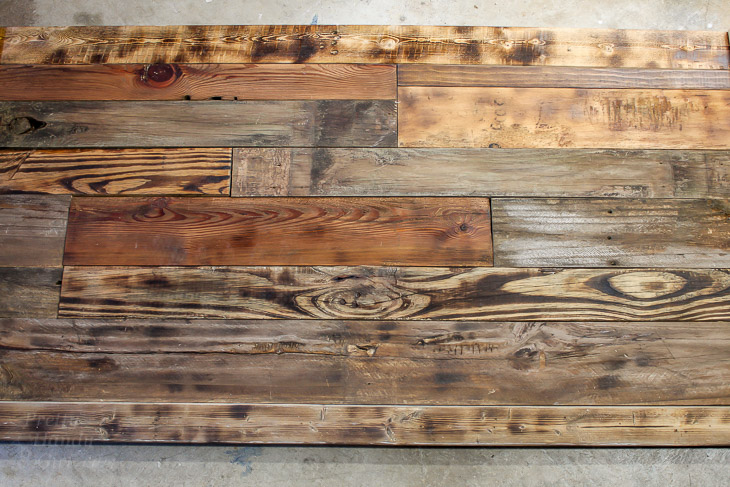
Once you have the scraps laid out, add any stain or paint if you desire. I added a combination of glaze, stain and burned some boards to give them a similar color value but still let them look unique.

scrap-wood-assembled-2

Supports:

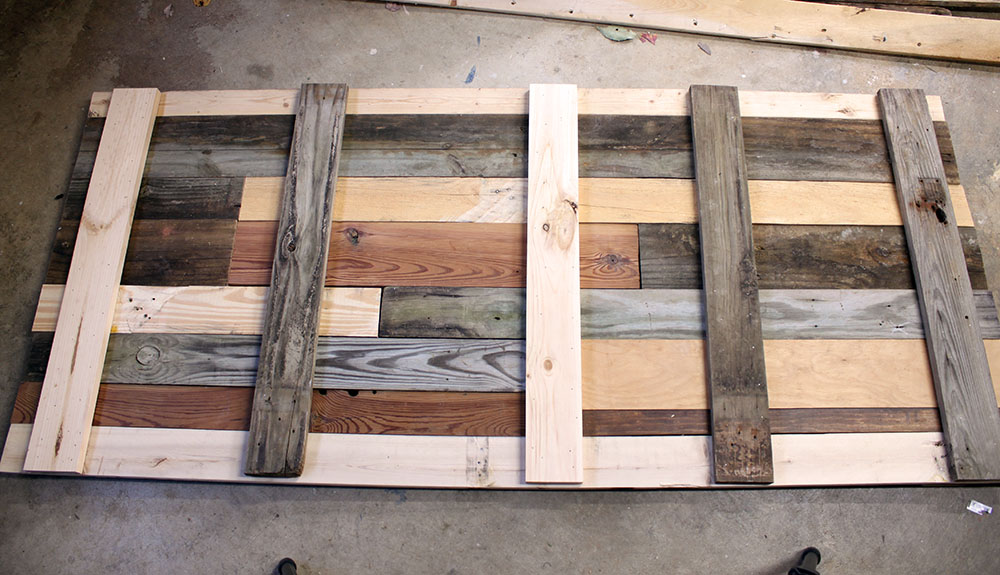
The key to building a sign with lots of scrap wood is to space your supports well. Each board should have two vertical support pieces on the back, unless the board is really short. You might be able to get away with just one support for those shorties.
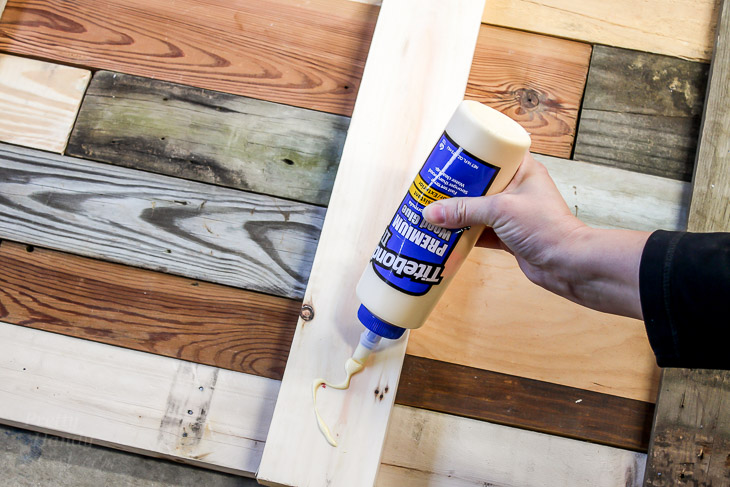
Cut 1″ x 4″ boards to the height of your sign. Flip the scraps over and glue each support board.

add-back-support-boards-wood-glue-4

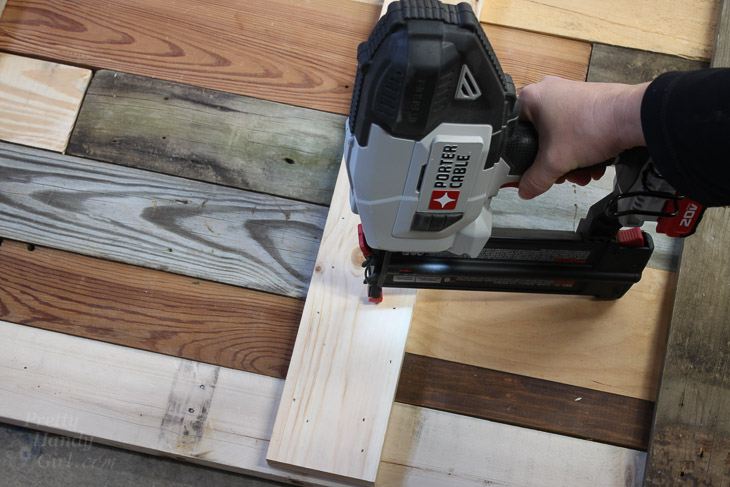
Nail each support board 3-4 times to each scrap.

secure-supports-finish-supports-6

I ended up using 5 supports for my sign.

scrap-wood-sign-support

Allow the glue to dry. Flip your sign over and make sure the scrap boards are well secured.

scrap-woods-layout-2

Transferring the Image:

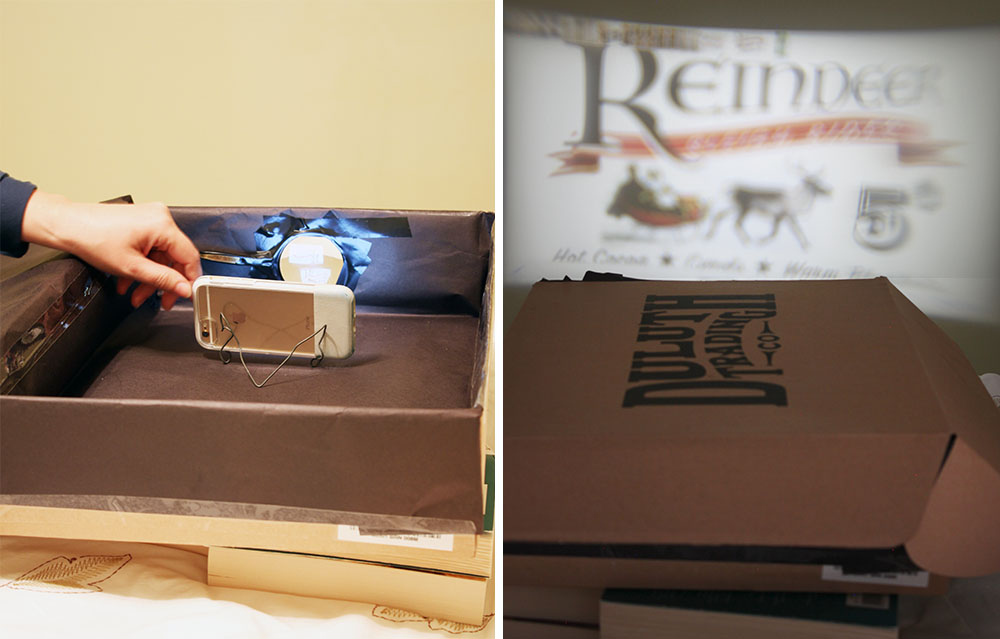
Now it’s time to have some fun. I made a shoebox projector by following the directions in this video:

I created a basic sketch for the sign. (You are welcome to use this image, but please use for personal use only. Do not resell products with this image on it. And please be sure to credit and link back to this post if you use my image and blog about it.)

How to Make a Vintage Rustic Sleigh Ride Sign | Pretty Handy Girl How cool! You can use this technique to make or transfer any sign graphic.

For your convenience, this image has already been flipped and reversed for projecting it in the shoebox projector.How to Make a Vintage Rustic Sleigh Ride Sign | Pretty Handy Girl How cool! You can use this technique to make or transfer any sign graphic.

Send the image to your phone. Insert the phone into the shoebox. (The brightness has to be turned all the way up and you might want to change the display setting to stay lit longer.) Turn the lights out. Move the shoe box back and forth until you have the image sized as large as you want. Then move your phone forward and back to focus.

shoebox-projector

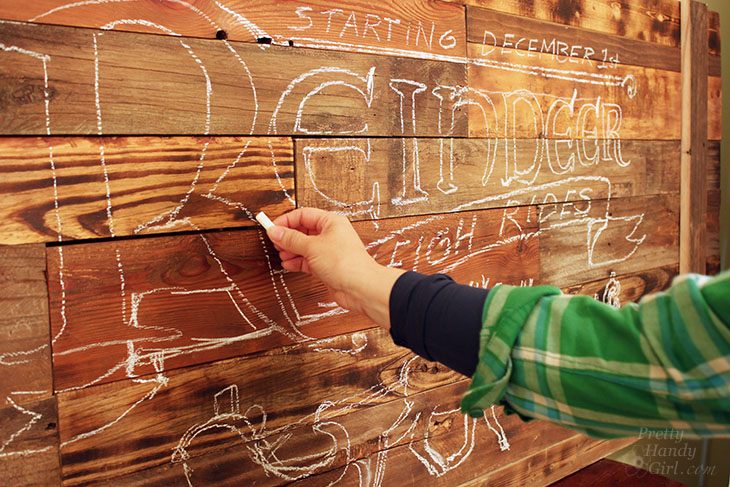
I will say that my image isn’t as clear as I expected, but my magnifying glass is old and scratched up. However, it gave me enough information to trace my image. Use chalk to trace around the design.

chalk-outline-sign-image

Painting Your Sign:

Now you’re ready to paint your sign. It’s not hard at all, think of it like coloring in the lines of a coloring book. Here’s my video tutorial to help you learn all my tips and tricks while painting signs:

All done? Great! Hang your “new” Vintage Rustic Sleigh Ride Sign with pride.

Holiday Home Tour 2016 | Pretty Handy Girl

I won’t let on that you just made it. Let’s let everyone think we scored this fun sleigh ride sign at an antique shop. 😉

Holiday Home Tour 2016 | Pretty Handy Girl

Holiday Home Tour 2016 | Pretty Handy Girl

Where are you going to hang your vintage rustic sign? I think I’m going to make another one for our kitchen. Maybe a market sign with a pig silhouette?

Holiday Home Tour 2016 | Pretty Handy Girl

Hope you are enjoying the holidays!

PHGFancySign


Pin for later!

Add vintage charm to your holiday home with this DIY Reindeer Sleigh Sign | Pretty Handy Girl #DIYholiday #holidayhome #holidaysign

Holiday Home Tour 2016 | Pretty Handy Girl

Holiday Home Tour 2016 | Pretty Handy Girl

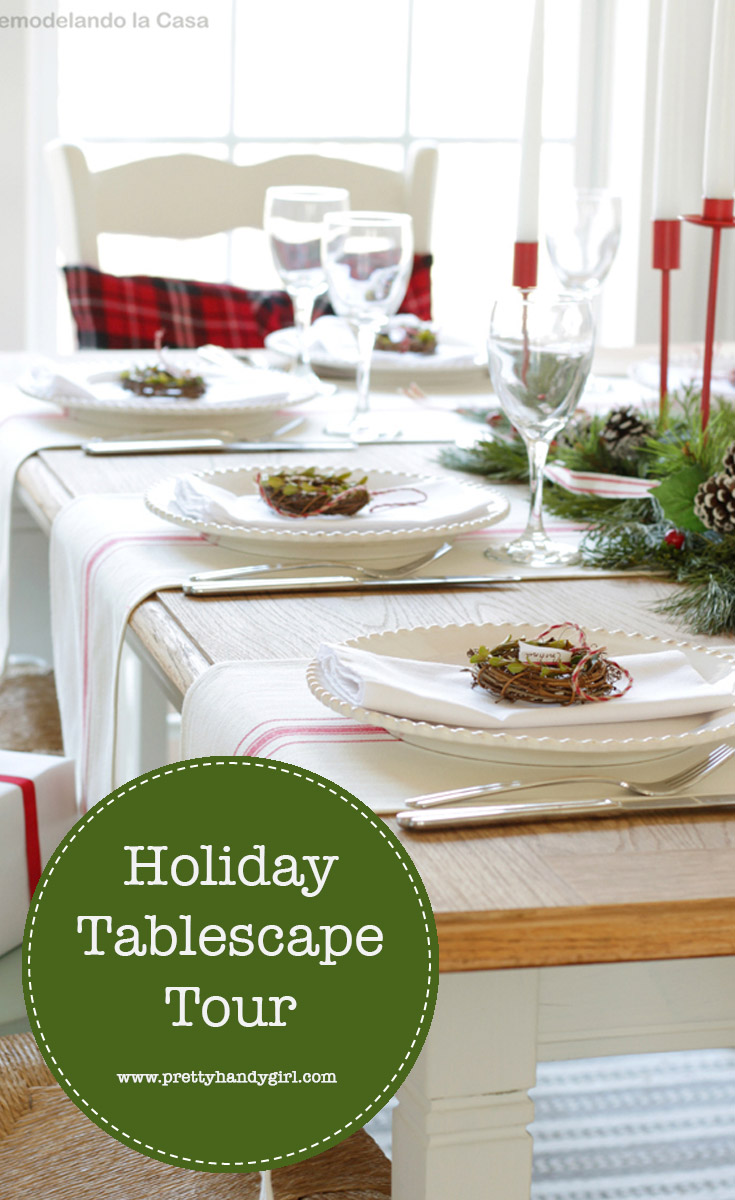
Welcome to the Holiday Tablescape Tour of 2016. I’ve partnered with some of the most talented DIY bloggers for a jam packed tablescape tour. You won’t want to miss a stop because there’s lots of decorating inspiration for all.

Holiday Tablescape Tour 2016

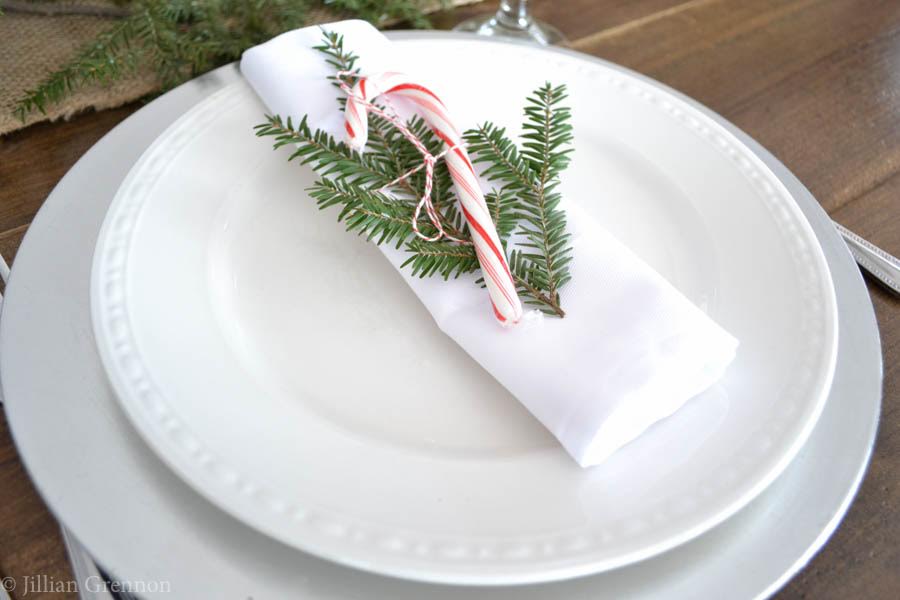
If you are coming over from I Am a Homemaker, welcome! Wasn’t Jillian’s table beautiful? I love the simple candy canes and pine branches at each place setting.

Tablescape Tour 2016

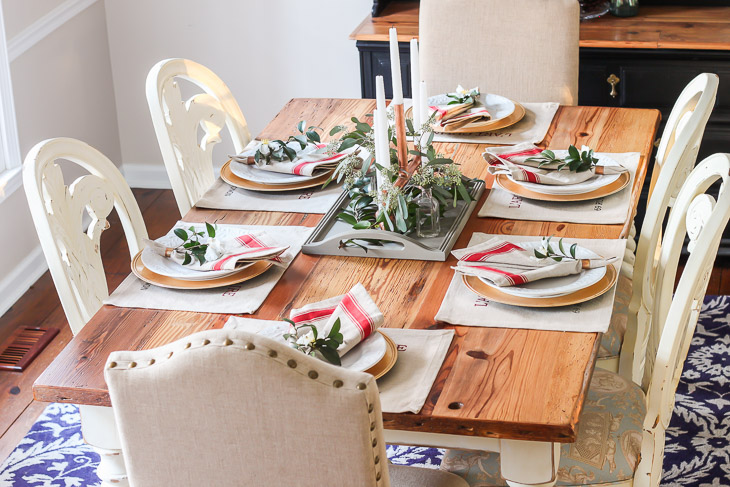
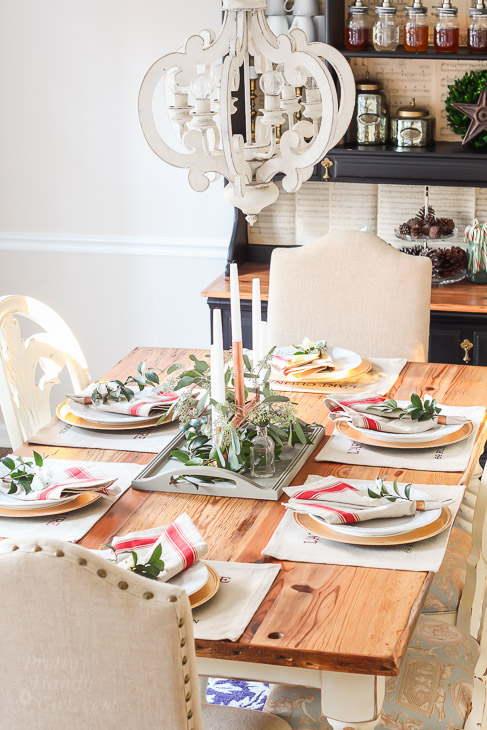
I hope you enjoyed my holiday home tour last week. Today I’d love to invite you into our dining room. I didn’t spend a lot of money on this tablescape. In fact, most of the decorations were created with a copper plumbing pipe, truth!

Holiday Home Tour 2016 | Pretty Handy Girl

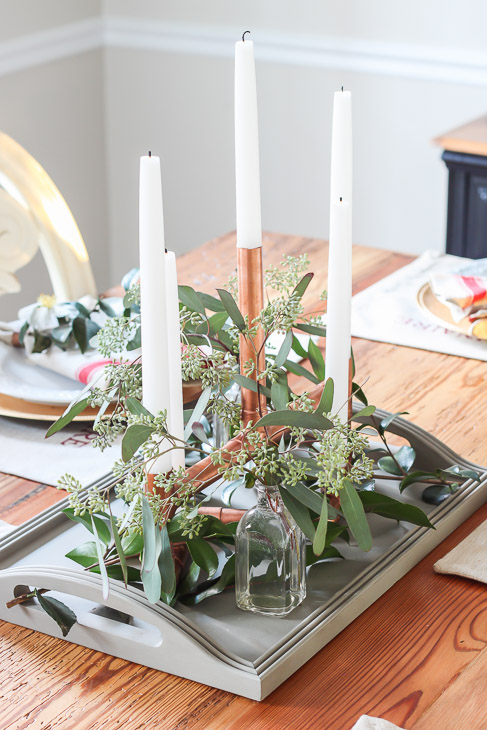
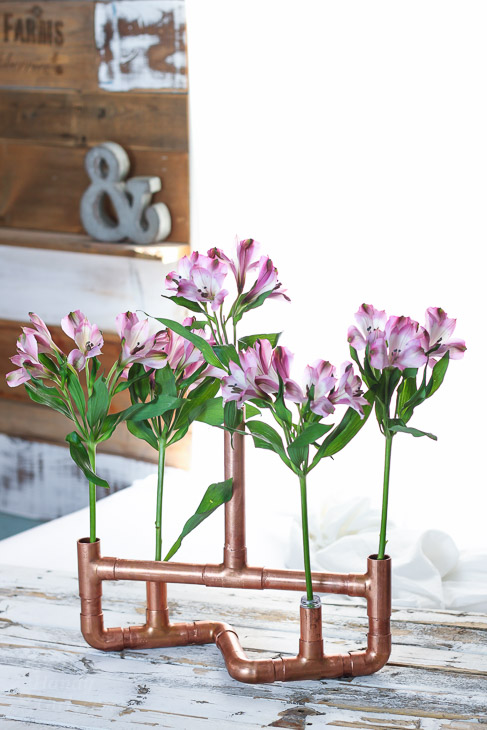
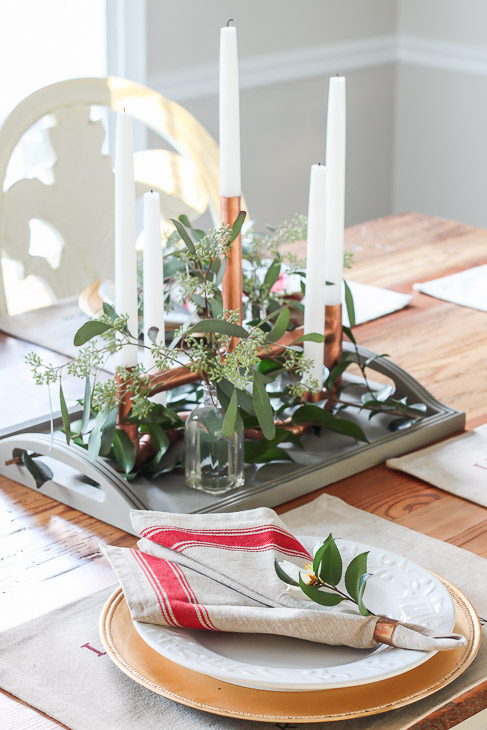
This copper pipe centerpiece was made with—you guessed it—a copper pipe. You can learn how to make your own copper pipe centerpiece here.

Holiday Home Tour 2016 | Pretty Handy Girl

It doubles as a beautiful floral centerpiece, too!

DIY Copper Pipe Centerpiece | Pretty Handy Girl

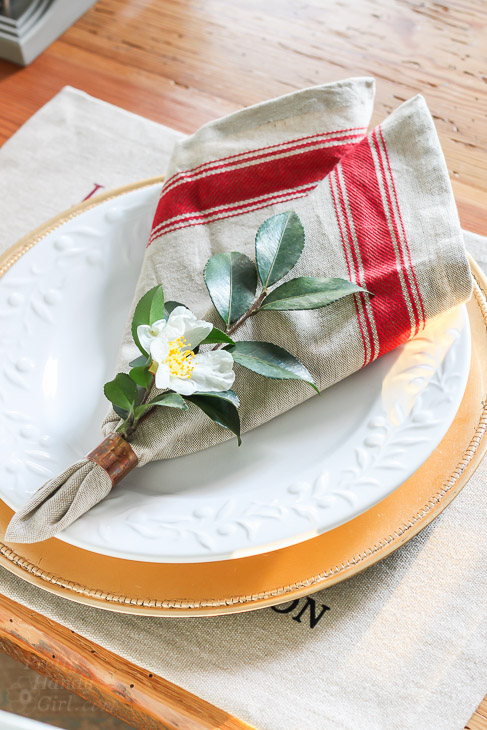
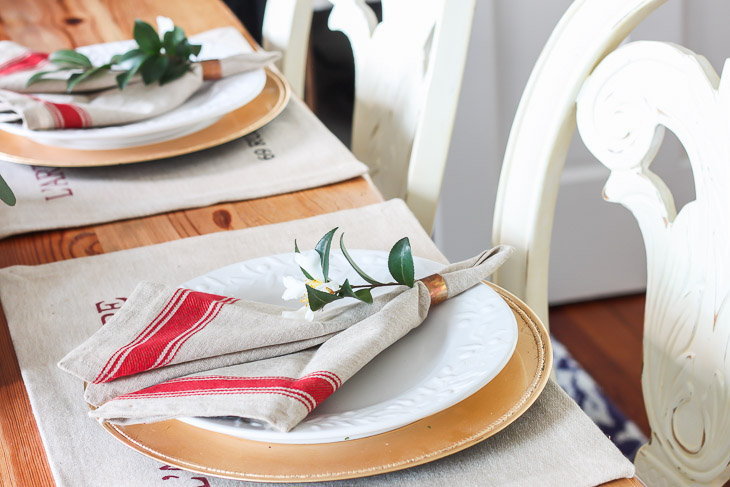
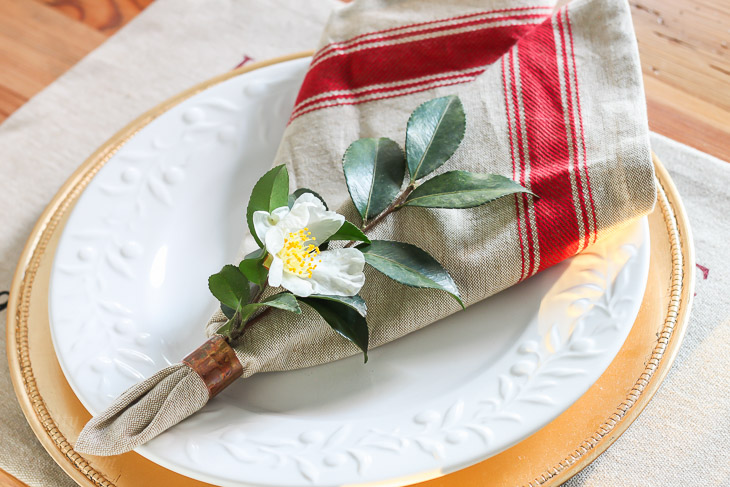
For the napkin rings, you can cut small pieces of 3/4″ pipe and roll the end of napkins into the pipes. I might buy a larger copper pipe in the future to make bigger napkin rings.  Go ahead, make your own by following this video for cutting pipe by hand.

Holiday Home Tour 2016 | Pretty Handy Girl

For a touch of natural beauty, I tucked a few blooming camellias from our yard into the rings.

Holiday Home Tour 2016 | Pretty Handy Girl

I try not to buy greenery, but a few years ago I fell in love with seeded eucalyptus. Luckily my grocery store carries bunches to purchase.

Holiday Home Tour 2016 | Pretty Handy Girl

I’m excited for Christmas morning. We usually have family over and have a big Christmas brunch with lots of pancakes. Yum!

Holiday Home Tour 2016 | Pretty Handy Girl

Do you like to decorate your table for the holidays? You’ll want to check out the rest of the Holiday Tablescape Tour for more ideas!

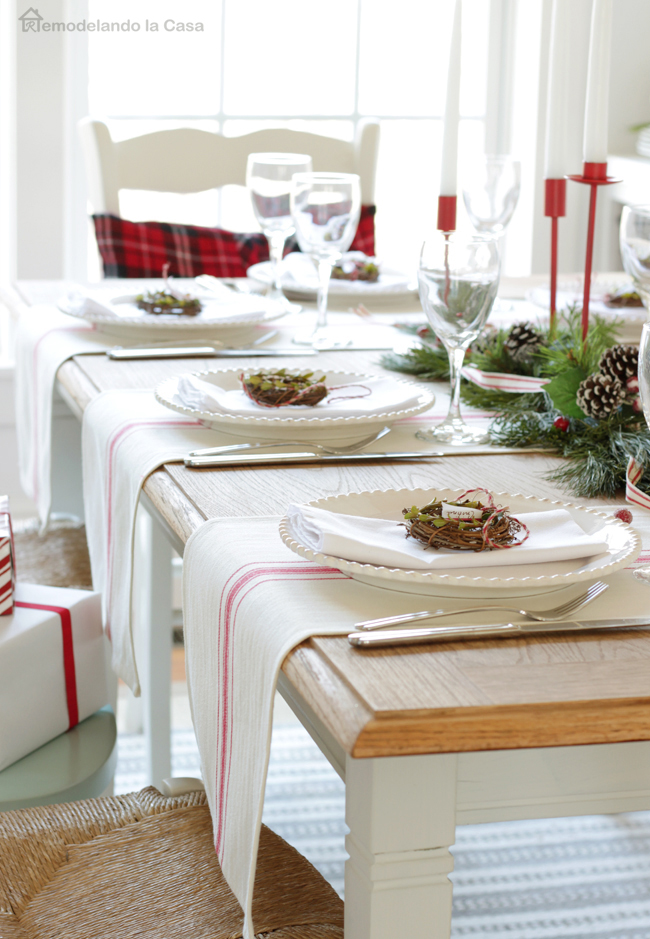
Head on over to Cristina’s at Remodelando la Casa, you’ll love her tablescape!

Tablescape Tour 2016

Then visit the rest of the stops on the tablescape tour:

Decor Adventures
Her Toolbelt
I Am a Homemaker
Pretty Handy Girl
Remodelando la Casa
Sawdust 2 Stitches
Stacy Risenmay
That’s My Letter

Enjoy the rest of the tour!

PHGFancySign


Pin for later!

Find holiday table decor ideas and inspiration with this tablescape tour from Pretty Handy Girl | Holiday tablescape #prettyhandygirl #holidaytable #holidayhome

How to Make a Vintage Rustic Sleigh Ride Sign | Pretty Handy Girl How cool! You can use this technique to make or transfer any sign graphic.

Holiday Home Tour 2016 | Pretty Handy Girl

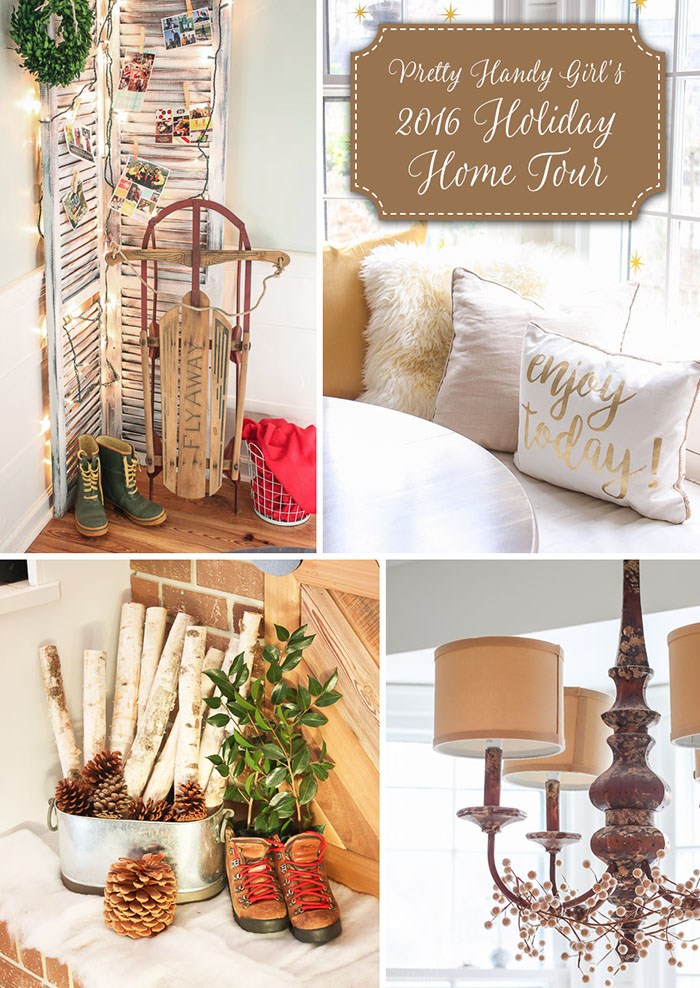
I’m so happy to see you again this year! This is my annual holiday home tour and each year I can’t wait to invite you in to see the decorations. (These are my home tours from 2010, 2011, 2013, 2014, 2015.) This year I tried to keep it simple, but I did take two days to make a really fun vintage sign. I hope you’ll come on in and see it (and the rest of my holiday decorating efforts.)

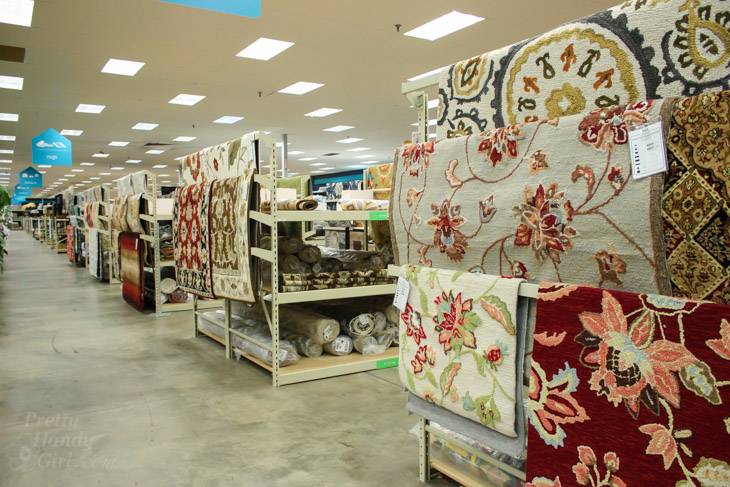
Before I start decorating, I like to choose a theme. This year I wanted to create a nature or woodland inspired theme. I pulled the storage bins out of the attic and assessed what I had to work with. Then, I made a list of some items I could use to fill out the room. Next stop was my local At Home store. This home tour has been sponsored by At Home. This year I’ve been thrilled to be an At Home brand ambassador. (You can see a photo tour of the At Home store in this post.

At Home Store Tour | Pretty Handy Girl

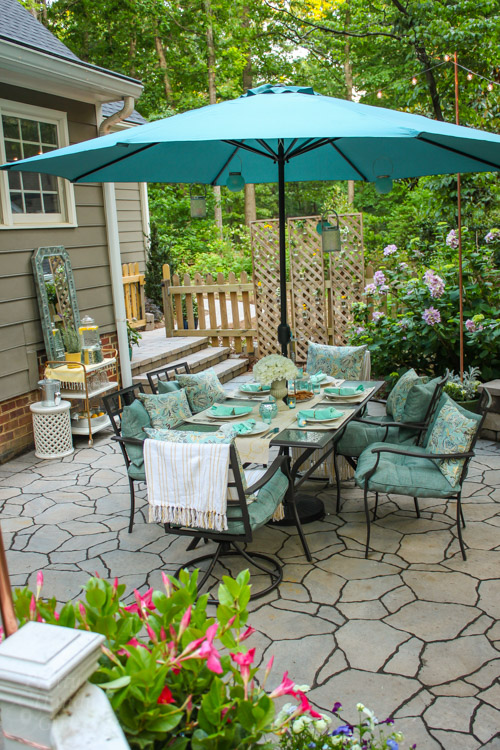
Or come take a tour of my patio decorated for a garden party using several At Home finds (feel free to stay a while if you need to shake off that winter chill by looking at summer photos.)

Outdoor Garden Patio Party Decorating Ideas | Pretty Handy Girl

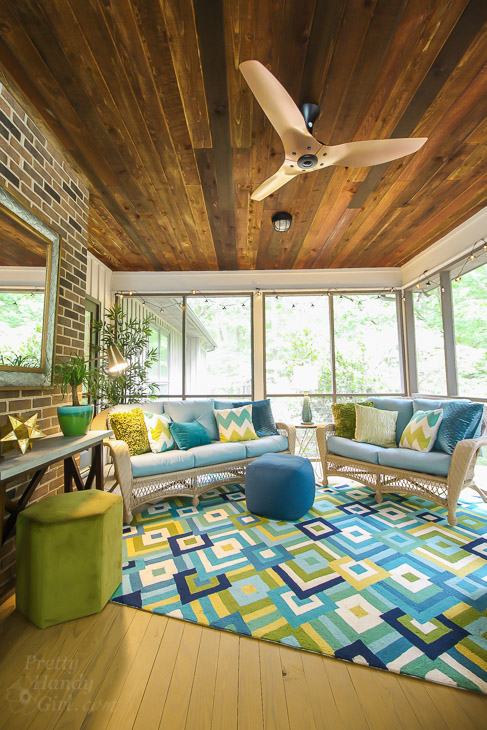
Finally, you won’t want to miss this drab to fab screen porch makeover that I accomplished with help from At Home.

Installing the Most Beautiful Ceiling Fan | Haiku Copper Luxe Ceiling Fan | Pretty Handy Girl

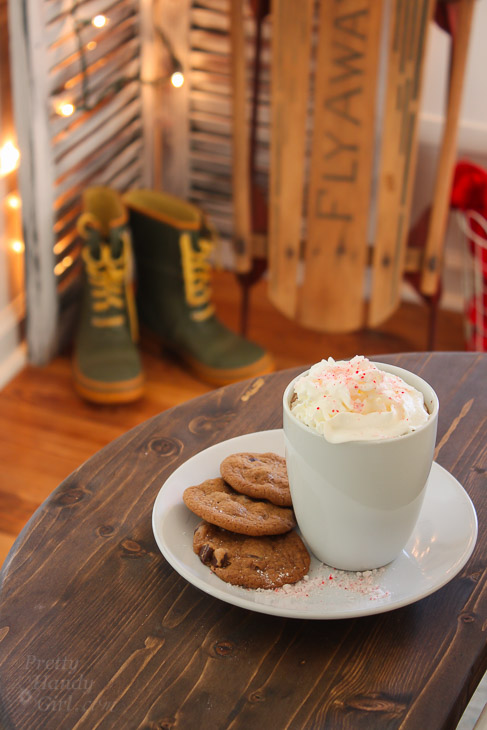
Have you warmed up yet? Well come on inside and get cozy. I made you some hot chocolate and salted caramel chocolate chip cookies for the tour.

hot-cocoa-side-table-boots-background

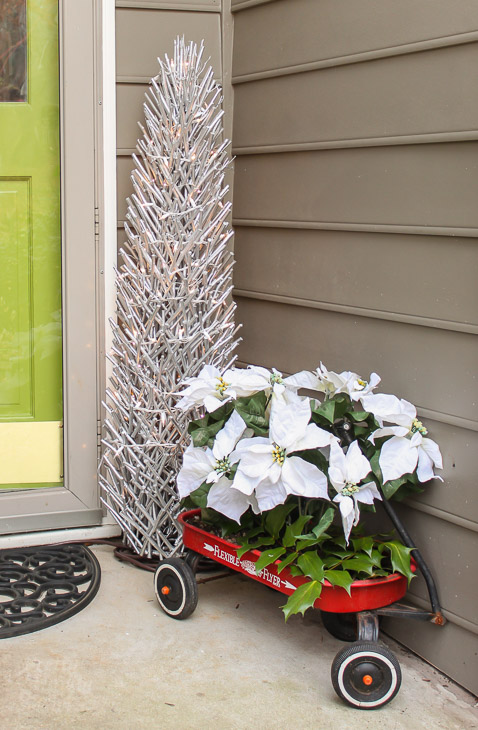
Did you notice the little silver twig tree? That was an At Home find, I couldn’t resist it. The little white lights make the tree glow at night. I also picked up some faux poinsettias from At Home and popped them in my 3 Step Little Red Wagon Planter.

Holiday Home Tour 2016 | Pretty Handy Girl

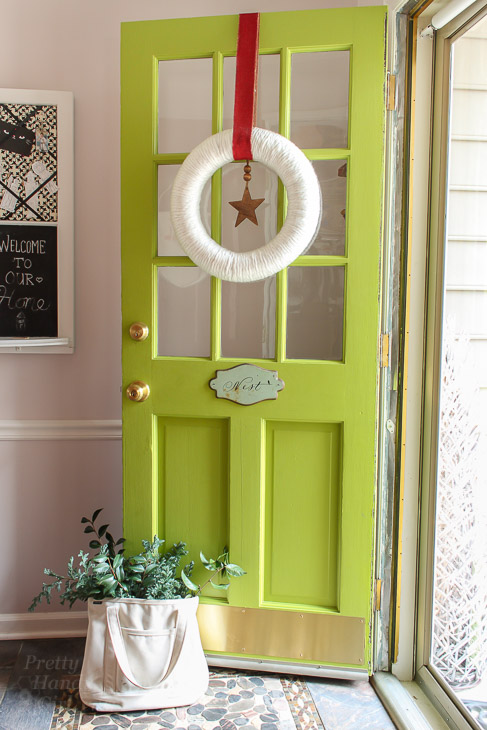
green-side-door

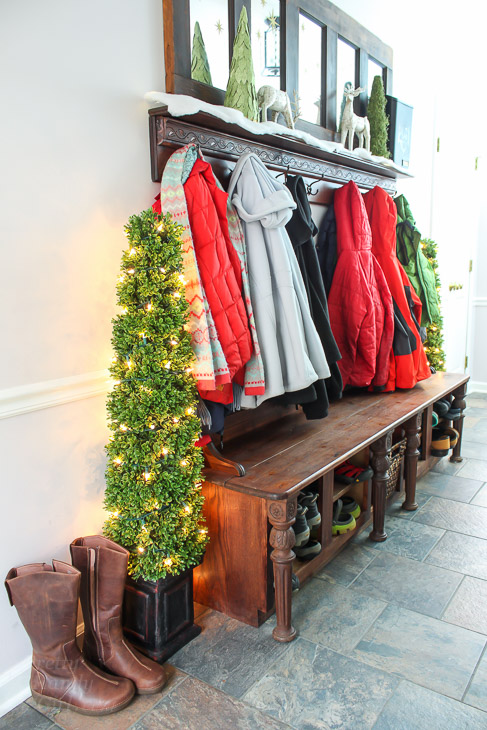
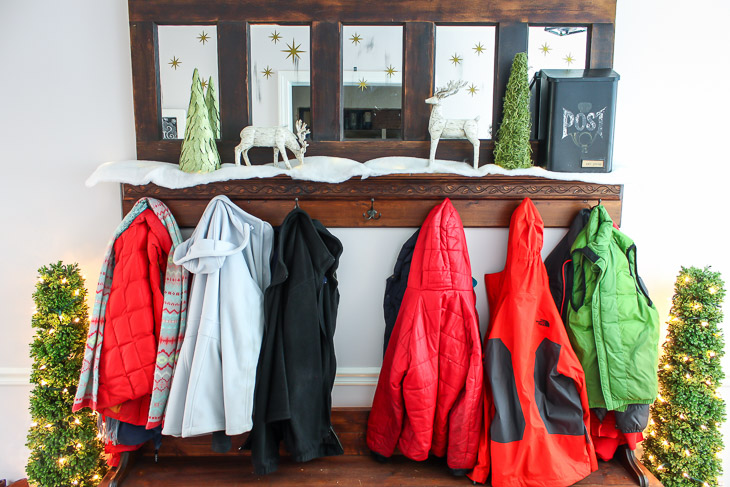
May I take your jacket? You can kick off your shoes if you want to get more comfortable. The shoe storage bench and coat rack were early DIY projects. This mudroom spot is my sanity saver because it holds our daily assortment of coats, backpacks, shoes and socks!

side-view-mudroom-bench-shoe-storage-coat-rack

These topiaries from At Home have seen a lot of use. I bought the unlit versions to save money and added my own lights for the holidays. But, honestly the lit versions are only $10 more, so splurge if you buy some for your home.

mudroom-bench-full-view

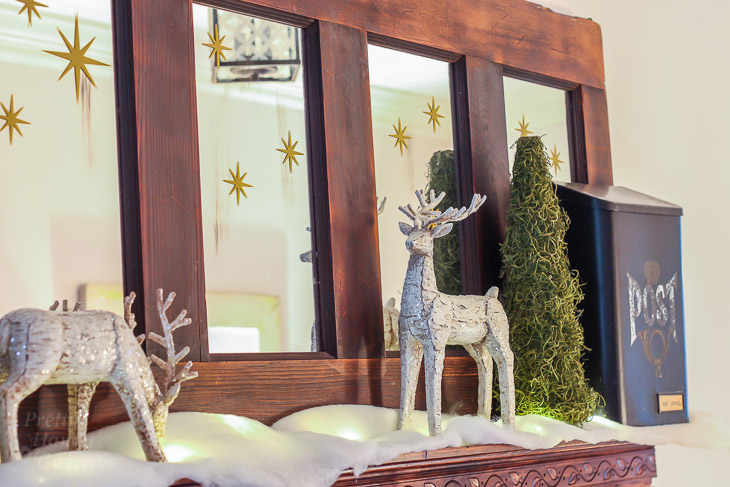
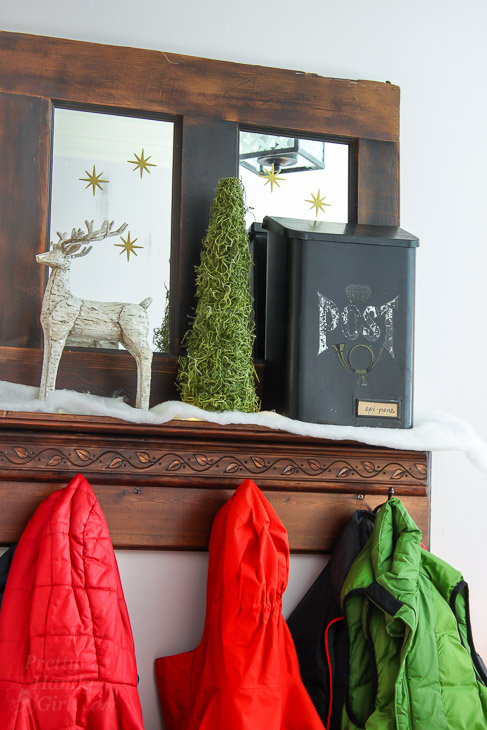
I decorated the shelf with some reindeer and two DIY cone trees (hot glue and moss or leaves). I also used some wall decal stars from my friend Leen the Graphics Queen (affiliate link.)

deer-mantle-view-faux-snow

The “Post” box keeps all our epi-pens close at hand but not in sight. Anyone else have a collection of epi-pens? 😉

epi-pen-storage-in-post-box

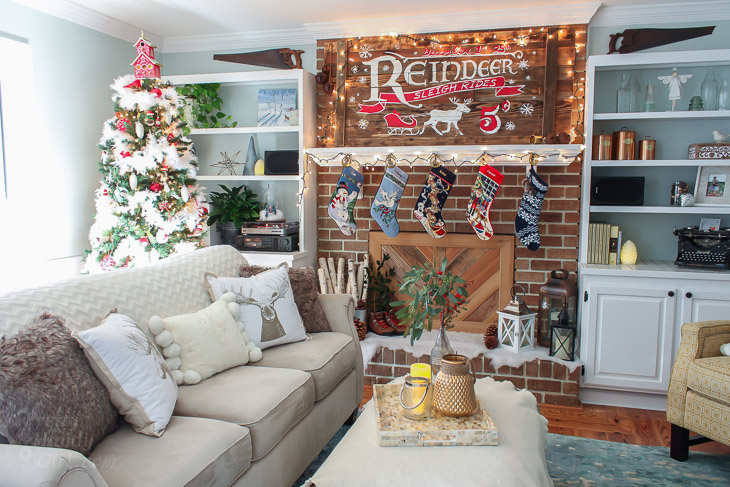
Come on in the living room and sit down. I just finished decorating the tree.

living-room-rustic-sleigh-ride-mantle-horizontal

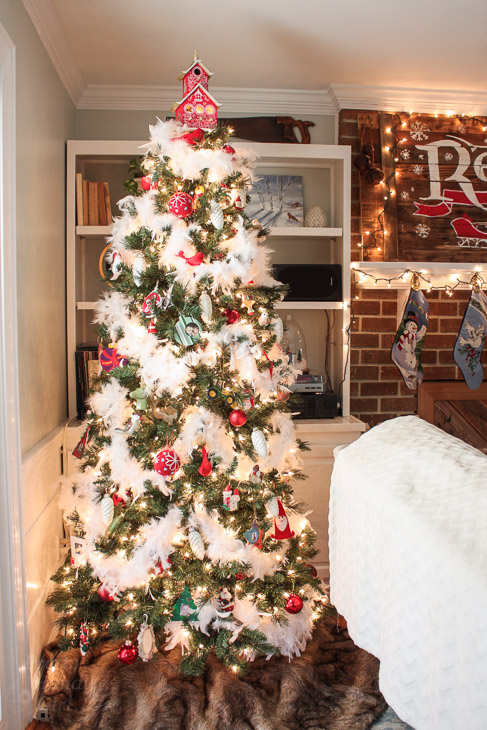
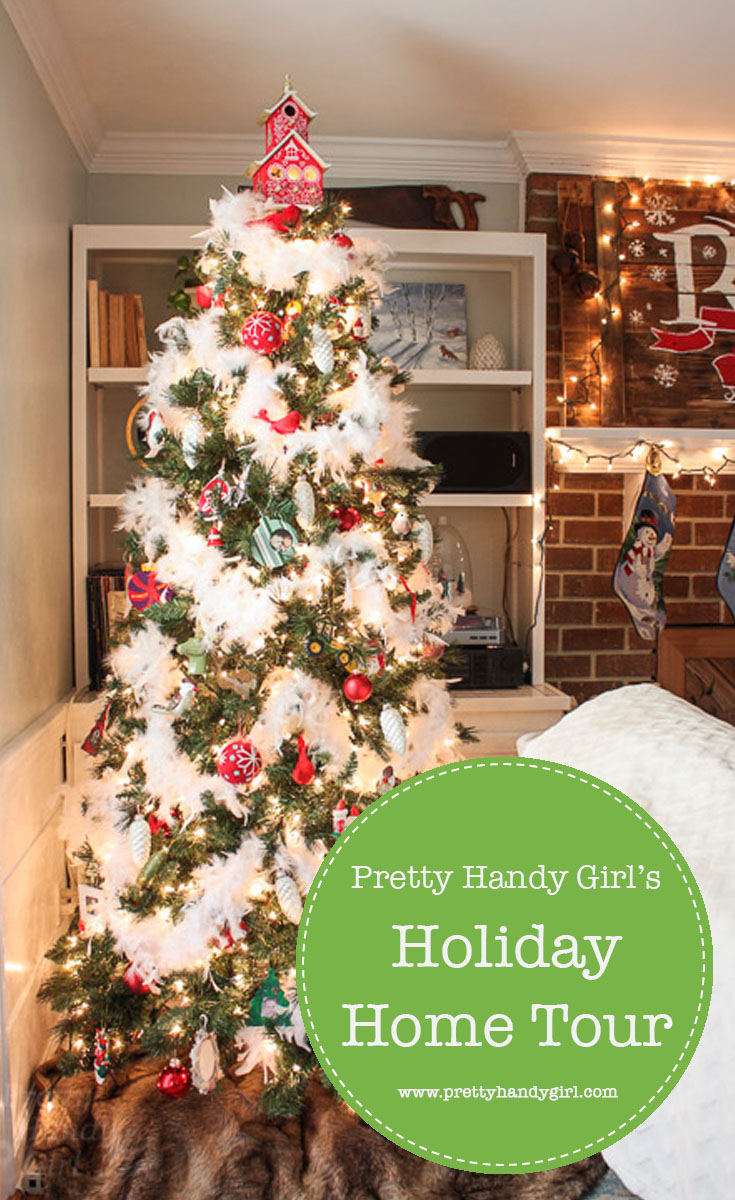
I brightened the tree with lots of feather boas and red ornaments. Plus, I added several of the kids’ ornaments they made in preschool. Those ornaments may not be pretty, but they are precious to us.

feather-boa-christmas-tree

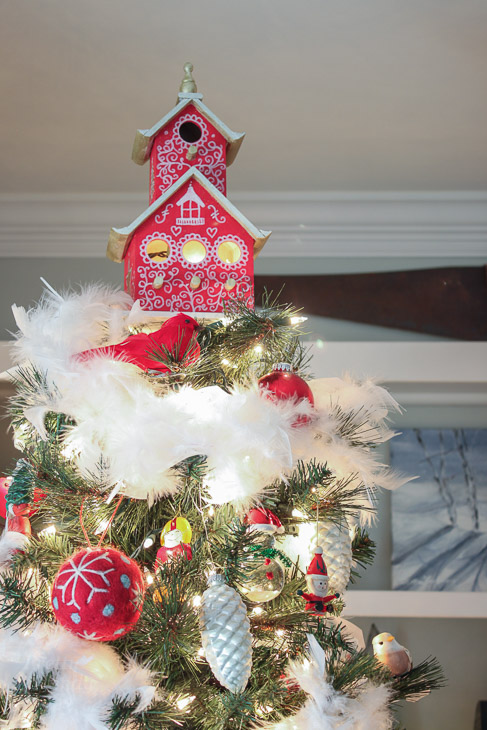
Want to make your own decorative bird house topper? It’s a fun little project that will satisfy your doodling desires.

birdhouse-tree-topper

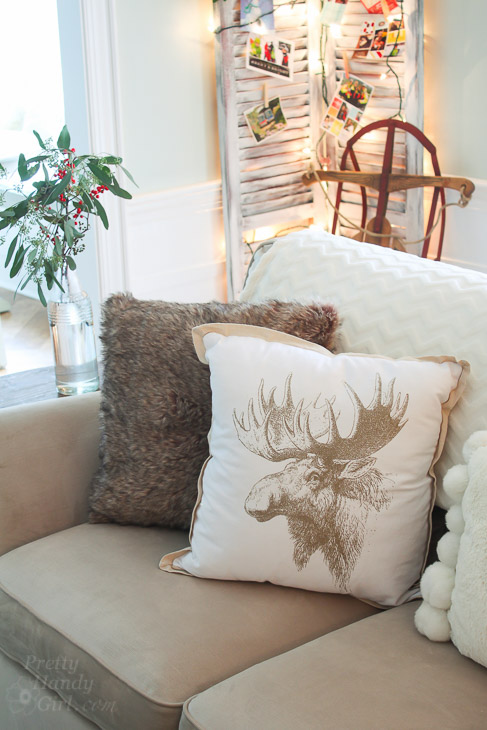
I have to share with you these beautiful pillows I bought at At Home!

moose-drawing-pillow

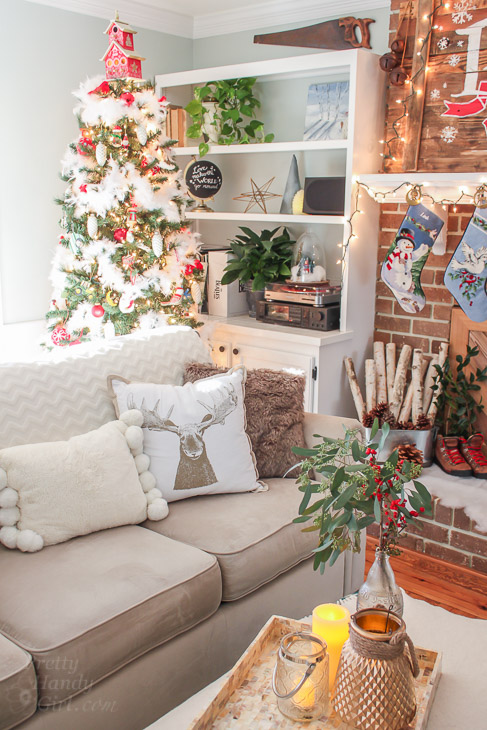
They look a lot like some higher end store pillows, but for much less. I especially like the faux fur pillows. They might stay on the couch year round.

living-room-sofa-tree-view

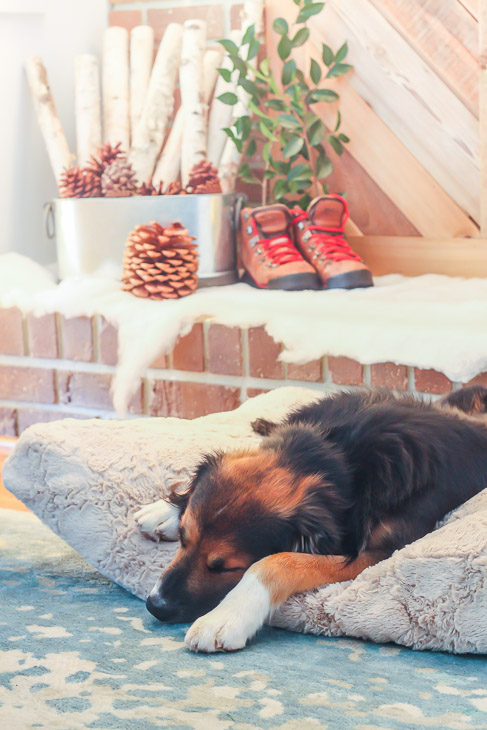
Speaking of pillows, I had to buy Bandit a cozy bed from At Home. They have the best prices and selection I’ve ever seen for dog bedding. Good dog, Bandit. It’s about time you fell asleep. This dog is non-stop energy most of the time.

sleeping-dog-athome-dog-bed
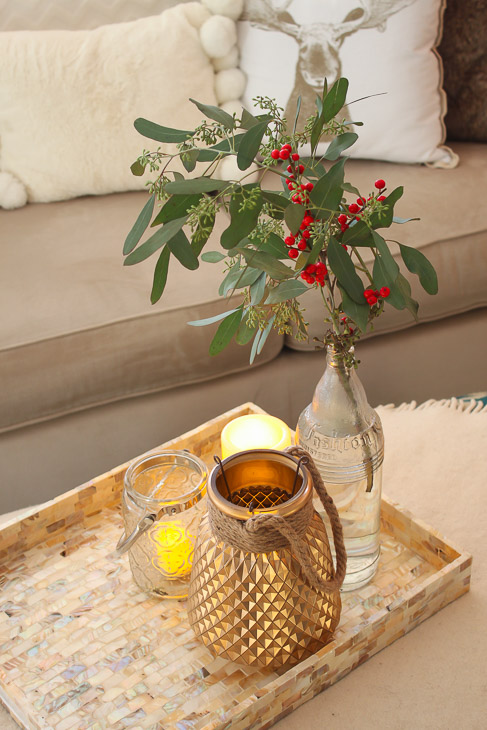
The other find I couldn’t resist at At Home was this pretty shell tray. They have an amazing assortment of trays in all colors, shapes and sizes.

seeded-eucalyptus-candles-at-home-tray
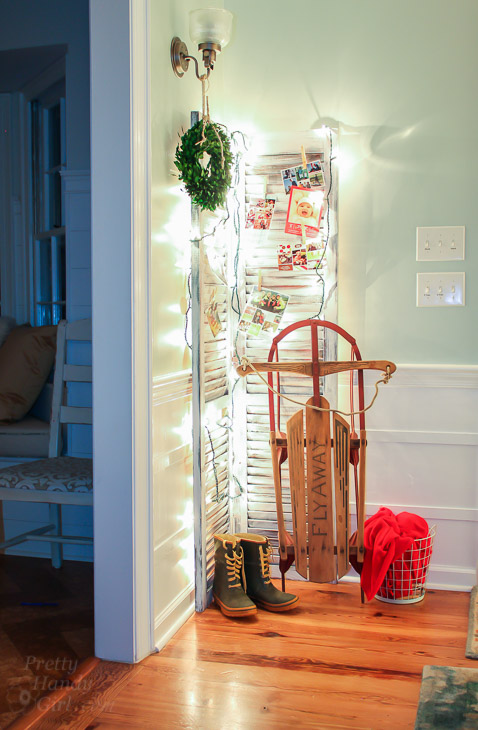
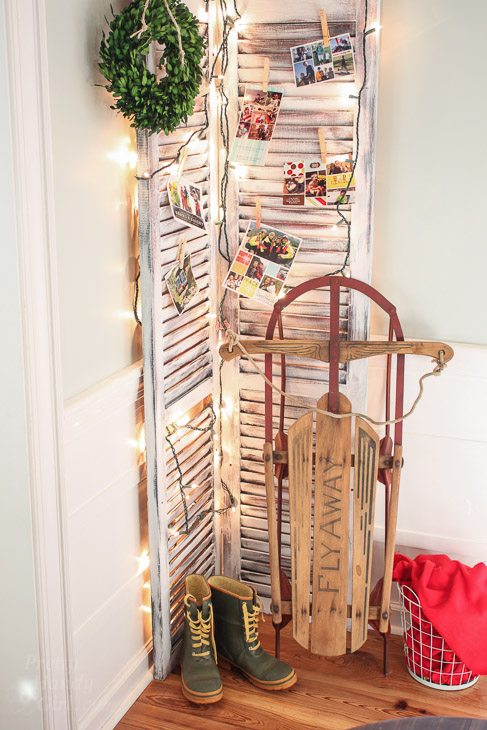
I love using this easy to make shutter screen to display our Christmas cards each year.

shutters-christmas-card-display-old-runner-sled

This year I added a strand of lights and the vintage sled.

shutters-display-christmas-cards

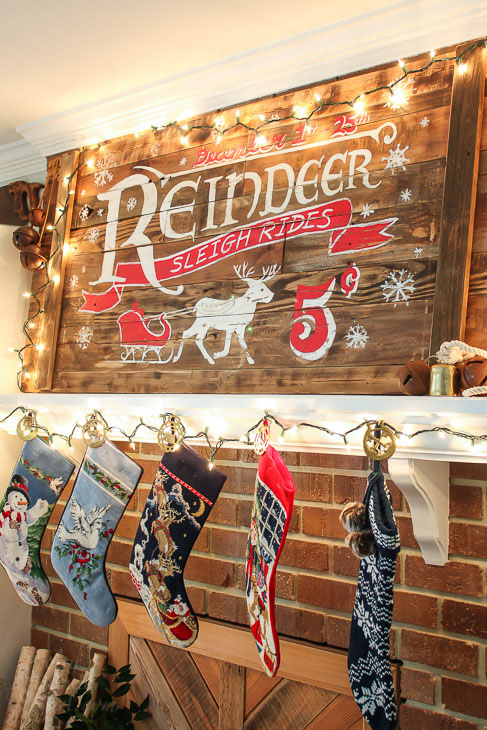
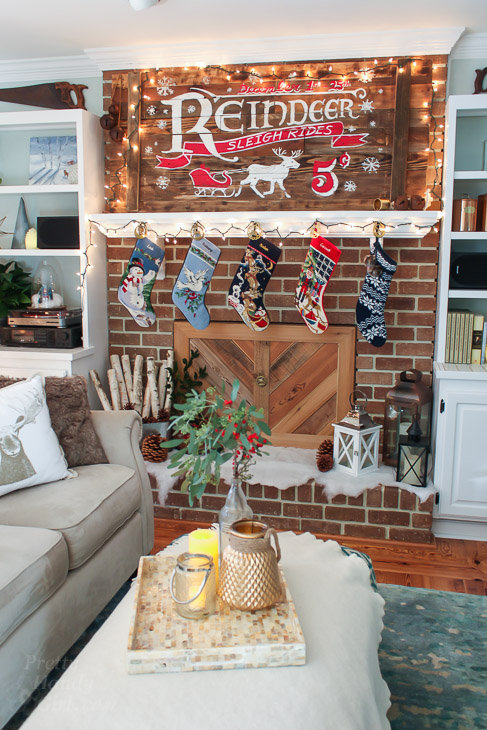
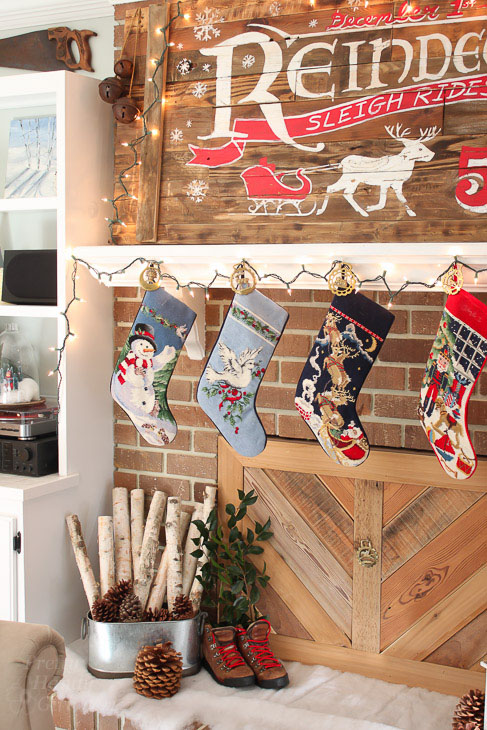
living-room-rustic-sleigh-ride-mantle-vertical

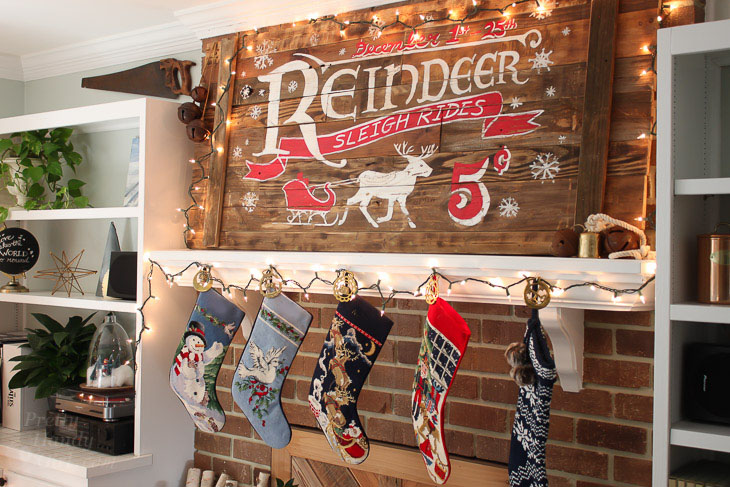
Did you spot my new vintage inspired sign?

reindeer-sleigh-rides-rustic-wood-sign

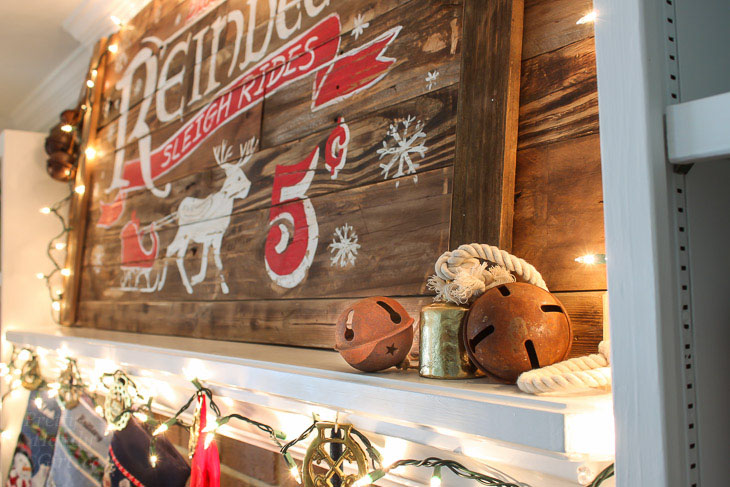
close-up-rusted-sleigh-bells
I made it this week using all scraps from my workshop. Here’s the tutorial to make your own Vintage Rustic Sleigh Ride Sign!

stockings-hung-rustic-wood-fireplace

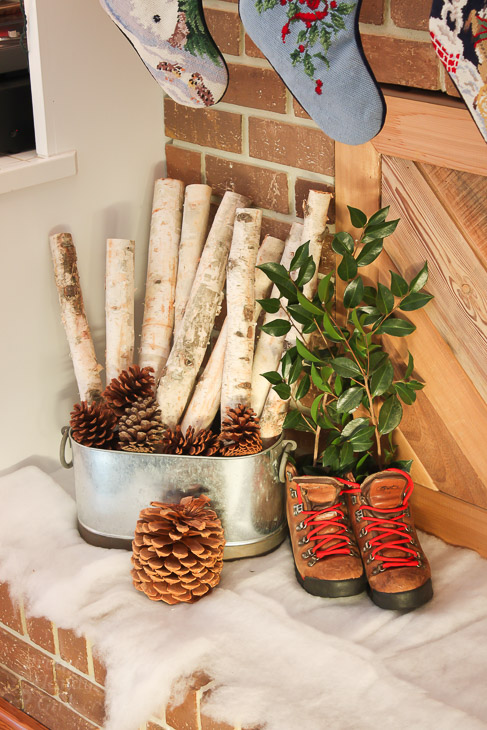
I know I’ve probably overstated this, but At Home has everything for your home decorating! For instance, birch logs can be purchased in the wedding section of At Home. (I’m not sure why they are in that section, but they are.) They were 6 feet tall, but I cut each log into three for display by the fireplace.

boots-birch-logs-by-fireplace

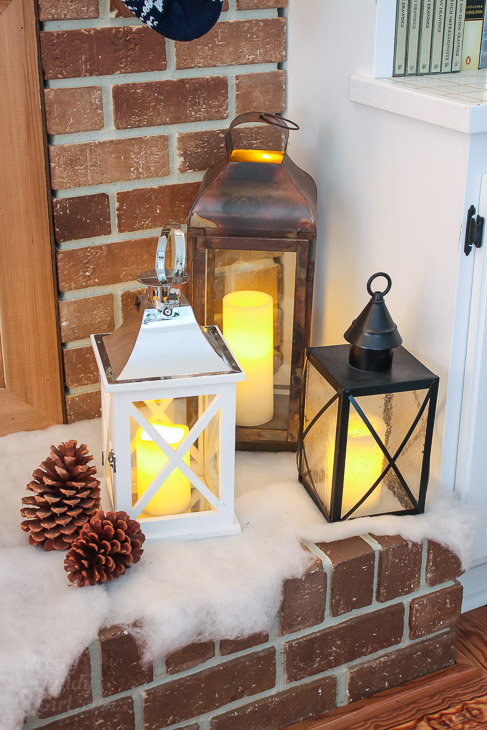
I bought the white lantern from At Home to round out my collection. You may not realize it, but that little black lantern was actually transformed from a $5 dated light fixture.

trio-lanterns-on-hearth

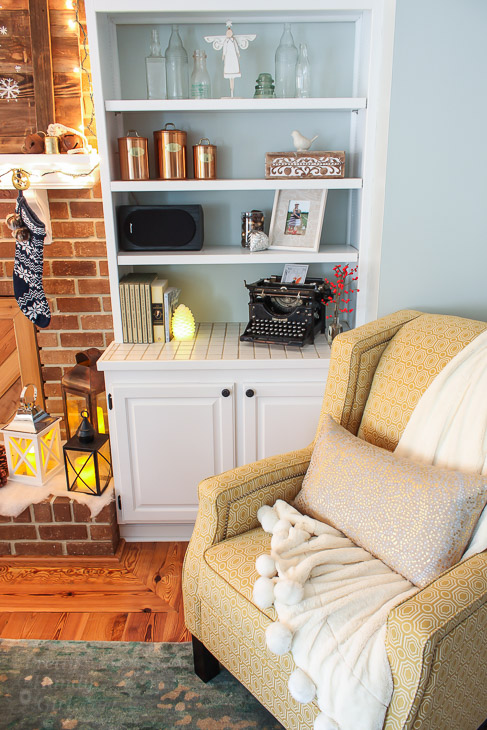
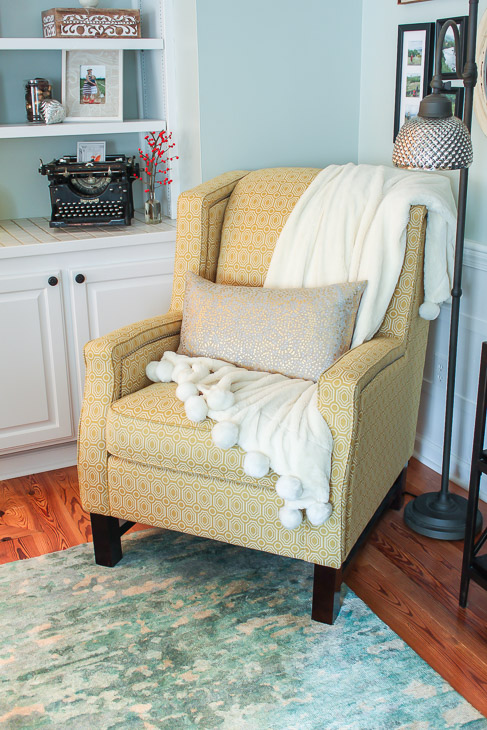
la-z-boy-cosmopolitan-wingback-chair-by-fireplace

A note about that metallic dot pillow—yup, you guessed it—another At Home favorite find!

wingback-yellow-chair-metallic-lumbar-pillow-metallic

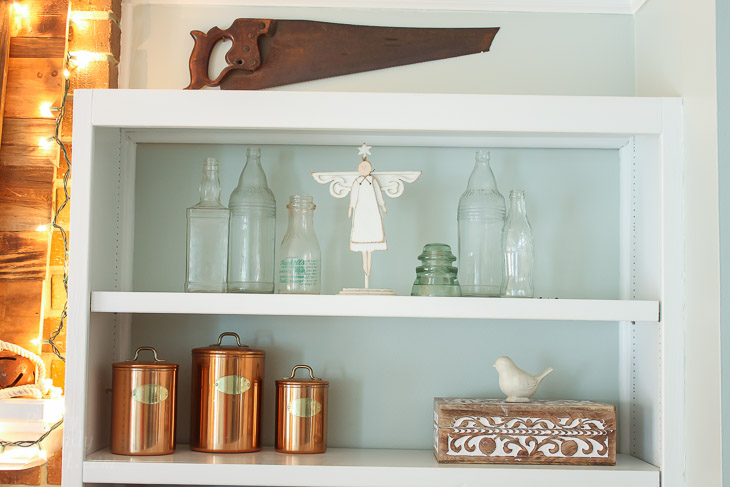
angel-bottles-holiday-decor

Let’s head into the kitchen.

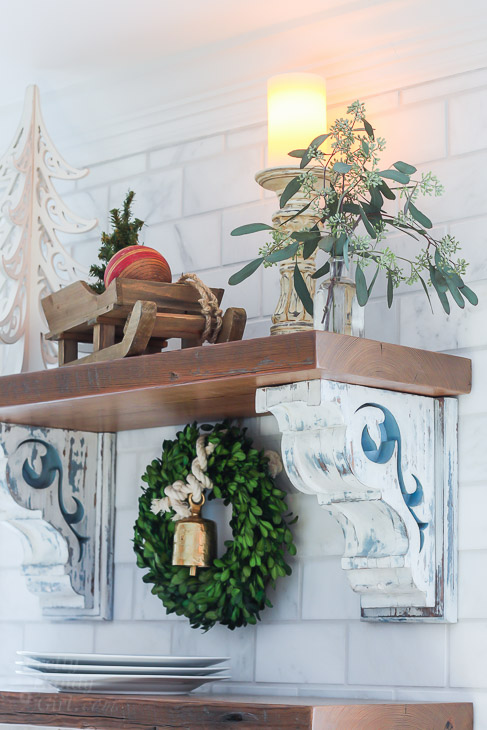
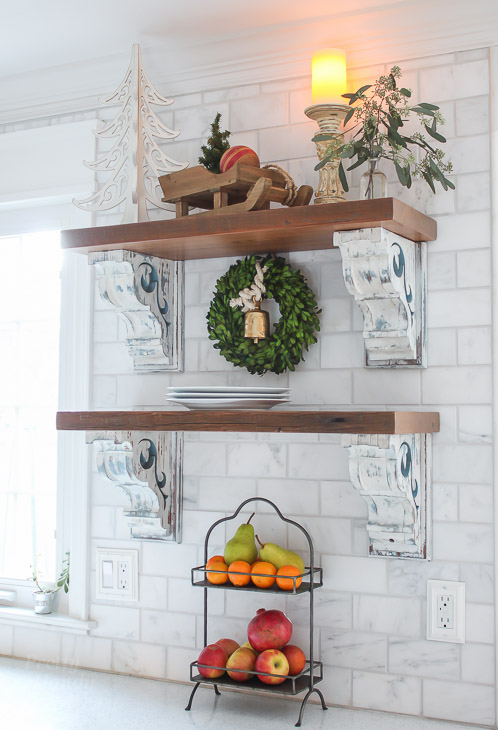
open-wood-shelves-holiday-decor
open-wood-shelves-kitchen-holiday-decorated

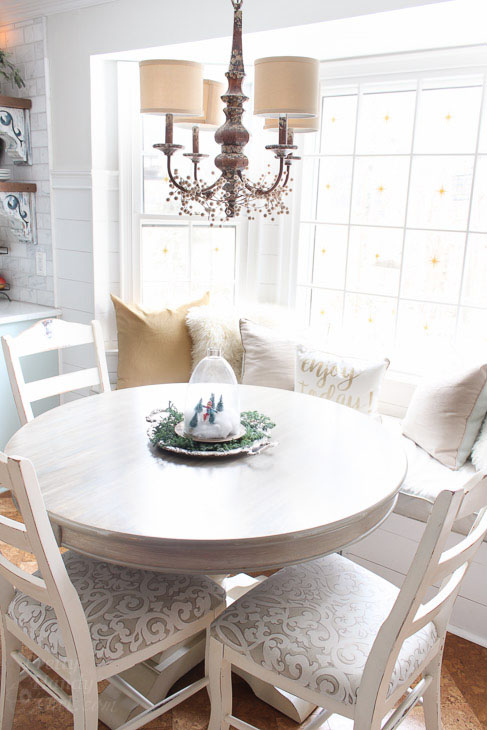
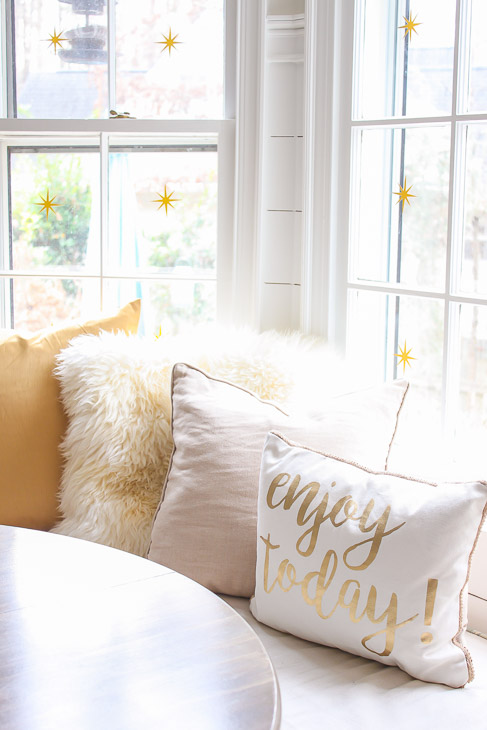
bay-window-seating-gold-white-pillows

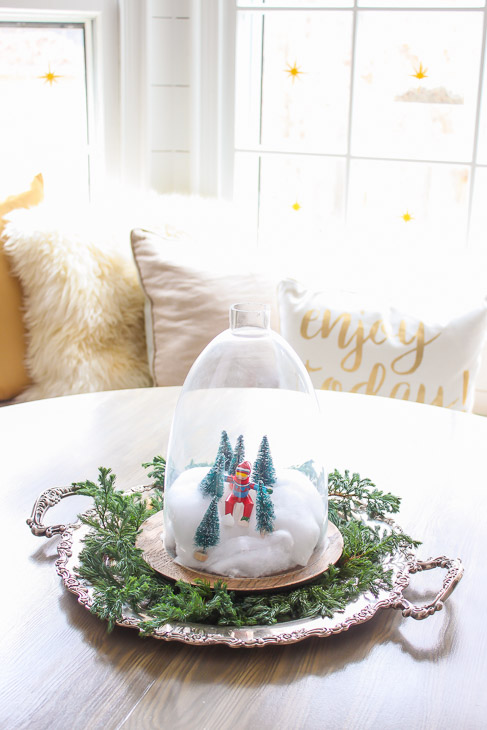
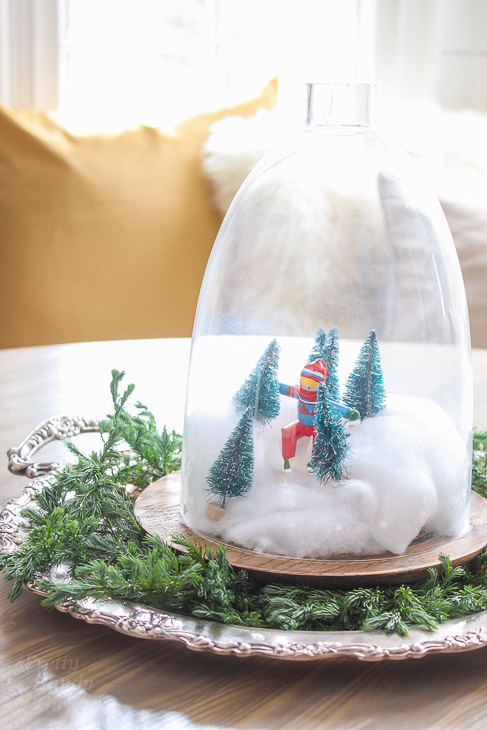
Every year, I like to make a little something I think the kids will enjoy. This year, I created a little snow scene in a cloche.

glass-skier-cloche-snow-globe

The cloche is actually the globe from a hanging light. I ditched the light and used the globe to make a fun little snow globe scene.

glass-skier-cloche-snow-globe-close-up

I used more wall decal stars from my friend Leen the Graphics Queen (affiliate link) to decorate the windows. These little stars add a festive feel in minutes.

gold-white-holiday-pillows

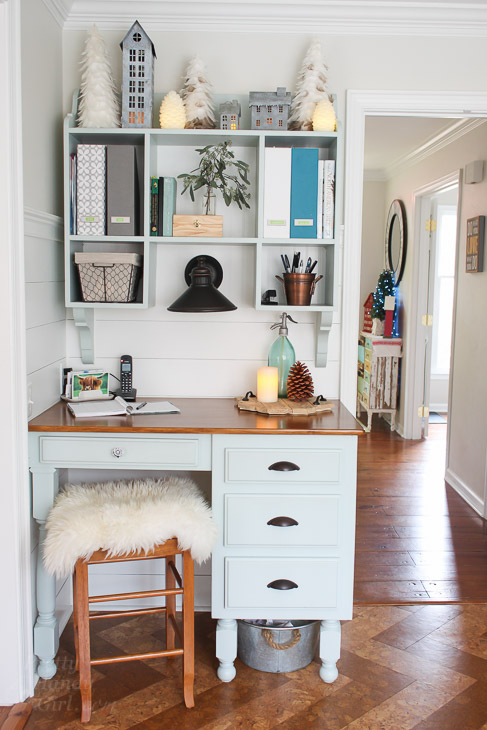
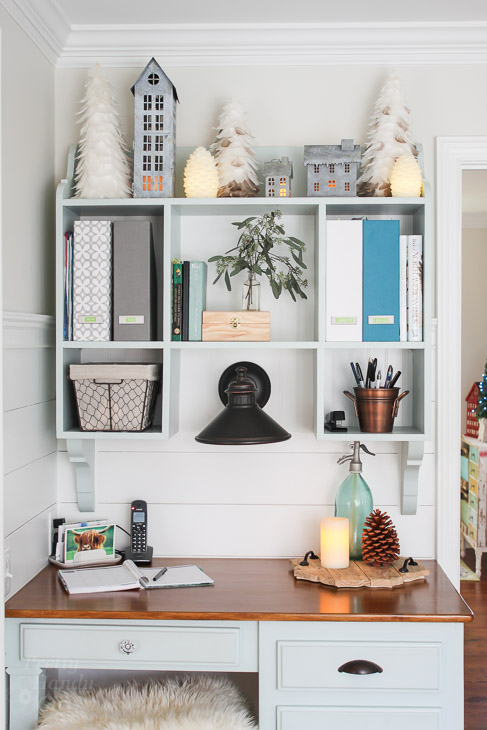
On the other side of the kitchen is a desk aka our family command center. The raised desk was a DIY project I built using more ReStore cast offs. And the hutch was built using an old table top. . . seriously!

kitchen-desk-hutch-holiday-decor

kitchen-desk-hutch-holiday-decor-closer

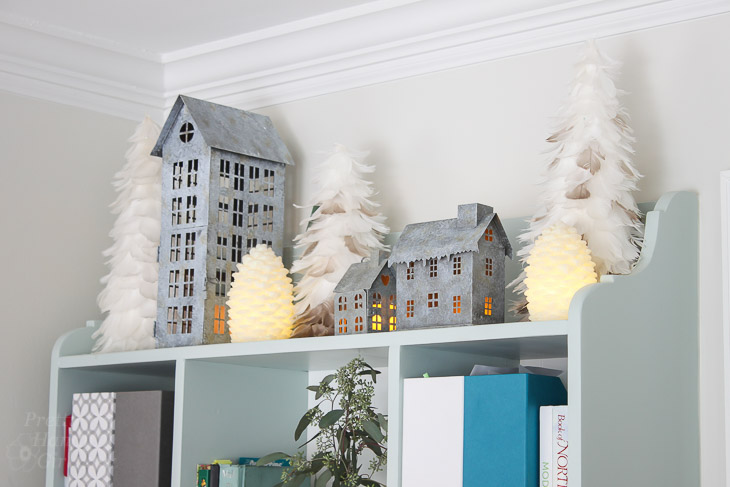
The little galvanized village scene was created using a variety of At Home accessories. The lighted pine cones came in a set of three and have a timer switch so they’ll shut off at night. That’s one less thing I have to turn off before bed.

galvanized-village-christmas-decor

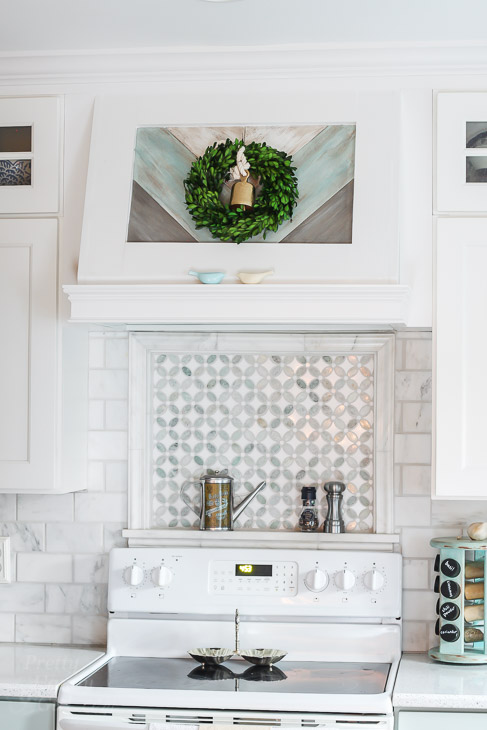
small-boxwood-wreath-oven-range-hood

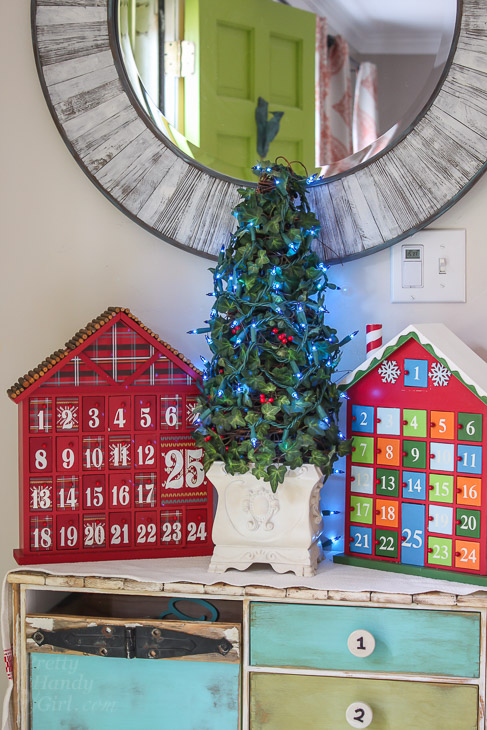
I usually let my boys decorate a small tree. This year they added blue lights to this little faux ivy tree. I actually like the soft blue glow at night. My boys. . . they love to go against the grain. 😉

advent-calendars-holly-tree

Thank you so much for coming over. I enjoyed your company.

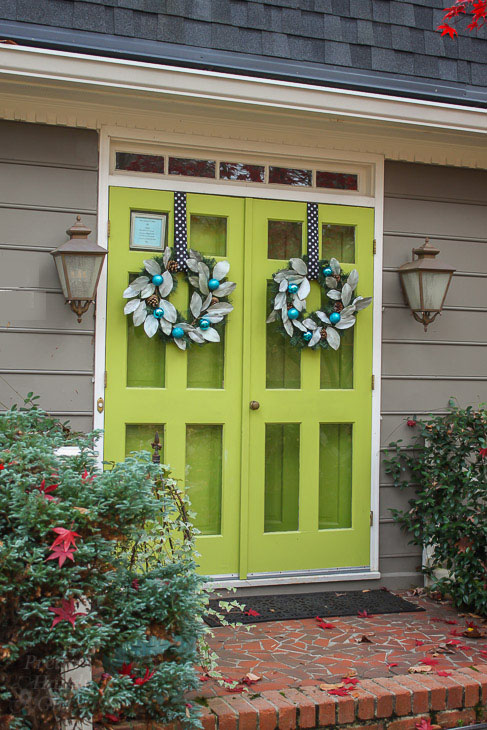
double-wood-front-doors-storm-doors-lime-green

Stop by sometime next week. I’ll be sharing my frugal holiday tablescape with you.

PHGFancySign

Disclosure: This is a sponsored post for At Home. I was compensated for my time writing this post. At Home also provided me with a gift card to purchase items to use in this post. All ideas and words are my own. I was not told what to write.


Pin for later!

Check out Pretty Handy Girl's Holiday Home Tour for holiday home decor ideas and inspiration! | Holiday decor for the home #prettyhandygirl #holidayhome #holidaydecor