Winter is almost over, and not a moment too soon! I have been hanging onto my Christmas cards and warm fuzzy pillows and throw (from Pier One). But, I have been feeling the Winter blues. So, I decided to make a quick change to the line up in our living room. (Hey, Pretty Handsome Guy, did you like how I used a football term?! ha, ha.)

By the way, speaking of Pretty Handsome Guy, today is his birthday! He’s the big 4-0! Woohoo! I have four months to tease him about being 40 until my counter ticks over too. Then I’ll have to shut up about it.

Okay, sorry for the diversion, back to the topic at hand, falling in love with your room by changing out pillows.

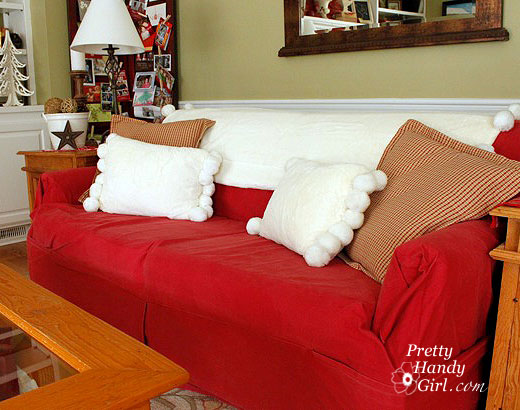
Couch Before – Christmas Pillows and Throw

Sometimes falling in love with a room again is simply a matter of changing out your fabrics or pillows, throws, place mats, runners, a rug, etc. (Especially if you have an old couch that you are hiding under a slipcover.)

I had a few minutes without the kids the other day and suddenly found myself at the back of Steinmart in the pillow section. Within 15 minutes I had grabbed several discounted pillows and was running for the register before I had to pick up Pretty Handsome Boy #2. (Anyone else been in that mad dash to the register using up EVERY single minute before it is time to reclaim your children? Yeah, I figured I was the only one.)

When I got home, I performed transformation magic on the two chairs and sofa in our living room.

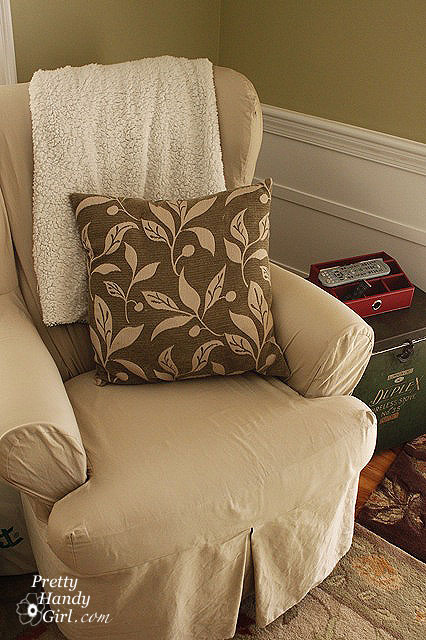
Wingback Chair Before

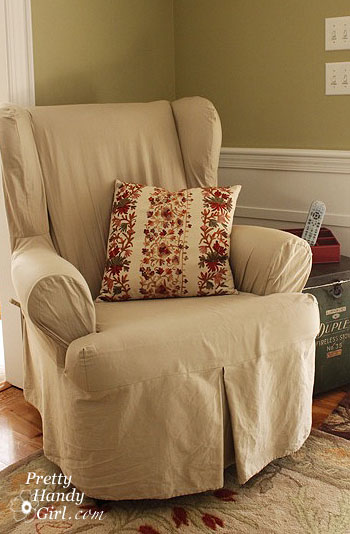
Wing Back Chair After

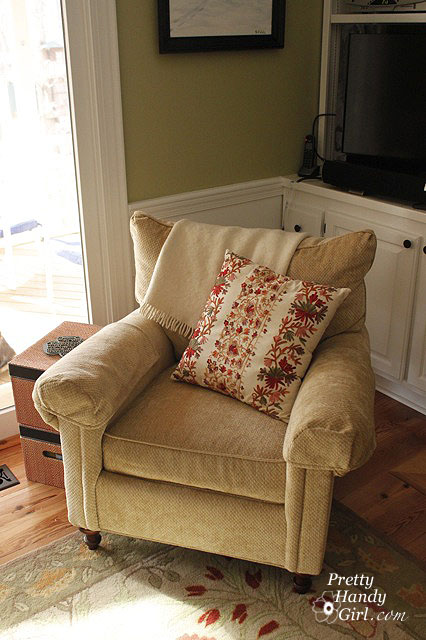
Club Chair Before

Oh – you eagle eye you – Yes, I know you just saw that pillow in the wingback chair above. I just moved it. FREE transformation Baby!

Club Chair After

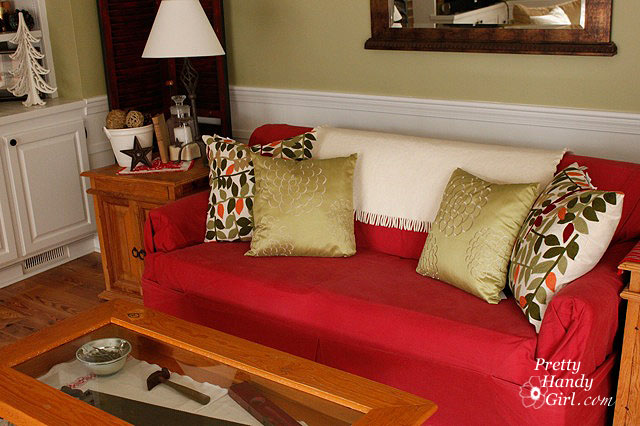
Couch Before

Couch After (Throw from Club Chair Before)

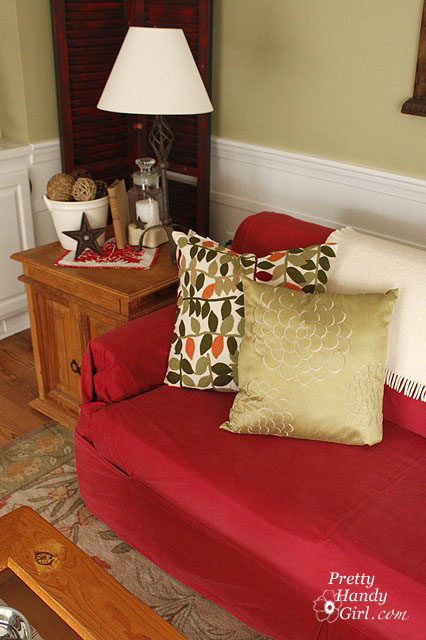
Couch After – Close Up Pillows

As you can see in the above picture, I FINALLY put away all my Christmas cards that were displayed on the shutters in the background. So, how about your home? Do you have a room that could benefit from just a few new fabrics? Try it, this is the quickest way to transform a room.
I hope you will check out some other ways to “Fall in Love with Your Home Series”. in February!

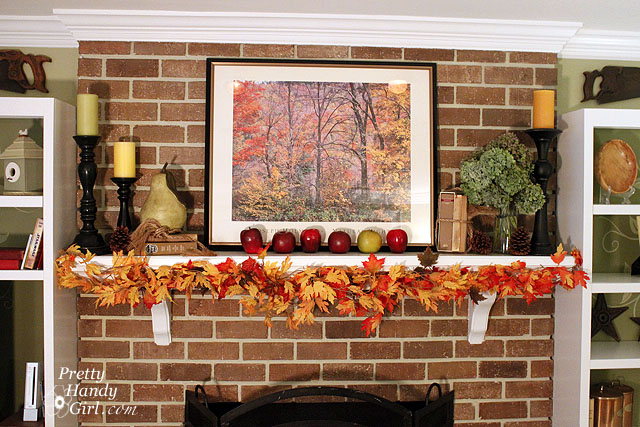
fall mantel with vignettes

I like to revitalize my love for a room by switching out the décor throughout the year. Decorating for the season gives the room a fresh look. Mantles are the ideal place to begin:

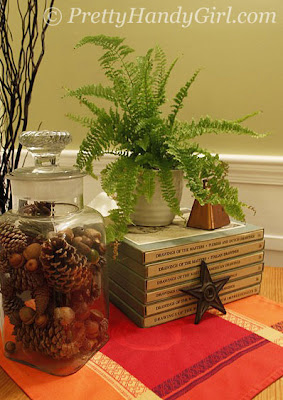
Autumn

 Christmas

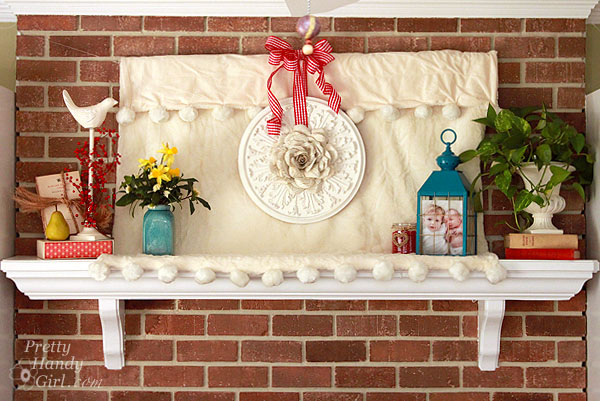
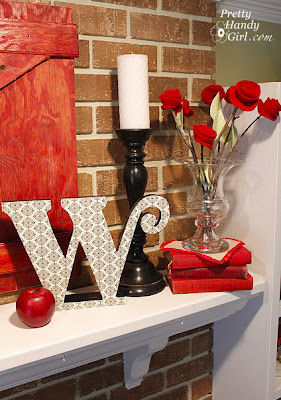
Valentine’s Day

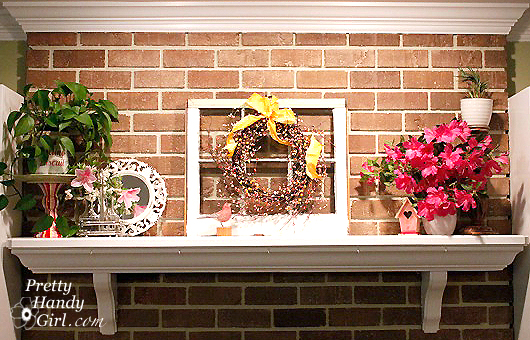
Springtime

But, if you don’t have a mantle, you can use any flat surface!

Side Table

Pedestal

Pie Safe Cabinet

Built-in Bookshelf

Recessed Window Seat

Here are six tips for creating successful vignettes:

1. Varied heights

Try to create a visual triangle. Have one tallest object, then a 2nd tallest and a shortest. I use books all the time to help elevate an object that might be at the same height as another object. Attractive wooden crates or boxes covered with cloth can work too.

2. Varied textures

Using a variety of textures creates visual interest. In the picture below I have a ceramic bird sitting on torn strips of newspaper in a plaster container on top of an embroidered linen and some books.
3. Color palette

Choosing a color palette of 3 colors or less is an easy way to create an appealing vignette. For my Valentine’s Day vignette I chose to work with primarily red and white with some black.

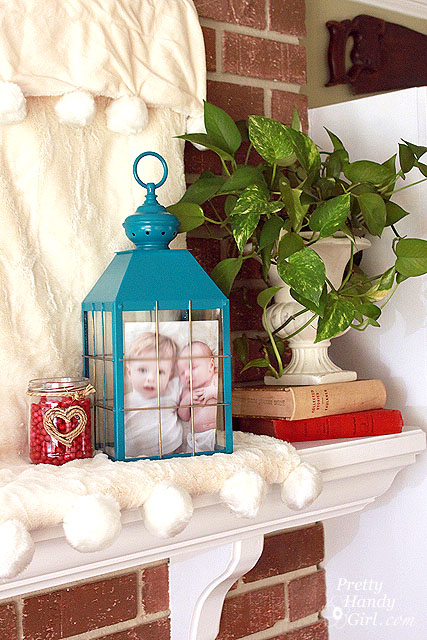
The next year, the color palette was red, aqua and white.

4. Odd numbered groupings

Vignettes and small groupings tend to look better when you use an odd number of objects.

For example, in the grouping above, I have assembled:

1. Birdhouse on a candlestick (visually they are one object)

2. Bird nest in pedestal (again visually counts as one)

3. Stack of books

4. Picture frame

5. Felted rose laying in front of the picture frame.

5. Varied Shapes and Scale

Vignettes work well if you can vary the shape and scale of your objects. Grouping many objects of the same size and shape will not give your eye enough to explore and study. Always take a step back from your vignette to make sure that your grouping has different shapes and sizes represented.

6. It’s Your Décor

This is the most important rule! Make sure you create something you like. Use your own objects. And if you love it, that is all that matters. It really doesn’t have to meet someone else’s criteria of perfection. I wrote a whole post on imperfect decorating HERE.

Happy Decorating!


Did you spy Christmas cards in the background? Sure, it is February, but I love them too much to take them down yet. If you’d like to read more “Fall in Love with Your Home” February posts, click on the button below to see a recap of this month’s theme:


When Miss Mustard Seed and I were junkin’ on Black Friday, she asked what I was looking for. I immediately answered rustic, rusty, and anything that looks aged and has a story to tell. I am so wacky like that, I could care less how well something is made or if it is an expensive antique. When I die, my kids are going to be sadly disappointed that all these antiques I’ve collected over the years aren’t worth a dime. C’est la vie, right?

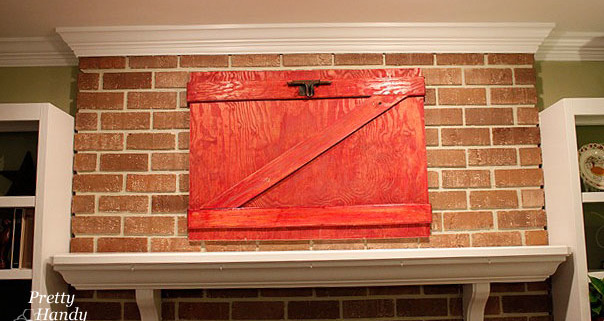
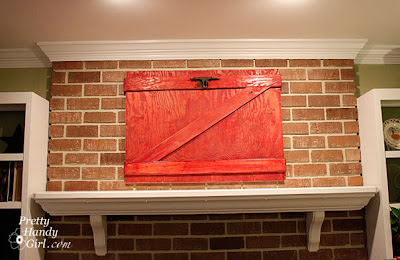
So, this year for our Christmas décor, I decided to create a natural rustic country inspired theme. What better way to invoke that spirit than with an old barn door. The only problem was that I didn’t own one. No problem, I’d just make one!

Materials:
Plywood board – painted or stained red
3 – 1″ x 4″ boards – painted or stained red
Nails or screws
Wood glue
D-ring picture hangers
Picture Wire
optional: Rusty door parts

In my “I can’t throw anything away scrap pile” I took some old plywood scraps that had been stained with red stain.

You will need to measured the space above your mantle, subtract a few inches from the top and bottom, then cut the plywood down to size (using a circular saw or table saw.)

Lay two 1″ x 4″ strips of plywood as cross pieces.

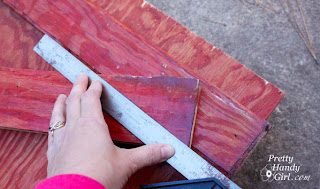
And one 1″ x 4″ piece at an angle. Draw a line where the horizontal pieces intersected with the diagonal piece.

Use a miter saw, circular saw or jig saw* to cut the angled cuts.

Liberally appy glue to the back of the 1″x4″ strips to secure them to the plywood base and then nail some finish nails into the strips to secure them. You can use a pneumatic nailer* if you have one, but screws or regular nails hammered in will work just as well! No need to buy any new tools for this project.

Hopefully you have a nail or hook already installed on your fireplace. Luckily I did, but in the past I have also just leaned artwork against the brick. So, if you choose to lean, ignore the next few steps.

Measure the location of the hook on your mantle. For example, if the hook is 20 inches from the ceiling, and you want your barn door’s top to hang 12 inches from the ceiling, then you will need to install the hooks 9 inches down from the top of the barn door. This will allow an inch for the wire to slack. Get out your D shaped picture hooks and screw them to the back of your barn door using a cordless drill* or just a screw driver and some muscles. Repeat on the opposite side.

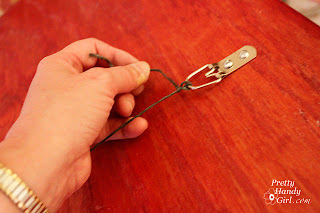
Feed some metal picture wire through one D ring. Twist once…

…then feed the wire back through the D ring and twist the rest of the wire tightly against itself.

Pull the wire taught and repeat on the opposite side.

This is the best way to attach picture wire so it doesn’t slip. If you are hanging something super heavy, you might need to loop the wire back through the D rings a few more times.

If you have some old gate handles, hinges, or latches, attach them to your door. I screwed this old RUSTY gate lock to the top of my barn door. It makes a convenient hanger for…

…my Christmas wreath!
That’s all I’m going to show you of our mantle today.

Did you like this post? Want to be notified when there are more fantastic tutorials by Pretty Handy Girl? Sign up to receive emails in your inbox:

Enter your email address:


Delivered by FeedBurner

Or follow me on Twitter or Facebook so you can be the first to know!

Hey guys, I’m a blog hoppin’ today. Michelle from Dream Home DIY and I are trading places.
Without further ado, take it away Michelle! 

Hello fellow Pretty Handy Girl followers!
I’m Michelle dropping by from over at Dream Home DIY where my sweet, southern beau and I chronicle life’s unexpected (but all together charming) surprises as first time homeowners.

Between leaky master bathrooms on move in day…

…a complete remodel of our living room floor plan just weeks later
(to include a still-in-progress archway)…
…and a front porch revamp with no shortage of new paint and stain…
It is safe to say that we hit the ground at a dead sprint!
“Date night” now consists of us, plus that nice gentleman behind the paint counter at Lowes, hashing out the pros and cons of semi-gloss vs. flat or the perfect shade of teal. And a romantic evening at home involves snuggling up on the couch, dreaming of all the ways we’ll transform this quaint starter home into our Forever Home…the place our future children will take their first steps and where a lifetime of memories will be made.
Together, two novice DIYers fumble, laugh, struggle, and triumph as we take this stark builder basic house and fill her with love…oh, and lots of paint, new fixtures, revamped floors, remodels, craft projects, furniture makeovers and more. And on a budget that might make a poor church mouse cry.
On the horizon?
A fabulous kitchen remodel, master bedroom and bath reconfiguration, new decks, landscaping, painting, furniture construction and re-facing, future additions, garages and so much more!!
One project that holds a very special place in my heart, is the makeover a very special mirror, gifted by my dear mother almost 10 years ago. Each year, around my birthday, my mother would pull out the largest JC Penny catalog I had ever laid my eyes upon and thumb through the pages stopping in the home décor section. Flipping the book so that I was now in control, she would simply ask, “What would you like your room to look like this year dear?” 

Through the years my tastes evolved from pretty princess to bold neon polka dots, but on my 15th birthday I was ready for a “grown up room” and my sweet mother gifted me this mirror.

When we purchased our new home, I wanted that mirror to hold a place of honor and the newly painted hallway seemed up for the task. But it no longer fit into my décor sense. Nothing a bit of spray paint can’t fix, right?
With a coat of paint and bit of glaze, this special mirror was ready to hang.


Incorporating personal treasures is an amazing and important way to make an empty house your memory filled home. We instantly feel cozy and are constantly reminded of those that we hold dear to our heart.