Rustic Scrap Wood Shadow Box Frame | Pretty Handy Girl

Okay all you woodworkers. You know as well as I do that you have an ever growing scrap wood pile that you don’t want to throw away because you know you’ll use it one day.

Rustic Scrap Wood Shadow Box Frame | Pretty Handy Girl

Well, today is that day! I challenge you to use some of that scrap wood to make a Scrap Wood Shadow Box Frame like this one.

But, if this isn’t your cup of tea, Sawdust Girl has an entire link up party of scrap wood projects. And you can link up your own scrap wood challenge too!

Okay, so the truth behind this project is that Pretty Handsome Guy has been begging me to frame his U.S. Open flag from Pinehurst almost two years ago. My poor hubby rarely asks for anything, and I figure he waited long enough.

Materials:

  • Scrap wood
  • Backer board (scrap bead board, masonite, thin plywood)
  • Construction glue
  • Lattice edging
  • Wood stain
  • Plexi-glass
  • D-hooks
  • Drill bit
  • Drill
  • Double stick foam tape
  • Brad nails
  • Nail gun or hammer
  • Machine screws
  • Saw (miter, jigsaw or Dremel UltraSaw)

Optional: Gorilla Glue

Instructions:

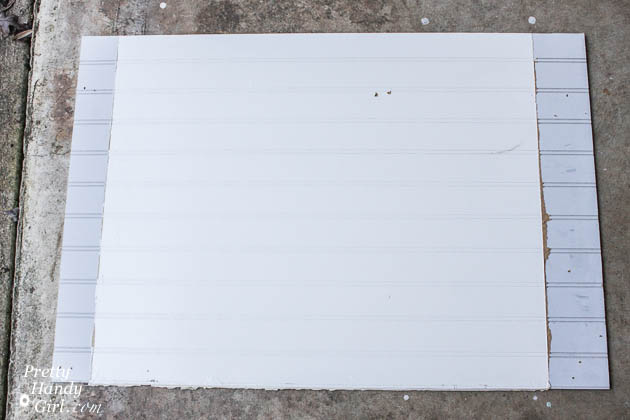
Cut backer board to the size you want for your frame.

Rustic Scrap Wood Shadow Box Frame | Pretty Handy Girl

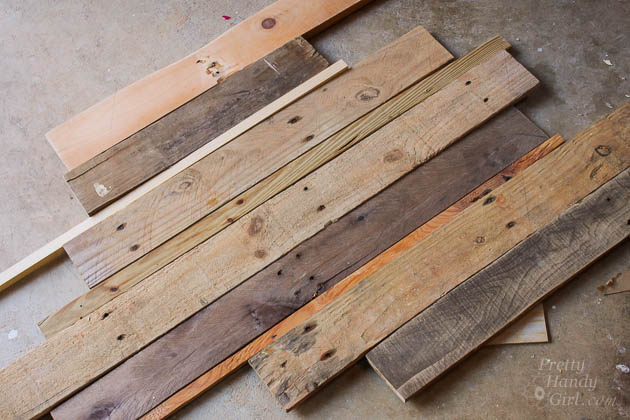
Lay out your scrap wood on top of the backer board until it is covered completely.

Rustic Scrap Wood Shadow Box Frame | Pretty Handy Girl

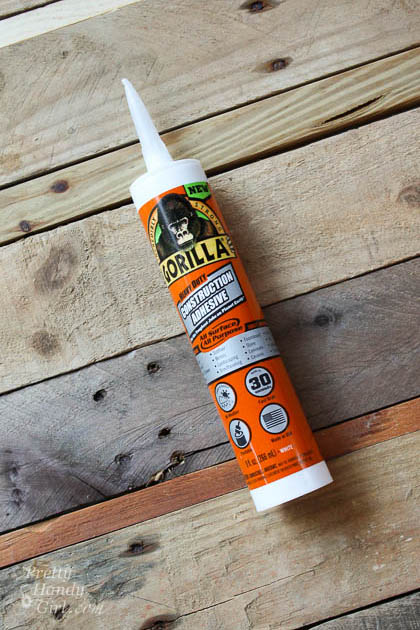
I tried Gorilla Glue Construction Adhesive on this project (Gorilla Glue sent me a tube of glue to try out.) It dried and held all the scrap wood firmly.

Rustic Scrap Wood Shadow Box Frame | Pretty Handy Girl

Lift up one piece of scrap wood at a time and apply construction glue onto the backer board. Read more

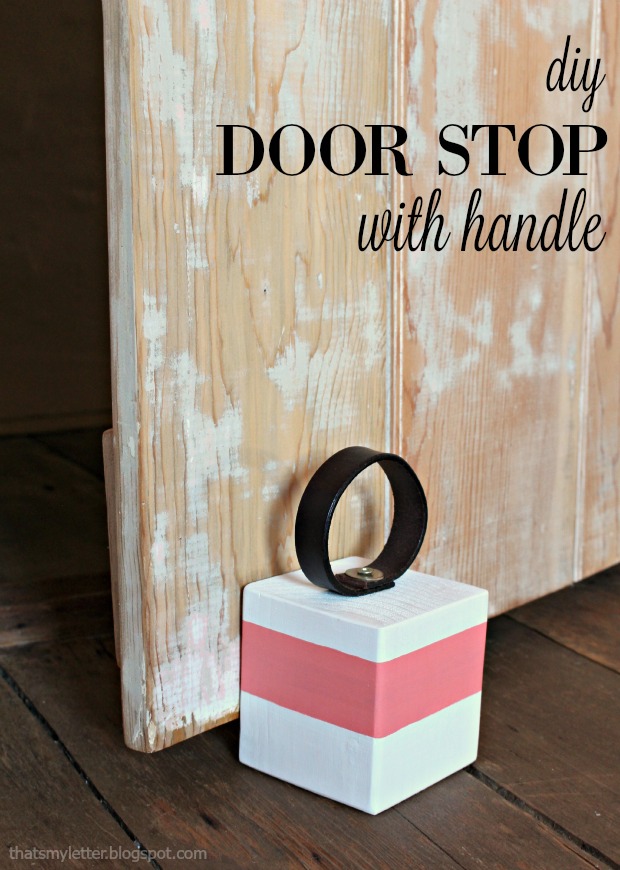
door stop title

Hi Pretty Handy Readers!  Jaime here from That’s My Letter sharing a quick and easy scrap wood project.  Today I’ll show you the step by step tutorial for how to make a DIY Door Stop with a Leather Handle.

door stop 1

They say necessity is the mother of invention and this is clearly a case in point.  My girls’ bedroom door wouldn’t stay completely open on its own.  You might have a similar door in your home that you want to stay wide open except gravity keeps pulling it closed?  In our house nothing is level so naturally the door wants to close and we needed a door stop that was easy for my girls to use.

door stop 3

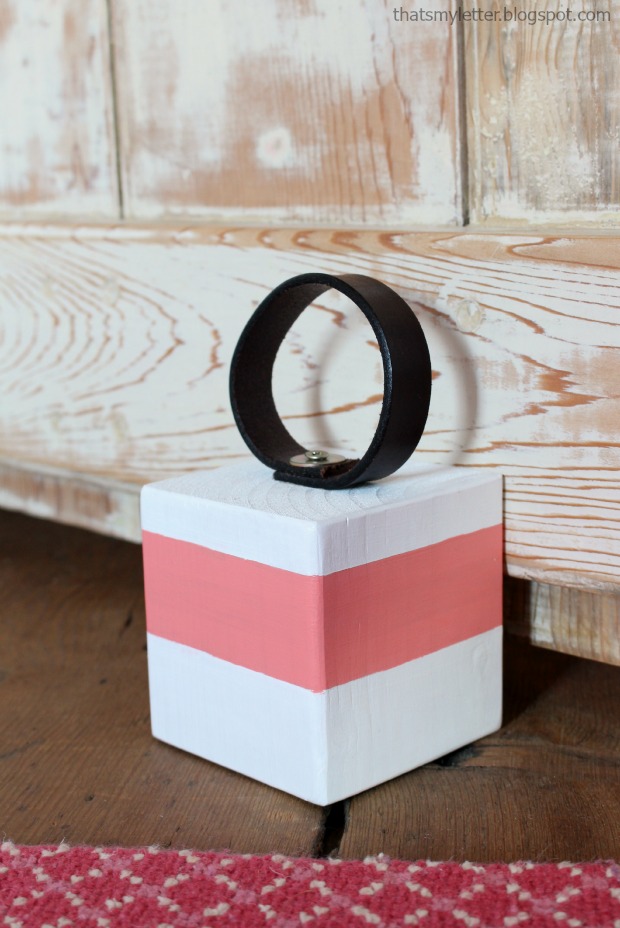
I used a piece of scrap 4×4 wood and made a simple leather loop handle so now my girls can easily move the door stop when they want to shut the door.  (Please note our door is solid wood and moderately heavy but if you have a very heavy door you might want a larger piece of wood.)

door stop 2

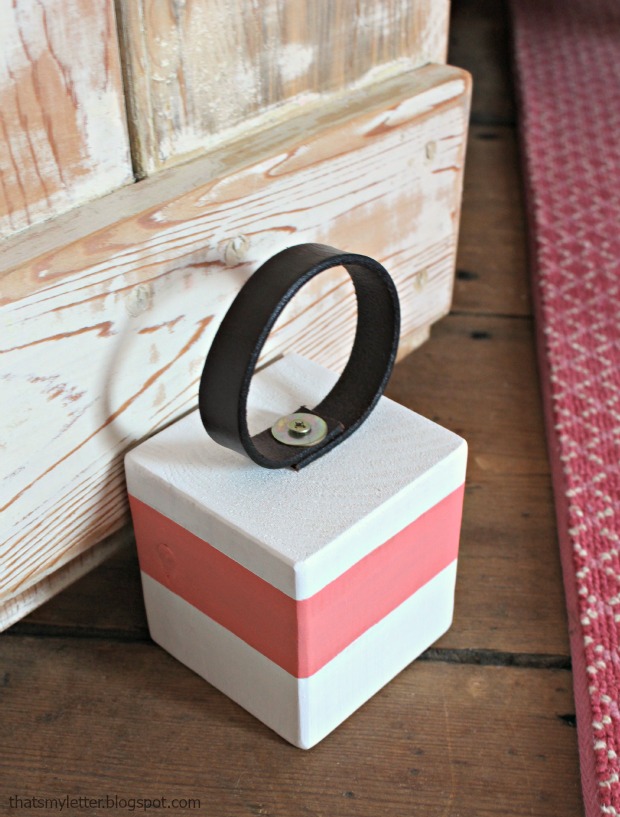
In addition to using the door stop to keep the door wide open, my girls also use it to keep the door slightly ajar at night.

Supplies:

  • 1 – 4×4 scrap wood @  3 1/2″
  • 1 – leather belt scrap 1/2″ w x 9″ l
  • 1 1/2″ wood screw
  • washer
  • drill & drill bits
  • glue
  • sandpaper
  • paint

Instructions:

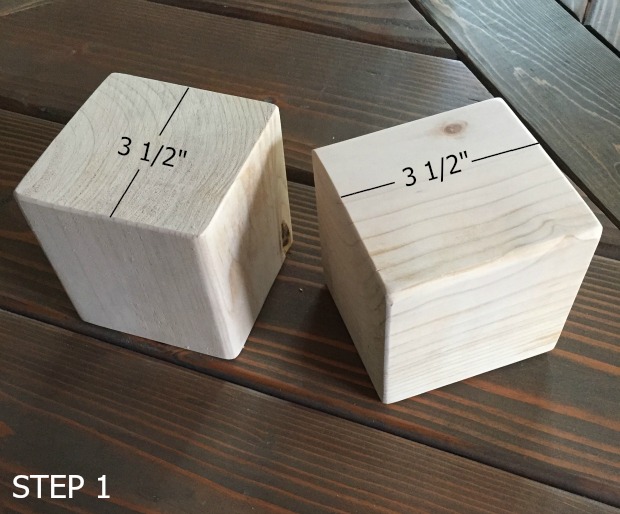
Step 1: Cut the 4×4 scrap wood at 3 1/2″ (or longer if you have a heavy door).  Sand edges smooth.

door stop step 1

Step 2: Paint as desired.  I used painters tape to mask off a portion to make the pink stripe. Read more

Fall Home Tour 2015 | Pretty Handy Girl

Fall Home Tour 2015 | Pretty Handy Girl

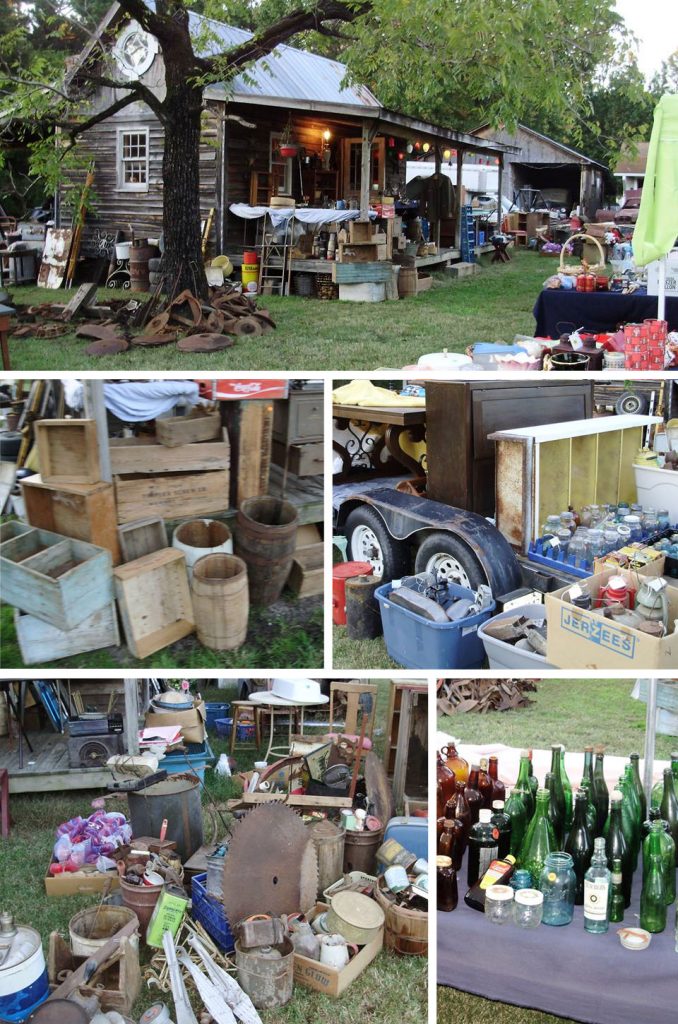
When I got back from my extended stay in Houston (after my sinus surgery), I was so anxious to decorate for fall. All those magazines I’d been perusing and all the beautiful Instagram photos had me craving some beautiful autumn decor. It took me a few days to get my energy back after I got home. In fact, I was still feeling a little worn out when I spotted this post on Facebook about a local multi-family yard sale that ran Monday – Saturday.

Rustic Yard Sale

I thought it was a joke or a dream. But, something told me (more like fifty of my fans on Facebook) that I should get off the couch and high tail it to this sale. My sweet friend Candace from Rusted Roots Blog was easily persuaded to meet me there, so I wouldn’t be the only fool who fell for a yard sale mid-week.

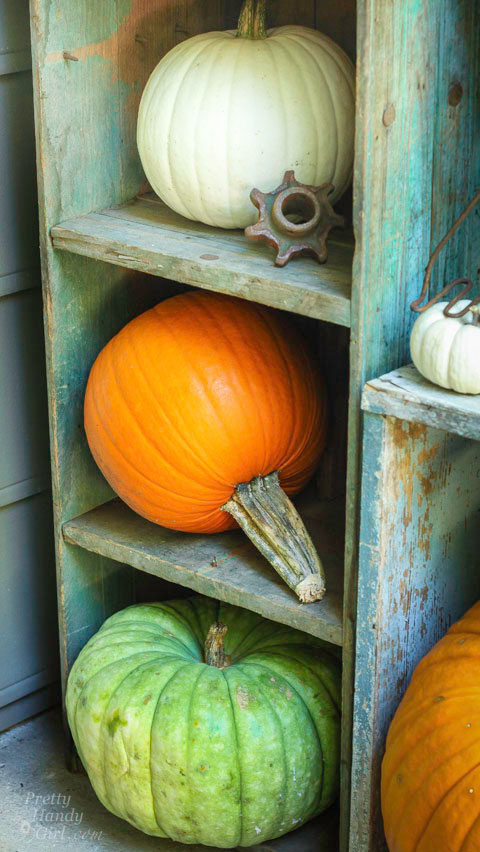
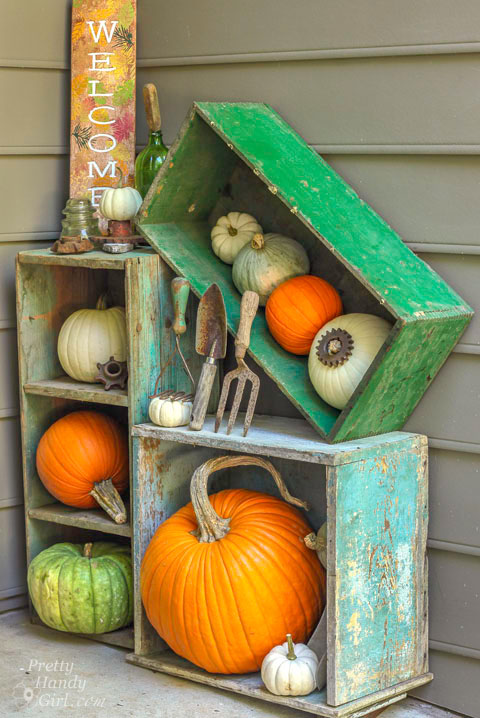
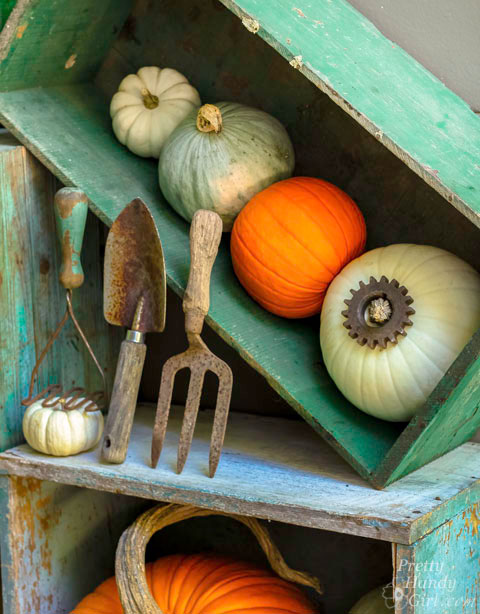
We both filled our cars with some great finds! I got home and quickly put together a little pumpkin and rustic relics display by our side door.

Fall Home Tour 2015 | Pretty Handy Girl

Fall Home Tour 2015 | Pretty Handy Girl

Fall Home Tour 2015 | Pretty Handy Girl Read more

Canvas Halloween Door Decor TodaysCreativeLife.com

Today I have a special guest rockstar for you! Kim is here to show you how to whip up the quickest Canvas Halloween Door Decor.

Kim is the creative goddess behind Today’s Creative Life. She truly has an eye for the awesome. I mean have you seen her bathroom makeover for $110?
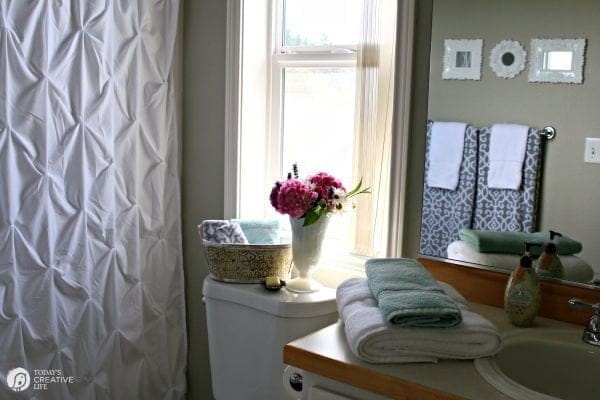
She effortlessly pairs colors and textures together in the blink of an eye. Get ready to learn how to make holiday decor as quick as a guitar riff.
Rockstar DIY Series

Welcome Kim, our next Rockstar to take the stage!

page_break_2

Hello Pretty Handy Girl readers! I’m thrilled to be hanging out at Brittany’s place today sharing a quick and original way to decorate for Halloween with this DIY Halloween Canvas Door Decor.

DIY Halloween Canvas Door Decor

Canvas Halloween Door Decor TodaysCreativeLife.com

If you follow Today’s Creative Life (formally Today’s Creative Blog), then you know I’m not talented like Brittany in the ways of building, but I sure do love me some quick and easy ways to bring more creativity to my home!

I share DIY Decor, DIY Projects and Recipes for families. You’ll find easy to follow tutorials for bringing creativity to your home and a lot more for holidays!

I’m always looking for something a little out of the ordinary for decorating my door for Halloween. Sure, I could just slap a wreath on the door and call it good, but that would be way to sensible.

Last year, I created a fun Halloween wreath from a ceiling medallion.

Fall Halloween Porch TodaysCreativeBlog.net

I love the way it turned out and may use it for my Halloween mantel this year.

This year, my ideas kept coming back to using fabric or canvas somehow. My first idea was to use Iron On Transfers with the fabric from a drop cloth and then, I remembered I had some printable cotton canvas that was printer ready.
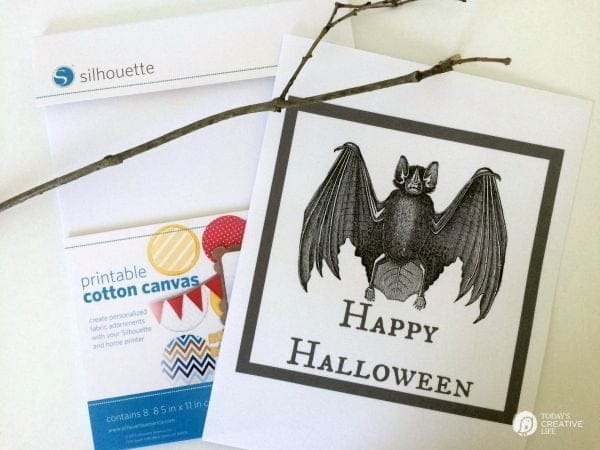
Halloween Door Decor

Materials:

  • Printable Graphic (I used The Graphics Fairy)
  • Printable Cotton Canvas
  • Ribbon
  • Stick
  • Paper hole punch
  • Paper Trimmer

Instructions:

1. I found and downloaded the image I wanted from The Graphics Fairy, as I do for all my iron on transfer projects. She has just about any image you’d ever want for any time of year. Such a great resource.

2. I used PicMonkey to create the text and frame, but any photo editing tool would work. Of course you could just print the image only and keep it really simple.

3. I printed it on printable cotton canvas. This particular paper ended up having a self adhesive backing, so I just left the protective paper backing in place.

4. Using a paper trimmer, I trimmed the bottom.

5. I punched a hole in each upper corner with a paper hole punch.

6. I tied a coordinating ribbon to a stick from the yard (actually I broke it off my lilac bush) and called it good!
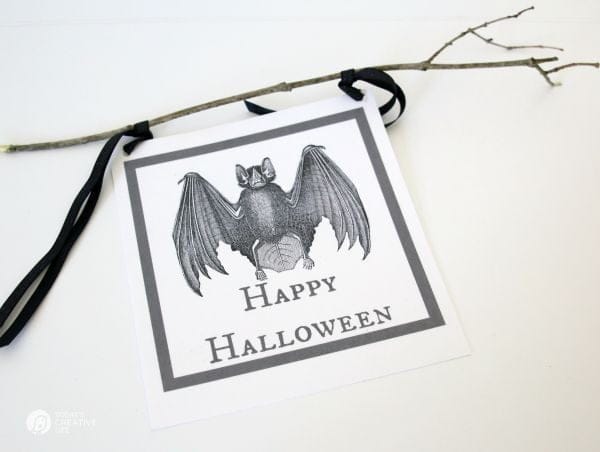
diy door decor for halloween

After I got it hung up and looked at it for a day or so, I think I may try to age it a bit for an older distressed look. You can do that easily by brushing on brewed tea and lying it out to dry.

diy halloween door decor

I like the way it looks. It’s original and can be used anywhere in the house. The possibilities are plenty!
divider

Here’s more creative Halloween ideas from Today’s Creative Life.

Halloween Table Centerpiece | TodaysCreativeBlog.net

DIY Halloween Table Decor

Halloween Spirit DIY Halloween Decorations | See more on TodaysCreativeLife.com

DIY Halloween Terrarium


Silhouette Cameo Halloween Decor | Easy DIY Home Decor projects on TodaysCreativeLife.com Simple Halloween Decor

page_break_2

Are you running off to make your own Halloween decor now? Me too! I hope you are enjoying the Rockstar DIY series and are ready for more talent next week.

Rockstar DIY Series

DIY scalloped planter box centerpiece - free plans Hertoolbelt

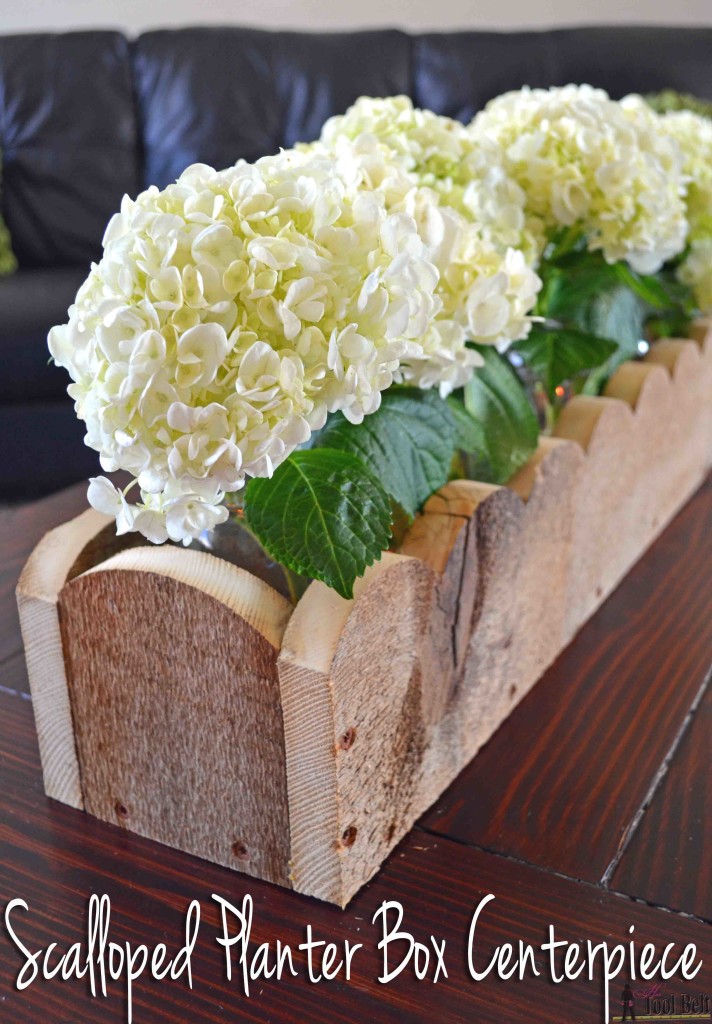
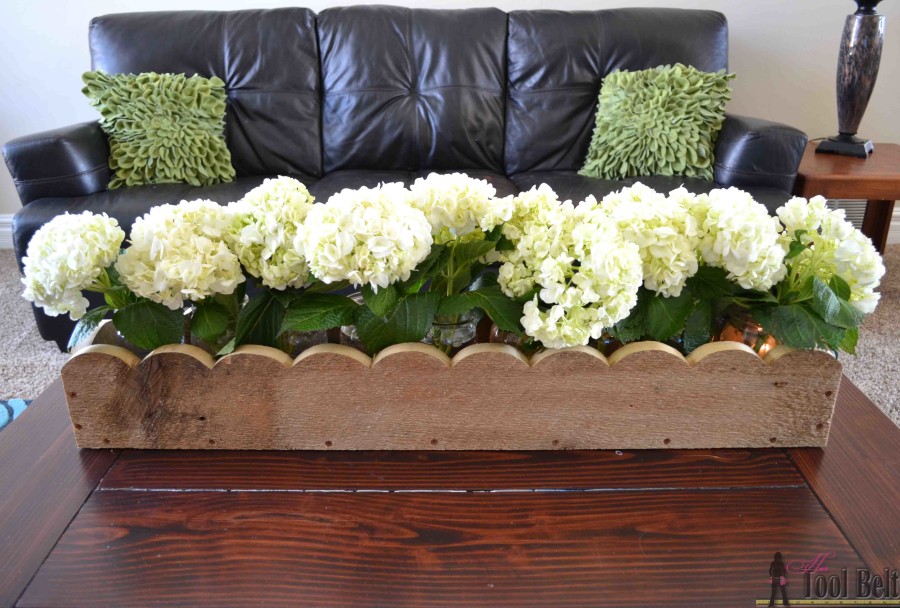
Today on the Rockstar DIY stage is Amy, with the tutorial to make this perfectly rustic Scalloped Planter Box Centerpiece.

Rockstar DIY Series

Amy is the creative artist and builder behind Her Tool Belt! You may remember her amazing rustic chevron twin bed that crashed Pinterest (well, not really, but it should have.)

Well, the very talented Amy is in the wings right now and I just got word that she’s headed to the stage. So, without any further delay, here’s AMY!

page_break_2

Hi! I am Amy from Hertoolbelt and I’m so excited to be visiting with you today. A couple of years ago I dismantled an old barn at my parents farm, now I have a good supply of barn wood. I enjoy building projects with barn wood because of the unique weathered and rustic look of each piece. It works great for planter box centerpieces. I like to have a few planter boxes on hand for party decorations. I wanted to make this one have a more feminine feel, so I added scallops.

DIY scalloped planter box centerpiece - free plans Hertoolbelt

How to Build a Scalloped Planter Box Centerpiece

DIY scalloped planter box centerpiece - free plans Hertoolbelt

Materials

  • 2 – 1″ x 6″ x 6′ boards (or barn wood), actual 3/4″ x 5 1/2″
  • 1 1/2″ minimum length screws (I used 1 5/8″ deck screws)
  • wood glue
  • sand paper

You can modify these plans for whatever size of centerpiece you need. I designed the inside width to fit mason jars.

Cut List

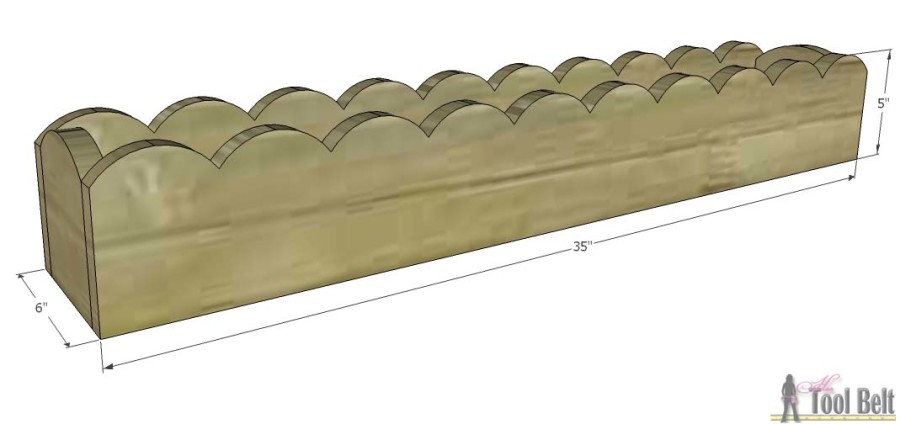
  • 2 – 3/4″ x 5″ x 35″
  • 2 – 3/4″ x 5″ x 4 1/2″
  • 1 – 3/4″ x 4 1/2″ x 33 1/2″

Step 1

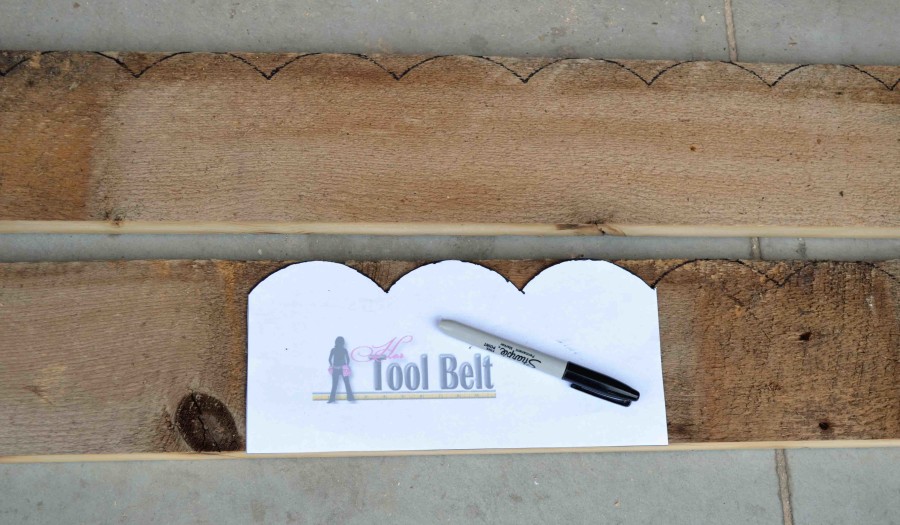
Cut the boards out according to the cut list above. Download and print the pattern for the scallop. When printing make sure your print settings are on 100%, not fit to page. Cut out the pattern and trace it on the 2 – 35″ boards.

DIY scalloped planter box centerpiece - free plans Hertoolbelt

Use a band saw, jig saw or scroll saw to cut out the scallop design (I used a band saw). Sand the cut edges as necessary.

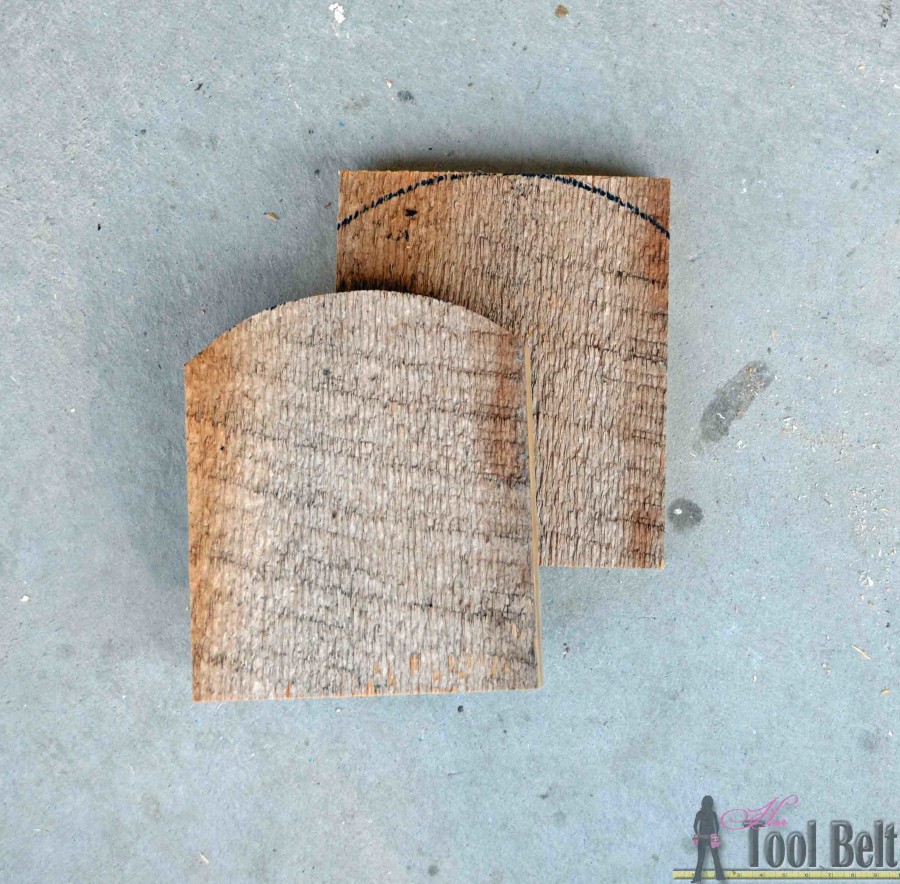
On the end pieces, if you want a curve, use a paint can to trace a curve. Cut out the curve and sand if needed.

DIY scalloped planter box centerpiece - free plans Hertoolbelt

Step 2 Read more