Unique Wine Rack

Unique Wine Rack

Hi everyone! It’s Jessica from Décor Adventures, back again and ready to show you a furniture makeover project I’m just in love with. This isn’t just any furniture makeover. This is how to turn an old dresser into a rack to hold your favorite reds and whites – wine that is!

One of my favorite things to do is redo furniture. Chairs, mirrors, tables, dressers, you name it. A while back I found this dresser at a thrift shop for only $10 and took it home only to find the drawers didn’t work well at all. I had an idea to ditch the two large drawers and turn this piece into a wine rack. If it doesn’t work for clothes, why not make it work for wine! Here is how to make your own unique wine rack from a dresser.

Materials
Many of these materials are based on how I painted the dresser and how we cut the shelves. We cut them ourselves with a table saw, but if you don’t have one, you can have them cut at the home improvement store or use a circular saw.

  • Dresser with a few drawers removed

Paint:

  • primer, paint, stain, paint brush and roller;
  • Furniture wax or sealant/polycrylic (or whatever you might want to use to finish the dresser)

Racks/Shelves:

  • Two 2’x4’ sheets of ½” MDF
  • Two pieces of quarter round to finish fronts of shelves;
  • Several feet of ½” square wood dowels {they come in 36” pieces}

Tools:

  • Table saw {unless you have the shelves cut to size at the home improvement store};
  • Nail gun
  • nails
  • air compressor
  • Random orbital sander {Optional if you distress the dresser}
  • Miter saw or hand saw

Supplies:

  • Wood glue;
  • 220-300 Sand block or sand paper.

Instructions
These instructions will be in a three sections, so you can easily see how this project comes together. First you will paint or stain your dresser, {or maybe you love it as is and will leave it}, second you will prepare the shelves and put them together to create the wine racks, and last you’ll put the whole dresser together.

Preparing the Dresser
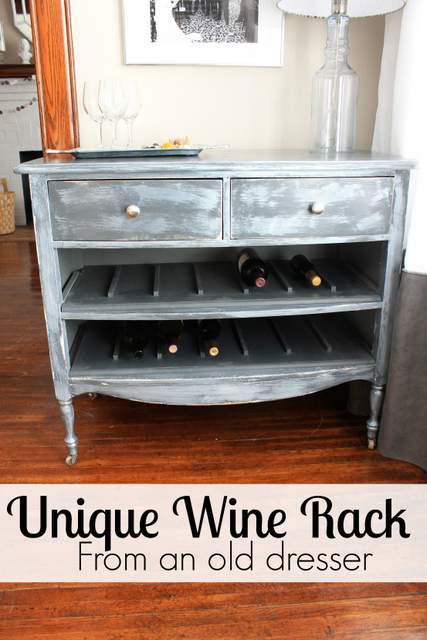
This was a piece I bought at a thrift store and it was already painted but I had to fix it up. The back was not painted and didn’t look very pretty so I ended up painting that too. You can see in this picture how wonky the bottom large drawers were.

Dresser Before Read more

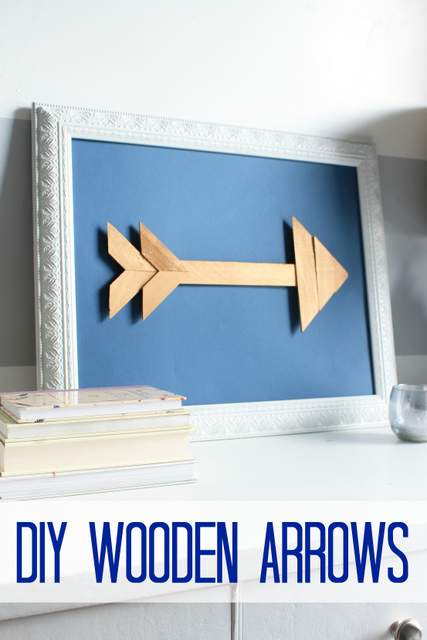
DIY Wooden Arrows

DIY Wooden Arrows

Although I don’t typically decorate for Valentine’s Day, this year I couldn’t resist a little craft project to celebrate the holiday. After all, it is about love and chocolate and who can resist love and chocolate? Instead of the usual craft creating something heart shaped, I decided to pay a little attention to Cupid and his arrows. I put together these easy DIY wooden arrows and now I’m going to show you how you can make one too!

This project is really easy, and totally customizable so you don’t have to be exact with your measurements. Feel free to be a little more free style. You can paint it {or not}, just about any color you’d like.

Materials

  • Wooden Shims
  • Wood Glue
  • Miter Saw (or a hand saw and miter box)
  • Pencil
  • Ruler
  • Spray paint, craft or wall paint or wood stain {optional if you will paint/stain it}
  • Frame for framing {optional}

Instructions

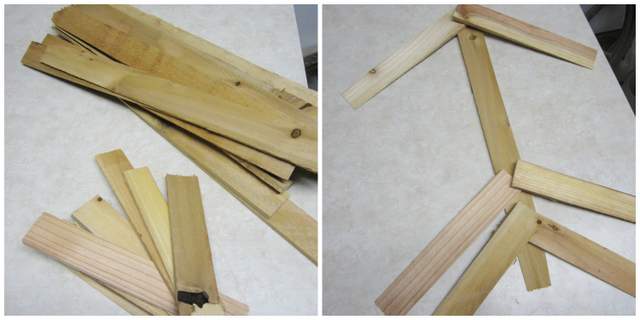
1. First select some nice wood shims to use. Make a rough representation of what you’d like your arrow to look like.

This was a rough image of what I came up with. Two shims for the point and a few more for the tail. Wooden Shims

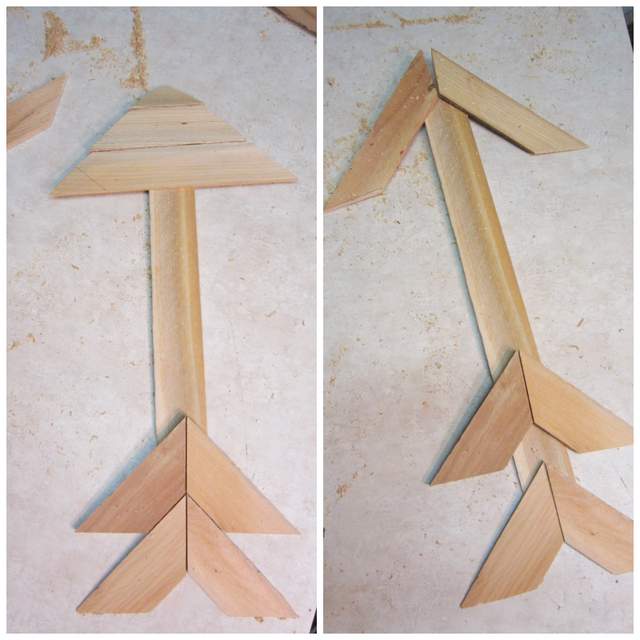
2. Start cutting your arrow and tail parts. You can cut the pieces like the arrow on the right or left, shown below. Either way you’ll need some pieces with a 45 degree angle. That’s where your miter saw comes in. See Brittany’s post about how to use a miter saw here. It’s one of the first power tools I learned to use and is very easy to handle and work with.

Wooden Arrows3. To cut the 45 degree angles, first set your saw at the 45 degree mark. Then cut one end of the wooden shim to 45 degrees.

Read more

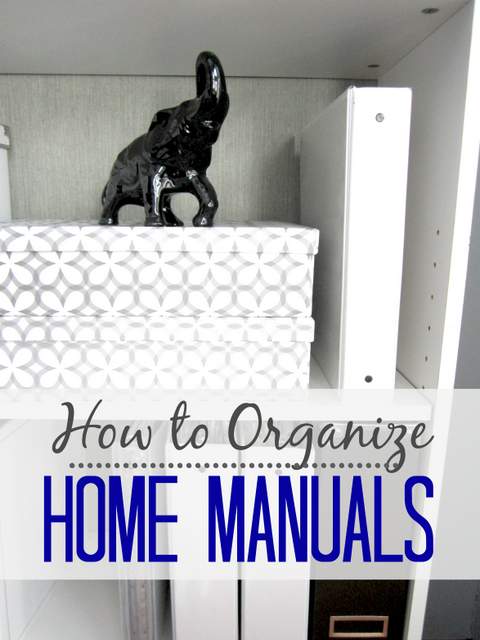
How to Organize Home Manuals

How to Organize Home Manuals

Happy 2014! I hope you are still enjoying a wonderful holiday season and are excited to see what we have in store for you here at Pretty Handy Girl. It is going to be an amazing year! Since you might be recovering from the fun last night at a festive celebration, I’m going to make today’s project very easy for you. Easy but productive.

A new year always makes us want to be more organized and this project will start you off on the right foot in that department.  Today you are going to organize all those manuals you have floating around the house. You know the ones you can never find when you need to? But have been meaning to organize? Check that item off the To-Do list, here is how to!

There are a few options for getting home paperwork in order, but I’m a binder kind of girl. I tend to organize all of my must-find items in binders, that way I can move them around from room to room if I need to, and I can re-organize the items inside, plus binders can hide a great mess but look so pretty doing so.

Supplies

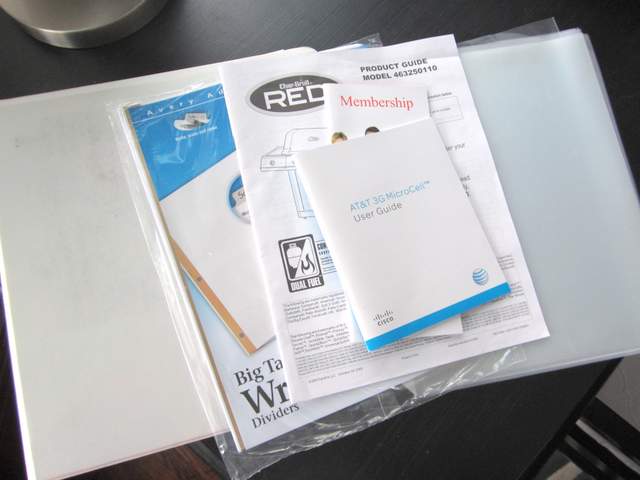
  • All those pesky, unusually-sized, random manuals, warranties, instructions and information for things around your home
  • A binder {or two if you have a lot of manuals}
  • Dividers with a label option – Can be cut up file folders, purchased dividers or card stock paper
  • Clear plastic sheet protectors
  • Hole punch {optional}

Organize Your Home Manuals

Instructions: Read more

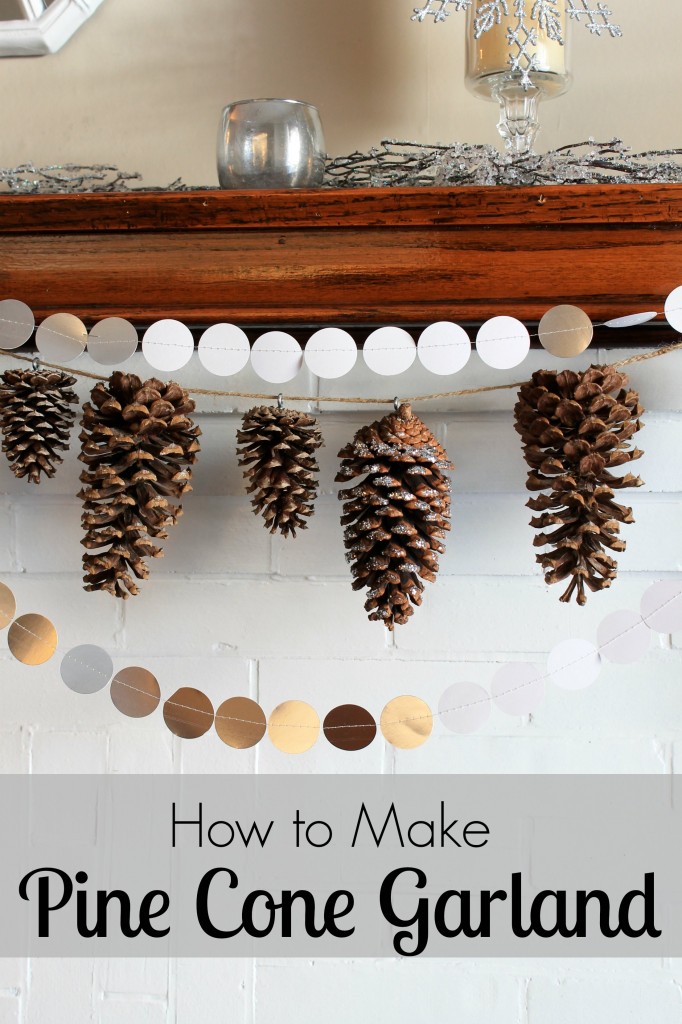
How to Make Pine Cone Garland

How to Make Pine Cone Garland

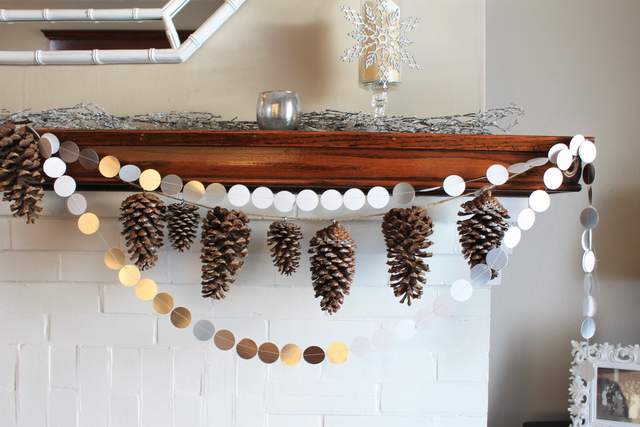
Happy December! The holidays are such a wonderful time of year and an opportunity to get creative with entertaining, cooking and decorating. Mostly, I love to make things simple and today’s lesson on how to make a pine cone garland will be just that. An easy, quick, not to mention very inexpensive craft you can do to decorate your home this season. And it can be done in about 30 minutes {minus an adventurous walk in the woods to get pine cones}, here is how.

Supplies:

Pine Cone Garland

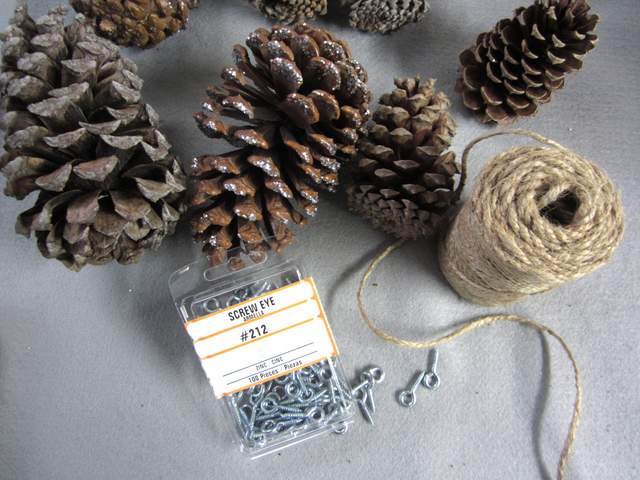
  • Pine cones – These can be found simply going outside and looking around the pine trees. Depending on where you live, you’ll find all kinds of sizes. If you collect pine cones from outdoors, be sure to ‘de-bug’ them by baking them for 30 minutes on a low temperature. You can also get pine cones at craft stores, thrift stores, flea markets and such. Or maybe in a friend’s attic? Put those old holiday decorations to a new use.
  • Just twine or ribbon – This is to hang the cones. You can use anything you might like, or what matches your style.
  • Screw Eyes – Find these in the hardware section at the home improvement store. A small box will only cost a few dollars.
  • Optional supplies include a drill with a small bit and glue

 Instructions Read more

DIY Fabric Coasters

DIY Fabric Coasters

Hi everyone! I’m more than excited to be here at Pretty Handy Girl with Brittany and to be joining the amazing team of contributors. Are you enjoying the fabulous Très Frugal DIY gift ideas so far?

I’m Jessica and I blog at Decor Adventures, a place for you to find furniture makeovers, home improvement projects, craft and lots more DIY and home decor inspiration. Not to mention how to survive decorating a 113 year old house.

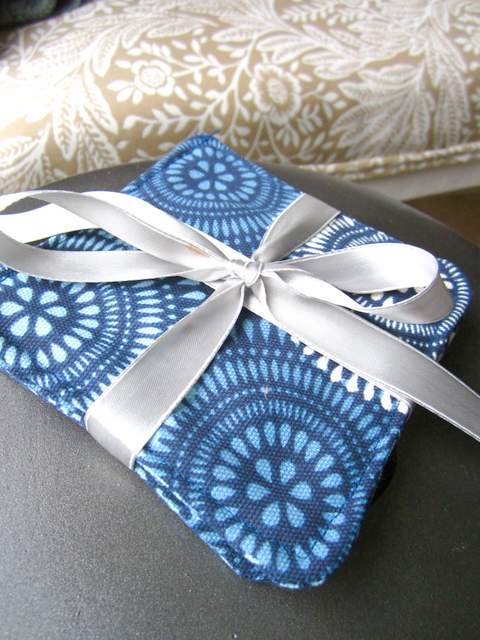
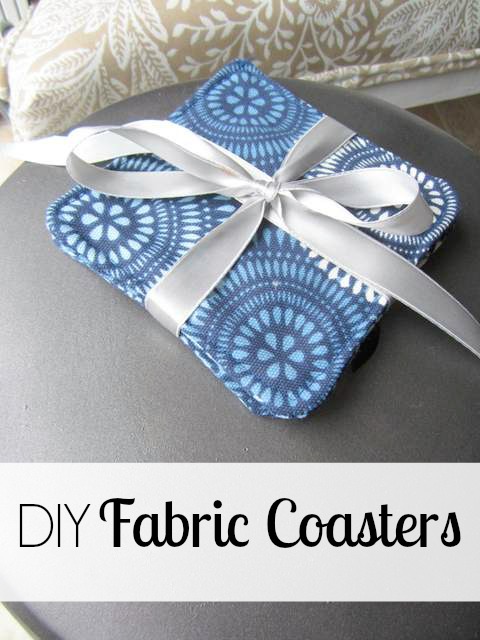
I’m really looking forward to sharing my ideas for how you can make your home a beautiful and meaningful place too. Today I’m going to start with an easy and super cheap fabric project, DIY fabric coasters. I love sewing and find it to be a relaxing yet productive activity. When I’m done making something like a table runner or reupholstering an ottoman I always try to think of what I can do with the leftover fabric. These small coasters were just the solution. Plus they make a great gift idea and tis the season for giving something specially made by you. Your family will love them, I promise. Here is how to make DIY fabric coasters.

DIY Fabric Coasters Supplies:

  • Fabric
  • Thread
  • Scissors or cutting mat and rotary cutter
  • Measuring tape or ruler
  • Pencil or disapearing ink sewing marker
  • Sewing machine and thread
  • Batting for in between is optional, but I did use it

DIY Fabric Coasters Instructions: Read more