DIY Clock

DIY Clock

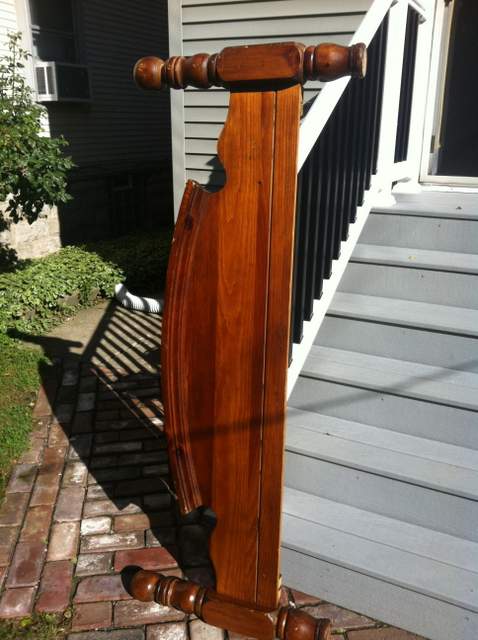
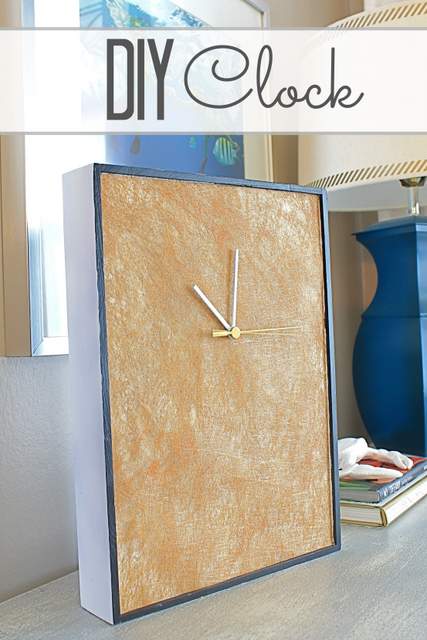
August means getting ready for the upcoming fall season, back to school, sports season and the holidays. Hi everyone, it’s Jessica at Decor Adventures and I have an easy project to keep you on time for all the activities you and your family have planned these next months, a DIY clock. Did you know you could make your own clock? It’s super easy to put together and you can paint or decorate it to perfectly match your home’s decor. Let’s get started.

Materials

  • Clock kit
  • Double sided tape
  • Wooden tray to make your clock
  • Paint (optional)
  • Decorative paper
  • Spray adhesive (optional)
  • Scissors
  • Pencil
  • Ruler
  • Drill and drill bits
  • Hanging hardware

Instructions:

1. To make this clock, I found a 99 cent tray at the thrift store. I knew it would be great for this project because it can hang on the wall and will conceal the clock kit inside the tray. You could also use a picture frame without glass or even some other creative object you’d like to use for your clock face. Make sure it’s something flat so your clock kit will fit into it.

Thrifted Tray

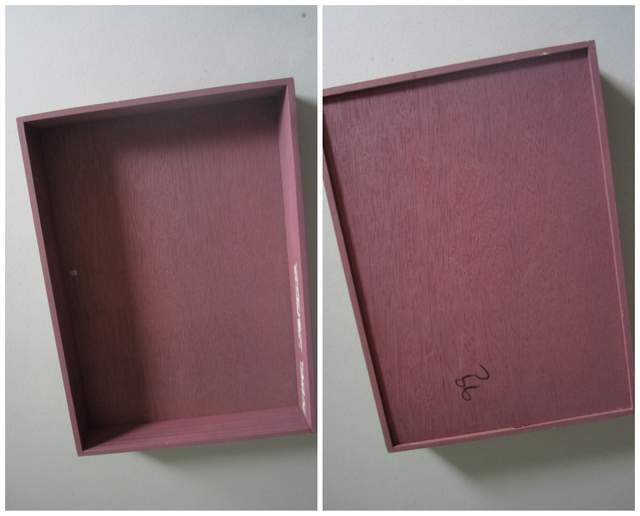
2. The back of the tray will actually become the face of my clock. To prepare it, prime your tray.

Make Your Own Clock

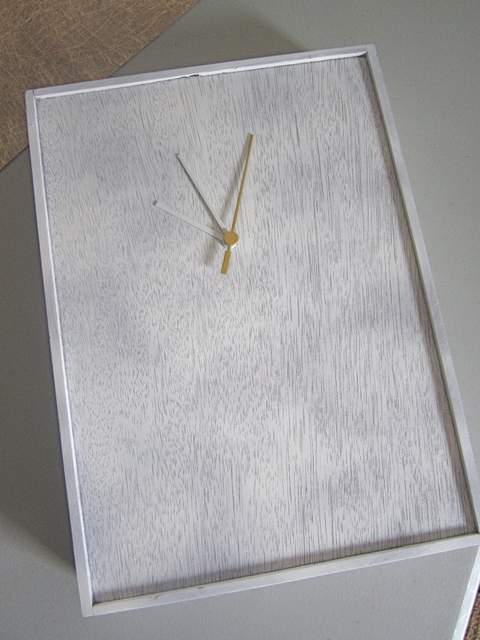
Decide where you would like to put the hands of your clock. It can be in the exact center of the tray or off center for a different look. Mark where the center of the clock will be placed. Read more

Metal-Flashing-Orbs

Metal-Flashing-Orbs

Happy July friends! It’s Jessica from Decor Adventures. I hope you are enjoying all things summer and have a close friend or relative with a pool, if you don’t have one yourself. It is super hot here and I’m glad my sister finally opened hers. Otherwise, to stay cool I hang out in our basement where my craft area is set up. I have an easy project for you this month, it’s how to make metal flashing orbs for your home.

I’ve seen these orbs used in all types of home decor items: from pendant lights to garden decorations. I always thought it would be easy to DIY your own. Here is how to make decorative orbs from metal flashing in five easy steps.

Materials:

Metal-Flashing-Orbs

  • Metal flashing
  • Tin snips
  • Rivet gun
  • Rivets
  • Ruler
  • Gloves
  • Pencil
  • Safety eye glasses
  • Drill and drill bits
  • Clamp
  • Clothespins
  • Glue gun and glue sticks
  • Optional – Spray paint and respirator if you will be painting your metal


Instructions: Read more

How to Tile a Small Table Top

How to Tile a Small Table Top

Hello and happy summer pretty handy readers. It’s Jessica from Decor Adventures. With the weather getting warmer, I’m completing lots of outdoor projects these days. One DIY adventure I’ve never actually tackled is tiling, but I’ve always wanted to. Today I’m going to show you how to tile a small table top. It’s easier than you think and is perfect for the outdoors too.

Tile a Small Table Top Materials:

How to Tile a Small Table Top

  • Small table
  • Tile adhesive (also called mortar or thinset)
  • Tile (enough to cover the top of the table)
  • Notched trowel
  • Rubber float
  • Grout
  • Grout sponge
  • Tile cutters
  • A bucket
  • Paint for the table (optional)
  • Water
  • Plastic gloves
  • Eye protection


Tile a Small Table Top Instructions

First, prepare your table. The small table I’m using was the one we used for my pet parrot when I was little! His name was Woodstock, and no he didn’t talk. I guess my mom taught me and my sister to talk instead :-). The table had sentimental value, so I knew I wanted to create something special with it.

Read more

How to Make an Old Sign

How to Make an Old Sign

One project I really wanted to make was an old wooden-looking sign. I hoped to stumble upon a salvaged piece or something found. Lucky enough, I happened to find a foot board from a bed right down the street. It was the perfect shape to make into a sign. When someone throws something out, I usually take it for a project! With some paint and lettering, you can make this or any piece into an old sign. Here’s how!

Materials

  • Foot board – You could pick one up at a thrift or salvage store for only a few dollars
  • Sand paper
  • TSP
  • Chalk paint or regular paint
  • Paint brush
  • Sealant like wax or polycrylic
  • Printer and paper
  • Scissors, tape, ballpoint pen

Instructions:

This was the foot board I scored on the curb. It had a perfectly rounded top with molding on it and had the shape of an antique sign. I remember seeing one like this at Ballard Designs that sells for hundreds of dollars. Since I had all the supplies for this, it cost me nothing! The legs were really neat, but we ended up cutting them off to make this a sign. I thought it would look better that way. Who knows, maybe I’ll make something else out of the legs?

Foot Board Before

Lightly sand down the foot board and clean it with TSP. This will prep it for painting and take off any dirt.

Sanding and TSP Read more

Jute Wrapped Eggs

Jute Wrapped Eggs

Hello! It’s Jessica here from Decor Adventures. I’m so happy to be back again with a creative and easy project for you to do this spring season. I’m usually a fall person, but find myself very excited for spring this year. It’s nature at its best and so I thought some natural texture would be a perfect connection to the warm days ahead. Jute wrapped eggs are a twist on the traditional dyed eggs and can decorate your home well past the Easter season.

Materials

  • Jute – Some people say you can find this at the dollar store, but you can get it at a craft or home improvement store too.
  • Plastic eggs – I got mine at the thrift store for only $1.00. Now is a perfect time of year to find spring craft materials.
  • Glue gun and glue sticks

Materials for Jute Wrapped Eggs

Instructions

First, you’ll hot glue the two sides of the eggs together, assuming you have the plastic ones that come in two parts. This is to keep the egg together so after you’ve done all that work to wrap it, it doesn’t break open. Put a bead of glue around the one edge, then close the two sides together. Read more