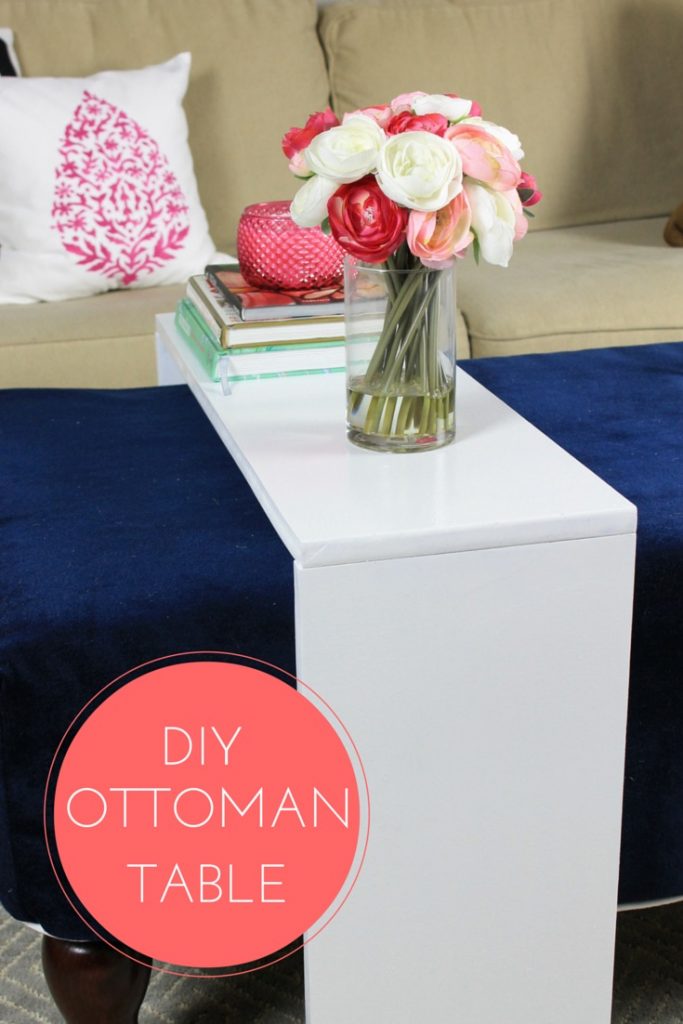
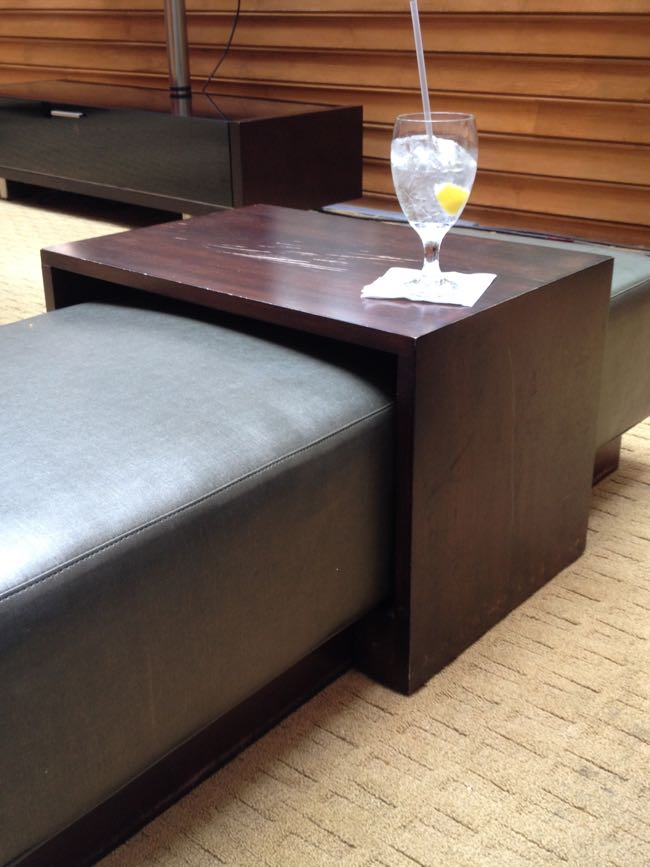
Design inspiration can often come in the least-expected places. It can happen when you are in an airport or at the farmers market or just plain window shopping in your home town. Last year when I was at the Haven blog conference, I fell in love with this table I saw in the hotel restaurant.
But want is it called? An ottoman tray, a side table, a bridge? Turns out it is all those things. Today I’m going to teach you how to make one. This simple piece of furniture is not only easy to make, but very functional too. It can fit perfectly over an ottoman in your home and give you a steady place for a book or your favorite drink. Or if you don’t have an ottoman, it makes a nice side table too.
Materials:
- MDF board – These come in many sizes at the home improvement store. For this project I used a piece that was 1 x 10 x 72″.
- L-brackets
- Wood screws
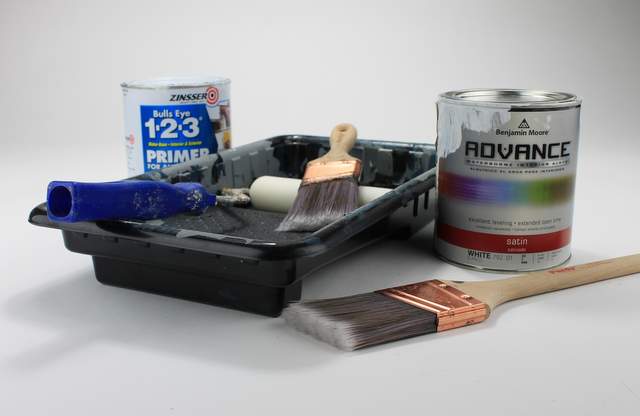
- Primer
- Paint
- Drill and drill bits
- Circular saw (optional)
Instructions:
First, measure the size of the ottoman you want to slide the ottoman table over. Make sure you have enough clearance for it to fit the width and the height of the ottoman. You will have three boards total. Two that will serve as the “legs” and one that will be the top.
Transfer your measurements to the board. Using a circular saw, cut the board in two places according to your measurements, giving you three boards.
You can have the board cut for you at the home improvement store and save yourself a step. (This works for me a lot since I have a small car, then it easily fits inside on the way home.)
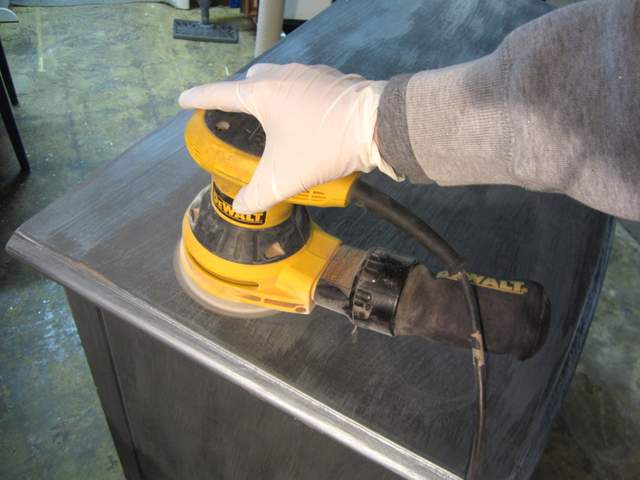
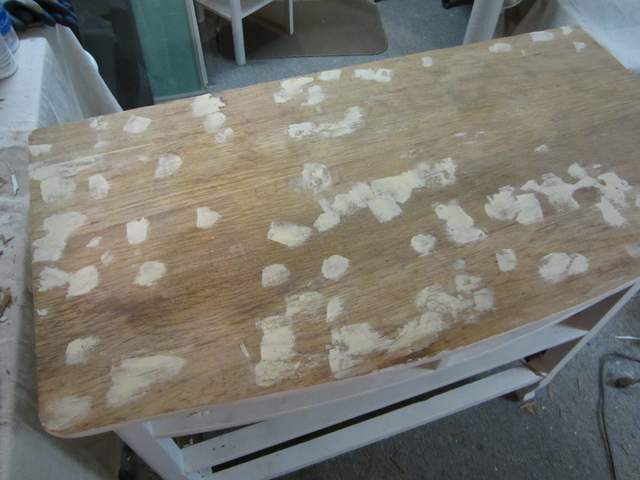
Wipe of any sawdust with a rag.
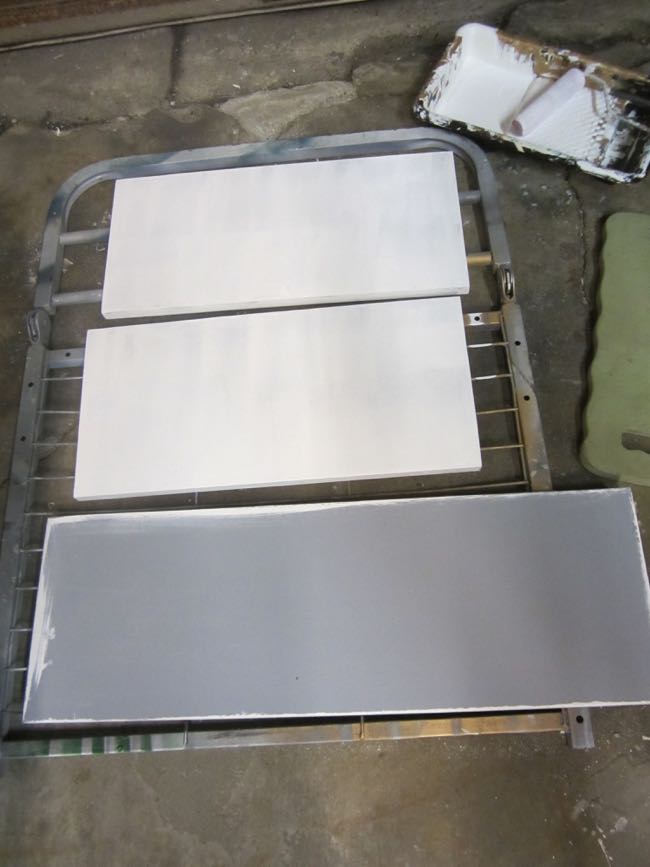
Prime and paint the boards. It’s a good idea to use a “gripping” primer so that your table will be stand up to frequent use. There are also enamel paints that are meant for furniture that you can use as the color. If you have paint on hand, use what you got! Or, sample cans are only around $4 and should cover your entire piece, depending on the size.
After the boards are dry, you can assemble the table. Take the top piece and turn it upside down on a soft surface. Place a “leg” board perpendicular next to it and mark where to place the L-bracket. Read more