5 Steps for Beautiful Holiday Wreaths

5 Steps for Beautiful Holiday Wreaths

Hello friends, it’s Jessica from Decor Adventures. December is the most wonderful month of the year and these early days are perfect for holiday decorating. I’m sure you are decking your halls and getting ready to have a festive season.

One of my favorite ways to decorate for the holidays is to hang wreaths. I admit, I’m a wreath addict.  I have them in many sizes and many colors. They are the perfect holiday decor item and one of the easiest to use. Today I want to show you 5 steps for beautiful holiday wreaths, come see!

Materials:
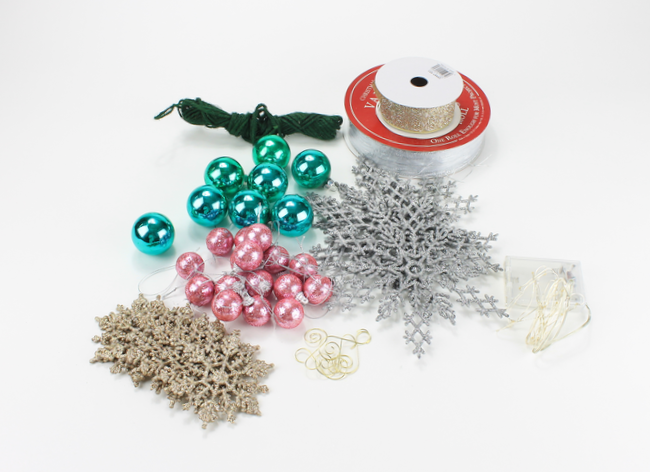
5 Steps to Beautiful Holiday Wreaths

  • A wreath
  • Holiday lights or fairy lights
  • Ribbon
  • Ornaments
  • Holiday decor accessories
  • Scissors
  • Green twine
  • Batteries

The type of wreath you use for this project is up to you. The most common wreaths are evergreen and can be found at many retailers including grocery and home improvement stores. They also come in different types such as boxwood, fir, pine, cypress, and more. Real or fake wreaths will both work for decorating. Grab a wreath (or three!) and let’s get started.

5 Steps for Beautiful Holiday Wreaths:

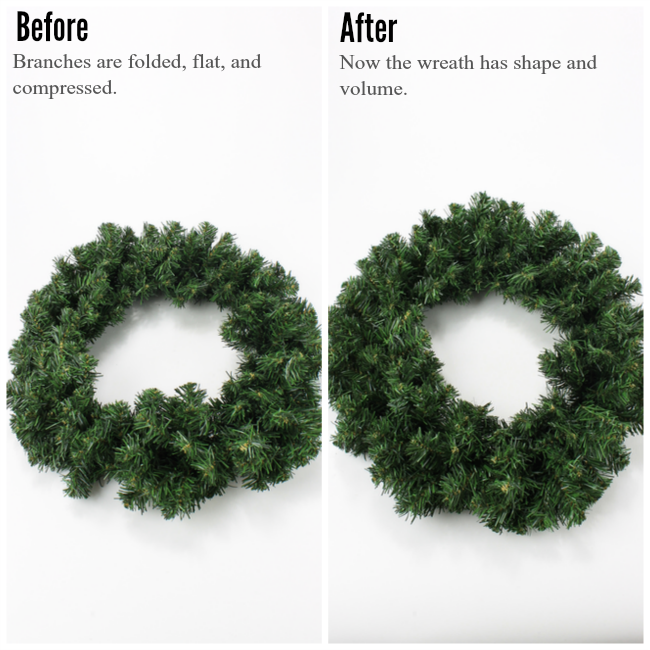
1. The fluffing. Wreaths often get smushed during shipping. Pull out the branches and shape them in a nice circle. The before and after will be dramatic and can make the wreath even bigger. Real wreaths may have some dry spots or unshapely branches, which you can easily trim off.


5 Steps to Beautiful Holiday Wreaths

Read more

How to Winterize Your Rain Barrel

How to Winterize Your Rain Barrel

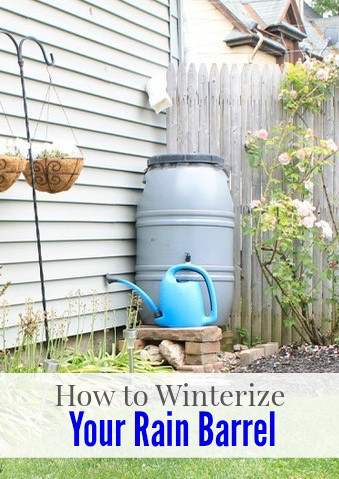
Hello friends. It’s Jessica, from Decor Adventures with some easy tips to get your home ready for the cooler months ahead. I’ll show you how to winterize your rain barrel, which goes perfectly with Brittany’s recent guides on ways you can keep your home warm this winter and how to protect pipes from freezing.

Rain barrels have been growing in popularity and are now a common way to save money on water use for your landscaping. They are also great for corralling water way from certain areas of your property. If you have been looking for a rain barrel, check the local environmental non-profit organizations in your area. They often sell them at a discount.

Now that winter is approaching, those barrels must get properly put away so they can last for many years to come.  We’ve been using our barrel for five years to collect water from the 1-car garage and help water the garden all summer long.

How to Winterize Your Rain Barrel

Here are a few tips on how to winterize your rain barrel:

Connection of a rain barrel to the gutters of a building can be via a few methods:

  • Gutter diverter – an attachment you can connect to a downspout to easily close off the water supply to the barrel and return it to a straight downspout once you aren’t using the barrel over the winter or when it gets full.
  • Flexible gutter – connects the downspout from the gutters on the garage to the rain barrel. These are also called flex-a-spout or vinyl elbow at the home improvement store and are very handy for diverting water in a non-straight path.

Read more

Turn a Chair into a Stool

Upcycled Stool from a Chair

I love this upcyled project from Jessica! Today’s Rockstar is probably familiar to you because she performs as a monthly contributor on Pretty Handy Girl. Jessica is here with the tutorial to Upcycle a Stool from a Chair.

JessicaBioPic

When Jessica isn’t performing here on Pretty Handy Girl or playing with her adorable new baby, she is blogging at Decor Adventures. Jessica and her husband have been renovating their old home since they bought it in 2010. Jessica is right at home behind the power tools and can create the most amazing transformations! I can honestly say that Jessica and I have been blogging friends since we both started blogging in 2010. Rockstar DIY Series

I hear the sound of a reciprocating saw! Jessica is storming the stage now!

page_break_2

We all have unused furniture around our house right? Whether it’s a table that no longer fits in your room; or a chair you’ve grown tired of; or maybe something that’s broken and you can’t bring yourself to throw it out. Well now you don’t have to, you can turn some of those old pieces into something new with just a few supplies and some DIY skills.

Turn a Chair into a Stool

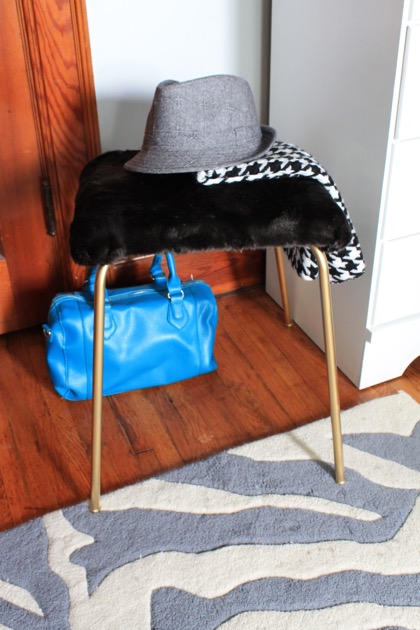
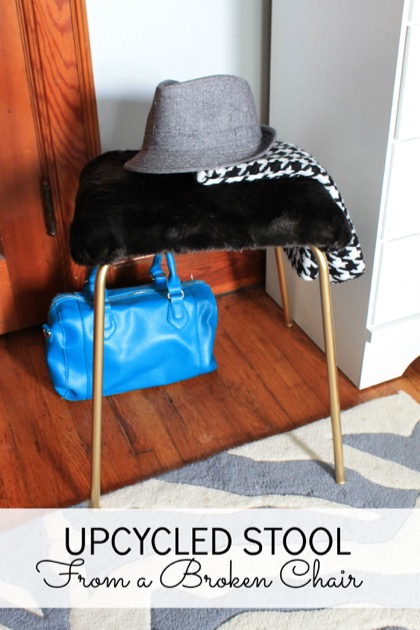
For the longest time we had a set of these wooden chairs in our house. Although three of them are in great shape, one was broken and couldn’t be used anymore. Instead of getting rid of it, I decided to turn it into a fun and functional stool. Here is a quick tutorial on how to turn a broken chair into a stool.

Materials

  • Broken chair
  • Pencil
  • Reciprocating saw
  • Safety glasses
  • Sanding block
  • Spray paint
  • 1-inch foam
  • Spray adhesive
  • Scissors
  • Fabric
  • Hot glue gun and glue sticks

Instructions

For this project, you’re going to cut off the back of the chair to reuse the seat and legs. All chairs are different, so you can cut or even dis-assemble the chair to your liking. Mark the chair with a pencil where you will cut it.

Upcycled Stool fro a Chair

Read more

DIY Macrame Plant Hanger

DIY Macrame Plant Hanger

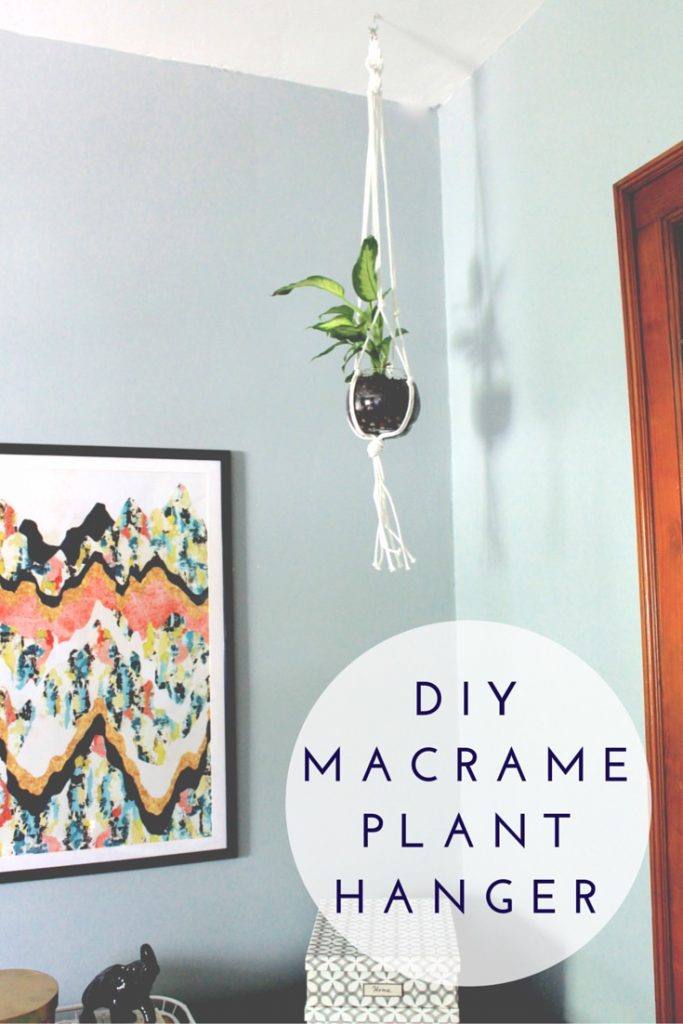
If you follow home decor trends (or just love to add something different or vintage to your home), then a textile and macrame project is a perfect project to try.  If you think they are a nod to the 70’s, you are right but this macrame project is fresh and fun. And it will make a great addition to your home.

Today I have a quick and easy DIY macrame plant hanger to show you that can be customized by color and size. It’s also a new way to display plants instead of just putting them on a shelf or plant stand. Here’s how to make a DIY Macrame Plant Hanger.

Materials:

DIY Macrame Plant Hanger

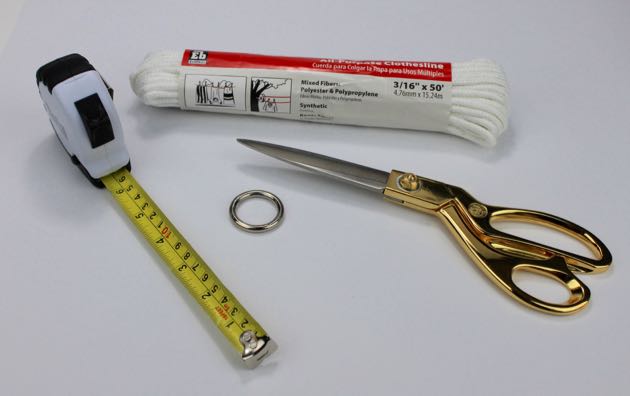
  • 50 feet of cotton or polyester clothesline
  • Scissors
  • Tape measure
  • Plant in a small pot or bowl
  • Small metal ring
  • Cup hook and anchor (Optional for hanging from the ceiling)

Instructions:

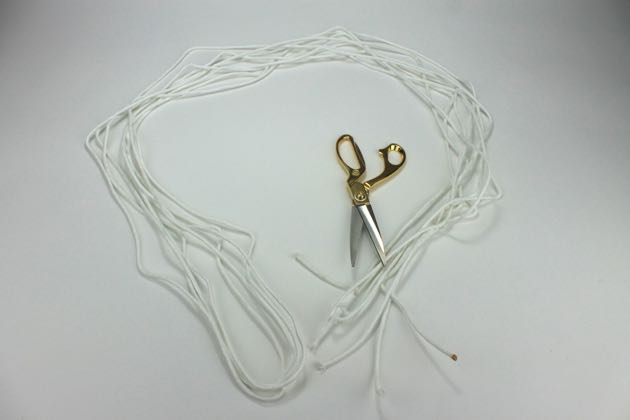
Open the clothesline and fold it in half three times so you have eight strands of clothesline of equal lengths. One end will have all of the ends still connected, and the other will have two looped ends and the two open ends of the clothesline.

DIY Macrame Plant Hanger

Read more

Pros and Cons of 4 Types of Picture Hangers

Pros and Cons of 4 Types of Picture Hangers

Hello! It’s Jessica, from Decor Adventures and I’m back this month with some very handy tips to help hang items up on the wall. Do you ever wonder which picture hanger to use? Did you know there are several ways you can hang things up? From curtains to art and mirrors to lightweight decorations — there are many options for hanging (and sometimes you don’t even have to put a hole in your walls.)

I live in a 115 year old house that has both plaster and drywall, and I’ve experimented with many types of ways to hang items on the walls. Today I’ve compiled The Pros and Cons of 4 Picture Hangers.

1. Picture Hooks and Nails:

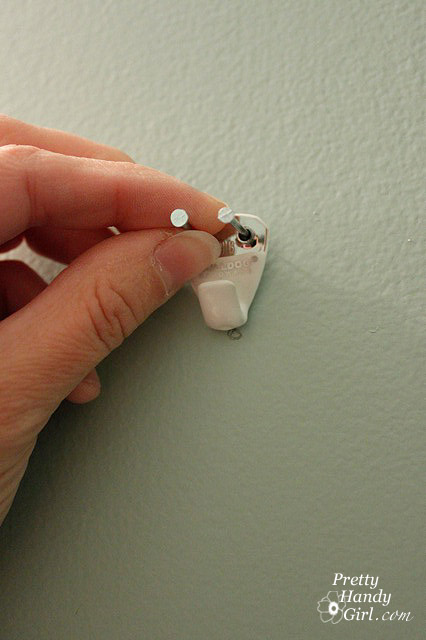
This is probably the most common way to hang up items. Simply mark where your item will go and hammer in your nail and hanger. Brittany shows you how to hang up items when putting together a gallery wall here.

insert-nails-into-hanger

Pros:

Hooks and nails come in many lengths so they can work well in most walls and are easy to use. They are also affordable and go into a wall quickly. All you need is a hammer.

Cons:

Hooks and nails don’t always work in every wall type and can rust. They can’t be used in plaster walls. When hanging heavier art, you need to find a stud to nail into. Read more