DIY Marble Toss Game | Pretty Handy Girl

This summer, parents are busy trying to keep their children busy with quality games and toys. Any seasoned parent knows that those electronic noise-maker toys have no place in a sane household. With this in mind, my friend Stefanie from Brooklyn Limestone has started a summer long series called “Die Ugly Toys Die.”

Die Ugly Toys Die

Every Thursday she’ll feature another DIY toy or game that you can make for your children. It’s time to get back to the basics and send those annoying and ugly toys off a cliff.

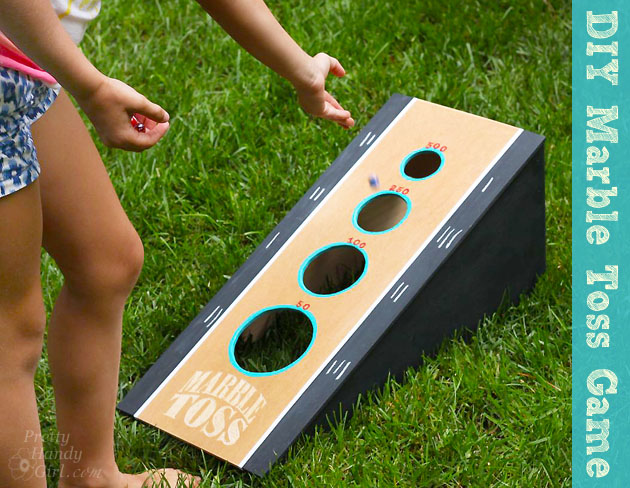
My tutorial for creating a DIY Marble Toss Game is starting the series today.

Click here to find the instructions to build your own. Then watch your kids have hours of fun challenging each other in a tossing game.

Be sure to check over at Brooklyn Limestone every Thursday for a new DIY toy or game.

PHGFancySign

20 Summer Boredom Busters for Kids | Pretty Handy Girl

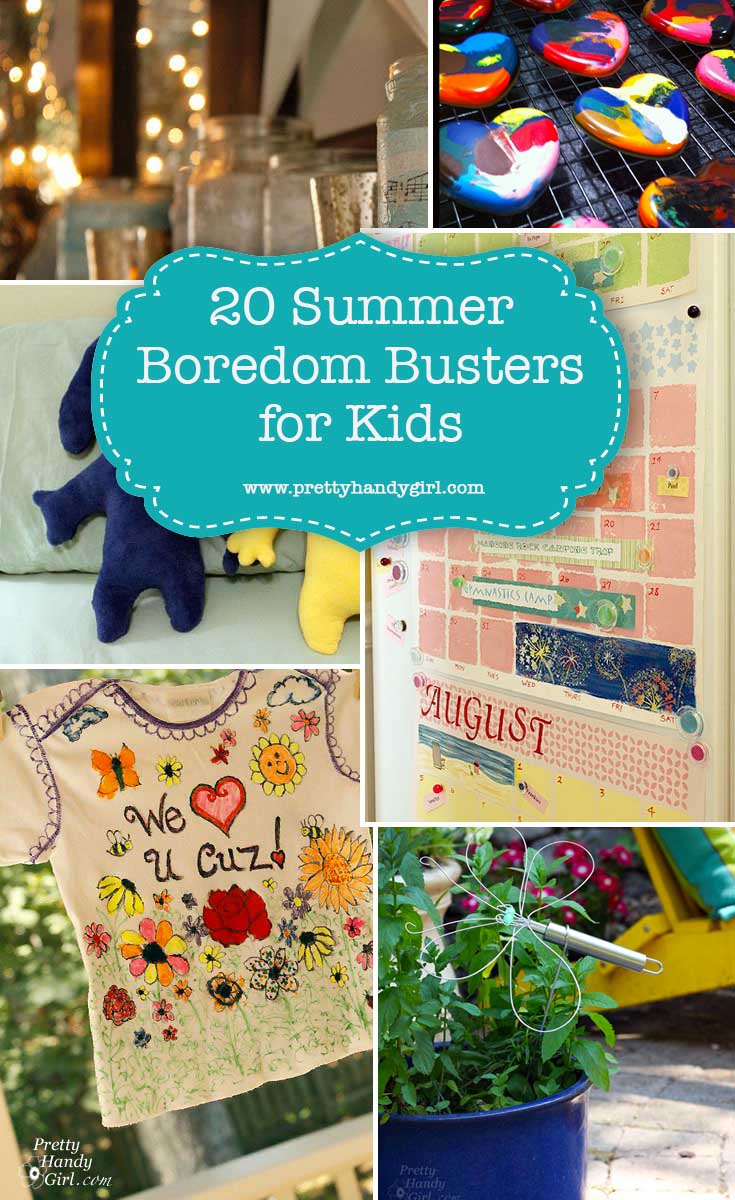
If you’re on a quest to keep the kids entertained, I have several Boredom Buster DIY craft projects for you and your kids that will keep you busy over the next few weeks or so.

side_view_calendars

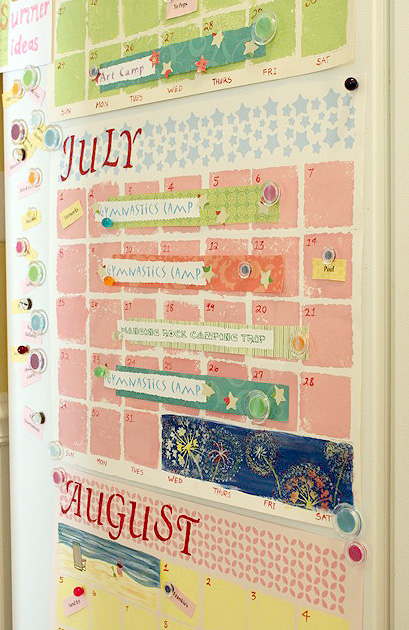
Summer Calendar & Bucket List


Thumbprint Pillow | Pretty Handy Girl

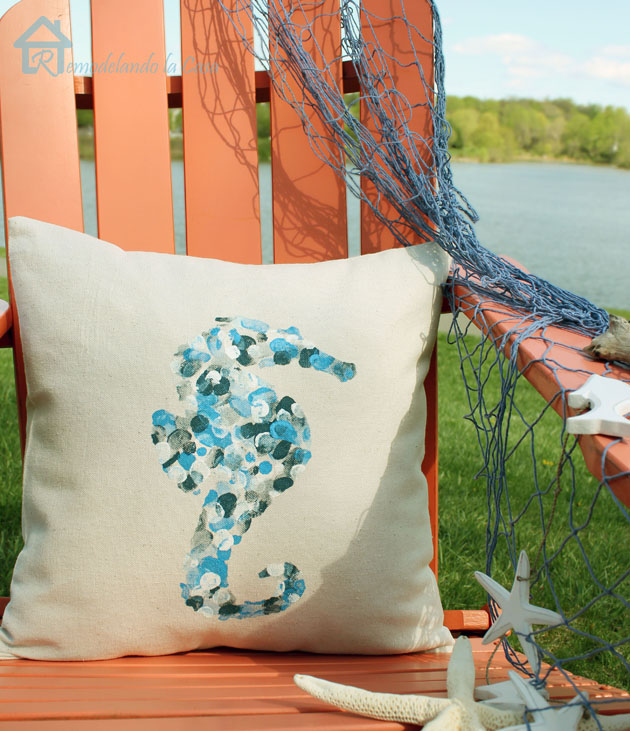
Kids’ Thumbprint Envelope Pillows


cooling_crayon_hearts

Melted Heart Crayons


Sunprints | Pretty Handy Girl

Sunprints (frame-worthy art)


DIY Magnets Noggin Characters | Pretty Handy Girl

DIY Character Magnets


Placemat_summer_garden_flag_pin

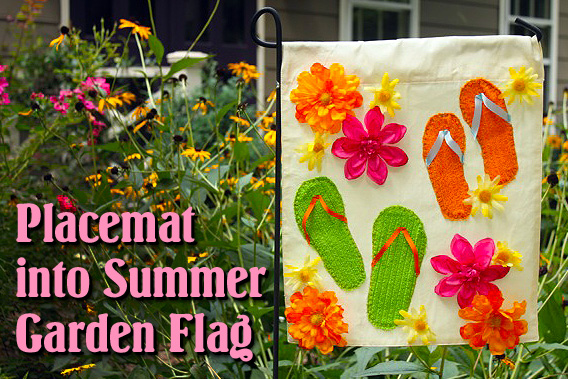
Summer Garden Flag


Planning a beach vacation? Why not bring a few craft supplies to create some beach-themed crafts!

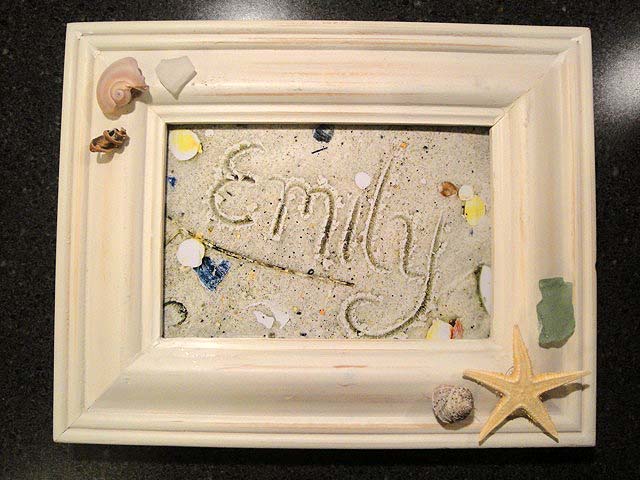
Writing Name in Sand Art | Pretty Handy Girl

Writing in the Sand Art


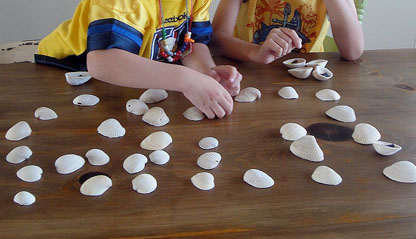
Sea Shell Memory Game | Pretty Handy Girl

Sea Shell Memory Game


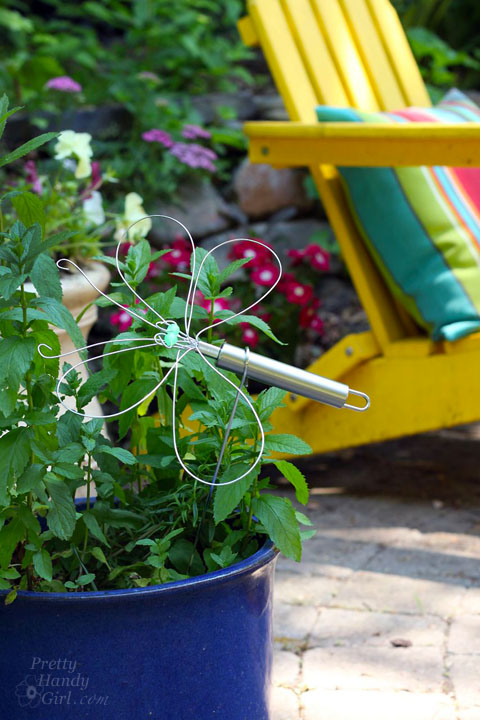
Dragonfly Garden Decor using a Dollar Store Whisk and Skewer | Pretty Handy Girl

DIY Dragonfly from a Whisk and Skewer


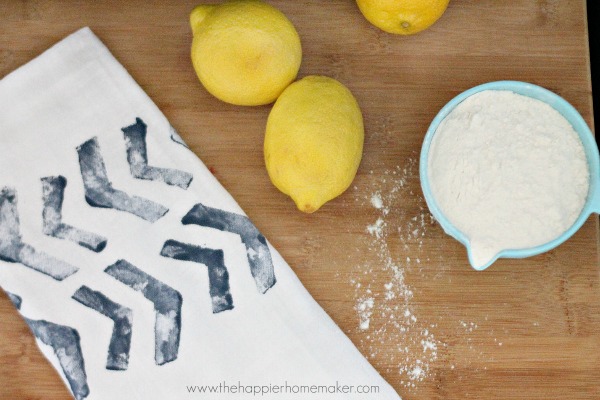
block print tea towel

Potato Block Print Tea Towels


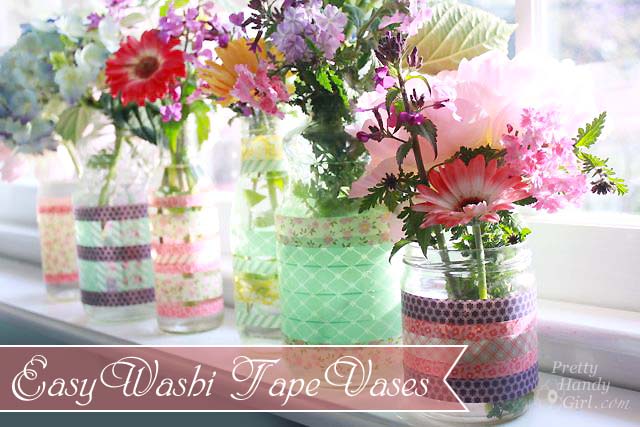
Easy_washi_tape_vases

Easy Washi Tape Vases


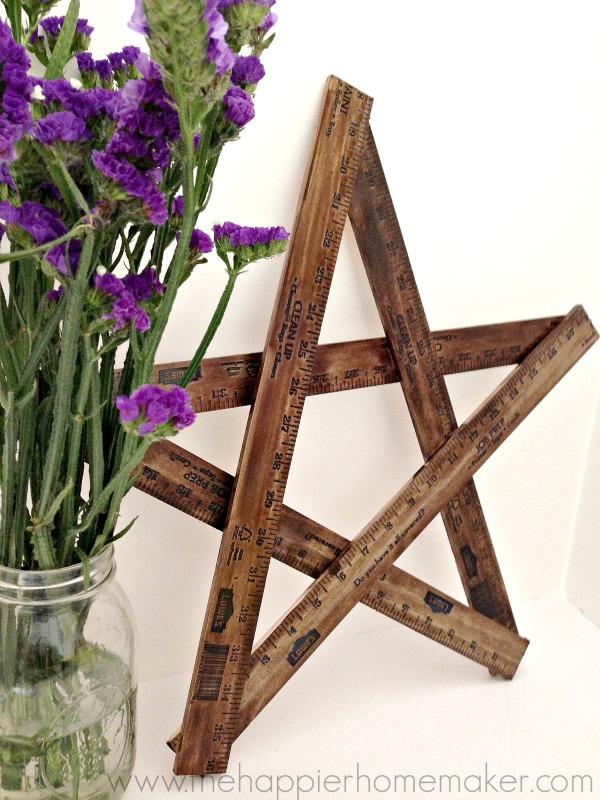
how to make a yardstick star

DIY Yardstick Star


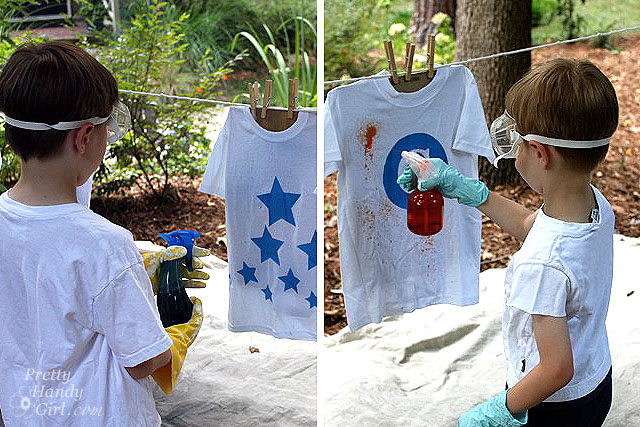
Spray-Dyed T-shirts | Pretty Handy Girl

Spray-dyed Shirts


Easy Decorated Chalkboard Clipboards | Pretty Handy Girl

Decorative Chalkboard Clipboards


Monster Dolls Designed and Made by Your Kids | Pretty Handy Girl

Kid Designed Monster Dolls


boy_playing_indoor_hopscotch

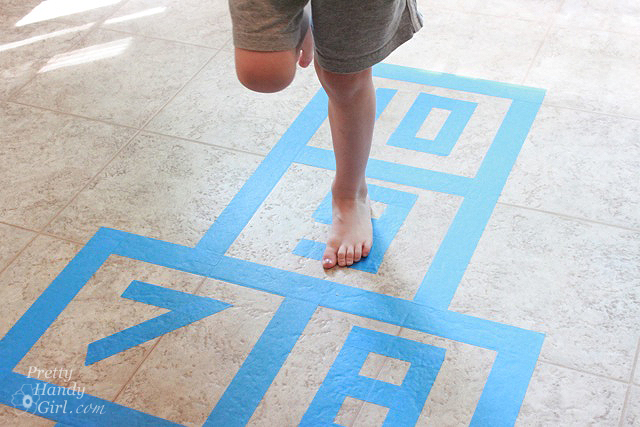
Indoor Hopscotch with Painter’s Tape


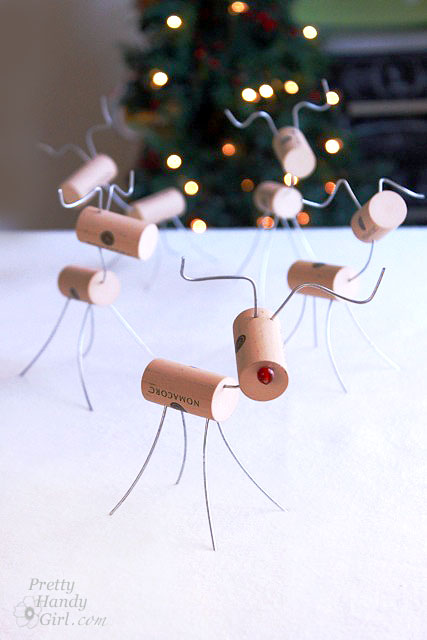
wine_cork_reindeer

Wine Cork Animals


finished_shirt_first_image

Doodle Shirts


PrettyHandyGirl_music_Votives_on_shelf

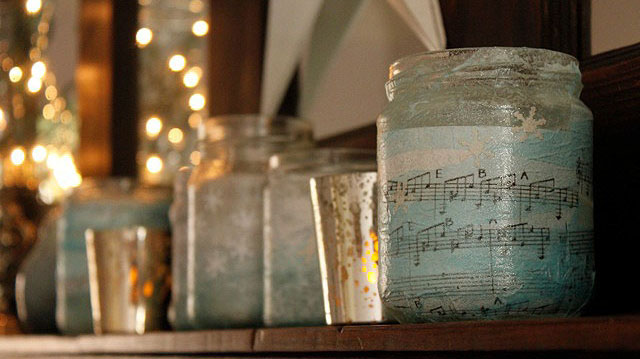
Decorated Glass Jar Votives


Magnetic Mailbox Cover | Pretty Handy Girl

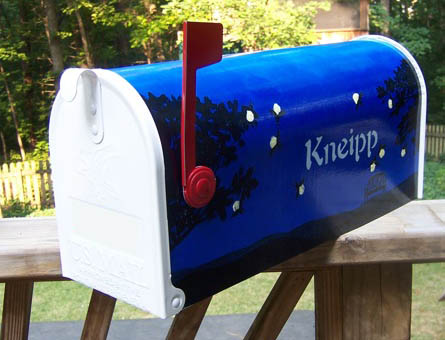
Custom Painted Magnetic Mailbox Covers 

Those ought to keep your kids busy for a little while and let you make summer memories that last forever. Happy Summer!

PHGFancySign


Pin for later!

Little Playhouse | Pretty Handy Girl

Little Playhouse | Pretty Handy Girl

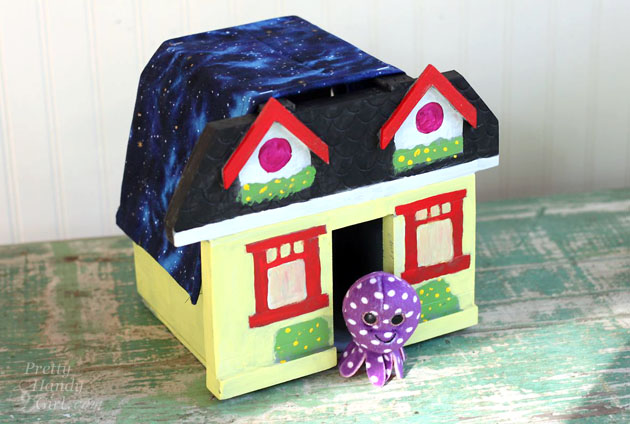
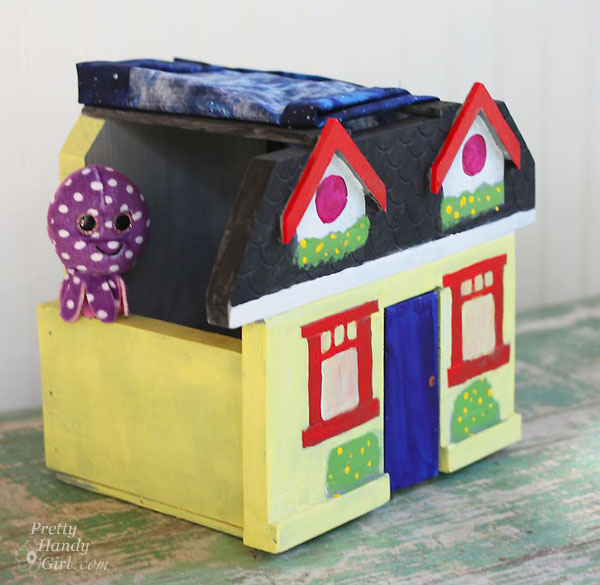
I love giving my boys creative freedom on projects. Frequently I let them have access to my scrap pile. Inevitably they build little houses for their stuffed animals. This little house was designed and painted by my 8 year old for Ollie (his little stuffed octopus.) I helped him build it. If you want to build a little playhouse for your child to paint, follow along.

Before we begin, I need to back up and tell you that this project is part of The Mystery Thrift Off.

#TheMysteryThriftOff is the brainchild of Lindsey from Better After. She chose a handful of people to take part in this challenge. After scouring her local thrift shops for ugly and hopeless items, she shipped off the chosen items to those of us in the challenge. I signed up—because frankly—I love a challenge. And, I love saving ugly items from the landfill. Be sure to see some of the other Mystery Thrift Off transformations at Better After and vote for your favorite.

But, when the box arrived from Lindsey, I was terrified to open it up! I mean what if she had sent me a ceramic scabies bear!  Yikes. You can imagine my relief when I opened the box to reveal this dated Christmas village.
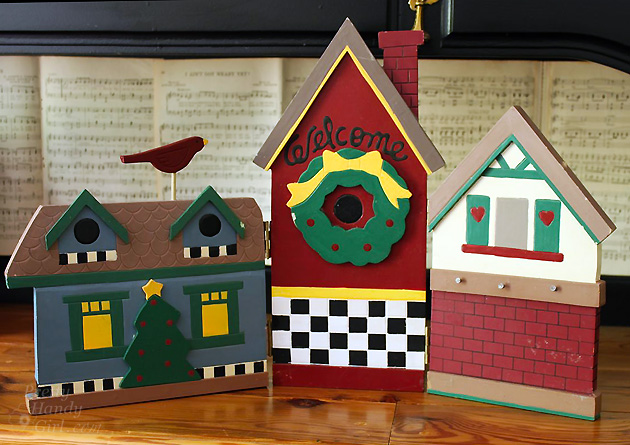
Chalkboard Arrow Sign (Mystery Thrift Off) | Pretty Handy Girl

Not too bad looking is it.? Truth be told, it was falling apart and the colors were hunter green, colonial blue, mauve and fleshy tan.
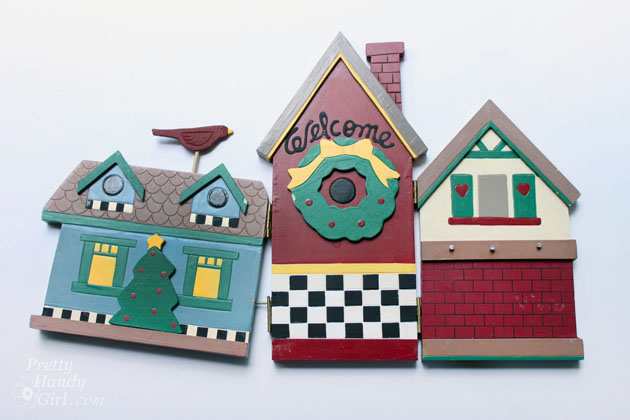
Chalkboard Arrow Sign (Mystery Thrift Off) | Pretty Handy Girl

I quickly pulled the three houses apart and began to transform them into A Chalkboard Arrow Sign, a Housewarming Gift Caddy and the Little Playhouse I’m going to show you today.

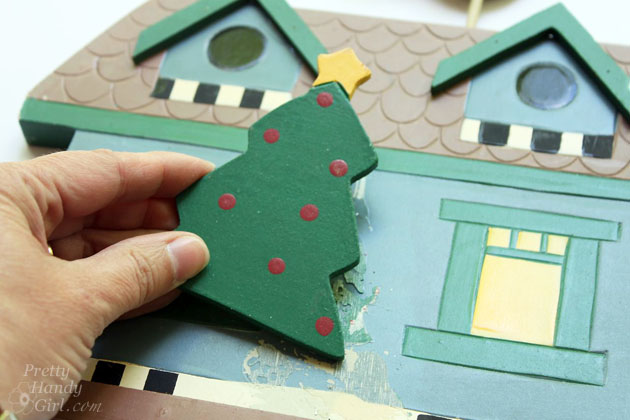
I began by removing some of the embellishments.

Little Playhouse | Pretty Handy Girl

I saved them for a future project.

Chalkboard Arrow Sign (Mystery Thrift Off) | Pretty Handy Girl

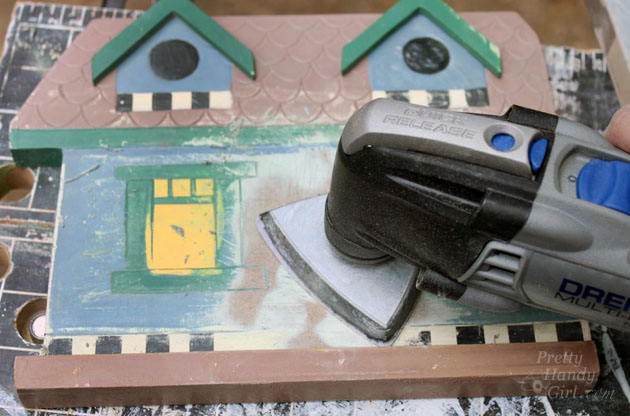
Next I sanded off the glue.

Little Playhouse | Pretty Handy Girl

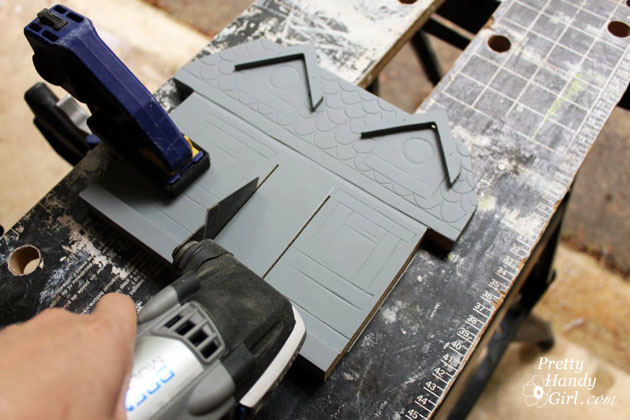
Here’s where you can pick up the tutorial. Start by cutting a house shape into a piece of plywood or scrap wood. Cut out a doorway (the Dremel Multi-Max worked perfect for this task.)

Little Playhouse | Pretty Handy Girl

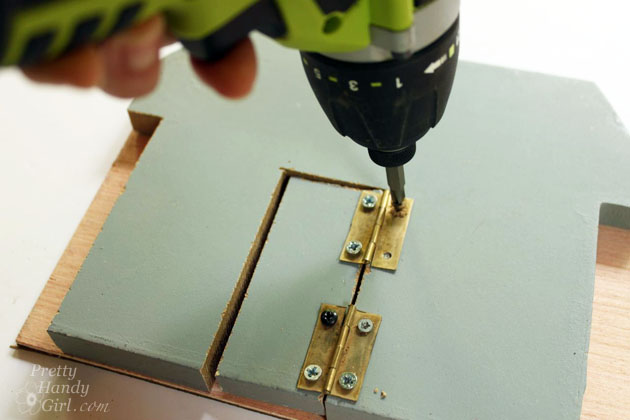
Flip the house shape over and attach hinges to one side of the door and the house.

Little Playhouse | Pretty Handy Girl

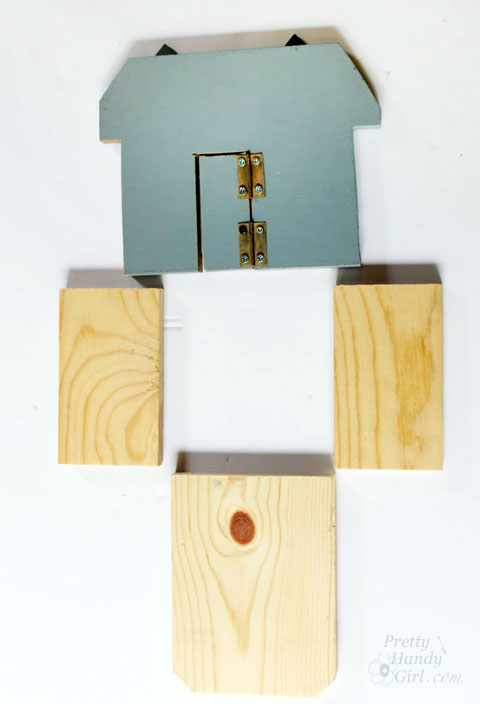
Cut two pieces for the sides of the house (1″ x 4″ lumber) and a back piece the same height as the house front.

Little Playhouse | Pretty Handy Girl

Clamp the back of the house to a solid surface and attach the sides of the house with glue and finish nails. Read more

Housewarming Gift Crate | Pretty Handy Girl

Housewarming Gift Crate | Pretty Handy Girl

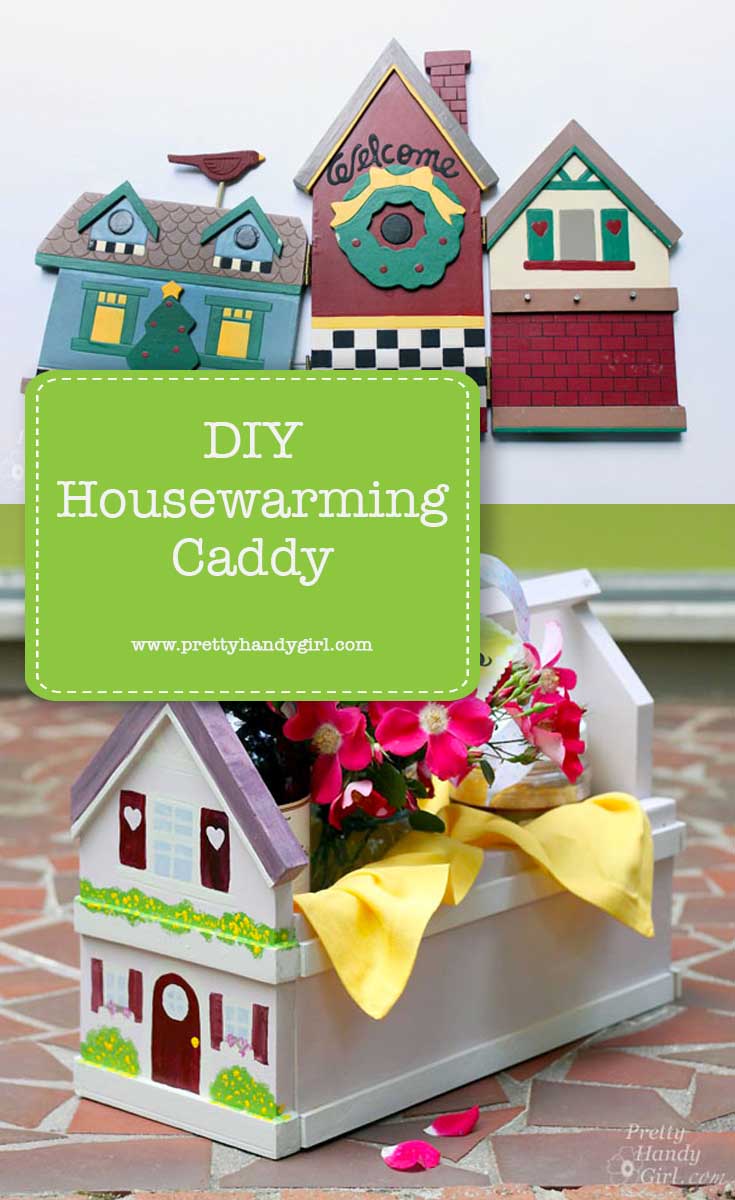
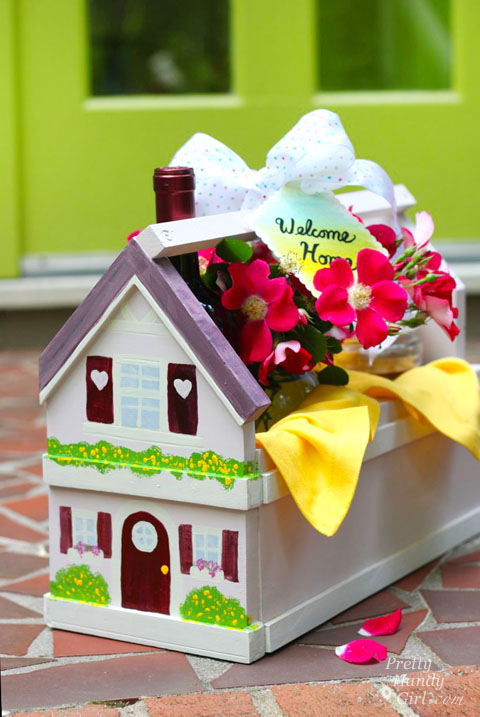
Do you have a new neighbor or know someone who just moved? It’s time to celebrate with them by giving them a housewarming gift caddy! This is an easy gift tote that you can customize to any size you like. Plus, the recipient can use the caddy for storage or display after the gift has been enjoyed.

Before we begin, I need to back up and tell you that this project is part of The Mystery Thrift Off.

#TheMysteryThriftOff is the brainchild of Lindsey from Better After. She chose a handful of people to take part in this challenge. After scouring her local thrift shops for ugly and hopeless items, she shipped off the chosen items to those of us in the challenge. I signed up—because frankly—I love a challenge. And, I love saving ugly items from the landfill. Be sure to see some of the other Mystery Thrift Off transformations at Better After and vote for your favorite.

But, when the box arrived from Lindsey, I was terrified to open it up! I mean what if she had sent me a ceramic scabies bear!  Yikes. You can imagine my relief when I opened the box to reveal this dated Christmas village.

Chalkboard Arrow Sign (Mystery Thrift Off) | Pretty Handy Girl

Not too bad looking is it.? Truth be told, it was falling apart and the colors were hunter green, colonial blue, mauve and fleshy tan.

Chalkboard Arrow Sign (Mystery Thrift Off) | Pretty Handy Girl

I quickly pulled the three houses apart and began to transform them into A Chalkboard Arrow Sign, a Little Playhouse and the Housewarming Gift Caddy I’m going to show you today.

Before I got started, I removed some nails from the house on the right. And then I was ready to get building.
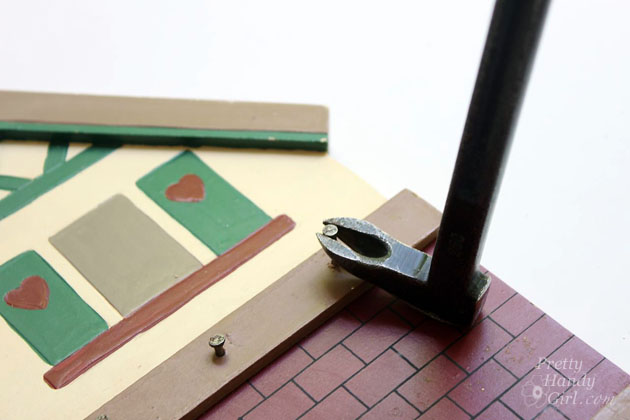
Housewarming Gift Crate | Pretty Handy Girl

Ready to create your own caddy? Let’s get to it.

Materials:

  • 1″ x 6″ board
  • Wood glue
  • Finish nails
  • 1″ x 1″ square dowel
  • 1/2″ lattice trim (or other decorative trim)
  • 2″ screws
  • Spray primer
  • Paint (used Botanical Home Decor Paint)
  • Craft paint
  • Paintbrushes
  • Patch-plus-primer
  • Putty knife
  • Sandpaper

Instructions:

Cut the 1″ x 6″ into 5 pieces:
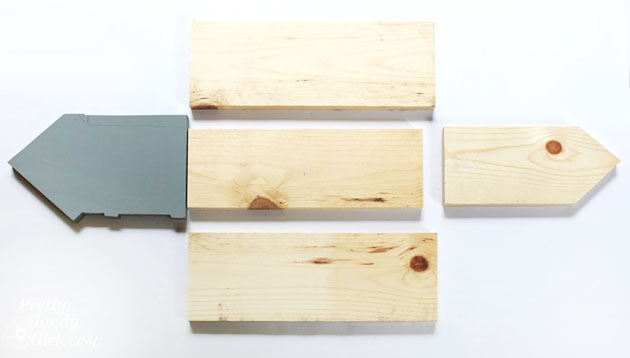
Housewarming Gift Crate | Pretty Handy Girl

  • 2 – 6″ x 15″sides
  • 1 – 6″ x 15″ base
  • 2 – 6″ x 11″ front & back pieces with a 45 degree corners cut into the tops

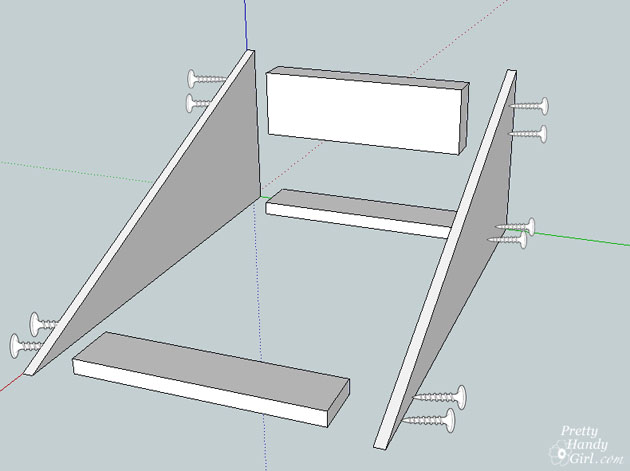
Add a line of glue along the bottom of the front and back of the caddy.  Attach them to the base with finish nails.
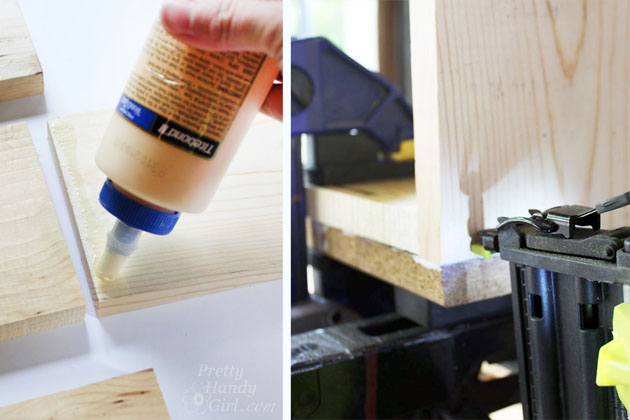
Housewarming Gift Crate | Pretty Handy Girl

Add a line of glue to cut ends of the sides and add a line of glue to the bottom of the sides.  Attach the front to the sides with finish nails. Repeat for the back piece.
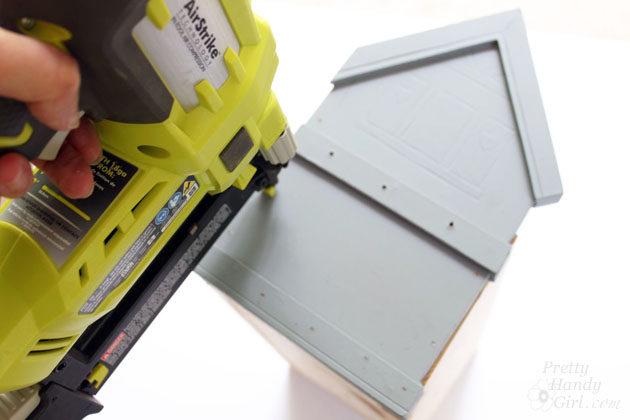
Housewarming Gift Crate | Pretty Handy Girl

Attach the sides by nailing through the bottom and into the sides.
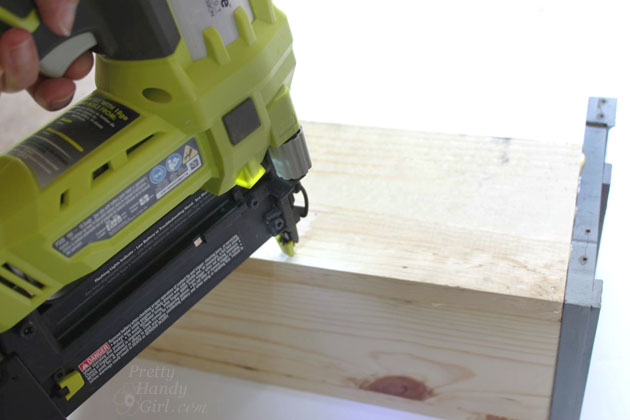
Housewarming Gift Crate | Pretty Handy Girl

Pre-drill a hole into each end of the 1″ x 1″ square dowel. Attach the square dowel to the top of the front and back pieces with the 2″ screws.
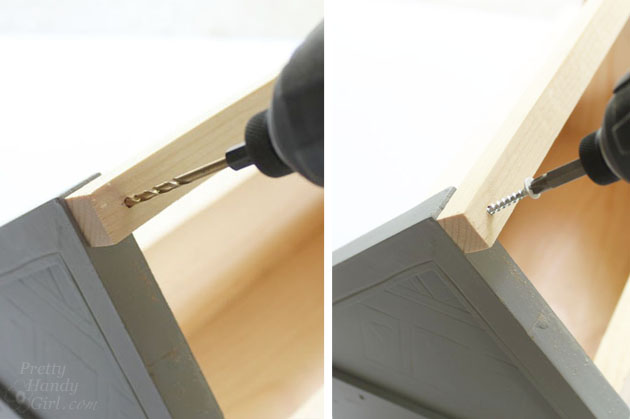
Housewarming Gift Crate | Pretty Handy Girl

The completely assembled crate should look like this:
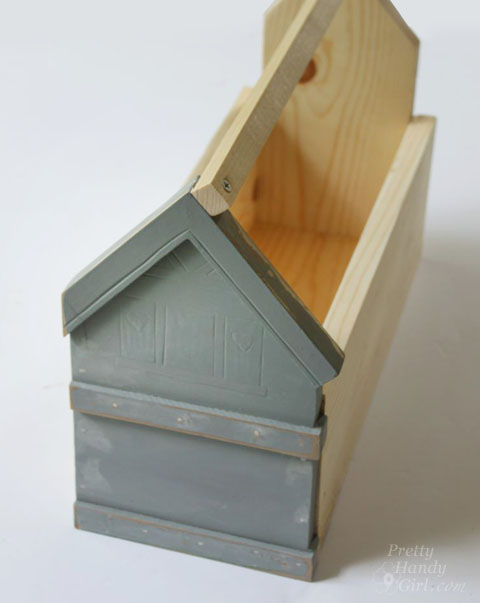
Housewarming Gift Crate | Pretty Handy Girl

Spray the caddy with spray primer inside and out.
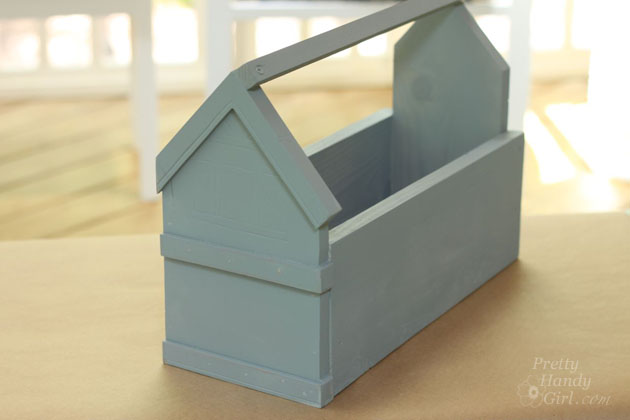
Housewarming Gift Crate | Pretty Handy Girl

Paint caddy with a solid color first. (I used a new paint and love the texture and coverage. Botanicals Home Decor Paint in Peony went on smoothly like chalky paints.)
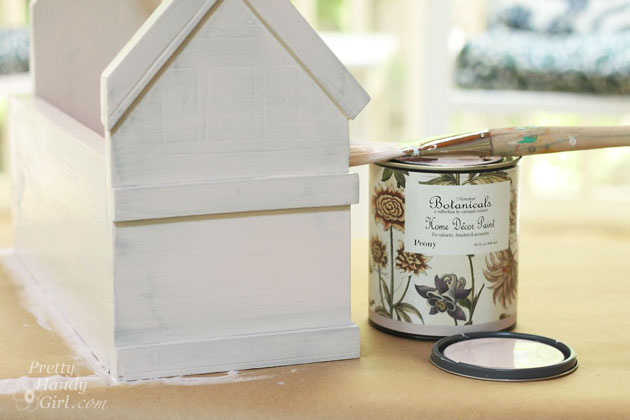
Housewarming Gift Crate | Pretty Handy Girl

Use the craft paints to paint details like windows, shutters and a door onto the front of the caddy. If you’re feeling truly artistic, you can paint the back too.
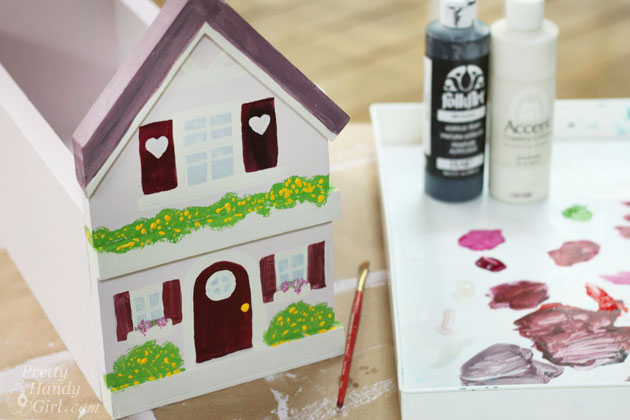
Housewarming Gift Crate | Pretty Handy Girl

Nail the lattice trim pieces to the sides of the caddy for a little decoration.
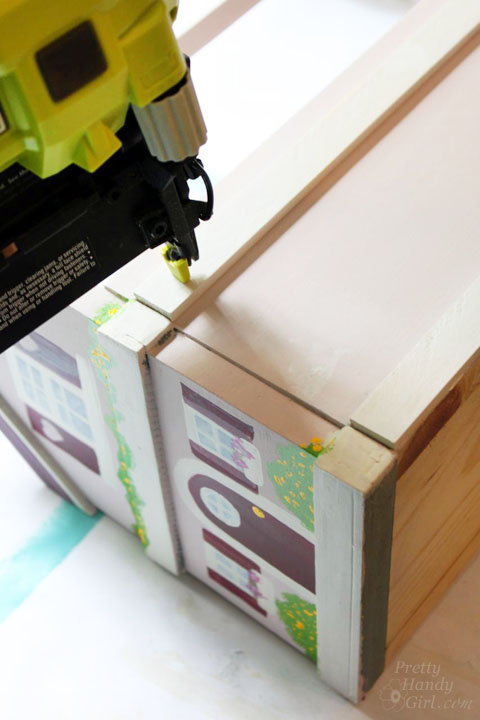
Housewarming Gift Crate | Pretty Handy Girl

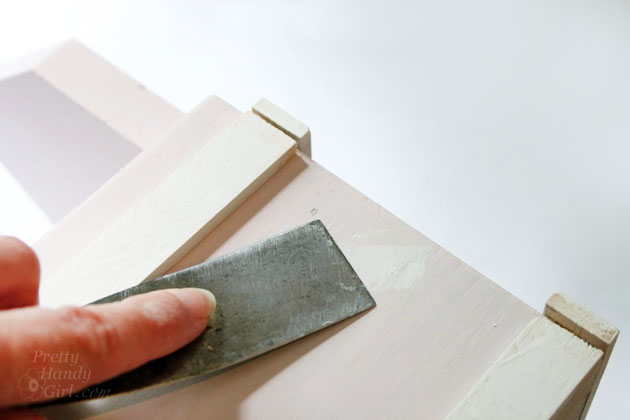
Putty all nail holes.

Housewarming Gift Crate | Pretty Handy Girl

Sand the putty smooth after it has dried. Touch up paint the putty holes.
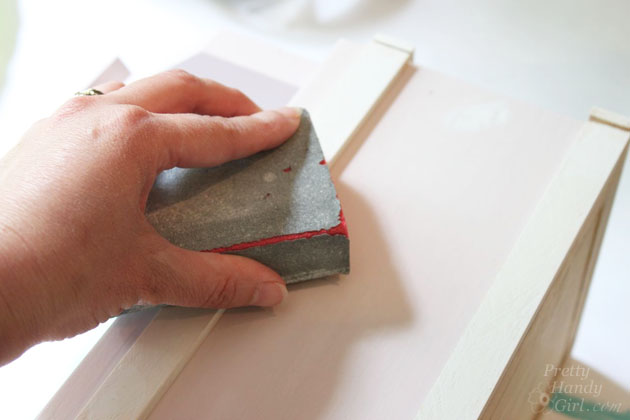
Housewarming Gift Crate | Pretty Handy Girl

Fill your caddy with wine, flowers, food or other goodies to celebrate the new homeowners.
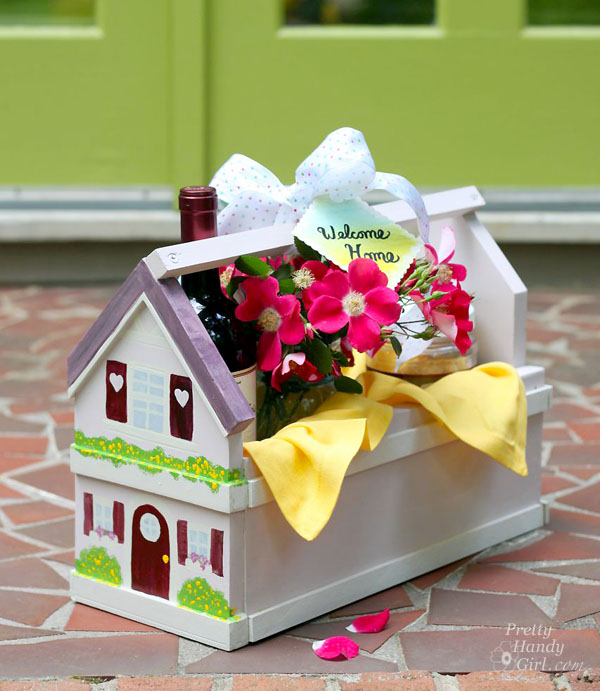
Housewarming Gift Crate | Pretty Handy Girl

The recipient will be tickled pink. Haha, get it, a little pink house?

PHGFancySign


Pin for later!

Dragonfly Garden Decor using a Dollar Store Whisk and Skewer | Pretty Handy Girl

Dragonfly Garden Decor using a Dollar Store Whisk and Skewer | Pretty Handy Girl

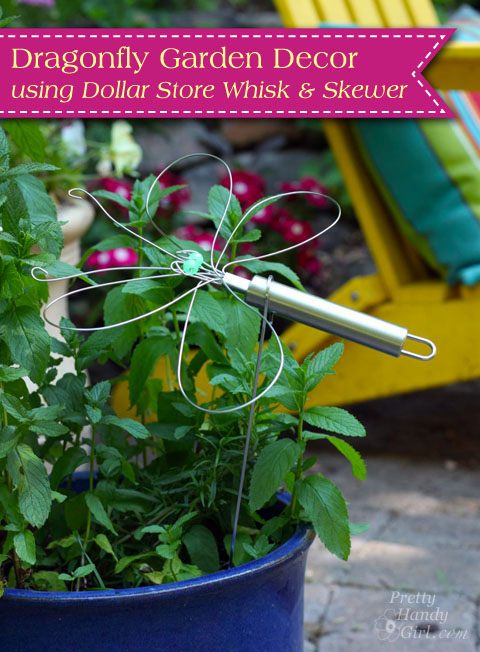
Summertime is coming and I’m enjoying spending more time in our garden. I’m always looking for cute craft ideas that I can do with the kids while school is out. When I saw this great idea for making a wire whisk dragonfly on Morena’s Corner, I knew I had to try it. I altered Morena’s plans slightly using plastic beads and used a skewer for the plant stake. The cost and materials are minimal to make this Dragonfly Garden Decor using a Dollar Store Wire Whisk and Skewer. This craft can be done with the kids, but you’ll need to be the one to cut and bend the wires and watch out for the pokey edges with real little kids.

Dragonfly Garden Decor Materials:

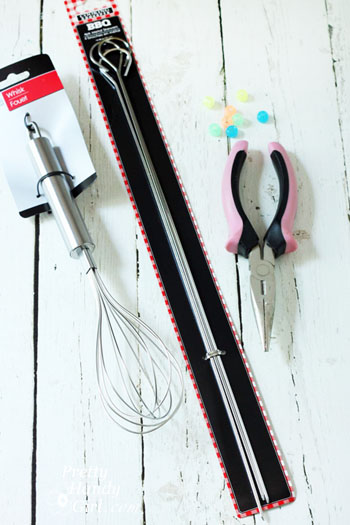
Dragonfly Garden Decor using a Dollar Store Whisk and Skewer | Pretty Handy Girl

  • Wire whisk
  • Wire skewer
  • Beads
  • Needle-nosed pliers

Dragonfly Garden Decor Instructions:

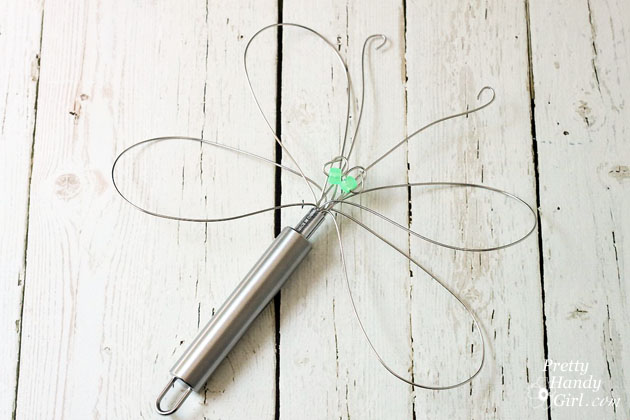
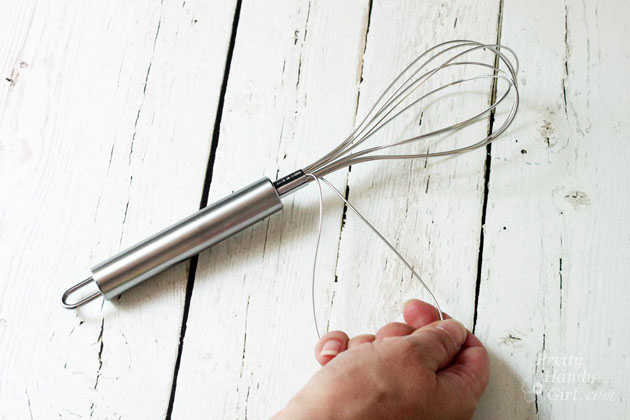
Begin by bending the first wire loop out to the side to create a wing.

Dragonfly Garden Decor using a Dollar Store Whisk and Skewer | Pretty Handy Girl

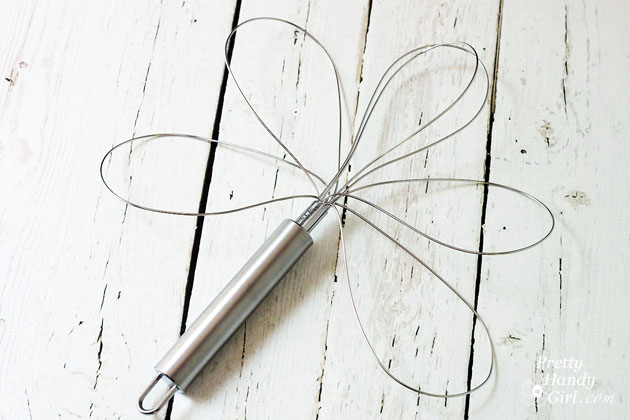
Repeat with three more loops (2 on each side).

Dragonfly Garden Decor using a Dollar Store Whisk and Skewer | Pretty Handy Girl

Use the needle-nosed pliers to cut one wire loop into two short pieces as shown below. (You might need to twist the pliers back and forth to cut the wires.) Read more