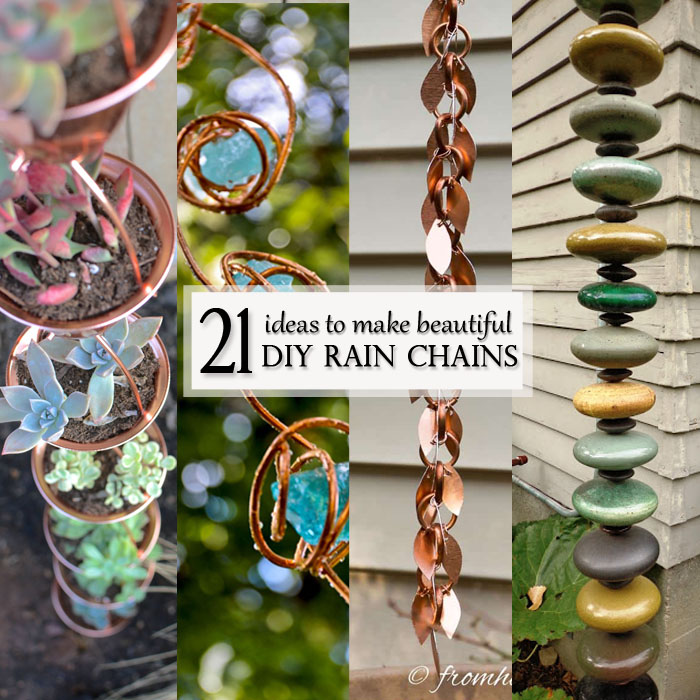
Make Your Own DIY Rain Chains
Do you know what a rain chain is? They are an attractive alternative to those boring downspouts connected to our home’s gutters. Downspouts are incredibly beneficial since they help direct the draining of water during a rain storm. But, let’s be frank, unless they are gorgeous copper round downspouts, they don’t look great. But, did you know there’s a more beautiful solution? Ladies and gentlemen, be prepared to be wowed.
What do you think about those pretty rain chains instead of a downspout? Love them? What if I told you it is possible to make your own rain chains using various materials that you may have lying around the house.
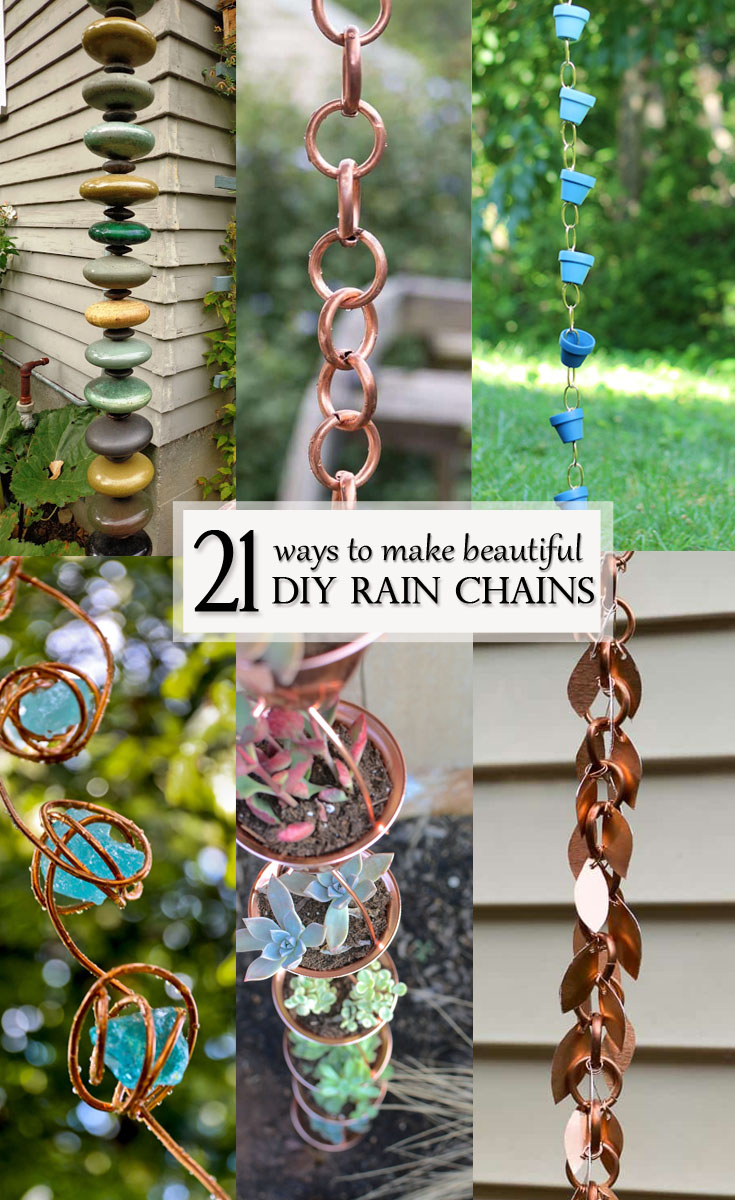
Here are 21 awesome DIY Rain Chains you can make!
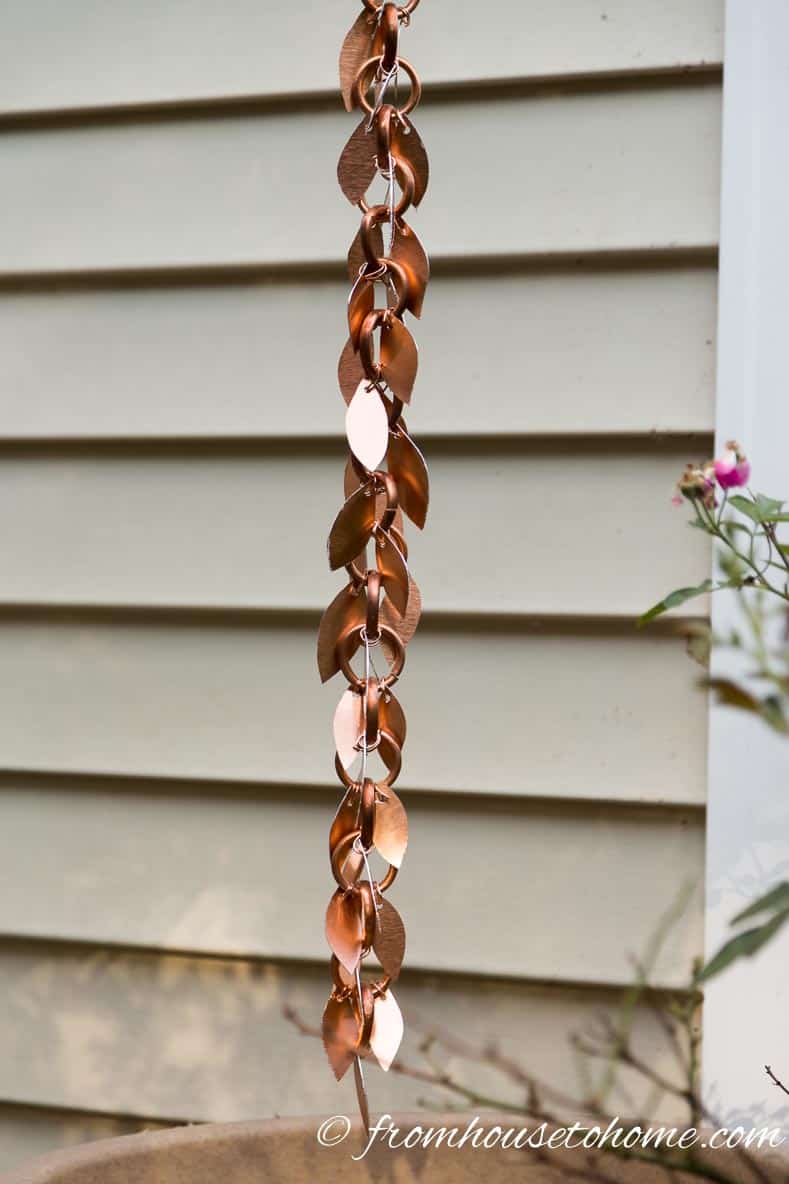
Make a beautiful copper rain chain with leaf shaped pieces cut from thin sheet metal.
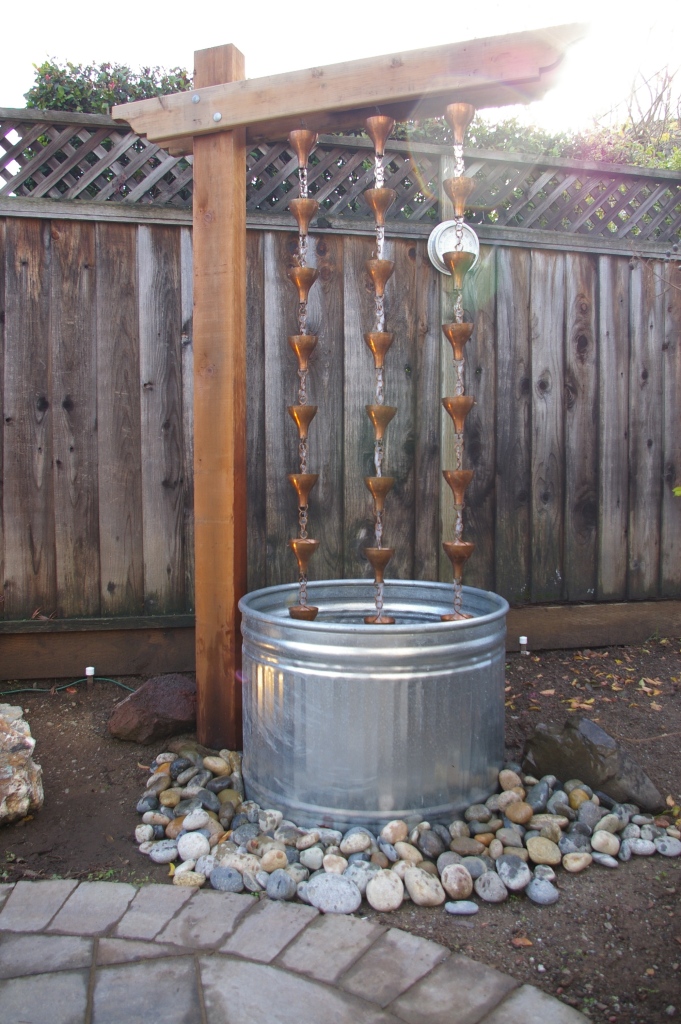
Create this tranquil and pretty outdoor water feature using a stock tank and rain chains.
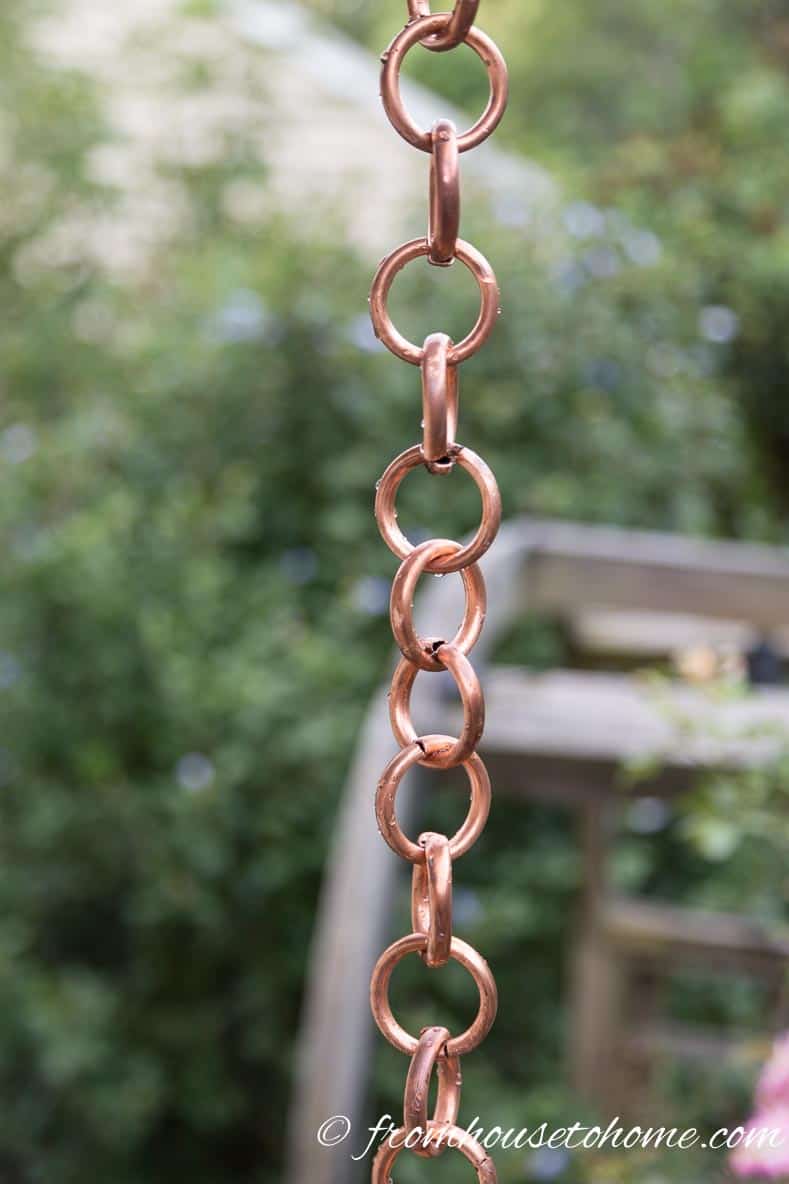
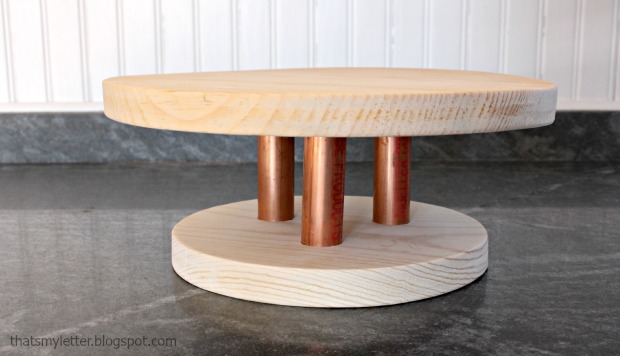
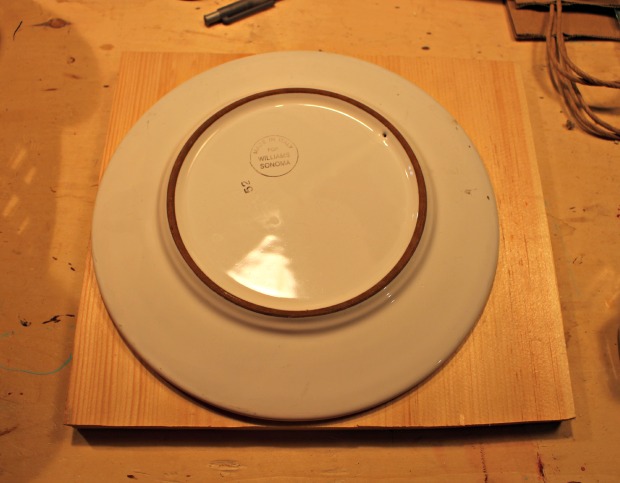
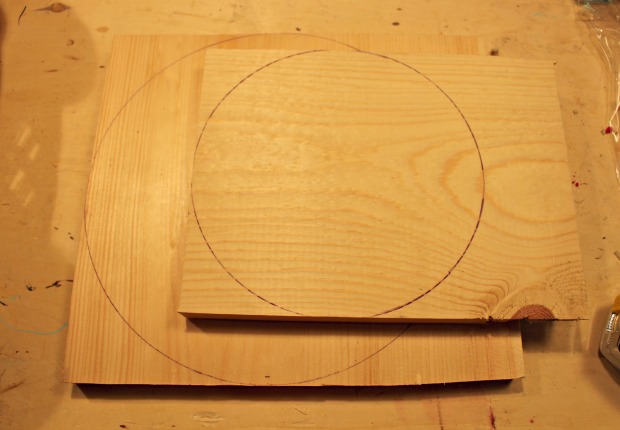
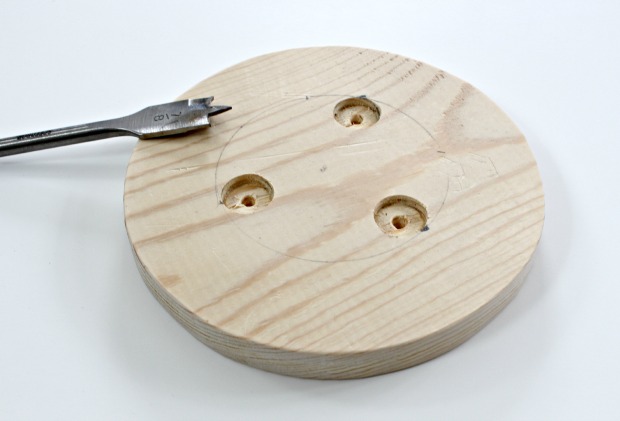
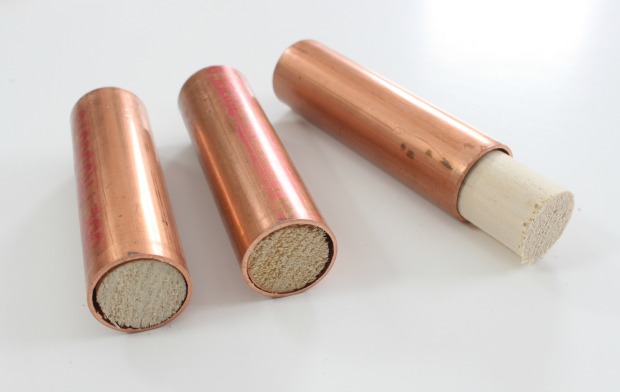
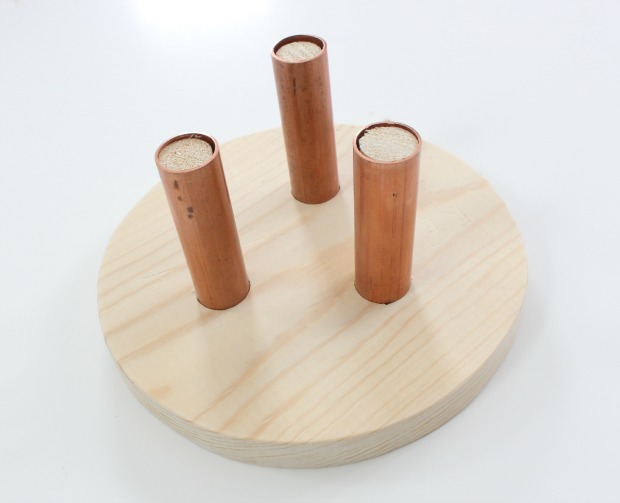
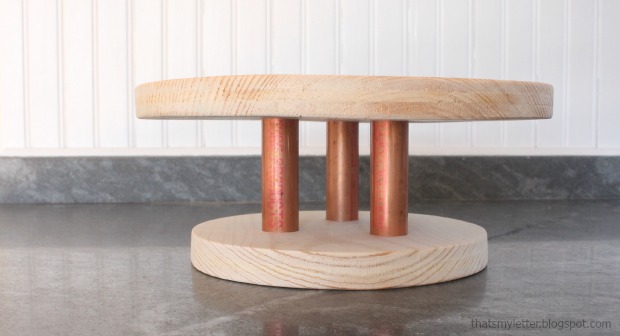
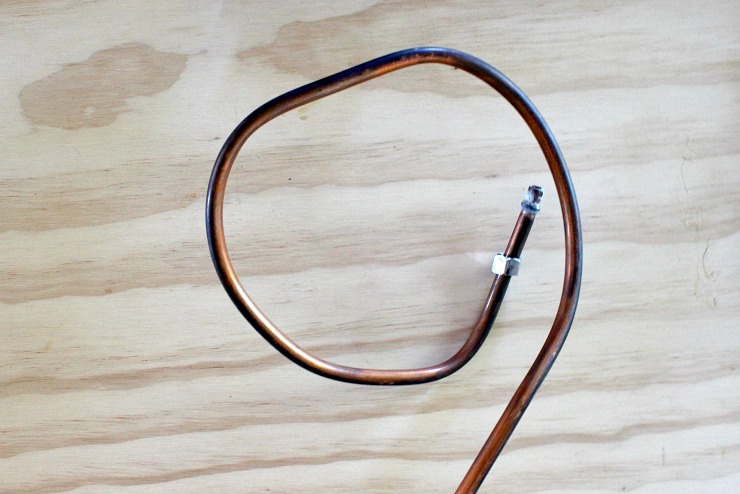
Make this copper ring DIY Rain Chain using copper tubing.

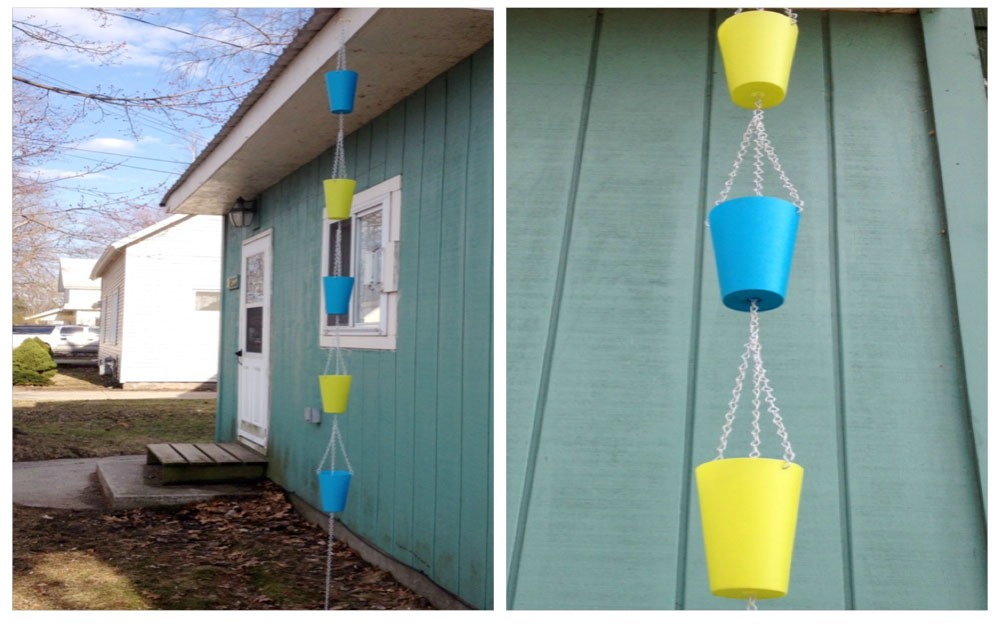
Use mini terracotta pots to create this fun DIY Ombre Rain Chain.

Add some whimsy to your yard with this DIY Cookie Cutter Rain Chain.

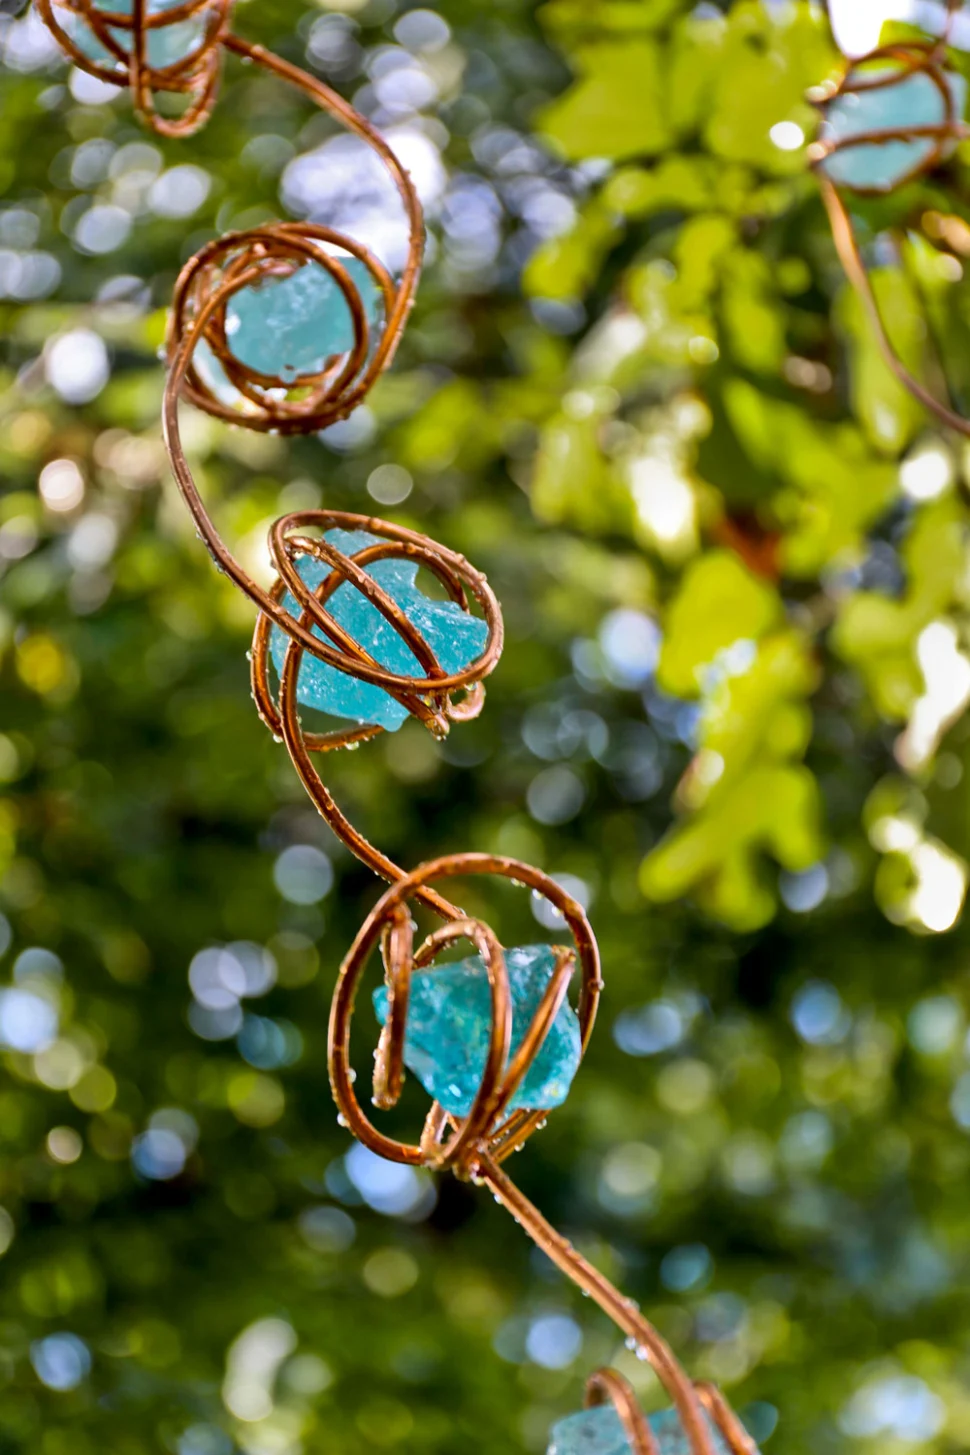
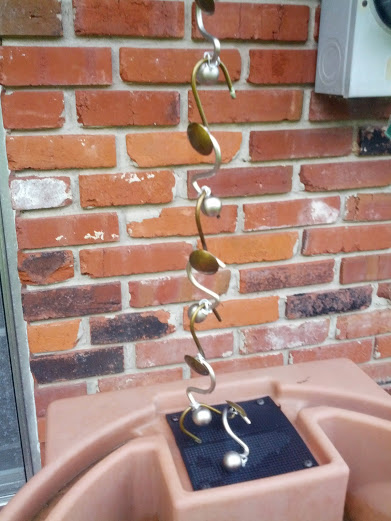
Use copper tubing and stones to make this beautiful, natural rain chain.
:format(jpeg)/http://assets.curbly.com/photos/0000/0013/8108/chain_large.jpg)
Turn these cute galvanized buckets into a DIY Bucket Rain Chain.
If your budget is tight, consider making this DIY Plastic Cup Rain Chain.
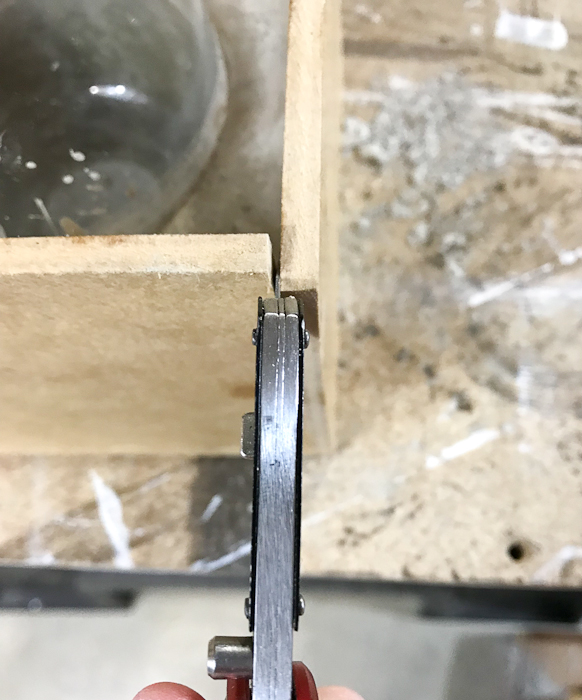
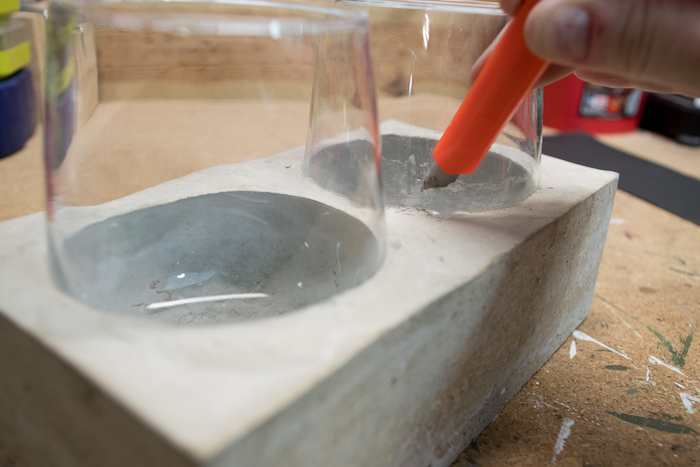
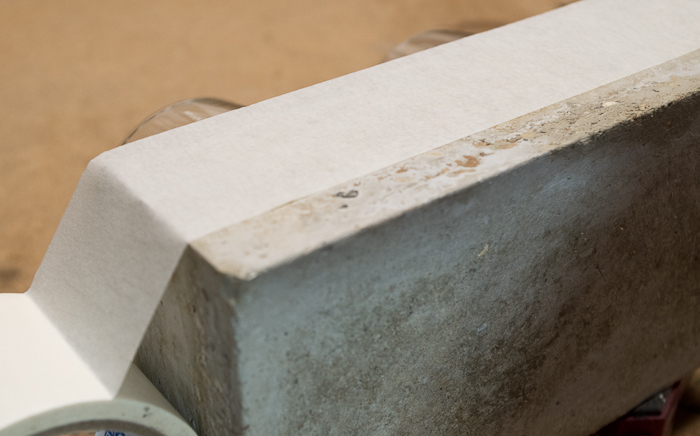
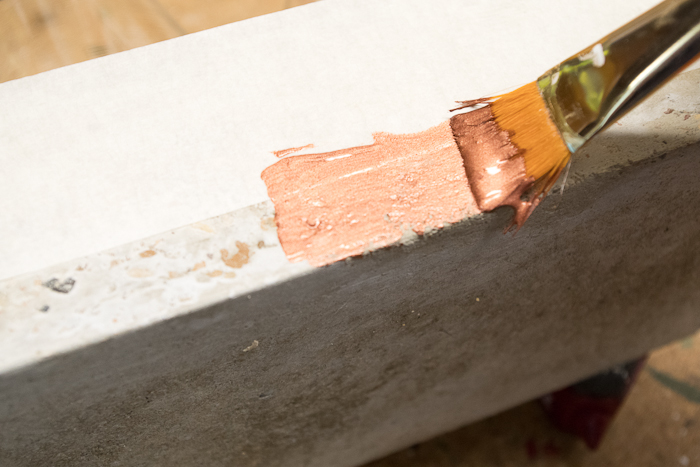
Learn how to make this stunning DIY Glass and Copper Rain Chain.

Make this DIY Funnel Rain Chain using aluminum funnels and chain.
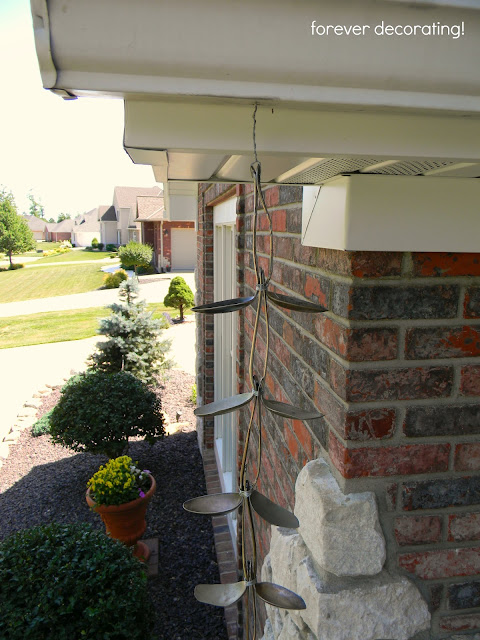
Repurpose old silverware by bending it and creating this funky DIY Silverware Rain Chain.
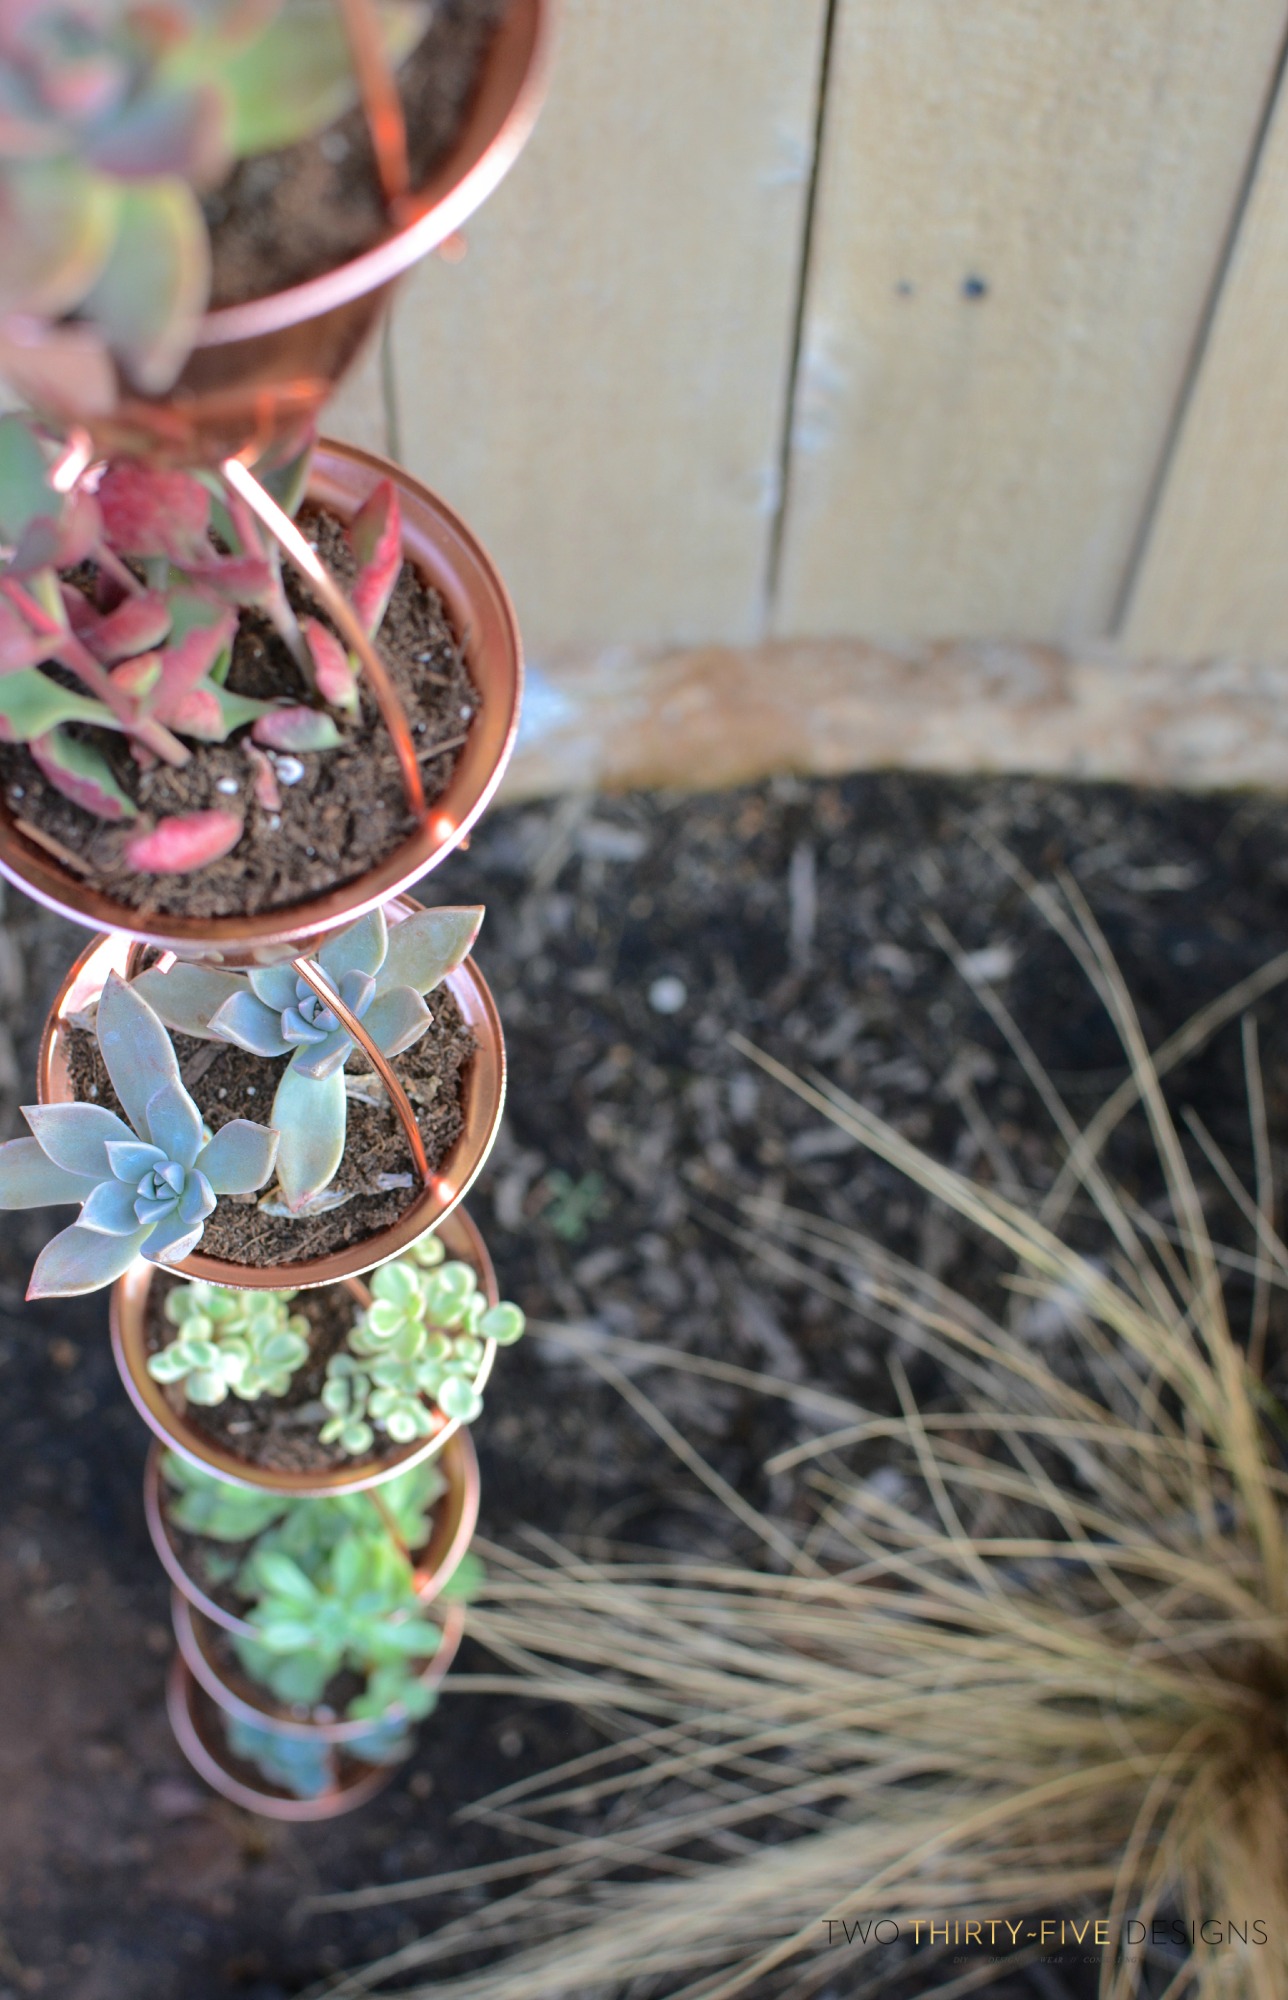
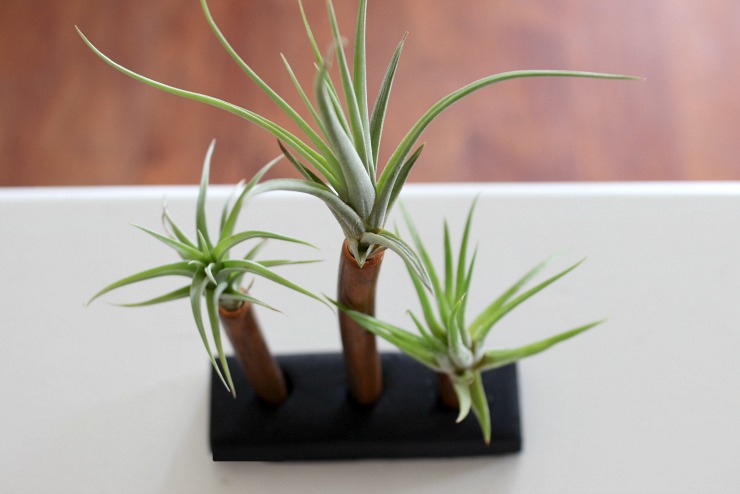
Do you love succulents? Add more to your life by making a DIY Copper Rain Chain Succulent Planter.
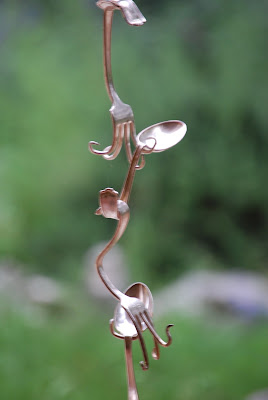
Wire vintage spoons together to make this DIY Bent Spoon Homemade Rain Chain.
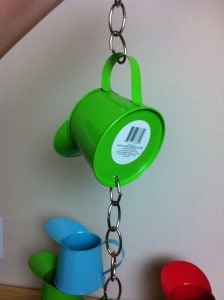
Create a fun and bright rain chain for your garden using dollar store watering cans.
.jpg)
Have kids help you show your love for the environment by creating this DIY Reused Plastic Yogurt Cup Rain Chain.
Create a Key Rain Chain with a large collection of old keys.
Use old shower hooks to create this DIY Hook Rain Chain.
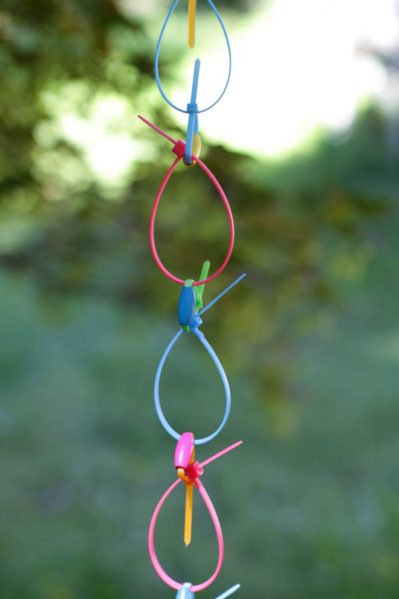
Have extra zip ties lying around the house? Create this amazing Neon Zip Tie Rain Chain.

Add whimsy to your yard by creating this DIY Tart Tin Rain Chain with colorful glass beads.
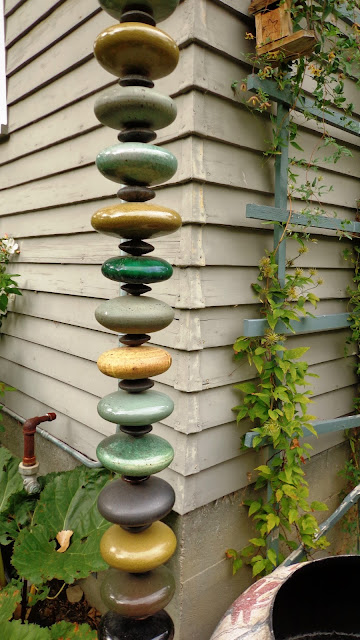
Drill through polished stone to create this amazing DIY Polished Stone Rain Chain.
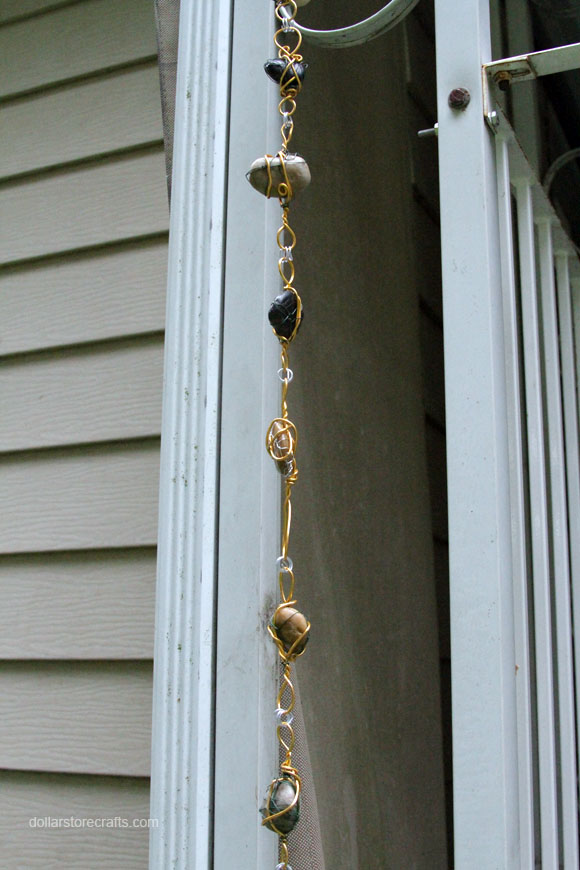
Finally, here’s another Wire Wrapped Rock Rain Chain that would be gorgeous and easy to make.
I hope you loved this collection of ideas to make your own Rain Chain! Do you have other ideas for creating a beautiful rain chain for your home or garden? I’d love to hear it! Let me know your thoughts in the comments.
If you liked this roundup of ideas, please share this image on Pinterest to get the word out!
![]()

When not working on projects, I enjoy spending time with my husband, four children, perfect dog, and ornery cat. You can find me on Facebook, Pinterest, Instagram and Twitter.
Read all of Sheri’s tutorials.

~Find more of Sheri’s projects here ~


 ~
~