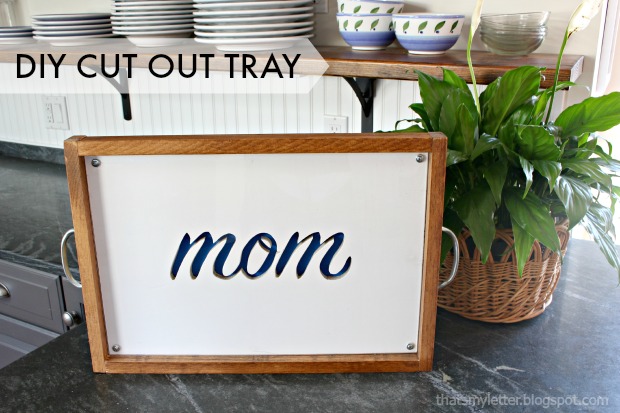
cut out tray title

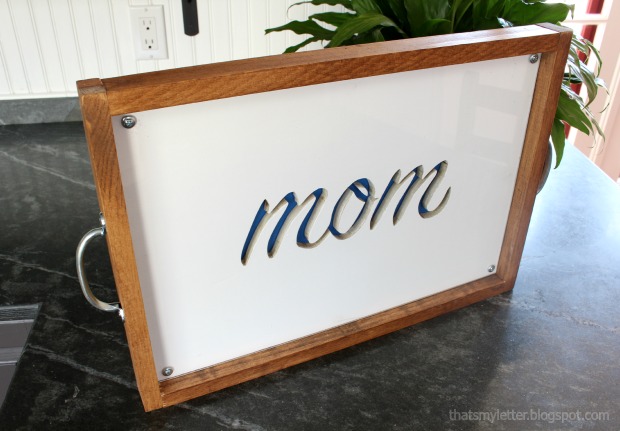
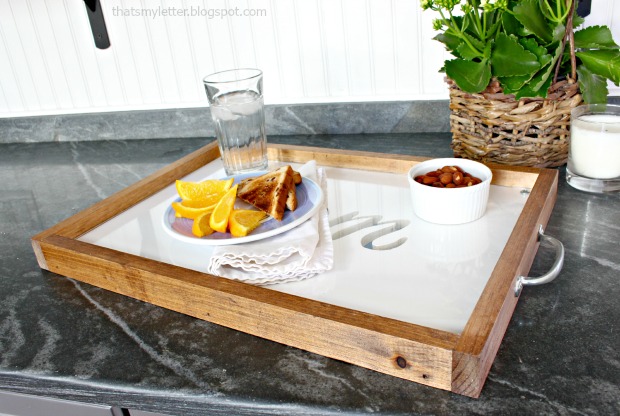
Happy Wednesday Pretty Handy readers.  Jaime here from That’s My Letter to share a DIY project that makes a great anytime gift or (an even better idea) for Mother’s Day.  I’ll show you how to make this wood cut out tray which you can personalize with any name or shape.

The wood cut out makes for an unexpected design element.  I painted bright blue behind the cut out, but any contrasting color will look great.

cut out tray 3

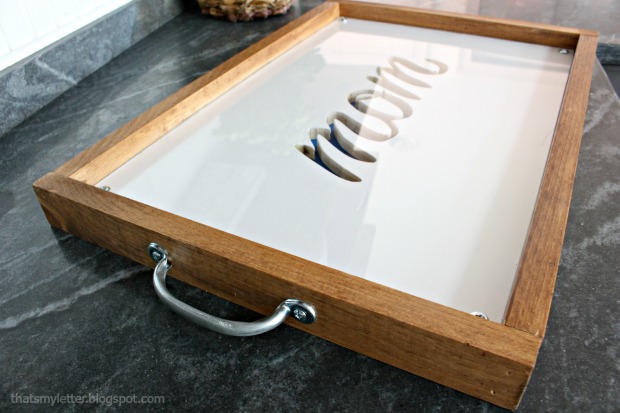
Plexiglass installed over the wood cut out provides a solid flat surface.  The plexiglass also adds a bit of shine and fancy!

cut out tray 2

Below are the step-by-step instructions to make this tray.

Materials:
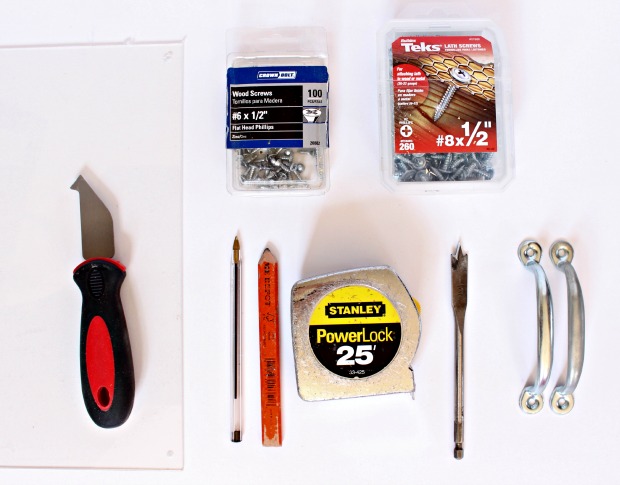
cut out tray supplies

  • 1/2″ plywood 18″ x 12″
  • 1/4″ plywood 18″ x 12″
  • 1 sheet plexiglass (18″ x 24″ –  makes 2 trays)
  • 1 – 1″ x 2″ x 6′ pine board (cut 2 @ 18″ length and 2 @ 13 1/2″ length)
  • white paint
  • blue paint
  • stain
  • 2 handles
  • 1/2″ wood screws
  • 1/2″ lath screws
  • plexi/glass cutter
  • jig saw
  • sandpaper
  • ballpoint pen
  • measuring tape & pencil
  • drill, bits & 1/2″ spade bit

Instructions:

cut out tray step 1

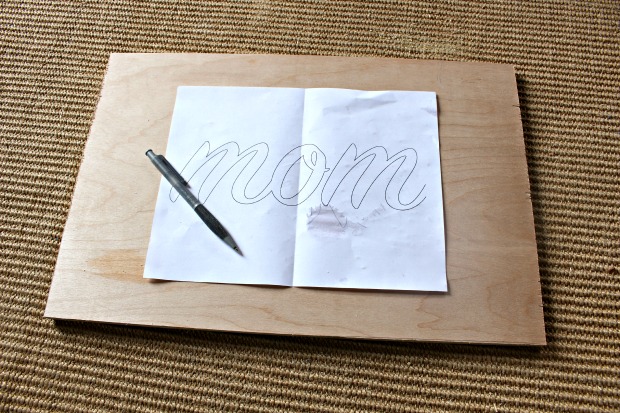
Step 1: Print out your name or word.  (I used Sign Painter – housescript font at 475 point.  Any font will do as long as it’s thick enough to cut out.)

cut out tray step 2

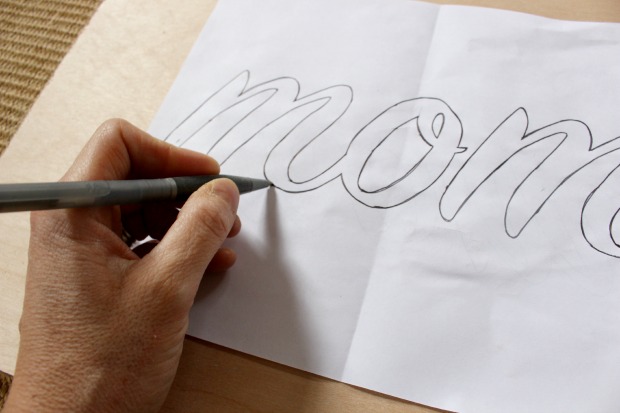
Step 2: Center the printout on the 1/2″ plywood and trace around letters with a ballpoint pen.  Use heavy pressure to create an indent in the wood. Read more

PB Knock Off Monogrammed Bulletin Board

edited-0510

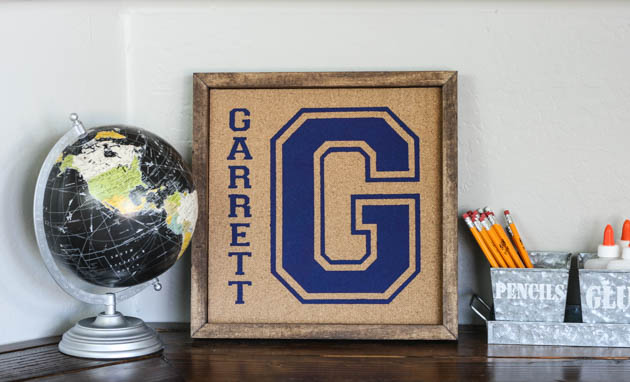
Hey everyone!  If you remember, last month, I shared with you how I updated my boys’ desk in our den with a wood plank desktop.  The den is just about ready for the big reveal and now I’m just working on adding little details.  This includes these fun personalized bulletin boards I made for each of my boys.  I was searching for desk organization ideas one day and saw these personalized pinboards on Pottery Barn Kids.  I knew they would be perfect for my boys and that I could knock them off pretty easily.  I made two of these pinboards, but my supply list will be for one pinboard.

Materials:

  • 12″ x 12″ wrapped canvas (mine was 3/4″ thick)
  • 12″ adhesive backed cork sheet
  • Adhesive vinyl
  • Transfer paper
  • Die-cutting machine
  • Acrylic aint
  • 2 – 1″ foam paintbrushes
  • 1″ x 2″ x 6′ pine board
  • Wood stain
  • Sander w/ 220 grit sandpaper
  • Miter saw
  • Brad nailer
  • 1″ Brad nails
  • 24″ Bar clamps
  • Hot glue gun

Instructions:

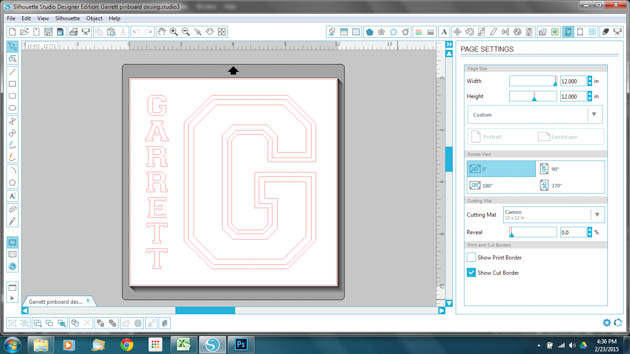
Start by designing your stencil.  To make it look just like the PB Kids version, use the Varsity font.  (FYI, the letters are all capitalized, but when you use the shift key or CAPS lock, it will add the outline.)

Knockoff Personalized Pinboard

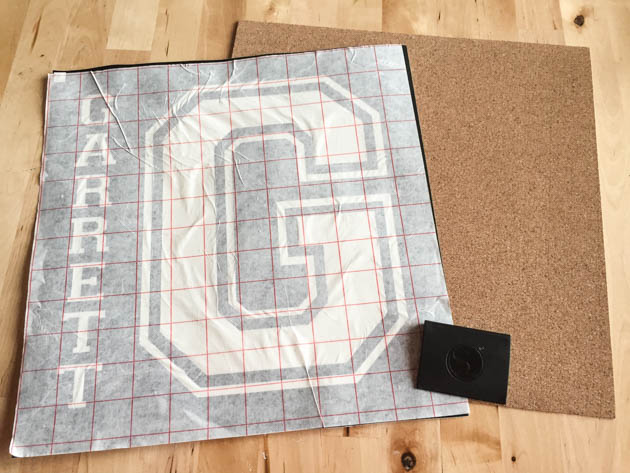
Cut your design out on the 12 x 12″ sheet of vinyl and weed the negative pieces out.  Remember that this is a stencil, so make sure to weed out the correct parts of your design.  Place your transfer paper over the design and use a scraping tool or a credit card to get out any air bubbles.

edited-7687

Peel the backing off of your vinyl and very carefully center it onto your cork sheet.  Use the scraping tool or credit card again to firmly adhere the vinyl to the cork sheet.  Carefully peel the transfer paper off. Stencil your design using the acrylic paint and foam brush. Read more

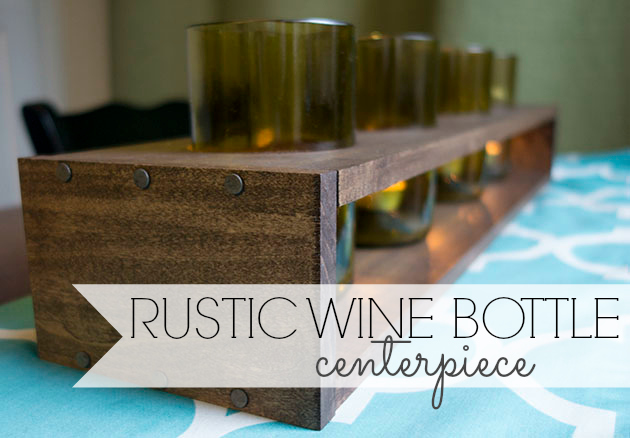
rustic wine bottle centerpiece

Hey everyone!  Jacque here from The DIY Village again to bring you another quick DIY tutorial! A few years ago I was given a really cool set of drinking glasses made out of old wine bottles.  Recently we purchased some new glasses but I wasn’t ready to donate the old glasses quite yet and decided to come up with a way to recycle them and keep them functional in our home.  After some thought, my rustic wine bottle centerpiece was born.

MATERIALS:

  • 1/2″ x 4″ x 4′  Poplar Board – Cut into 2- 5 1/2″ wide pieces
  • 1/2″ x 5 1/2″ x 4′ Poplar Board – Cut in half
  • 12 – 8 Penny Nails (Truss Hanger Nails)
  • 1/8″ Drill Bit
  • Drill
  • 3 1/2″ Hole Saw
  • Clamp
  • Sandpaper
  • Drill Press
  • Straight Edge (Speed Square)
  • Sliding Rule Square
  • Walnut Gel Stain
  • Foam Brush
  • Paper Towels
  • Pencil

Instructions:

measure in

Start by cutting the 5 1/2″ board in half to leave you with  two boards approximately 24″ long.

measure over 7

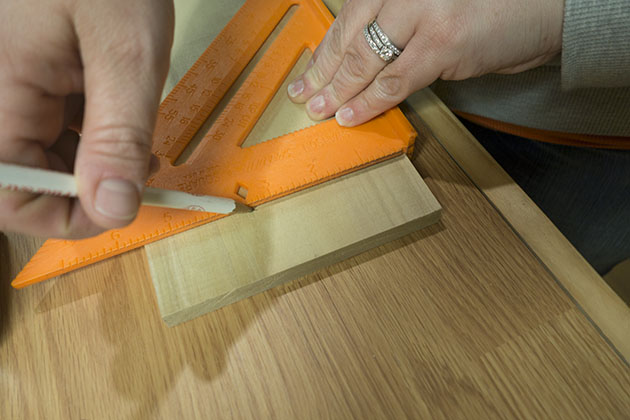
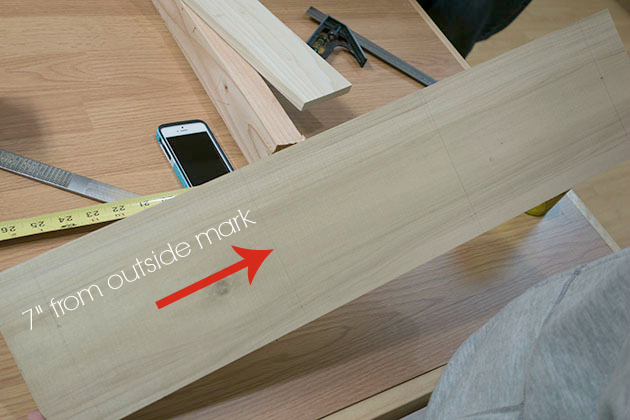
Measure 3.5″ out from the center line and mark a line with your speed square. Repeat on the opposite side of your center line. Measure 7″ out from the two center lines and make a mark with your speed square. These will be the center points for your four openings.

find center

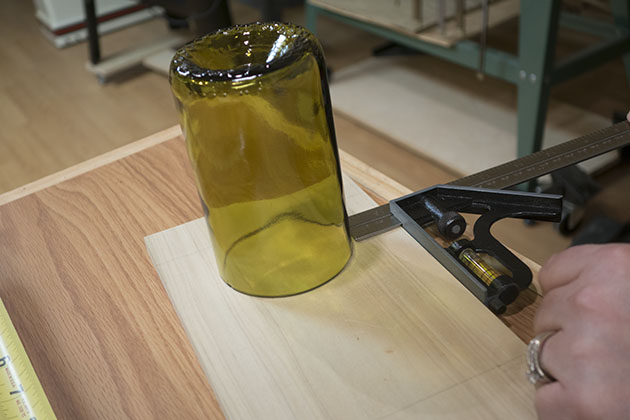
Use the wine bottle glass as a guide to help center the glass on the board.  Set the sliding rule square and use as a guide so that the glasses will be straight across the rest of the board.  Using a pencil to trace around the outside edge of the glass, repeat for all four holes. Read more

snowglobe ornament

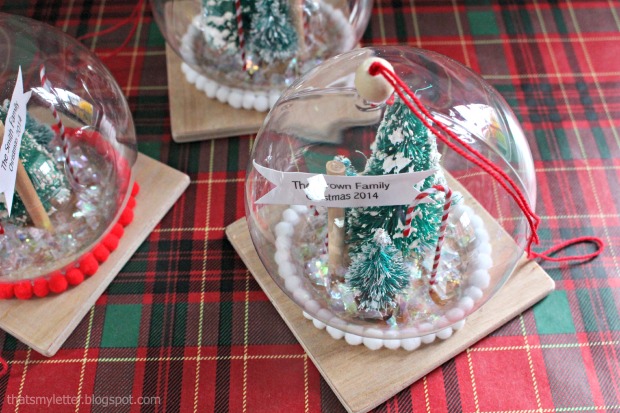
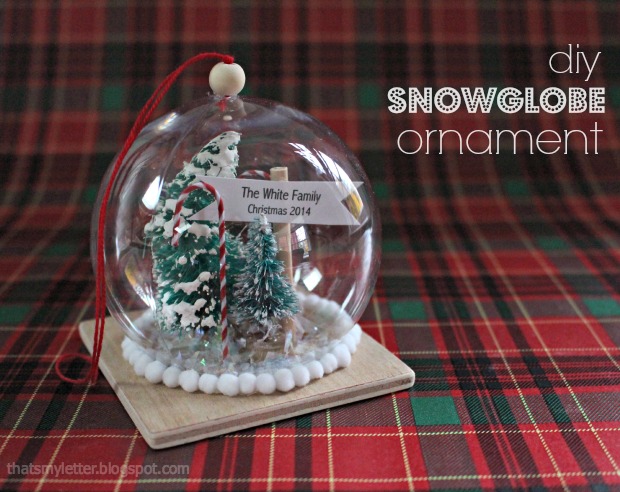
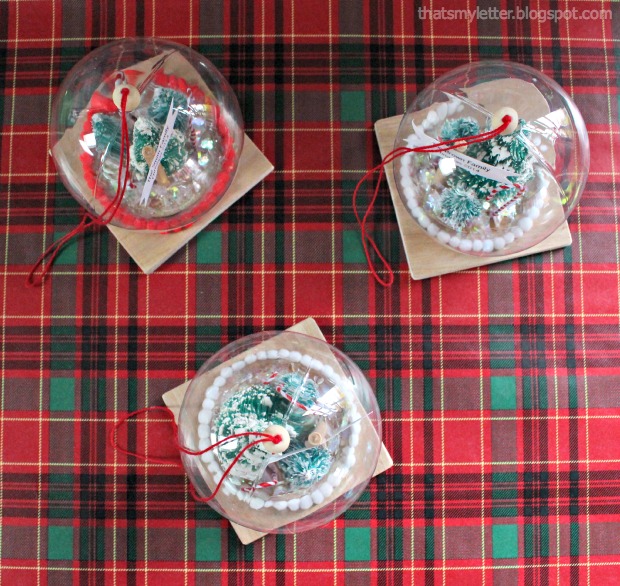
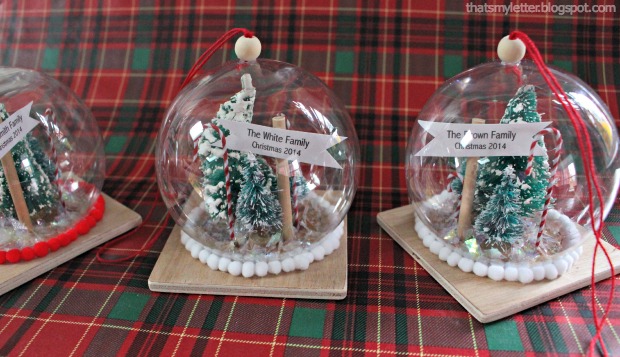
Jaime here today from That’s My Letter and it’s officially holiday prep time!  Today I’m sharing a DIY snow globe ornament with a wood base that makes a perfect gift for anyone big or small.

This snow globe ornament is constructed on a wood base where all the interior pieces can be glued to the base and then the clear globe is placed over the scene.  The globe is plastic and the entire ornament is very lightweight so it won’t weigh down your tree branches!

snowglobe ornament 4

You can put nearly anything inside the snow globe as long as it fits under the dome.  I used bottle brush trees, wire candy canes and a wood dowel sign with the family name printed on cardstock.  Add a little faux snow and you have the cutest little winter scene.

snowglobe ornament 2

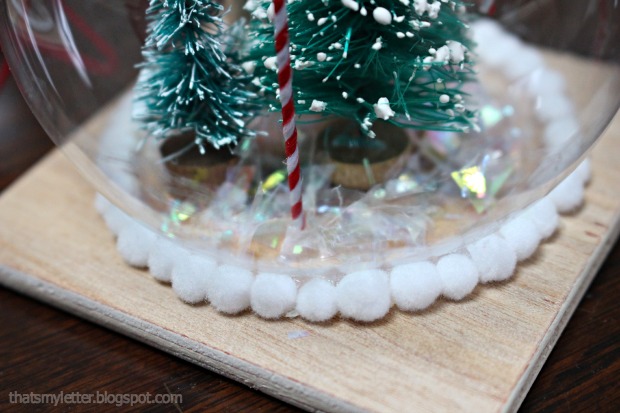
The faux snow will cover any unsightly hot glue and adds just that tiny bit of sparkle.

snowglobe ornament 3

Add a small wood ball on top to compliment the wood base with a string for hanging and you have a keepsake ornament that will look beautiful on or off the tree.

snowglobe ornament 1

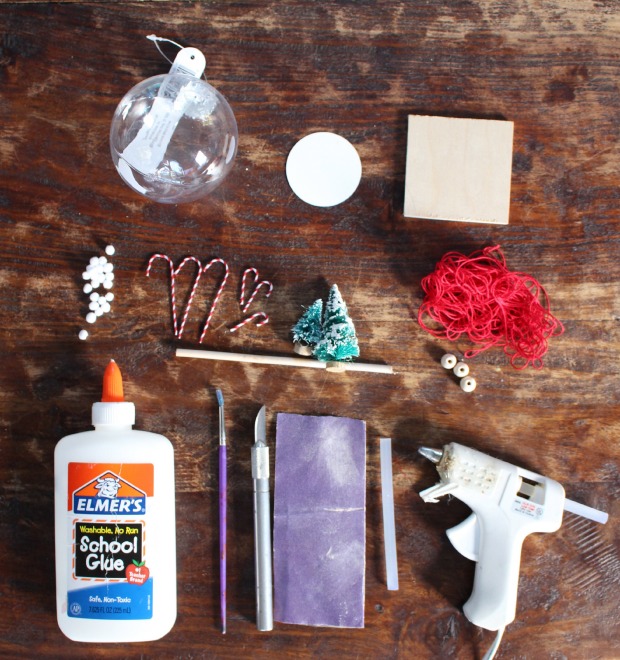
Materials:

snowglobe ornaments supplies

  • 3″ clear plastic craft ornament
  • 2″ circle (cut from cardstock, only used as a template)
  • 3″ wood square (1/4″ plywood)
  • mini pom poms
  • mini wire candy canes
  • mini bottle brush tress
  • 1/8″ dowel
  • small wood balls with hole in center
  • red string
  • white glue
  • paint brush
  • faux snow
  • x-acto knife
  • sandpaper
  • hot glue gun & glue sticks
  • scissors
  • pencil
  • black sharpie marker

Instructions:

Step 1: Using an x-acto knife cut around the ornament opening enough to remove the neck portion.  Don’t worry about being neat here the goal is to remove the neck and have a wide enough opening for scissors. Read more

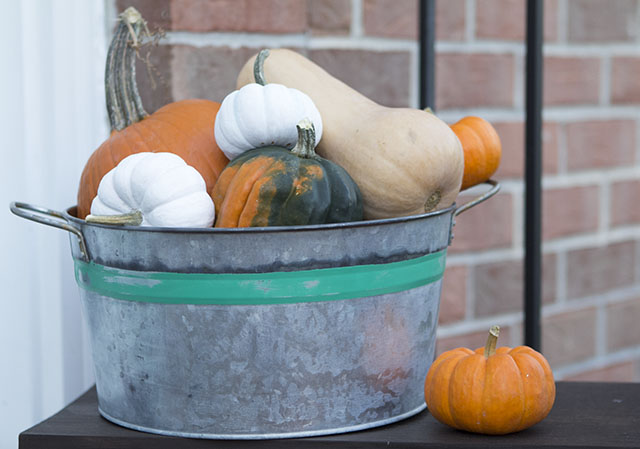
galvanized metal bucket aging

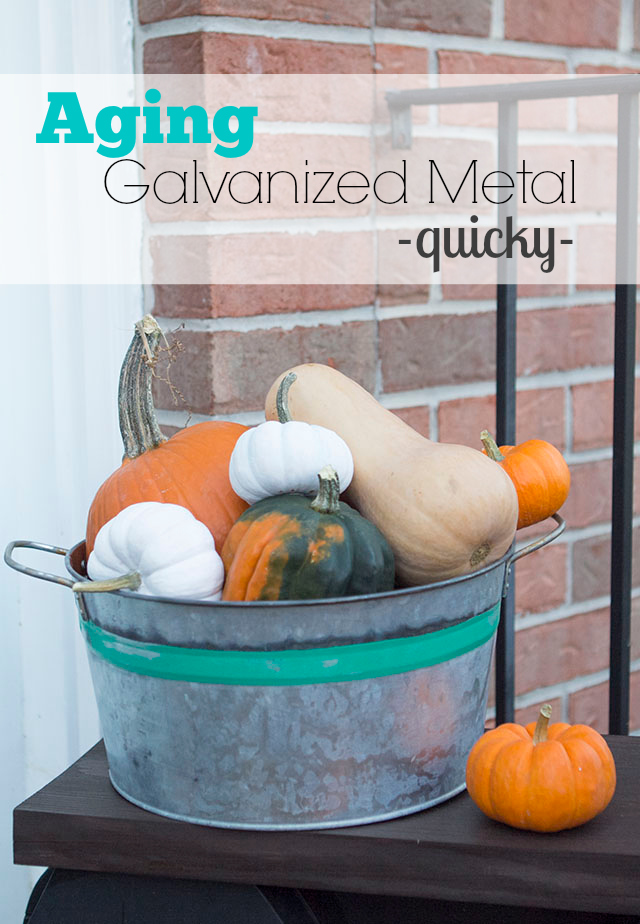
Hey everyone, it’s Jacque here from The DIY Village!  I am so excited to share this DIY tutorial with you.  I love the look of old metal buckets, but finding them with the nice patina is easier said than done. I am constantly coming across nice, bright and shiny buckets. I finally found a bucket that I liked the shape of and decided I would age it myself. Get ready to learn the quick process of aging galvanized metal that allows you to age it in minutes instead of decades!

Materials: 

  • Galvanized Metal Bucket
  • Painter’s Tape
  • Spray Paint
  • Cotton Balls
  • Rubber Gloves
  • Nail Polish Remover
  • Sand Paper
  • Zep Toilet Bowl Cleaner
  • Steel Wool

Instructions:

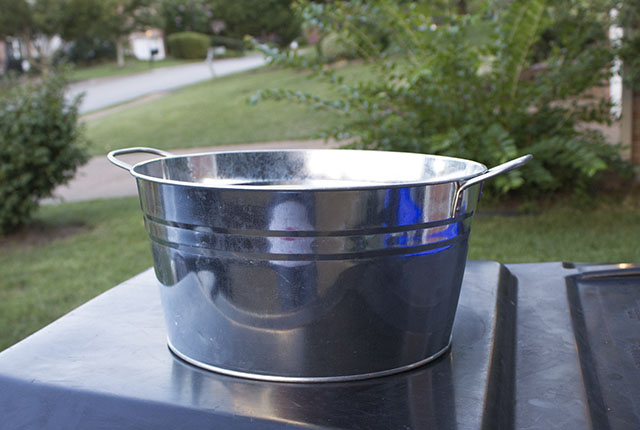
Start with a clean galvanized metal bucket.  Make sure all debris is removed by wiping the bucket down with a damp rag.

metal butcket

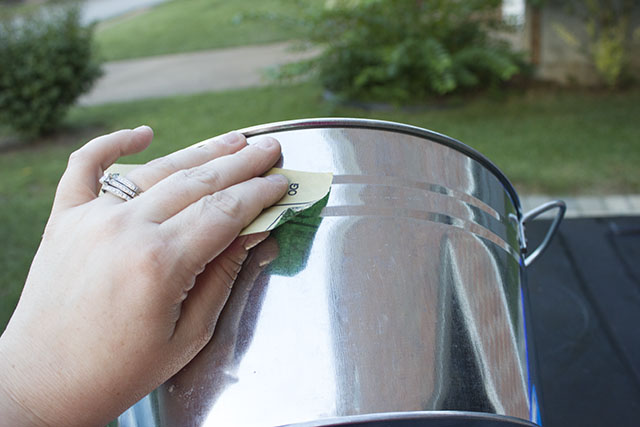
Decide where you’d like your painted stripe to appear on your bucket.

sand band

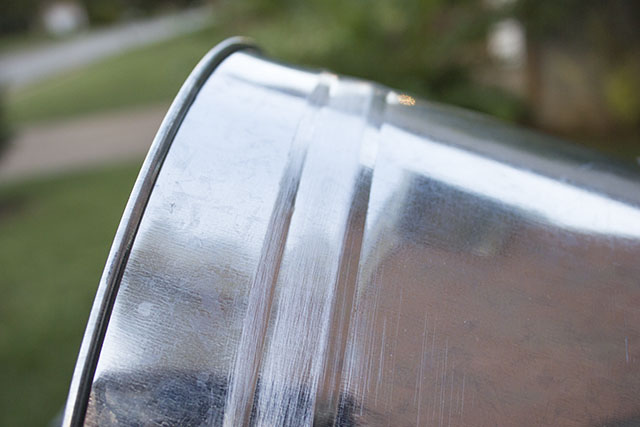
I positioned mine where the bends in the bucket are.

Sanded

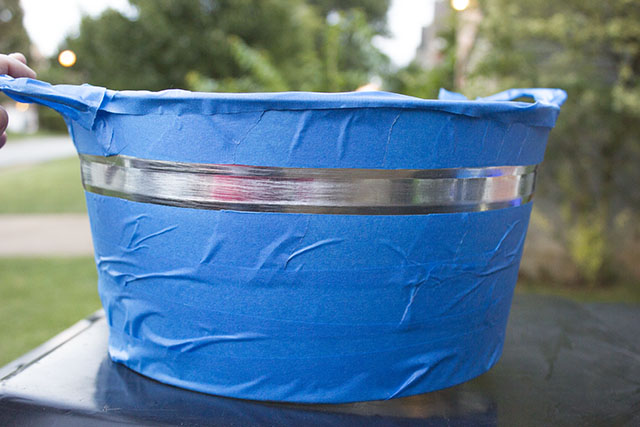
Tape off the rest of the bucket leaving a metal band showing through.

tape off bucket

Spray a couple coats of spray paint in the color of your choice on the band area. (Red would also be a fun option for a vintage look.)

Read more