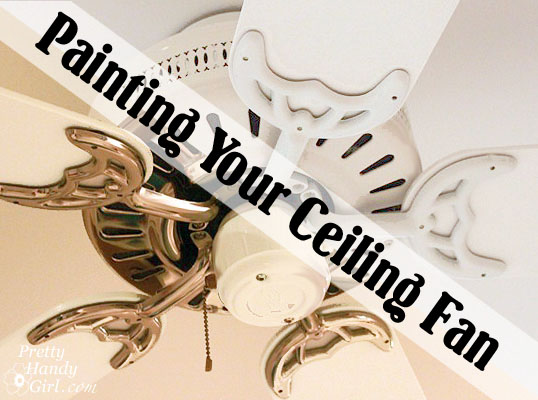
Update Your Ceiling Fan with Paint
I’m back, but only for a minute  because I’m working hard on transforming our pinky-beige bonus room into an art and craft studio fit for an art show! This is compounded by the fact that the room has many angles and dormers. Who knew that such a small room would take FOREVER to paint! Gah.

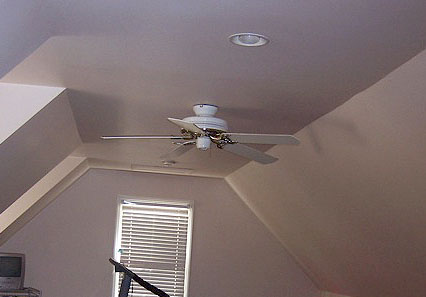
Do you have a brass ceiling fan cluttering the view on your ceiling? It is hard to imagine getting rid of a perfectly good ceiling fan. Especially if you live in a hot climate like we do. Ceiling fans are our salvation in the heat of the summer. But, they aren’t always the most attractive things.

Update Your Ceiling Fan with Paint

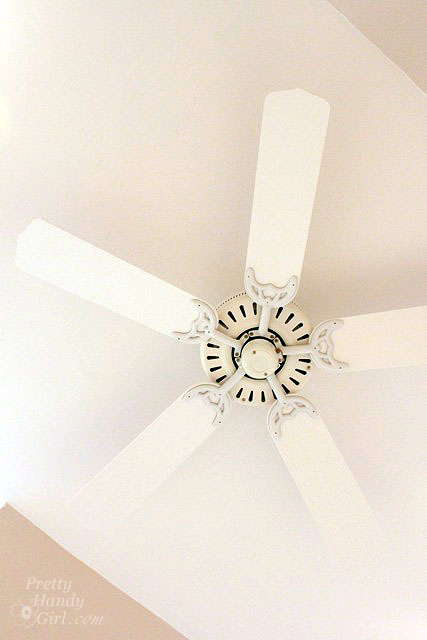
I encourage you not to rid your home of a perfectly good fan if it still works. Instead, why not paint it? AND, even if your blades are white, I’m going to show you a trick that will help make that fan almost disappear on the ceiling. 😉

Update Your Ceiling Fan with Paint Read more

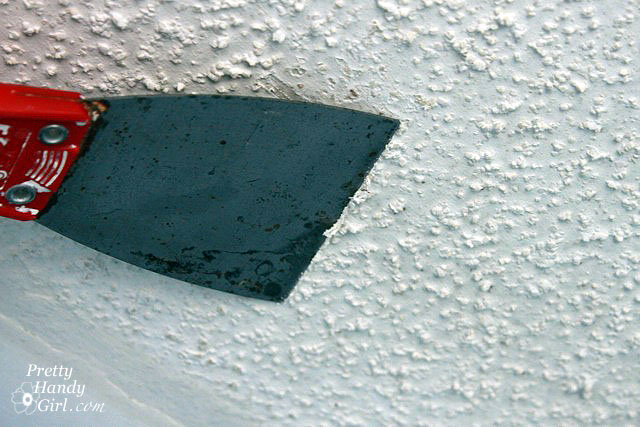
Many of you guessed correctly that I would be scraping my own popcorn ceilings.

It wasn’t hard to do, but it also isn’t for the bad neck or bad back sufferers. Normally I hire out this job — but because our laundry room is so small — it seemed silly to pay someone else to do the work. Now that it is done, I’m really glad I decided to tackle this project. The sense of accomplishment and the resulting smooth ceiling is HUGE!

IMPORTANT NOTE: If you live in a house that was built around 1978, take several small samples of your ceiling and test it for asbestos before you begin. Even though the cutoff date for asbestos in popcorn texture was 1978, the inventory could still be bought from store shelves well into the 1980’s. Do yourself and your family a favor, If you have asbestos popcorn contact a professional who is trained in asbestos removal to handle the job. If you want to learn more, you can read more about our experience with asbestos remediation.


Read more


When heard the word stencil, I used to involuntarily cringe slightly. I pictured those cutesy country stencils my mom used to use with geese, apples, and hearts on them. (Sorry Mom.) But, that all changed last week when Cutting Edge Stencils sent me a beautiful Georgian Ceiling Medallion Stencil!

Isn’t that stunning? I can picture it at the top of a grande foyer. Sadly our ceilings are only 8′ tall and our rooms are small. But, that didn’t matter, because I was able to alter the stencil for our ceilings:

First I watched one of their tutorial videos online and I thought to myself. Oh yes, I can do that, it looks super easy! And it was, kind of….

…at this point I need to caution anyone who has never used a stencil before. You might want to try your first stencil project on a wall or a flat work surface. NOT on a ceiling. Standing on a table and trying to hold the stencil, tape and keep the stencil in place is not for a newbie. It definitely helps to have a helper (one at least 5 feet tall. Little children won’t work for helpers on this one.) I managed by myself using my noggin’!

I definitely have to credit Cutting Edge Stencils with their high quality stencil and foam paint roller. Without them, this would have ended up as a HUGE craft fail! Instead, despite a slightly buckling stencil (and working in Michaelangelo type conditions), the results were very professional and something I am proud of!

So, without further obscure references to great painters, here is my tutorial for creating a faux ceiling medallion with a stencil.

Materials:
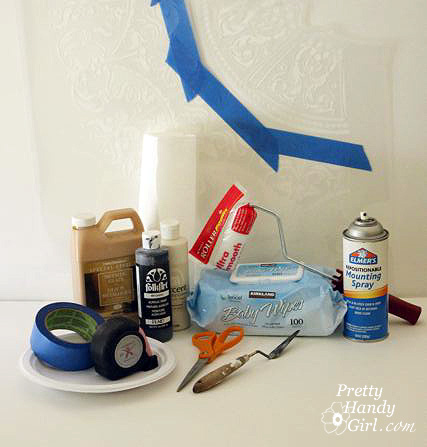
 

(I’ve included affiliate links for your convenience. I earn a small percentage from a purchase using these links. There is no additional cost to you. You can read more about affiliate links here.)

* And preferably an assistant!

Instructions:

Measure the diameter of the canopy (round plate that sits flush against the ceiling and hides the electrical junction box) for your light fixture.

Then remove the canopy by unscrewing the nut in the middle.

Let the canopy hang down on your chain.
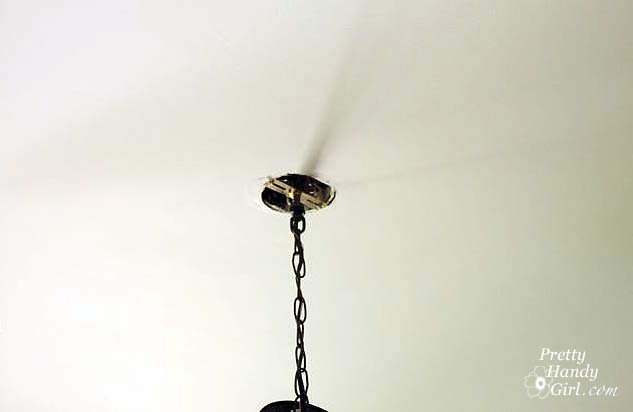
Determine how much stencil will overlap the canopy.
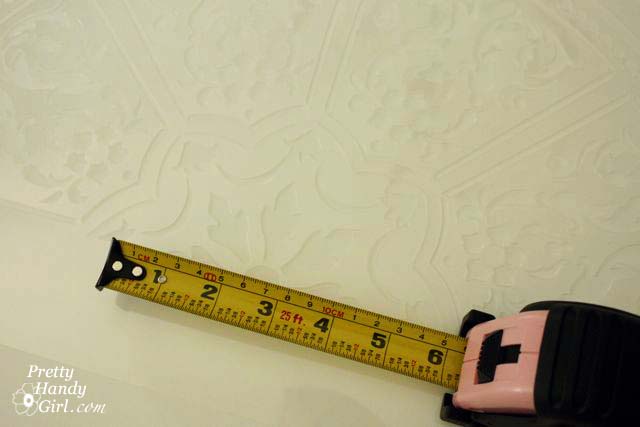
Cut the center section out of the stencil. (The only way around cutting the stencil if if you remove your light fixture and push the wires into the wiring box. But, I was too lazy to do that, so I cut instead.)
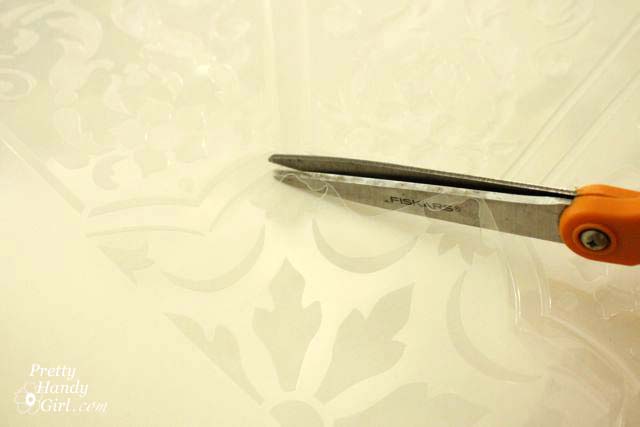
Save the cut out stencil so you can re-attach it later with tape or use the stencil on another project.
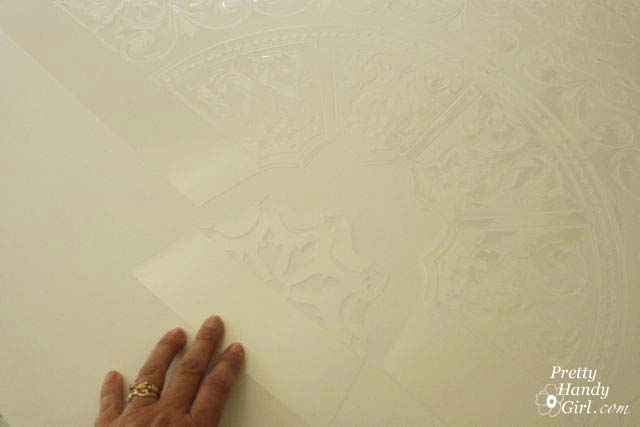
Tape off any sections of the stencil you don’t want to use. I chose to use the inner circle portion of the Georgian Ceiling Medallion Stencil.

Spray the back of the stencil with spray mount. This will help hold the stencil to the ceiling.
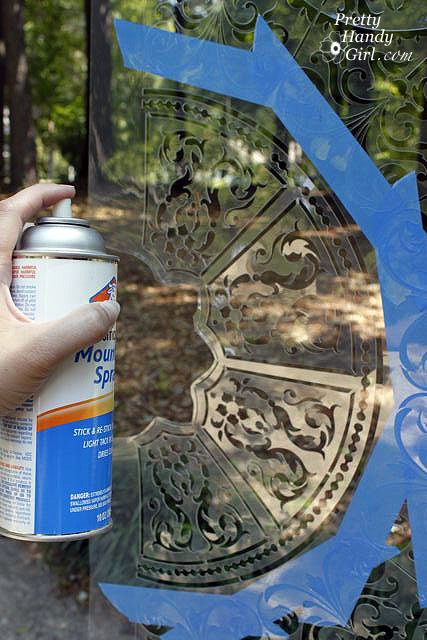
Go grab an assistant to help you position your stencil on the ceiling. Center it on the middle of your light fixture box. It may help to draw “cross hairs” coming out of your fixture box with a pencil. Personally I just eyeballed it.

Tape the edges of your stencil with painter’s tape. The tape that was masking off the rest of the design actually came in handy as it held the stencil up midway from the edges.

Mix up your paint onto a pallet or paper plate. I chose a very light grayish cream color to mimic the shadow colors in my dining room. The color I tried to match it to is Glidden Carolina Strand #A1786.

Layout a bunch of paper towels folded up that you can roll your roller on until it is almost dry. Roll your roller into the paint, then “dry” it off on the paper towels. Roll your paint roller carefully over stencil. Don’t push too hard or the paint may seep under the stencil. Continue rolling until your entire stencil has been filled in.
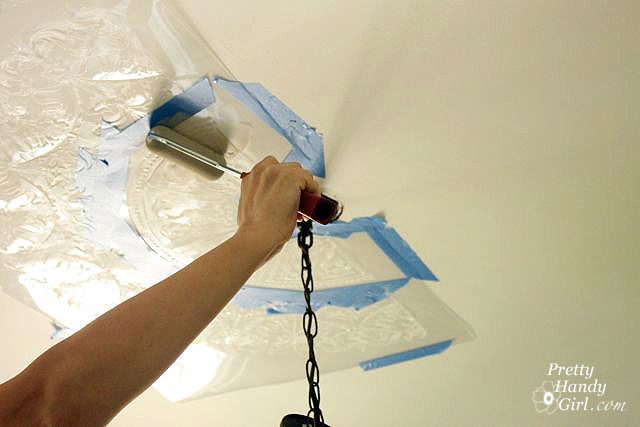
Gently remove your stencil and wipe any paint overage with a baby wipe or rag.
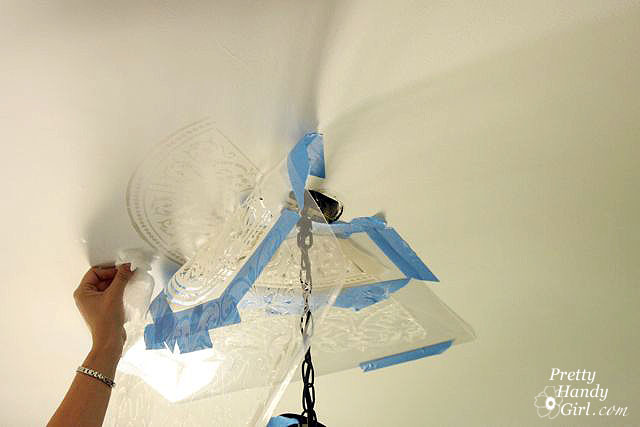
Reposition your stencil on the opposite side. Take your time lining up the stencil with already painted side.
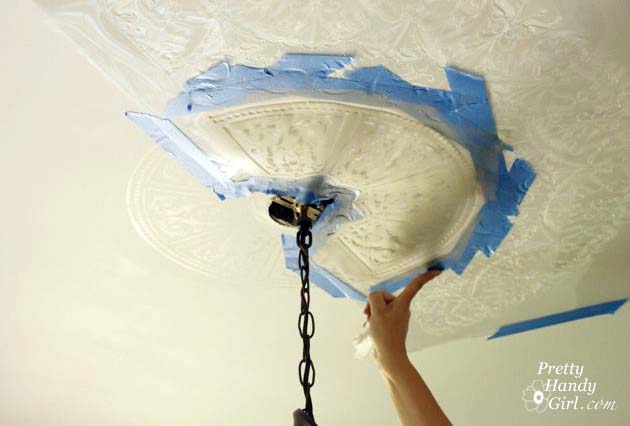
Repeat the same steps above to paint the second half of your medallion.

If you missed any spots, you can touch them up with a small artist’s paint brush.
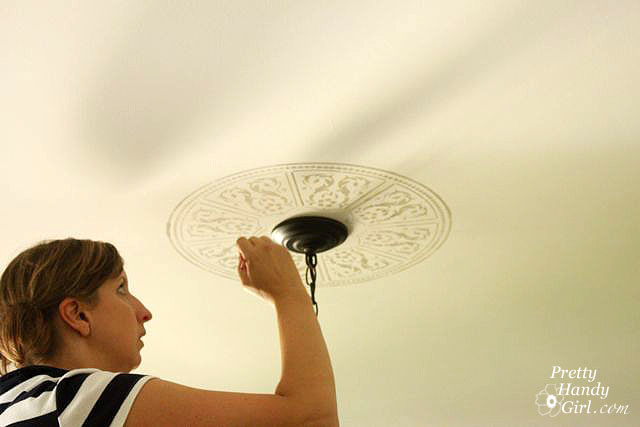
13. Replace your light fixture’s ceiling plate and admire your new ceiling medallion!

I’m so happy with how the design turned out, and I will never cringe at the word stencil again!
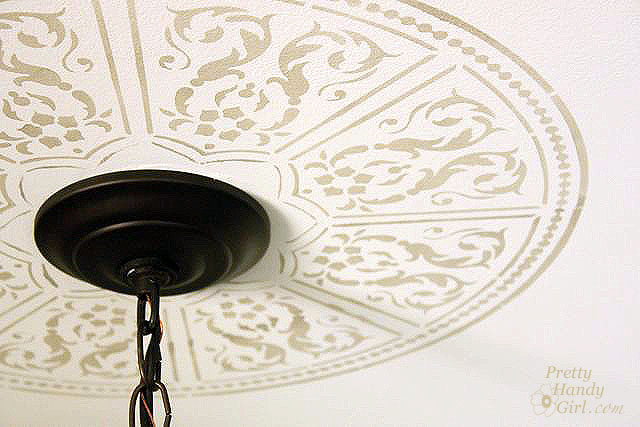
It definitely adds some interest to an otherwise plain Jane ceiling.
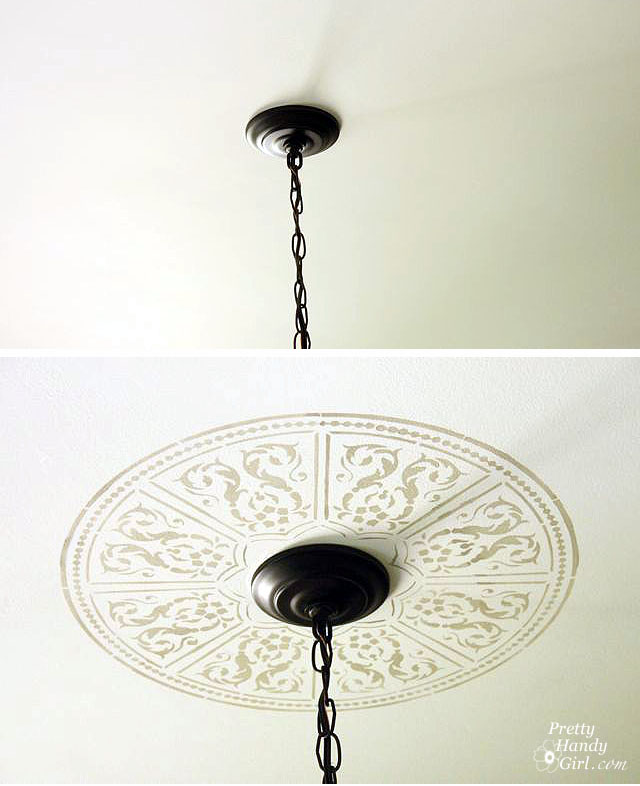
Do you like it? You really have to see some of the amazing stencils that Cutting Edge Stencils has to offer. Some of my favorites are this adorable silverware set:

And this stencil creates a great alternative to wallpaper (the bane of my existence!):

And if only there were more girls in our boy-filled house, I’d buy this:

So you see, wall stencils can be a beautiful thing ;-).

Hey, I wanted to let you know that this crafty blogger, Kristina, interviewed me the other day. You can read a little more about my addictions and my favorite blogging moment on her blog, Pearl Gateway. And give her a little comment love if you have a moment. She’s getting ready to make a major move to Tennessee! She could probably use a few uplifting words.

See ya later alligator!

Welcome back. Many of you may participate or read a weekly WIWW (What I Wear Wednesday). Those women in blogland, they really know how to put an outfit together. I am seriously jealous because sometimes I feel wardrobe challenged. Maybe you can help me. Here is what I wore Wednesday:

Ladies, if you want to copy my looks, here is the breakdown:
1. Hooded Knit T-shirt Top bought 15 yrs. ago at Gap
2. Gap Jeans bought about 5 yrs. ago. Those are authentic knee rips!
3. Dansko Clogs with the heels worn down to a hollow core.
4. Latex gloves (the better to paint with.)

This Pretty Handy Girl can’t wear her good duds on a painting day (although I’ve been known to do that occasionally.)

Painting is a nice segue into the first secret for “Falling in Love with Your Home”. Our home started out dark and dreary on the inside. Most of the rooms had dark wall colors, but the biggest problem was the dingy white popcorn ceilings. Those suckers are light sponges! They absorb the natural light and keep it all to themselves.

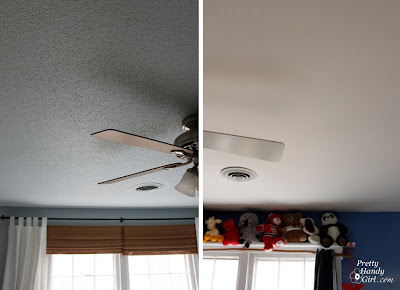
Here is a good example of the light difference between a smooth ceiling and a textured ceiling:

Both pictures were taken minutes apart in adjoining rooms that have the same south facing windows. The rooms are identical in size. The room on the left (master bedroom) has popcorn ceilings and light blue walls. If you look closely, you can see how each pock has a shadow. The texture effectively stops the light from being reflected. Meanwhile the ceiling on the right is smooth but the walls are a dark blue (son’s room). Despite the darker walls, the ceiling appears lighter because the light is reflected due to the lack of texture.

As you can see, we are able to lighten our rooms about 10 – 15% by scraping and painting just the ceilings! (Imagine what painting the walls a lighter color will do!)

Two more benefits of a smooth ceiling:

  • A smooth ceiling will visually raise the ceiling, while the textured ceiling draws your focus to the texture and makes the ceiling feel lower. You’ll have to trust me on this one.
  • And, a smooth ceiling will not collect as much dust. I don’t have to tell you how important that is for allergy sufferers (ahhh- choo! I’m allergic to dust mites.)

In summary, why do you want a bright and smooth ceiling? Because, it will reflect more light and natural light is a mood booster.  And during the seemingly never-ending winter months, we all need more sunlight to avoid mild depression or gloom. Translated: Better mood = Loving Your Room!

This is how we do it:

We have the popcorn (textured) ceilings scraped. Notice how I said, “Have” them scraped. I am handy – as you know – but there are certain tasks that I won’t do. I successfully scraped the ceiling in our pantry, but my neck was in pain for a week afterwards. I vowed never again. It is also a good idea to pay a professional if you live in an older home. Textured ceilings may contain asbestos. (Thank goodness ours didn’t.)

Now, even if you don’t have textured ceilings, you likely can still benefit from adding a fresh coat of paint. Ceilings are usually neglected for years. They are often painted with a builder’s grade white paint. The builder’s white is a dingy off white color compared to an Ultra Bright Flat White. It also doesn’t age as well and will tend to yellow or dull over the years. Here is an approximation of how a builder’s white might look next to an ultra bright white color:

AND, let’s say you really don’t want to mess with those texture ceilings, if you buy a thick nap roller and repaint the ceiling with an Ultra Bright White, you will still notice a big difference. (One word of caution when painting textured ceilings. Paint over one spot and move on. If you go back over that spot while it is still wet it can pull the texture down.)

Tutorial for painting ceilings like a pro

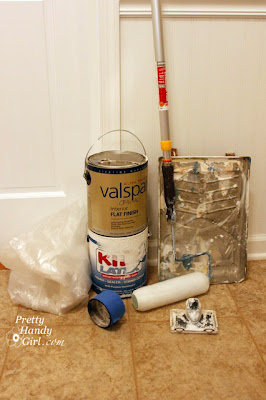
Materials:

  • Valspar Flat Ultra Bright White Latex Paint
    (this is the brightest white we have found. Valspar is sold only at Lowe’s)
  • Latex Primer
  • Paint tray
  • Paint roller
  • Roller extension rod
  • Edger
  • ScotchBlue Painters tape
  • Tarp
  • Fine grit sanding block
  • Car Wash sized sponge and bucket
  • medium size flat artist’s brush

Begin by covering every bare inch of floor with plastic or thick canvas tarps. And cover any furniture left in the room (although you should try to remove everything from a room when you paint, it is just easier that way, trust me.)

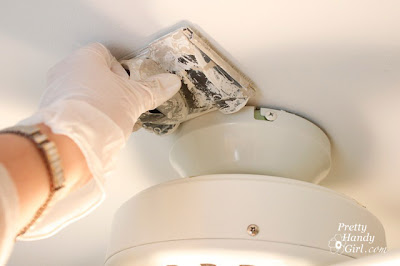
Remove blades on a ceiling fan, simply unscrew the arms from the motor:

Then cover your light fixture with a plastic bag and painter’s tape.

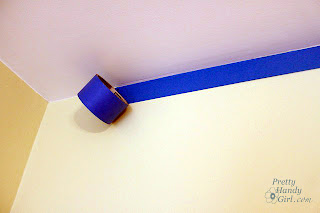
Next, apply painter’s tape around the top of the walls of your room. If you are going to re-paint your walls after the ceilings, you can skip this step.

Start with the primer (a must for newly scraped ceilings, but not necessary for previously painted smooth ceilings).

1. Use your edger around the perimeter of your room. I like this handy-dandy edger that has a hole for the extension pole (especially helpful if you have high ceilings or neck issues.)

2. After the perimeter of the ceiling is done, edge around any light fixtures or vents.

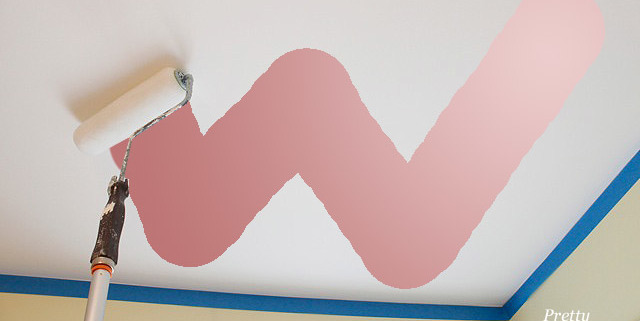
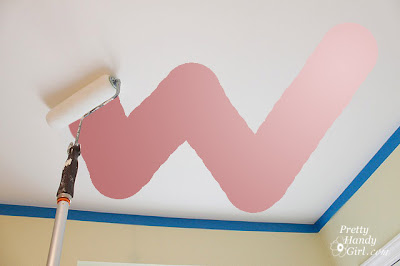
3. Reach for your roller. I like to work in 5′ sections. Start by rolling out a letter “W”. Then roll back and forth, up and down and in random directions until you have that section of ceiling covered.

This will insure that you don’t have racing stripes on your ceiling.

4. Continue working next to the section you just finished. Try to work into the previous section while the paint is still wet. Otherwise, let that section dry before trying to roll into tacky half-dry paint.

5. Allow the primer to dry, then lightly sand your ceiling to remove any specks that got into the paint. Wipe the ceiling with a damp sponge.

Now repeat steps 1-5 using the ultra bright white paint.

Let your ceiling dry and then add a second coat of the ultra bright white (yes, definitely use two coats to leave your ceiling looking like it was painted by a pro! Don’t skimp.)

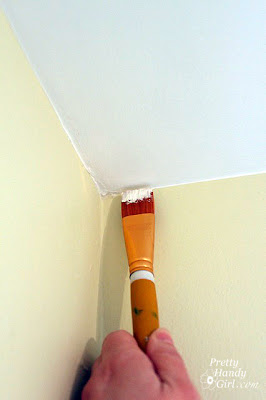
When you are done, remove the painter’s tape and pull out a small flat artists brush.

Pour some wall color paint into a small cup (I like to keep spare paint for each room in small jelly containers or jars. That way if one of my boys (adult and child alike) should happen to mar a wall, I can fix it in a jiffy.) Use the flat brush to create a smooth line at the top of your wall. Then finish by touching up any ceiling spots that were missed.

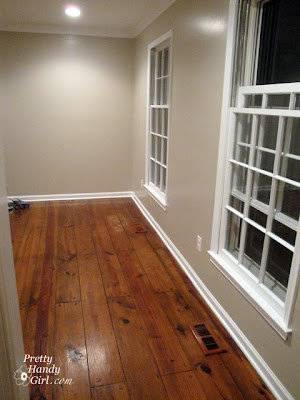
Take a look at the difference in our office! The top picture shows the room right after the ceiling was scraped. During the day!

And this next picture was taken of the same windows (different angle) at night!

Wow, brighten my world! View more pictures of this room HERE.

Okay, so I really like the ultra bright smooth white ceilings, but I did come across this gorgeous ceiling over at Not Just a Housewife, that would also make you swoon over your room if you were to try it. Check out Stacy’s tutorial HERE.

P.s. If you are renting, please don’t despair. I will have some tips that don’t involve painting your home.

I leave you with a glimpse of hope for those of you snowed in this week:

Daffodils Popping Through the Ground
Daphne Buds Getting Ready to Sprout

I just took those pictures yesterday, February 2nd! I live in Raleigh, NC, so thankfully spring is on its way. (Don’t hate me.)


5-Piece Nonstick Coated Paint Tray Set

00500 - Premium Paint Edger 00500 – Premium Paint Edger[635870] UPC: 022384005006 10L x 7.63W x 9.5H 0.2 LB 0.42 Cubes