Spraypainted Bottle Vases

I have a real problem throwing away perfectly good glass jars and bottles. To me they are little craft gems waiting for me to transform them. With Mother’s Day and Teacher Appreciation coming up, I decided to turn some of our recycled bottles into cute gifts for Mom and my sons’ teachers.

Before you begin this project, I want to warn you to be flexible. The painting step has the potential to get messed up, but that doesn’t mean the project has to be a failure. I’ll show you how I fixed one of the bottles that didn’t turn out as I had planned.

Materials:

  • Glass Bottles or Jars
  • Spray Paint
  • Rubber Gloves
  • Plastic Bags
  • Masking or Painter’s Tape
  • Drop Cloth, Tarp or Plastic
  • Foam Stickers
  • X-acto Knife
  • Pencil
  • Embellishments: beads, transfer rub-ons, wire, fabric, ribbon, raffia, lace, or whatever you have lying around
  • Hot Glue Gun & Glue Sticks

Instructions:

Clean out the bottles/jars and let them dry completely. Save the lids if you want to cap off them off.

Select some foam stickers to use as a mask on your bottle.

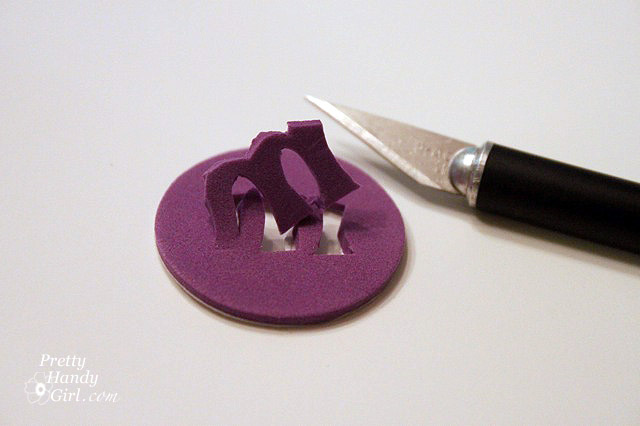
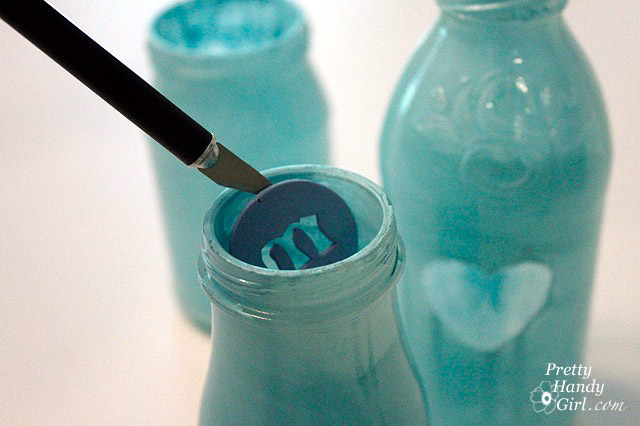
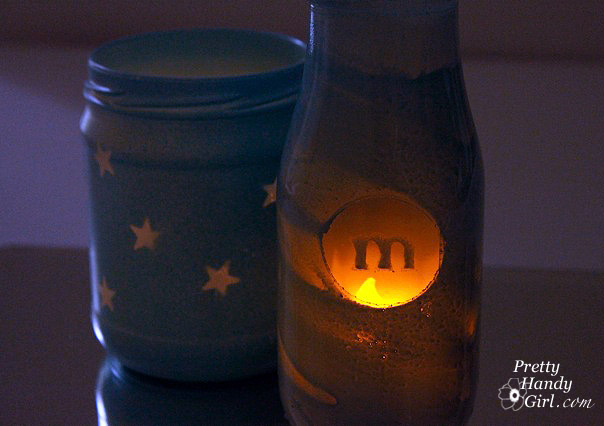
I chose a heart and then cut an “M” into a circle foam sticker using an X-acto knife. (Remember to cut your letters in reverse.)

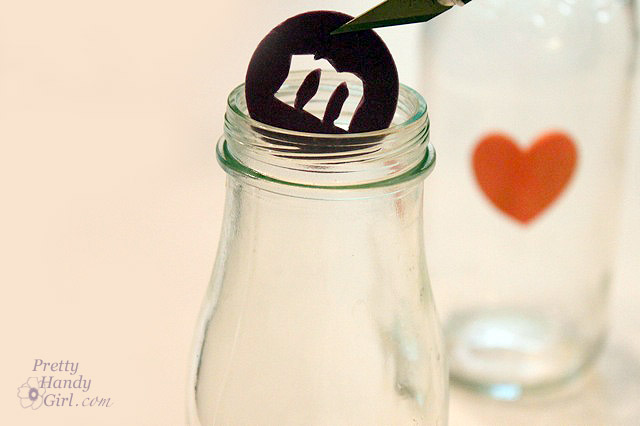
If the bottle neck is narrow, use the X-acto knife to feed the sticker into the jar.

Then use a pencil or stick to firmly press the sticker to the inside of the jar.

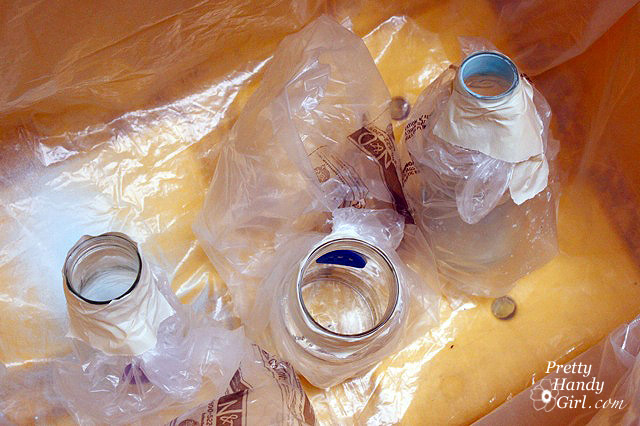
Wrap your bottle in a plastic bag and then tape the bag to the neck of the jar/bottle.

Set the bottles in a tarped area or box.

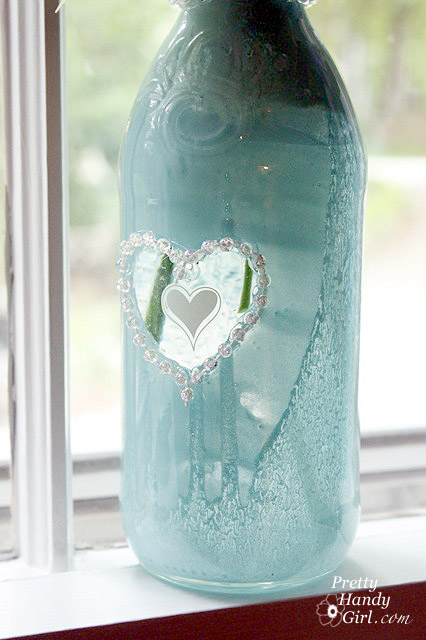
Put on some rubber gloves and insert the spray paint nozzle into the jar. Spray a layer of paint into the jar.

Wait a few minutes and repeat. The paint will be liquid, so rotate the bottles and jars to spread the paint around. Then turn the jars upside down to dry.

After the paint has dried (several hours), gently remove the foam sticker with the X-acto knife.

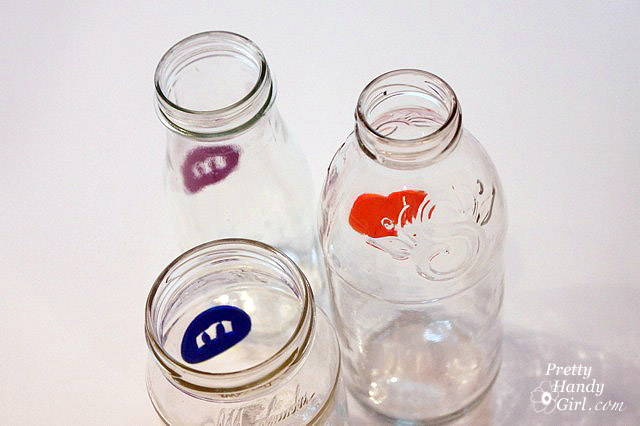
If a little paint has dripped into your masked area, you might be able to scrape it off with the X-acto. One of the stickers (jar shown on the right side below) didn’t adhere, and the paint bled underneath the sticker. But, no worries, it can easily been fixed.
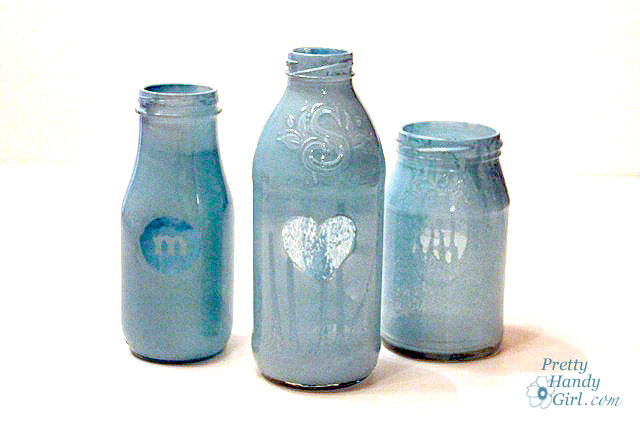

Time to get out your embellishment scraps. Ribbons, lace, rub on decals, beads, etc. Anything goes!

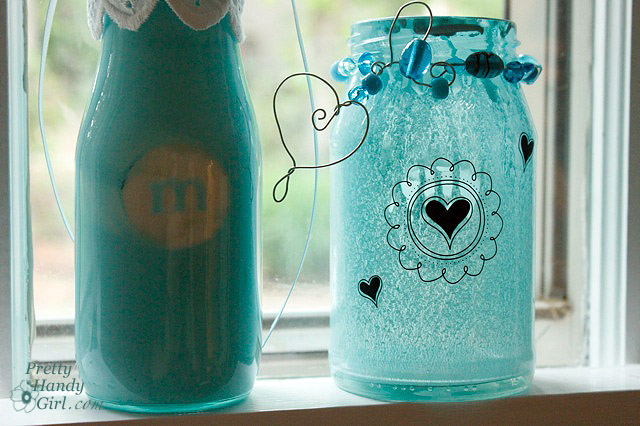
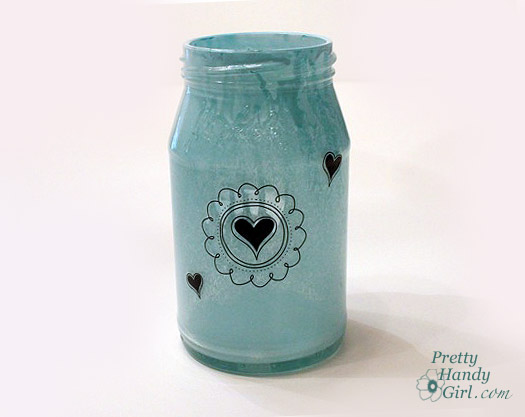
To fix the drippy paint jar, I rubbed on a few decals to cover the messed up heart mask.

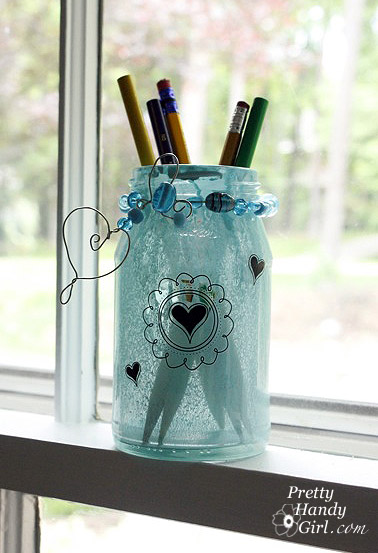
I added some wire and beads to the collar. And presto, a cute pencil holder!

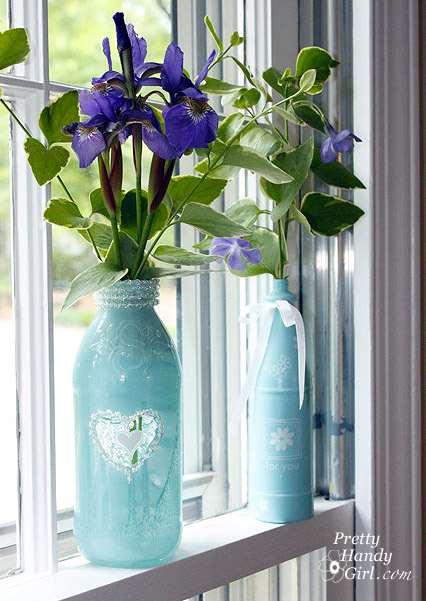
Use a hot glue gun to glue beaded string on your bottles. I added the trim around the collar and around the heart shape on this bottle. Then, I added another rub on decal.

And, voila, a beautiful flower vase!

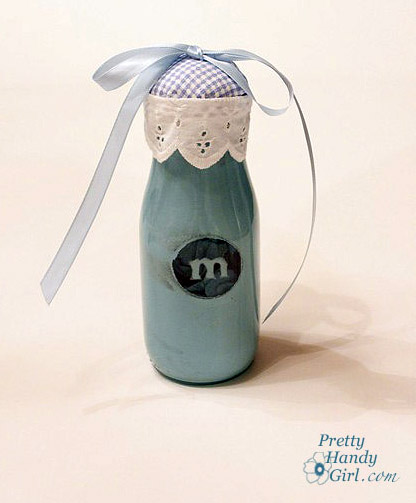
To create a cute bottle top, try gluing batting, fabric, lace and a ribbon to the lid.

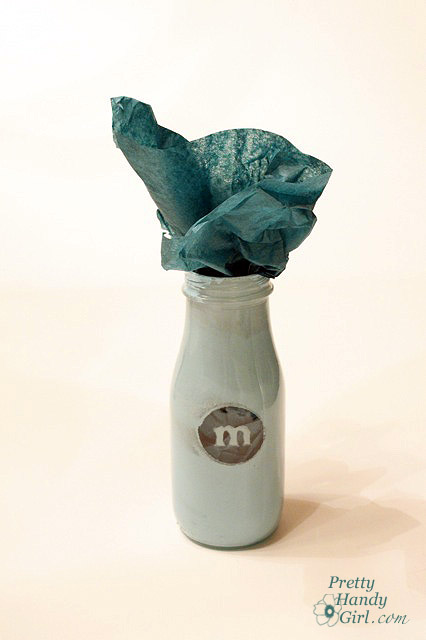
Wrap up a small present inside some tissue paper and inserted it the bottle. Or write a little heart felt note and slip it inside.

I included a battery powered tea light, it made a beautiful votive gift. The jars are so beautiful when lit up, don’t you think?

You can also try spraying the exterior of a few bottles. They don’t have the same shiny luminous look, but they will still be beautiful none-the-less.

Do tell me, what other ideas do you have using these glass jars and bottles? I’d love to hear!

Take a look at some other attractive ways to reuse recycled bottles and jars?


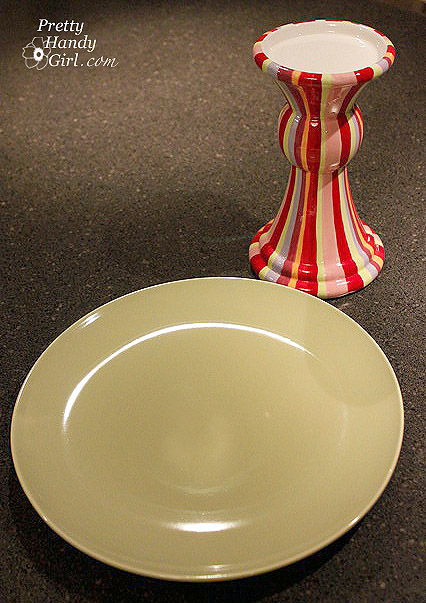
As promised, I have a tutorial for making a cake stand using a plate and a candlestick. This is nothing new, and if you’ve hopped around the blogosphere, you have probably seen some variations of this project.

These are a few of the projects that sparked my creativity when I found a striped candlestick at a my friend Su’s yard sale.

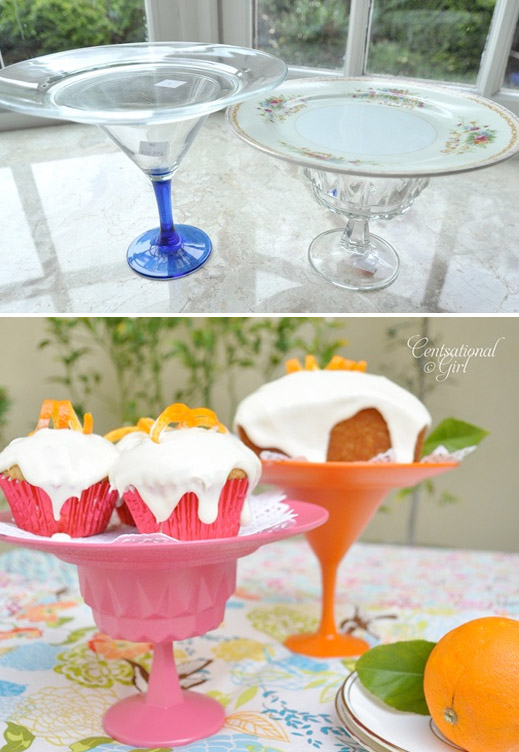
Centsational Girl’s sherbert colored dessert stands are pure and sweet eye candy:

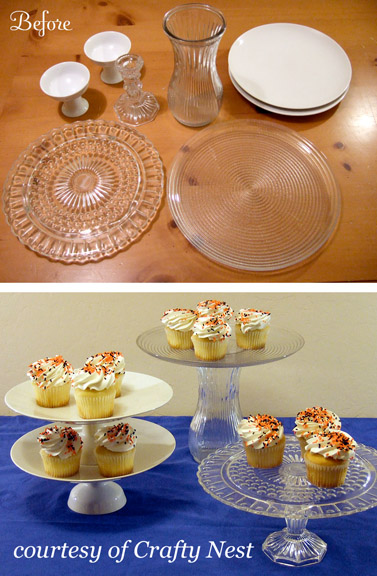
Crafty Nest used simple clear vases, candlesticks, and dishes to make single and multi-level cake stands:

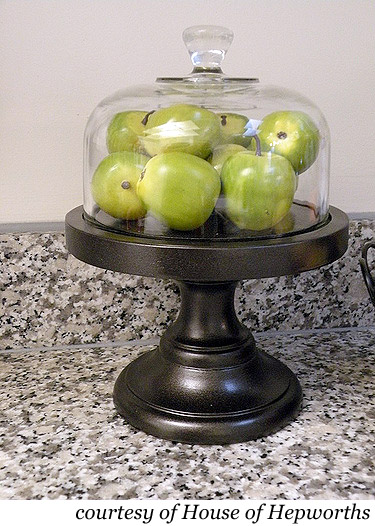
And House of Hepworth’s turned a cheese dome into a cloche!

So, armed with my striped candlestick, I scoured my local Goodwill for a plate that had some citrus color for my stand. I finally found the perfect plate, but had to give myself a pep talk to buy it. It was perfect, except for the meal that was baked onto it. Ewww. Seriously, it looked like someone had just eaten off the plate and then donated it. GROSS PEOPLE!

But, alas, it was the perfect  color, and when I got home I drenched it in Get Clean Basic H2 Degreaser and wiped it clean BEFORE cleaning it in my sink. (I think I might be a tad germ phobic.)

Tutorial:

Materials

  • Plate
  • Candlestick (or other base)
  • Sandpaper
  • E-6000 glue
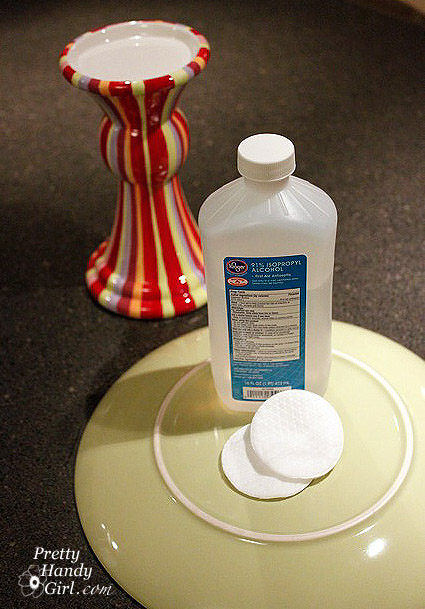
  • Rubbing Alchohol
  • Paper towels
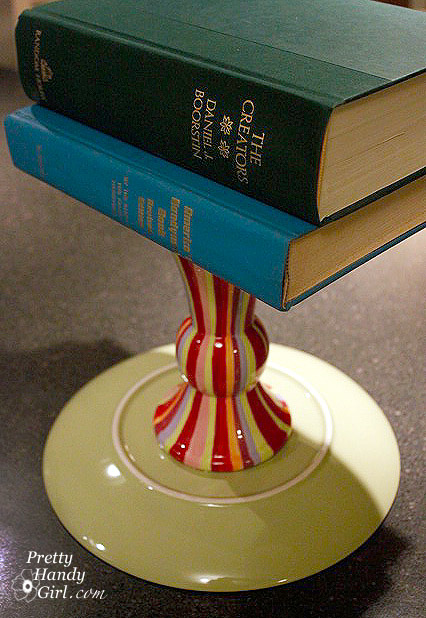
  • Books or weights

Begin by thoroughly cleaning the plate and candlestick.

Using a fine grit sandpaper, rough up the top of the candlestick and the base of the plate where you will be bonding them.

Clean the plate and candlestick with rubbing alcohol to remove any residues.

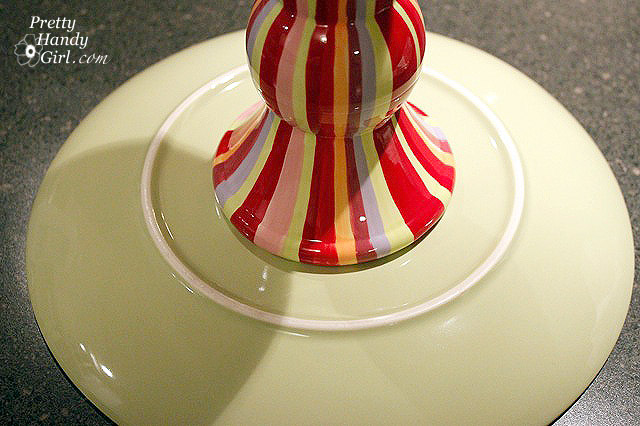
Squeeze out E-6000 on the rim of the candlestick.

Center the candlestick in the middle of the bottom of the plate.

Set books on top of the candlestick to weigh it down while the glue dries.

Let the glue dry overnight, then turn your cake plate over. And, serve up some wonderful dessert…


…or simply make some fruit more appealing, …

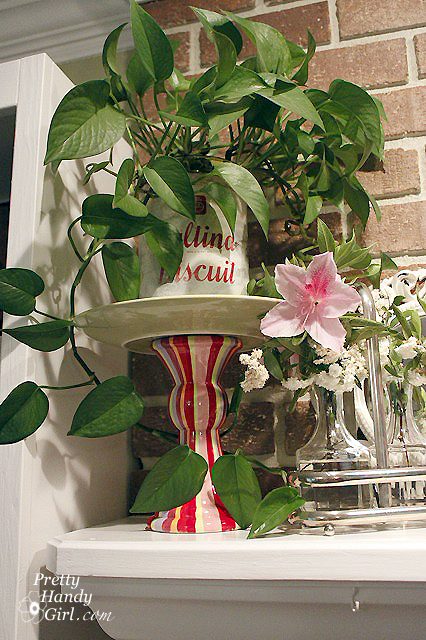
…or use it as a plant stand…

But, personally, I prefer the dessert!

What about you? How would you use this citrus striped cake plate?
Sharing with:

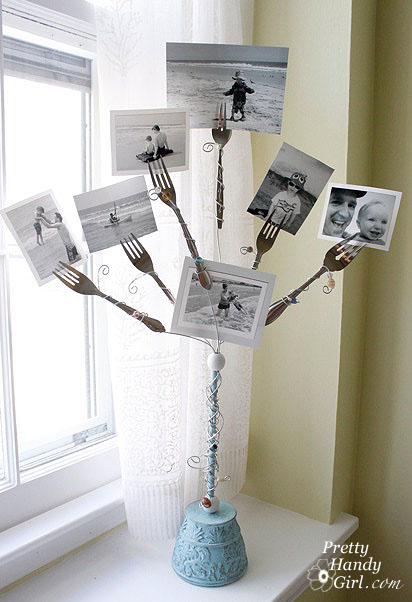
Okay, so I know you all think I’ve gone off my rocker. I bought a bunch of silverware (err, excuse me flatware) from Goodwill recently. I made some Fork Photo Holders (which I absolutely adore!) And had been thinking of some cool projects to do with the knives.

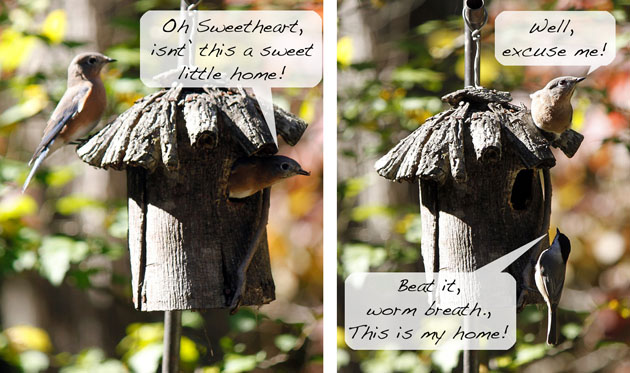
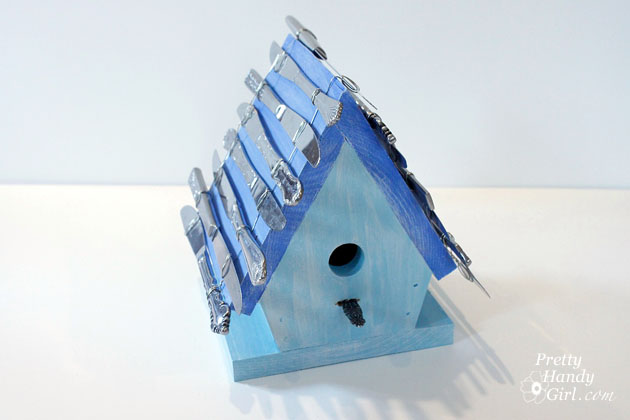
Inspiration hit when my chickadee’s birdhouse roof caved in. I knew I had to act quickly and build a new birdhouse for my repeat nesters! Here is a look at the dynamics surrounding the chickadee’s annual nest location.

I had no idea that the little chickadees could continually defend their bird house from the larger birds, but they do. Every year!

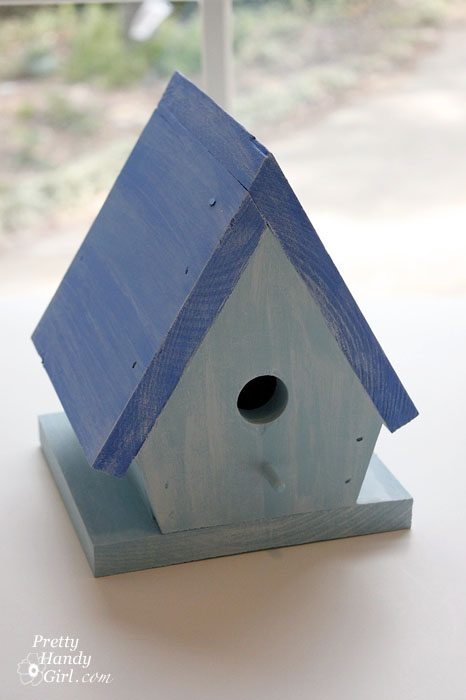
I bought this $3 unpainted birdhouse at AC Moore and painted it a pretty blue;  gave it a white wash; and put a few coats of protective polyurethane on it.

Then, because I can’t leave well enough alone, I decided that the birdhouse needed something extra. Knives!!! Of course, right?!

So, here is what I did:

Materials:

Painted and Polyurethaned Birdhouse
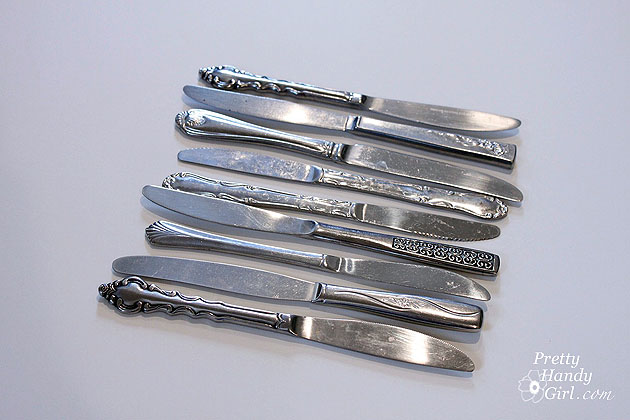
Knives (about 14)
Wire
Wire cutters
Staple Gun
1/4″ Staples
1 Spoon or Fork Handle
Dremel power tool (with metal cutting disc, drill bit, and engraving tool)

Instructions:

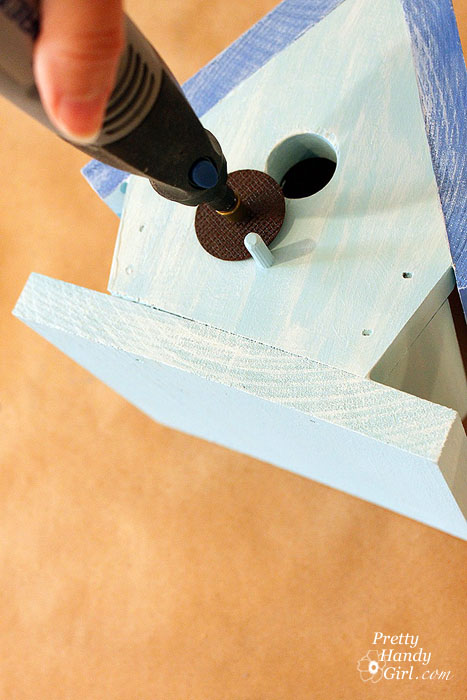
Begin by removing the standard perch (yes, I really can’t leave well enough alone!)

I used my Dremel 8000 that I got for Christmas. Love it!

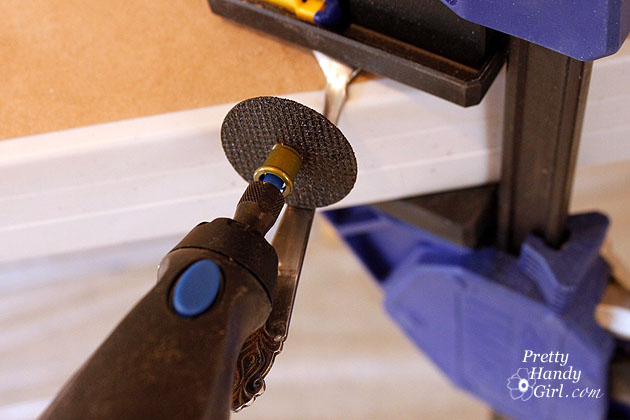
Then clamp the spoon or fork to a work surface and use a metal cutting wheel attachment on the Dremel to cut off the handle (those sparks will fly, so be sure to use safety goggles and keep the work area clear.)


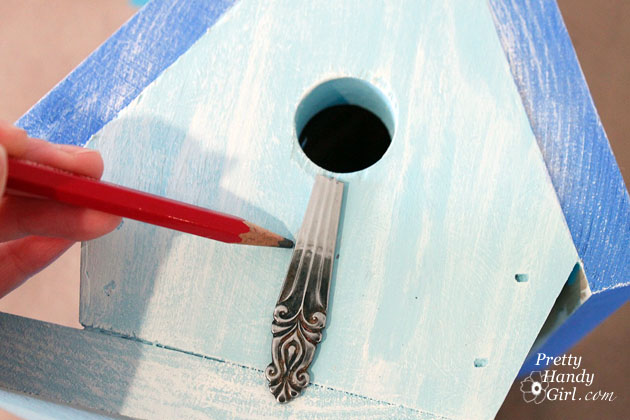
Mark the width of the handle on the birdhouse.

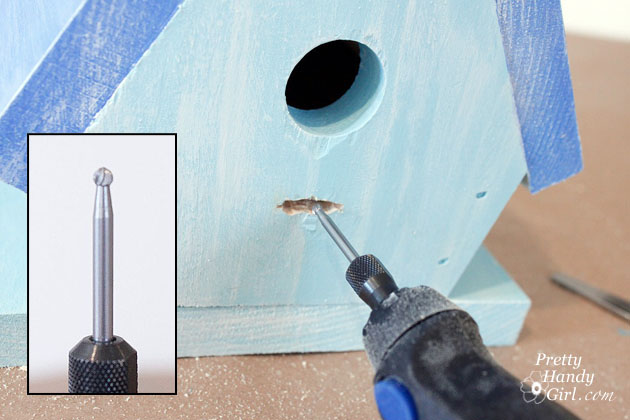
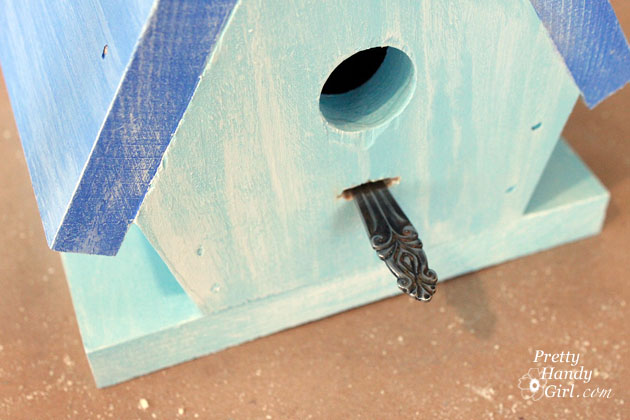
Use a drill bit attachment to drill a series of holes to fit the spoon handle (perch) into.

I got tired of drilling holes and eventually cleared out the leftover material with the engraving tip. (If anyone is a Dremel expert and has a recommendation for a better bit to use, I’m all ears!)

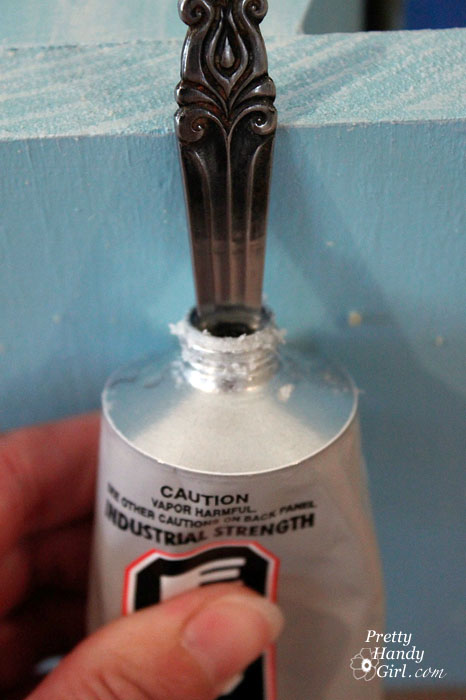
Dip your handle (perch) in the E-6000,

and insert it into the slot you made in the birdhouse.

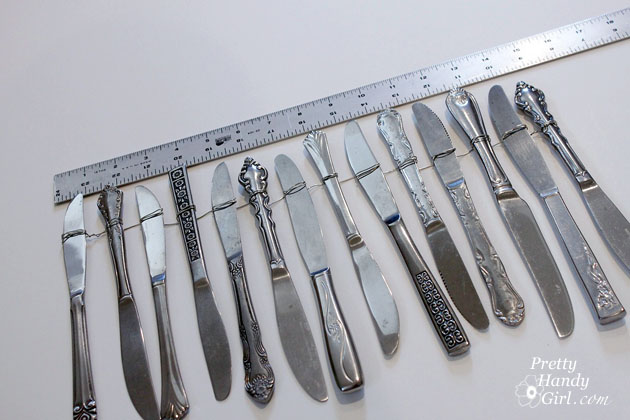
Now, time to play with the knives! Oooo, that sounds so sadistic! Measure the height of your birdhouse roof and then line up your knives to double that length (to cover both sides of the roof.)

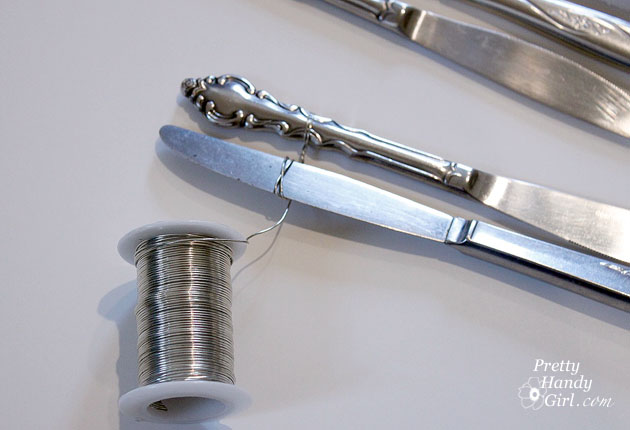
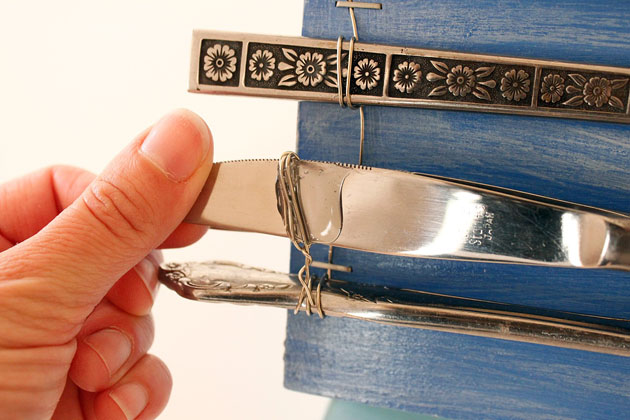
Wrap a wire around the first knife a few times, then wrap it around the second knife a few times to connect them.

Continue connecting the knives together until you reach the double height length of the roof.

Repeat tying the knives together on the opposite side.

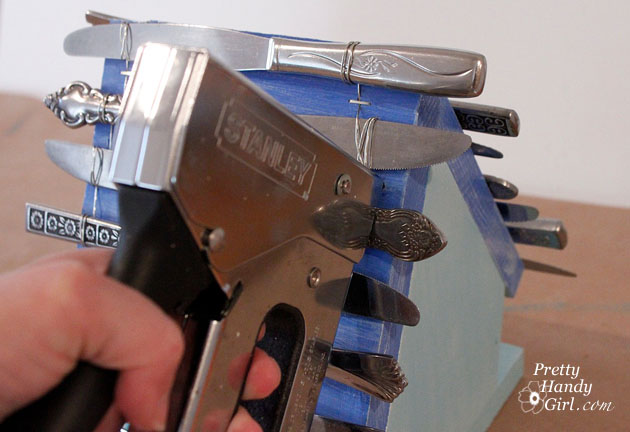
Drape the knives over the birdhouse roof and adjust any that have fallen out or are not lined up.

If some of the knives want to fall out, add a drop of E-6000 to the underside to secure the wire to the knife.

Load your staple gun with 1/4″ staples and staple the wire to the roof. Tap any that didn’t sink into the wood with a hammer.

Finally, add a hook to the top of your birdhouse and hang it up outside! I hope the chickadees appreciate their new home.

Note: At first I wanted to use more knives so that you couldn’t see any space between the knives, but those suckers were so heavy that I had to modify my plans.

PHGFancySign

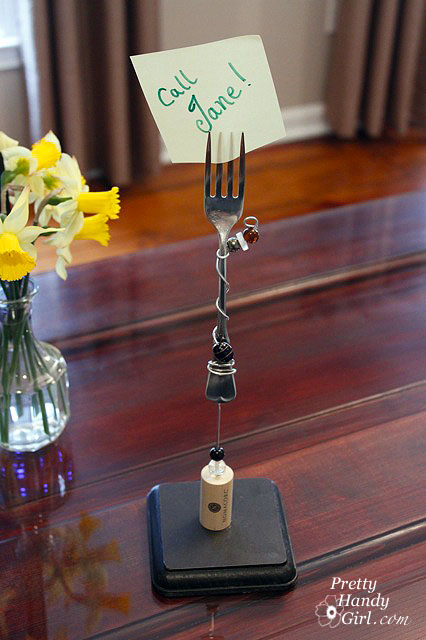
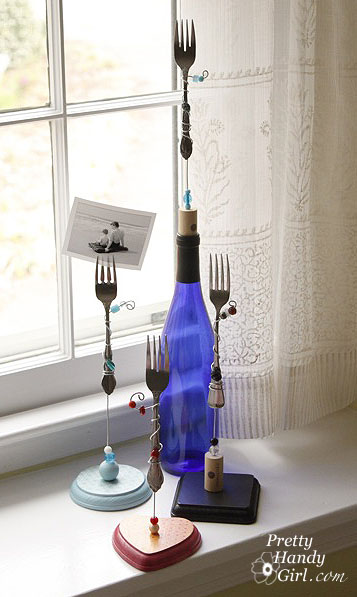
Fork Photo Holder

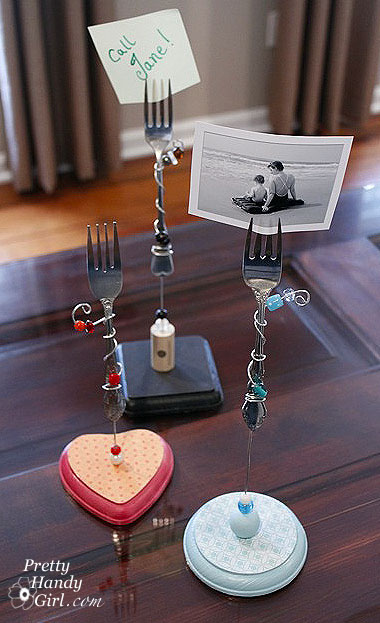
I want to share with you how to make an alternate base for that Fork Photo Holder you see above. If you will give me a few minutes, I’ll show you how to do that.

Materials:
Fork (.25 each from Goodwill)
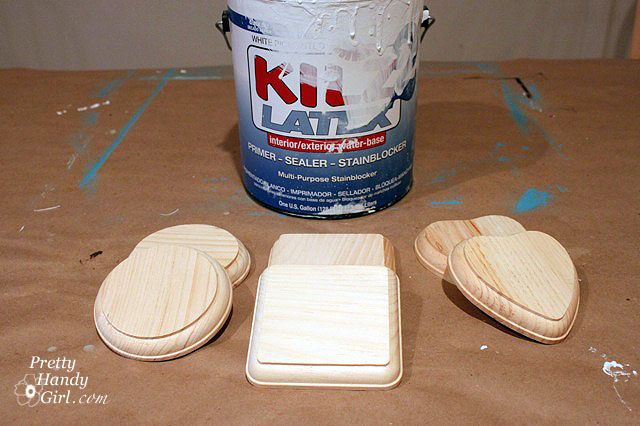
Wooden base from craft store (cost me .69 each)
Beads, corks, or other items to thread onto the base of your wire (corks were free, beads I had on hand)
Scrapbook paper
Mod Podge
Multi-Purpose Utility Wire 16 Gauge ($7.99 for a huge roll of it, I only used a few inches per project)
Wire cutters
Needle-nosed pliers
E-6000 glue
Felt
Drill with 1/16″ drill bit


Instructions:

Start by sanding any rough edges off your wooden base. Then prime and paint them.

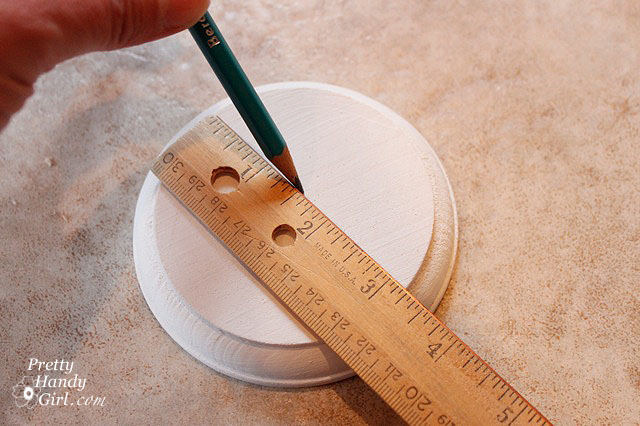
Measure and mark the center of your wooden base.

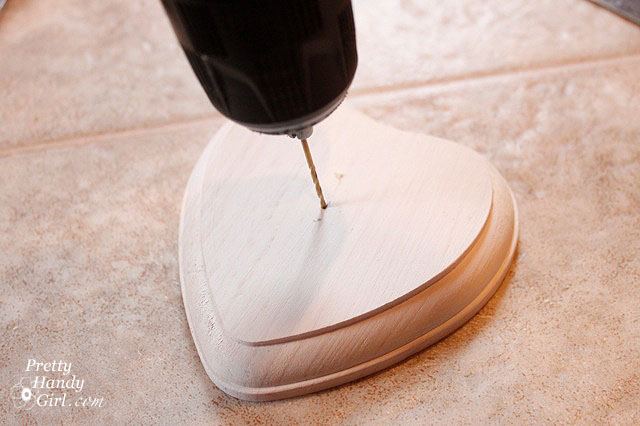
Using your 1/16″ drill bit, drill through your base (be sure to put a piece of scrap wood underneath to avoid drilling into your table, etc.)

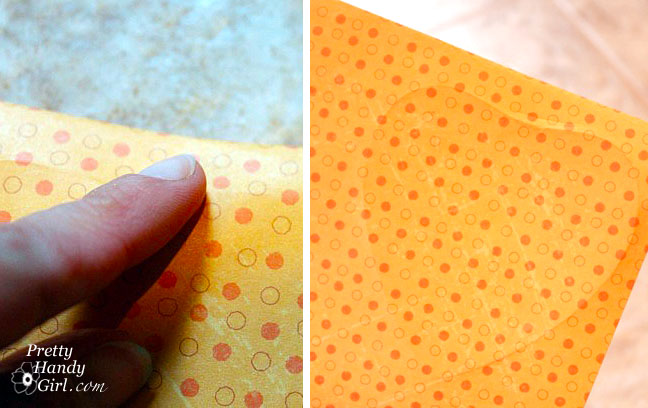
Lay a piece of scrapbook paper on top of the base and use your finger to score around the edges of the base.

Cut out the shape scored on the scrapbook paper.

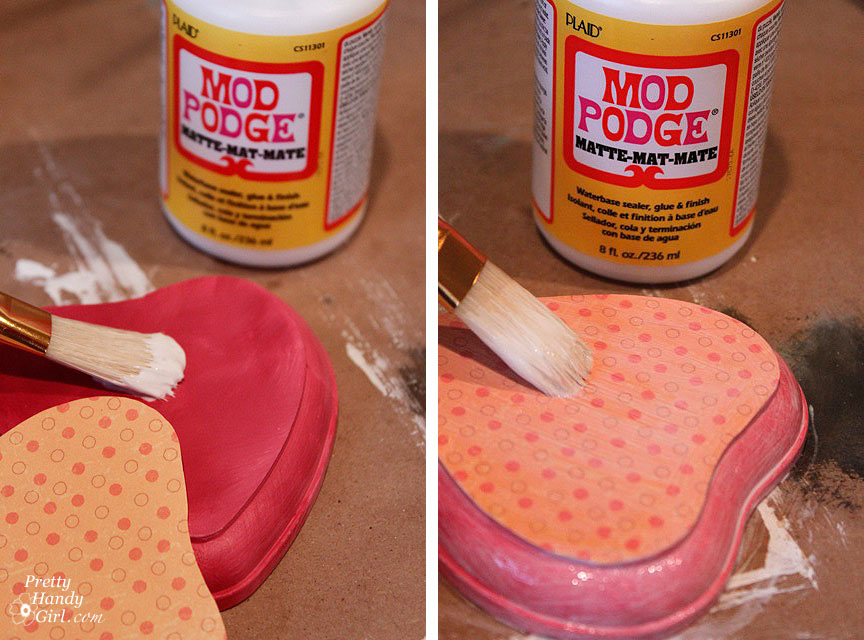
Using mod podge, brush one coat onto the top of the wooden base. Lay your scrapbook paper cutout onto the base and follow up with another coat of the mod podge to seal the paper to the base.

Assemble your fork onto the wire as shown HERE.

Thread on your beads for the base. (Alternatively, you can use a wine cork or a solid end bead and drill a hole through them.)

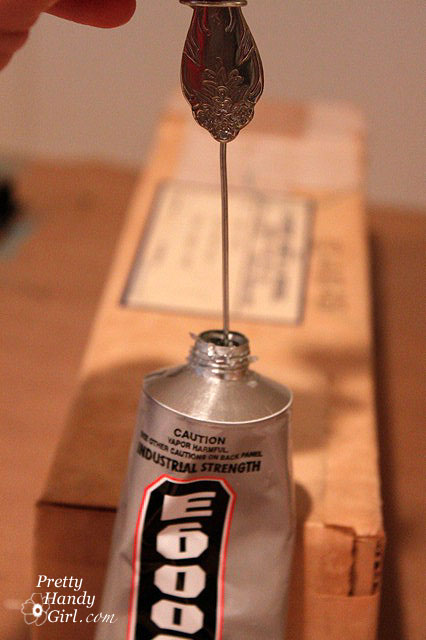
Then dip the end of your wire into the E-6000.

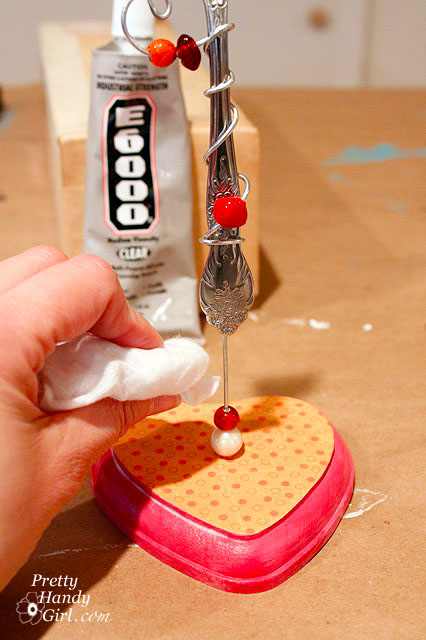
And insert it into the base. Some of the glue should squeeze out of the base. You can use the excess glue to adhere the beads to the base. (Yes, you should wear gloves when working with E-6000 glue. Do as I say, not as I do!)

Protect your table with newspaper, craft paper, or wax paper while the glue dries.

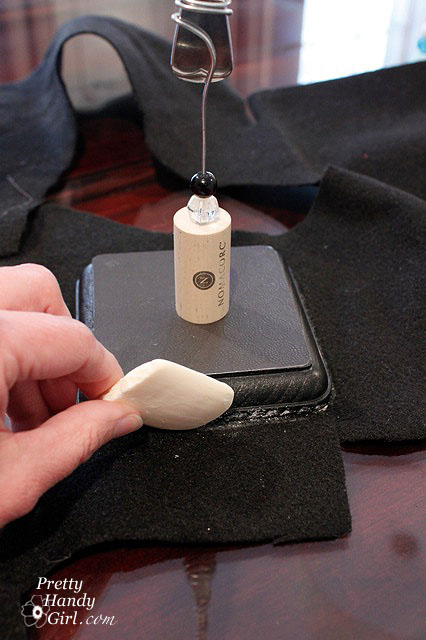
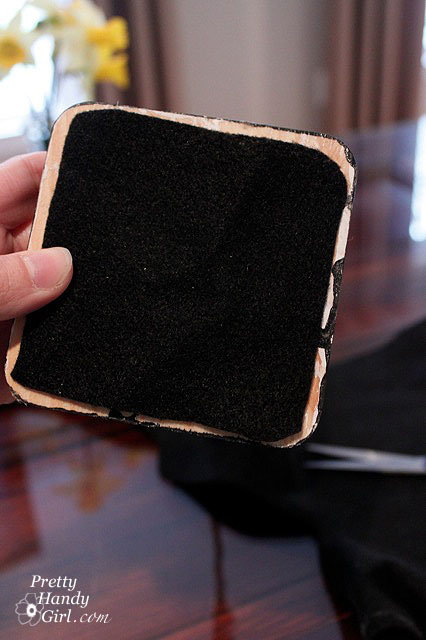
Using a sliver of soap, draw around the base of your photo holder onto the felt.

Cut the felt slightly smaller than the traced shape.

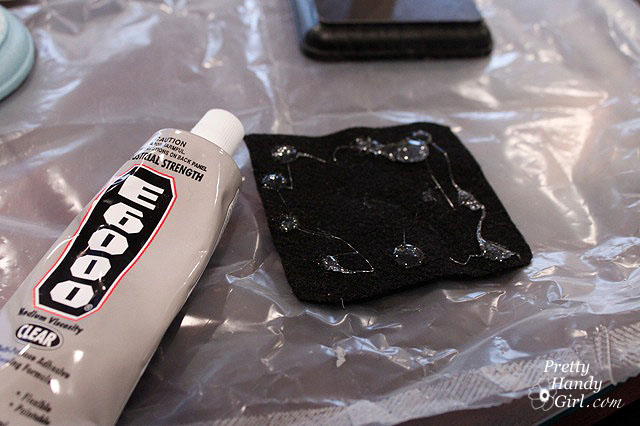
Use a little E-6000 to glue the felt to the bottom of the base. Let it dry on wax paper (I use old cereal bags because they were free and I like to recycle.)

And you are done!

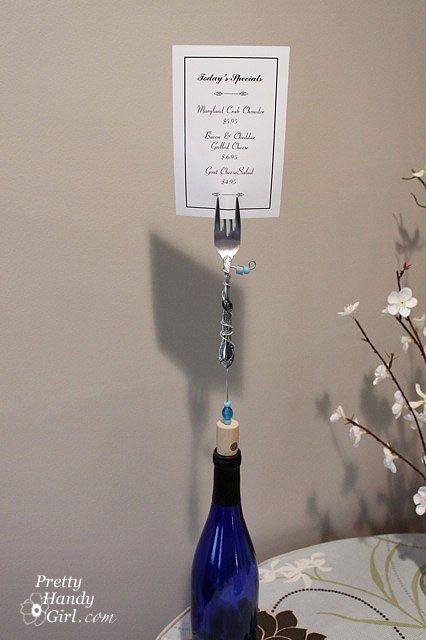
I raided my neighbor’s recycling bin for that beautiful cobalt blue wine bottle. It works well as a base too! Don’t you think it would be a cute place to hold “Today’s Specials” at a restaurant? Or a reminder note. Or just a beloved photo.

What would you use one of my fork photo holders for?

PHGFancySign


No Solicitors Sign

We live on a quiet street in a peaceful neighborhood in Raleigh. Unfortunately, every so often, my son’s peaceful naps were interrupted by: DING DONG! And when I answered the door, this is who greeted me.

ARRGGGHHH!

I finally decided to halt the door-to-door salespeople in their tracks. Especially after a neighbor informed me that sometimes these so-called salespeople aren’t actually selling anything. There have been a few incidents of burglary in our neighborhood, and one of the burglars had actually knocked on doors the day before. Apparently he was casing the home to see what homes were empty at what times. Plus, it offered them an opportunity  to peek inside and see if there were any valuable items inside. Scary! Especially when I’m home alone with the little ones.

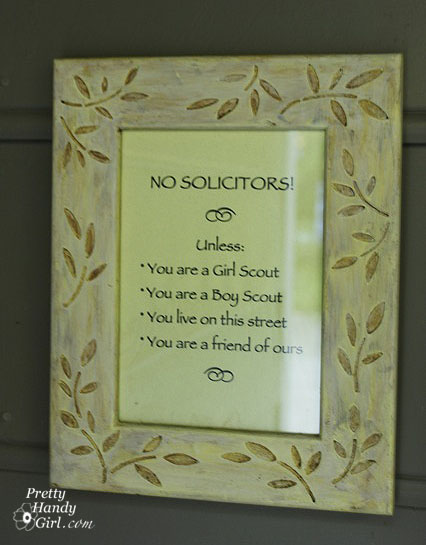
I decided to take matters into my own hands and create a No Solicitor Sign.

While at Goodwill, I searched for two small picture frames.  The frames I bought were in good shape, but I added some new paint and glaze to give them a fresh look.

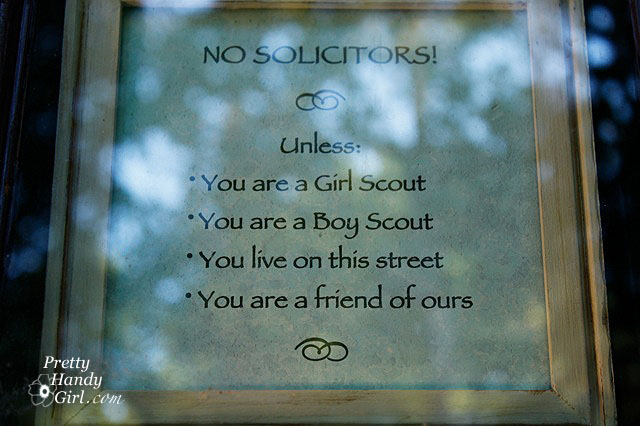
I printed out a simple message on decorative paper and inserted it into the frames.

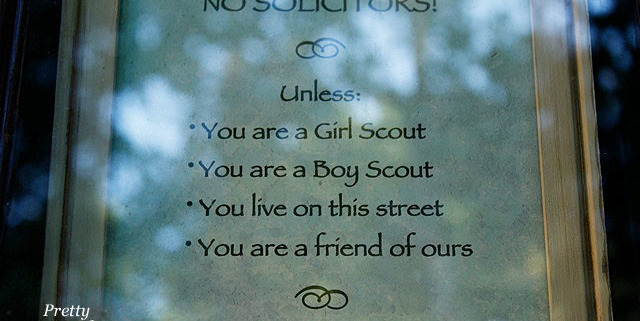
No Solicitors! Unless:

  • You are a Girl Scout.
  • You are a Boy Scout.
  • You live on this street
  • You are a friend of ours

This message seemed to cover all the bases and still allow for the kids selling muchies!

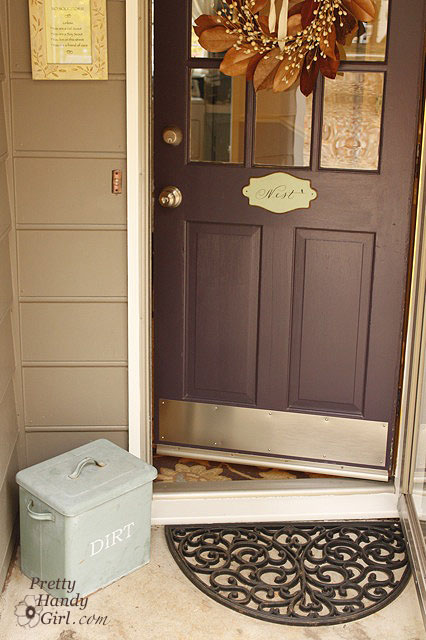
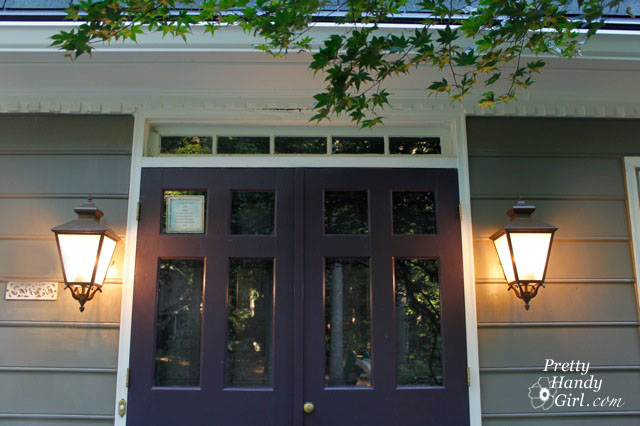
I hung one sign by our side door.

And put a second one inside the storm door of our front door.

I can honestly say that we have not had a single unwanted salesperson knock or ring our doorbell since I hung the signs.

I’m not the only one who can’t stand solicitors, Becca from Blue Cricket Design cut some vinyl for her side light by her front door. I can’t help but smile every time I see it. 😉

Blue Cricket Design’s Sign

Want your own No Solicitor Sign? Download it HERE!