I’m a little bit of a fanatic when it comes to drafts. (Remember the time I weather-stripped my garage doors?) Over time I’ve addressed most of the pesky cracks and crevices that invite cold air into our home. But, there was one draft that I’ve been meaning to serve an eviction notice to since the first winter we lived in our house. Today I’ll show you how to build a fireplace insert draft stopper!
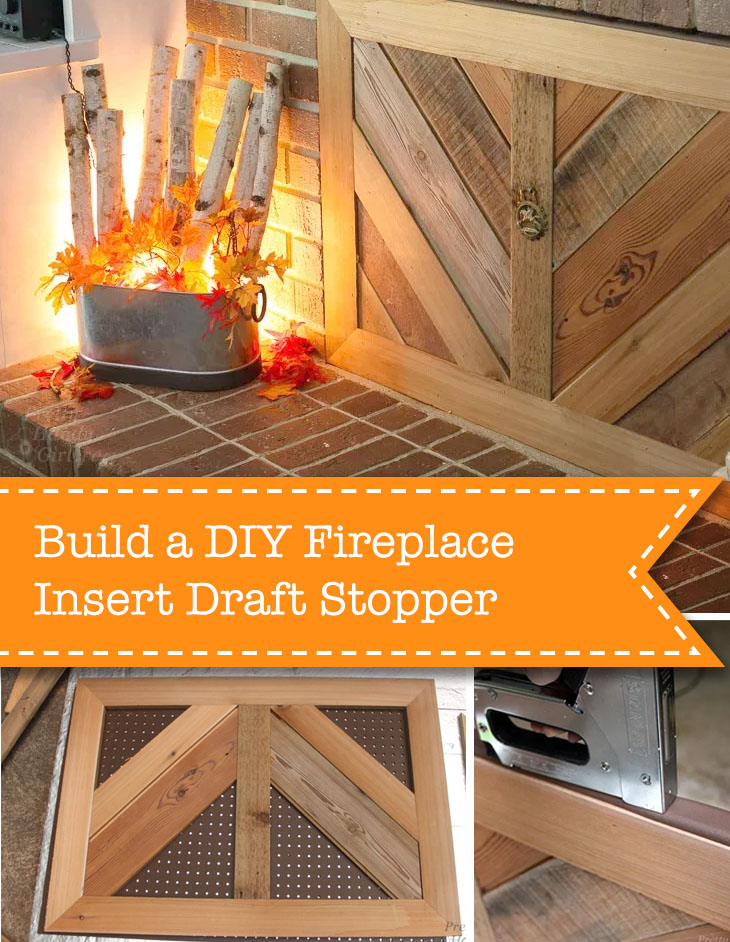
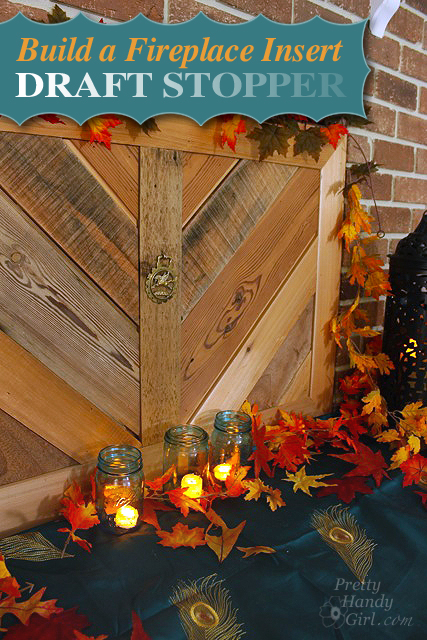
Build a Fireplace Insert Draft Stopper
If you have an old wood-burning stover, or even one converted to gas logs, you likely know this old fireplace can be the source of cold air and drafts in the winter. Even with the damper closed, there is a draft that escapes into the room.
You can’t weatherstrip the damper (that would be a fire hazard), so I solved the issue by building a rustic reclaimed wood fireplace insert to stop the draft.
Want to build your own fireplace insert draft stopper? It’s not hard and you can complete it in an afternoon!
Fireplace Insert Draft Stopper Materials:

(I’ve included affiliate links for your convenience. I earn a small percentage from a purchase using these links. There is no additional cost to you. You can read more about affiliate links here.)
- Rigid foam insulation
- 4′ x 4′ Pegboard or masonite
- Tape measure
- Edge Cushion edge bumpers (in the baby proofing aisle)
- Ear muffs (or ear plugs)
- Eye protection
- Caulk gun
- Construction adhesive
- Utility knife
- Pencil
- Kreg Jig
- Speed square (optional)
- Pocket hole screws
- Circular saw with Kreg Rip Cut (or table saw or jigsaw)
- Finish nailer
- 1.25″ finish nails for the nail gun
- 1×3’s, 1×4’s, 1×6’s or other reclaimed lumber
- Staple gun and 3/8″ staples
Notes: I chose pegboard because it was slightly cheaper and weighed less than the masonite but was still rigid enough to hold the reclaimed wood. You can ask a Lowe’s employee to cut down the rigid foam insulation for you so you can fit it in your car. You can also have your pegboard cut at Lowe’s if you know your measurements upfront. I chose to use the Kreg Rip Cut because I was anxious to try it out. I liked how it worked and it was a good option if you don’t have a table saw or track saw. Finally, adding the reclaimed lumber is not necessary, I just like the look. Another option would be to buy foam insulation and wrap it with fabric and batting and simply fit it in the fireplace opening.
Instructions:
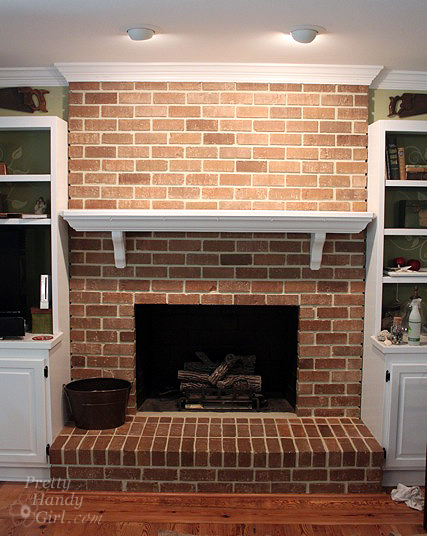
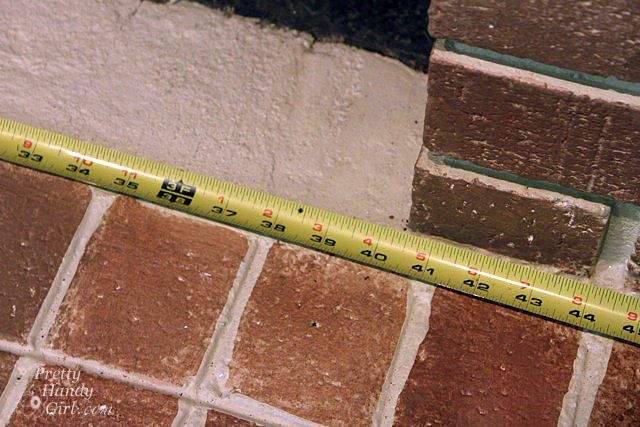
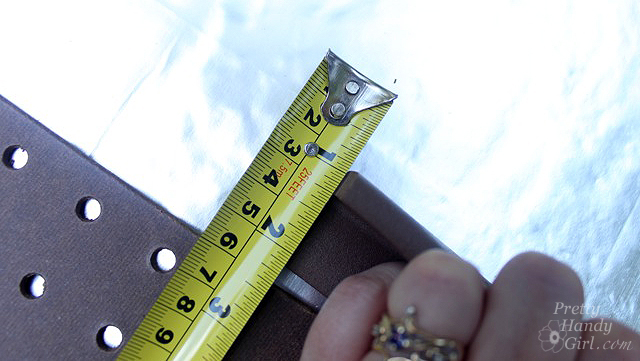
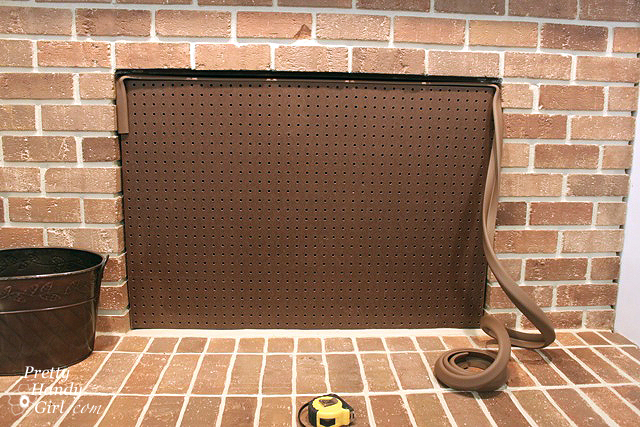
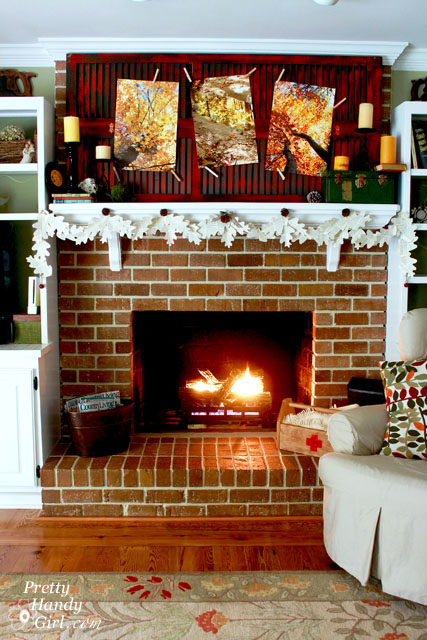
Start by measuring your fireplace opening. (Pssst. You can see that our bricks are faux painted in this picture. Learn how I painted my fireplace back to brick without sand-blasting!)
Check the width of the edge bumper (the one I used is 1/4 inch) and subtract that amount from three sides of the fireplace opening measurements.
Mark the cut lines on your pegboard material.
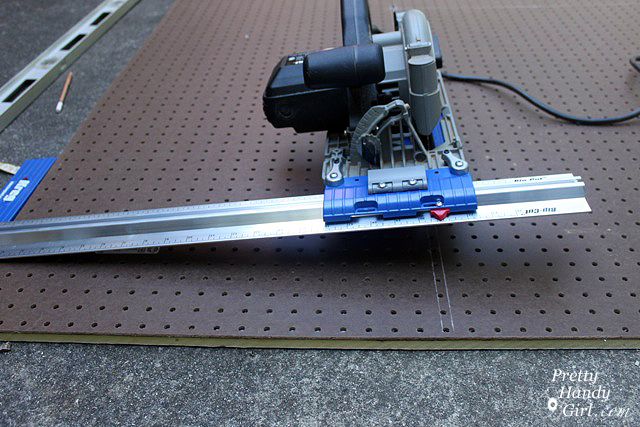
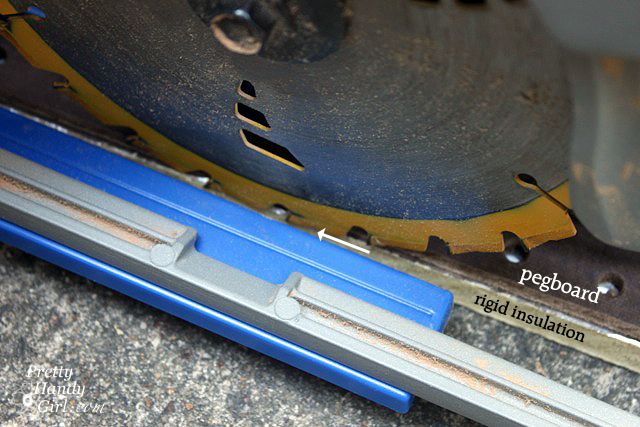
Lay the pegboard on top of the excess foam insulation and set the saw blade depth just below the pegboard.
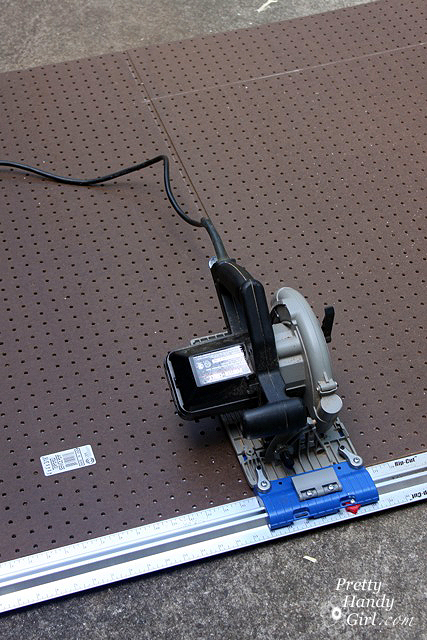
Cut the pegboard to size. (If you don’t own a rip cut or track saw, you can make your own DIY Track Saw for your circular saw here!)
Check the fit of the cut pegboard with the edge bumper inside the fireplace opening. The pegboard should be loose, but allow the edge bumper to compress against the sides for a snug fit.
Building the Reclaimed Lumber Frame:
Using the same dimensions as the pegboard, cut your frame pieces (miter cut the corners for a clean look). 1″ x 4″ cedar boards worked well for the frame.
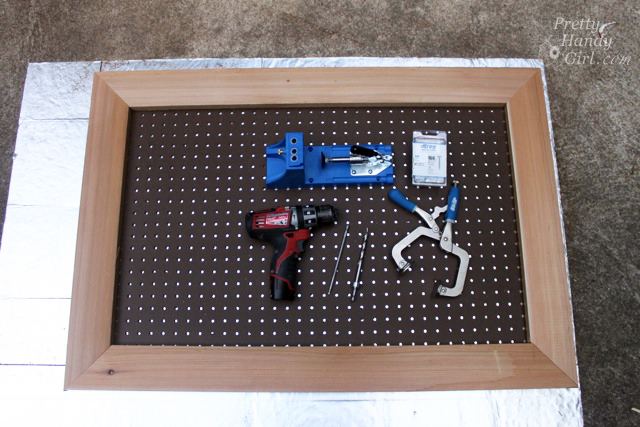
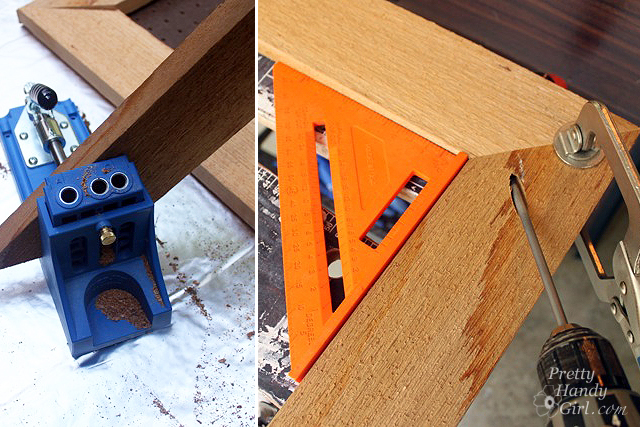
Use a Kreg Jig to make pocket holes in the corners. Clamp the corners (use a square to maintain true 90 degree angles) and drive the pocket screws into place.
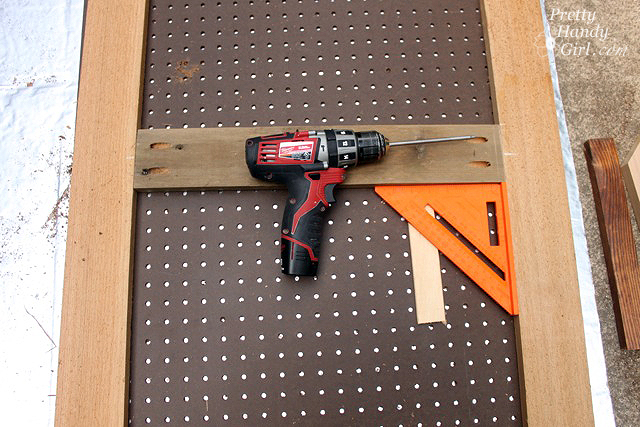
Cut a vertical support piece for inside the center of the frame and attach it with pocket hole joinery.
Cut your reclaimed lumber edges at 45 degree angles. Lay each piece inside the frame and use the speed square to scribe a line where you need to cut.
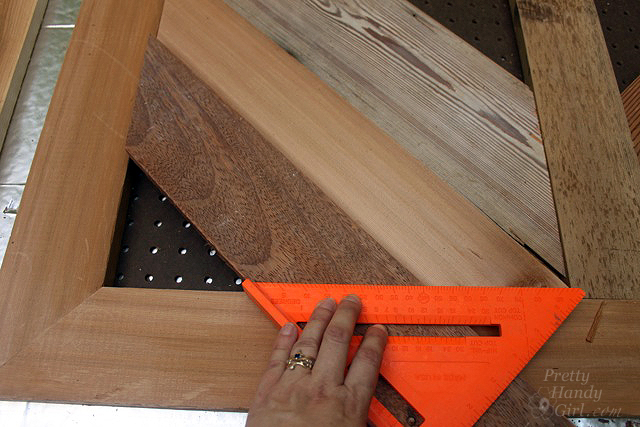
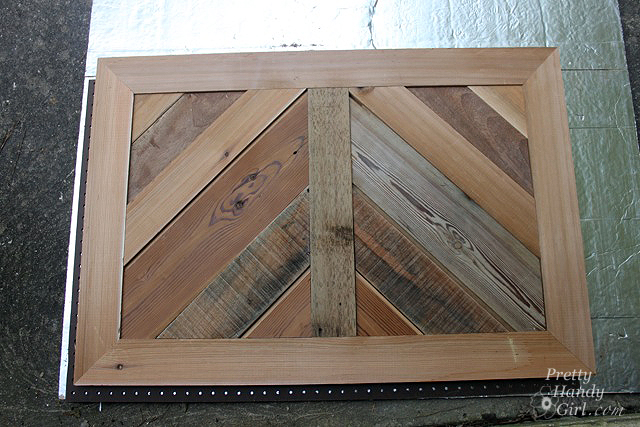
Dry fit each piece and continue until you’ve filled the frame.

When all the pieces are cut, set them in the frame.
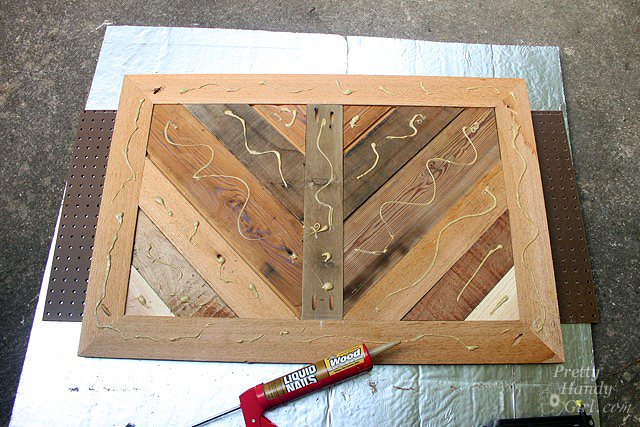
Time to assemble the “sandwich”. Lay something (scrap plywood, pegboard or foam insulation) on top of the reclaimed lumber design and flip it over so the backside is facing up. Use a liberal amount of construction adhesive on the back of the reclaimed lumber frame.
Lay the pegboard onto the reclaimed lumber and press firmly in place.

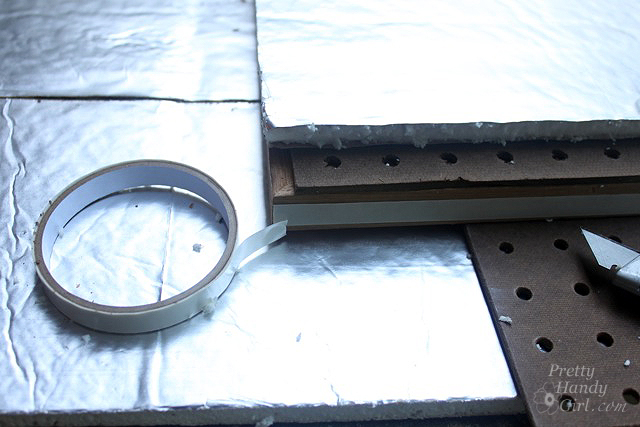
Lay the rubber edge bumper onto the side of the frame/pegboard sandwich and measure the area for the rigid foam insulation. Cut insulation to size. It should be inset on the sides and top to allow room for the bumper (as shown in the photo below.)
Add construction glue to the pegboard. Then lay the rigid foam on top of the pegboard.

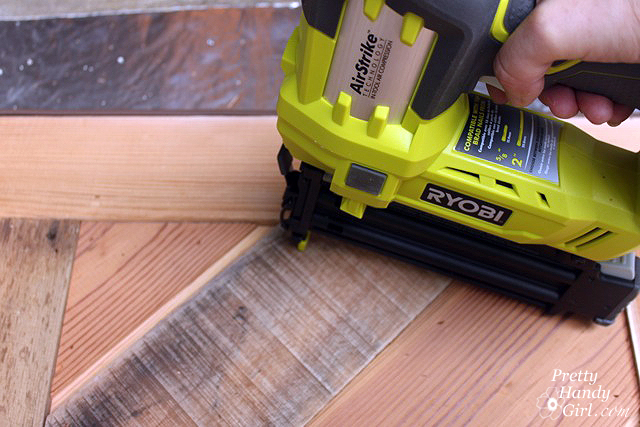
Flip the frame over and double secure the frame to the pegboard with finish nails. Be sure that the air pressure is turned down so the nails don’t pierce through the back of the insulation.
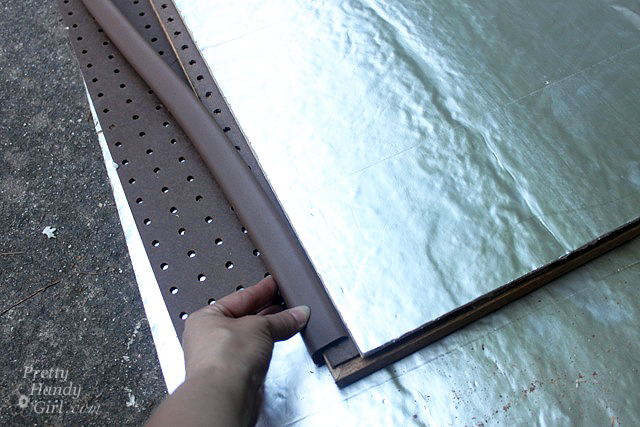
Apply the double-stick tape that came with the bumper to the sides of the frame.
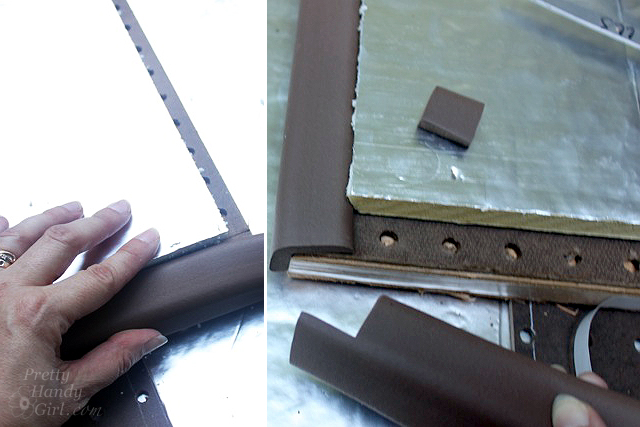
Cut the foam bumper for the first side and press it onto the double-stick tape. Cut the next side and notch out where there are any overlaps.
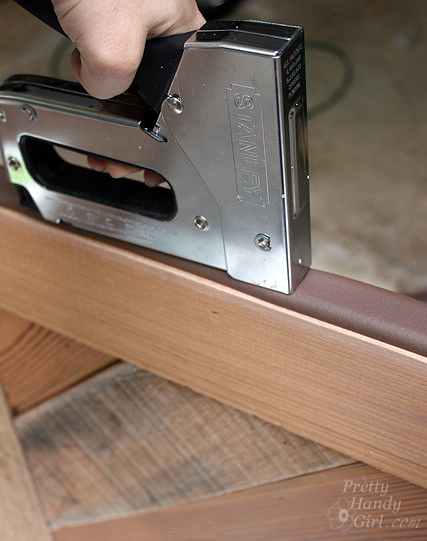
Firmly secure the bumper to the sides of the frame with a staple gun. This is a necessary step because with repeated removal of the insert, the bumper will eventually come off.
Feel free to add a handle or decorative pull to the front of your insert.
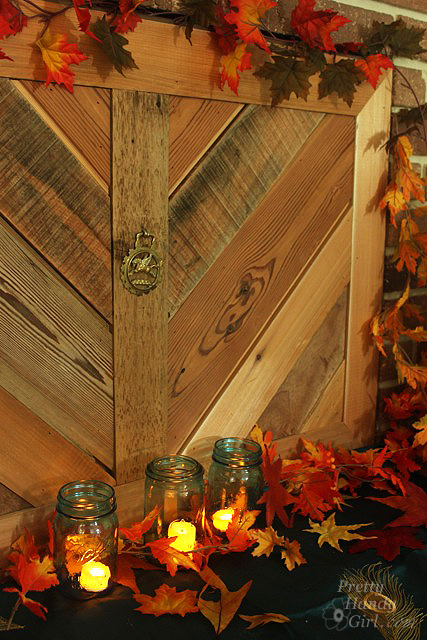
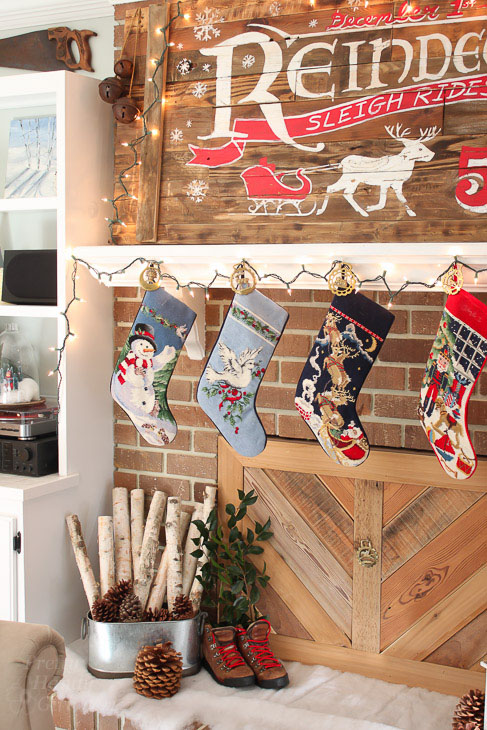
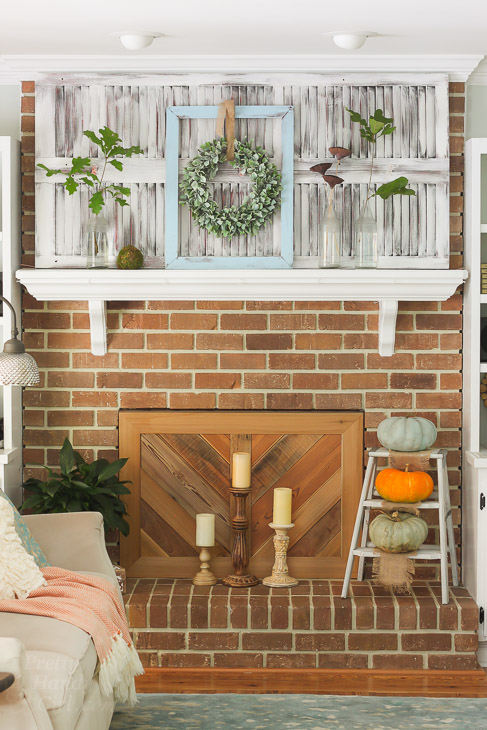
Press the insert into your fireplace and stop the drafts forever!
As a bonus, it also eliminates that big gaping black hole in the living room. And the insert is easily removed to enjoy a warm fire.
This Fireplace Insert Draft Stopper looks good year-round. My only regret is not making it sooner.
 Winter is coming, help a friend stop drafts too by pinning this image!
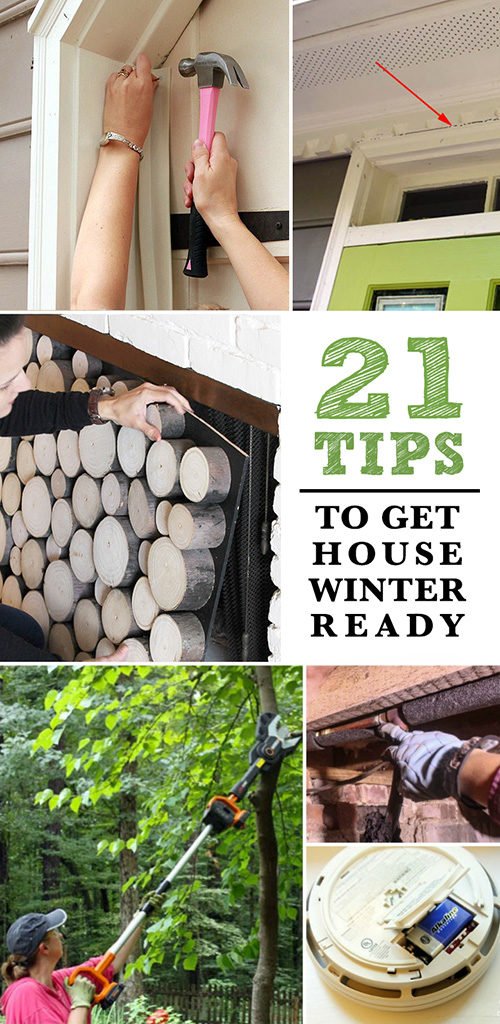
Want more ways to save on energy bills and prepare for winter? Here are 21 Ways to Get Your Home Ready for Winter.