Faux Chippy Painted Metal Pail with Liner

I was strolling through our local Goodwill last week looking for goodies donated by people trying to claim a last-minute tax write-off. I came across a bucket with a $1 price on it and knew I could transform it into a beautiful aged painted pail.
DIY Aged Painted Metal Pail Tutorial

Aged Painted Pail Tutorial

Recently I found myself browsing our local thrift shop looking for a last-minute gift idea for a friend. I spotted a dated pail for only $1 and quickly grabbed it and ran to the register.
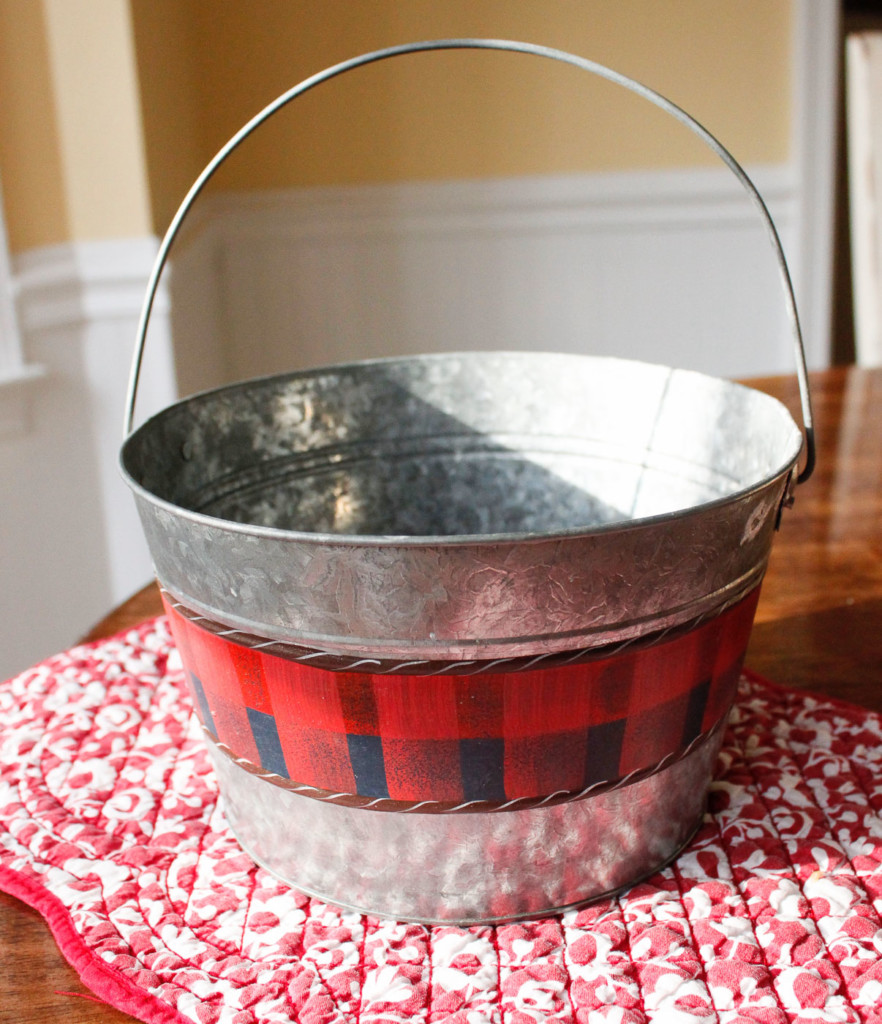
little red buffalo check painted pail

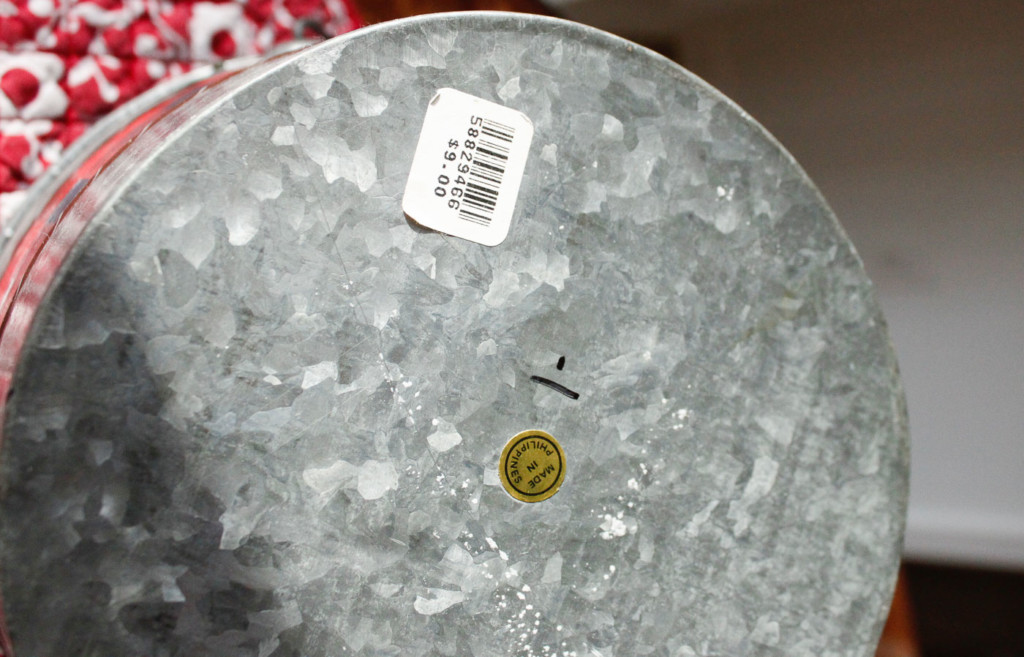
The pail had the original $9 price tag still on it, so I prayed the cashier wouldn’t scrutinize the major markdown to one dollar!

$1 markdown on pail with $9 original sticker

I knew exactly what I wanted to do with it. Miss Mustard Seed’s aged painted pails have been stored in my memory banks since I first saw them in August. (And that is saying a lot, considering I can’t remember what I ate for lunch today!) Marion used crackle medium, but I remember seeing a tutorial for crackle medium using regular Elmer’s glue mixed with a little water instead. Me being the frugal DIYer I am, I decided to give it a go. Are you curious to see if it worked? Me too.

How to Create a Faux Aged Paint Technique on Metal:
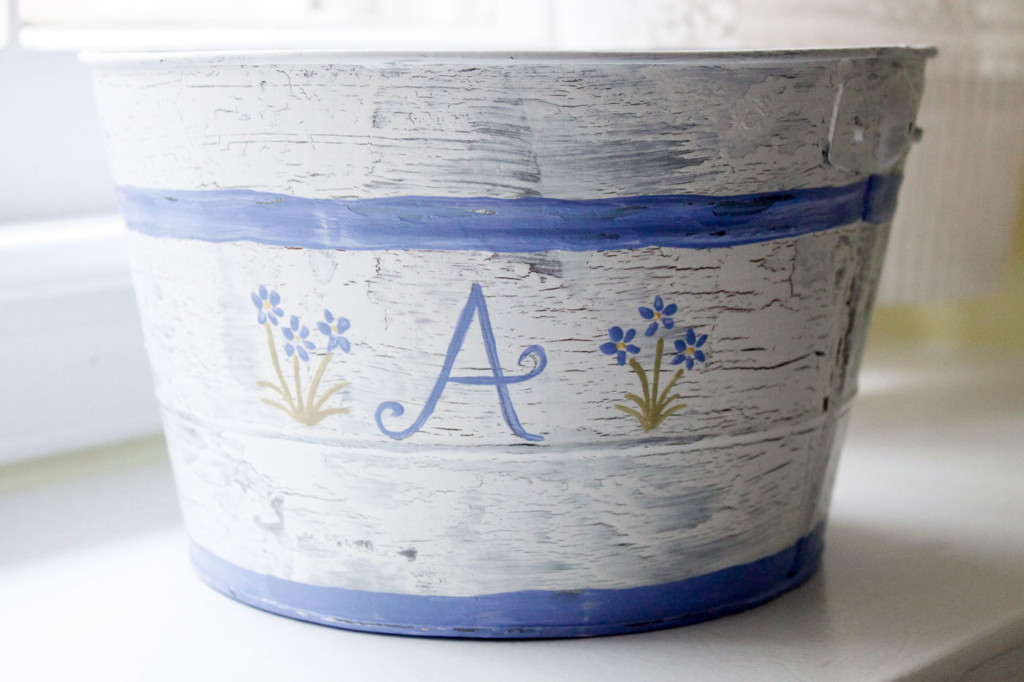
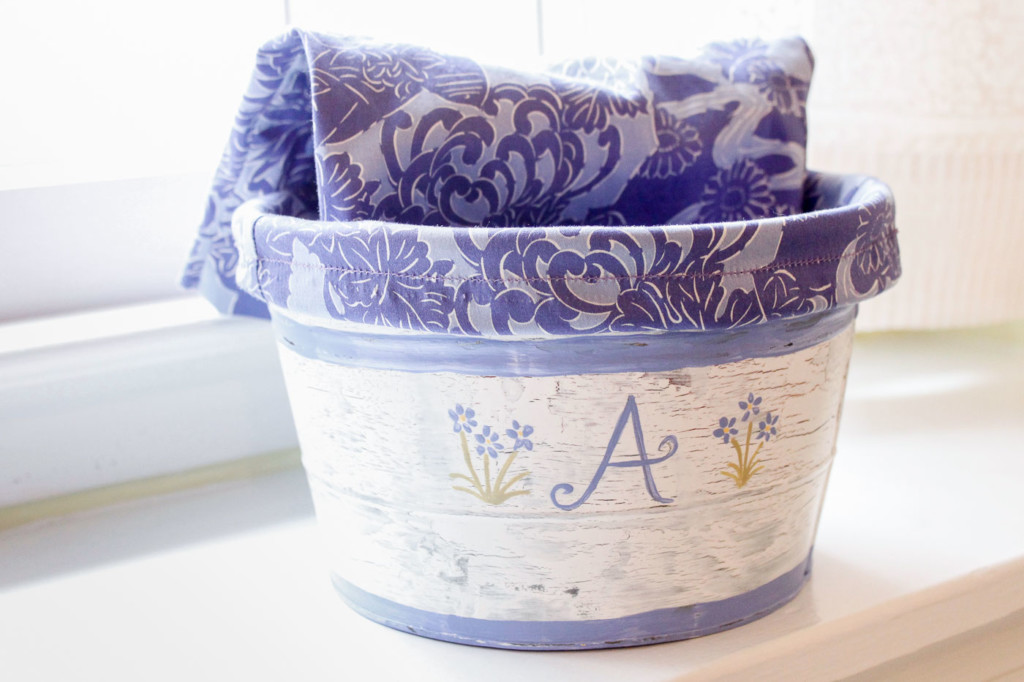
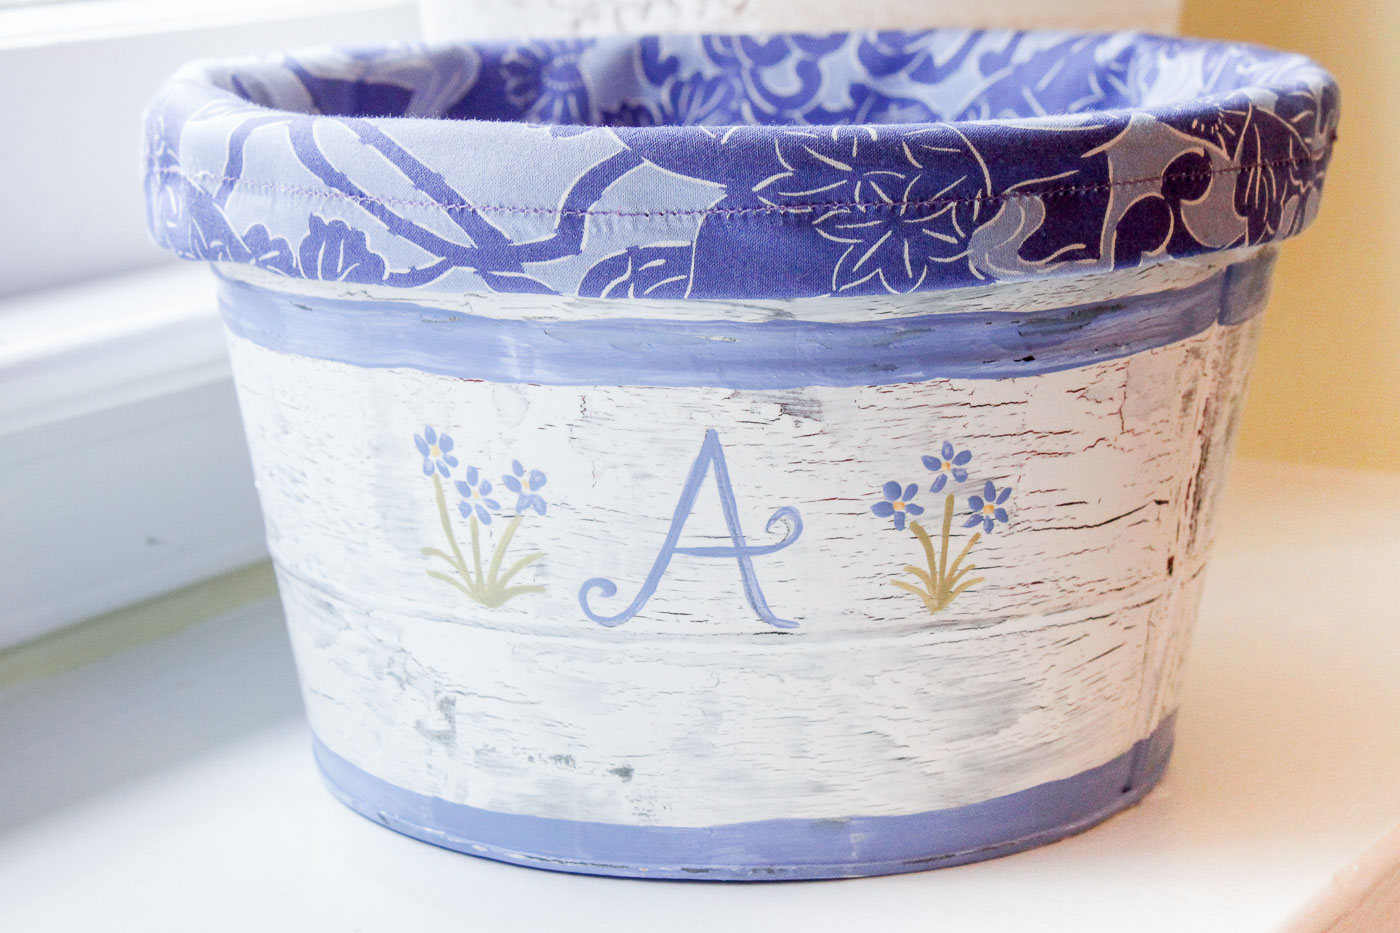
hand painted "A" monogrammed pail

Let’s gather a few supplies and get to work creating a beautiful bin for storage or a gift basket.

Materials:

(I’ve included affiliate links for your convenience. I earn a small percentage from a purchase using these links. There is no additional cost to you. You can read more about affiliate links here.)

Instructions:

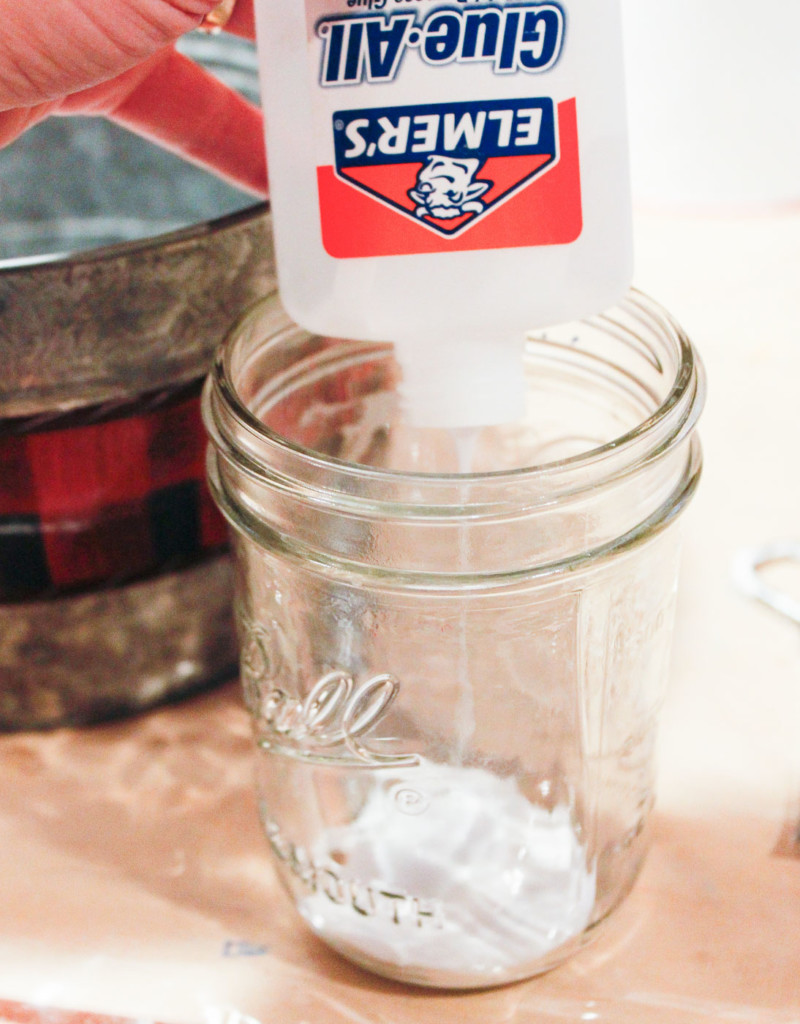
adding elmer's glue to empty jar

I only used enough H20 to water down the glue so it would be easier to paint on.
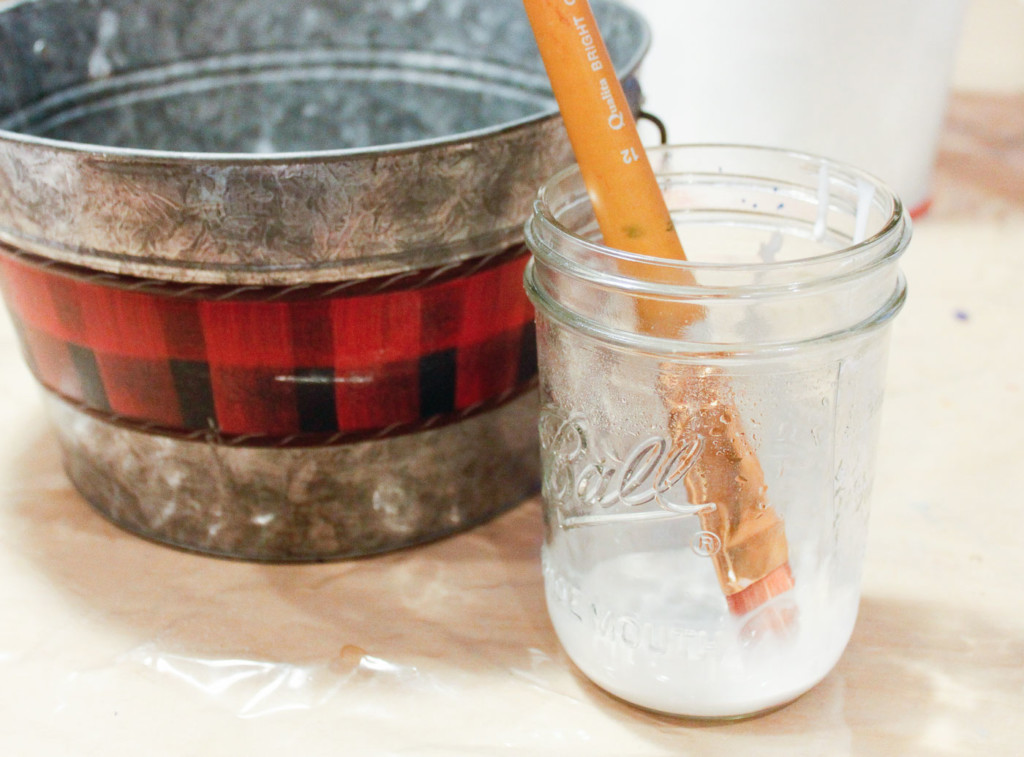
mixing glue with water

I brushed it all over the outside of the pail (bottom too!) And let it dry.
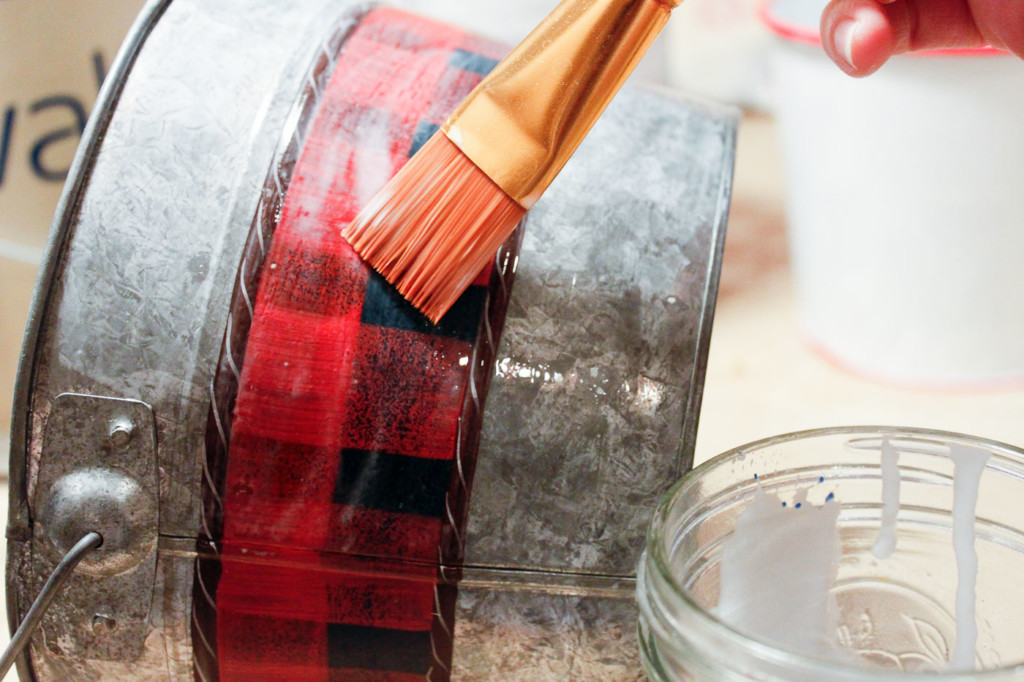
painting watered down glue onto pail

Next I pulled out leftover flat white paint that we use on our ceilings and painted one coat on the pail. I had to work quick, because the paint got gooey quick and you don’t want to keep brushing over the paint when it starts to dry (trust me on this one.)
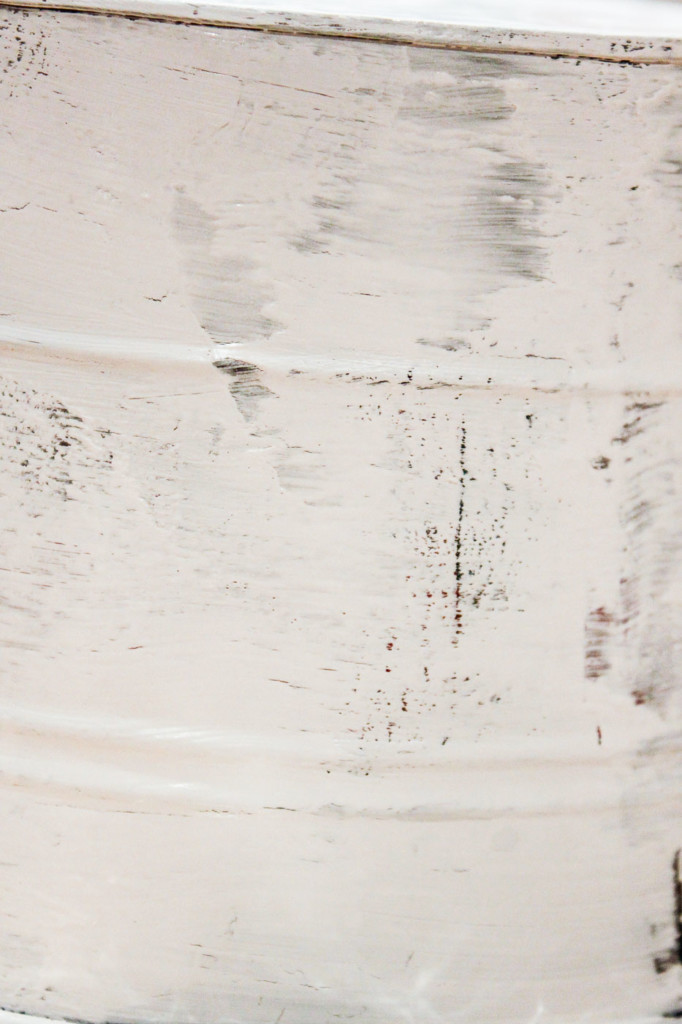
closer up painted chipping pail

After the white paint dried, I took out some acrylic paints and painted some stripes, flowers, and a monogram.

hand painted "A" monogrammed pail

To protect the paint from chipping off, I added a coating of matte mod podge. I have to admit, I’m still amazed a little Elmer’s glue and water worked to create a chippy crackle finish!

Isn’t it cute? Much better than the original.
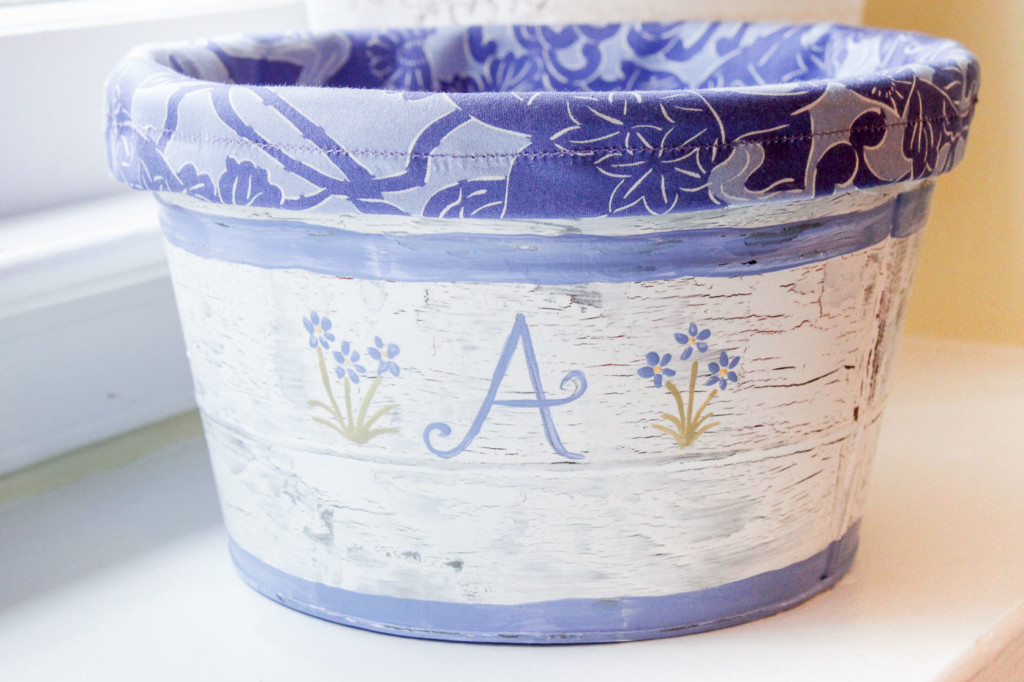
Faux Chippy Painted Metal Pail with Liner
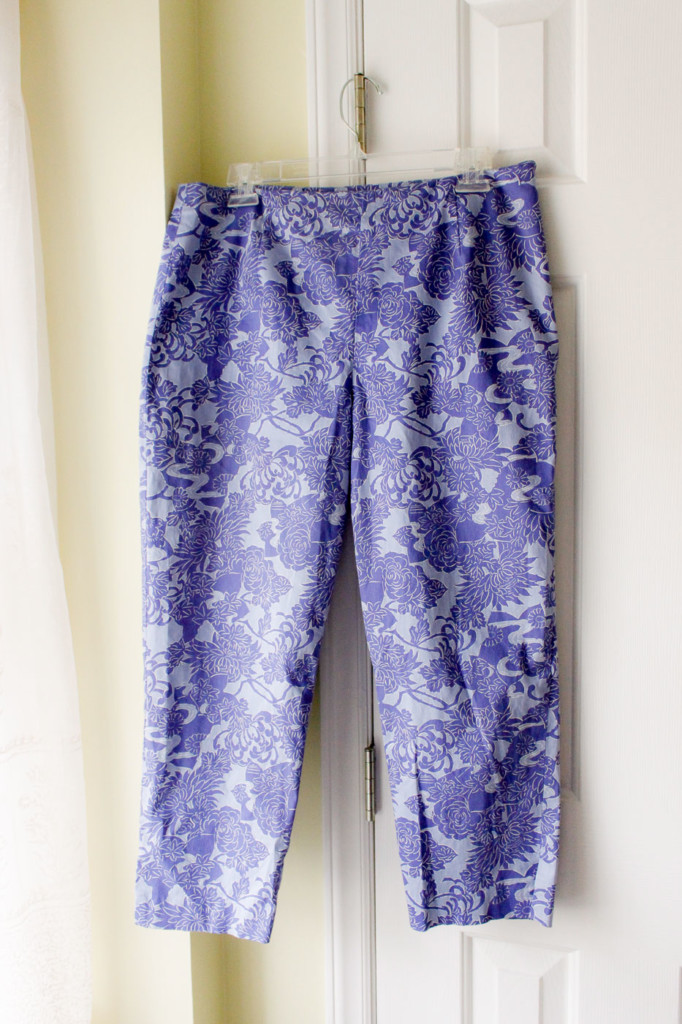
Purple print pants hanging on a hanger.
Can you believe it? That cute liner used to be a pair of second-hand pants.
pants leng hanging out of painted pail
The liner was super easy to make, tutorial HERE.
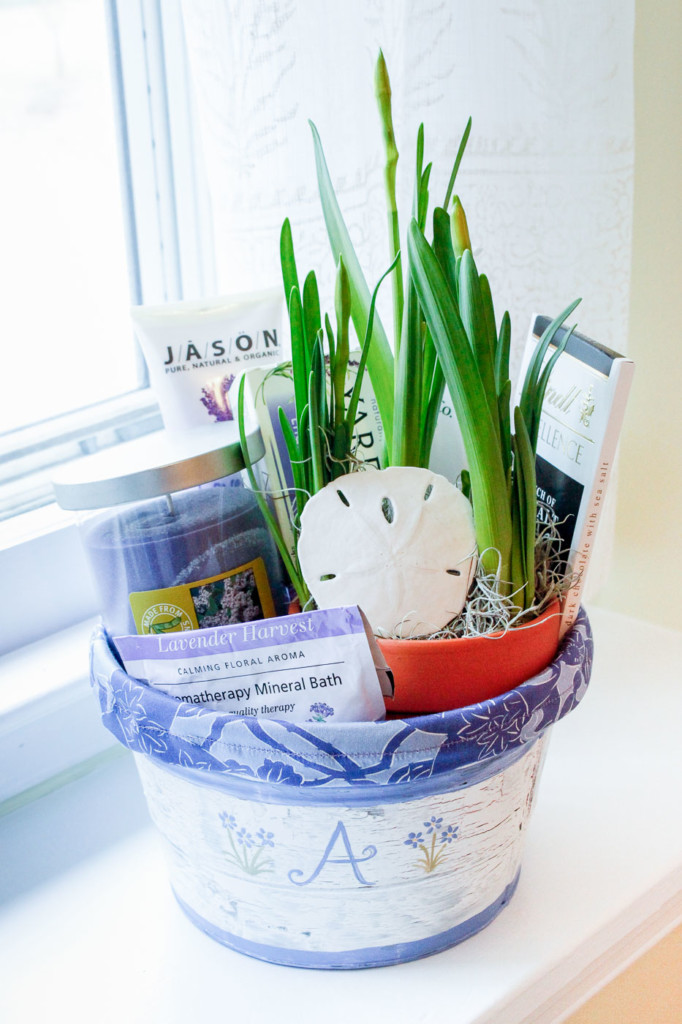
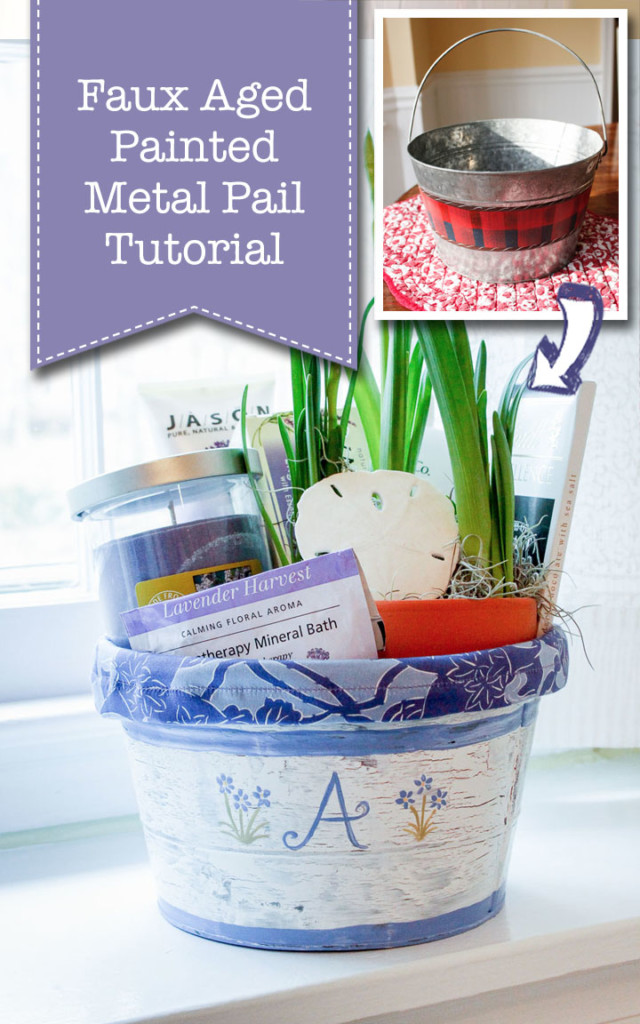
Spa-themed gift bucket on hand-painted chippy pail
This Aged Painted Pail can be filled with anything, but I chose a spa-theme for this gift basket. What would you put in this vintage painted pail?
Want more ideas for gift baskets? Here are 31 Last Minute Gift Basket Ideas!
31 last minute gift basket ideas social media images

When Miss Mustard Seed and I were junkin’ on Black Friday, she asked what I was looking for. I immediately answered rustic, rusty, and anything that looks aged and has a story to tell. I am so wacky like that, I could care less how well something is made or if it is an expensive antique. When I die, my kids are going to be sadly disappointed that all these antiques I’ve collected over the years aren’t worth a dime. C’est la vie, right?

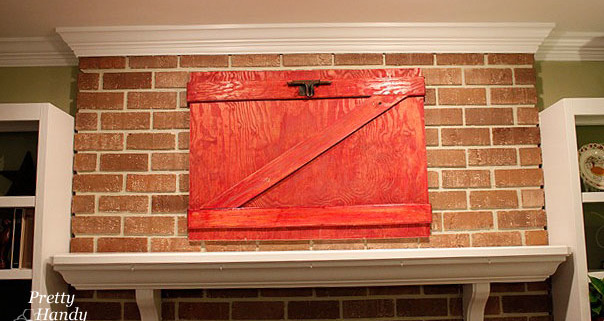
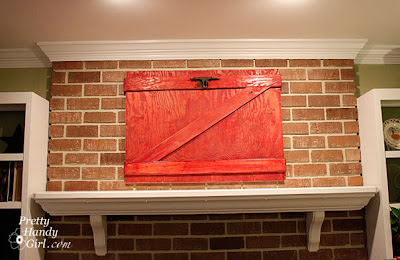
So, this year for our Christmas décor, I decided to create a natural rustic country inspired theme. What better way to invoke that spirit than with an old barn door. The only problem was that I didn’t own one. No problem, I’d just make one!

Materials:
Plywood board – painted or stained red
3 – 1″ x 4″ boards – painted or stained red
Nails or screws
Wood glue
D-ring picture hangers
Picture Wire
optional: Rusty door parts

In my “I can’t throw anything away scrap pile” I took some old plywood scraps that had been stained with red stain.

You will need to measured the space above your mantle, subtract a few inches from the top and bottom, then cut the plywood down to size (using a circular saw or table saw.)

Lay two 1″ x 4″ strips of plywood as cross pieces.

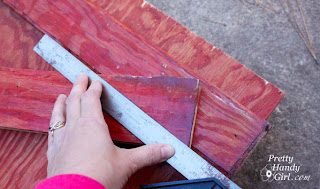
And one 1″ x 4″ piece at an angle. Draw a line where the horizontal pieces intersected with the diagonal piece.

Use a miter saw, circular saw or jig saw* to cut the angled cuts.

Liberally appy glue to the back of the 1″x4″ strips to secure them to the plywood base and then nail some finish nails into the strips to secure them. You can use a pneumatic nailer* if you have one, but screws or regular nails hammered in will work just as well! No need to buy any new tools for this project.

Hopefully you have a nail or hook already installed on your fireplace. Luckily I did, but in the past I have also just leaned artwork against the brick. So, if you choose to lean, ignore the next few steps.

Measure the location of the hook on your mantle. For example, if the hook is 20 inches from the ceiling, and you want your barn door’s top to hang 12 inches from the ceiling, then you will need to install the hooks 9 inches down from the top of the barn door. This will allow an inch for the wire to slack. Get out your D shaped picture hooks and screw them to the back of your barn door using a cordless drill* or just a screw driver and some muscles. Repeat on the opposite side.

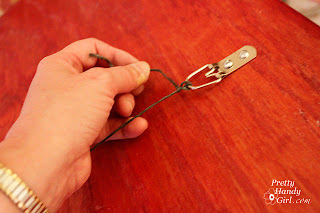
Feed some metal picture wire through one D ring. Twist once…

…then feed the wire back through the D ring and twist the rest of the wire tightly against itself.

Pull the wire taught and repeat on the opposite side.

This is the best way to attach picture wire so it doesn’t slip. If you are hanging something super heavy, you might need to loop the wire back through the D rings a few more times.

If you have some old gate handles, hinges, or latches, attach them to your door. I screwed this old RUSTY gate lock to the top of my barn door. It makes a convenient hanger for…

…my Christmas wreath!
That’s all I’m going to show you of our mantle today.

Did you like this post? Want to be notified when there are more fantastic tutorials by Pretty Handy Girl? Sign up to receive emails in your inbox:

Enter your email address:


Delivered by FeedBurner

Or follow me on Twitter or Facebook so you can be the first to know!