Tips for Creating a Gallery Wall | Pretty Handy Girl

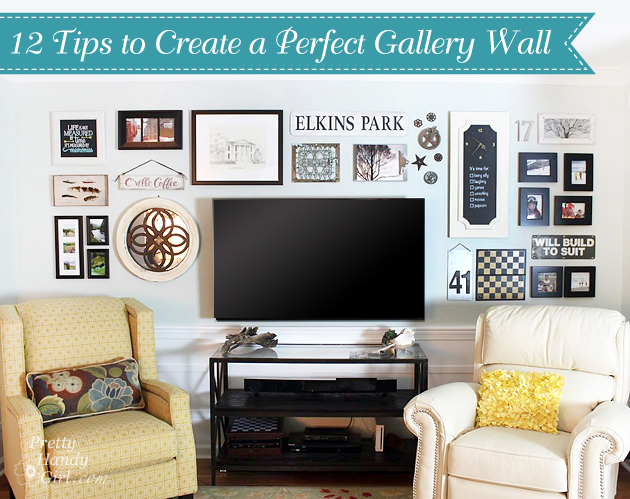
12 Tips to Create the Perfect Gallery Wall | Pretty Handy Girl

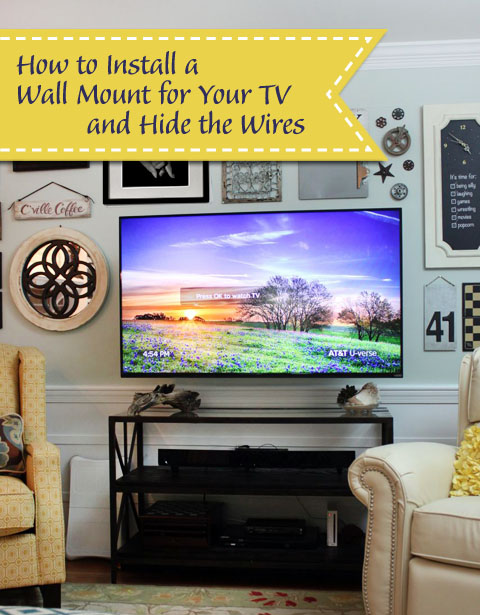
When you Don’t Love It, a room in your home can become a place to avoid. Last week I hung our TV on the wall in our living room, but was cringing because that big fat TV was screaming “Look at me! Look at me!” It was killing the cozy vibe I wanted to create in our room. This is the place that my family likes to chillax. It’s the room where wrestling matches happen and the room where we curl up by the fire. We watch movies and sports in this spot.  But, frankly, I didn’t love it. When I looked in the living room all I could see was a giant black elephant in the room.

Tips for Creating a Gallery Wall | Pretty Handy Girl

I agreed to let Pretty Handsome Guy pick out a big flat screen TV. But, I secretly devised a plan to keep me happy and let Handsome Guy have his big honkin’ TV.

Tips for Creating a Gallery Wall | Pretty Handy Girl

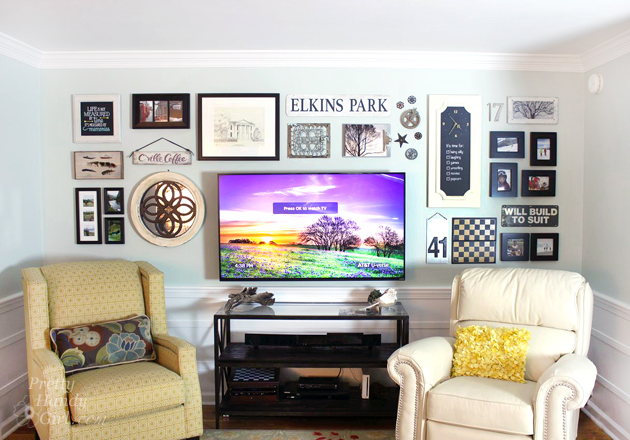
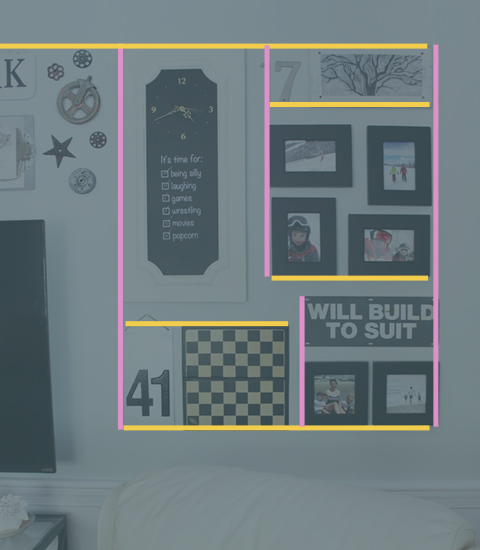
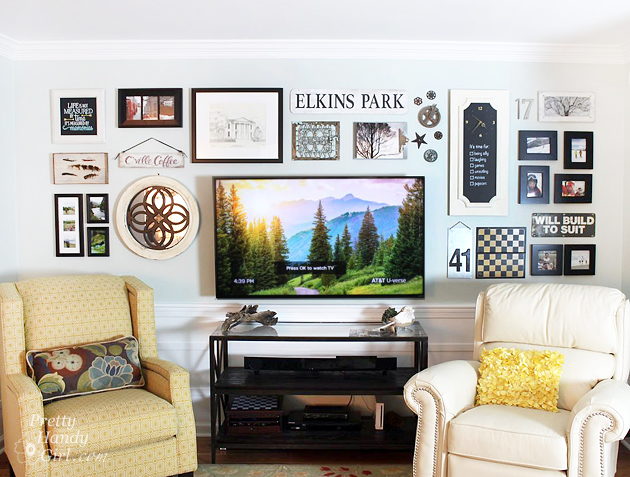
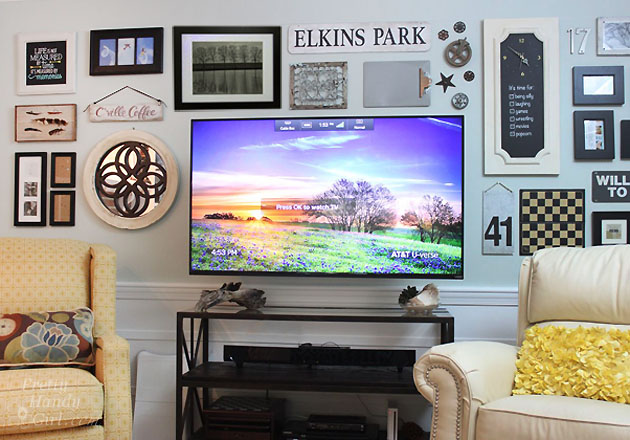
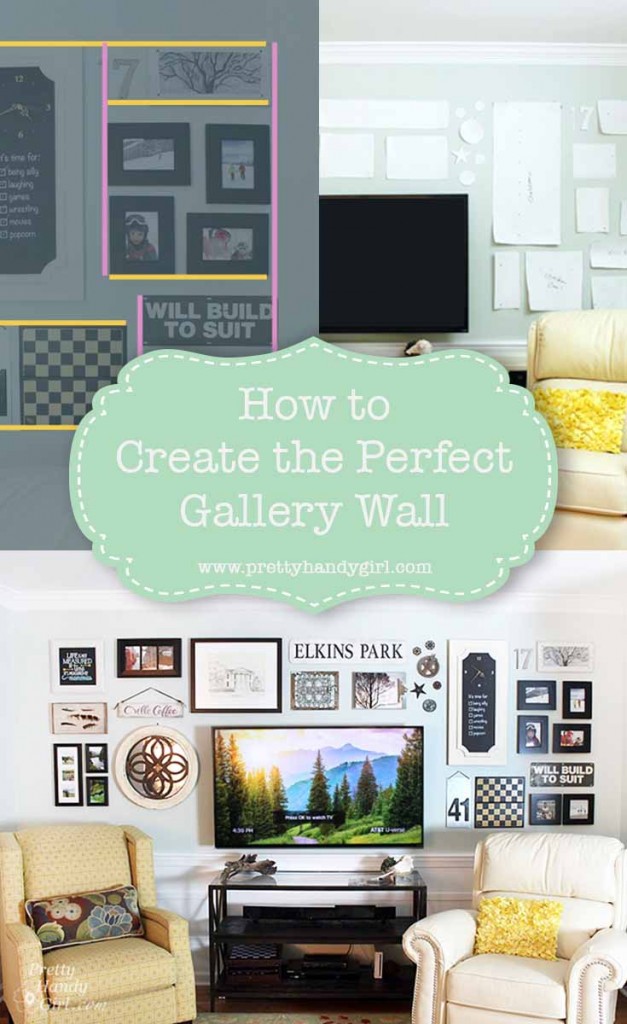
And I Created a Perfect Gallery Wall around the TV to de-emphasize its size and dominance in the room.

15 Tips for Creating the Perfect Gallery Wall:

#1 Start with a Level Line

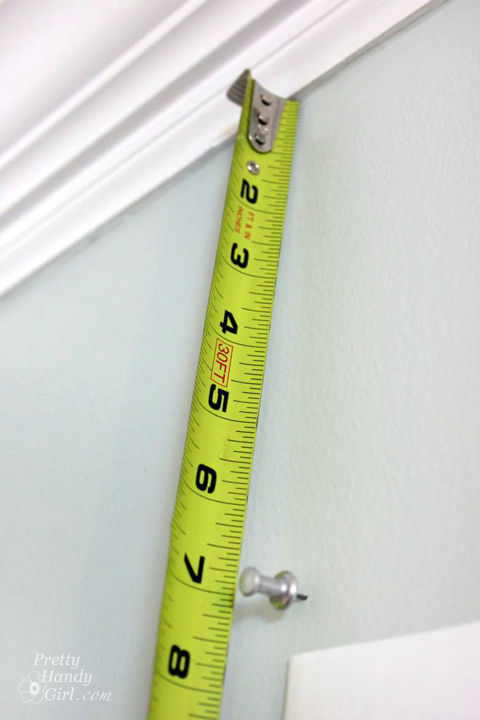
Determine the area you want to install your gallery wall. Measure down from your crown molding or ceiling to the top of the gallery area.

Tips for Creating a Gallery Wall | Pretty Handy Girl

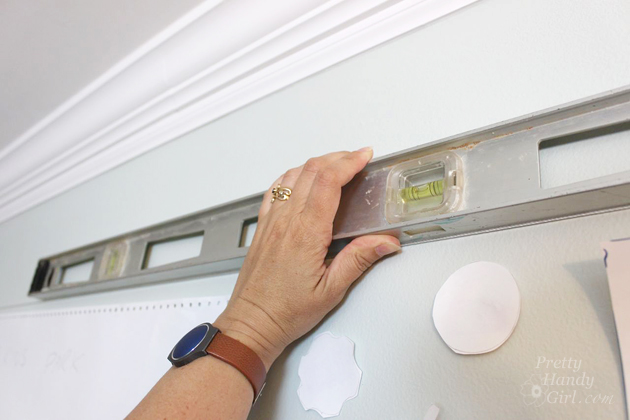
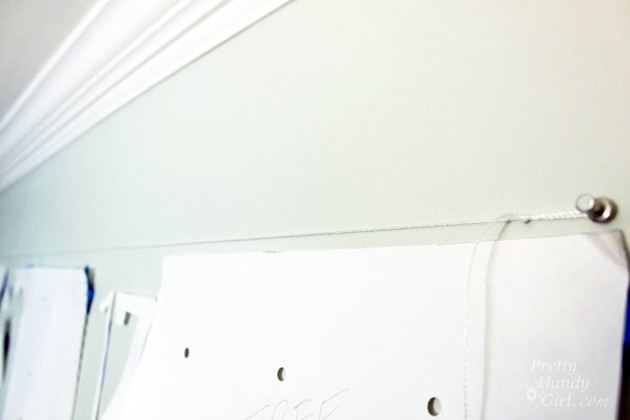
Insert a thumbtack or pin at that height. Run a piece of string from the thumbtack along the width of your gallery wall space. (It helps to have a friend hold the free end of the string, but you can use a piece of painter’s tape to hold it temporarily.)

Level the string and secure the opposite end with a thumbtack.

Tips for Creating a Gallery Wall | Pretty Handy Girl

Tips for Creating a Gallery Wall | Pretty Handy Girl

#2 Create Paper Templates

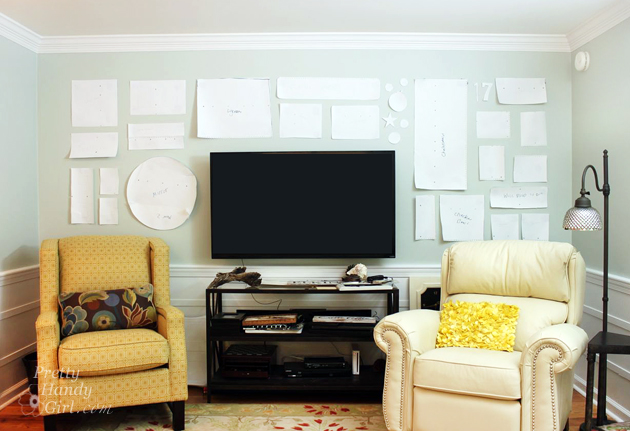
Pull together all your frames and art. Create a paper template for each object. (Craft paper, butcher block paper or old dot matrix printer paper works perfect for this task.)

Tips for Creating a Gallery Wall | Pretty Handy Girl

Use painter’s tape to secure the templates to the wall. Step back and look at the wall from across the room. Take a picture of the wall with your mobile device and look at the picture to see if you see any issues. Or face away from the wall and look at it in the mirror to look at the arrangement from another angle. Play with the templates until you Love It! I will be honest with you, this process takes a while. In the long run, you’ll love your gallery wall if you live with the arrangement for a few days before the final installation.

Tips for Creating a Gallery Wall | Pretty Handy Girl

#3 Pick a Color Palette

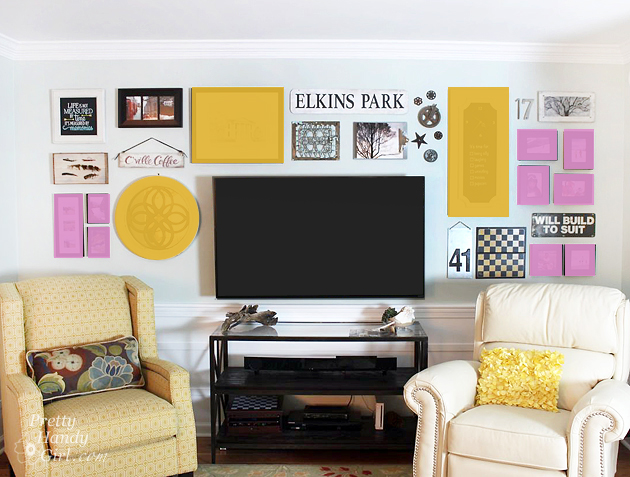
Choosing a color palette of 2-3 colors will help you create a cohesive look and make it easy to create a visually pleasing gallery wall. The easiest palette to work with is black and white, because you can use black, white and a variety of grays.

Tips for Creating a Gallery Wall | Pretty Handy Girl

You can also add a bold color to the mix and know that everything works with black and white!

Tips for Creating a Gallery Wall | Pretty Handy Girl

#4 Use a Variety of Shapes and Sizes

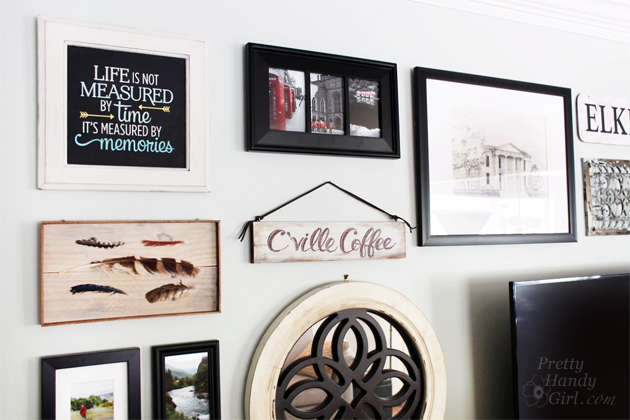
For more visual interest, use a variety of shapes and sizes. Gallery walls that use the same frame for the entire collection can look stunning and orderly. But, for a more organic and eclectic gallery wall, feel free to play with many shapes and sizes. Your color palette of 2-3 colors will keep it looking unified.

Tips for Creating a Gallery Wall | Pretty Handy Girl

#5 Balance Larger and Smaller Objects

When working with several shapes and sizes, it’s important to balance your arrangement. Space larger items away from each other and preferably on opposite sides. Pay attention to collections of smaller objects as well. Your wall would look unbalanced if all the large objects were on one side and all the small art on the other.

Tips for Creating a Gallery Wall | Pretty Handy Girl

While spacing the object templates, use the trick in #2 by taking a photo or using a mirror while playing with placement.

#6 Use Consistent Spacing and Align Edges

Use consistent spacing between your art. Smaller collections can visually work as one large object if you space them closer together. But, use a larger space outside the collection that equal to the rest. Try to align horizontal or vertical edges with adjacent art. They don’t have to be hung in a uniform grid, but creating a shared horizontal or vertical line can help create a pleasing installation.

Tips for Creating a Gallery Wall | Pretty Handy Girl

#7 Group Like Objects

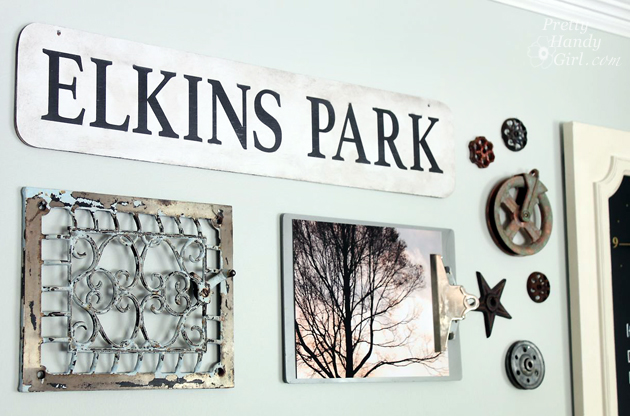
As mentioned in #6, you can group smaller objects together to fill a larger space. Use objects of the same color, material or shape together as a collection.

Tips for Creating a Gallery Wall | Pretty Handy Girl

#8 Mix Textures

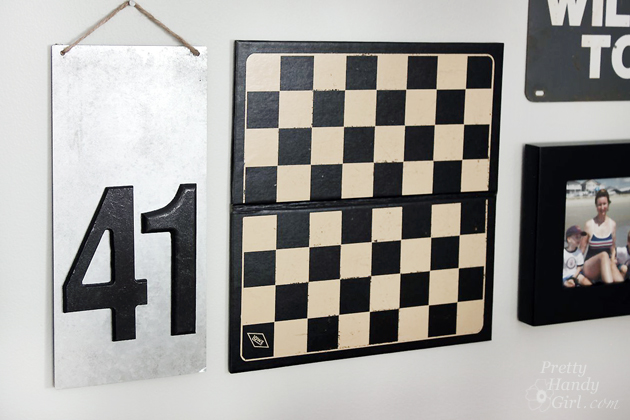
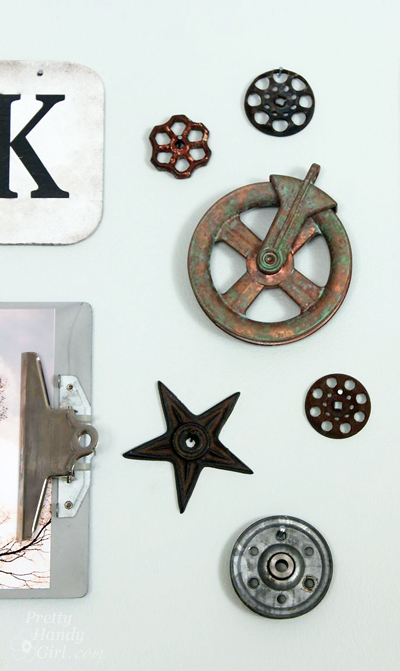
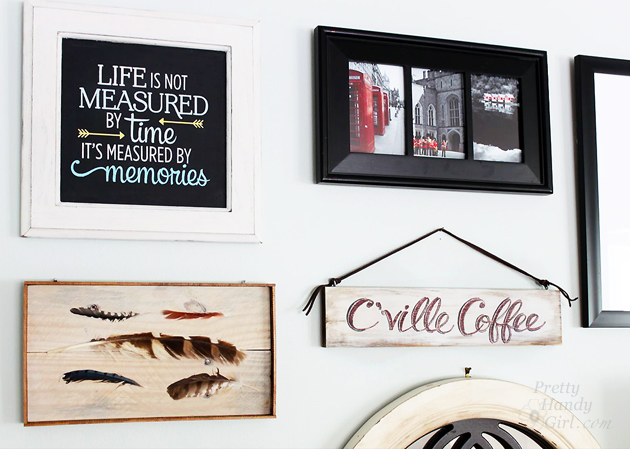
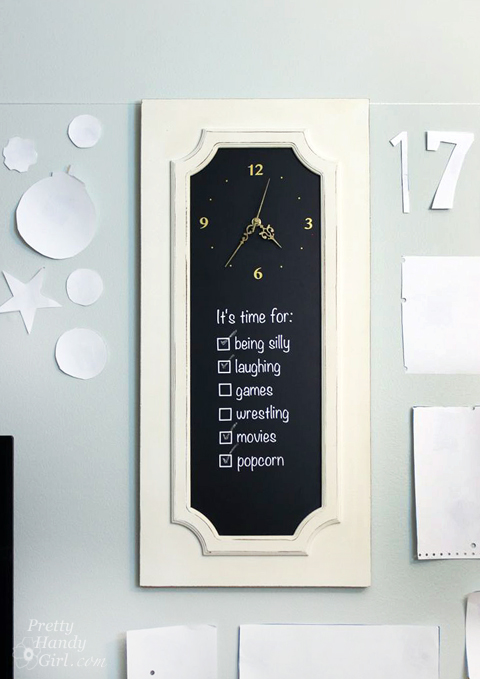
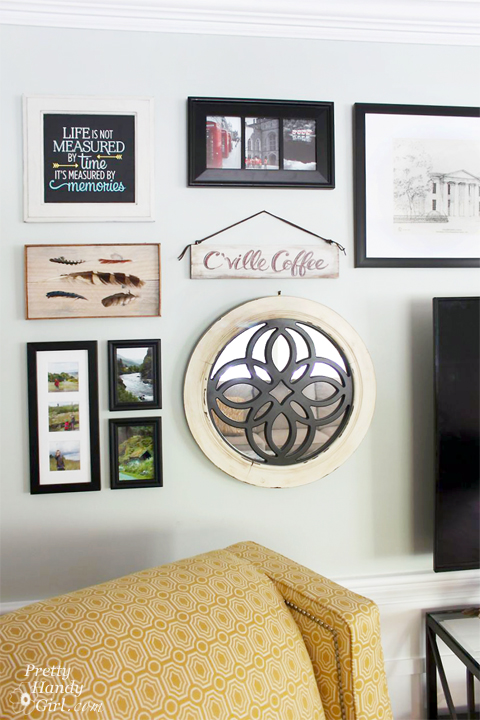
For lots of visual interest, introduce several different materials and textures into your gallery wall. Break up black frames with wooden art, metal signs and even natural elements like feathers, branches, found objects, etc. The sky wall is the limit (ha, ha). Have fun using your imagination.

Tips for Creating a Gallery Wall | Pretty Handy Girl

#9 Use Good Wall Anchors, Hangers, and Bumpers

While hanging artwork, be sure to use picture hangers or anchors strong enough to hold your artwork. It’s so important to use a hanging hook or anchor that is designed to hold more than your art weighs. Watch the video on “Testing Drywall Anchors” to see why this is so important:

video-screen-shot-buildcom

Way to go Build.com for performing this test!

#10 Mark Hanging Hardware on Templates

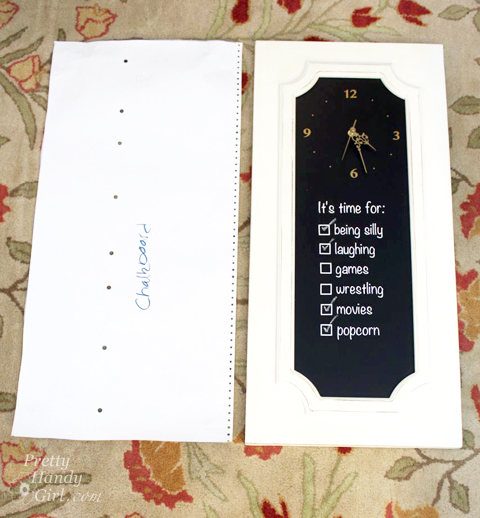
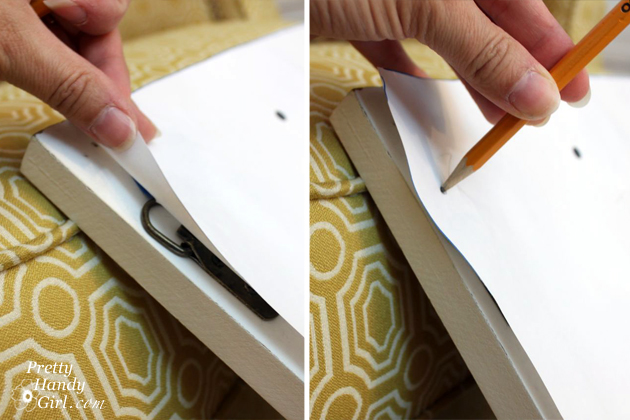
This trick will save you time and save your walls from turning into swiss cheese! Set your template on the back of your art (the back side should be up) and poke a hole with a pencil where the hanging hooks, holes or wires are. Hang your template back on the wall.

Tips for Creating a Gallery Wall | Pretty Handy Girl

#11 Hanging Your Art Perfectly

Ready to hang your art perfectly the first time? Grab your picture hanging hardware, nails and a hammer.

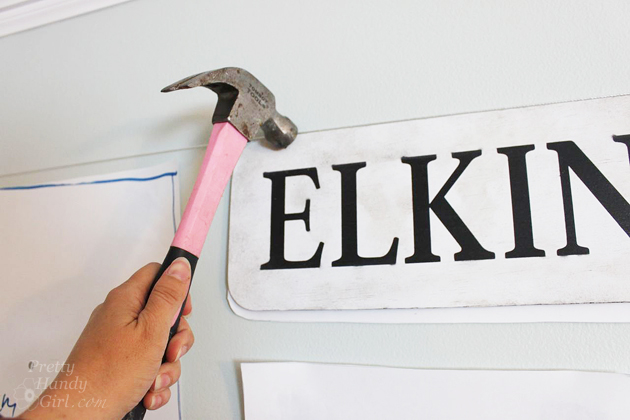
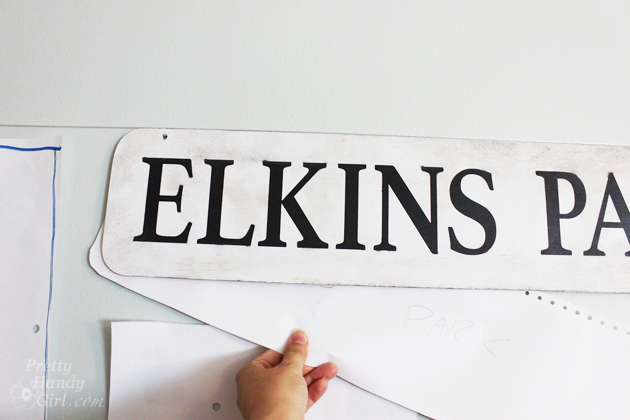
Make sure that each template is level. For art that has visible holes, line up the art on top of the template. Hammer the nail or hook through the hole.

Tips for Creating a Gallery Wall | Pretty Handy Girl

Then simply pull and rip the template off the wall from beneath the art.

Tips for Creating a Gallery Wall | Pretty Handy Girl

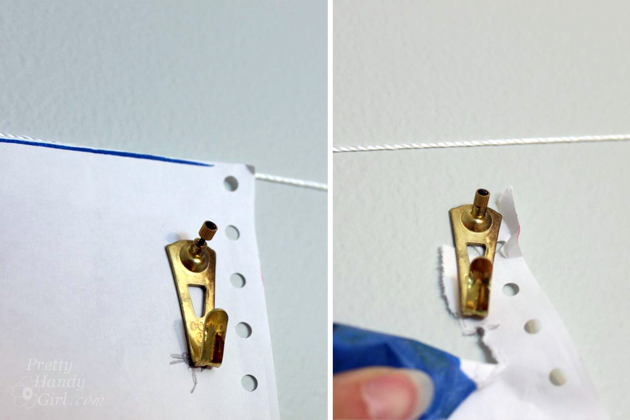
For hanging hardware that is hidden. Hammer your picture hardware through the template lining up the hook or nail with the hole you poked through in tip #10.

Tips for Creating a Gallery Wall | Pretty Handy Girl

Tear the template off after you have your hangers installed. Hang your art on the hooks perfectly the first time!

Tips for Creating a Gallery Wall | Pretty Handy Girl

#12 Make it Personal

Make your gallery wall a reflection of you! Use vacation photos, messages and art that has meaning to you and your family.

Tips for Creating a Gallery Wall | Pretty Handy Girl

I smile every time I walk into our living room. It is filled with memories and art that makes me happy.

Tips for Creating a Gallery Wall | Pretty Handy Girl

PHGFancySign

Disclosure: Thank you to Build.com for sponsoring today’s post and inspiring me to discover my #LoveItMoment 

Pin for later!
Installing a Wall Mount Flat Screen TV + Hiding Cords | PrettyHandyGirl

Installing a Wall Mount Flat Screen TV + Hiding Cords | PrettyHandyGirl

Do you have a flat screen TV? Do you have children? Wish you could mount your TV on the wall for space and safety? Or have you already mounted your TV, but the wires are visible and hang below your screen? GASP—not the dreaded visible wires syndrome!

Installing a Wall Mount Flat Screen TV + Hiding Cords | PrettyHandyGirl

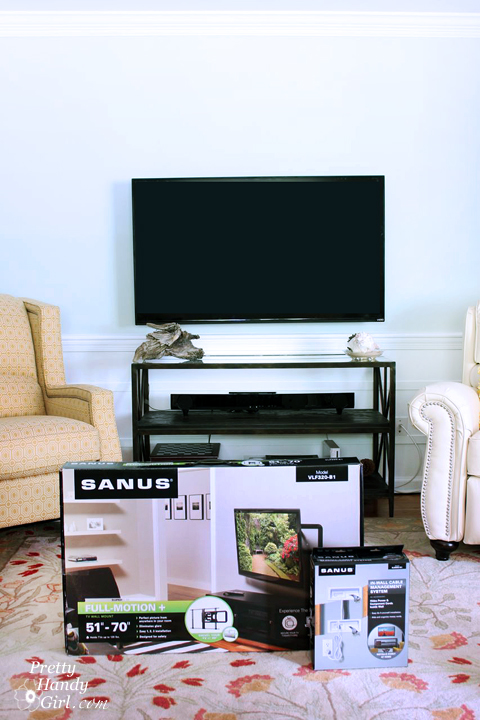
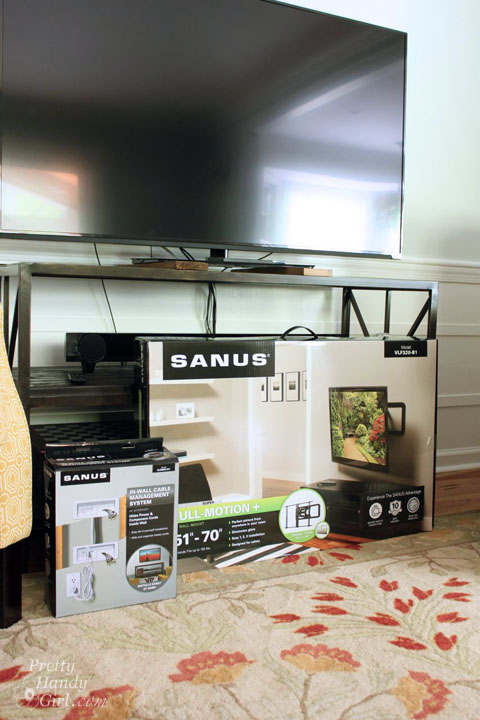
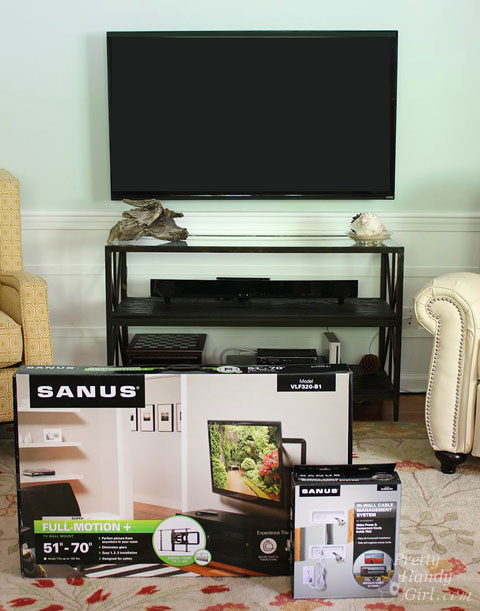
Today I have a tutorial to show you How to Install a Wall Mount for your TV AND How to Hide those Unsightly Wires in a cable management system. SANUS sent me their Full-Motion TV Wall Mount and In-Wall Cable Management to use for this tutorial. Before you start thinking that you can’t do this, or that you have to hire an electrician to run power behind the TV, you don’t! And this is a very easy DIY project! The SANUS In-Wall Cable Management System is the coolest product. It allows you to hook up to an existing outlet elsewhere (within 60″ horizontally from your TV)! (Per FTC regulations, you should know that this is a sponsored post for SANUS, but I approached them after researching TV mounts and cable management systems. )

Genevieve Gorder has some good information about why you want to use a SANUS mount in this short video:

Why did I want to use the SANUS mount? Here’s just a few reasons:

Installing a Wall Mount Flat Screen TV + Hiding Cords | PrettyHandyGirl

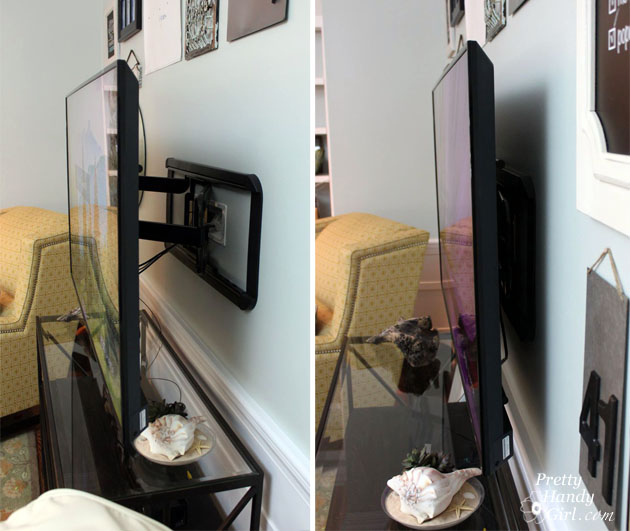
You can pull your screen out from the wall or press it back to just a few inches away. (The arms extend a full 20″. Further than shown, because our cables are too short to fully extend.)

The power cord plugs into an ultra low profile in wall cable system. All wires are hidden behind the TV.

Installing a Wall Mount Flat Screen TV + Hiding Cords | PrettyHandyGirl

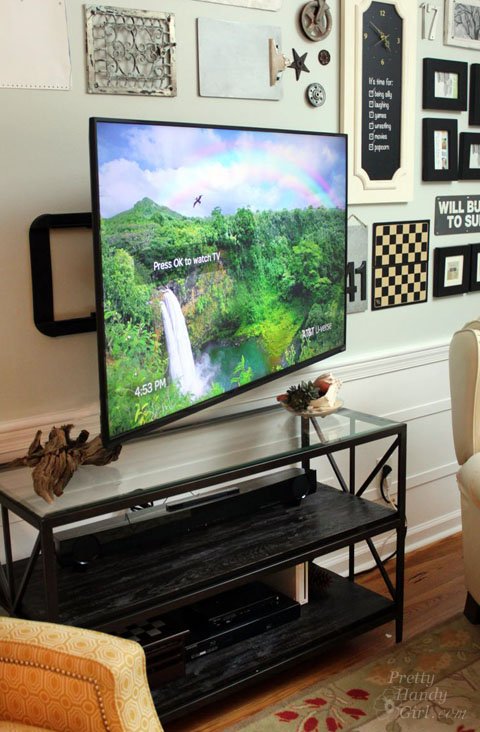
The TV can also extend and swivel from left to right. This allows us to be able to watch TV from the adjacent room! Which means the kids can eat pizza AND watch a movie because they can safely sit at the kitchen table and view the movie in the living room. Score one for Mom!  No more pizza stains on the rug or sofa.

Installing a Wall Mount Flat Screen TV + Hiding Cords | PrettyHandyGirl

Ready to learn how you can easily mount your flat-screen TV on the wall AND hide the wires? Let’s get to it! Read more

Lowe's Spring Makeover Reveal | Pretty Handy Girl

Lowe's Spring Makeover Reveal | Pretty Handy Girl

**This project and post has been sponsored by Lowe’s Home Improvement. They are a company that works hard to give back to the community. I am honored to have been given the opportunity to make a difference in one family’s life. Thank you, Lowe’s!**

You guys, there is one thing I love more than a beautiful makeover. That one thing is giving a beautiful makeover to a deserving family. Elizabeth and Jörg moved to this home in September. They had no family nearby and didn’t know a lot of people in the area. And then one of the harshest winters on record hit. For this family, the winter brought more than cold and snow. They also dealt with their youngest being hospitalized and a miscarriage.  Elizabeth’s sister, Sarah applied to give Elizabeth and Jörg a landscape makeover. As the oldest of three girls, I know how awful it feels when one of my sisters is hurting. And I know I’d do anything to help them.

That’s why it felt so good to give up four days (two travel and two work days) to give this young family a beautiful makeover.

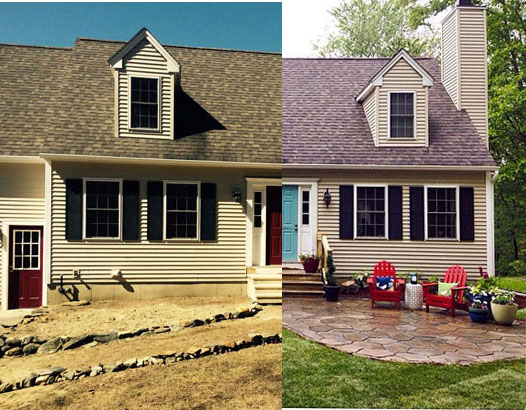
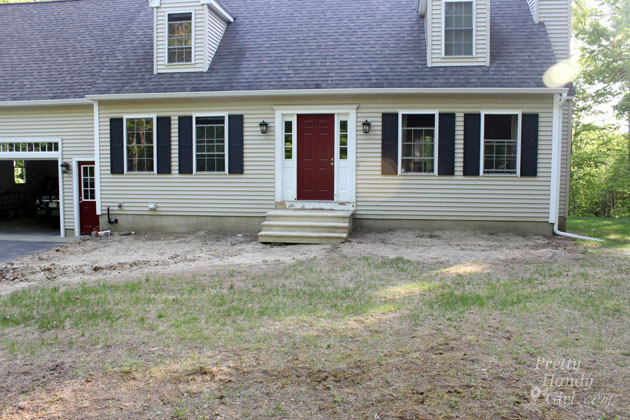
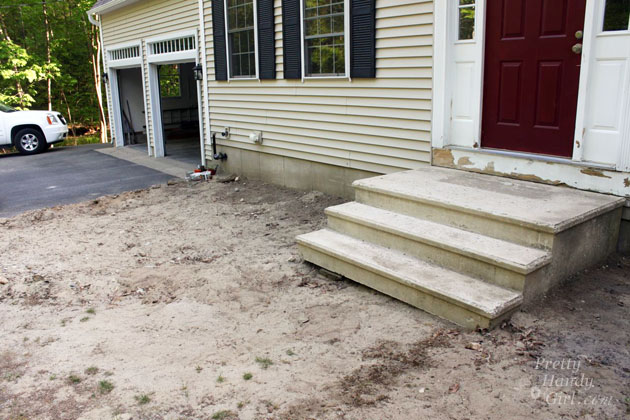
If you remember, this is what the home looked like the morning we arrived. No landscaping.

front-yard-before

No pathway. No railings. No plants.

barren-landscape-bed-before

No grass or defined play space. In one respect, we had a clean slate, but it left us with a lot to do!

swing-set-before

And, I couldn’t have done it without all these heroes!

volunteers

After two days of non-stop working, we kicked the homeowners out of the yard, sent them inside and told them they couldn’t look at their yard for the last few hours of the makeover. When they came out, their reaction was priceless: Read more

Dragonfly Garden Decor using a Dollar Store Whisk and Skewer | Pretty Handy Girl

Dragonfly Garden Decor using a Dollar Store Whisk and Skewer | Pretty Handy Girl

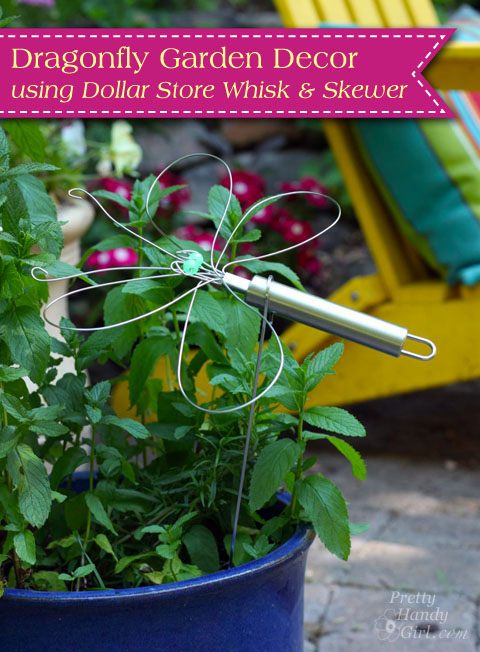
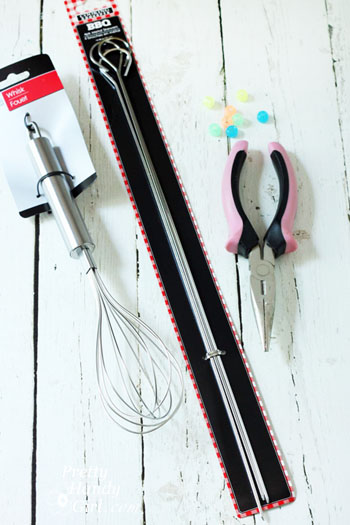
Summertime is coming and I’m enjoying spending more time in our garden. I’m always looking for cute craft ideas that I can do with the kids while school is out. When I saw this great idea for making a wire whisk dragonfly on Morena’s Corner, I knew I had to try it. I altered Morena’s plans slightly using plastic beads and used a skewer for the plant stake. The cost and materials are minimal to make this Dragonfly Garden Decor using a Dollar Store Wire Whisk and Skewer. This craft can be done with the kids, but you’ll need to be the one to cut and bend the wires and watch out for the pokey edges with real little kids.

Dragonfly Garden Decor Materials:

Dragonfly Garden Decor using a Dollar Store Whisk and Skewer | Pretty Handy Girl

  • Wire whisk
  • Wire skewer
  • Beads
  • Needle-nosed pliers

Dragonfly Garden Decor Instructions:

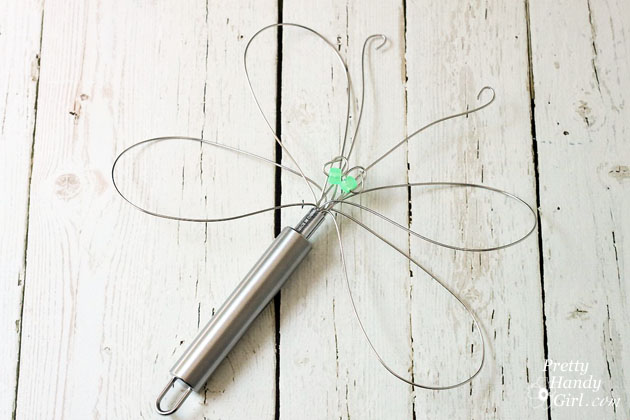
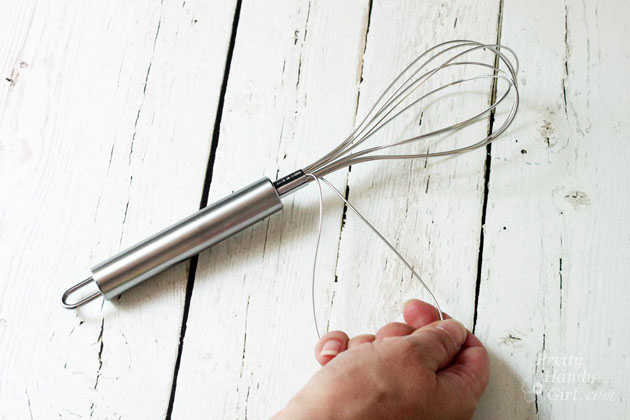
Begin by bending the first wire loop out to the side to create a wing.

Dragonfly Garden Decor using a Dollar Store Whisk and Skewer | Pretty Handy Girl

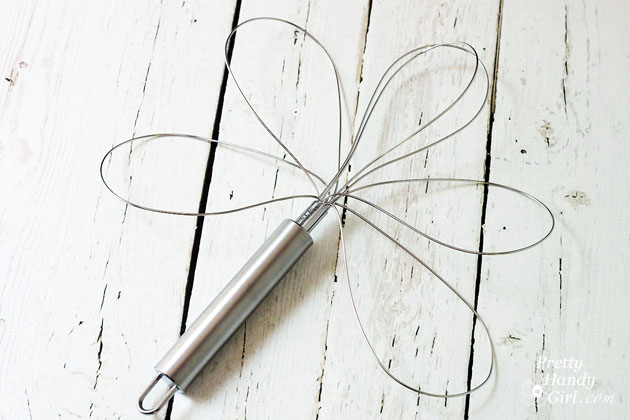
Repeat with three more loops (2 on each side).

Dragonfly Garden Decor using a Dollar Store Whisk and Skewer | Pretty Handy Girl

Use the needle-nosed pliers to cut one wire loop into two short pieces as shown below. (You might need to twist the pliers back and forth to cut the wires.) Read more

how to build a wood ammo box

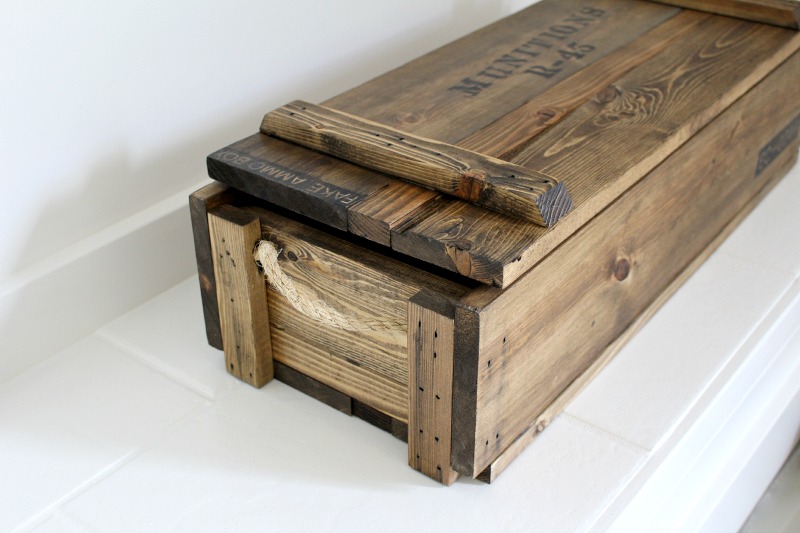
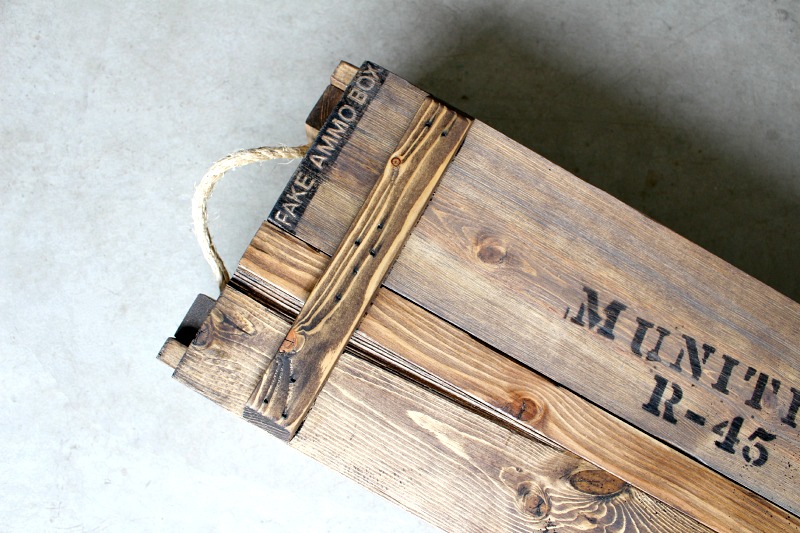
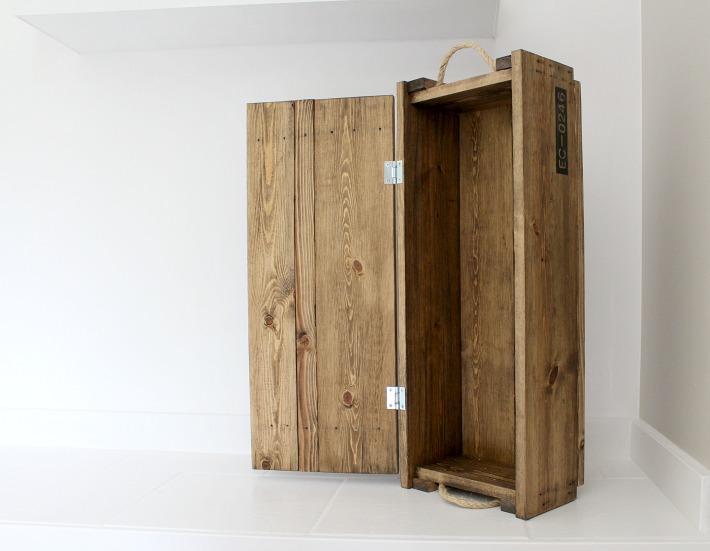
I’m super excited to have Pauline from My Altered State joining us today! It’s been a while since we’ve had a guest on Pretty Handy Girl, and this guest was certainly worth the wait! She’s joining us today to show you How to Build a DIY Decorative Ammo Box! This gorgeous crate may be for decorative purposes, but Pauline studied the construction of real ammo boxes to build it the same way the real ones are built. She’s amazing, and I know you’ll understand why in a minute.

I met Pauline at Haven last year, but I’ve been a fan of her blog way before we met. She is an avid upcycler and loves to use salvage materials in her projects.

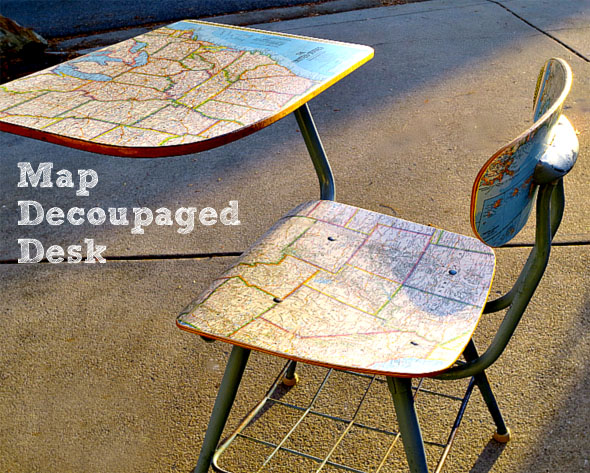
She has so many fabulous projects, I had a hard time picking a few to show you. Like this fabulous Map Decoupaged Desk/Chair!
DIY Decorative Ammo Box

Map Decoupaged Desk Chair

Or these beautiful Reclaimed Wood Snowflakes!
Reclaimed Wood Snowflakes

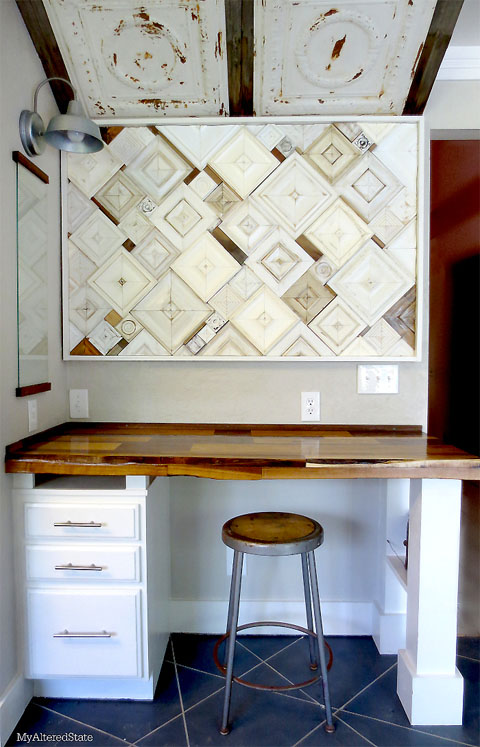
But, by far my favorite DIY project Pauline has completed so far is this desk and art installation in her kitchen!

Kitchen Nook Art Installation

And now, Pauline has an easy and unique tutorial for us today! Please clap, cheer and get on your feet for the amazing Pauline from My Altered State!

page_break_2
When I started blogging, I never dreamed that I would one day meet THE Pretty Handy Girl in person, let alone find myself writing a guest post for her.  So having said that, imagine how excited I am right now as I write my first guest post on Pretty Handy Girl!  Now it’s time to get started.  I hope you enjoy my DIY Decorative Ammo Box project.

ammo box diy

Wooden military ammunition boxes have been a staple in the vintage repurposing and upcycling world for a while. They are a versatile storage item with an industrial flavor, but sometimes they are hard to find. That’s when I get the urge to build.

In an effort to keep this tutorial from being too lengthy, you can find info on finishing and aging wood in this post. Now let’s get building.

DIY Decorative Ammo Box Materials:

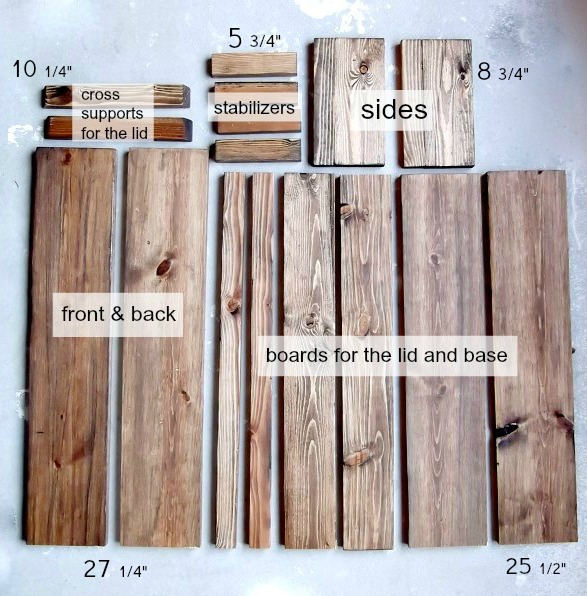
To create a box with the dimensions of 27″ wide x 7″ tall x 10″ deep, purchase the following:

  • (2) 1″ x 6″ x 6′
  • (2) 1″ x 2″ x 6′
  • (1) 1″ x 4″ x 6′
  • Rope
  • Gorilla tape
  • Wood glue
  • 2 Hinges
  • Drill
  • Drill bit same thickness of rope
  • Clamp
  • Pencil
  • 2″ nails
  • Nailgun (or hammer)
  • Miter saw

DIY Decorative Ammo Box Cut List:

cut list wood ammo box

  • 2 – 1″ x 2″ cut to 10 1/4″ (cut ends at 30 degree bevel as shown above)
  • 4 – 1″ x 2″ cut to 5 3/4″
  • 2 – 1″ x 2″ cut to 25 1/2″
  • 2 – 1″ x 4″ cut to 25 1/2″
  • 2 – 1″ x 6″ cut to 8 3/4″
  • 2 – 1″ x 6″ cut to 25 1/2″
  • 2 – 1″ x 6″ cut to 27 1/4″

DIY Decorative Ammo Box Instructions:

By copying the design of an authentic ammo box, I will show you how to build this DIY Decorative Ammo Box clear down to the way the handles are attached.

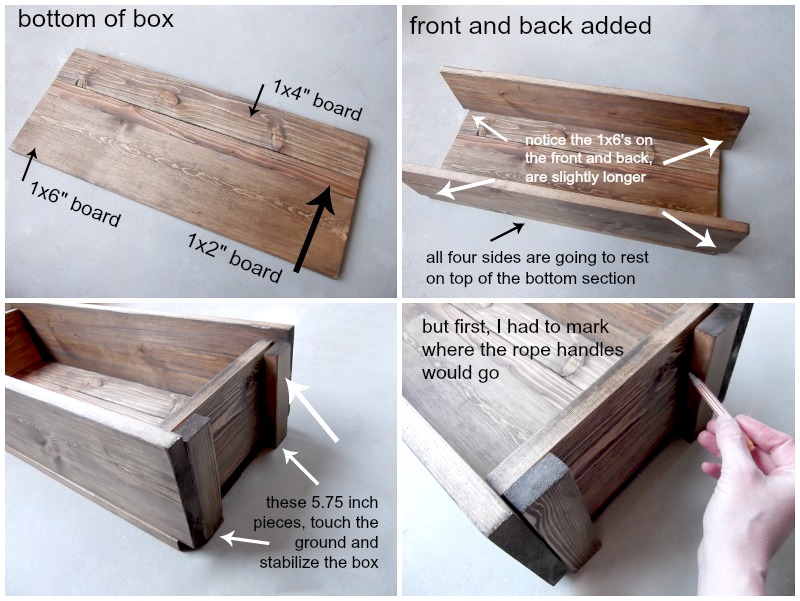
Lay out all your pieces for a “dry run” of the design:

  • Bottom of box: (1″ x 6″ x 25 1/2″) + (1″ x 2″ x 25 1/2″) + (1″ x 4″ x 25 1/2″) boards.
  • Front and Back of box: 1″ x 6″ x 27 1/4″ boards
  • Sides of box (with rope handle): 1″ x 6″ x 8 3/4″ boards

Mark the location for your rope handles (approximately 2″ down from the top of the box.)

assemble wood ammo box

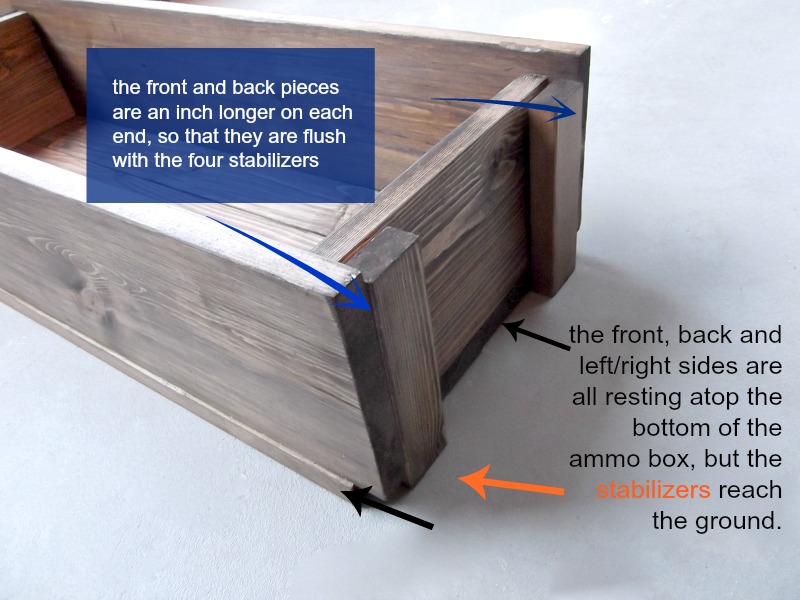
During the dry run, notice that the front and back pieces are an inch longer on each side. The stabilizing 1″ x 2″ pieces will rest on the ground, while the four sides of the box rest on the base.

diy ammo box design

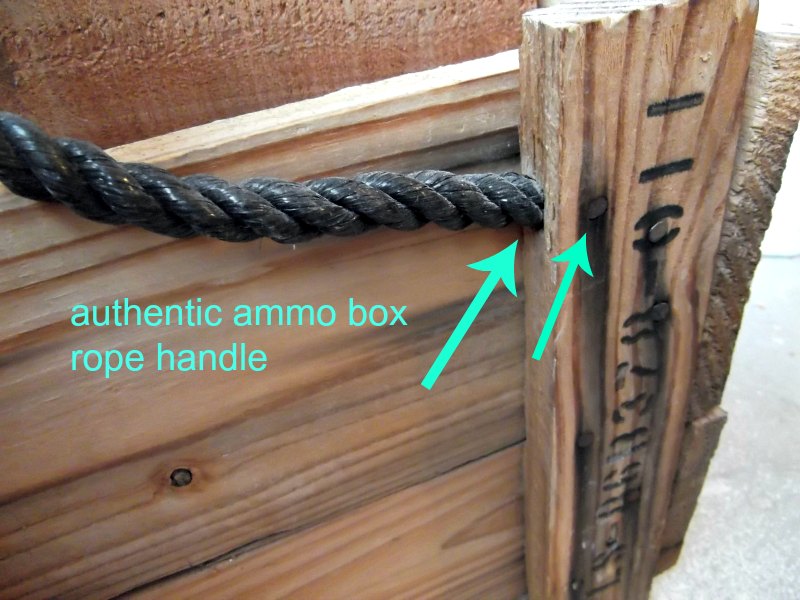
After all the ammo box collecting I’ve done over the years, you’d think I would have noticed how the handles were installed on the real thing. Nope. Never paid attention until now. Here’s a close up of the real thing:

military wood ammo box

A notch is hollowed out where the end of the rope goes, and then secured in place with nails. This design actually keeps any rope ends or knots from being visible on the inside of the box. Clever.

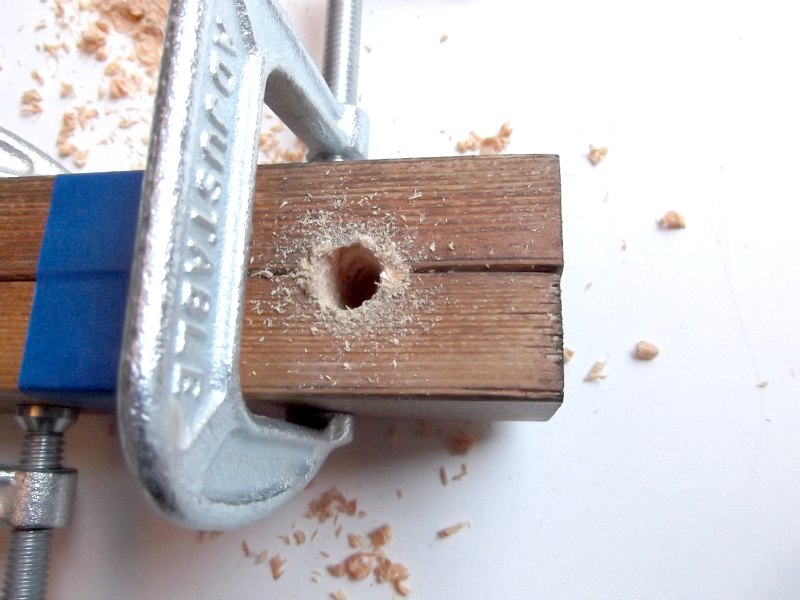
To create the notch, clamp two 1″ x 2″ x 5 3/4″ stabilizer pieces together. Use the drill bit to drill a hole directly in between the two pieces of wood. Repeat using two more 1″ x 2″ x 5 3/4″ pieces.

drill holes for rope handles

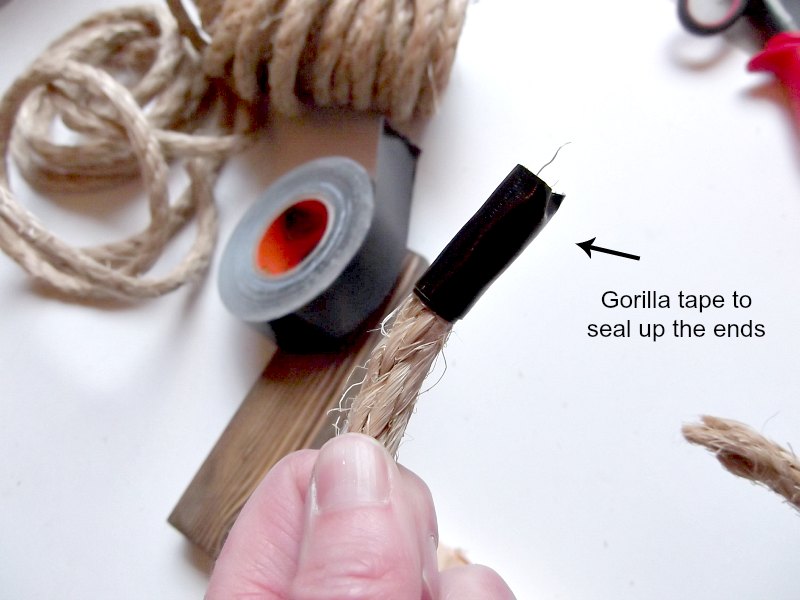
Use Gorilla Tape (or duct tape) to seal the end of the rope and keep it from unraveling.

rope handle wooden box

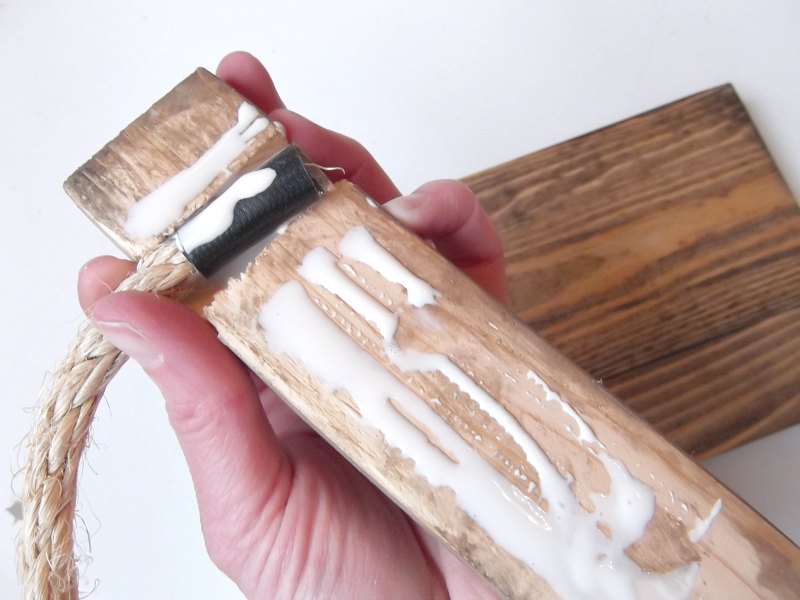
Rest the end of the rope into the notch of the stabilizer 1″ x 2″ and add wood glue to the stabilizer and the taped rope end.

wood glue diy ammo box

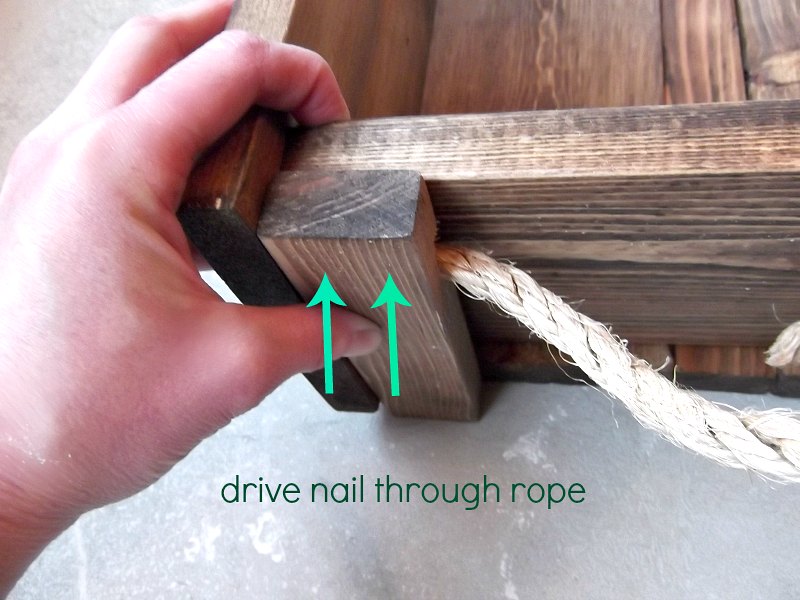
While holding the handle (stabilizer) pieces in place, drive the first nails through the wood, into the rope end and into the side of the box.

ammo box handles

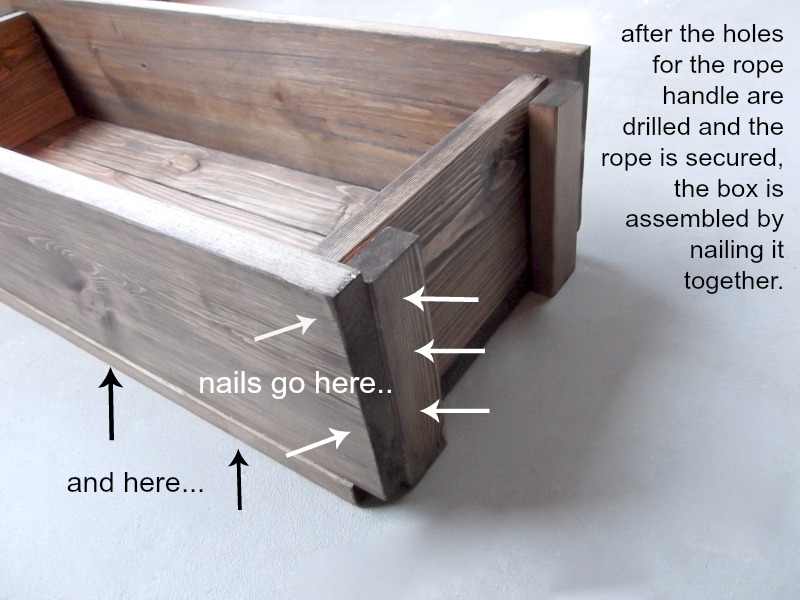
After driving two nails into the stabilizer pieces to secure the rope, drive two more nails through the front and back of the box, into the sides of the stabilizer pieces (as shown below.) Then go ahead and glue/nail all the sides together, while keeping it rested on top of the bottom boards.  (This will help you keep everything aligned and square.) Once all the sides are nailed together, flip the whole box upside down, and glue and nail the bottom boards into the frame of the ammo box.

diy ammo box secure sides

Assembling the lid:

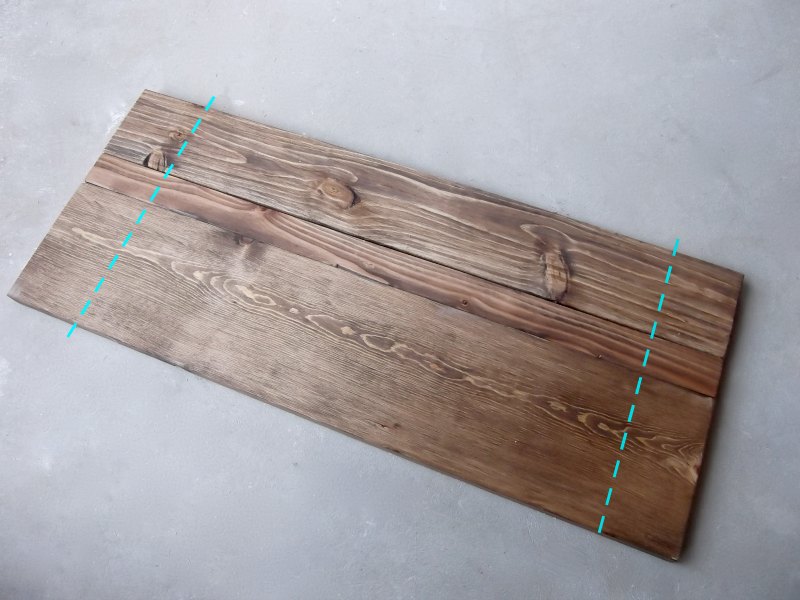
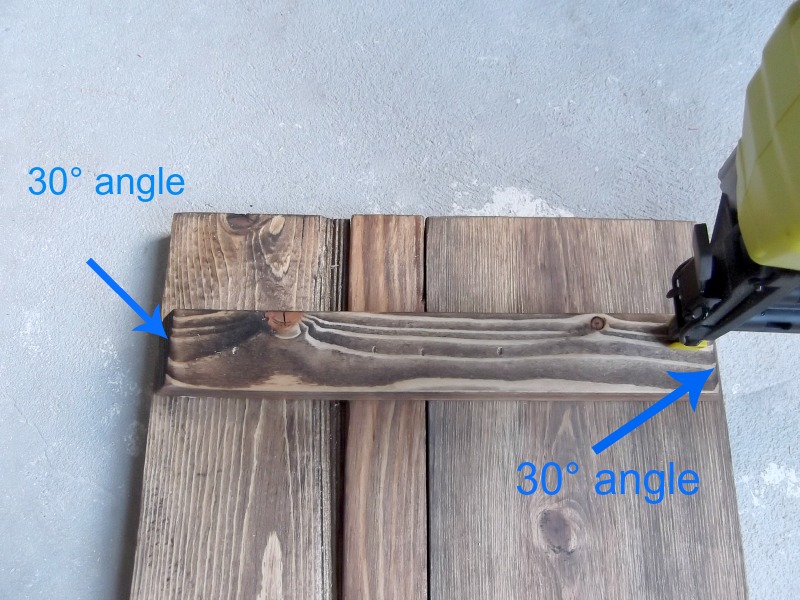
The three lid boards are identical to the boards on the bottom of the box: (1″ x 6″ x 25 1/2″) + (1″ x 2″ x 25 1/2″) + (1″ x 4″ x 25 1/2″) The lid boards are secured together by the two 1″ x 2″ x 10 1/4″ cross supports (the two pieces with both ends beveled at 30°.)

wooden ammo box lid

Nail on the cross supports about 2″  from outside ends of the lid.

ammo box lid

Attach the lid:

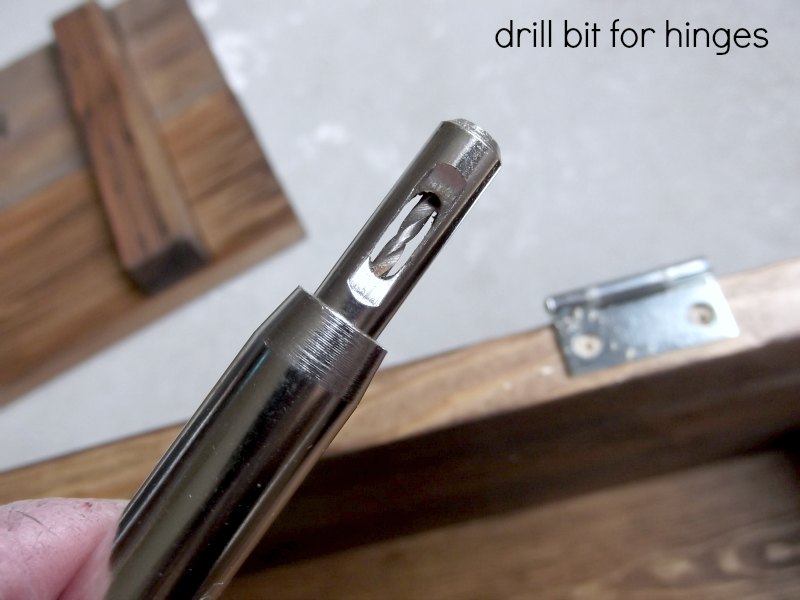
For a long time, if there were hinges involved in a project, I walked away in tears.  That is, until I discovered this little invention: a drill bit for hinges (affiliate link). I can’t say it enough as this little guy has saved my sanity a thousand times over.

Drill holes for the hinges, about 5 1/2″ from the outside edges of the box, and attach the hinges to the box and the lid.

drill bit for installing hinges

And that’s it!

how to build a wood ammo box

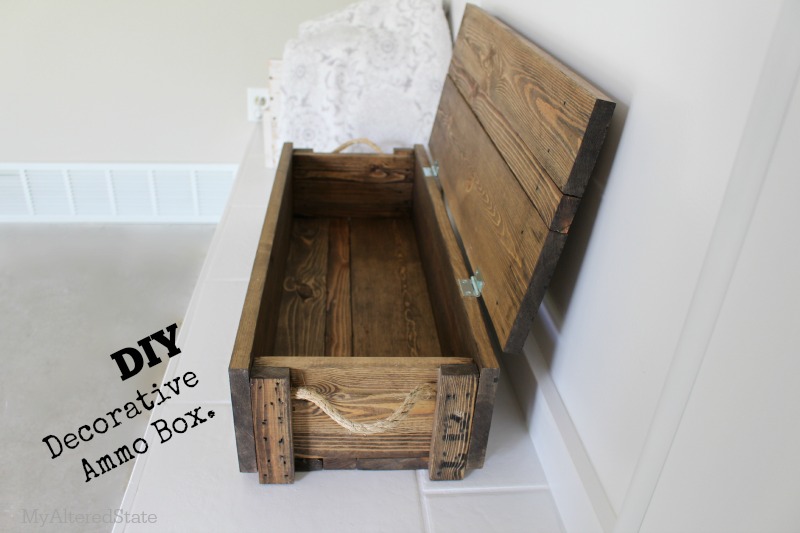
You’ve got yourself an ammo box, that has never actually held ammo.  What will you do with yours?

faux ammo box

I can think of a lot of other things that I might hide inside this box, like Wii remotes.  (After I add a lock, of course.)  😉

Visit this tutorial for the “how to” on the stain/distressing techniquefor this ammo box, where you’ll find great tips on aging wood with stain.

open ammo box

Hope you enjoyed!

Did I tell you Pauline is amazing or what?!

PHGFancySign