DIY Scrap Moulding Trays | Pretty Handy Girl

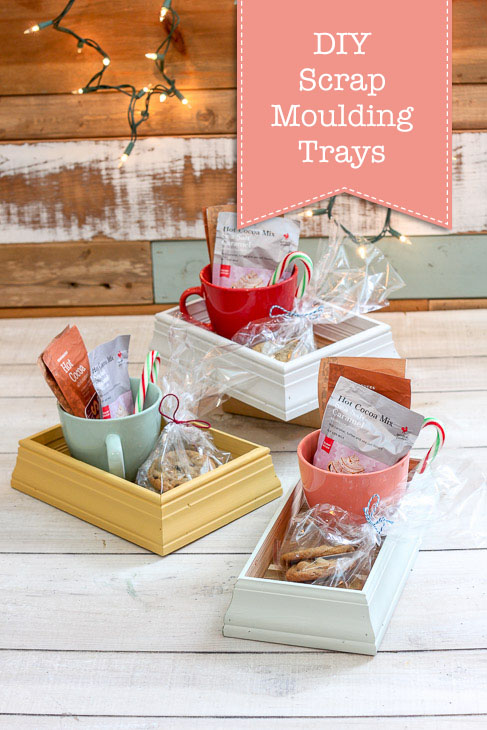
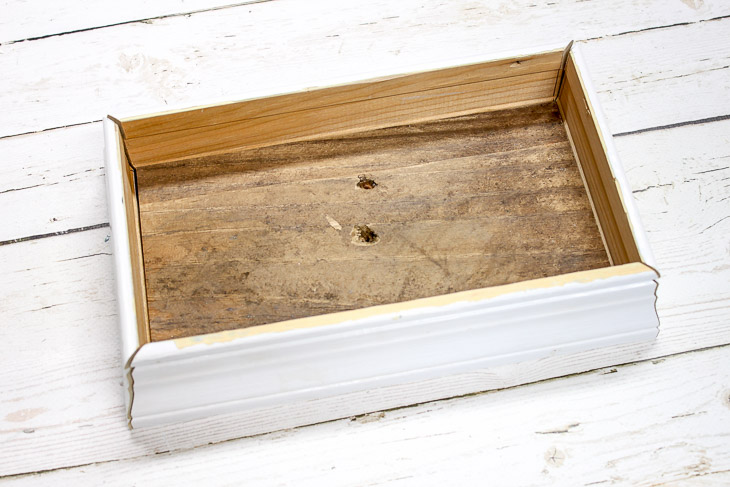
Are you on a purge mission to get rid of excess stuff? Me too! How about your workshop? Do you have scrap wood you need to get rid of? Yes? Perfect. Today I have a simple tutorial to show you how to make DIY Scrap Moulding Trays.

DIY Scrap Moulding Trays | Pretty Handy Girl

DIY Scrap Molding Trays

These trays are really cute and can be given as gifts and used to corral things together. Honestly, they are now one of my favorite scrap wood projects!

DIY Scrap Moulding Trays | Pretty Handy Girl

Regardless of how you use these scrap molding trays, they are a great way to reuse materials.

Materials:

Optional: Clamps

Instructions:

Cut a 45Ëš angle into one end of your case molding (the longer side of the cut should be on the outside of the molding.) Never used a miter saw before? Watch this video tutorial to learn how to use a miter saw.

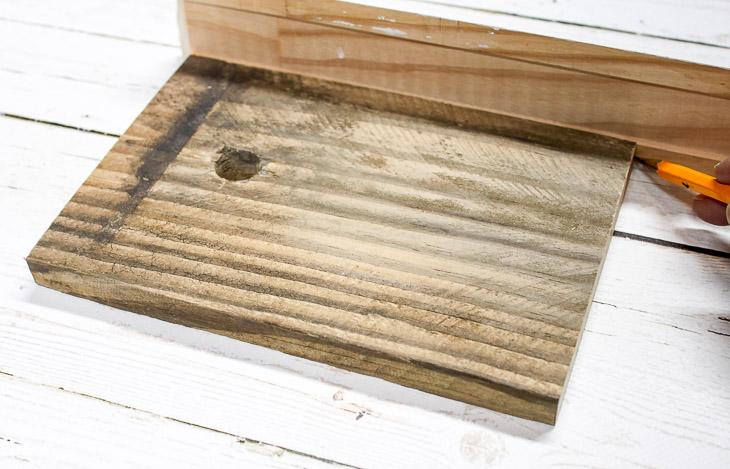
Line up the inner edge of the cut against one corner of your base wood. Mark the location of the other corner onto the molding.

DIY Scrap Moulding Trays | Pretty Handy Girl

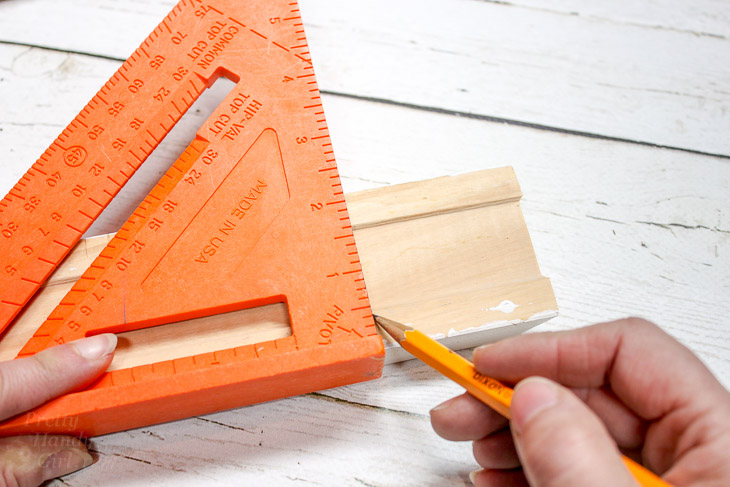
Extend the line along the molding using a speed square.

DIY Scrap Moulding Trays | Pretty Handy Girl

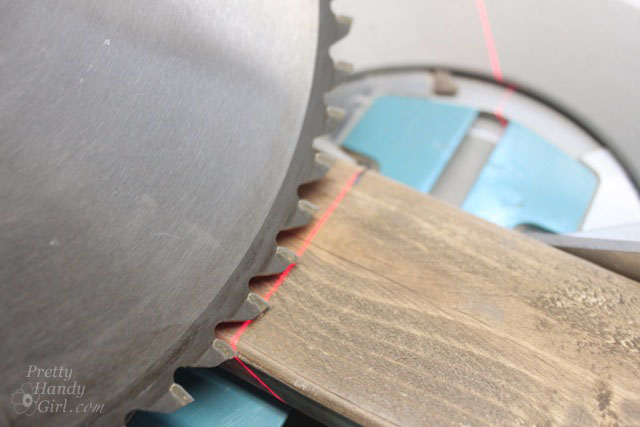
Line up the mark with your saw blade and cut at a 45Ëš angle.

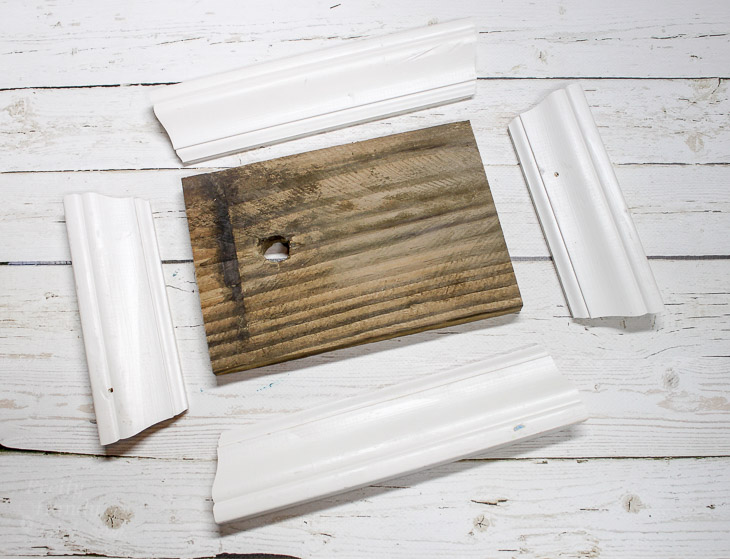
Repeat for the remaining sides until you have four sides cut with all ends mitered to 45˚.

DIY Scrap Moulding Trays | Pretty Handy Girl

Test fit all the molding sides against the baseboard and make any adjustments as needed.

DIY Scrap Moulding Trays | Pretty Handy Girl

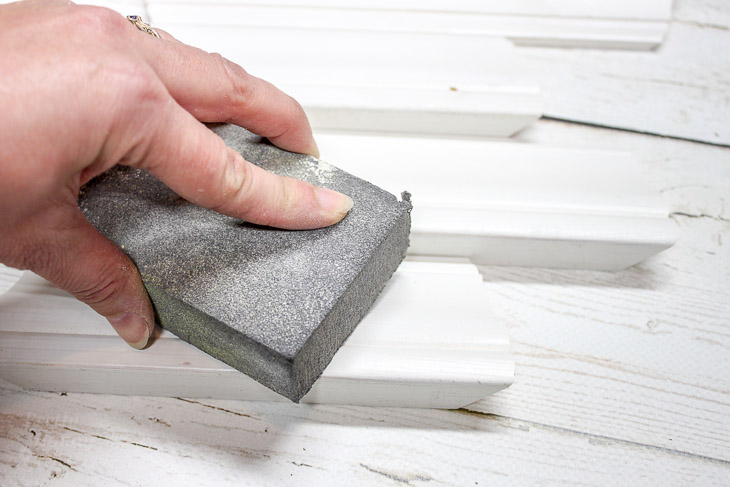
Sand any rough spots off with a sanding sponge.

DIY Scrap Moulding Trays | Pretty Handy Girl

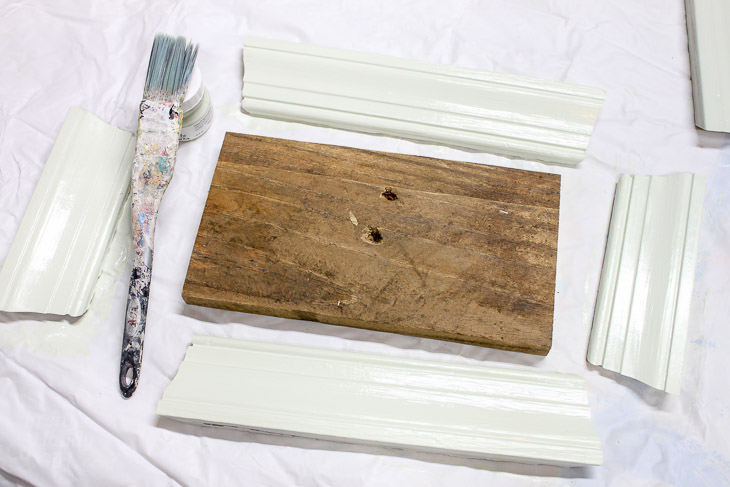
Paint the molding your color of choice. I used a variety of Fusion paints. This is the first time I’ve used Fusion Mineral Paints, but it definitely won’t be the last! They go on smoothly and don’t require a primer. Plus, with a light sanding afterward the paint doesn’t feel chalky.

DIY Scrap Moulding Trays | Pretty Handy Girl

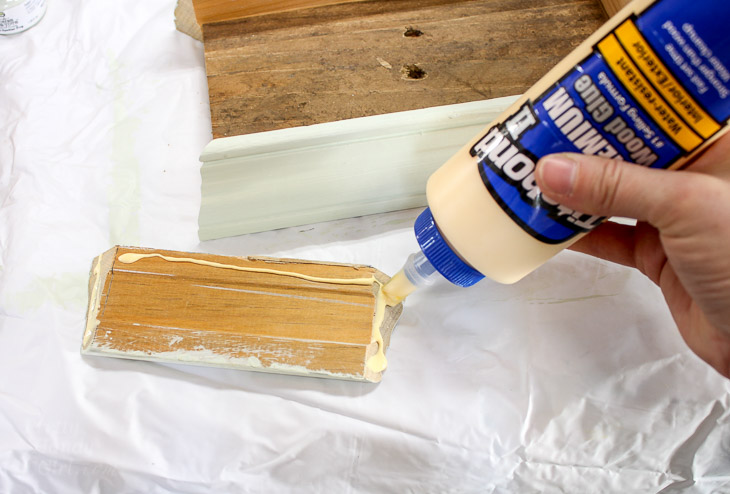
Squeeze wood glue onto the corners and bottom edge of the molding pieces.

DIY Scrap Moulding Trays | Pretty Handy Girl

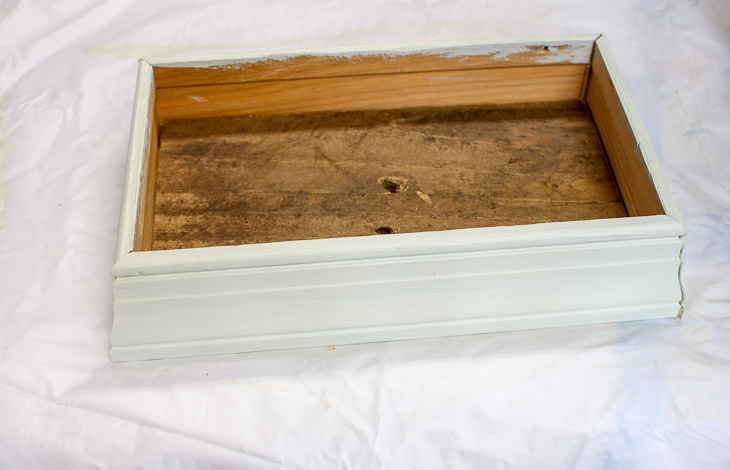
Set them in place around the base.

DIY Scrap Moulding Trays | Pretty Handy Girl

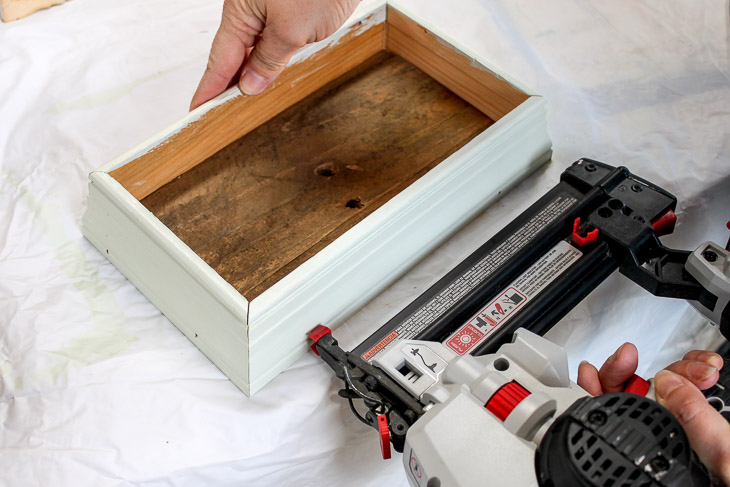
Nail 1 ¼” brad nails through the molding and into the base.

DIY Scrap Moulding Trays | Pretty Handy Girl

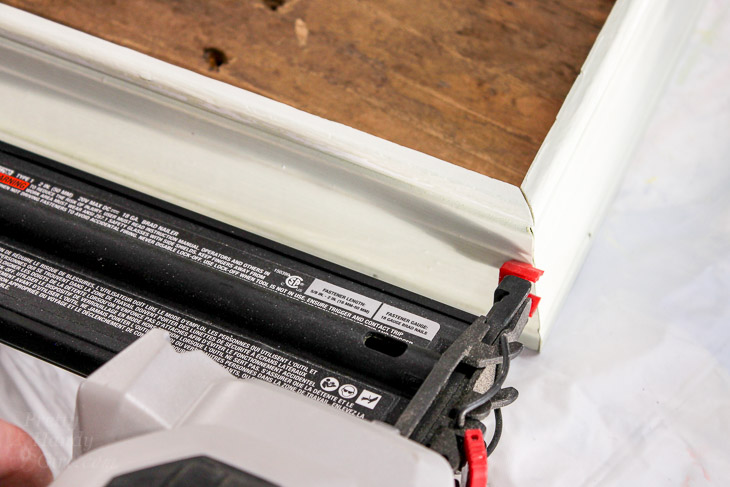
Secure the corners with one or two more brad nails.

DIY Scrap Moulding Trays | Pretty Handy Girl

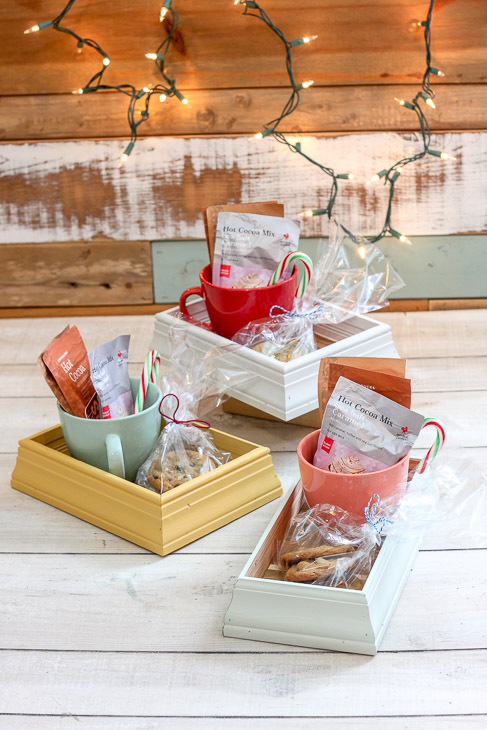
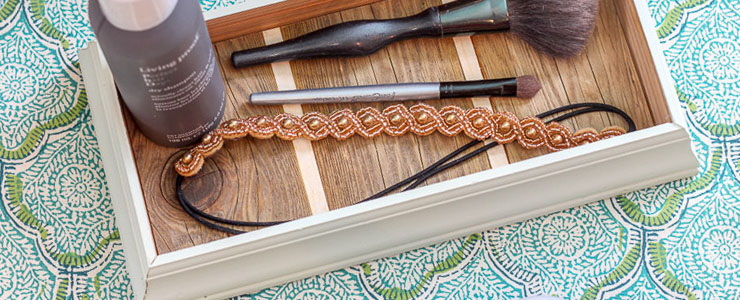
Time to load up your tray with goodies and give them as gifts.

DIY Scrap Moulding Trays | Pretty Handy Girl

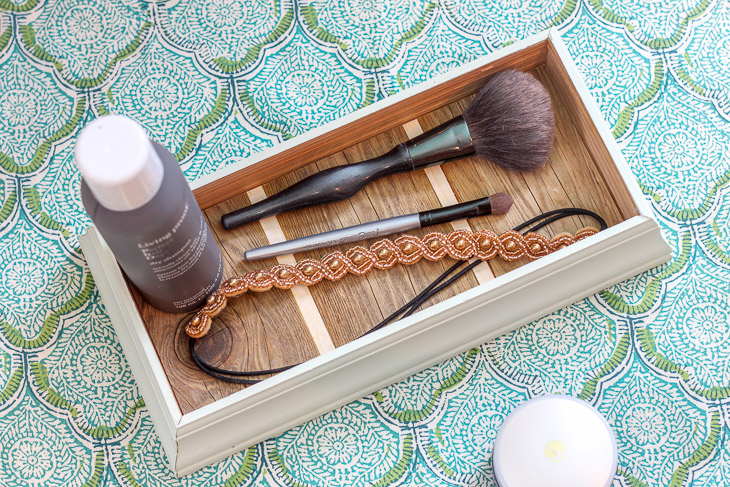
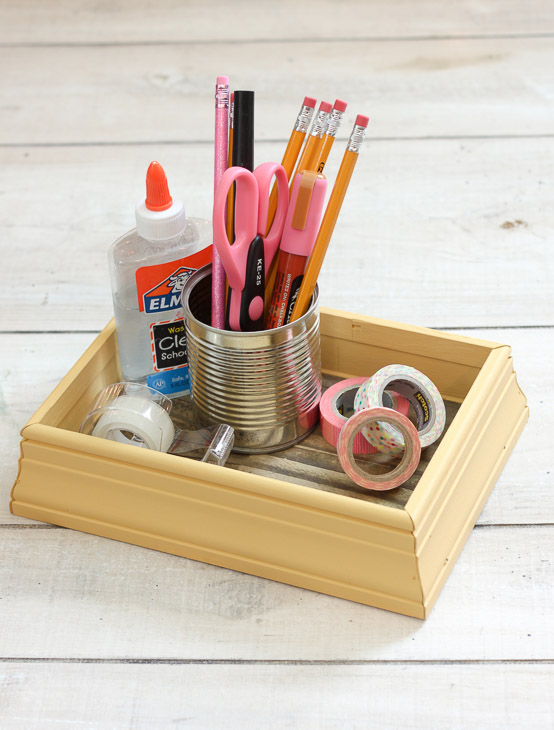
Or use your tray to organize your desk.

DIY Scrap Moulding Trays | Pretty Handy Girl

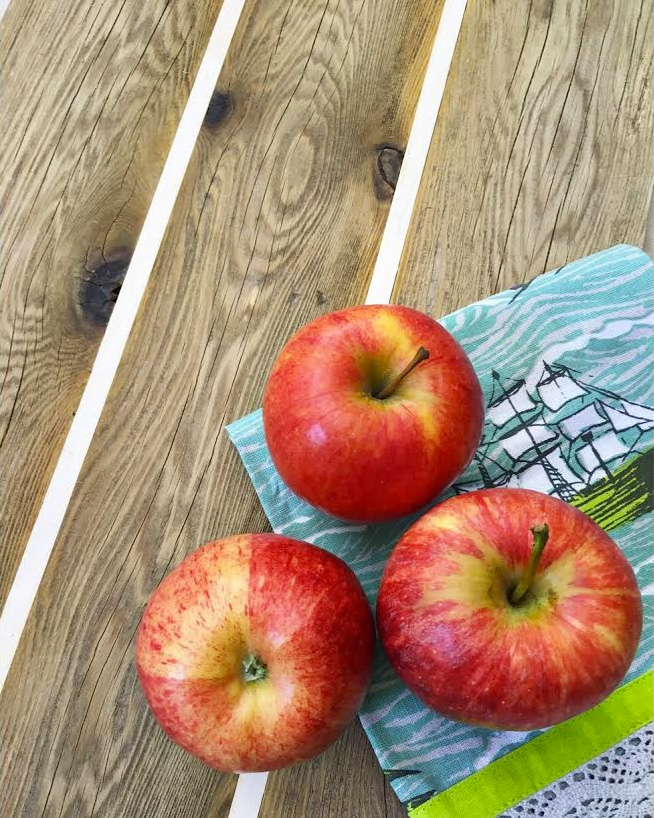
If you fell in love with the tray with the striped bottom, you can learn how to make striped wood block here:

How to Make a Striped Wood Block | Pretty Handy Girl

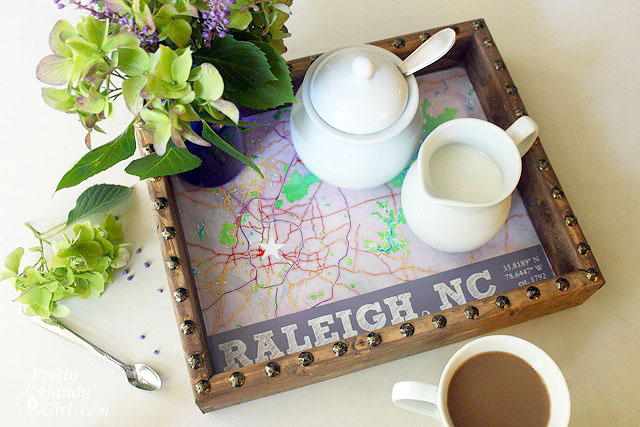
Another tray you can make with scraps is this fun Nailhead State Capital Tray:

What do you think? Want to use up your scraps to make some fun trays?

DIY Copper Pipe Centerpiece | Pretty Handy Girl

DIY Copper Pipe Centerpiece | Pretty Handy Girl

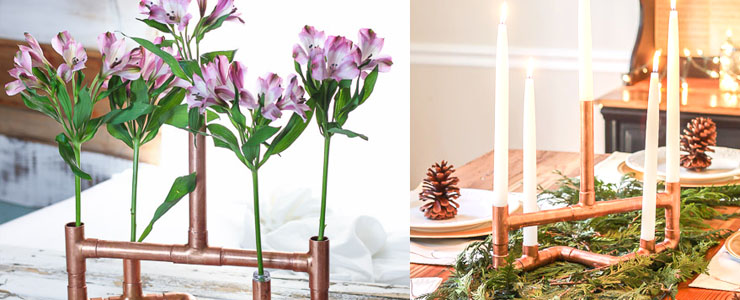
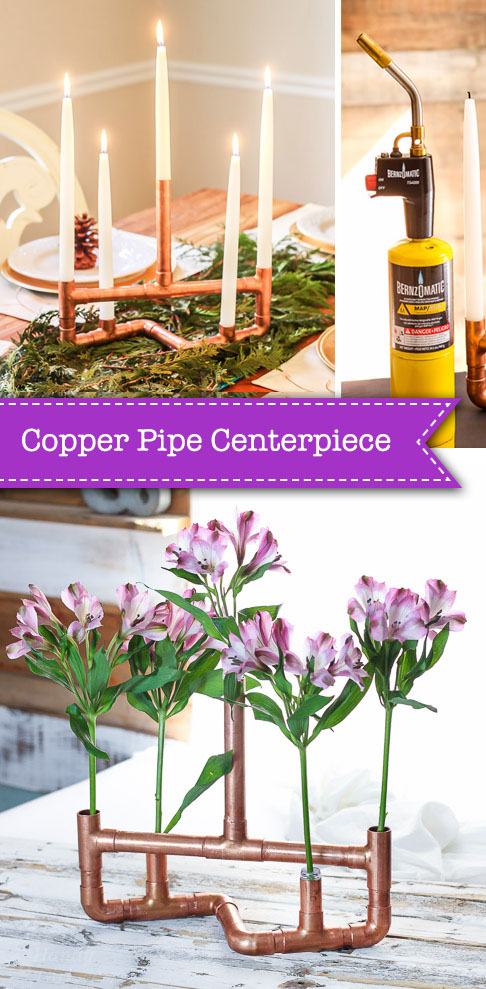
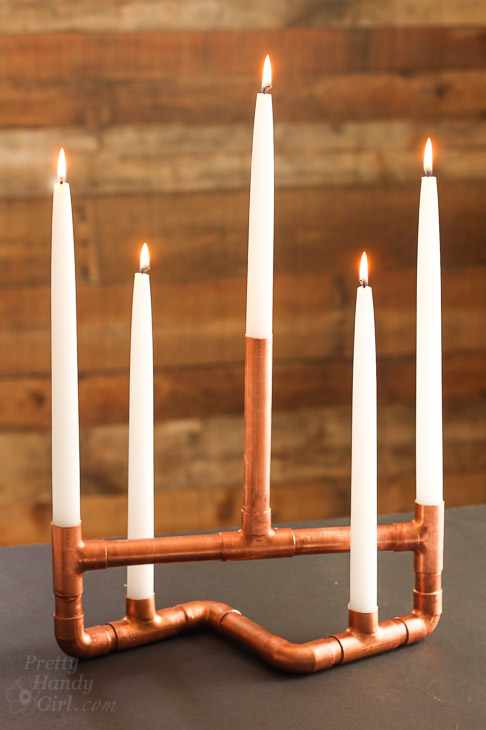
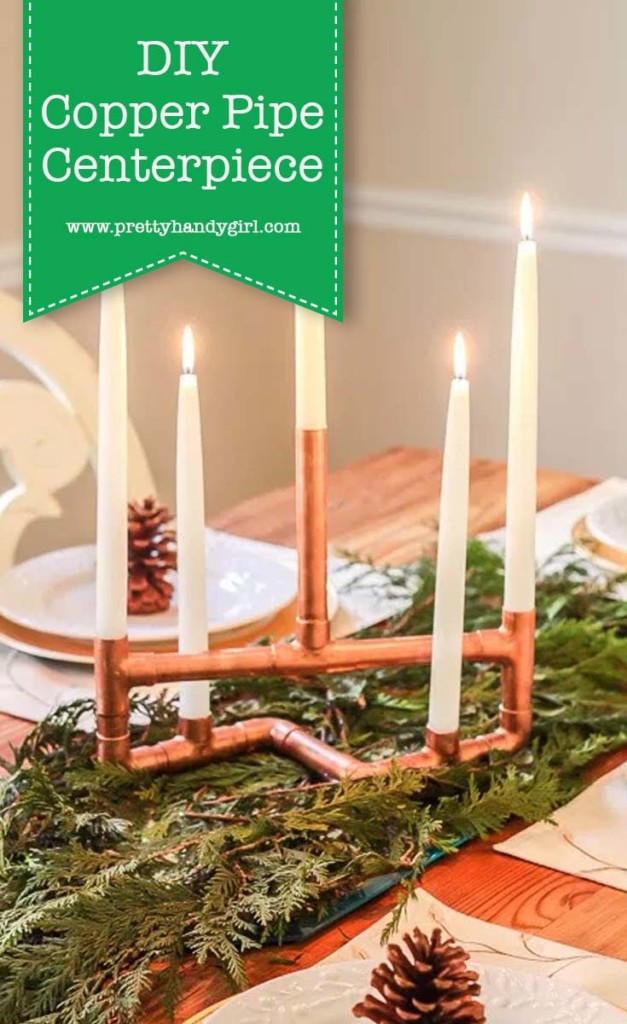
I’m super excited to be back with another fun copper pipe tutorial for you to make for the holidays! Today let’s make this unique DIY Copper Pipe Centerpiece that acts as a candelabra . . .
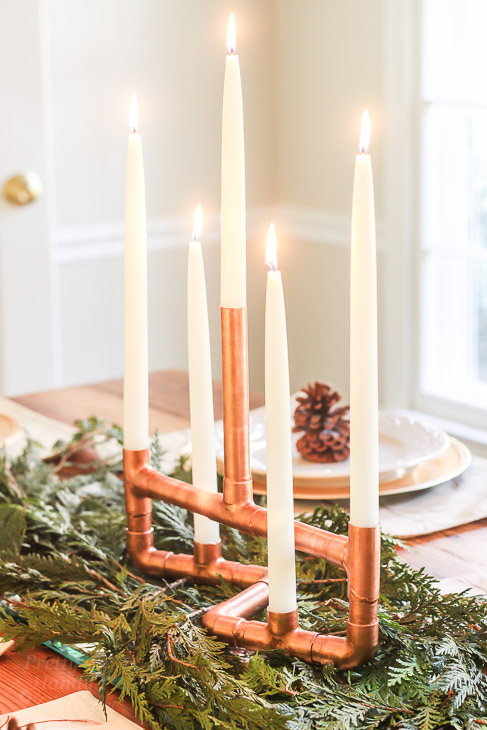
copper-pipe-centerpiece-side-view

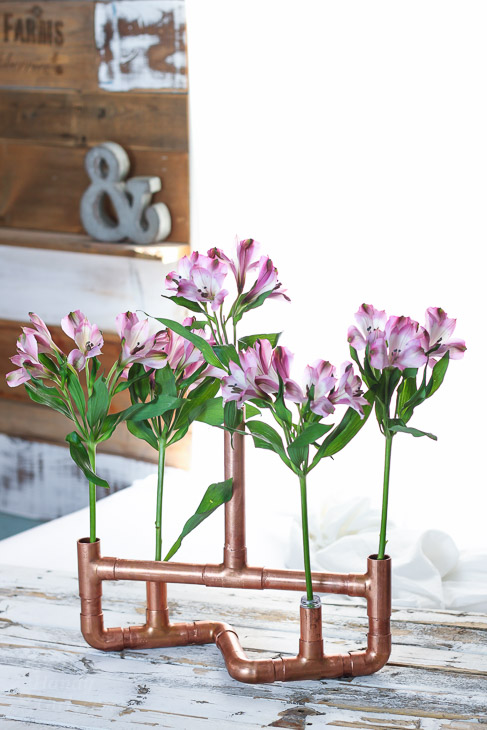
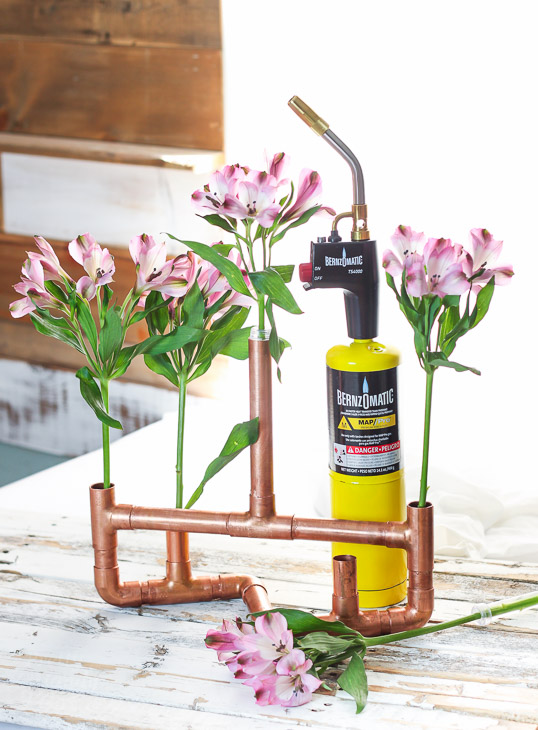
. . . or a floral centerpiece.

copper-centerpiece-flowers

This is such a versatile project that can be used for your dinner table, a wedding centerpiece or a vase to hold flowers. If you wanted to alter the design, you could shorten the center pipe and use for a pencil holder. Regardless of how you use it, this DIY Copper Pipe Centerpiece is sure to be a conversation starter!
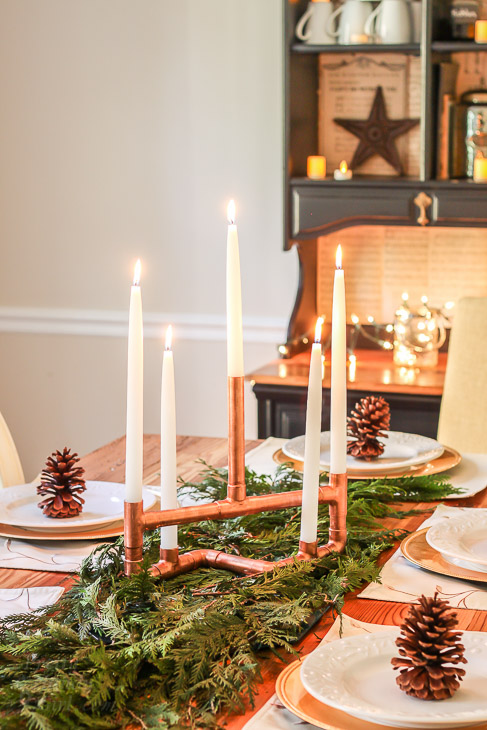
copper-pipe-centerpiece-on-holiday-table

If you had fun getting used to using a Bernzomatic torch last week while making DIY Copper Ring Jewelry, then you’re going to love using a bigger torch to make this DIY Copper Centerpiece.
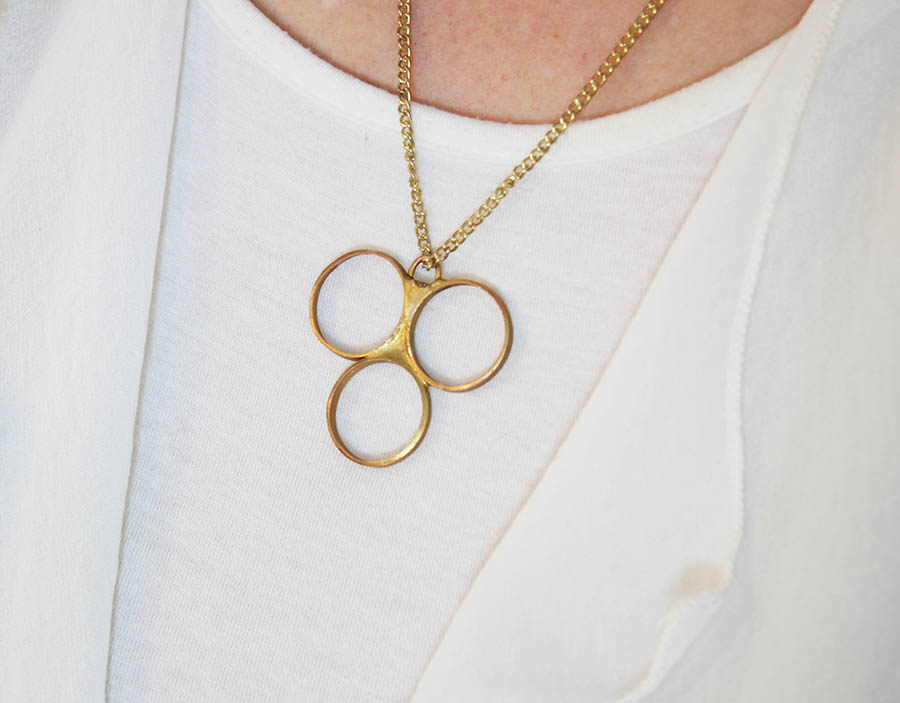
DIY Copper Ring Jewelry | Pretty Handy Girl

Not only that, you’ll be honing your soldering skills should you need to use them for a plumbing repair. I’m honored to be part of the Bernzomatic Torch Bearers program. Bernzomatic has sponsored this post to help you with some holiday decorating ideas.

Materials:
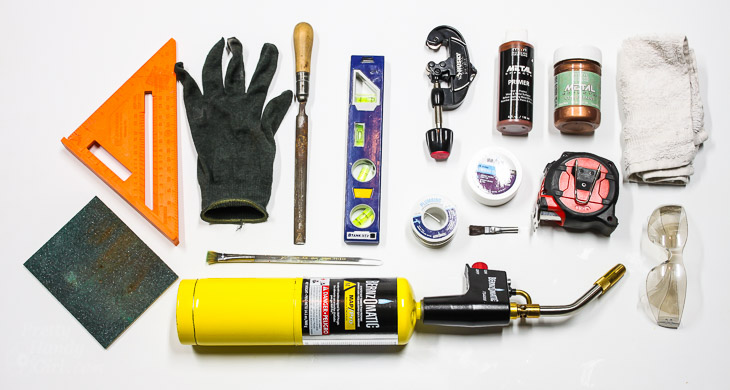
copper-centerpiece-materials

Materials:

(I’ve included affiliate links for your convenience. I earn a small percentage from a purchase using these links. There is no additional cost to you. You can read more about affiliate links here.)

Optional: Florist tubes

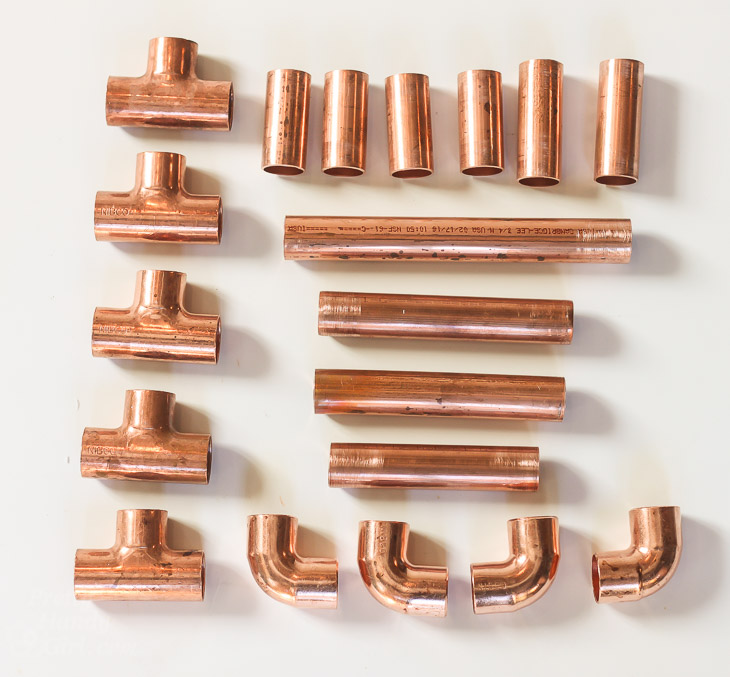
Cut List:
copper-pieces-cut-list-centerpiece

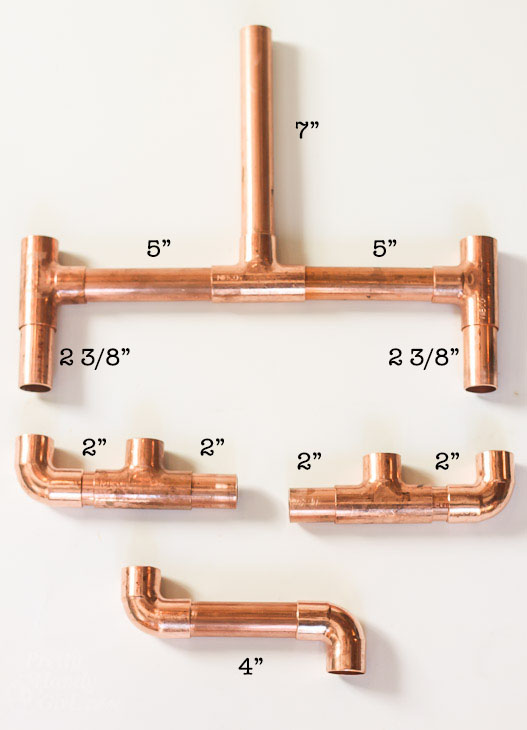
  • 2 – 2 3/8″ pipes
  • 4 – 2″ pipes
  • 1 – 7″ pipes
  • 2 – 5″ pipes
  • 1 – 4″ pipe

Instructions:

Cut your pipes to size. If you’ve never cut with a pipe cutter, you can watch this video to learn how.

Dry fit your pieces together as shown:
DIY Copper Pipe Centerpiece | Pretty Handy Girl

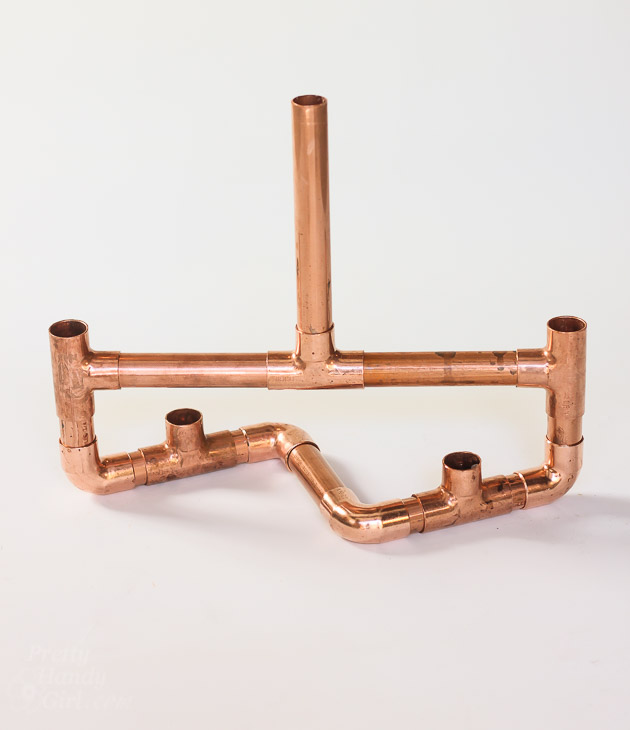
Then piece the centerpiece together completely as shown below. (The 4″ section with elbows connects the base pieces.)
dry-assemble-copper-centerpiece

The two 5″ pipes will not sit completely inside the “T” fittings. This will provide wiggle room to line up and assemble the top parts with the base. Feel free to adjust the 4″ base pipe until you fit everything together.

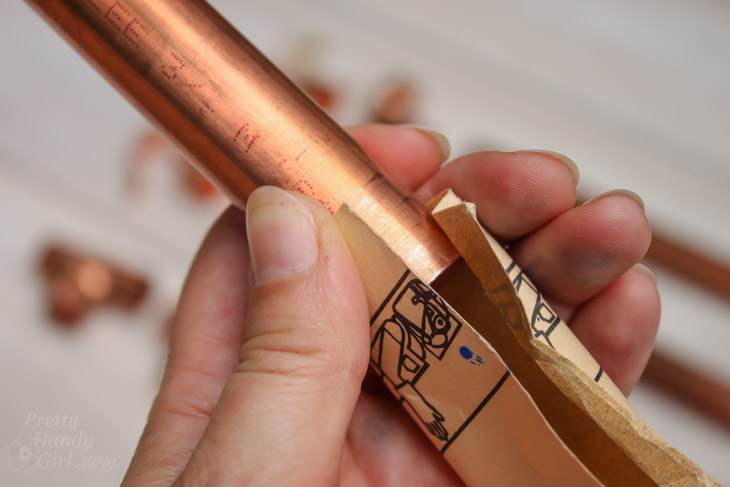
Sand all pipe ends with sandpaper.
Half Round Copper & Wood Side Table | Pretty Handy Girl

Pull apart the top and bottom of your centerpiece and place the base on your fireproof work surface to start. (I bought two paver blocks from Lowe’s to use for larger torch projects.)
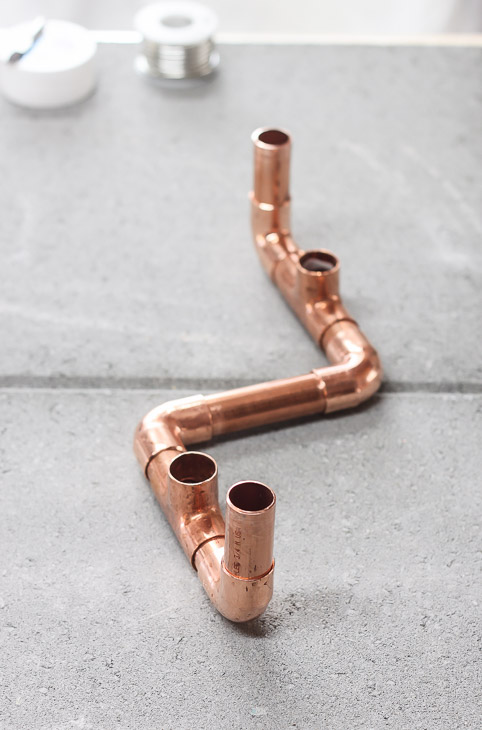
copper-pipe-work-spot

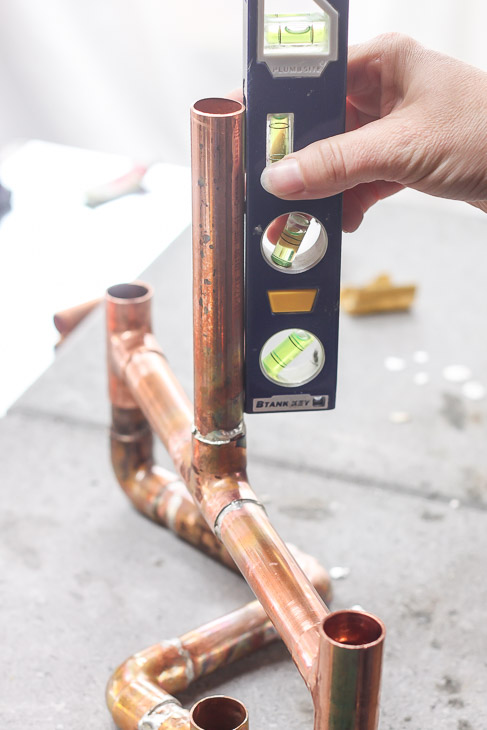
Use the speed square to make sure all the pipes and fittings are plumb.
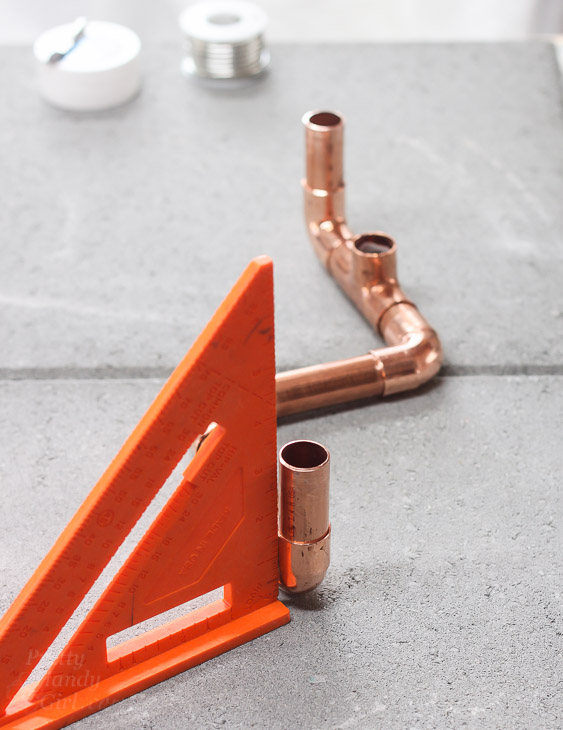
square-vertical-pipes

Apply a liberal amount of flux to all the connections.
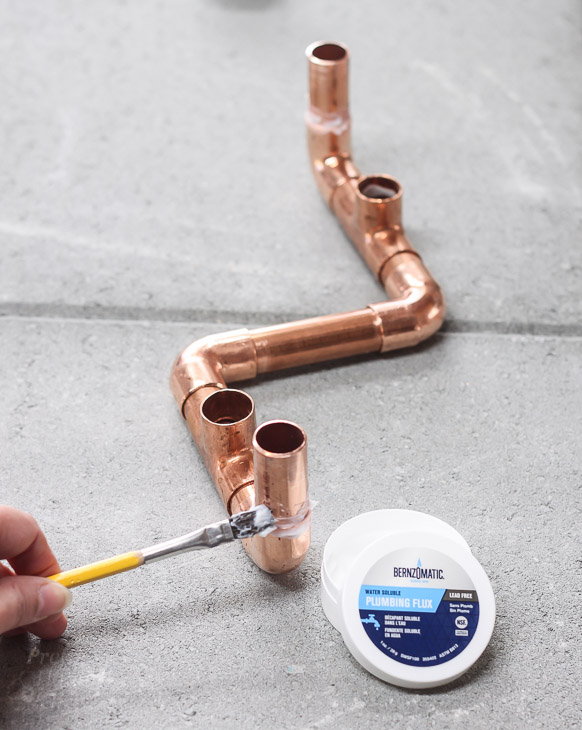
flux-all-connections-copper-pipe

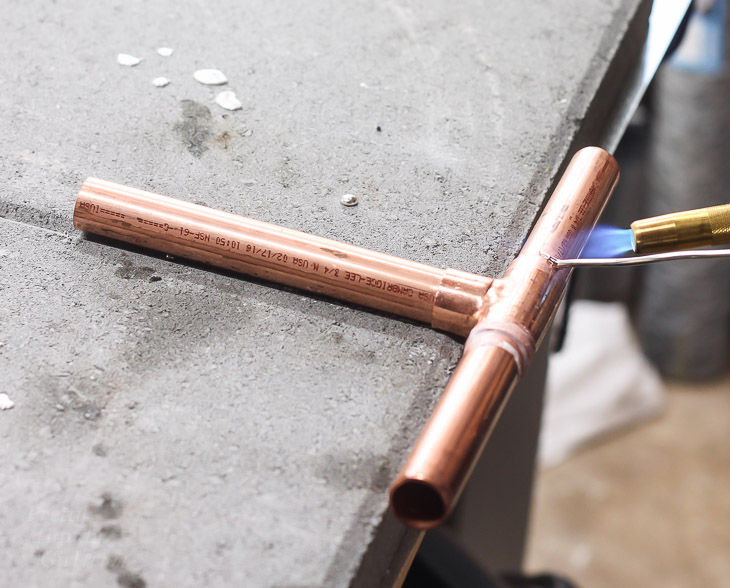
Start your Bernzomatic TS4000 Trigger Start Torch with the easy trigger start button. Heat each connection until the flux melts. Then hold the solder at the connection until the solder begins to flow. (You may need to solder one spot at a time or re-heat the solder and tilt the piece to help it flow around the connection.)
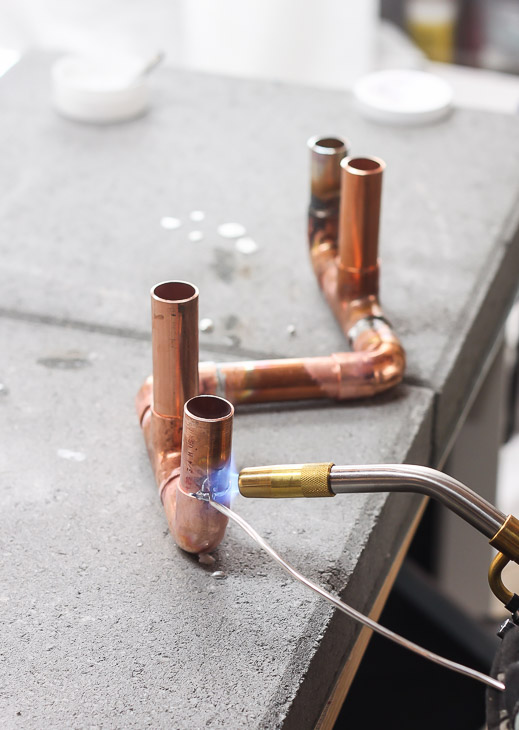
solder-vertical-pipe-pieces

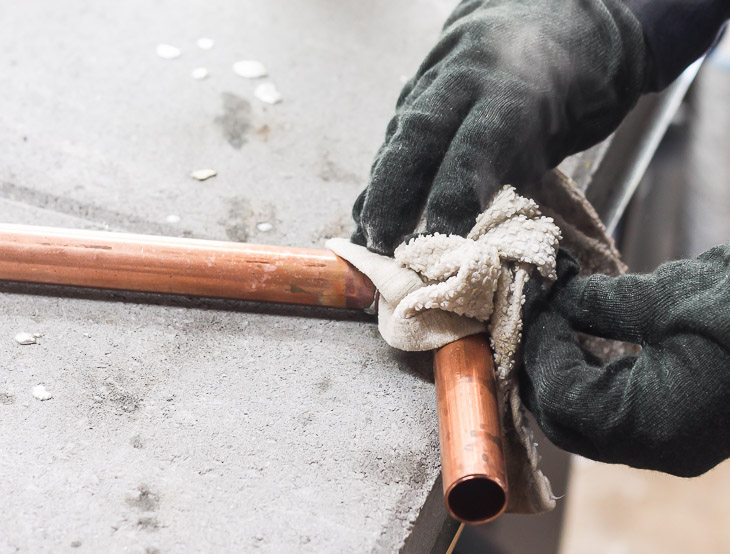
Lift the base with gloves on or pliers and drop in the bucket of water to cool. Alternatively you can cool the pieces with a cold wet rag.
wipe-pipe-cold-rag-steam

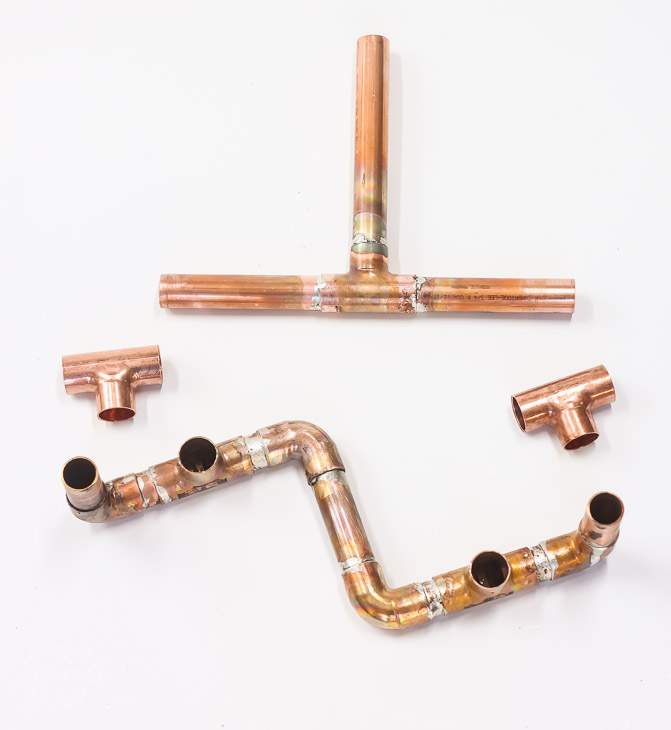
Set the base aside and join the top assembly (1- 7″ pipe, 2 – 5″ pipes and 1 – 90Ëš T connector.) Repeat the process of applying flux, heating and spreading the solder.
solder-t-piece-copper-pipe

At this point your parts should be assembled like this:
half-assembled-pieces

Slide the two “T” connectors onto your soldered top assembly. Slide the “T” connectors onto the base. Center the 7″ pipe and make sure it is plumb.
level-vertical-pipe-candle-holder

Solder the connections around the two side “T” connectors. Your soldering is now done. Cool off the centerpiece with a cold wet rag or in the bucket of water.
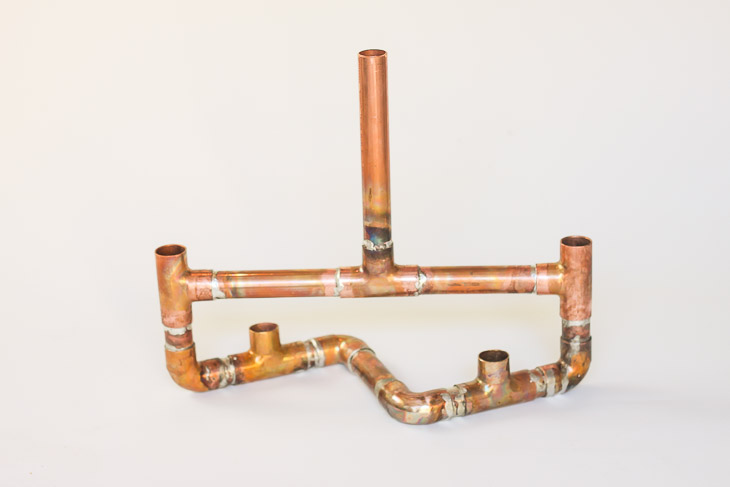
soldered-copper-pipe-centerpiece

Don’t stress if your soldering joints aren’t beautiful, I’ll show you how to cover them. Sand the entire centerpiece to remove any heat marks.
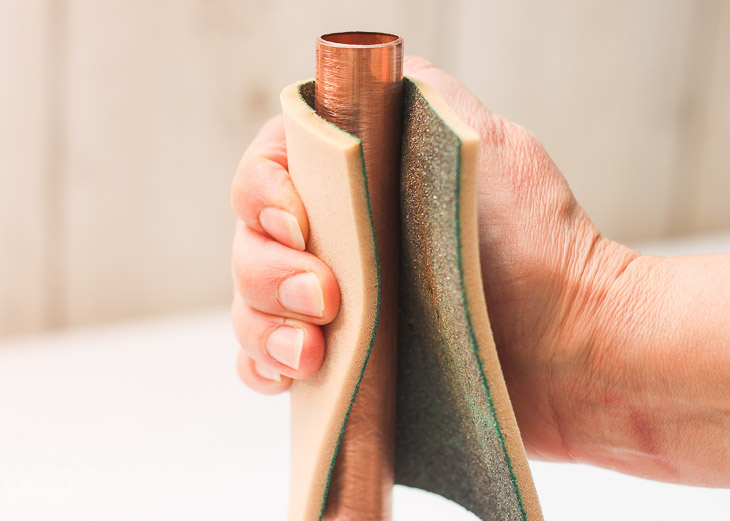
sand-copper-pipes

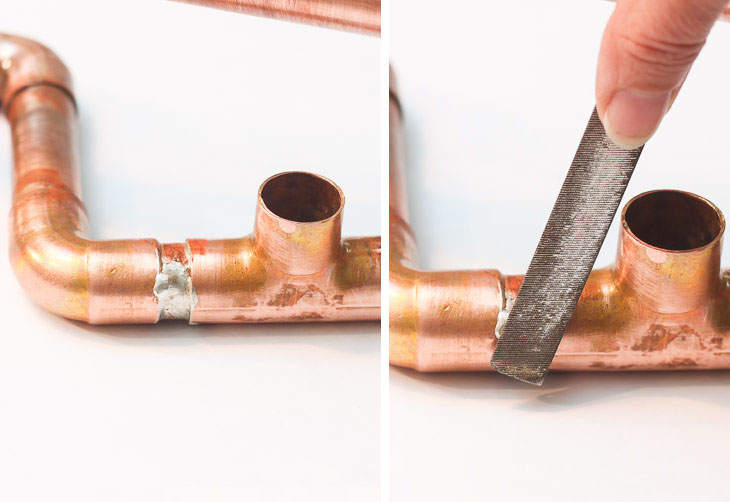
File any bumpy solder until smooth.

DIY Copper Pipe Centerpiece | Pretty Handy Girl

Wipe off the centerpiece with a wet rag to remove any metal shavings and dust. Paint Modern Masters Metal Effects Primer on all the soldered joints. Let the primer dry and add a second coat.
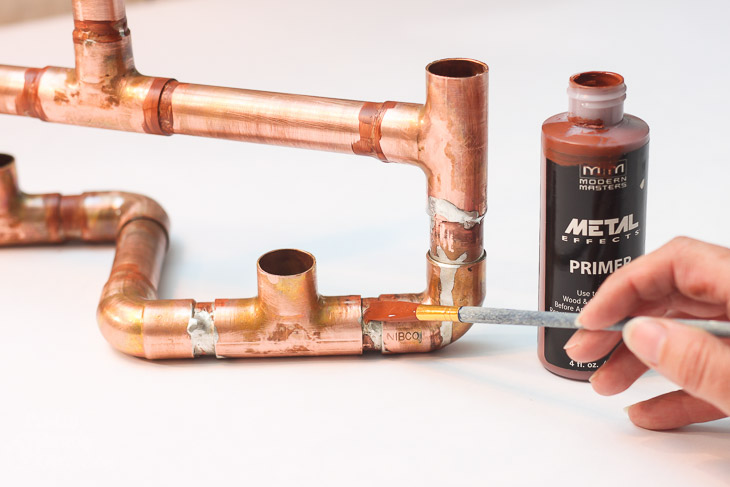
paint-metal-effects-primer-onto-solder-joints

After the primer has dried, paint Modern Masters Metal Effects Copper Paint onto the primed solder joints. Feather the paint onto the copper pipes and cover any imperfections. Let dry and apply a second coat.
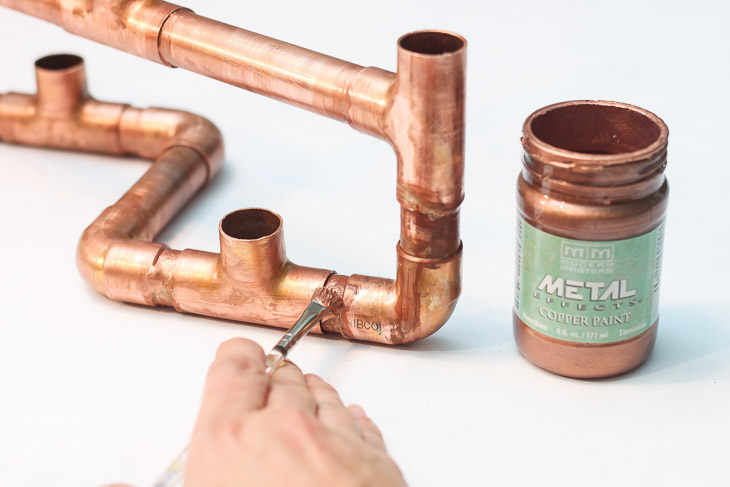
paint-metal-effects-copper

You are done! Time to show off your new DIY Copper Pipe Centerpiece! Add hand-dipped candles to the open fittings. For the center pipe, you’ll need to trim your candle and gently twist the candle into the pipe.
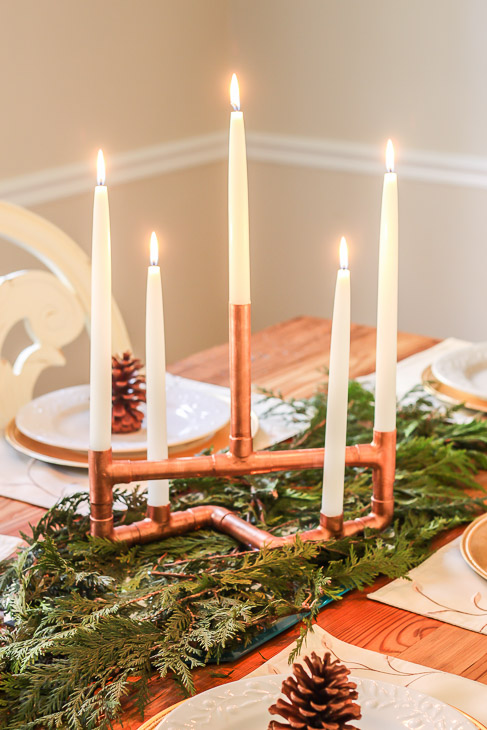
copper-pipe-centerpiece-on-holiday-table-2

If you want to use the centerpiece for a floral display, fill floral tubes with water and drop them into the openings. (Note: I slipped two 2″ copper pipe pieces into the shortest openings to hide the floral tubes. But, you could just add water to the centerpiece and put your flowers in directly.)
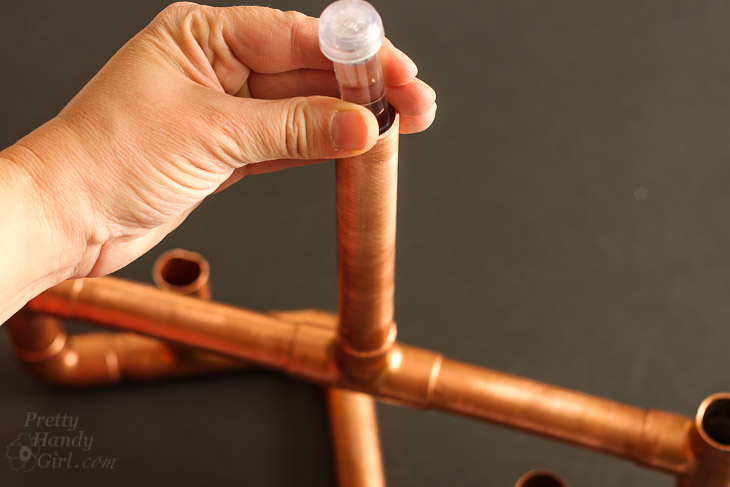
add-water-tubes

Add your flowers and enjoy!

copper-centerpiece-flowers

How fun is this DIY Copper Centerpiece? It would look great as a centerpiece for a rustic or industrial themed wedding or party! You could change the configuration of the pipes and fittings if you like.
copper-centerpiece-flowers-bernzomatic-3

Add four more extensions and fitting openings to create a beautiful menorah for Hanukkah!

Don’t walk, run to the plumbing section at your local hardware store and get creative!
copper-pipe-centerpiece-candleabra-lit-2

Until next time…

PHGFancySign

Disclosure: This is a sponsored post for Bernzomatic. As a Bernzomatic Torch Bearer, I was provided complimentary torches and was compensated for my time and efforts. I was not told what to write. All opinions are my own. I am particular about the brands I represent and will always let you know when you are reading a sponsored post.


Pin for later!
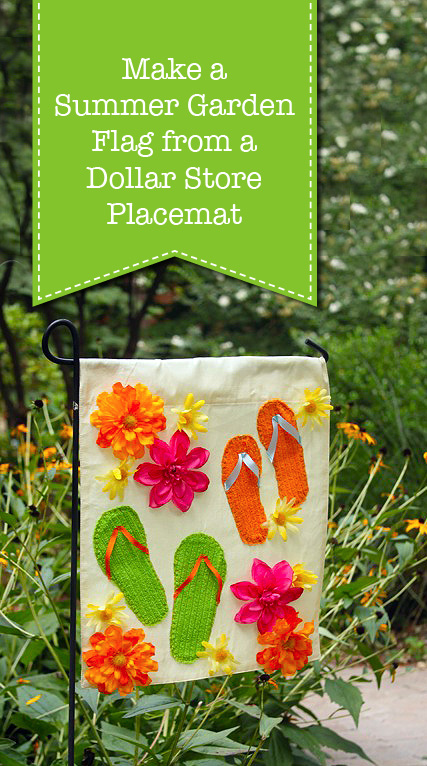
Make a Summer Garden Flag from a Dollar Store Placemat | Pretty Handy Girl

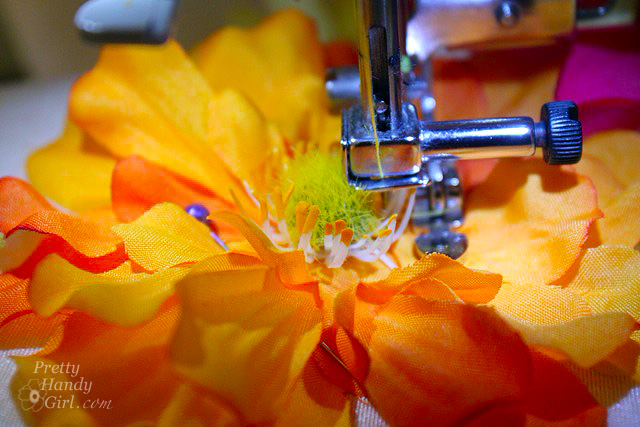
I have to admit, I’m a little addicted to making garden flags out of fabric placemats from the dollar store (The Dollar Tree to be exact.) In fact this flag was made using all materials from The Dollar Tree. I bought fake flowers, bar towels and a placemat to make this summery flag. Best of all, you could make this flag with or without a sewing machine.

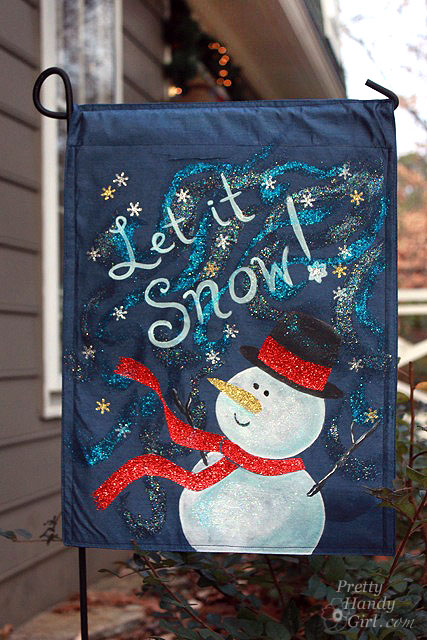
If you missed my previous flags, this was our winter flag:

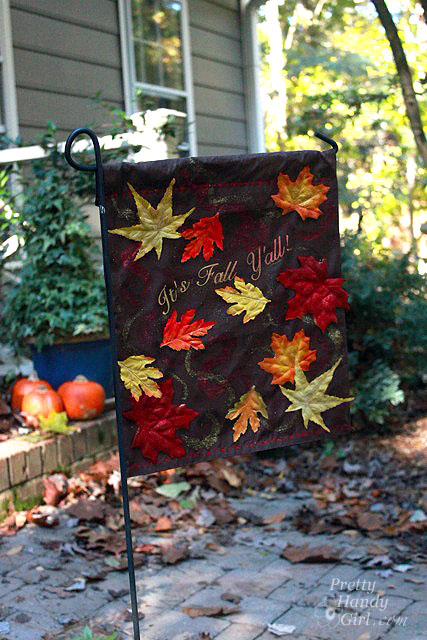
and our Fall flag.

fall_yall_garden_flag_2

And our Valentine’s Day flag (that I’m embarrassed to say hung until this week.):

Yup, they are all made with dollar store placemats!

I finally caught up to the correct season and made this cheery garden flag!. As I like to say, “Better late than never!”  Read more

Concrete Tea Light Candle Holders | Pretty Handy Girl

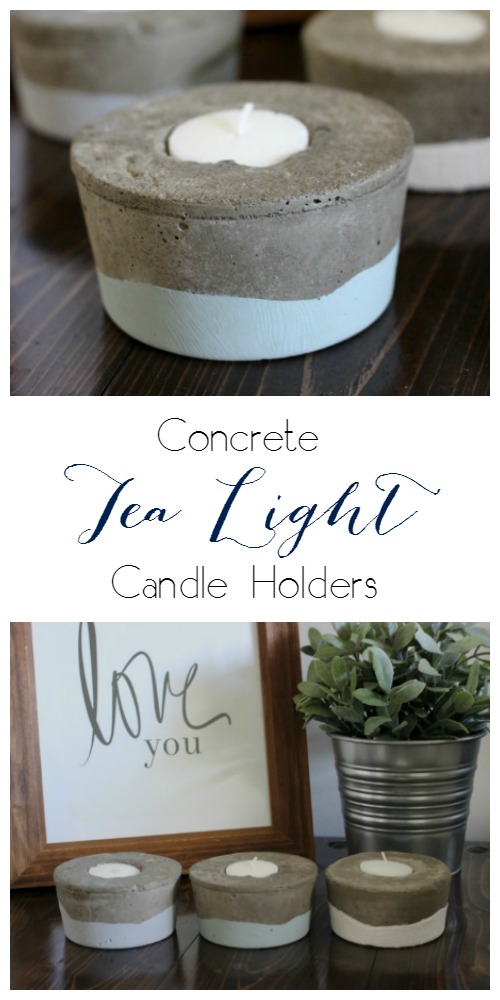
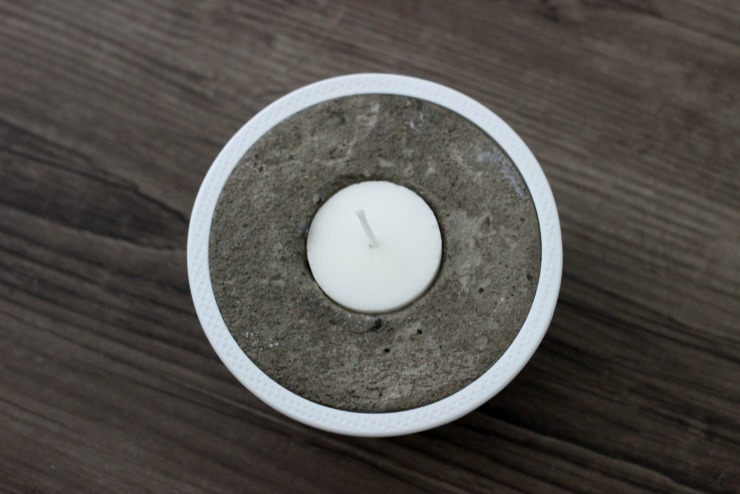
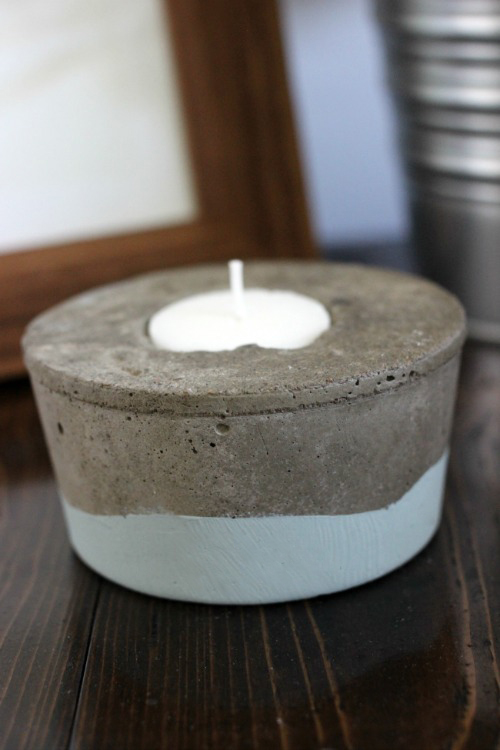
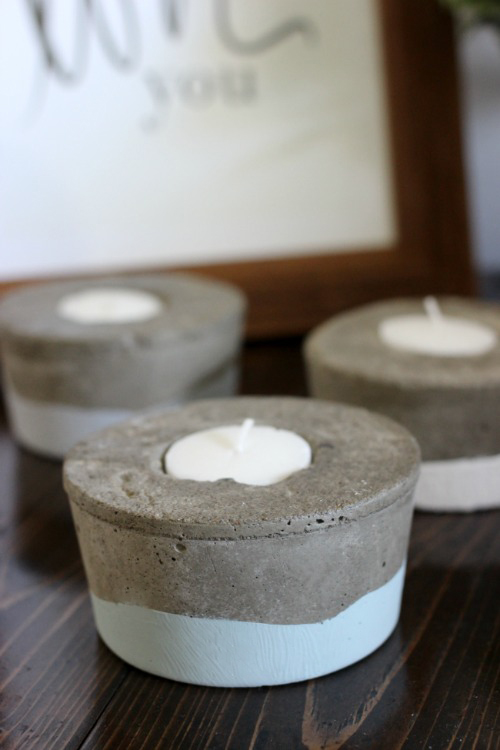
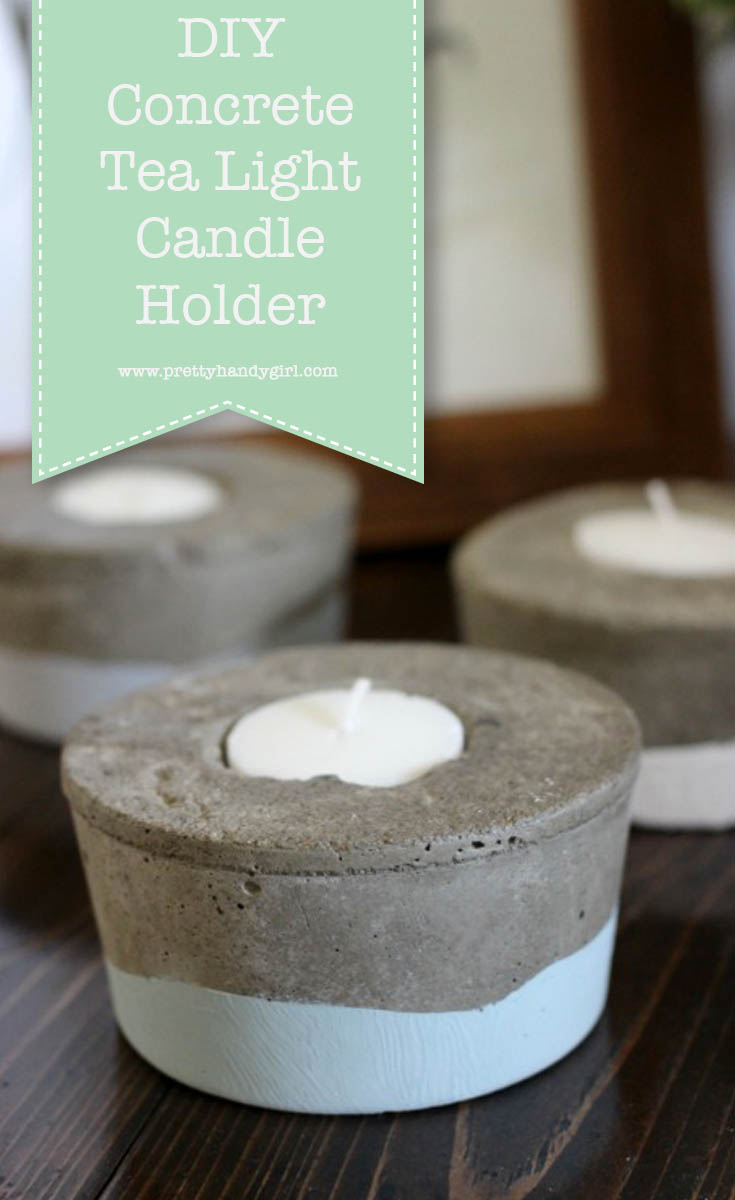
Hi everyone! This is Lindi, visiting again from Love Create Celebrate! Have you ever made anything with concrete? I’m not just talking about the patio outside! I’ve noticed concrete projects slowly making their way indoors and I’m loving it! The sleek industrial feel of concrete projects makes for some beautiful and unique home decor projects. If you haven’t tried it yet, these DIY Concrete Tea Light Candle Holders are the perfect project to start with!

Concrete Tea Light Candle Holders | Pretty Handy Girl

Materials: 

  • Concrete mix (buy a whole bag for less than $10!)
  • Plastic container
  • Tea light
  • WD-40
  • Clear Matte Spray Paint
  • Paint (optional)

Instructions: 

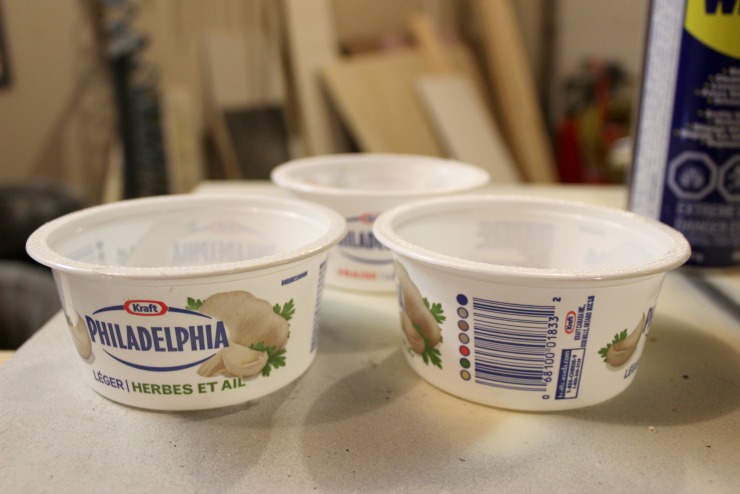
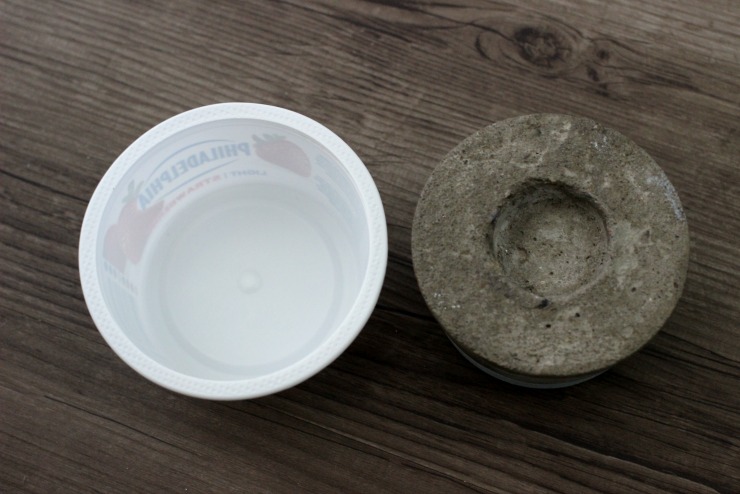
Chose some plastic containers from around your home to pour the concrete into. I used old cream cheese containers and they were the perfect size, but you can definitely chose larger containers too!

Concrete Tea Light Candle Holders | Pretty Handy Girl

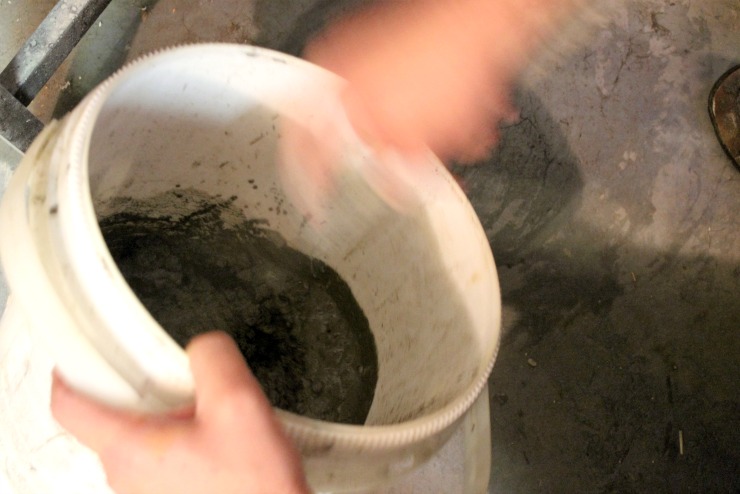
Mix your concrete according to the instructions on the bag. I made three little candle holders, so I used just over 3 scoops of concrete (same size as my containers). Wear gloves when working with concrete. Mix in a bucket or a plastic containers. Mix well until all chunks are gone. When you are done, simply water down any concrete that remains and dump it – this will keep your container clean.

Concrete Tea Light Candle Holders | Pretty Handy Girl

Give your plastic containers a good spray with WD-40 to ensure that the concrete doesn’t stick to the plastic.

Concrete Tea Light Candle Holders | Pretty Handy Girl

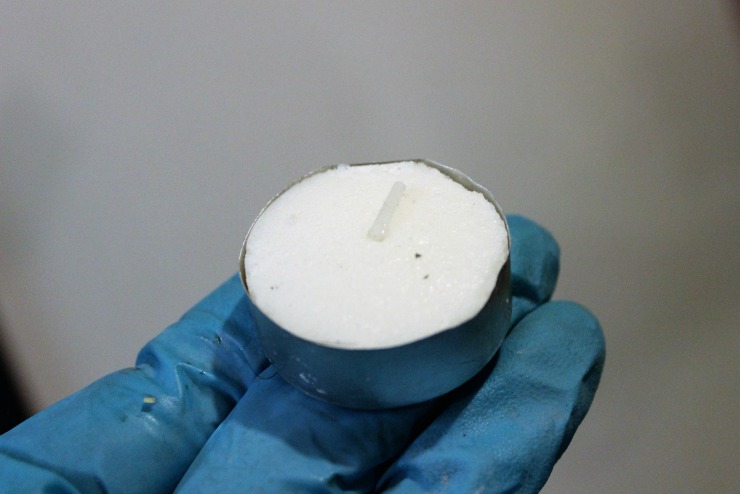
Fill your containers with the concrete mix and tap your container against your table or surface a few times. This will level out the concrete and remove any air bubbles. Grab your tea light and place it in the center. Push the tea light down until level with the concrete. Go back in five to ten minutes and push the tea light down if it has popped out of the concrete a bit.

Concrete Tea Light Candle Holders | Pretty Handy Girl Concrete Tea Light Candle Holders | Pretty Handy Girl

Leave your candle holder to set for up to a week. When it is hardened, pull out your tea light, and gently lift out the tea light backing. You may have to fold and pry a little to get it out. Then, slide the entire candle out of the plastic container.

Concrete Tea Light Candle Holders | Pretty Handy Girl

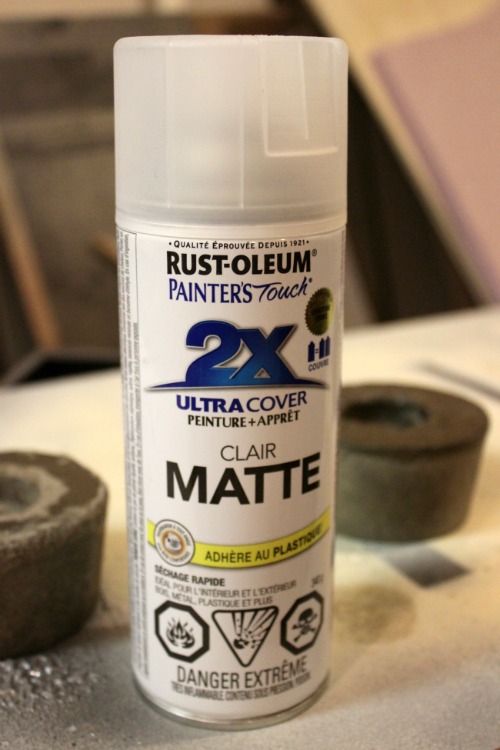
Grab your clear spray paint and spray your candle holders to protect and seal them. The concrete will soak up a lot, so don’t worry about overspray!

Concrete Tea Light Candle Holders | Pretty Handy Girl

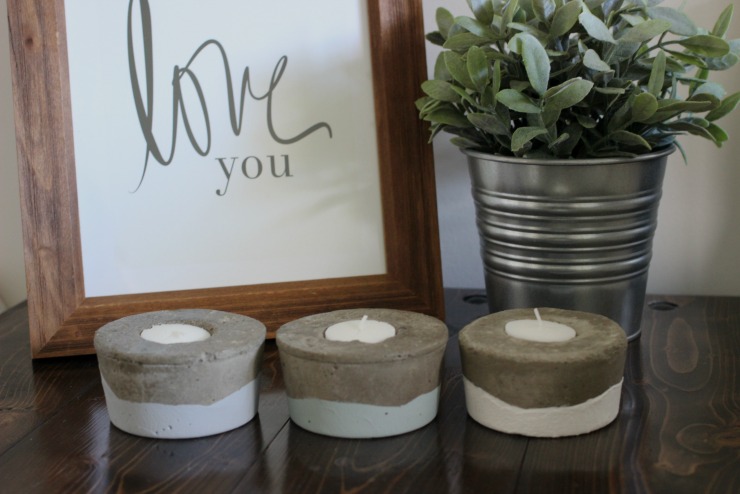
If you like, you can paint your candle holders. I dipped mine in three different colours of paint. I love the dipped paint effect!

Concrete Tea Light Candle Holders | Pretty Handy Girl

Set them up outside on a patio table or on your coffee table in the living room.

Concrete Tea Light Candle Holders | Pretty Handy Girl

I love how versatile and unique these candle holders are! You are guaranteed to have a guest comment on them. 😉

Concrete Tea Light Candle Holders | Pretty Handy Girl

For more DIY decor inspiration visit Love Create Celebrate.

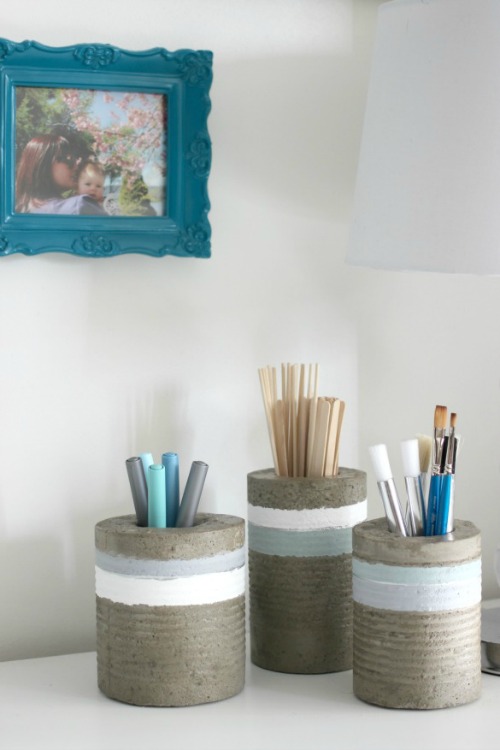
If you love the modern industrial look of concrete, you will love these simple DIY Concrete Vases!

Concrete Vases for PHG

Lindi Signature

~ view more projects by Lindi ~


Pin for later!

Magazine File Box Facelift | Pretty Handy Girl

Magazine File Box Facelift | Pretty Handy Girl

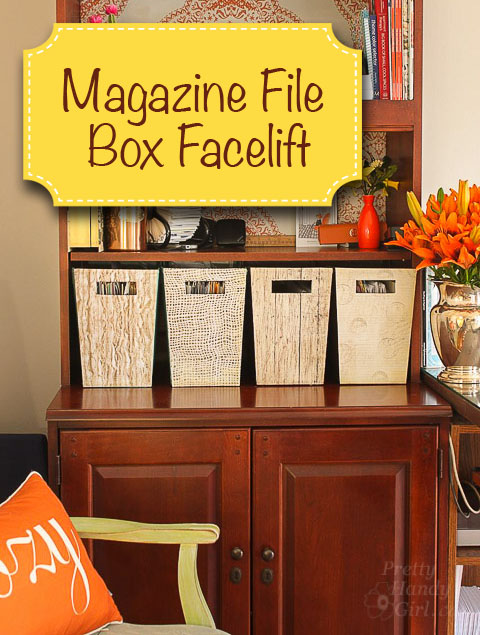
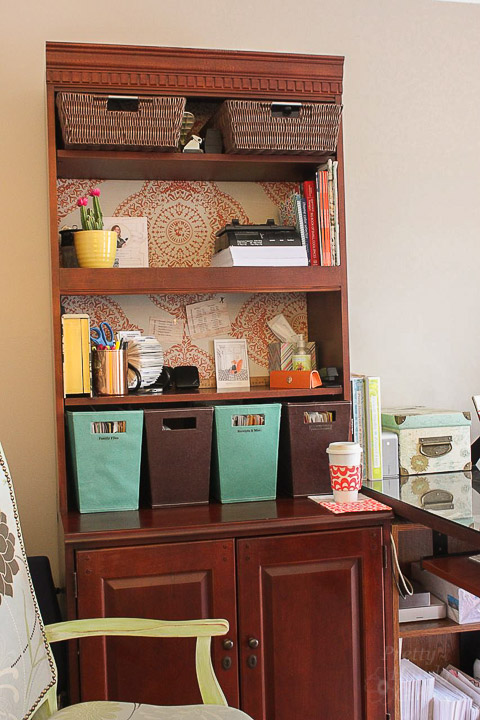
It’s a new year and I want to give a few rooms in our house a fresh new look. Our office was one of the first spaces I completed when I started this blog (has it really been 5 1/2 years!)

I’m tired of staring at the same room day after day. I know many of you feel the same way. You have that itch, or a burning desire to hop in the car and drive to your nearest Home Goods, World Market or The Container Store to buy cute colorful decor or storage bins. I almost caved into that desire because I was tired of looking at the two tone boxes I bought 6 years ago.  But, that would mean discarding the old ones. You know how I feel about throwing things away! If I can upcycle it, I’m going to!

Magazine File Box Facelift | Pretty Handy Girl

Within 10 minutes you could give a Magazine File Box a Facelift (or a storage box)! I saved a lot of money reusing the old. Factor in the gas money I saved by not driving to the store. And the time I saved by not leaving the house. I think I deserve a big fat high five! Put ‘er there fellow savers!

Here’s How to Give Your Magazine File Box a Facelift: Read more