2 Ingredient Ant Killer | Pretty Handy Girl
31 Days of Handy Home Fixes | Pretty Handy Girl

It’s no picnic when you realize your home has been invaded by sugar ants. Instead of spraying your kitchen (or wherever you find them) try this Two Ingredient Ant Killer.
2 Ingredient Ant Killer | Pretty Handy Girl
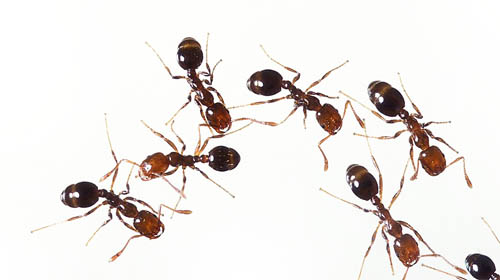
Photo by Stephen Ausmus – https://www.ars.usda.gov/is/graphics/photos/dec04/k11622-1.htm
Licensed under Public domain via Wikimedia Commons

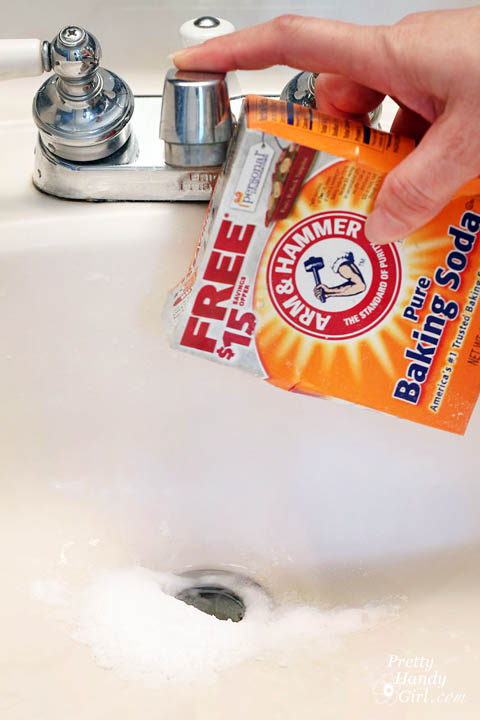
Day 17 – Two Ingredient Ant Killer

2 Ingredient Ant Killer | Pretty Handy Girl

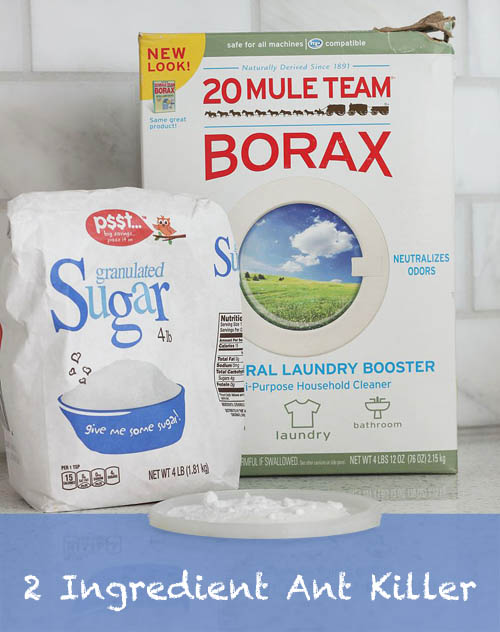
Mix equal parts sugar and Borax into a small disposable lid. Set it out near the area of largest ant concentration or near the location they are entering your home. Caution: DO NOT put this mixture where children or pets can get to it.

Leave the mixture out for 24 – 48 hours or until you have no more ants. The ants will take the sugar and Borax back to the nest where the colony will have a feast and consequently die after intestinal distress.

Lest you think buying a box of Borax is wasteful, I’ll have another use for Borax later this month.
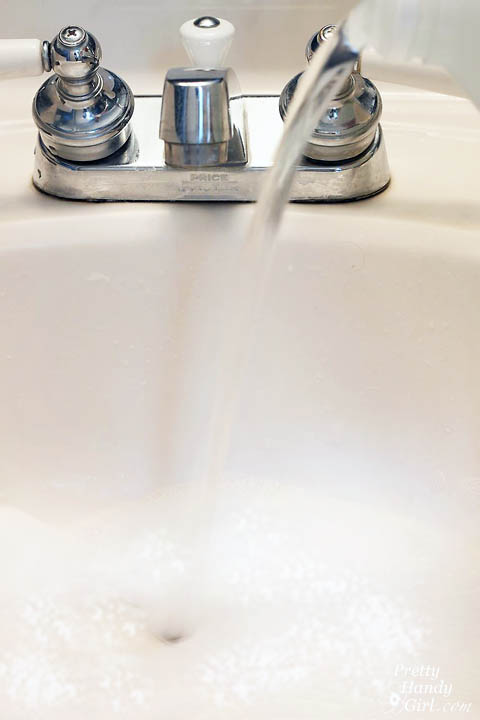
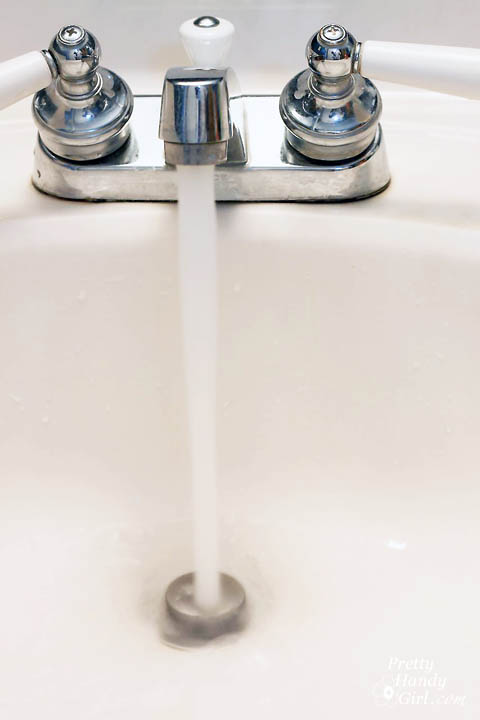
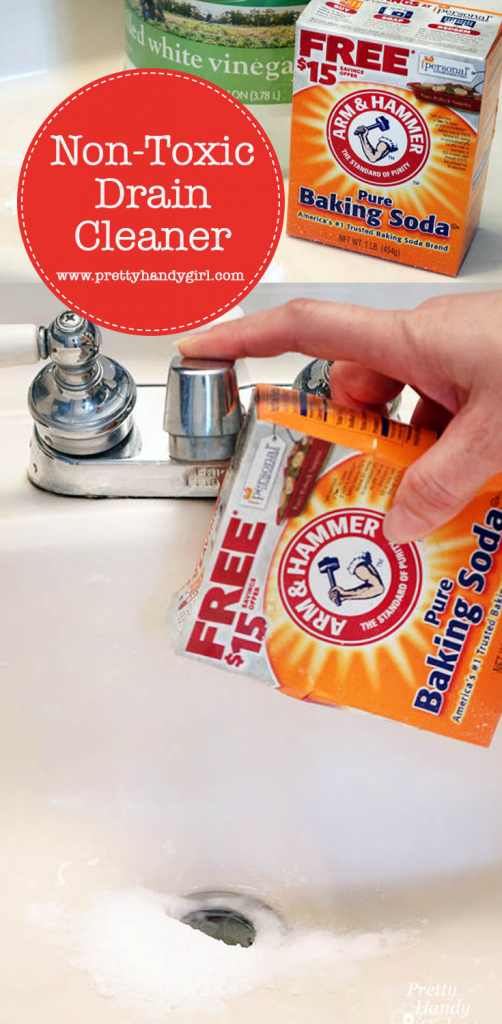
PHGFancySign

I’m participating in Nester’s 31 Days Challenge. Check out all the other bloggers who are participating!

31 Day Writing Challenge

Don’t miss a single tip! Sign up to get all the tips in your email:


Sign Up for Email Subscription


Other tips in the 31 Days of Handy Home Fixes series:


31 Days of Handy Home Fixes | Pretty Handy Girl

Take out the papers  and the trash…ummm take out the trash?

foot_on_trashcan

Grrr, don’t you hate when the trash bag gets stuck in the trash can? No worries, I have an easy fix that will make taking out the trash a much easier chore. It may sound a little crazy, but it involves drilling holes.

Day 16: Put Holes in Your Trash Can

To release the suction created by a full trash bag in the trashcan you need to add some air holes. If you put the holes about an inch up from the base you won’t risk any drips on the floor if the bag leaks.

Simply drill three to four air holes into the bottom of your trash can.

drill_holes_in_trash_can

Now you can take out the papers and the trash or you don’t get no spending cash. Yakkety Yak, don’t talk back.

before_after_trashcan

This year we’ve added several chores for the kids to handle. Taking out the trash and recycling is one of their responsibilities. I’m curious, what chores do your kids have?

PHGFancySign

Pin for later!

how to remove a trash bag that gets stuck in trash can

I’m participating in Nester’s 31 Days Challenge. Check out all the other bloggers who are participating!

31 Day Writing Challenge

Don’t miss a single tip! Sign up to get all the tips in your email:


Sign Up for Email Subscription


Other tips in the 31 Days of Handy Home Fixes series:


31 Days of Handy Home Fixes | Pretty Handy Girl

Curtain rods, towel bars, and other wall mounted accessories are relatively easy to hang. The trick is securing them to a stud so they can hold up to the abuse. But, how often have you found that you don’t have a stud where you want it mounted? Probably 98% of the time, right? That’s where it is important to use good wall anchors (specifically for your type walls.) Today I’m talking about drywall anchors.

Day 15: Use Good Wall Anchors

You are probably thinking, “Okay, no problem. The towel bar I bought came with wall anchors. I’ll just use those.” And that would be a mistake!

use_better_anchors

Why? Because those freebie wall anchors get mangled and they won’t hold up to regular use. DO NOT USE those El Cheapo wall anchors that come with your curtain rods, shelves, towel bars, toilet paper holders, etc. In fact, don’t even save them if you don’t use them. PITCH ‘EM…NOW… JUST DO IT!

I am a big fan of the TOGGLER wall anchors because they are easy to drill into drywall and you can remove them fairly easily with a phillips head screwdriver. There are several other brands and types of wall anchors that will work just as well. When purchasing wall anchors, pay attention to the weight limit and wall types they are designed for.

Now, pin this post because friends don’t let friends use el Cheapo Wall anchors!

Good & Bad Wall Anchors | Pretty Handy Girl

PHGFancySign

Pin for later!

how to choose the right wall anchor

I’m participating in Nester’s 31 Days Challenge. Check out all the other bloggers who are participating!

31 Day Writing Challenge

Don’t miss a single tip! Sign up to get all the tips in your email:


Sign Up for Email Subscription


Other tips in the 31 Days of Handy Home Fixes series:


Non-Toxic Drain Opener | Pretty Handy Girl

31 Days of Handy Home Fixes | Pretty Handy Girl

A clogged tub or sink is an inevitable situation for any homeowner. Before you reach for the toxic drain cleaner, try this easy and inexpensive Non-Toxic Drain Opener.

All you need is a box of baking soda and cheap white vinegar.

Non-Toxic Drain Opener | Pretty Handy Girl

Day 14: Non-Toxic Drain Opener

Remove the drain pop up and pour a LOT of baking soda into the drain.

Non-Toxic Drain Opener | Pretty Handy Girl

Pour white vinegar into the drain until it causes a bubbling reaction. Continue until the baking soda fails to bubble up.

Non-Toxic Drain Opener | Pretty Handy Girl

Turn on the hot water full blast. Let it run for at least a minute.

Non-Toxic Drain Opener | Pretty Handy Girl

Hopefully this quick and non-toxic solution will clear your drain. Need some help getting that pop up back in place, follow this tutorial.

PHGFancySign

Pin for later!

baking soda cleaning use

I’m participating in Nester’s 31 Days Challenge. Check out all the other bloggers who are participating!

31 Day Writing Challenge

Don’t miss a single tip! Sign up to get all the tips in your email:


Sign Up for Email Subscription


Other tips in the 31 Days of Handy Home Fixes series:


Protect Spigot from Frozen Burst Pipes | Pretty Handy Girl

31 Days of Handy Home Fixes | Pretty Handy Girl

Winter is coming and this year I want to help you protect your home from a burst pipe because it froze. Much like your water pipes (which should have foam insulation sleeves on them,) it’s important to protect your spigot on the outside of your house from freezing.

Protect Spigot from Frozen Burst Pipes | Pretty Handy Girl

Luckily, Frost King makes this handy dandy Insulated Outdoor Faucet Cover.

Day 12: Protecting Spigots from Frozen Burst Pipes

To install the insulated cover, you simply slip the interior cord loop over the spigot handle.

Protect Spigot from Frozen Burst Pipes | Pretty Handy Girl

Cinch the cord lock tight onto the styrofoam cover.

Protect Spigot from Frozen Burst Pipes | Pretty Handy Girl

And your spigot is protected from freezing leading to a costly burst pipe.

Protect Spigot from Frozen Burst Pipes | Pretty Handy Girl

The nice thing about these covers is they can be installed and removed in seconds. If you need to use your spigot, it’s simple to remove and then replace the cover.

PHGFancySign

Pin for later!

protect frozen pipes from bursting

I’m participating in Nester’s 31 Days Challenge. Check out all the other bloggers who are participating!

31 Day Writing Challenge

Don’t miss a single tip! Sign up to get all the tips in your email:


Sign Up for Email Subscription


Other tips in the 31 Days of Handy Home Fixes series: