Make Your Own Laundry Detergent for Only $1.25 per year

Today’s tip is one that is gentle on your washer (HE and regular), but most importantly it will save you money! If you’ve ever looked at the cost of laundry detergent, you may have choked at the cost. I have a wonderful recipe to make your own Liquid Laundry Detergent for only $1.25 per year! And the detergent is low suds and low residue which will keep your washer and clothes cleaner.

Make Your Own Laundry Detergent for Only $1.25 per year

How to Make DIY Laundry Detergent

If you think this detergent couldn’t possibly work on dirty clothes, think again. I can tell you that in addition to our regular clothing, I’ve been using this recipe for 9 years on my boys’ clothes, on my own work clothes, and my husband’s karate clothing. And it really works. Whatever stains don’t come out in the wash are no match for my DIY Miracle Stain Remover.

The ingredients for the laundry detergent are simple and can be purchased at your grocery store. Just look on the high or low shelves in the laundry detergent aisle. If you can’t find them there, you can also look at your local hardware or home improvement store.

To make the detergent, you only need about 15 minutes and then let the detergent sit overnight. The next morning, you stir, add more water and you are done! Do you think that’s too much time to devote to making laundry detergent? What if I told you that this batch lasts our family of four (did I mention two of them are young boys) six months or more.

Make Your Own Laundry Detergent for Only $1.25 per year

Click Here to Download the Printable Version of the Recipe

Laundry Detergent for $1.25 a Year

Several of you asked me to make a video showing how I make my own detergent. For your convenience you can watch the video, then scroll down to read the directions.

Ingredients:

(I’ve included affiliate links for your convenience. I earn a small percentage from a purchase using these links. There is no additional cost to you. You can read more about affiliate links here.)
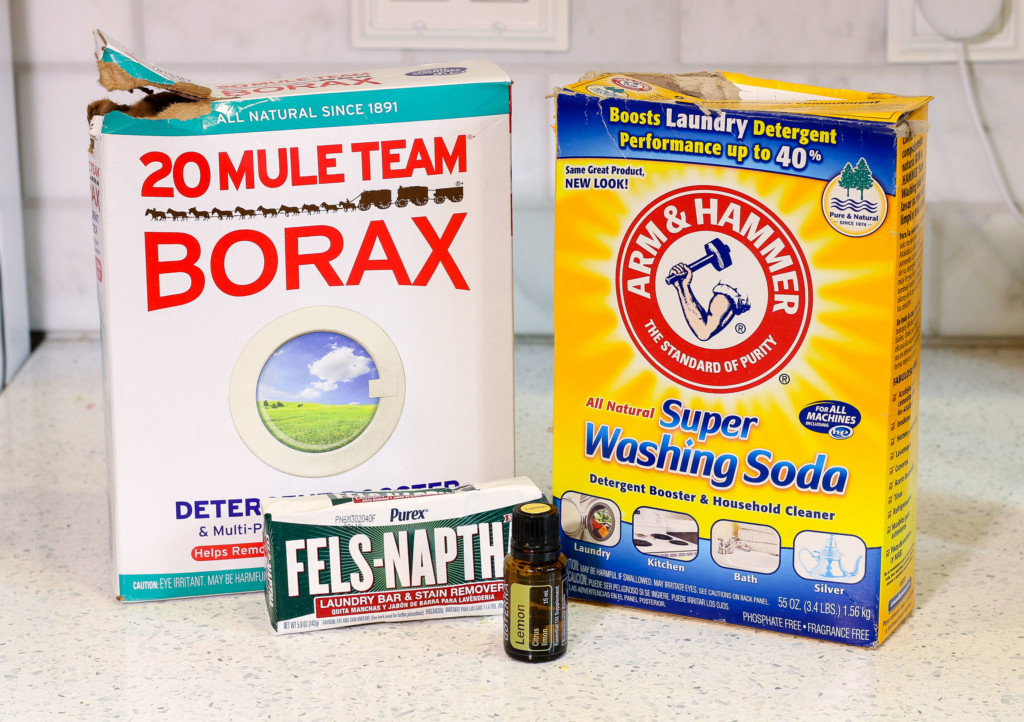
DIY Laundry Detergent Ingredients

Please note, you can purchase these items cheaper at your local grocery store or hardware store. The links are here to help you see what the box looks like or to order if you can’t get to the store.

Optional: Essential Oil for Scent (see below for scent ideas)

Instructions:

  1. Cut Fels Naptha Bar in quarters. Grate one quarter of the Fels Naptha Bar using a fine cheese grater.
  2. Boil 1 cup of water. Pour grated Fel Naptha into pan of boiling water. Stir continuously until the soap has dissolved. Meanwhile, pour 2 1/2 quarts (10 cups) of water into a large container or bucket. Pour dissolved Fels Naptha into the bucket of water. Stir.
  3. Add 1/4 cup Super Washing Soda and 2 TBSP Borax to the bucket.
  4. Add 2 1/2 quarts more water and stir.
  5. Cover the mixture and let is sit overnight out of reach of pets or children. Uncover the bucket and stir the gelatinous mix.
  6. Add 5 Quarts (20 cups) of water to the bucket. Stir.
  7. Add 15-30 drops of essential oil of your choice.

Some essential oil scents you may like:

Citrus scents: lemon, lime, orange, bergamot, or grapefruit
Herbs scents: peppermint, spearmint, rosemary, basil
Other scents to try: Eucalyptus, chamomile, cypress, lemongrass
Want to fight mold & mildew? Use Tea Tree Oil (Melaleuca)

Blends to try:

  • basil & lemon
  • lavendar & lemon
  • orange, bergamot, and lemon
  • chamomile, lavender, and orange
  • lemon & tea tree

Miracle Stain Remover Recipe:

If your clothing gets stained, try soaking in this miracle stain remover a day or two before laundering. You’ll be amazed how the stain lifts out effortlessly.

miracle stain remover

How did I figure out my cost per year?

I had to do a little guestimating to figure out my cost. In the nine years I’ve been making this recipe, I’m only on my second box of Borax and Arm & Hammer Washing Soda.

Each batch of DIY laundry detergent consists of at least 4o cups. If you use the required 1/4 cup per load (do not use more, as more detergent won’t get your clothing cleaner) you can easily get 160 loads from each batch.

All this to say, I came up with a very conservative estimate that I pay $1.25 for laundry detergent per year!
Make Your Own Laundry Detergent for Only $1.25 per year

Storing Your Laundry Detergent:

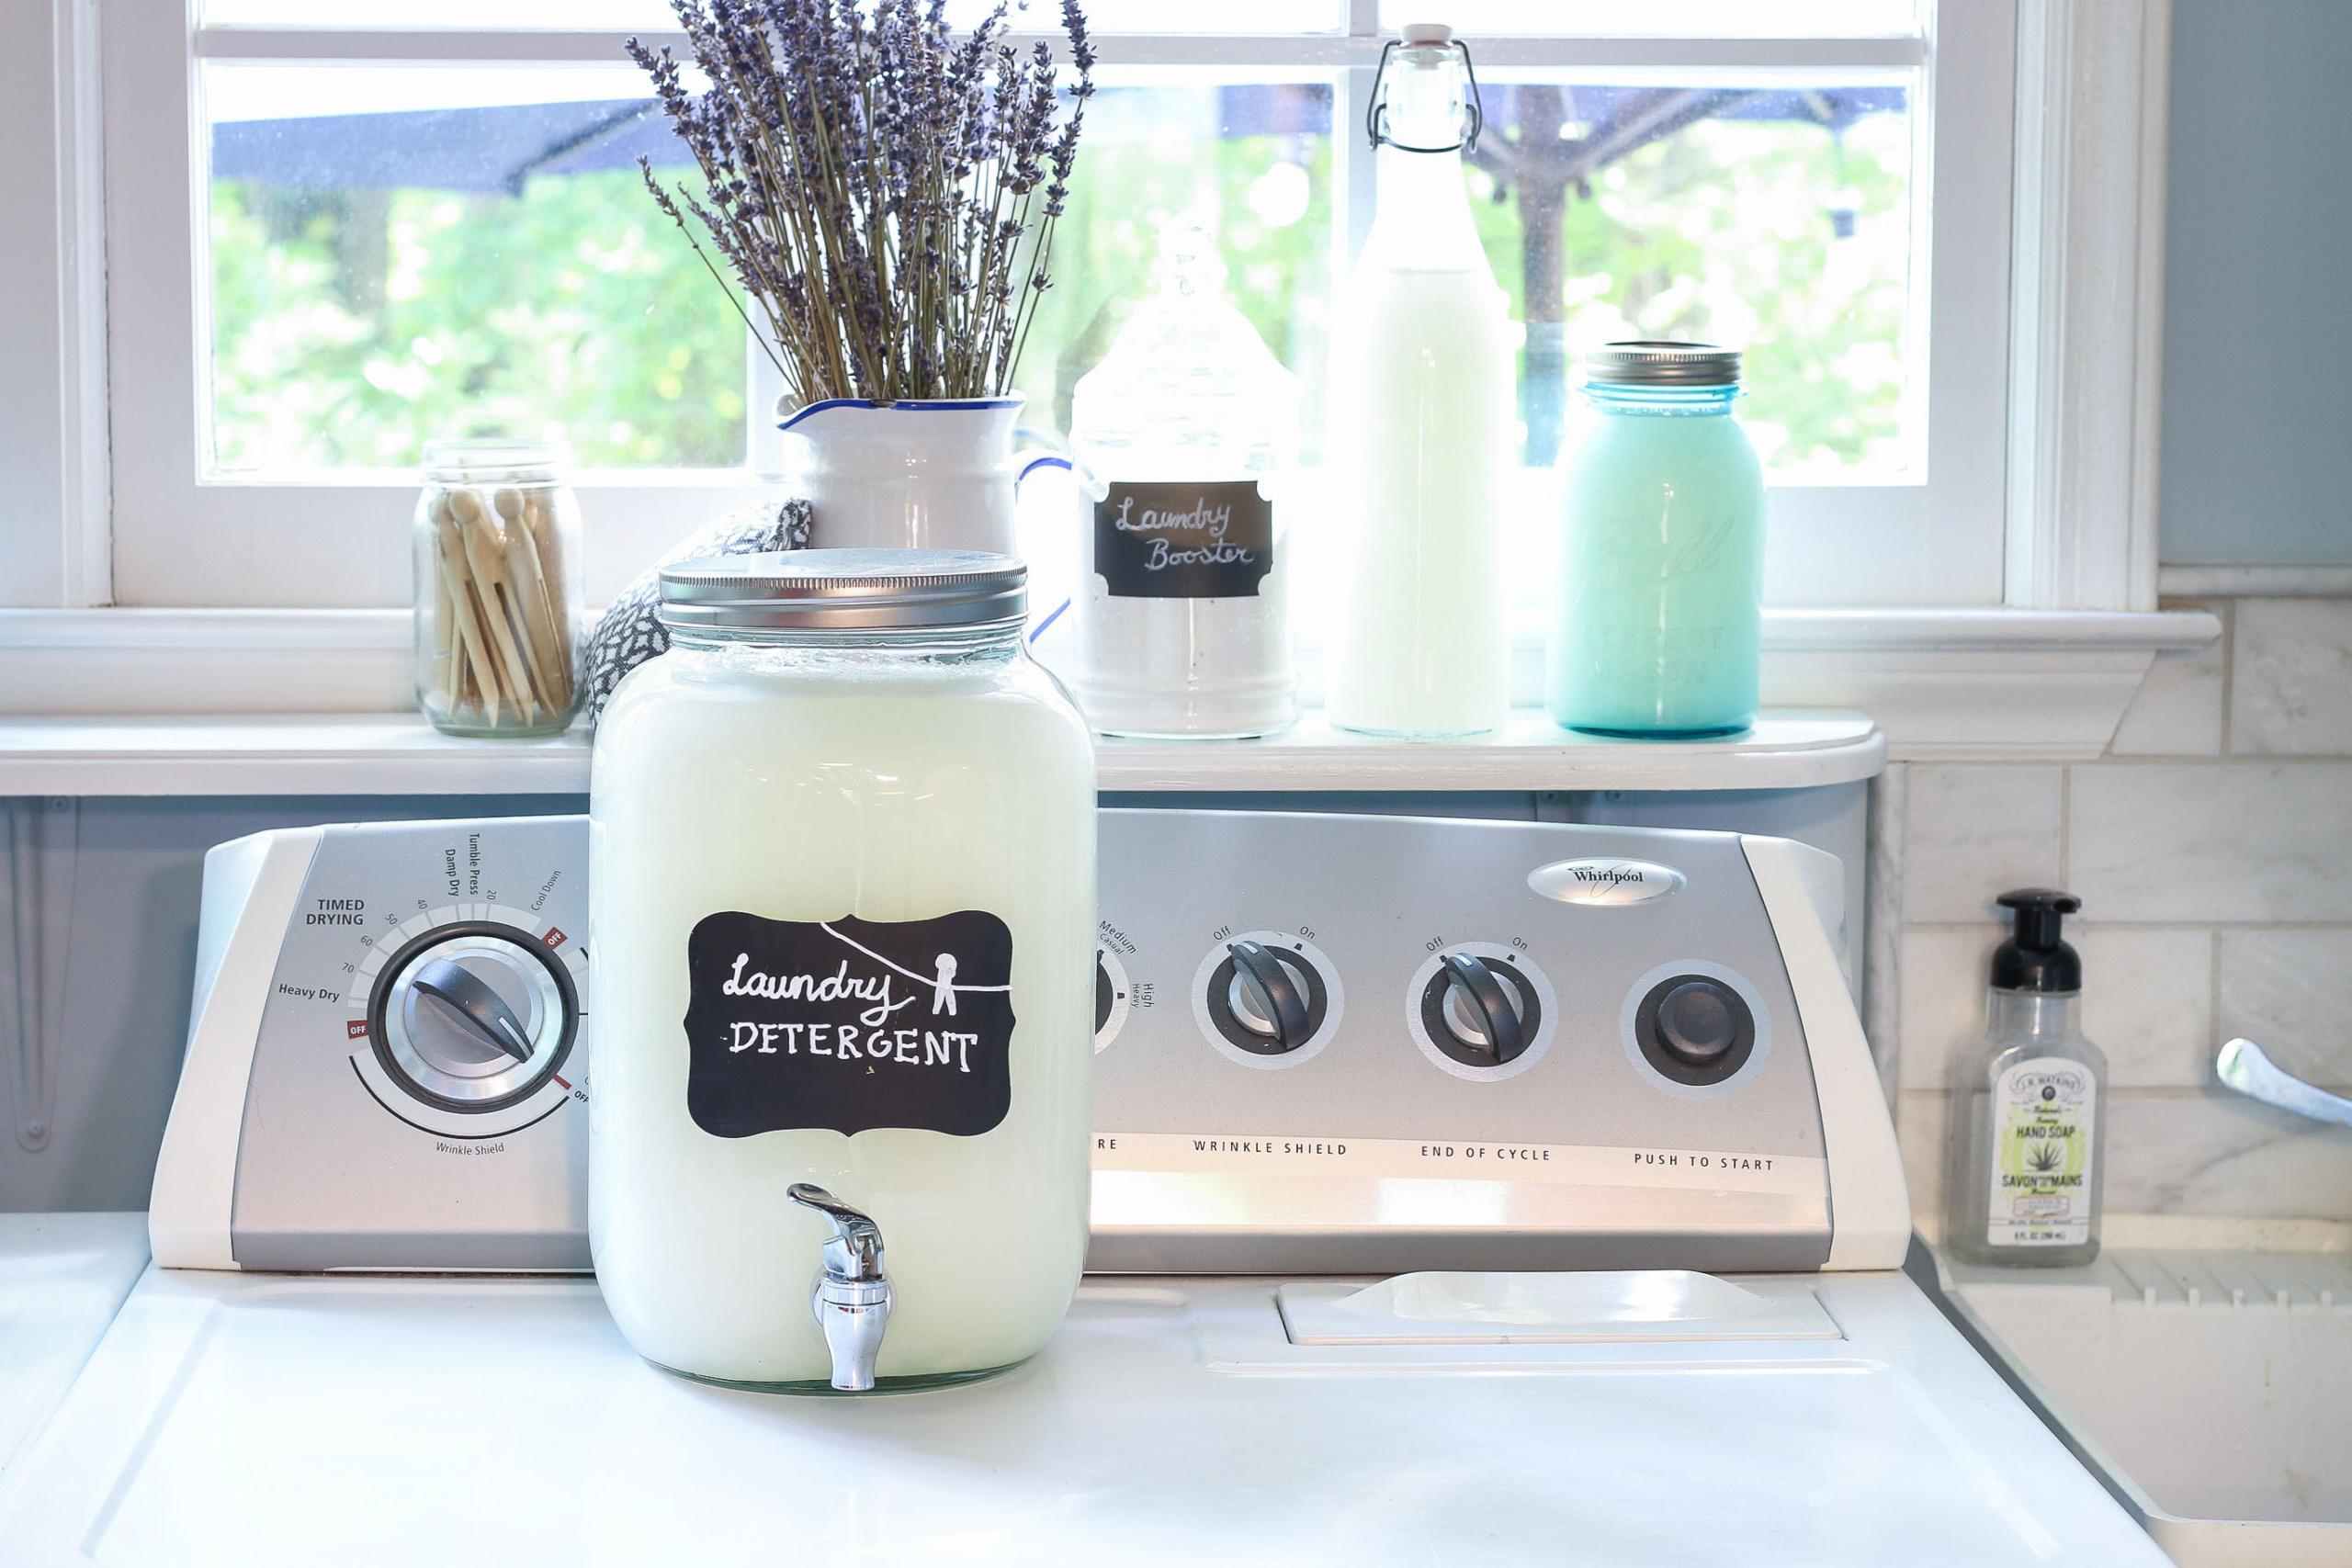
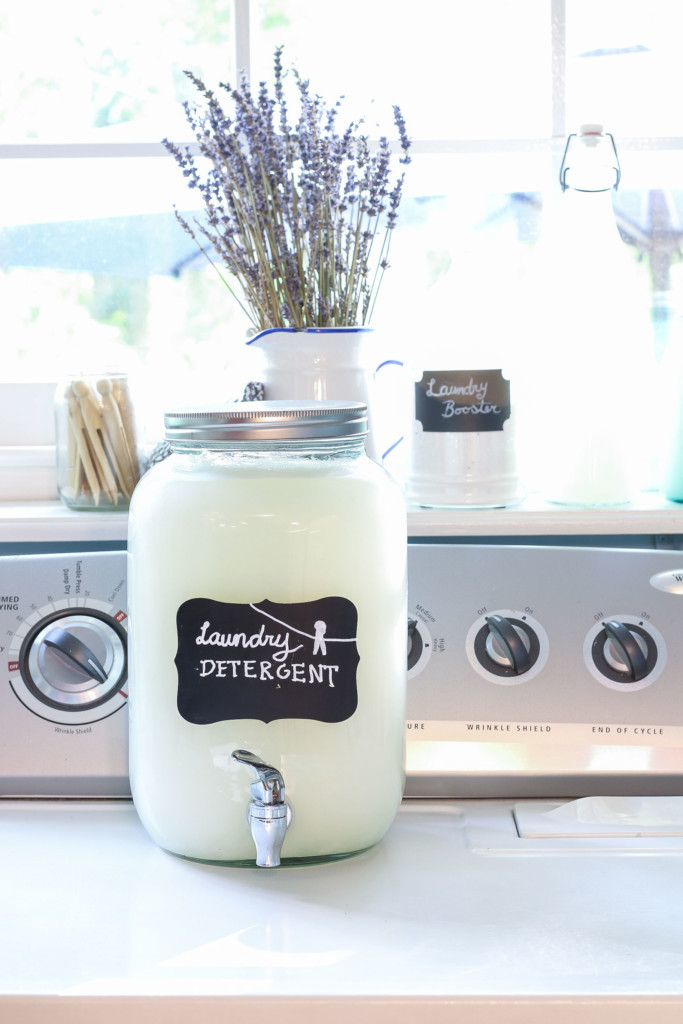
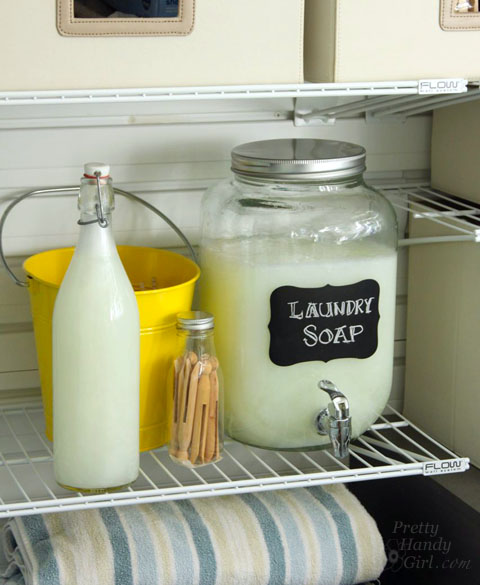
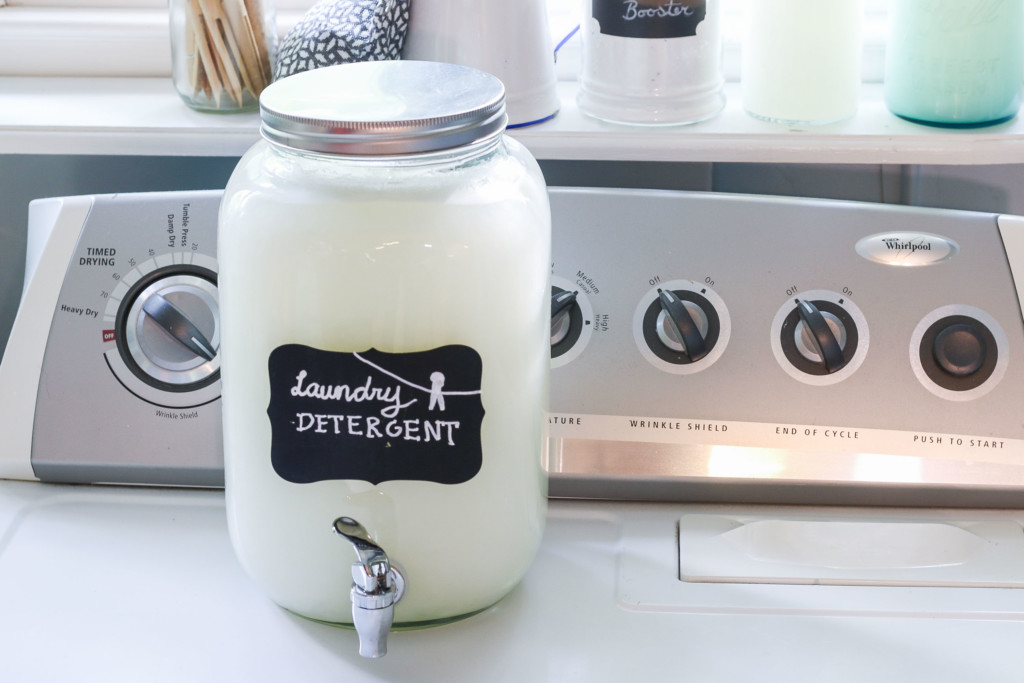
When I first started making this recipe, I used my empty laundry detergent container. But, it was often too small for the batch size. Next, I used an empty 2.5 Gallon Water Jug. But, several years ago I bought a big glass drink dispenser and a smaller bottle with a flip top stopper. The smaller bottle is filled and used for dispensing detergent into the 1/4 cup measuring cup and then added to the washer. The large drink dispenser holds all the excess detergent. This is a prettier solution to storing all the detergent.

DIY Laundry Detergent | Pretty Handy Girl

Gift Idea:

Once you try this DIY laundry detergent, I know you’ll love it. And then you’ll want to share this recipe with everyone you know! I like to share the recipe with a small sample amount in a laundry themed basket.

DIY Laundry Detergent |Pretty Handy Girl

If you want more uses for that big box of Borax, check out my 2 Ingredient Ant Killer!

PHGFancySign

Pin this page for later!

Make Your Own Laundry Detergent for Only $1.25 per year


Don’t miss a single tip! Sign up to get all the tips in your email:


Sign Up for Email Subscription


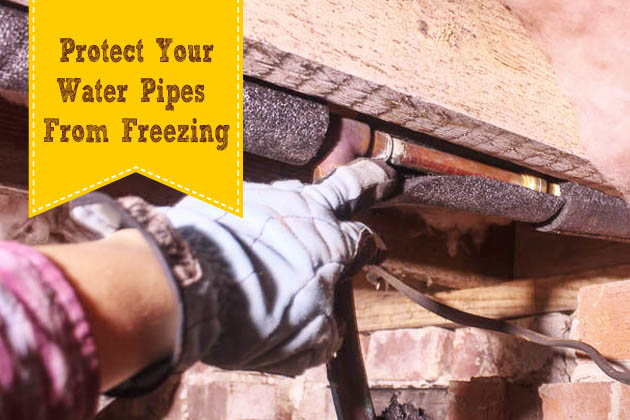
How to Protect Your Pipes from Freezing | Pretty Handy Girl

Protect Water Pipes from Freezing | Pretty Handy Girl

In the same vein as Monday’s post about adding insulation, let’s continue preparing for winter. While you are under the house looking at insulation, take notice of your water pipes. Are they insulated too? If not, it’s important to protect your water pipes with foam insulation to prevent them from freezing.  Here in North Carolina, we’ve been experiencing more winters with temperatures dipping below freezing and sometimes in the single digits.

Having a water pipe freeze and burst is not a disaster I wish to experience. Water leaks, mold, termite damage and asbestos are plenty of experiences for one handy girl. Given my experience with water leaks, I will do everything I can to prevent future leaks (including installing water leak detectors.)

Ready to learn How to Protect Water Pipes from Freezing? This is one of the easiest tutorials I’ve written. Honest.

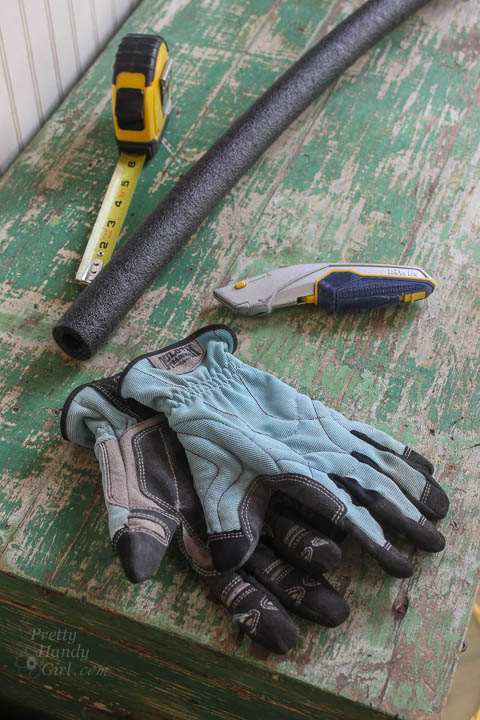
Materials:
(contains affiliate links)

Protect Water Pipes from Freezing | Pretty Handy Girl

Instructions:

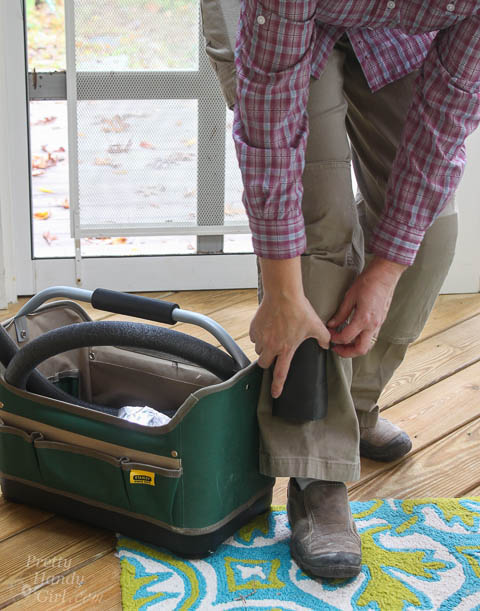
If you are venturing into the crawlspace, protect your knees. As a brand ambassador for Duluth Trading Company, I was overjoyed to try these Duluth Trading Company cargo pants with knee pad sleeves. They are now my favorite work pants and I wear them with the inserted knee pads anytime I have to go under the house.

Protect Water Pipes from Freezing | Pretty Handy Girl

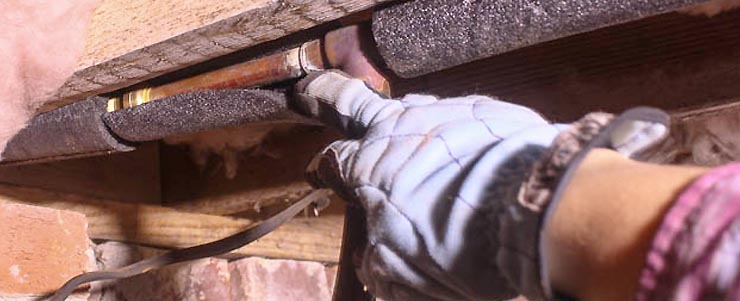
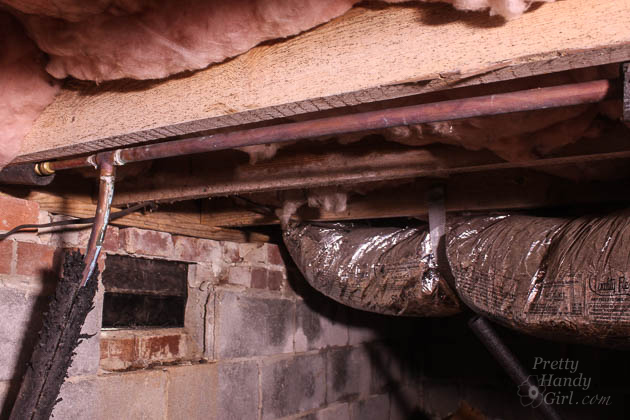
Locate any unprotected water pipes (look for copper, white, red, blue or gray pipes about 3/4 – 1 inch in diameter).

Protect Water Pipes from Freezing | Pretty Handy Girl

Measure the length of the exposed pipe. Read more

Smoke Detector Maintenance | Pretty Handy Girl

31 Days of Handy Home Fixes | Pretty Handy Girl

Happy Halloween! Trick or Treat, smell my feet! Now, give me something good to eat. Are you ready for the trickery tonight? Ahhh, good. What about the time change in the US? On Sunday, November 2nd be sure to turn your clocks back one hour. Are you ready for that? What’s to be ready for? Well, this is one of two times a year you need to maintain your smoke detectors.

I don’t have to tell you how tragic not having a working smoke detector can be. All you have to do is read the news to hear many stories about homes burning to the ground and many lives consumed by the fire because they slept through it. Let’s commit to each other that we will reduce the statistics of fire fatalities.  All you have to do is maintain your smoke detectors twice a year when you change your clocks.

Day 31 – Smoke Detector Maintenance Tips:

Smoke Detector Maintenance | Pretty Handy Girl

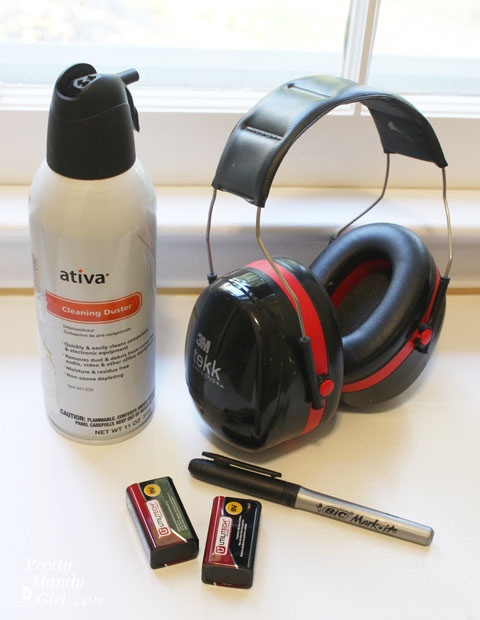
First, gather a few supplies and then we can whip through this maintenance task.

Materials:

  • Can of compressed air
  • NEW 9 volt batteries
  • Permanent marker
  • Hearing protection
  • Electrical tape (or other tape)

Instructions:

Put on your hearing protection. (I finally got smart this year and wore hearing protection while replacing the batteries and testing the smoke detector. No need to damage my hearing or get a headache from listening to the alarm one foot away from my head!)

Begin by removing your smoke detector. Don’t forget to check your hardwired smoke detector, it might also use a back up battery.

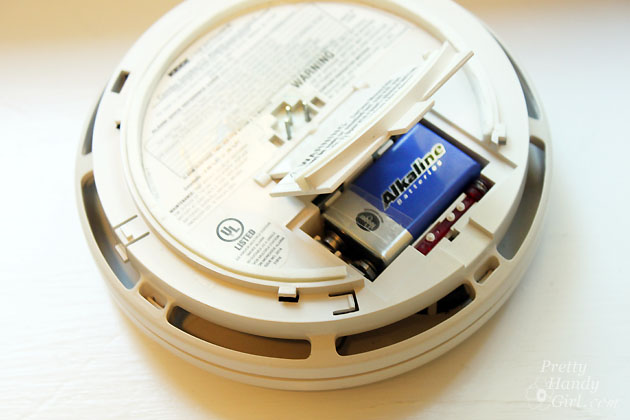
Open the battery compartment and remove the old battery.

Smoke Detector Maintenance | Pretty Handy Girl

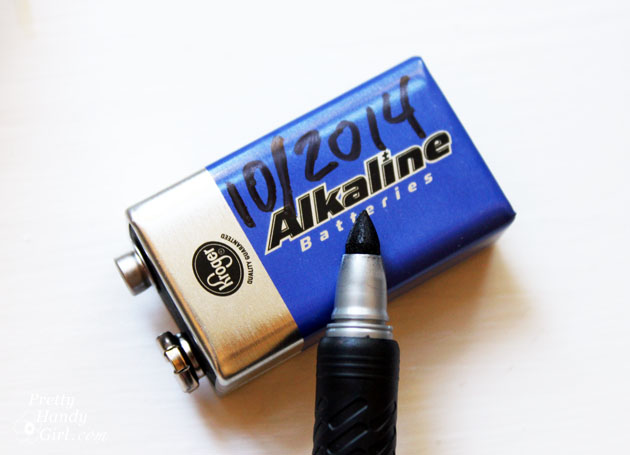
If you want to reuse that 9 volt battery, mark the month and year on the battery. That way you know that this was removed from the smoke detector. Don’t EVER reuse the battery in your smoke detectors, but it’s fine to use for your toys and electronics.

Smoke Detector Maintenance | Pretty Handy Girl

If you are going to throw away the battery, it’s important to cover the terminals with tape. If you don’t a fire could start if something metal touches both terminals at the same time.

Smoke Detector Maintenance | Pretty Handy Girl

Put a new battery into the smoke detector (pay attention to where the + and – terminals go.)

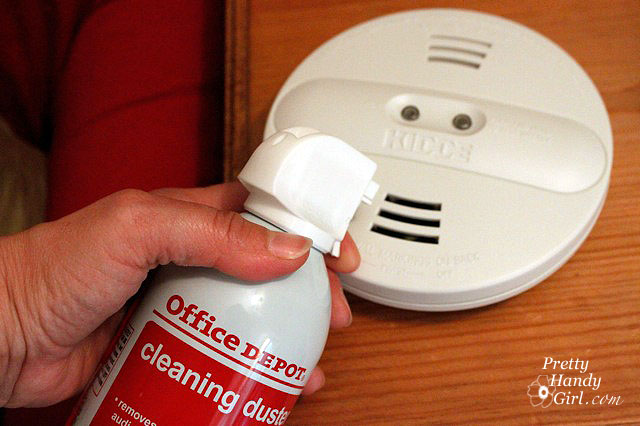
Use the can of compressed air to blow out around the sensor and inside the smoke detector. Keeping a clean detector is important for it to function properly.

Smoke Detector Maintenance | Pretty Handy Girl

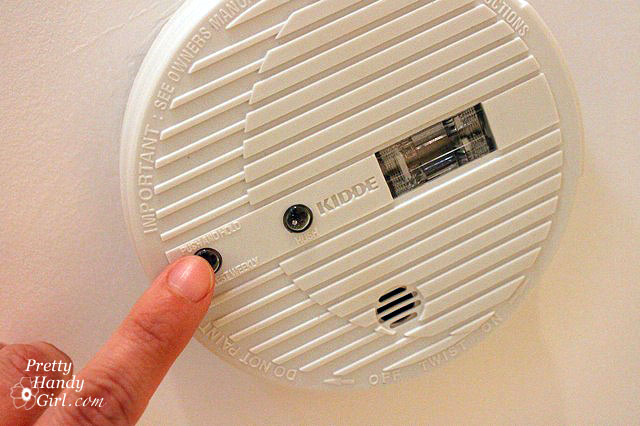
Replace the smoke detector and press the test button. After the alarm has stopped you can take off your hearing protection.

Smoke Detector Maintenance | Pretty Handy Girl

Move on to the next smoke detector.

Okay, tell me honestly, am I the last human being to figure out wearing hearing protection while maintaining your smoke detectors is a great idea?

That’s it! Day 31 of Nester’s 31 Days Challenge! I’m done and have to let out a big breath of air. Posting for 31 days straight was tough, but I’m glad I made it. Did you enjoy the series? How many other series did you follow?

I’m planning on taking it easier in November, so I hope you’ll excuse me if I miss a day or two out of my normal 3 day a week schedule.

PHGFancySign


Seal Gaps Around Pipes with GREAT STUFF | Pretty Handy Girl

Seal Gaps Around Pipes

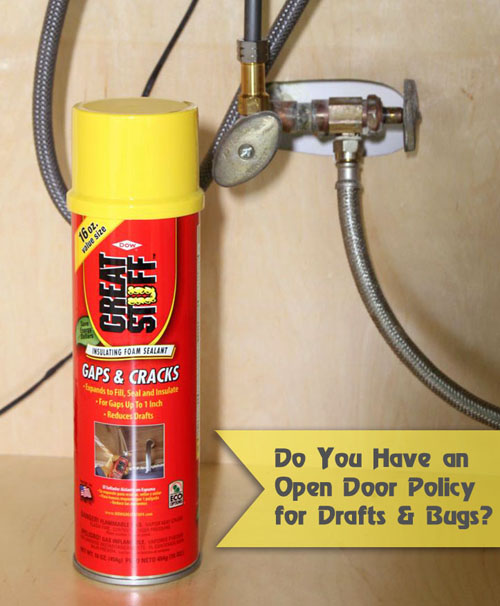
Do you have an open door policy for drafts and bugs?

Seal Gaps Around Pipes with GREAT STUFF | Pretty Handy Girl

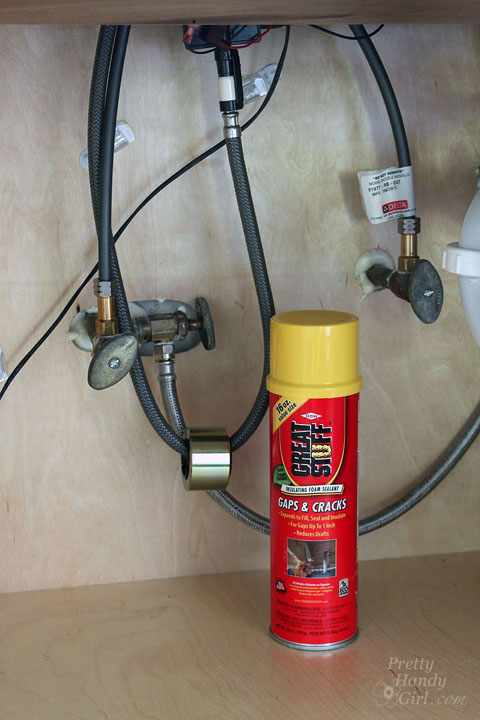
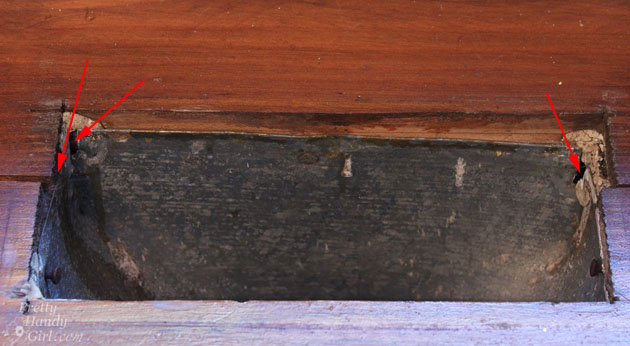
Of course not! Wait… you might and not know it. Have you looked under your sinks around the water pipes? If you have gaps around the pipes, you have the welcome sign up for cold air and bugs. Take a few minutes to seal around pipes with GREAT STUFF and you’ll stop them from entering your home.

Before GREAT STUFF approached me about writing a sponsored post for them, I was already a huge fan of their product. And between you and me, this post was already on the list of 31 Days of Handy Home Fixes! But, let’s keep that secret, because we don’t need GREAT STUFF to get an inflated ego. Ha, ha. Get it? Inflated. Oh yes, GREAT STUFF expands!

Two Headed Handy Girl

So much so, that I created a second head when I was working on my kitchen renovation. (I think my Halloween costume is complete, right?!)

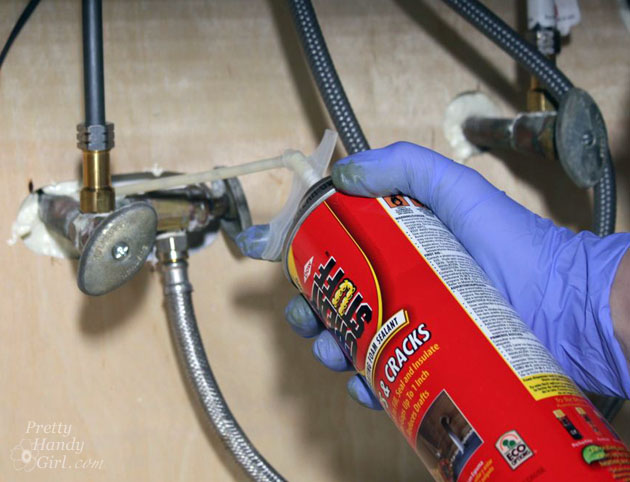
But seriously, this is GREAT STUFF! It will fill in any gaps and holes in your home and foundation to prevent bugs and drafts from coming in. GREAT STUFF is easy to use, simply shake the can for 30 seconds. Add the spray nozzle. Don’t forget to put on gloves and eye protection. I created a super quick video to show you how to use GREAT STUFF.:

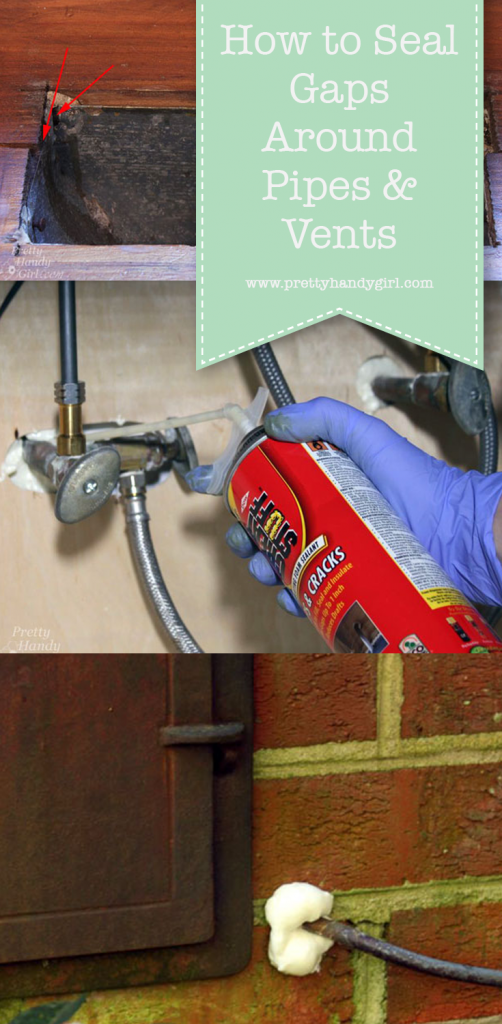
Spray GREAT STUFF into the gaps around your pipes. Do not overfill as GREAT STUFF expands as it cures.

Seal Gaps Around Pipes with GREAT STUFF | Pretty Handy Girl

Keep a wet wipe or paper towel nearby to wipe off the nozzle and wipe up any drips.

Once the GREAT STUFF has cured, trim off any excess with a serrated blade if necessary.

Seal Gaps Around Pipes with GREAT STUFF | Pretty Handy Girl

Here are just a few places you can use GREAT STUFF:

Around plumbing pipes under your sink:

Seal Gaps Around Pipes with GREAT STUFF | Pretty Handy Girl

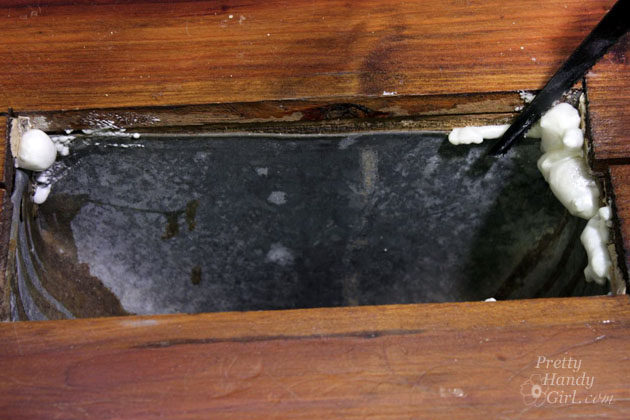
In the openings and gaps in your floor vents:

Seal Gaps Around Pipes with GREAT STUFF | Pretty Handy Girl

Around pipes and wires entering your home’s foundation:

Seal Gaps Around Pipes with GREAT STUFF | Pretty Handy Girl

Have you checked under your sinks or around your foundation lately? Buy a can of GREAT STUFF and seal all the gaps. Then enjoy your winter draft-free and your summers bug-free ;-).

Check out the Dow GREAT STUFF Pinterest board for more ways to use GREAT STUFF.

Seal Gaps Around Pipes

Pin for later!

sealing pipes with foam

Disclosure: This post was sponsored by GREAT STUFF. I was compensated for my time. As always, I’m extremely picky about the products I promote. If I don’t like a product, you won’t see it mentioned. All projects and opinions are my own. I was not told what to write or say about GREAT STUFF.

Other tips in the 31 Days of Handy Home Fixes series:


How to Caulk Cracks | Pretty Handy Girl

31 Days of Handy Home Fixes | Pretty Handy Girl

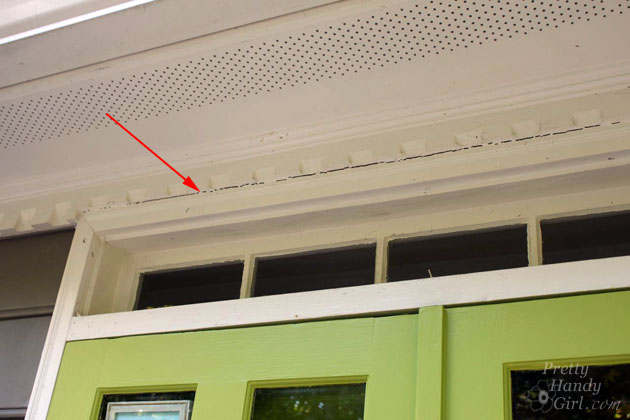
One of the best thing you can do to save money is to prevent water from getting through your home’s exterior. Now is a good time to walk around your home and look for gaps and cracks around doors, windows, trim and siding. If you see any, I’ll show you super quick way to caulk and fill them.

Here’s a big crack over our front door.

How to Caulk Cracks | Pretty Handy Girl

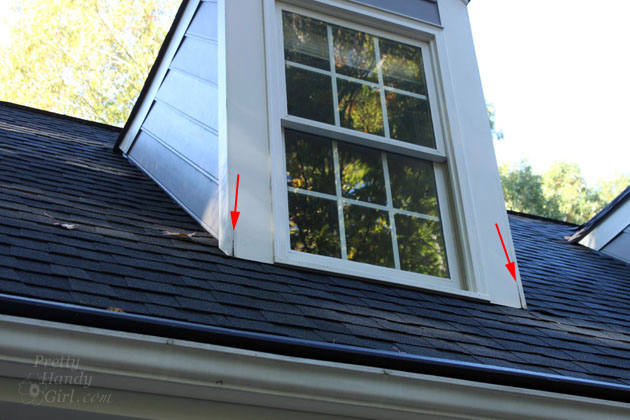
Gah! Two more gaps:

How to Caulk Cracks | Pretty Handy Girl

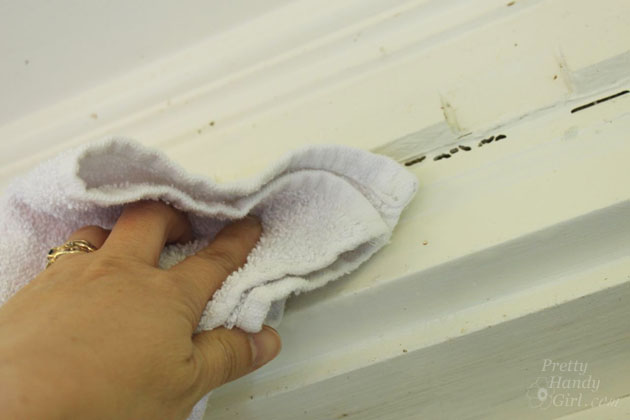
Clean off around the crack with a wet rag dipped in mild soap and water. If there’s mold or mildew, a water and bleach solution should get rid of it.

How to Caulk Cracks | Pretty Handy Girl

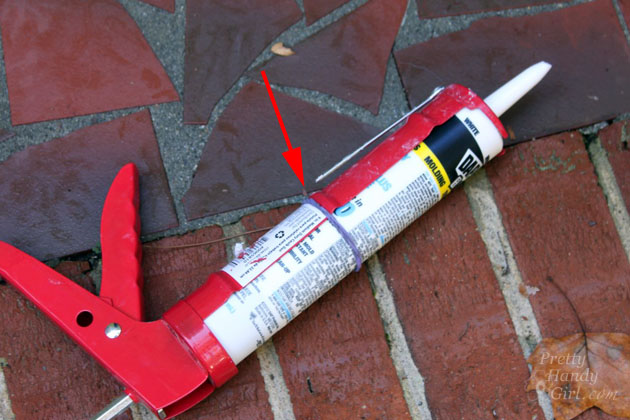
Thanks to my reader, Susan Cole, for this tip. If you are caulking upside down or the tube keeps slipping out of the gun, slip a rubber band around the tube and gun to hold it in place.

How to Caulk Cracks | Pretty Handy Girl

Here’s a quick video tutorial to show you how I breeze through caulking cracks and gaps:

That’s all there is to it! Now our home is protected from water and insects.

How to Caulk Cracks | Pretty Handy Girl

In case you were wondering, I was able to lean out the dormer window while keeping my feet on the floor.

How to Caulk Cracks | Pretty Handy Girl

If I had needed to lean out any further, I would have used a sturdy ladder or hired someone to do it for me. Recently I’ve been leaning (pun intended) toward hiring out any task that involves climbing higher than one story. Falling from a ladder is just too risky for this DIY Mom. Just because I can do it doesn’t mean I always will.

PHGFancySign

Pin for later!

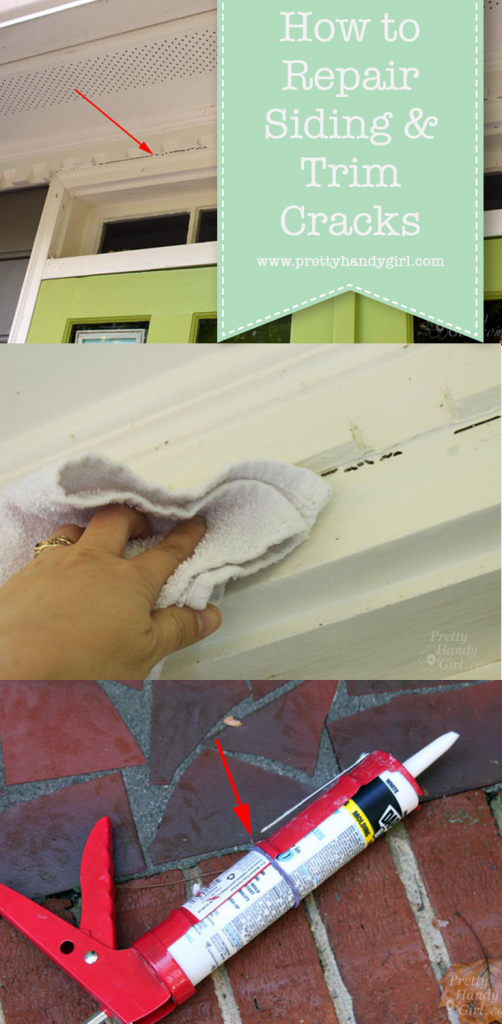
repair cracks in siding and trim with caulk