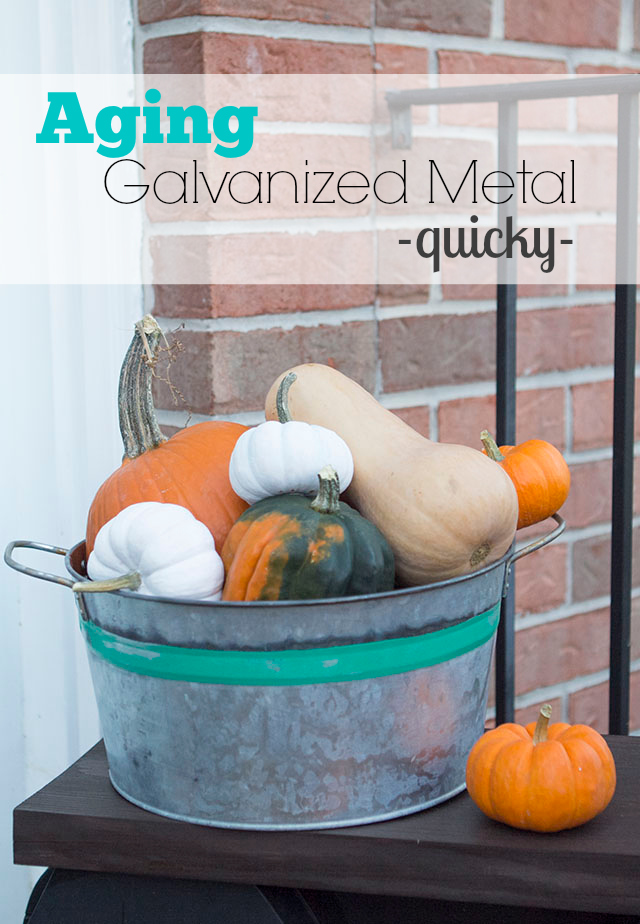
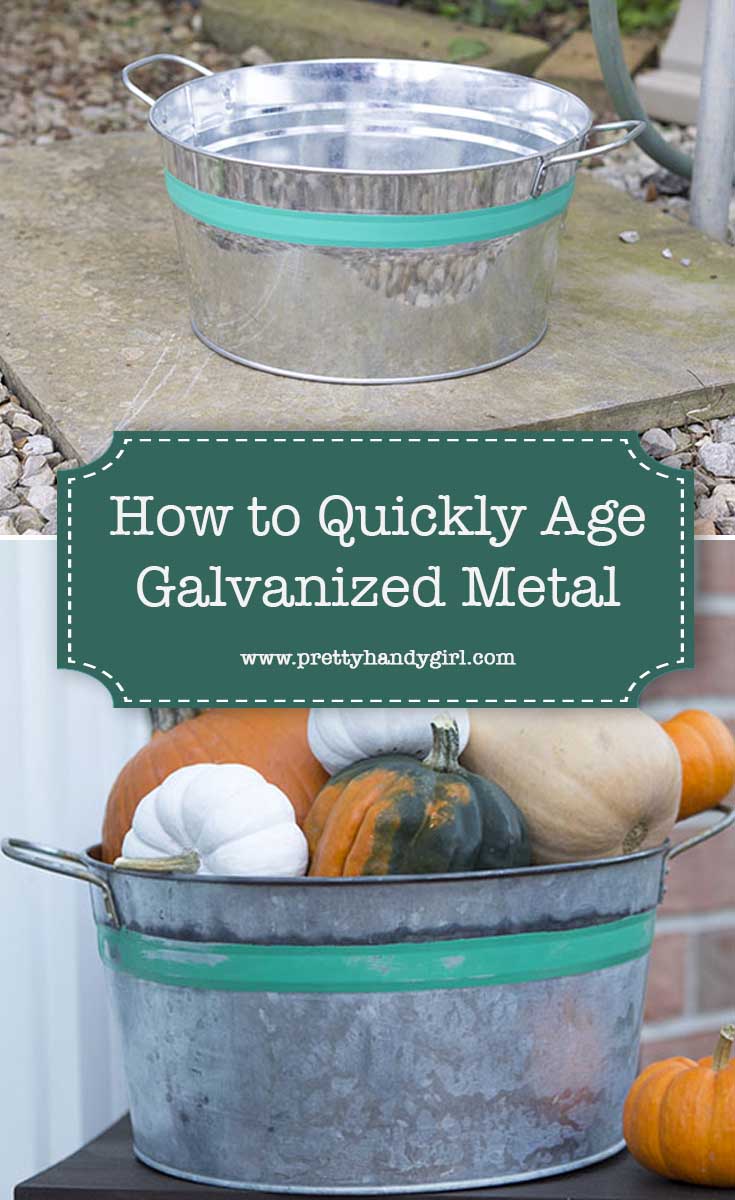
Aging Galvanized Metal Quickly
Hey everyone, it’s Jacque here from The DIY Village! I am so excited to share this DIY tutorial with you. I love the look of old metal buckets, but finding them with the nice patina is easier said than done. I am constantly coming across nice, bright and shiny buckets. I finally found a bucket that I liked the shape of and decided I would age it myself. Get ready to learn the quick process of aging galvanized metal that allows you to age it in minutes instead of decades!
Materials:
- Galvanized Metal Bucket
- Painter’s Tape
- Spray Paint
- Cotton Balls
- Rubber Gloves
- Nail Polish Remover
- Sand Paper
- Zep Toilet Bowl Cleaner
- Steel Wool
Instructions:
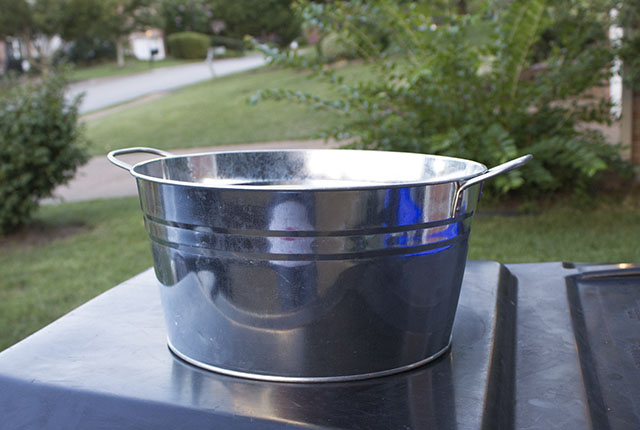
Start with a clean galvanized metal bucket. Make sure all debris is removed by wiping the bucket down with a damp rag.
Decide where you’d like your painted stripe to appear on your bucket.
I positioned mine where the bends in the bucket are.

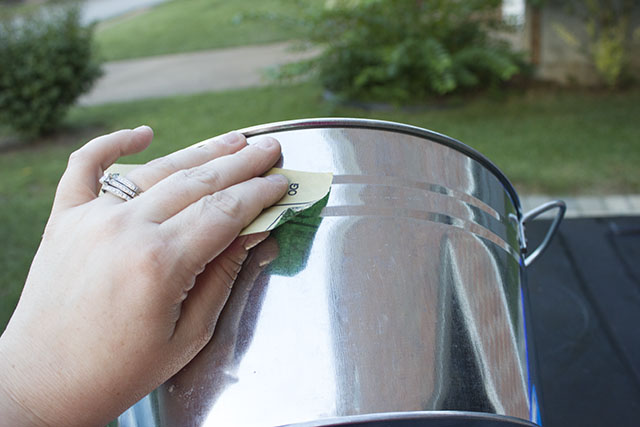
Tape off the rest of the bucket leaving a metal band showing through.
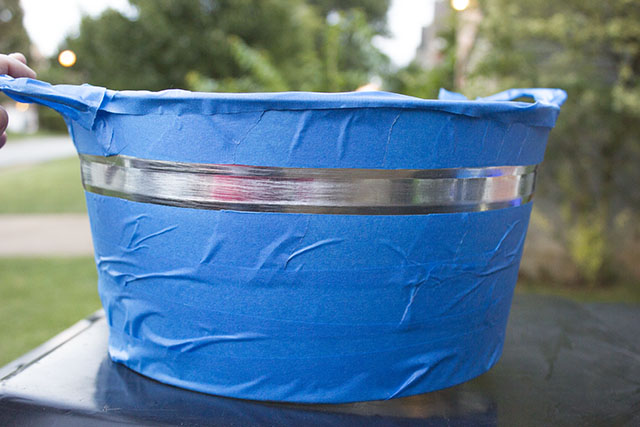
Spray a couple coats of spray paint in the color of your choice on the band area. (Red would also be a fun option for a vintage look.)
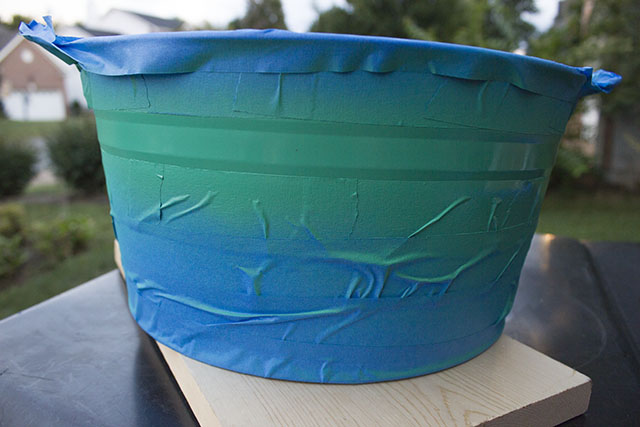
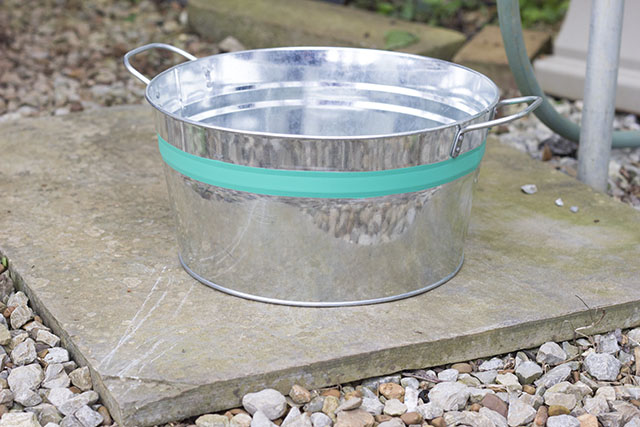
Remove the tape to prep the area for aging the metal bucket. Put on the rubber gloves.
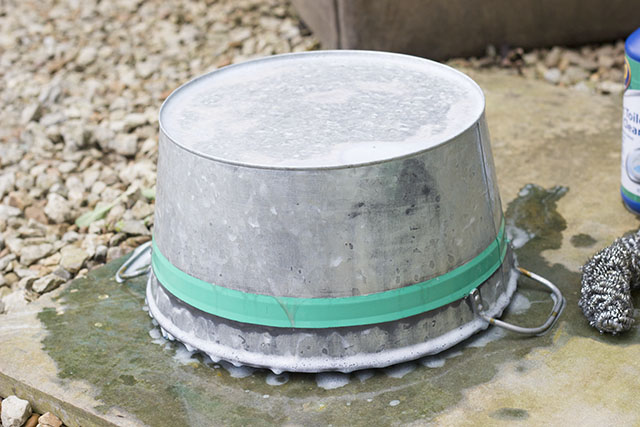
Turn the bucket upside down and pour the ZEP all over the bucket. Use the steel wool to help evenly spread the ZEP over the surface of the bucket. Set a timer for 15-20 minutes and wait for the transformation to start happening.

After 15 – 20 minutes, rinse the bucket with water. A water hose will make the job easier. Help rub the toilet cleaner off of the surface as you rinse (be sure you are still wearing rubber gloves.)
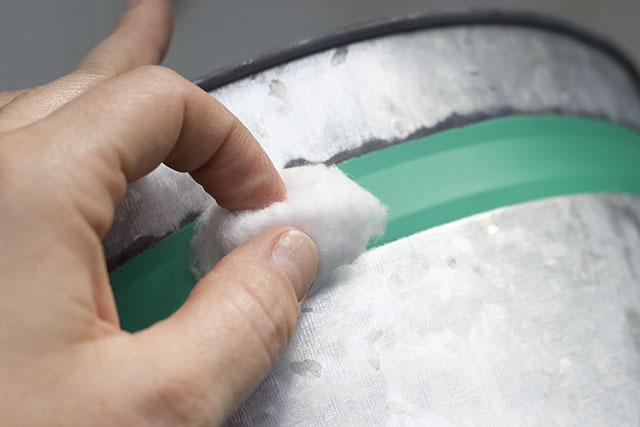
Let the bucket dry. Now it’s time to add some age to the strip on the bucket. Apply a fair amount of nail polish remover to a cotton ball. Carefully rub the cotton ball on the paint strip to remove some of the color. Continue doing this randomly across the painted band.
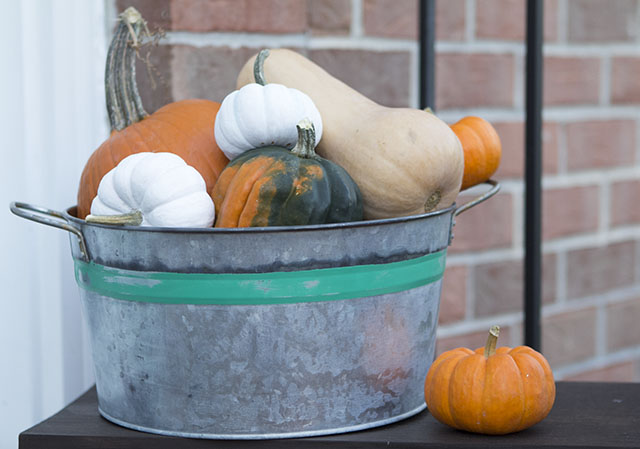
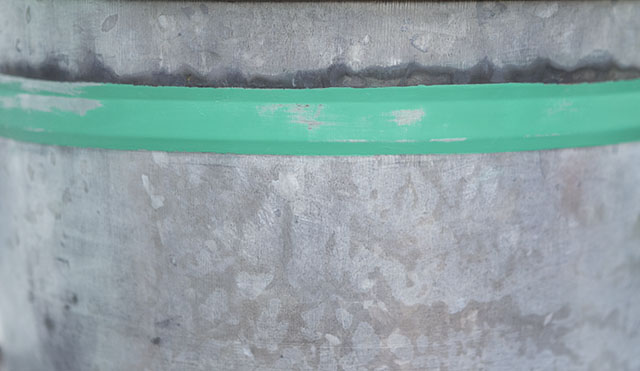
The band will have a nice distressed appearance similar to mine:
Fill your “new” aged galvanized metal bucket with gourds and pumpkins or other seasonal décor!
I love the areas that the ZEP pooled while it was soaking. This allowed some areas to age more than others. Even the handles got a little rust on them! This project can be completed in under 3 hours including dry time for the spray paint. If you are just wanting to age the metal you can be done in under 30 minutes! How’s that for fast?

Pin for later!
I picked up the ZEP at Lowe’s! They have a huge cleaning section and lots of different ZEP products!
Love this project! Well done, Jacque! Would be fun and festive to incorporate some twigs and hang little “thankful for” messages for Thanksgiving! For Christmas, fill the pot with rocks (or fake presents) and hang ornaments on the twigs. http://bit.ly/DIYTwigProjects
Just was wondering, more like complaining, that these days is hard to find aged looking little metal pots for a rustic X-mas decors i would like to make. Thanks so much! Happy Days!
What an incredible transformation & so easy. Thank you for this gem!
Hi! I was wondering where you get the ZEP Toilet Cleaner at? Thank you, I’ve been wanting to do this for awhile!
I found the Zep toilet bowl cleaner at Tractor Supply