Apples and Coffee Up Here Bar Sign

Fall Decorated Tablescape & Coffee BarFall Tablescape and Coffee Bar

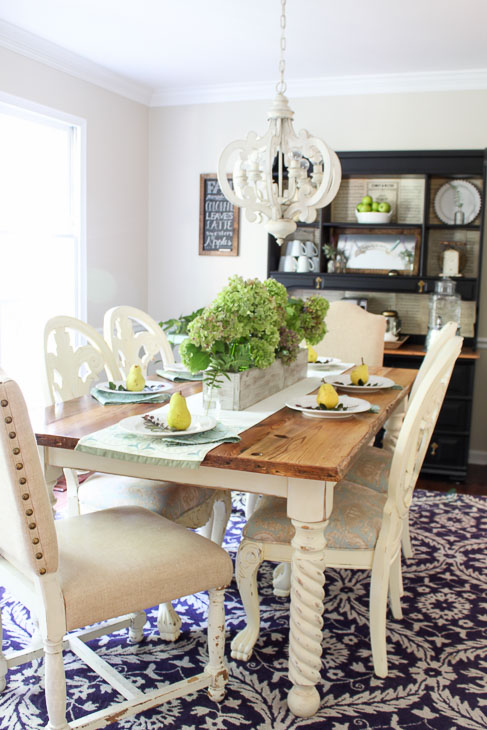
Welcome! I’m so glad you could join me today. I enjoyed taking a little time off from my investment house projects to decorate the house for autumn. It’s always fun to twitter around and create a beautiful tablescape. Last year’s tablescape had plenty of orange, yellow and pink accents. But this year I chose a palette filled with blue, green, and accents of purple that complimented our fall hydrangeas.  I also had fun adding a little coffee bar. Won’t you come on in and stay for a while? I’m brewing some fresh coffee and have baked pears for you to sample. Don’t forget to help yourself to some coffee.
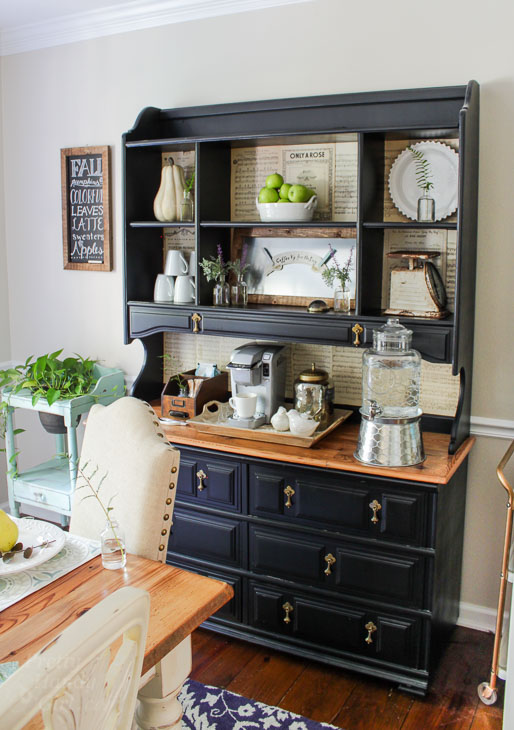
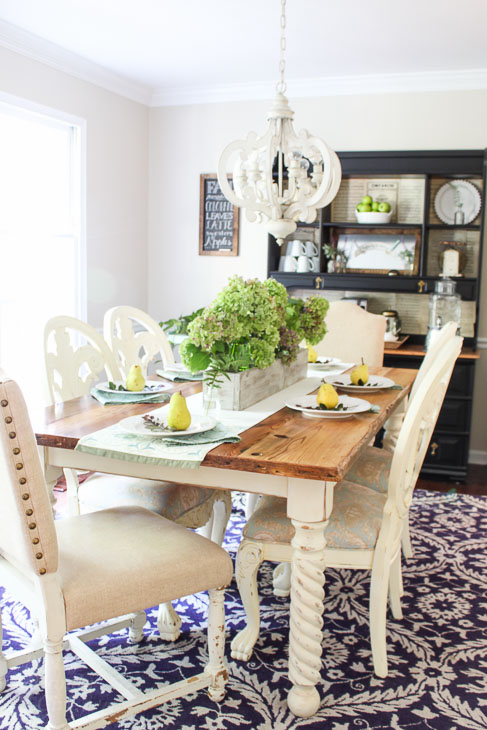
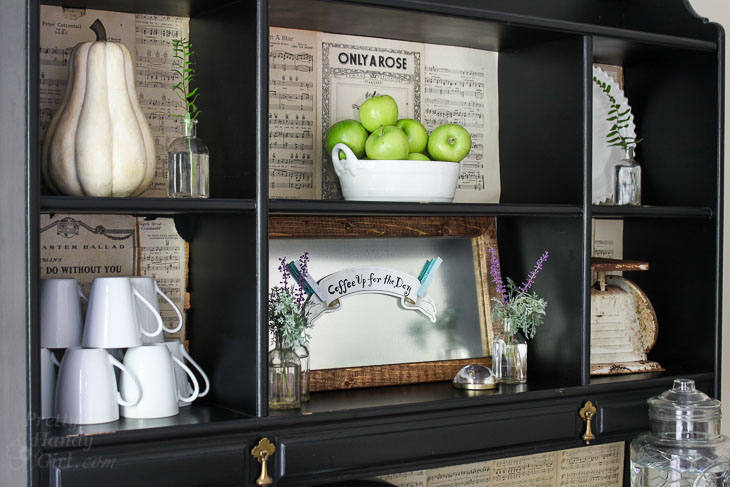
black hutch with coffee bar set up

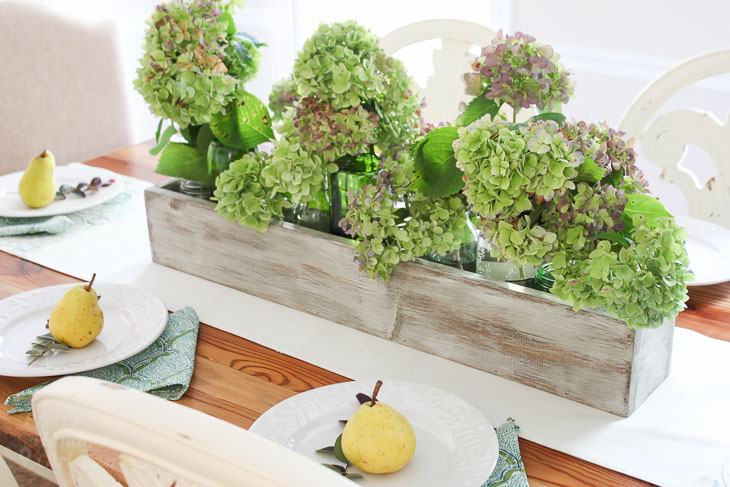
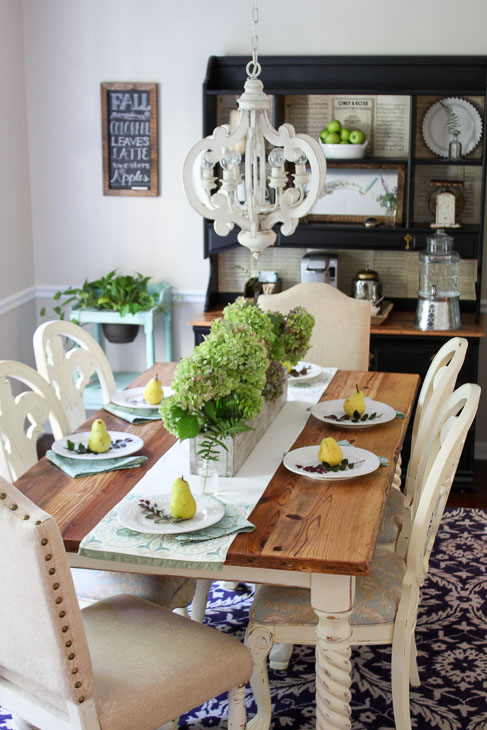
Fall tablescape and hydrangea and pears

Several years ago I sold our old dining room table and decided to build my own rustic farmhouse table. I love it and kick myself for not making this table sooner. It was a fairly quick build, you can find my tutorial to build your own farmhouse table here.
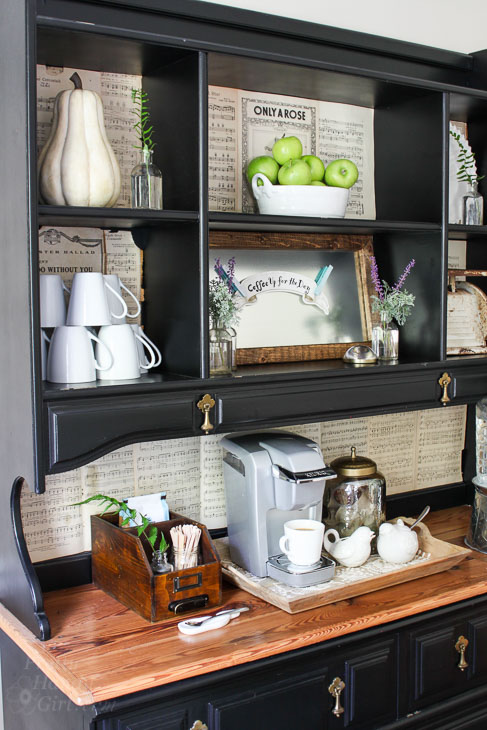
Coffee bar decorated for fall

(I’ve included affiliate links in this post. I earn a small percentage from a purchase using these links.
There is no additional cost to you. You can 
read more about affiliate links here.)

Right before I started decorating, I received my monthly Sand Dollar Lane Box. Inside were several items including the chalkboard and magnetic zinc frames you see on the tour. In addition, a little wooden desk box and some other pretty little things were inside the box. I am particularly enamored with the little gold magnifying paperweight and a small whale dish that brighten any space. (Did you spot them above?)
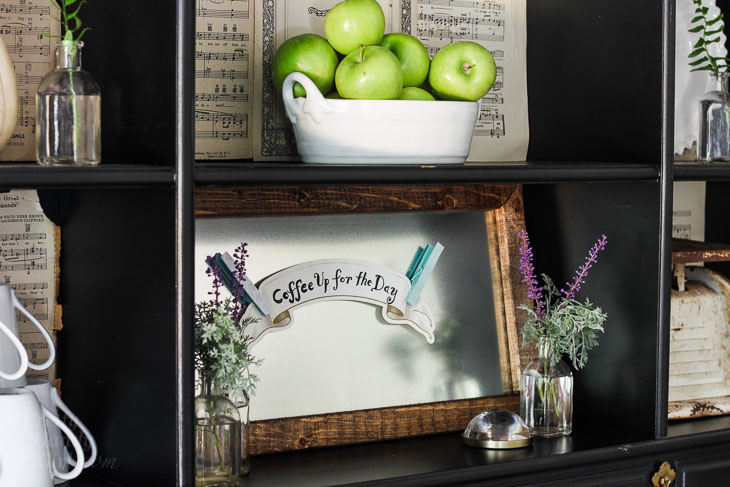
apples and zinc framed magnetic board

Here’s a better view, can you see the pretty paperweight on the shelf above? I might need to feature it more next time. The bowl the apples are in was in my subscription box last month. Leen really knows how to pick some cute farmhouse coastal decor!
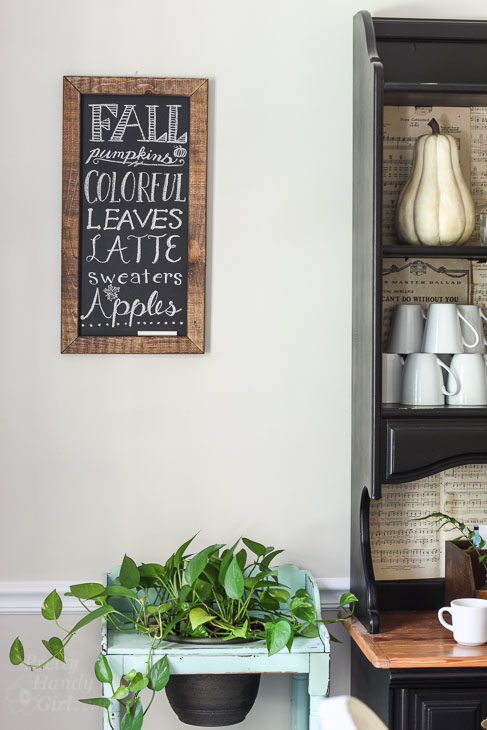
Fall leaves chalkboard sign

When I received the chalkboard in the Sand Dollar Lane Box, I knew I wanted to make a fall words chalkboard sign. I don’t seem to spend as much time making chalkboard art anymore, so this was a fun little activity. As inspiration, I used some of the lessons I learned in the Busy Girl’s Guide to Handlettering Course. And because I love sharing, here is the free chalkboard art printable available for you to download here (print it our use it as a template for your own art.)
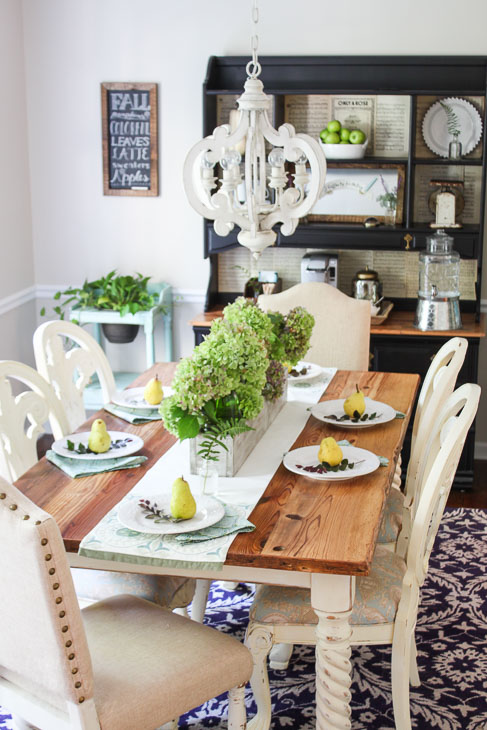
Rustic Fall Tablescape with hydrangeas and pears

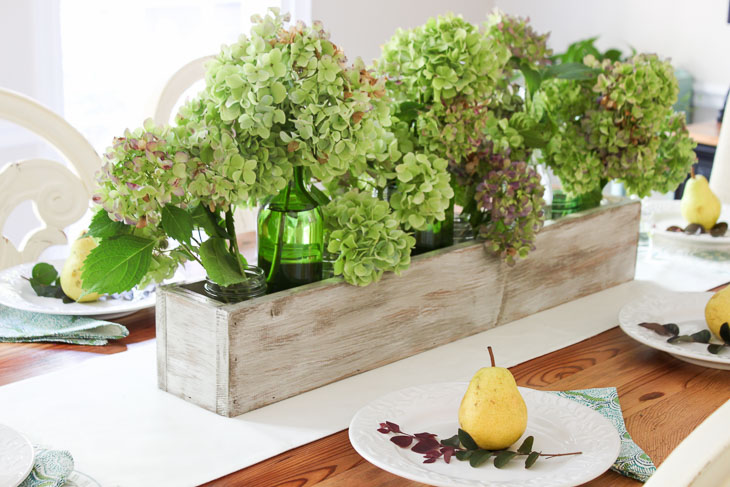
This year’s tablescape is relatively simple. I built a rustic painted trough to display hydrangeas in, making a beautiful centerpiece.
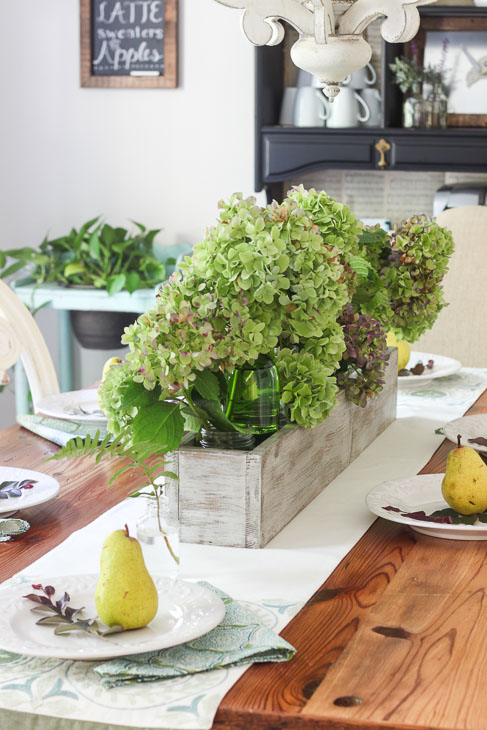
Hydrangeas in rustic trough box

Then I used a pear and a loropetalum clipping at each place setting.
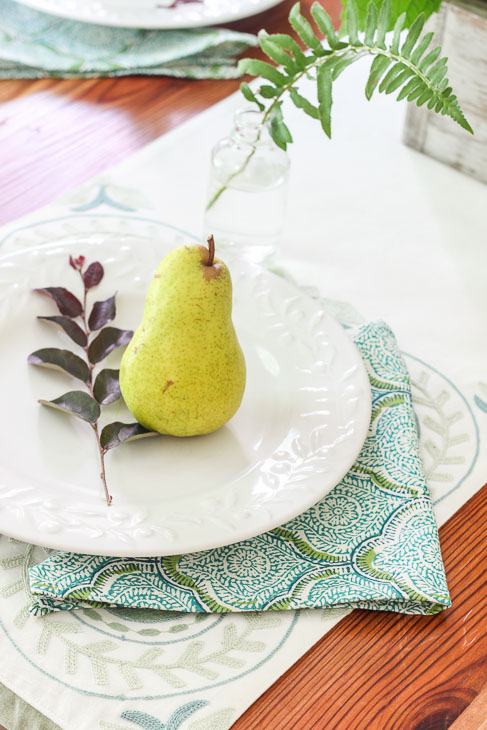
Pear on plate

While decorating the dining room, I decided not to buy any flowers or greenery this year. I had two reasons for this decision:

  1. I struck out finding seeded eucalyptus anywhere. I might need to order some from a florist. (Anyone have a good resource?)
  2. I wanted to challenge myself to use what I have. You know what? I was amazed at how much greenery I was able to harvest from my yard!
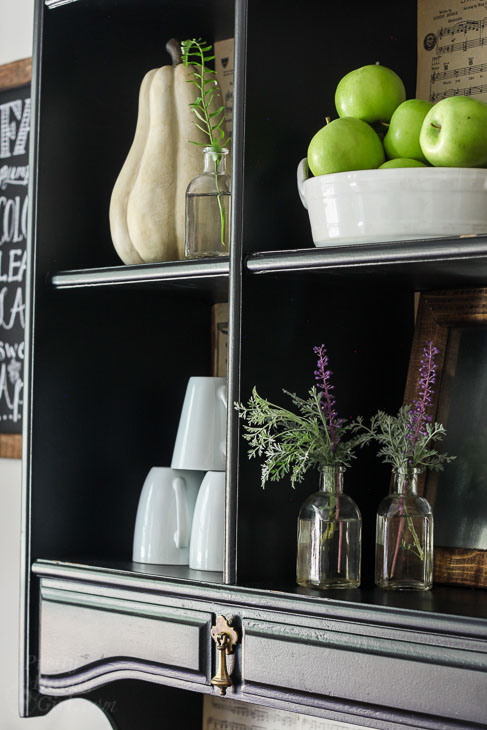
Apples, gourd and liriope at coffee bar

Ferns, loropetalum, monkey grass and the hydrangea bushes were overly abundant this year. The clippings from them worked nicely in my fall decor. I encourage you to take a look in your yard, you’d be amazed what you can use for fresh greenery!
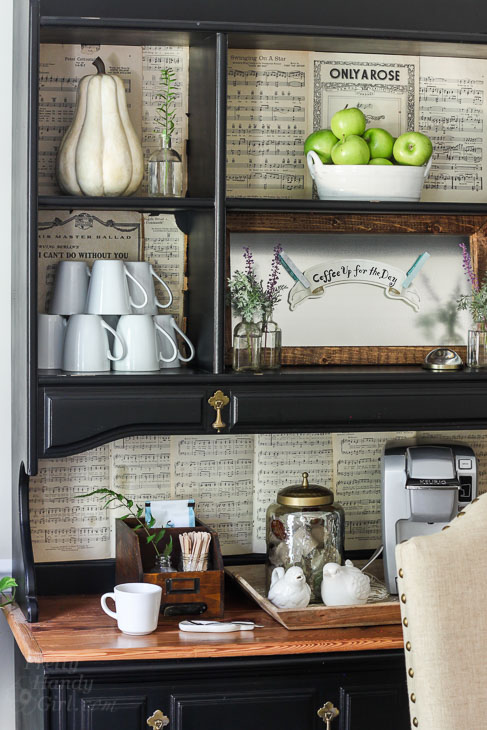
Coffee bar set up in dining room hutch

Usually we use the hutch in our dining room for a hot cocoa bar during the holidays, but I decided it would be nice to create a little coffee bar to enjoy for the fall. Who doesn’t love a pretty coffee bar? (Especially if you make your own frothy healthy coffee at home.)

I hope you’ll come back tomorrow for the Fabulous Fall Home Tours. I’ll be joined by seven more of my talented friends!
Fabulous Fall Home Tour 2017

See you in the morning.

Wall Paint Color in this room is Benjamin Moore Elmira White. 

Floating TV ShelfHow to Build a Floating TV Shelf
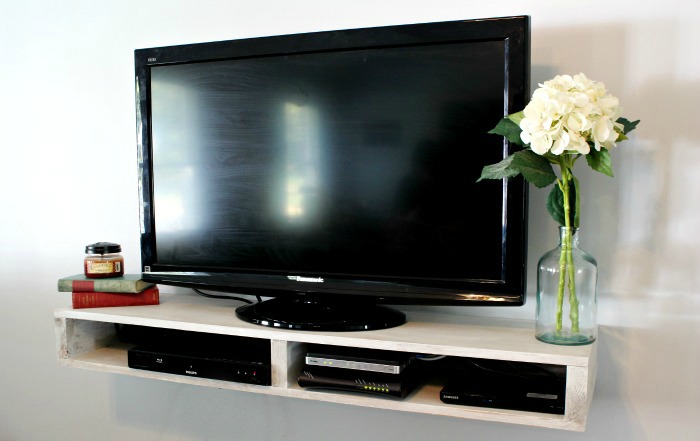
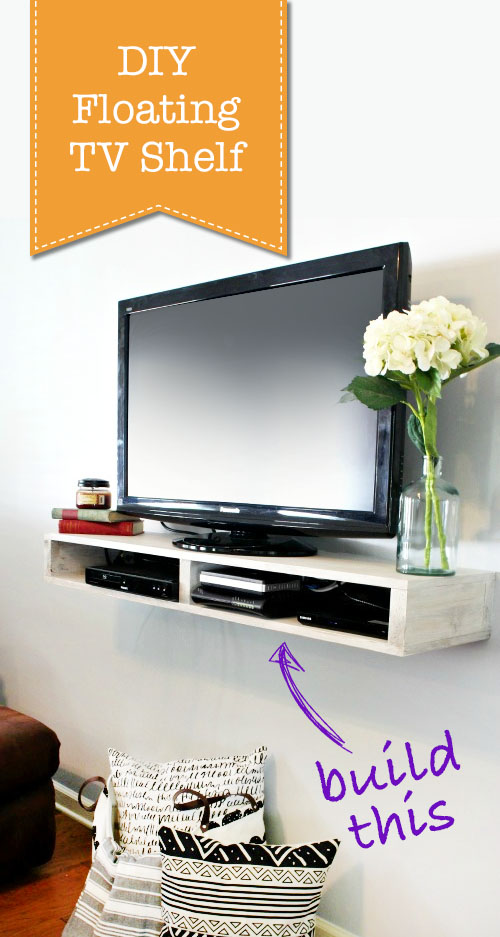
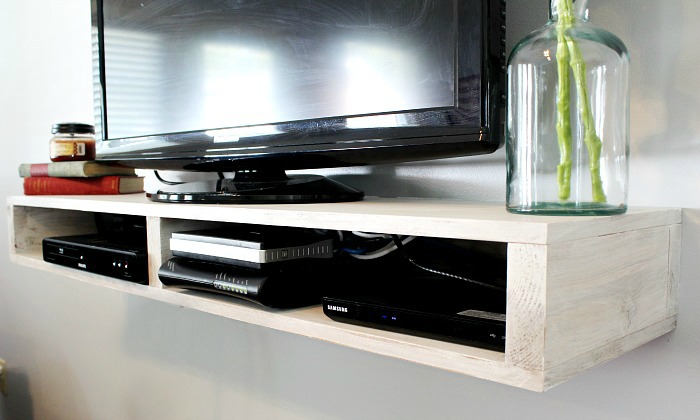
Hey guys!  It’s Shara here again from Woodshop Diaries and I’m so excited to show you this cute new floating TV shelf I made to hold your TV and components!  It’s modern, sleek, and does its job without taking up a lot of space.  It also has two open cubbies to house DVD players, wireless routers, modems, etc.

Floating TV Shelf

This shelf is very easy to build and doesn’t require any special tools.  You can have it done in a couple hours and hung on the wall in about five minutes.

So are you ready to learn How to Build Your Own Floating TV Shelf?

Floating TV Shelf Materials:

Floating TV Shelf Cut List:

  • (1) 1 ½” x 3 ½” x 48″ (back of TV shelf frame)
  • (3) 1 ½” x 3 ½” x 10½” (TV shelf supports)
  • (2) ¾” x 12″ x 48″ (top and bottom of shelf)

Floating TV Shelf Instructions:

Step 1: Assemble Floating TV Shelf Frame

Depending on how tall you want your shelf, you can either use a 2″x 4″ (which would make the opening in your shelf 3 ½” tall).  Or you can use a 2″x 6″ (which would make the opening 5 ½” tall).  If you have a table saw, you can rip whatever size board to the custom height you want.  (For this build, I ripped a 2″x 6″ down to 4″ wide for my frame.)

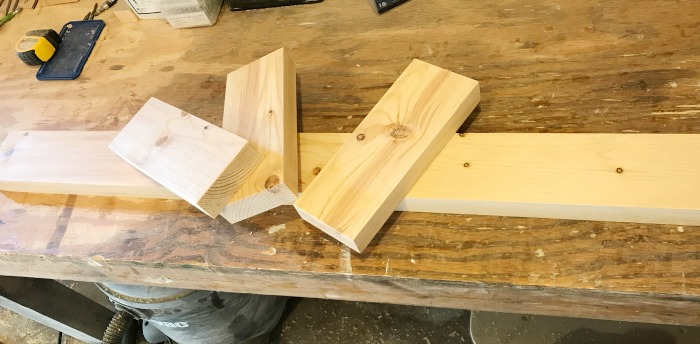
Once you determine the width you want, cut a piece at 48″ long.  Then, cut your three pieces at 10 ½” long.

Floating TV Shelf

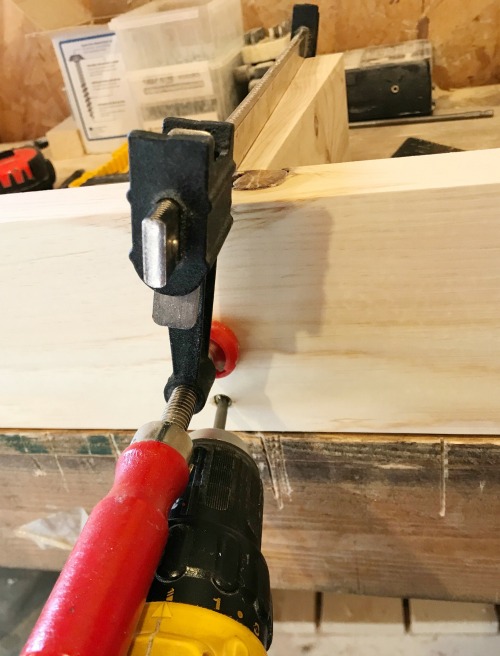
Glue, clamp and screw two of the short boards onto the ends of the long board.

Floating TV Shelf

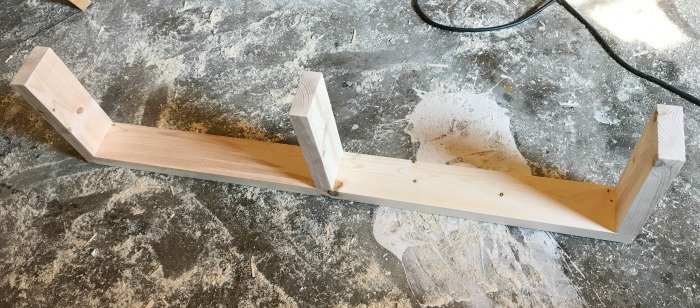
Then glue and screw the third short board in the center using 2 ½” screws.  (Remember to pre-drill before screwing.) Your assembled shelf should look like this:

Floating TV Shelf

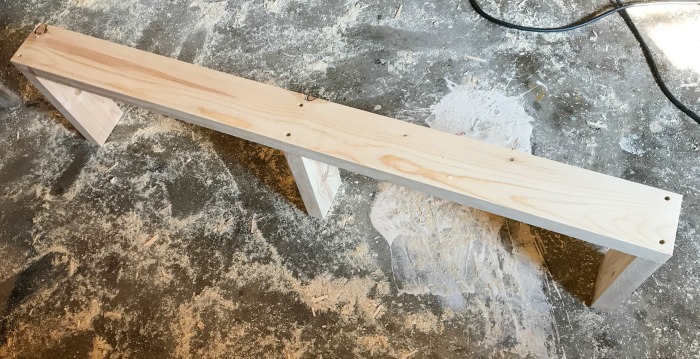
Floating TV Shelf

Step 2: Holes for Cables and Cords

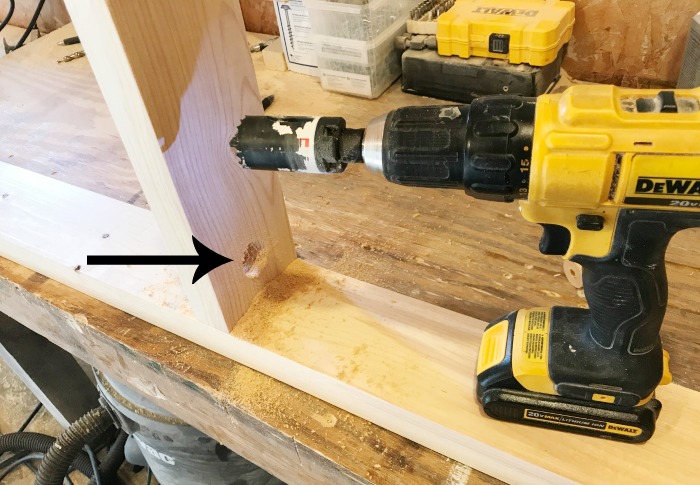
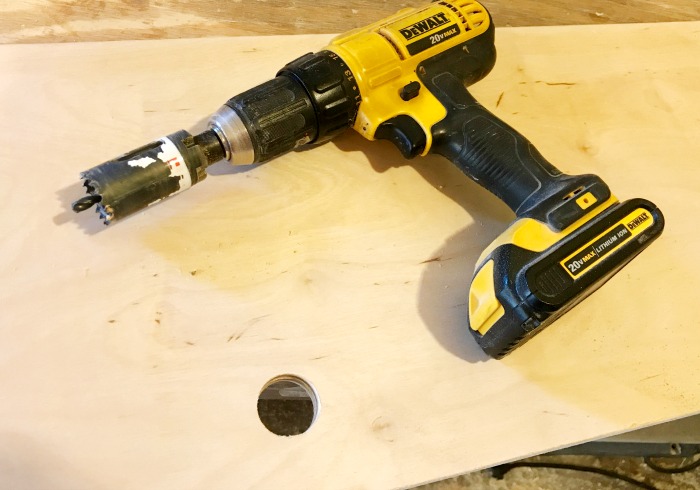
Use a 1 ¼” or larger hole saw to drill a hole through the middle of the center shelf support.  This will allow cords to run between sections depending on where the power cords need to go.  (Make sure to avoid the screws holding the board in place when drilling your hole.)

Floating TV Shelf

Step 3: Add Plywood Top and Bottom to Frame

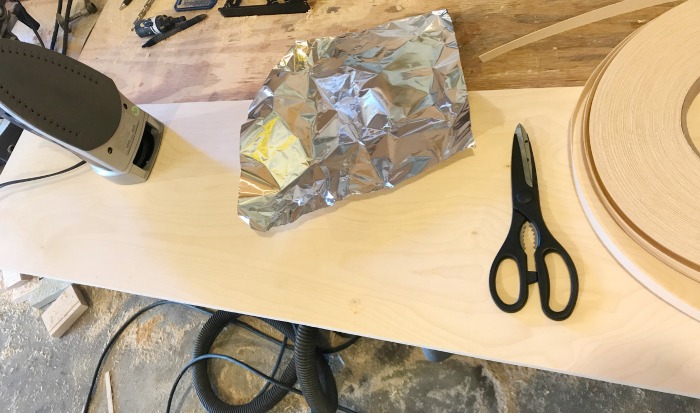
Use table saw or circular saw to cut the ¼ sheet of plywood in half to give you two 12″ x 48″ pieces. Sand the edges smooth. Apply edge banding to the plywood edges.  You can follow Brittany’s tutorial for finishing off plywood with edge-banding if you need more instructions.

Floating TV Shelf

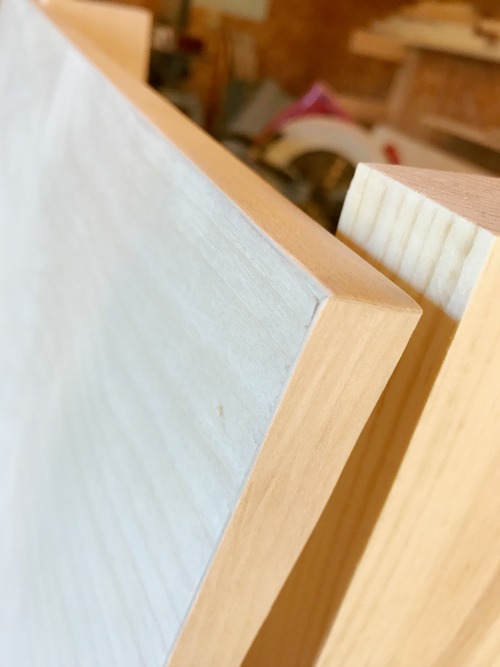
Remove any excess banding with a sander to make your edges clean and smooth.

Floating TV Shelf

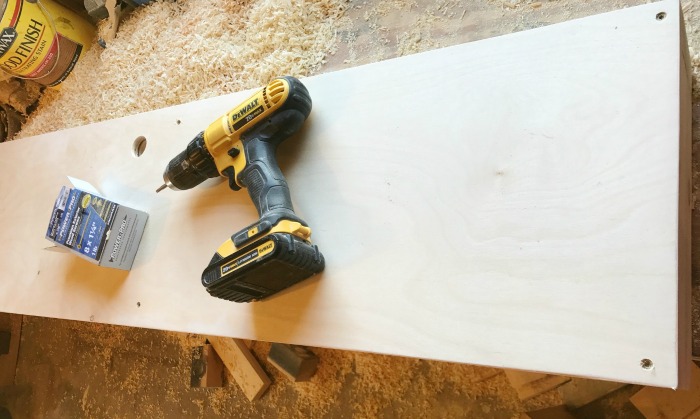
Determine where you will need holes for cords in the top and/or bottom of your floating shelf. Drill your holes in the plywood where needed.

Floating TV Shelf

Center the plywood on the shelf. Use 1 ¼” wood screws to attach the plywood to the shelf supports.  Flip the shelf over and repeat the process for the bottom.

Floating TV Shelf

Step 4:  Finish the TV Shelf

Putty all screw holes and sand the shelf well.  Paint or stain as desired.  (I stained my shelf using Minwax Early American and then dry-brushed white paint on top. Finally I used the sander to distress the shelf in random spots.

Floating TV Shelf

Step 5: Install

Grab a helper to hold the shelf during installation. Find the location you want your shelf to hang. Use a level to make sure the shelf is level. Locate at least 2 studs (3 is better) behind the shelf and use at least four (two per stud) 2 ½” screws to attach through the back of the shelf into the studs. And that’s it.  You’re done!

Floating TV Shelf

Such a simple, yet stylish and functional project!  What do you guys think?  Is this something you would try in your living room or bedroom for somewhere to set your TV without taking up a large footprint?  I love this idea!  I hope you enjoyed this project!

Pin this tutorial to share the DIY inspiration:

Floating TV Shelf

Shara's Signature~Read more of Shara’s Tutorials~


Green and purple hydrangeas in rustic wood trough. Build Your own Rustic Trough Centerpiece tutorial.

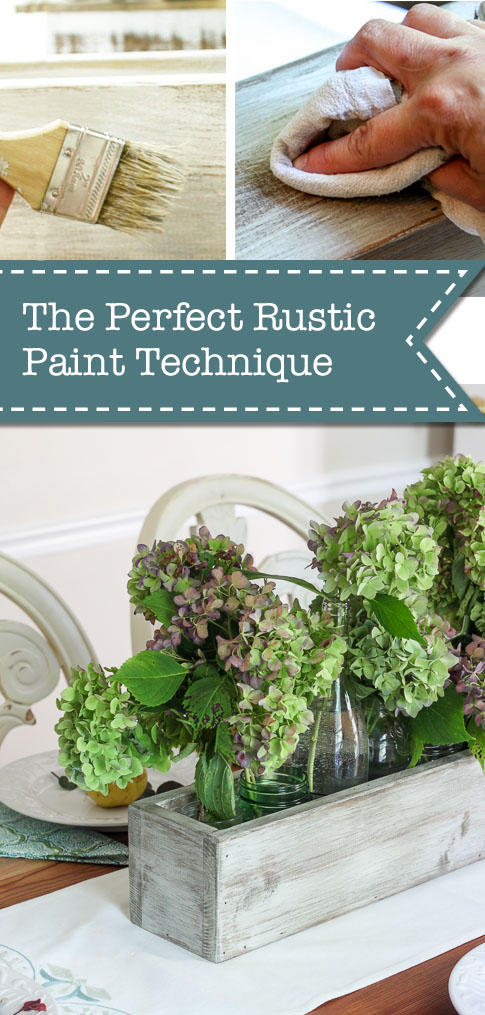
The Perfect Rustic Paint Technique {with Video Tutorial}The Perfect Rustic Paint Technique {with Video Tutorial}
I have been painting and distressing furniture and home décor for almost ten years now. Over the years I’ve tried a lot of different techniques, but the one I’m going to show you today is the one I consider “The Perfect Rustic Paint Technique!” The reason I like this technique is because I get consistent results and it’s not as messy and time consuming as painting several layers and sanding back down to the raw wood. This isn’t to say that I don’t still experiment or sometimes go back to previous techniques. I just wanted to show you my tried and true technique.

Green and purple hydrangeas in rustic wood trough. Build Your own Rustic Trough Centerpiece tutorial.

You may have seen the DIY Trough Centerpiece I built last week. If you don’t have a piece of furniture you want to try this technique on, go ahead and build this quick little (or should I say long) DIY Trough Centerpiece to experiment on.

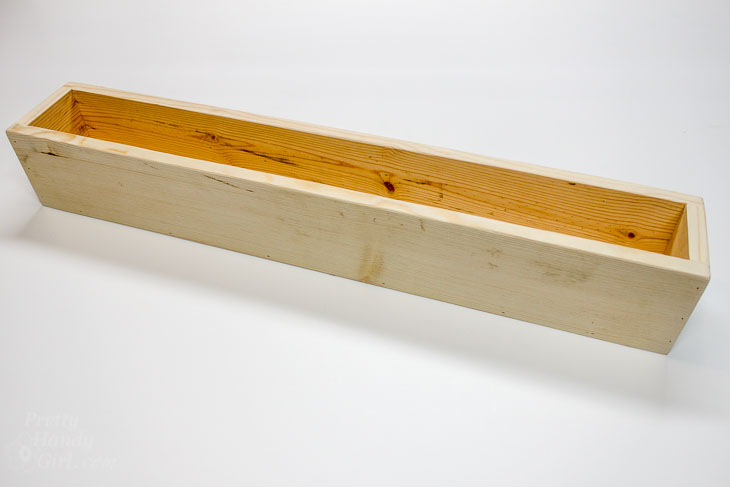
Finished trough build.

Then you’ll want to gather some materials and coffee (this is optional, but I find I enjoy DIYing with a cup of java.)

Materials:

(I’ve included affiliate links for your convenience. I earn a small percentage from a purchase using these links. There is no additional cost to you. You can read more about affiliate links here.)

Instructions:

Want to cut to the chase and watch the video tutorial? Well, be my guest:

If you like to see the step-by-step tutorial, here’s the break down:

Step 1: Sand & Stain

Lightly sand your piece to remove any rough spots.

If you’re working with a pre-finished piece of furniture, clean well to remove any dirt or oils that would resist the stain. Then sand everything lightly to give the surface a little “tooth” for the paint to grip to. Skip the next step unless you have sanded down to bare wood.

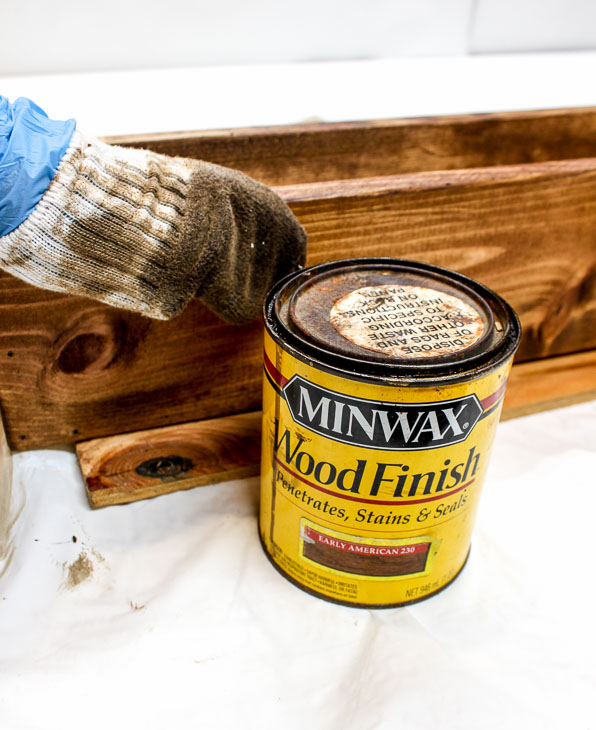
Put on your rubber glove and grab a rag or slip an old sock over your hand. Dip the rag into the stain and wipe it on the wood. Wipe off any excess stain. If you want a darker look, apply a second or third coat of stain. Allow the stain to dry (overnight is best.)

Wipe on Minwax Early American Stain.

Step 2: Painting

A quick note about chalk-like paints: I have tried a lot of different chalk paints and still don’t have an absolute favorite. Personally I like to buy them based on a pre-mixed color I like. That being said, I do have some that I don’t like as much. Although the Annie Sloan Chalk Paints were first on the scene, I struggled with them having unmixed chunks in them and they tended to dry out too quickly for my taste. That being said, most chalk paints will dry out quicker than latex paint. So make not to leave the lid off too long (it’s better to pour a small amount onto a tray or paper plate.) And store chalk paint in a temperature controlled environment. 

Dip your chip brush into the chalk paint and dab off most of the paint onto rag. Your paint brush should have very little paint on it.

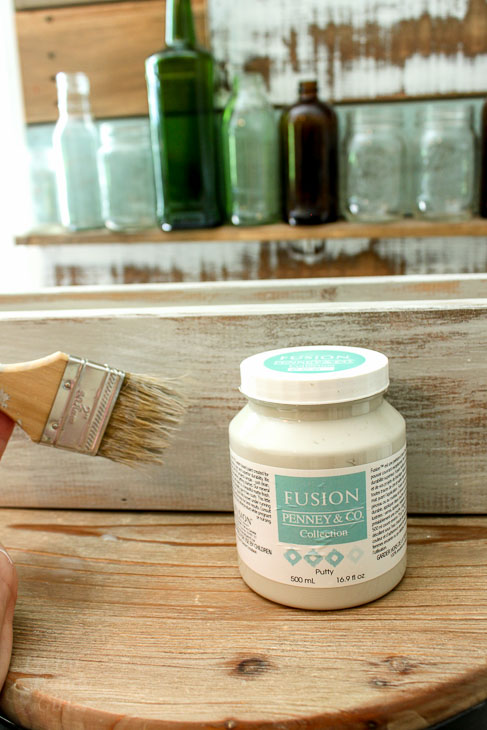
Lightly drag the chip brush over your piece following the direction of the wood grain. This technique is called dry brushing (in case you wondered.) Allow some of the wood stain to show through. This will cut down on the need to sand down to the wood later.

Dry brush Fusion paint.

Step 3: Adding Dimension

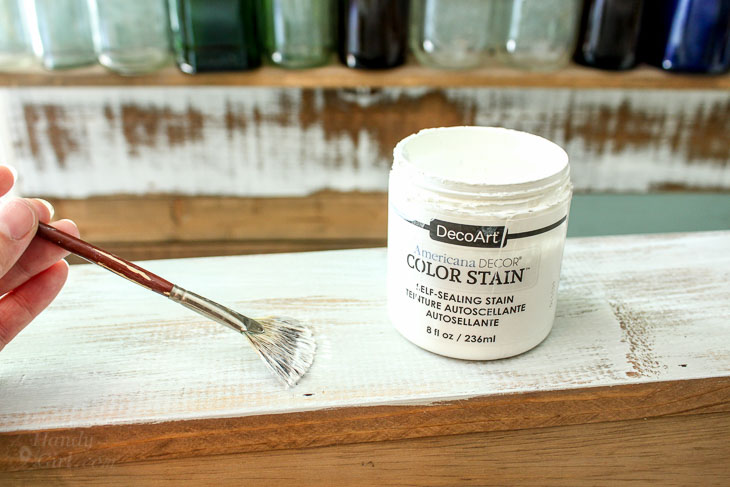
Allow the paint to dry (which shouldn’t take very long.) Dip another chip brush into the white color stain. Wipe off most of the paint and dry brush some “hi-lights” onto your piece. You don’t need as much coverage as the painting step. This is just adding some extra dimension to the piece.

Use DecoArt white stain for highlights.

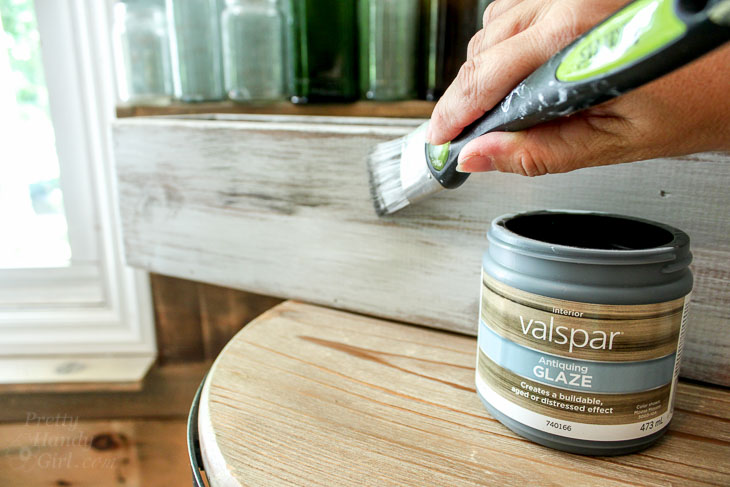
After the white stain has dried, dip another brush into the antiquing glaze and wipe most of the glaze off the brush. Once again, dry brush some areas on your piece to give some more dimension.

Dry brush Valspar Antiquing Glaze.

If you make a mistake or put too much glaze on, you can wipe it off within the first few seconds. Alternatively, you can always sand off any paint, stain or glaze you apply.

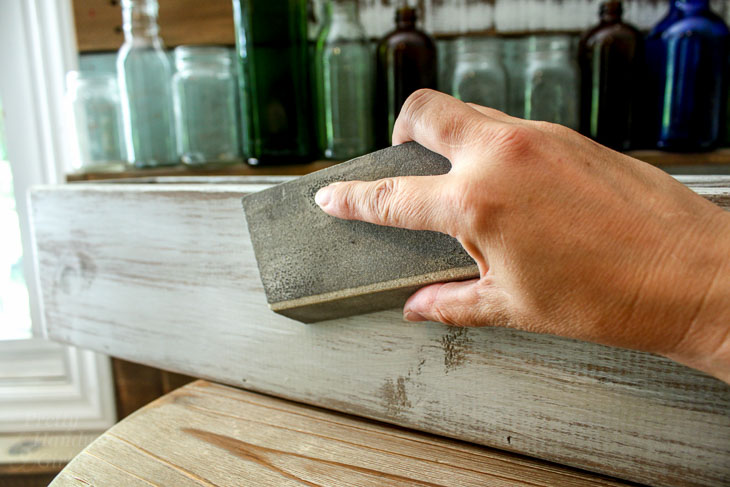
Sand smooth.

Once you’ve achieved your desired amount of paint, stain and glaze, get ready to seal in the beauty!

Step 4: Wax Finish Coat

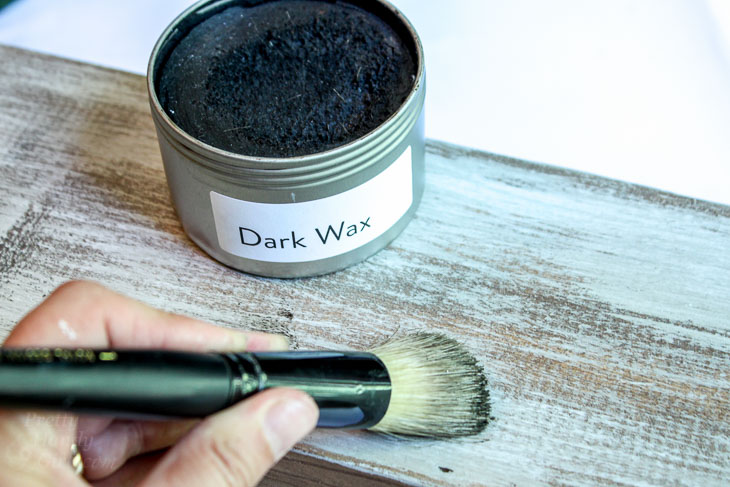
Apply some dark wax onto a wax brush (or stencil brush.) Rub the wax on in a circular pattern.

Apply Dark Wax.

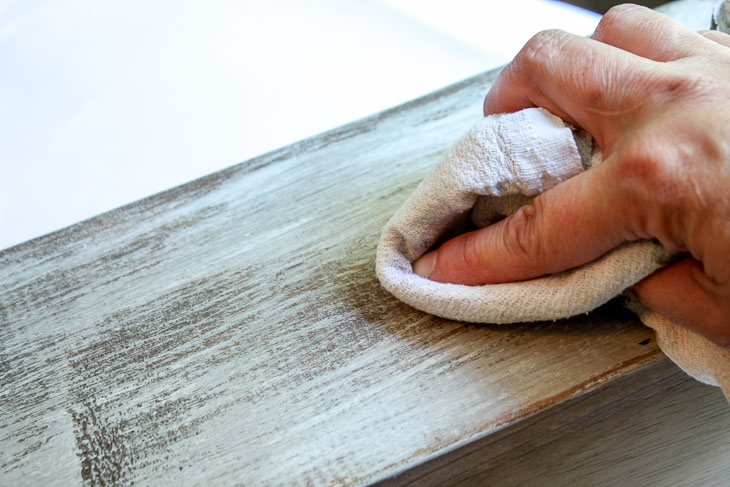
Then buff it off with a clean dry rag. The wax gives your piece a soft luster and protects it from water. If you are working with a piece of furniture, you may want to apply another coat of wax. And you will need to re-apply in a few years.

Buff off wax.

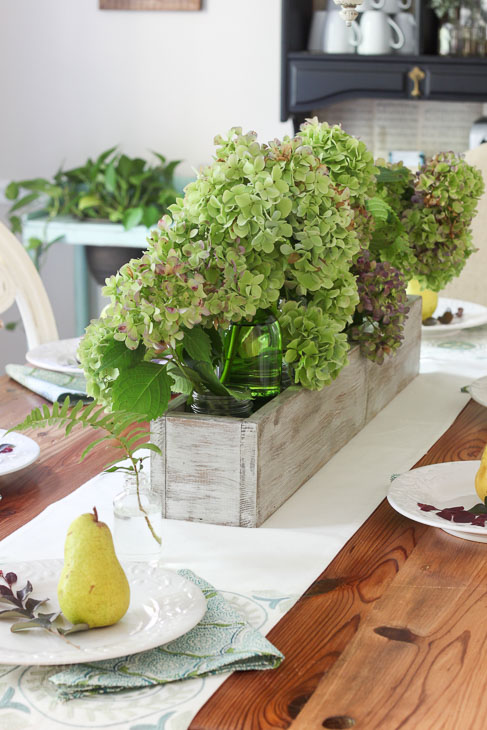
Now stand back and admire that Perfect Rustic Paint Technique!

She’s purdy, don’t you think?

Pin this picture to share the rustic love!

The Perfect Rustic Paint Technique {with Video Tutorial}
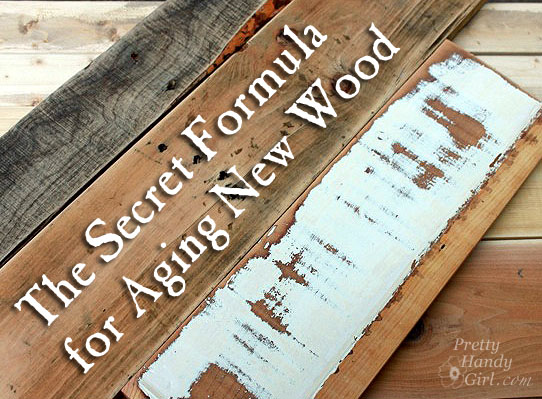
Liked this tutorial? I think you’re going to love my Secret Formula for Aging New Wood:

Green and purple hydrangeas in rustic wood trough. Build Your own Rustic Trough Centerpiece tutorial.

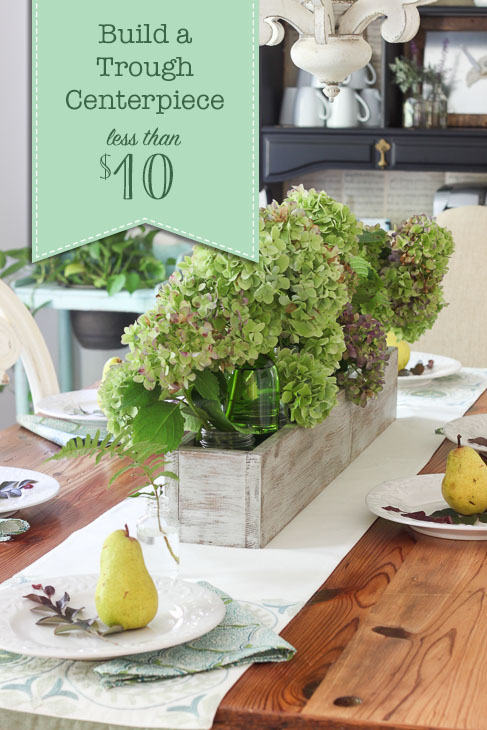
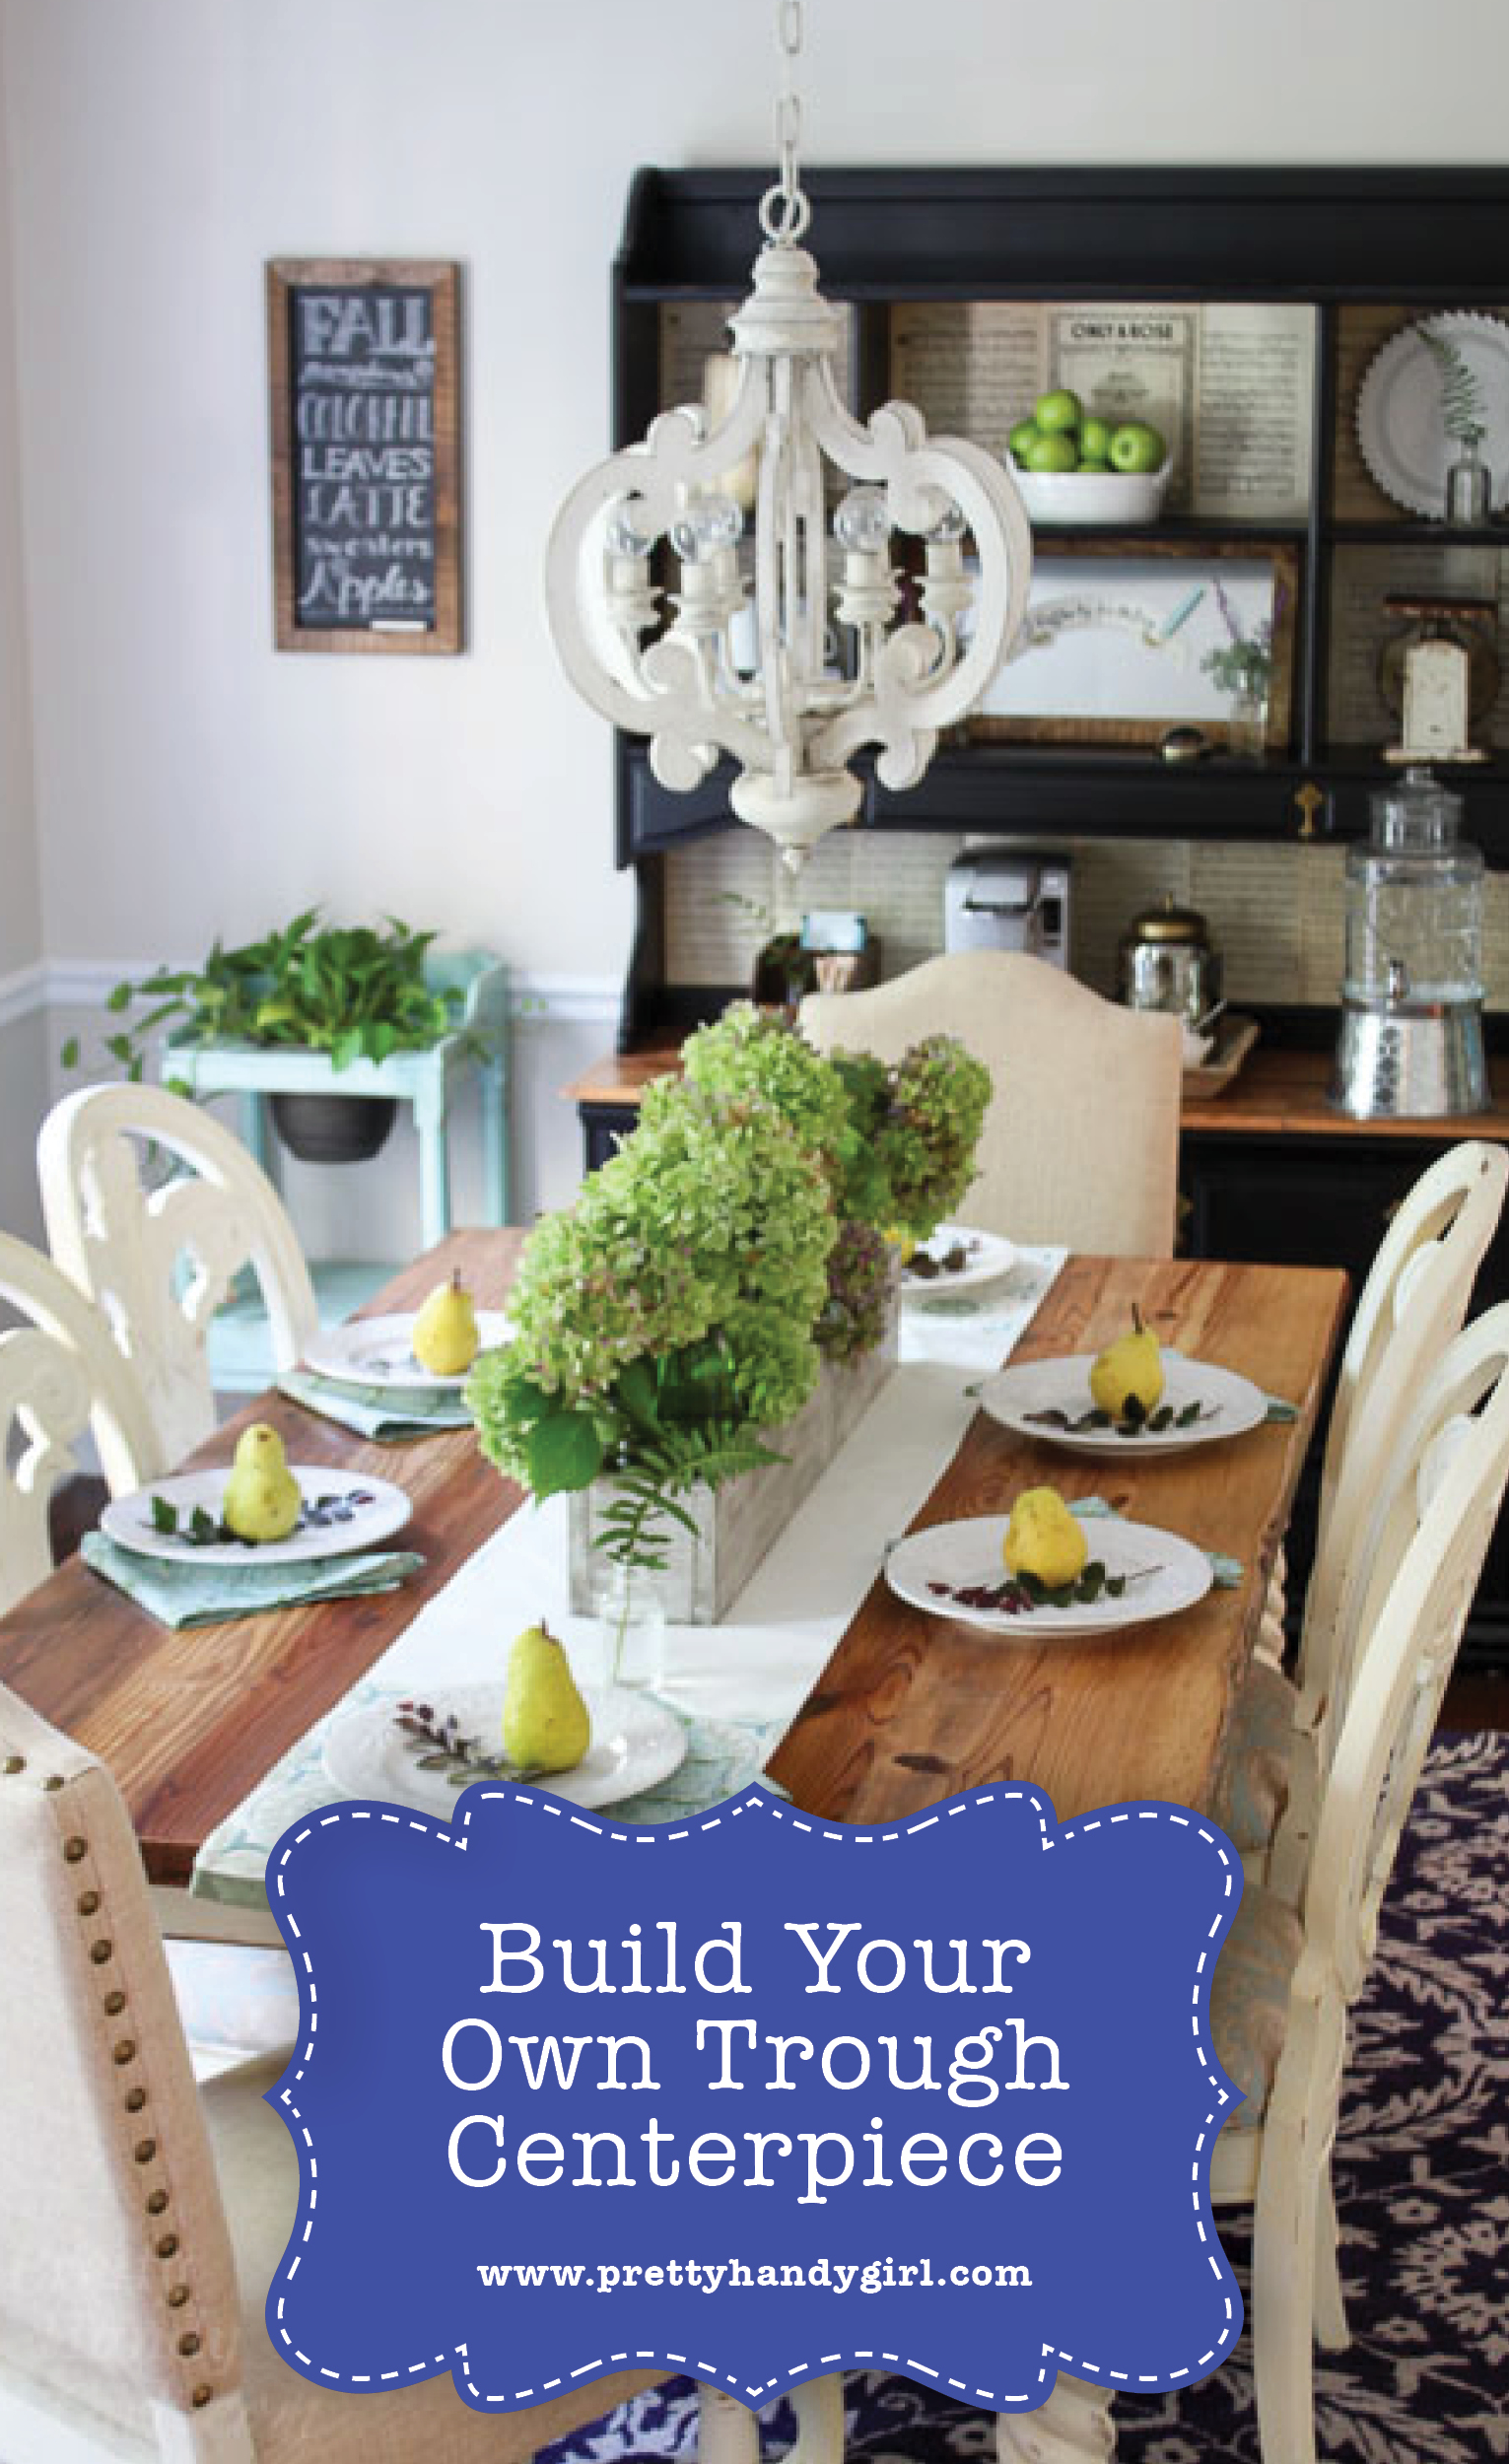
How to Build a Trough Centerpiece for less than $10!!!Build Your Own Wood Trough Centerpiece
Wood trough centerpieces are very popular right now and for good reason! They will work with any seasonal decor. Add grass and eggs and you have instant spring decor. Add sunflowers and you have just decorated your table for summer. Add pumpkins or dried hydrangeas for a pretty fall centerpiece. And for the holidays, tuck in pine boughs and pine cones.

Build Your Own Trough Centerpiece
But, if you’ve ever tried to buy a wood trough, you probably noticed the prices can be upwards of $50 or more. That’s hogwash! Let’s Build Your Own Trough Centerpiece for less than $10!
Materials:

Cut list:

  • 2 – 1″x 6″ x 32″
  • 2 – 1″ x 6″ x 3 ½”
  • 1 – 1″ x 4″ x 36″ (we will cut this to size during the tutorial.)

Instructions:

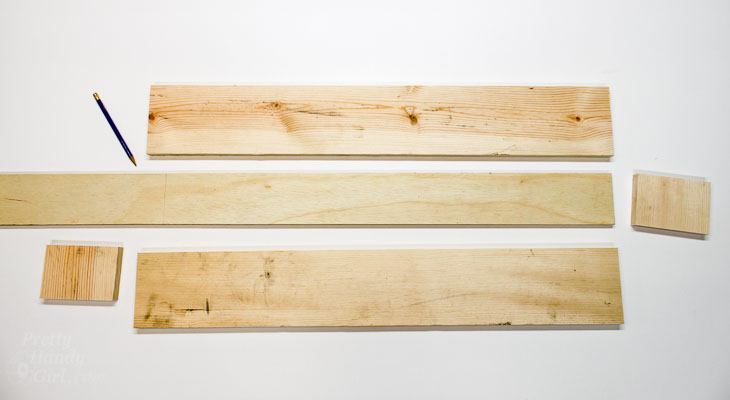
Cut your lumber to the dimensions above. Leave your 1″ x 4″ for now.

Cut Pieces for Rustic Wood Centerpiece trough.
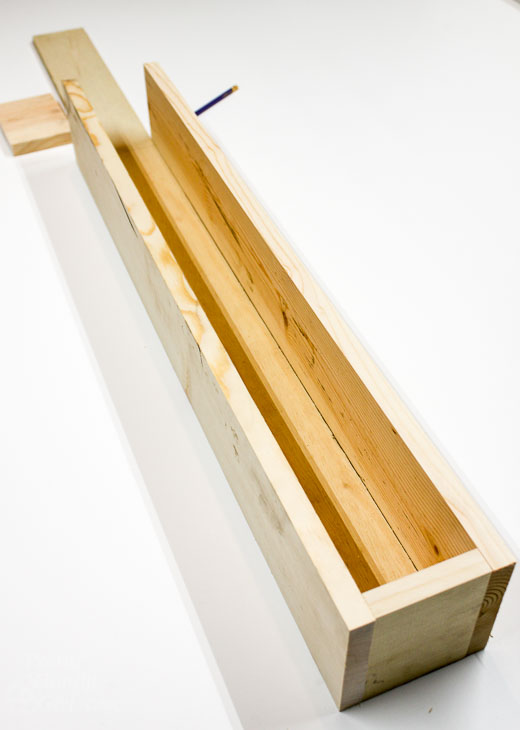
Set up the sides of your trough and one end around the base piece (1″ x 4″ x 36″).

Dry fit wood box pieces together.

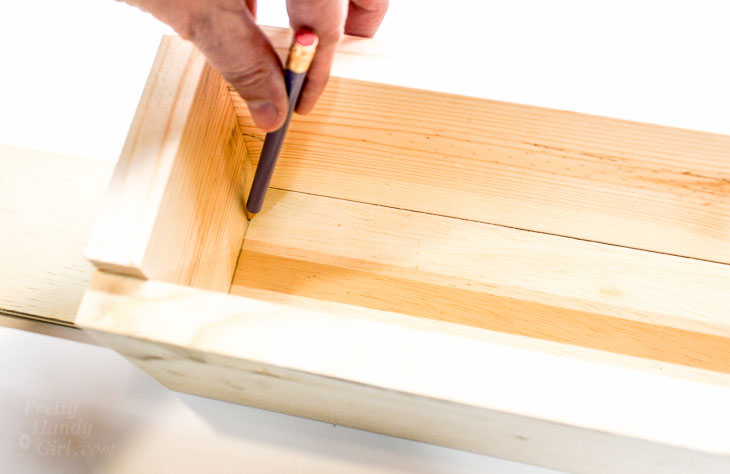
Set the second end on top of the base and mark where to cut the base piece to fit inside the sides and ends of the trough. Cut the base to size.

Mark cut line with pencil on trough bottom.

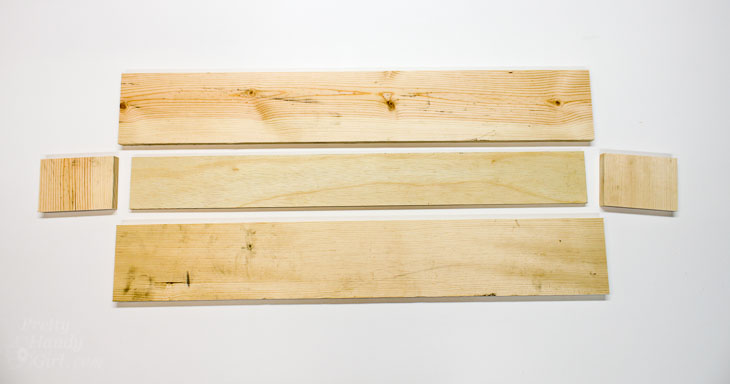
You should now have two long sides, two ends, and a base.

Cut trough pieces

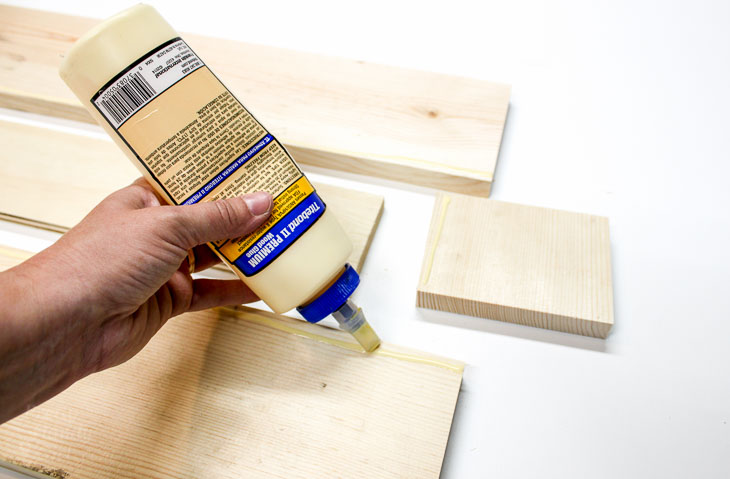
Run a line of wood glue along the bottom of the sides and ends where it will meet the base.

Add wood glue along bottom edges of sides.

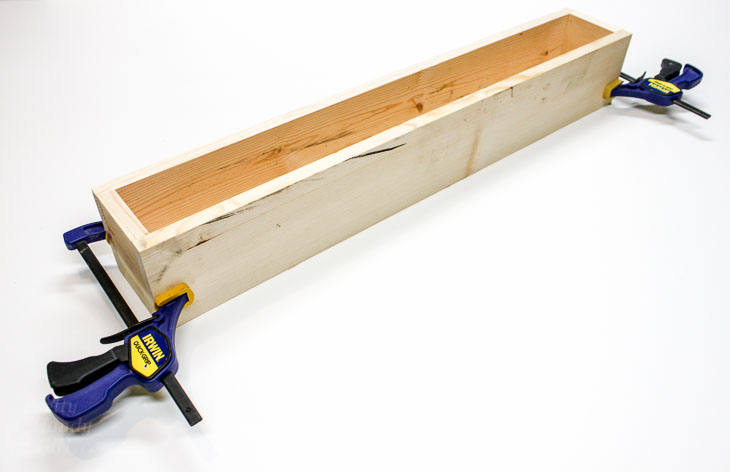
Set the sides and end pieces around the base and clamp in place.

Clamp box pieces together.

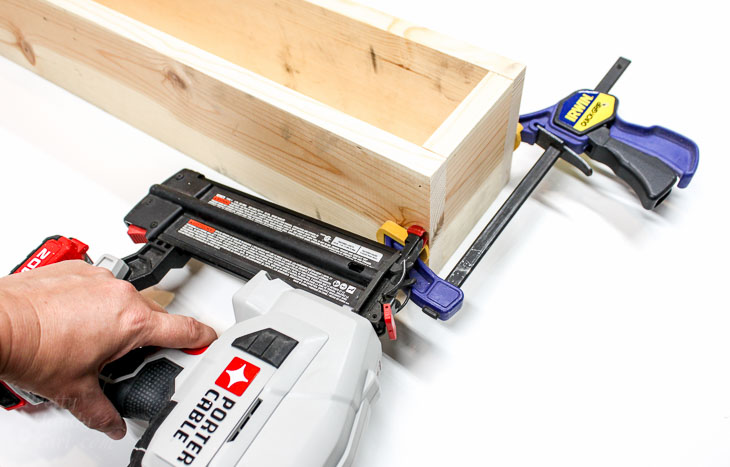
Nail the sides into the end pieces.

Nail sides of trough together.

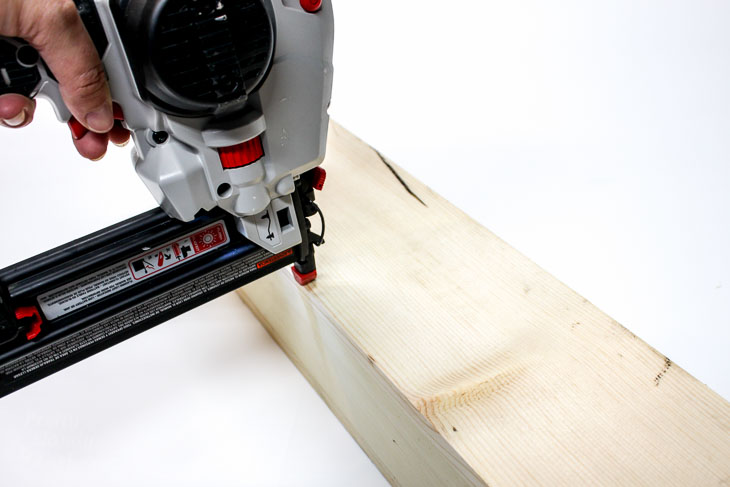
Nail the sides into the base piece.

Nail sides to bottom piece.

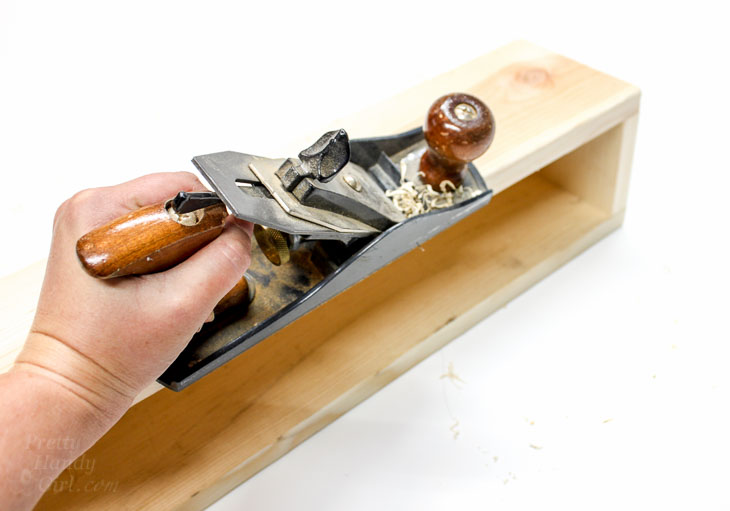
Optional, use a planer or rough sandpaper to round the edges of your trough.

Shave off clean corners for rustic look.

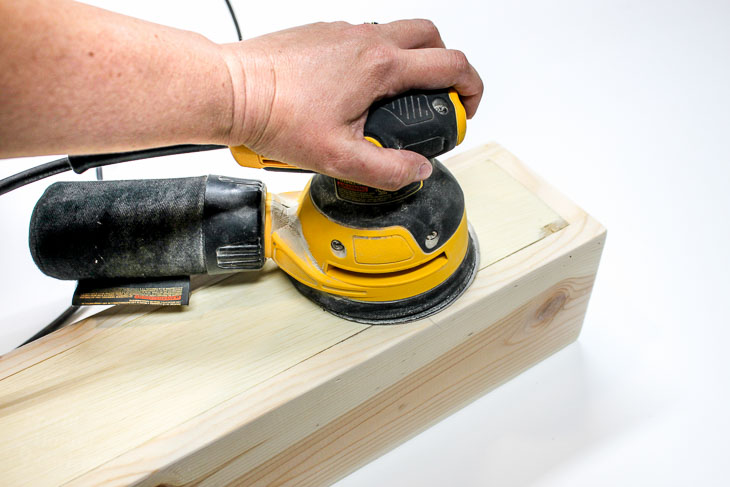
Sand the trough smooth.

Sand smooth.

Congratulations, your trough centerpiece build it complete! That wasn’t hard was it?

Finished trough build.

Leave your trough raw. Or stain and paint it to give it a rustic look by following my video tutorial below!

Dry brush Fusion paint.

Add some flowers or seasonal decor and put your trough centerpiece on your table (or mantel or anywhere you want to display it.)

Do you like this trough centerpiece? What would you display in your’s?

I’ll be back later with a full tutorial on how I create the perfect aged and distressed look on my trough. See ya’ later alligator!

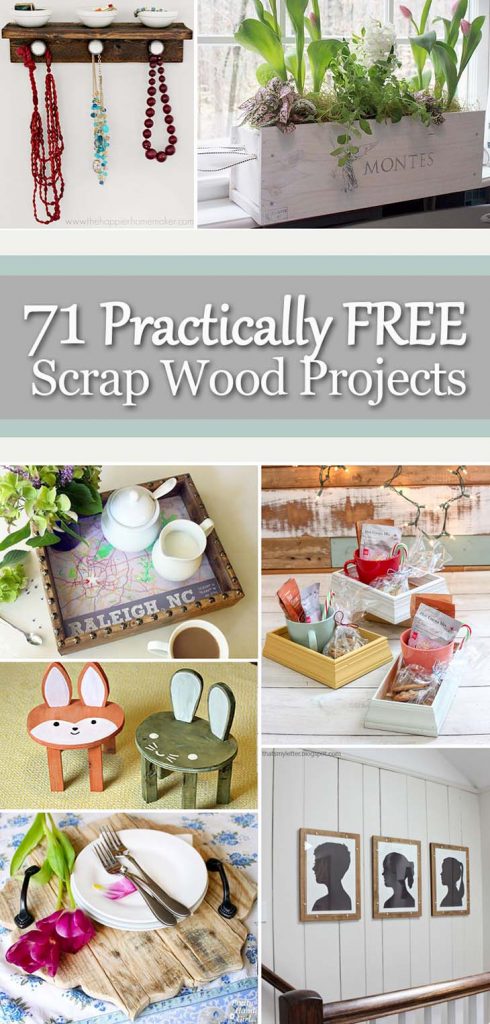
If you liked this tutorial, I know you’ll love this collection of 71 Practically Free Scrap Wood Projects!

71 Practically FREE Scrap Wood Projects


Pin for later!

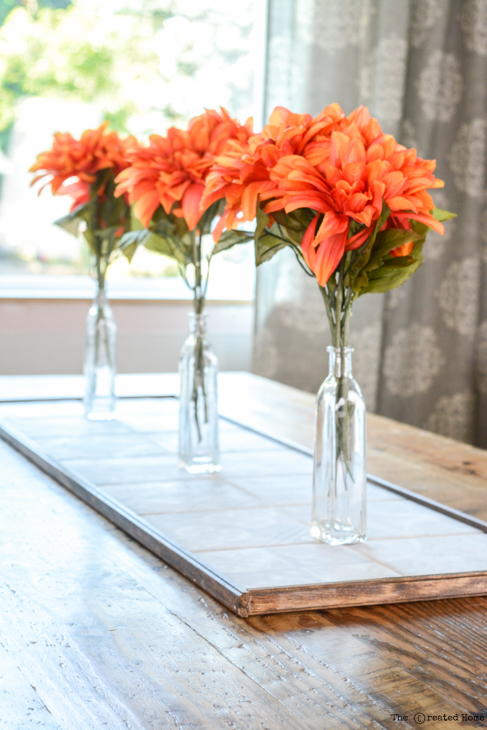
DIY Tile Centerpiece
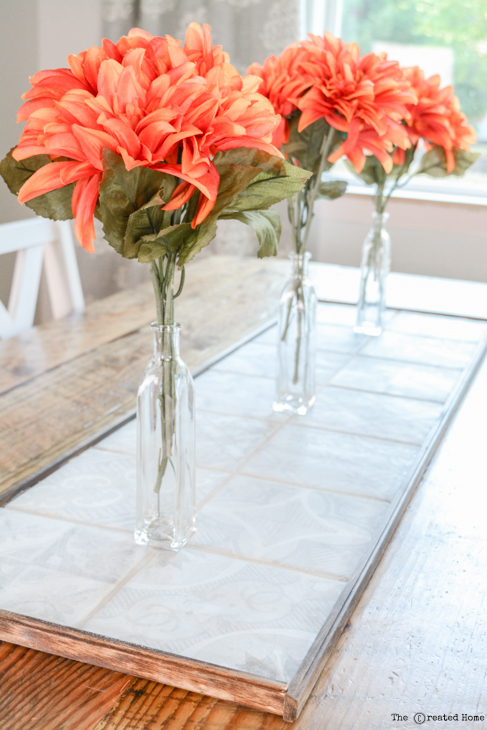
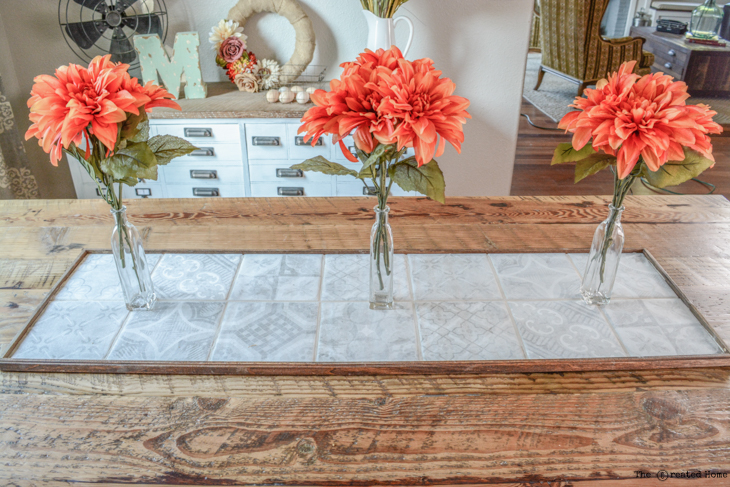
The holiday season is just around the corner, and there’s nothing quite like time spent with your friends and family gathered around the table. I know sometimes it’s all you can do to produce a delicious spread for your guests – details like a fancy tablescape are asking too much. Lucky for you, this DIY tile table centerpiece is the perfect solution for creating a gorgeous centerpiece that is easy to decorate and switch up for whatever occasion gathers your friends and loved ones around the table.
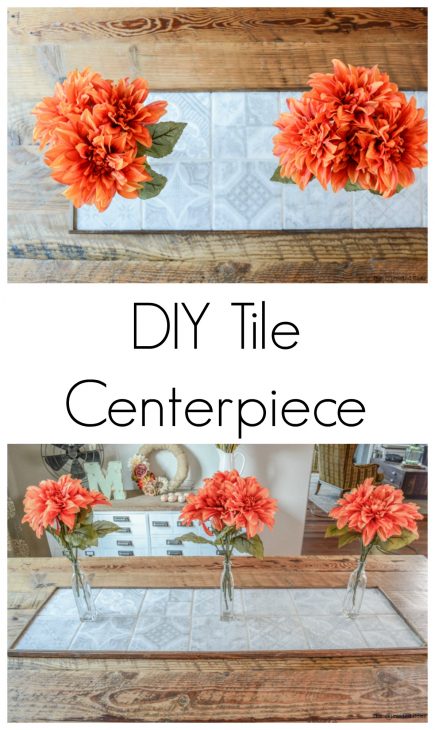
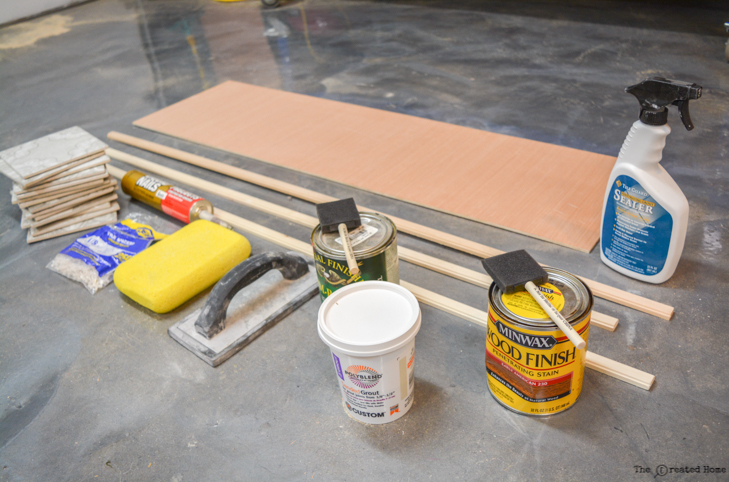
Materials:

(I’ve included affiliate links for your convenience. I earn a small percentage from a purchase using these links. There is no additional cost to you. You can read more about affiliate links here.)

tile centerpiece supplies

(That material list may seem long, but hopefully you’ll have a few things laying around already. And luckily, most of the materials are inexpensive.)

Instructions:

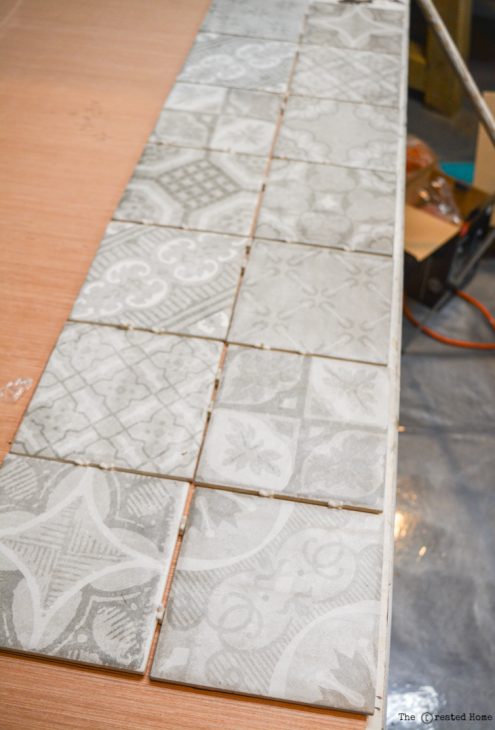
Step 1: Layout your tile on the 1/4″ plywood and trace around the perimeter to mark your desired size centerpiece. (I used 6″ x 6″ ceramic tile and 1/8″ spacers.) You can use any type of tile, but cement tile would look fantastic here! Cut the plywood to size using your table saw or circular saw.

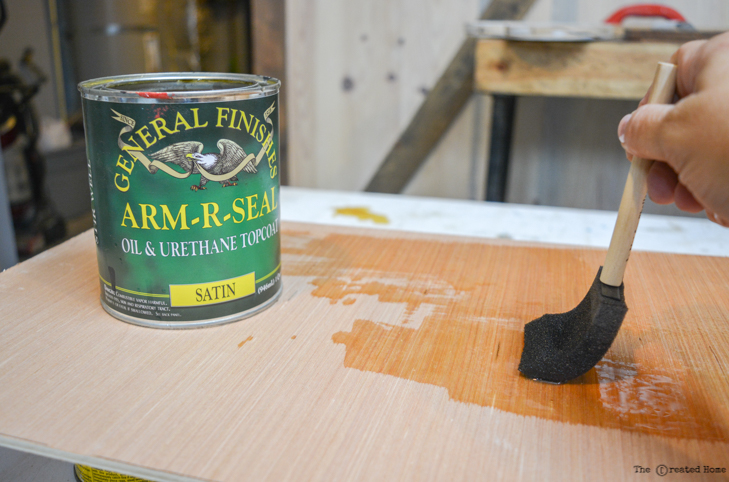
Step 2: Seal the plywood with polyurethane or other varnish.

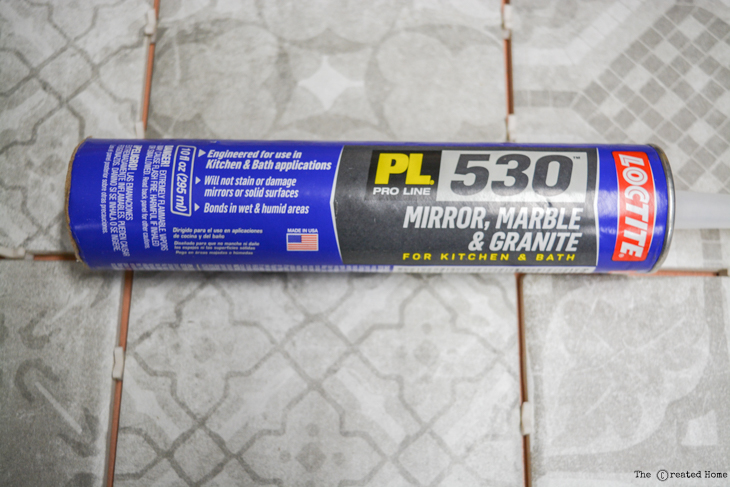
Step 3: Apply the Mirror, Marble & Granite Glue to the back of your tiles. (Typically mortar is used to set tiles, but adhesive is less messy and perfectly fine for this application.) Do not use regular construction adhesive as it may stain or seep through the tiles.

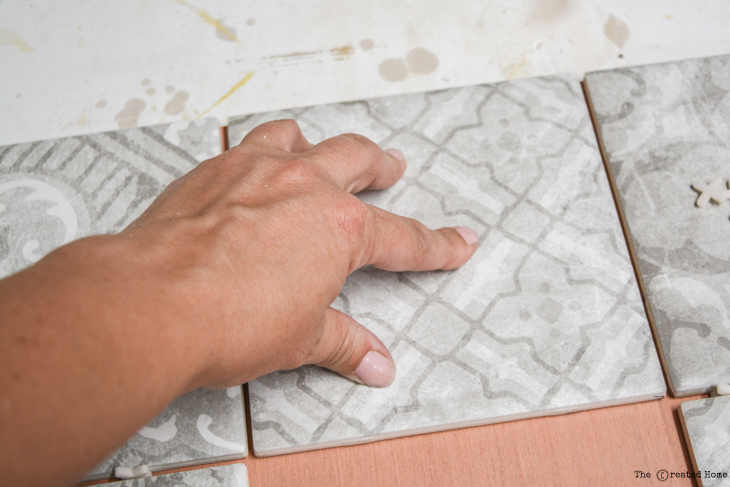
Press the tiles firmly in place, separating with tile spacers. Let the adhesive cure for about 24 hours.

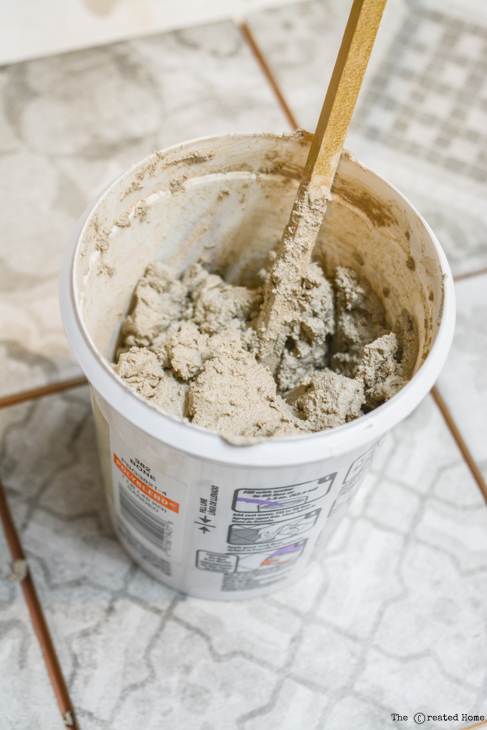
Step 4: Time to grout the tile. Follow the instructions on your grout container to mix grout to the desired consistency (usually like thick peanut butter.)

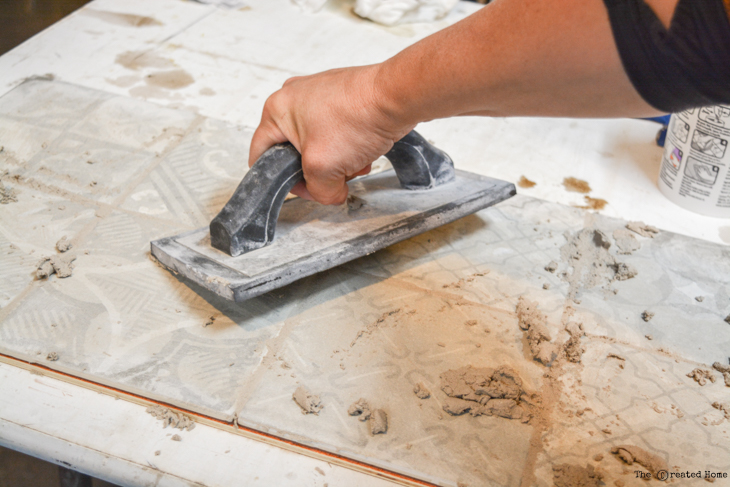
Spread the grout over the tiles. To get the grout into the space between the tile use plenty of grout and hold your float at a 45 degree angle.  Scrape the float across the face of the tiles, packing the grout into the seams. Follow Brittany’s tutorial for grouting tiles if want to see a video tutorial.

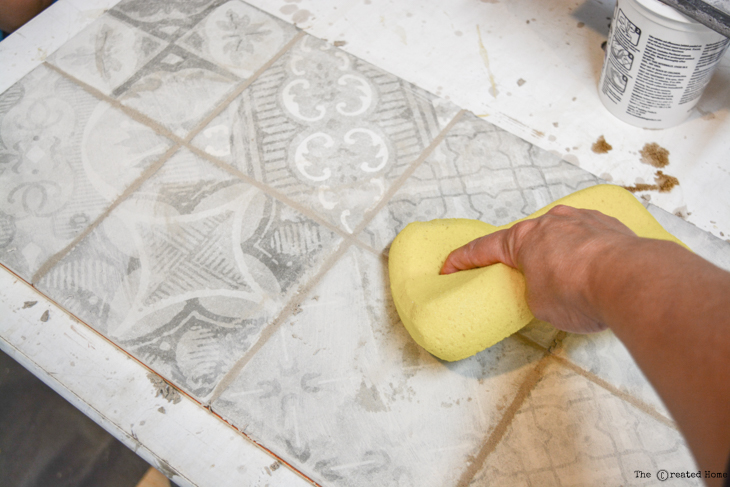
Step 5: Wait 10 minutes for the grout to set, then gently wipe off the excess grout with a damp sponge. Be careful not to wipe the grout out of the seams.

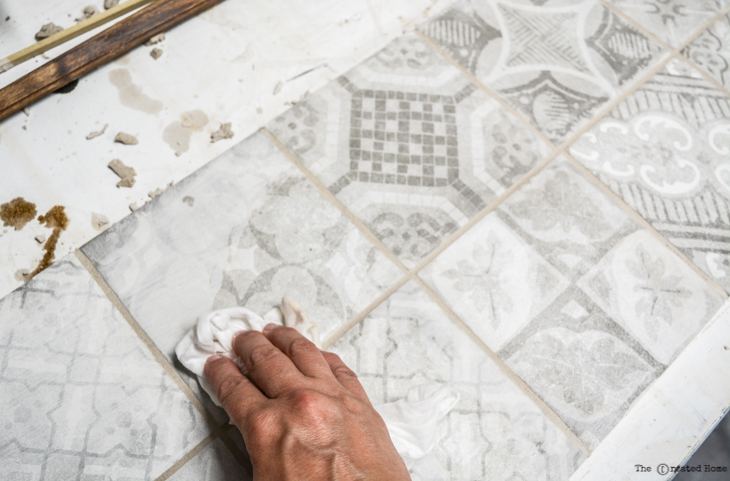
Step 6: After about two hours clean up the haze on the tiles with a damp rag or cheesecloth. Continue wipe down the tiles until they are clean.

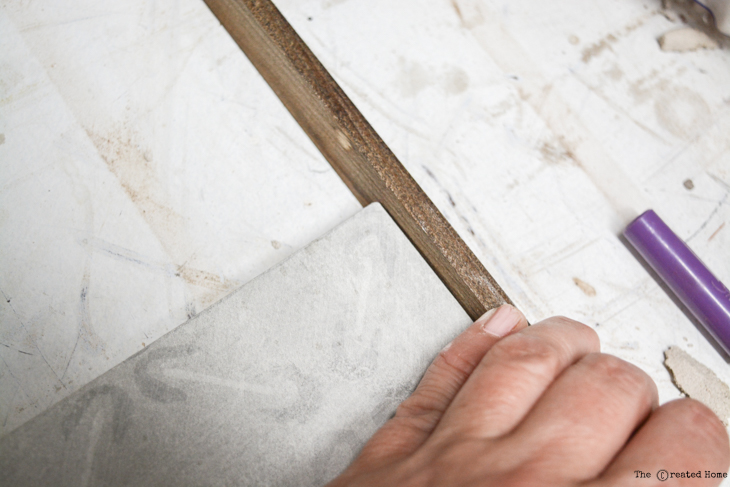
Step 7: Cut the decorative moulding pieces to fit around the sides of your tiled plywood tray. (Stain or paint the moulding pieces per your style.)

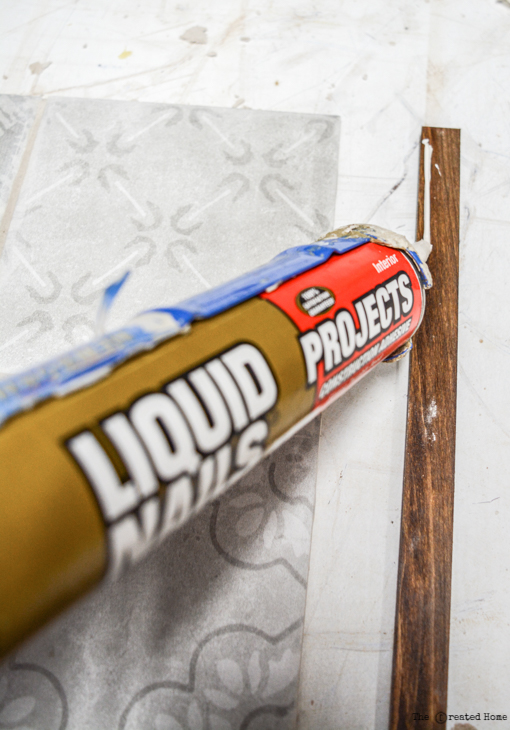
Adhere the wood moulding around the border of your plywood using construction adhesive.

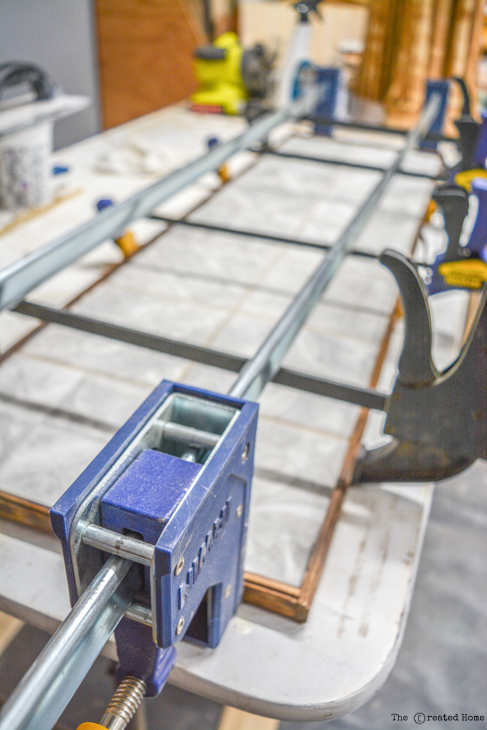
Use clamps to hold the pieces in place while the adhesive cures.

Use grout sealer per the instructions on the packaging to seal your tiles and grout.

Step 8: Put the tile centerpiece on your table and decorate it up!

Obviously, this centerpiece can be easily customized to whatever look and size you like. Maybe consider one row of larger size tiles instead of a double row. Or a mosaic of smaller tiles would look amazing.

Besides looking attractive, tile makes for a good place to place hot dishes and protect your table top.

Pin this idea to share or to store for later:

That’s it! Be sure to share pictures if you make one for yourself. Thanks for reading, and happy entertaining!


~See More of Sarah’s Tutorials ~