 Saving Etta: Chapter 9: Life Changing Moments
This is the true story about a house built in 1900 that is in serious disrepair. It’s also the story about my journey toward becoming a general contractor and my attempt to save a home from being bulldozed. I hope you’ll follow along as I embark on a journey into the unknown perils and rewards of flipping a home in downtown Raleigh, NC.
If you are just joining the story, you may want to read all the Saving Etta chapters.
Be sure to follow me on Facebook and Instagram as I share live updates about this project I’m calling Saving Etta.

While I waited in line at the DMV to pick up new tags for the truck, I scrolled through my email. The EMSL Laboratory email stood out from the rest. I clicked on the email and downloaded the attached lab results as I thought to myself, “Please be negative, please be negative.”
I quickly opened the attachment and let out a huge sigh of relief. All the samples I sent came back negative for asbestos. This was a huge relief because tomorrow was closing day.
Monday morning arrived too soon. I didn’t sleep well because I had a hard time settling my mind. When sleep finally came to me, Mike’s alarm roused me from a light sleep. I laid in bed as long as possible just to give my body more rest. But, ultimately I knew I was going to have to power through the day.
The morning was the usual bustle of getting the dog and kids fed, then shoved out the door to school. The humidity in the air felt like a heavy wet blanket and soon the sky started to drizzle. I thought to myself, might as well enjoy the humidity and rain before the cold dry winter weather sets in.
I grabbed Bandit and headed to the bank in my truck. I figured it was a good opportunity to get him used to the new ride. Bandit, seemed excited to have free rein in the back seat of the truck, obviously an improvement from the confines of his crate in my minivan.
Walking into the bank, I found myself behind another customer. Anxiously, I waited and checked the parking lot to make sure that Bandit was behaving himself. The bank attendant called me into her office and I carefully slid the paper with the routing information and bank account number for the wire transfer. I briefly wondered what she was thinking. Perhaps she thought I was sheltering my money in a Swiss bank account. I snapped out of my imagination as she asked, “Foreign or Domestic.”
I quickly answered “domestic”, concerned she might think I was involved in some illegitimate money laundering. Then I checked my thoughts, remembering that Lori had told me all large home purchases are now handled via wire.
After the banker assured me that the transfer had been made, I headed out to the truck. Bandit sat patiently in the back seat. “Good boy, Bandit!” I praised him.
After droppinog Bandit off at home, I headed downtown to the attorney’s office for the closing. The weight of what I was about to do suddenly hit me hard. I had a rock in my stomach and a panicky feeling. What if I was throwing away all this money on a silly dream?
Before I had time to ruminate anymore, Lori stepped into the waiting area and asked if I was ready.
“As ready as I can be, I guess.” I replied to her.
We stepped into the small room filled with a big conference table. A gentleman about my age and a woman about 20 years his senior sat on one side of the table. Soon I learned that the woman was the daughter of the last owner of the house. Her father had lived in the house well into his 90’s. She told me that the house had been in her family since 1909. I was suddenly hit with the realization that this was a very bittersweet moment for her. The man at her side introduced himself as Anthony, the woman’s son. After all the paperwork was signed, Anthony graciously gave me his cell phone number in case I had any questions. I agreed to call him if needed, not realizing how soon we could be corresponding .
As I walked out of the law office, house key in hand, my legs nearly gave out beneath me. I was suddenly $180K poorer and had a humungous responsibility on my hands. I was one woman tasked with saving a house that has stood in the same location for over a century. I felt weak with the realization and overwhelmed by the work ahead of me.
I drove down to the house and turned the key in the front door, unsure what I would find when I opened it. Would there be lots of furniture? Would the refrigerator and freezer need to be cleaned out? I opened the door slowly and stepped into the front hallway.
The majority of the furniture had been moved out and there were outlined prints on the carpet where the furniture had been. I went through each room taking inventory of what needed to be cleaned out. Then I booked a junk hauler to help clean out the rest of the items in the house.
As I walked toward the back of the house the smell hit me again. It was a smell that will always take me back to that morning when my life was turned upside down. Little did I know it, but that smell would catapult me into an entirely different career.

It started that morning in October, 2012 as I was confronted with a foul odor. It’s only describable as that odor that usually lives in the high school gym locker room. I thought my 9 year old son’s feet were starting to stink. Unfortunately a stinky pair of shoes wasn’t the culprit, it turned out to be a very minor leak in the wall between the laundry room and the kitchen that turned into a huge renovation project.

We persevered through 45 days without a washer and dryer and many months without a kitchen. But, I equated it with being a contestant on Survivor. If we could last the year of construction (plus the set backs and sore muscles) we would be rewarded with a brand new kitchen in the end!
That little leak had turned into a full blown mold infestation when the water seeped between two layers of flooring and sat undisturbed for weeks. This was not a DIY task, we hired professional mold remediators. The remediation went on for weeks after we failed the first air test for mold. Later we found out that additional mold spores were sucked in from the crawlspace when the asbestos abatement team put the room under negative pressure. (Yes, they found asbestos while trying to remove the various layers of flooring.) As if that wasn’t enough to deal with, as I began to build the kitchen back, the electrician and I discovered a large amount of termite damage.
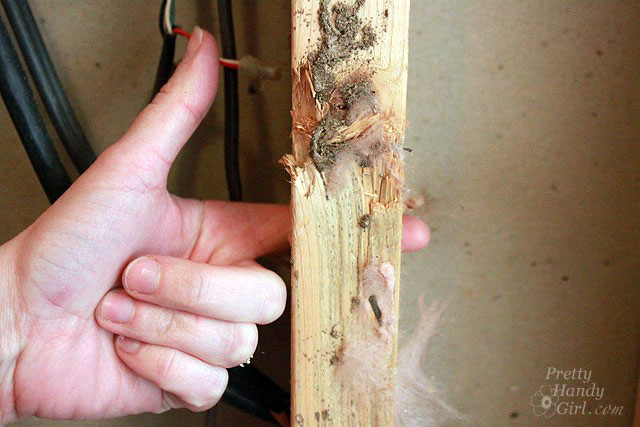
I called our termite treatment company and asked them to come take a look so we could recoup some of the repair costs. As I sat on the floor with my head in my hands, I wondered how many more obstacles would pop up in my path to a new kitchen. The termite damage was so extensive that I decided to call a structural engineer and the city building inspector.
I sat there and listened as “Mr. Termite” claimed the damage was previous to their insuring our house and therefore they didn’t have to pay for the damages. The city building inspector and Mr. Termite tried to make suggestions to “fix” the damage, not one of them talking directly to me. One involved pumping the rim joist full of concrete (potentially costing thousands of dollars.) Another suggestion was ripping up the flooring and floor joists to hopefully replace the damaged two joists. But, it was doubtful we could get access to the damaged area that was sandwiched between a concrete slab and another joist. Expensive and costly solutions were thrown out until the structural engineer came up with a brilliant solution.
“All you need to do is furr-out the wall to distribute the weight over the good joists. It shouldn’t cost you more than $200 in materials.” he explained.
Mr. Termite perked up, pulling out his checkbook to write off his responsibility. Then he said, “There’s your solution little lady! Now you just need to worry about how you are going to get your kitchen back. I mean, where is the general contractor and why isn’t he working on your kitchen right now?” he asked me.
I looked him square in the eye and replied, “You’re looking at the general contractor.”
His eyes turned to every male in the room until he realized I was talking about myself. I’d give money to see that face again! His jaw dropped and his eyes got wider than the termite holes in our studs.
After everyone left, the building inspector stayed behind. His warm smile thawed my icy glare after Mr. Termite left. The inspector asked if I was clear on how to proceed with the structural repairs. I told him I was and then he said something that shocked me.
“Say, have you ever considered getting your general contractor license?” he asked. “We need more women in the profession.”
I looked at him with my mouth agape now and replied, “No way! I just want to get my kitchen back and to go back to being a wife and a mom.”
Little did I know that a seed had been planted that day and it took two more years to germinate. Three years later I’d sit in front of that computer screen taking the license exam.
That kitchen project not only pushed me to become a general contractor, but it also prepared me in a big way for saving Etta. I knew that there would be bumps and setbacks, but I also learned that there’s always a solution (sometimes it’s not the one you want) and you will get through it. Until that day when you’ll look back from the finished side of that huge renovation mountain.
Today the smell of mold no longer scares me because I know how it is contained and remediated. I also know that it can be fixed with the right amount of money.
Before I left the house, I changed out the door knobs and deadbolts and put the few items into a box and loaded them into the truck.
When I got home, I cleaned off the items in the box: two vintage hats, an old change maker, an American flag, a few photos and a journal. I texted Anthony, thinking he might want the photos and the journal since they were more personal to his family. He replied quickly that he’d like to meet me at the house that weekend.
I replied, “Absolutely.”
As I sent the text off, I was suddenly nervous about meeting Anthony at the house. I’m sure he wanted to know what I intended to do with his family’s home. At this point, I had no way of knowing that this house had more plans for me than I did for her.
Continued in Chapter 10. . .
If you are just joining the story, you may want to read all the Saving Etta chapters.
Are you enjoying the Saving Etta chapters? I’d love to hear from you! What are you enjoying the most?


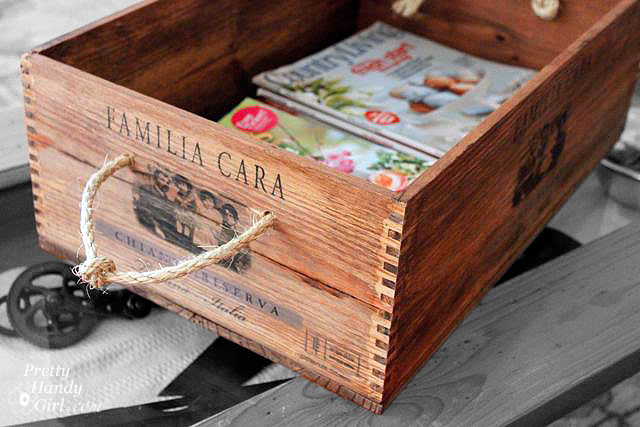 This Rustic Wine Crate with Rope Handles looks great after a little staining and distressing.
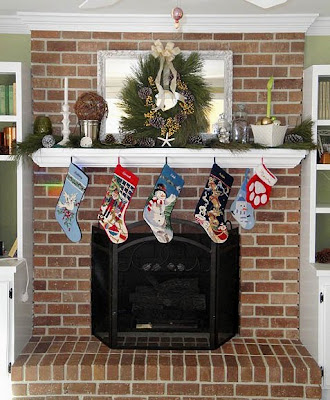 Consider Painting a Brick Fireplace to Beautiful Brownstone rather than tearing out the brick you hate.
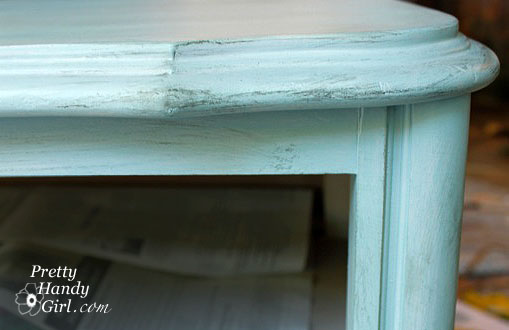
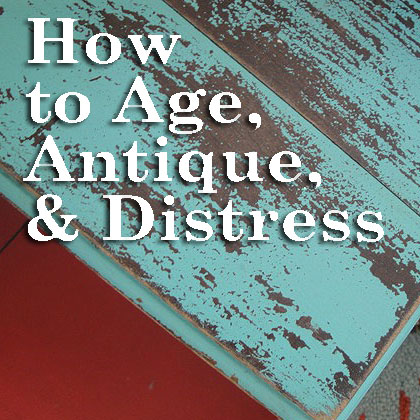 Learn many of the best techniques for Antiquing and Aging Furniture here.
 Check out how you can update your home just by Repainting Dated Decor.
 Learn how to antique beautiful furniture using Asphaltum Glaze.
 Check out this White-washed Window Box and see how to get this finish on your next project.
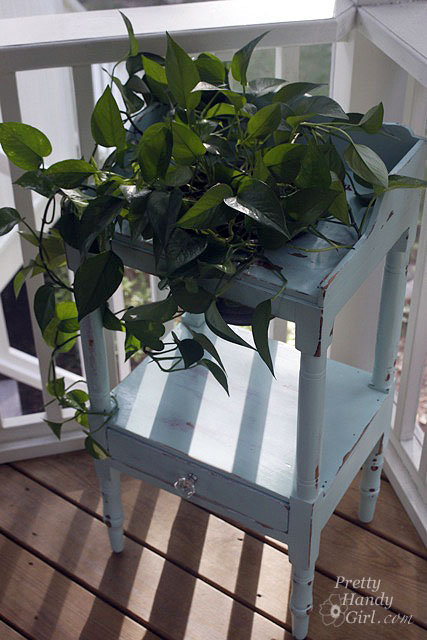 Refinish your furniture in no time using the help of a spray gun used here for Painting an Antique Washstand.
 Find out how to get creative and make An Aged Painted Pail using something you can find in the school classroom.
 This Shabby Chic Dresser is gorgeous, check out how Holly (a professional refinisher) achieves this finish.
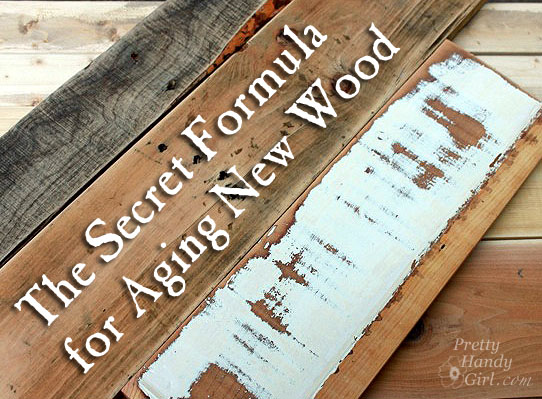
 Learning how to Faux Zinc will open so many doors for you! Be creative!
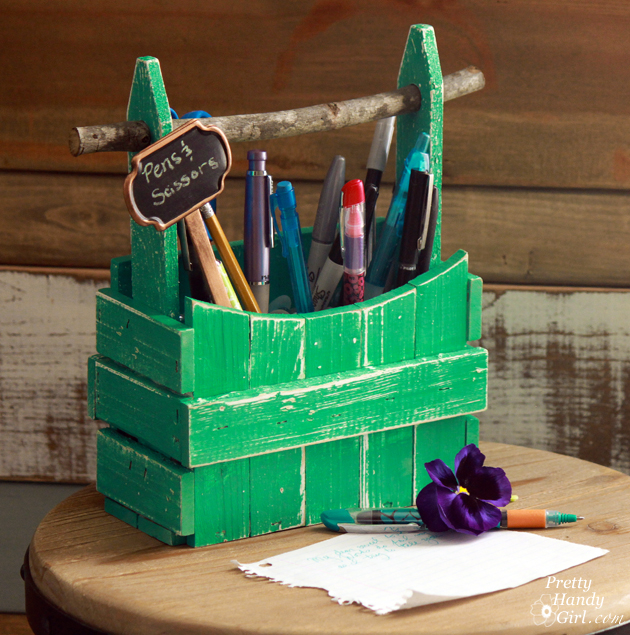 Learn how to get a distressed finish with this Distressed Picket Fence Planter Basket tutorial.
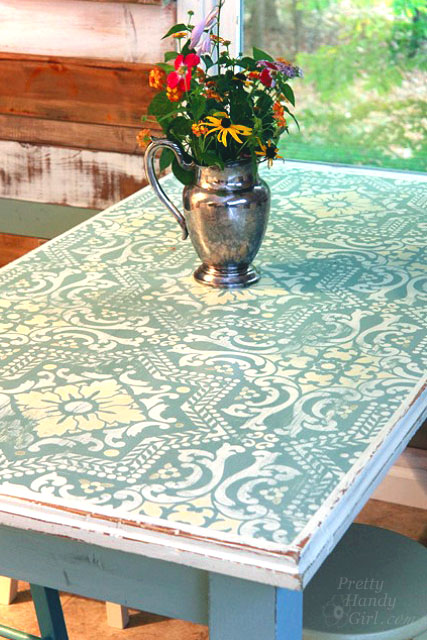 This Chalk Painted, Stenciled and Distressed Dumpster Table gives you all the details on how to make an amazing table like this one!
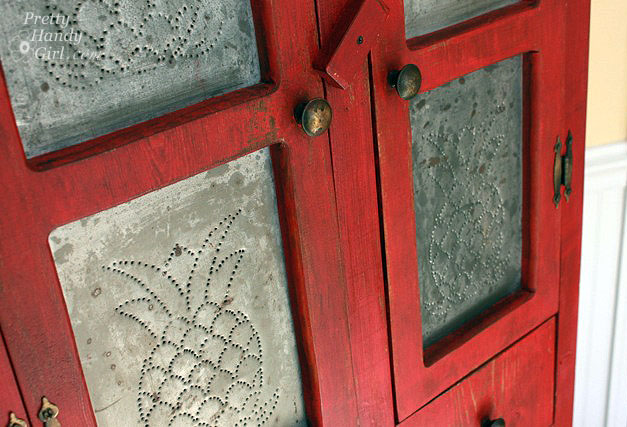 This Rustic Red Pie Safe painted with Miss Mustard Seed Milk Paint is a great way to learn about using milk paint.
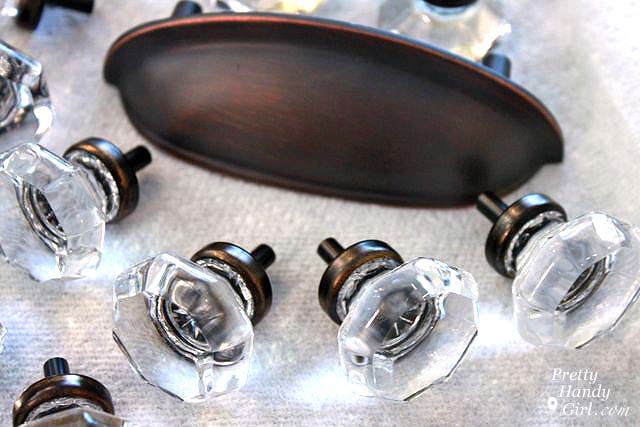 Don’t buy new, learn how she refinished old hardware to get these Rubbed Bronzing Cabinet Knobs.
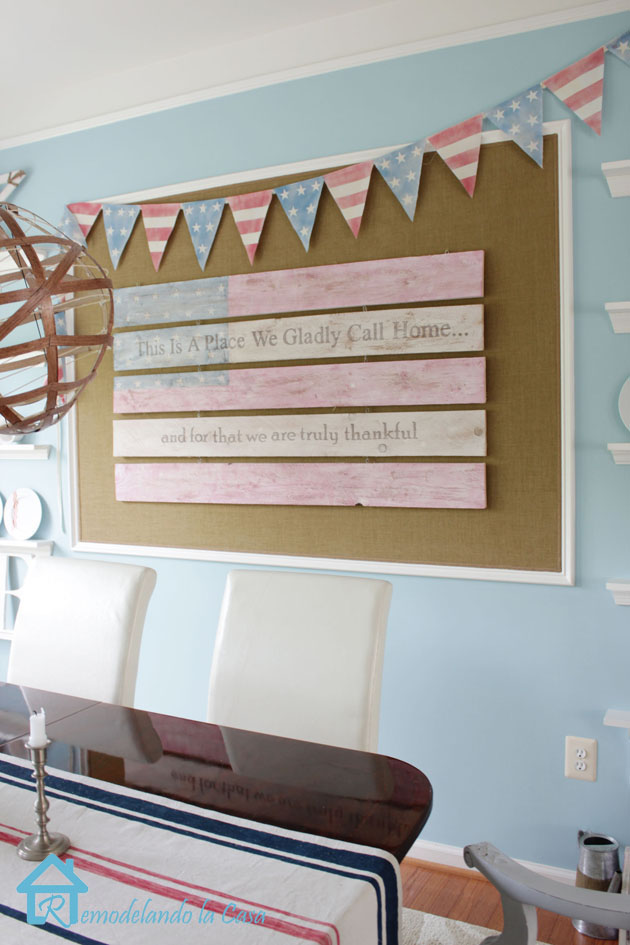 A slightly different finish can make any item a statement piece, like this White-Washed Patriotic Flag Sign.
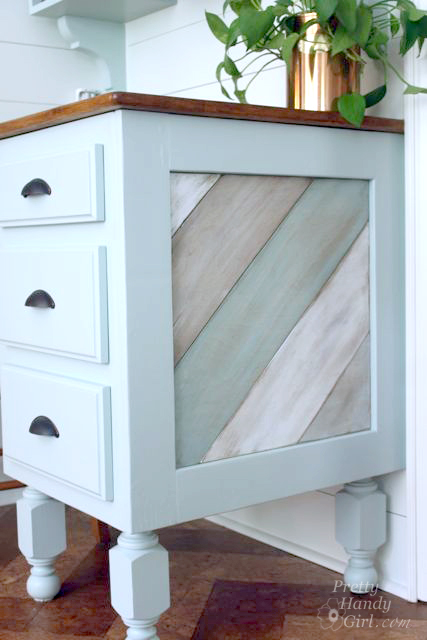 The gorgeous technique on this Painted Distressed Wood Panel could be used for a huge variety of projects.
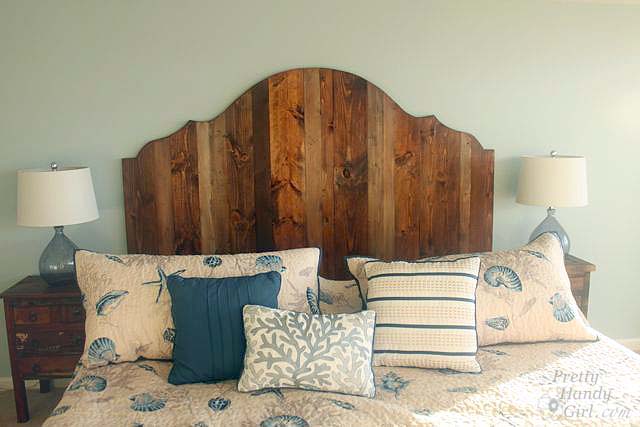 See how they got this Rustic Wood King Headboard finish. Hint: it involves chains!
 Change up your metal bins with some paint, like this Galvanized Tub Storage.
 These Vintage Painted Oars have an amazingly realistic finish and look so great! You’ll never guess what they used to be!
 Learn how to Create Faux Finished Weathered Wood Grain. Yup, that’s not real wood grain and it looks amazing!
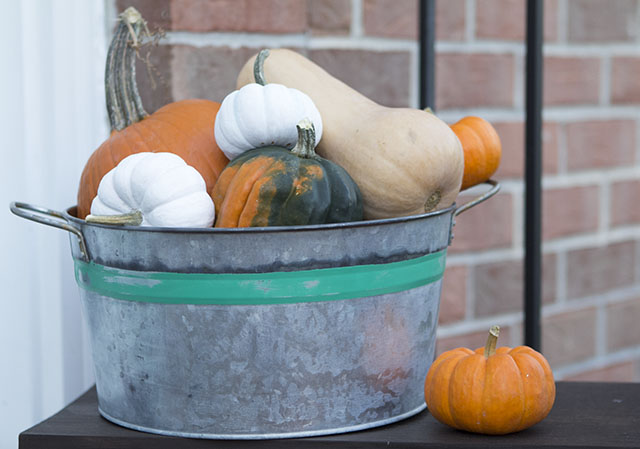 Learn how to Age Galvanized Metal Quickly, sometimes aging just gives extra charm.
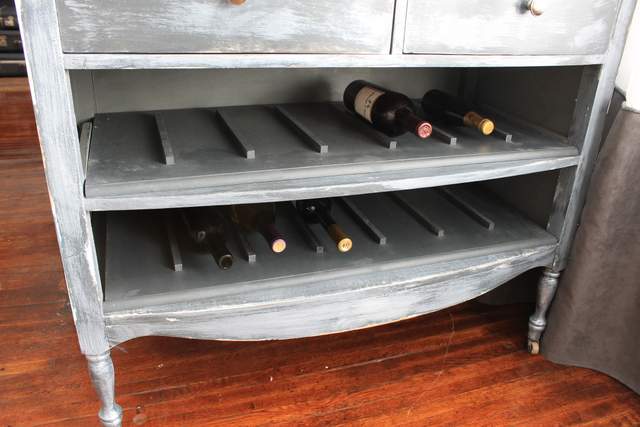 Check out how to accomplish this Unique Wine Rack Paint Finish, you’ll be glad you did.
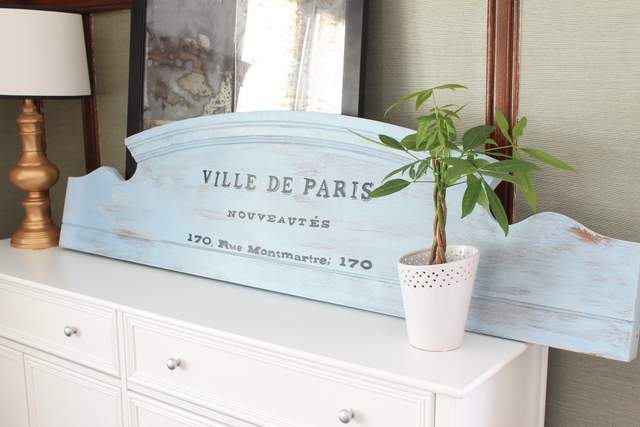 With a little chalk paint and sand paper, you can make a gorgeous old sign from a footboard.
 Find out how to Build Giant Vintage Chalkboard and finish it off tonight.
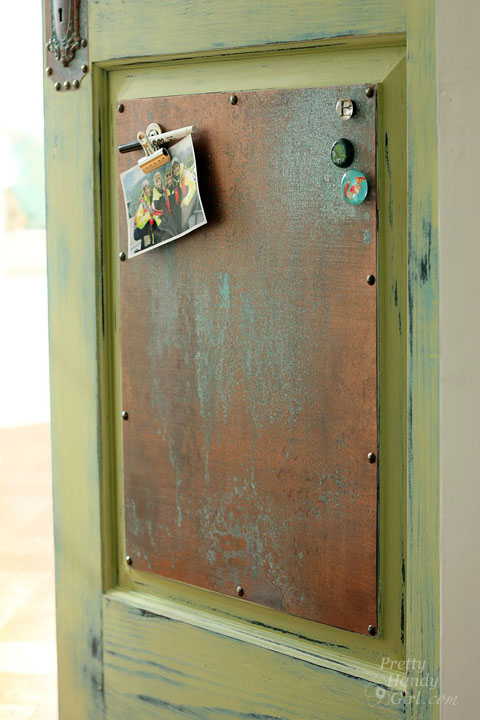 This Faux Copper and Patina finish is stunning, learn how to make it happen on any surface!
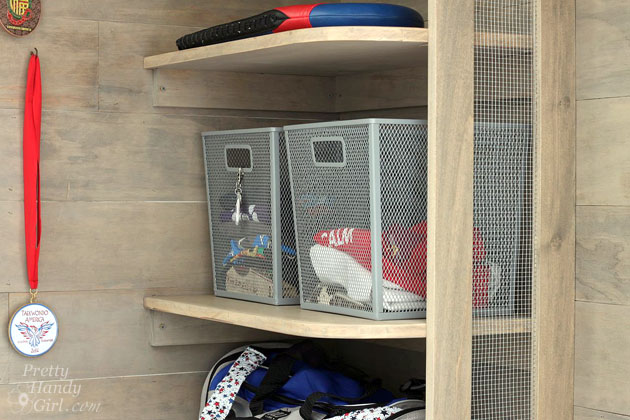 Get the Gray Restoration Hardware Stain Recipe. It’s so easy to get the same finish as that coveted store.
 Learn how to Paint a Giant Mandala Deck Tattoo and turn something ordinary into something elegant.
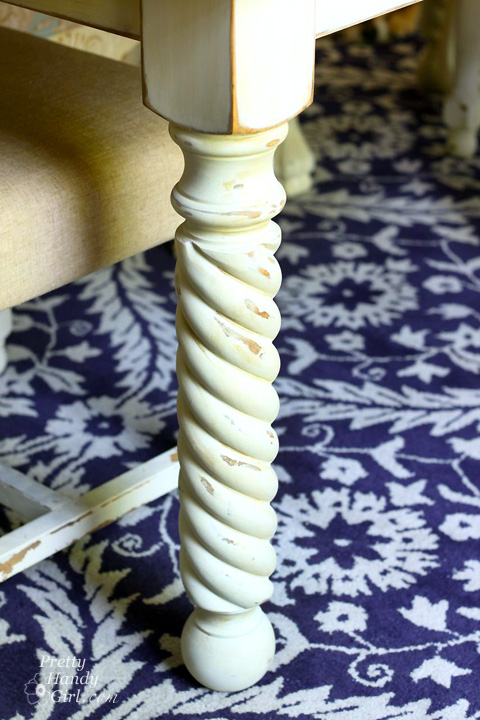
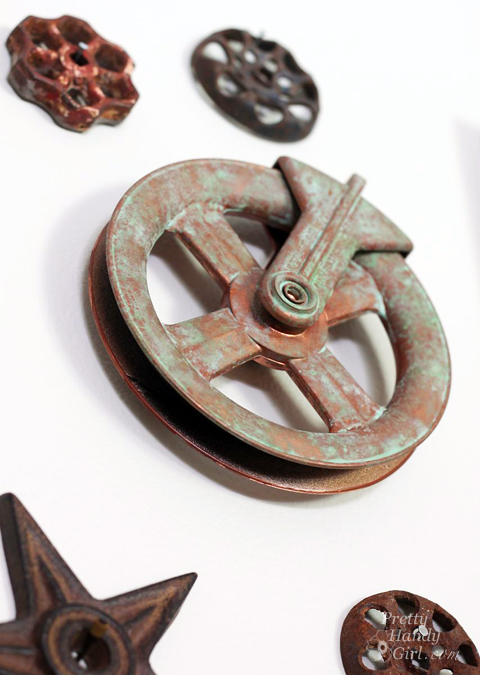 This Faux Aged Metal Pulley is just awesome. Find out how it was done.
 Learn the technique for this Chalk Painted Wooden Stool, it will be handy for sure!
 Make something amazing with this technique, like a Vintage Rustic Sleigh Ride Sign.


 Spooky Spider Halloween Sign


 How to Replace Refrigerator Water Filters


 Fabulous Fall Home Tours