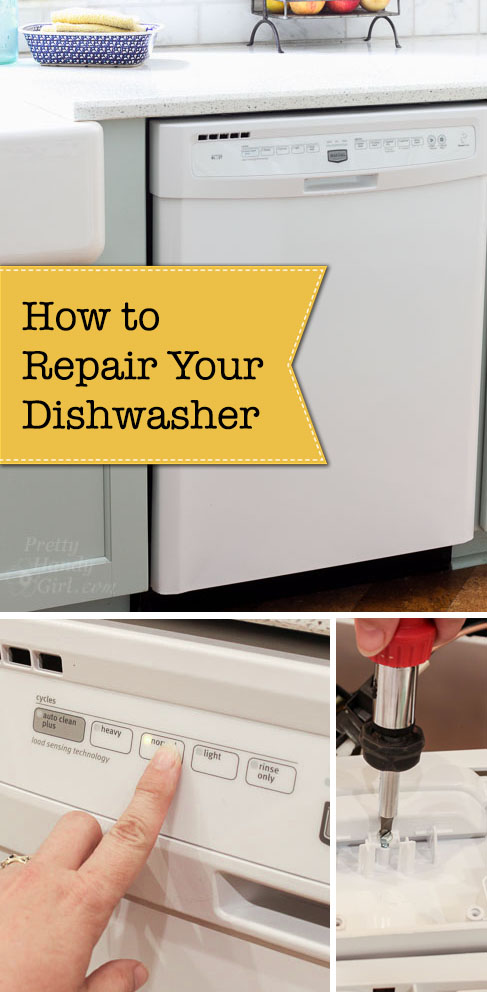
How to Repair a Dishwasher: Control Panel
The holidays are here and your kitchen will surely be getting a work out! Now is NOT the time for your dishwasher to break. Recently we found ourselves with a non-functional dishwasher. The control panel buttons stopped working and nothing I did would start it working again. You may recall that I fixed our grill igniter a few months ago by ordering the parts from Sears Parts Direct. As smoothly as that repair went, I knew exactly where to turn to order parts for our dishwasher. Once again I’ve partnered with Sears Parts Direct to bring you this tutorial for Repairing Your Dishwasher – Replacing the Control Panel.
Before we start, let’s talk real quick about how much you think it would cost to hire a repairman to come fix your dishwasher. If the average appliance repair person charges $75 per hour, the initial diagnosis visit fee would be $75. When the repair person diagnoses the issue as the control panel, he or she will have to order the part and come back a second time. Automatically you are in for $150 for the two visits. Now, factor in the cost of the part ($125 – $200 depending on any mark up that may be added.) In the end you are looking at repair costs in the range of $300 or more.
At this point many homeowners will make the decision to buy a new dishwasher instead of paying $300. But, what if I told you that you can repair your own dishwasher for only the cost of the part? You are probably excited to hear that, and are ready to get fixin’.
Diagnosing the Problem:
To diagnose the problem, visit the Sears Parts Direct Repair Center and answer a few questions about your dishwasher problems. You can also view these 5 Easy Dishwasher repairs to see if the symptoms match your problem. You may end up with a few suggested fixes, but hopefully you can narrow down the issue with some logic. For our dishwasher, I knew it was likely a control panel problem since the buttons had been acting up a few weeks before it stopped working all together.
To order the part for your dishwasher, locate the model number. (Hint: It’s usually located inside the door.) If you have any problems locating the model number, Sears Parts Direct has some recommendations. Write down the model number and head over to Sears Parts Direct to order your part.
After entering the model number, you’ll get a list of parts for your dishwasher. Locate the control panel and order it. The panel will usually arrive in a week. Hopefully you can suffer through hand washing dishes for a few days. (Don’t complain too much, I suffered through it for 4 months when we were without a kitchen.)
How to Replace Your Dishwasher Control Panel:
Preparation: Hooray, you have the part in hand. Now send the spouse away with the kids and tell them you need complete concentration for 2 hours while you repair your dishwasher! (Truth: It’s going to take you less than 10 minutes! So enjoy the rest of your hour and 50 minutes by binge watching Grace & Frankie on Netflix.)
Materials:
Instructions:
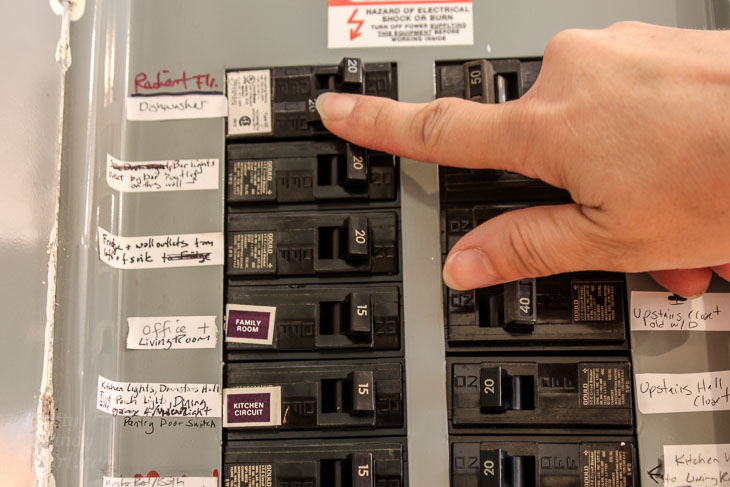
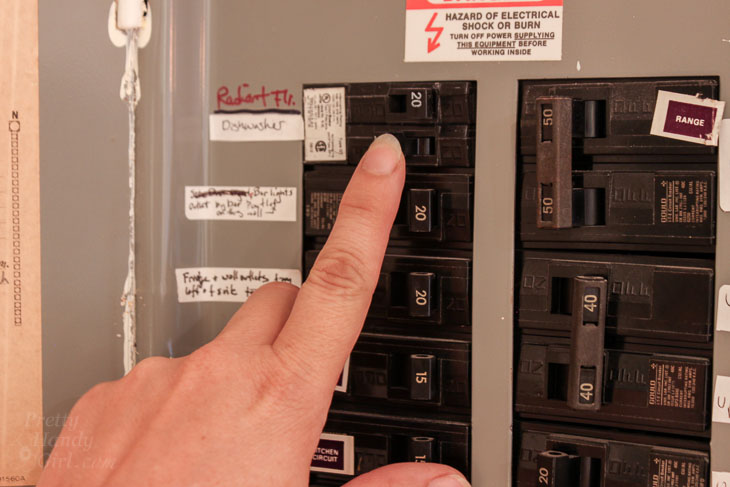
Always start by turning off the circuit breaker for your dishwasher.
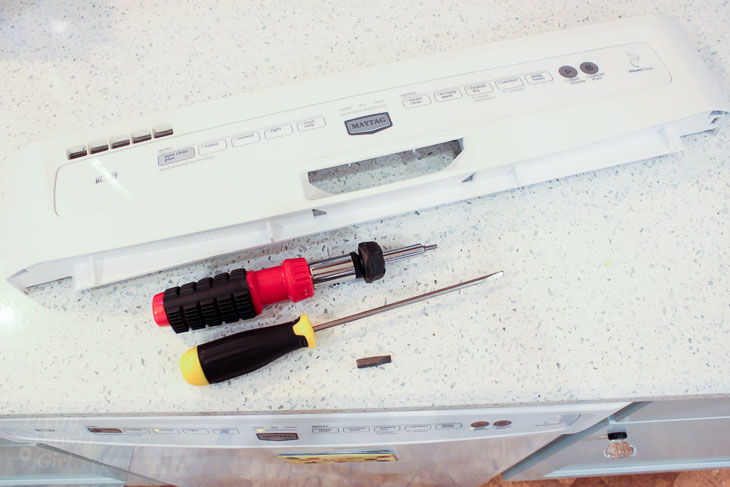
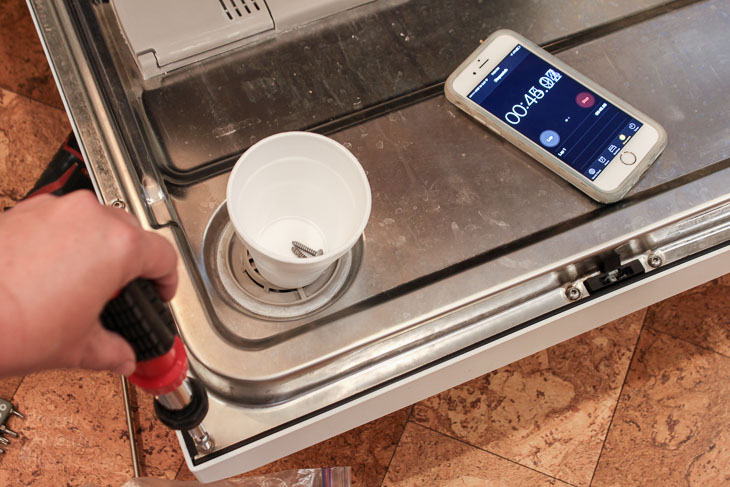
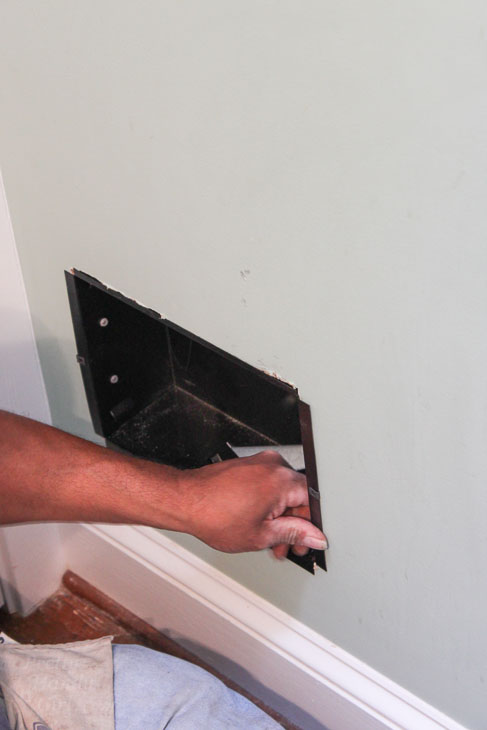
Open your dishwasher and locate the torx screws securing the door panel.
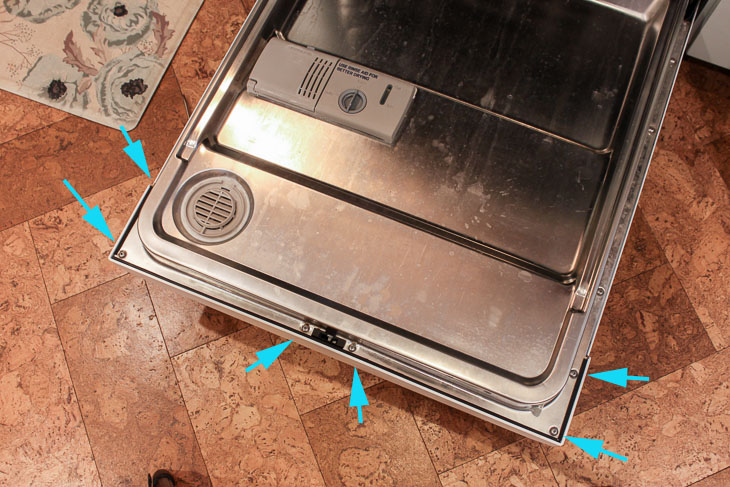
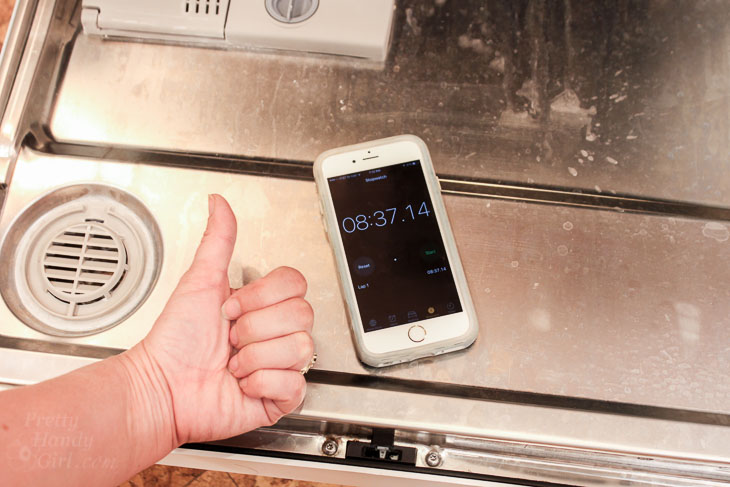
Remove the screws using a torx head screwdriver. Place the screws in a cup or bowl to prevent from losing them. (Yes, I started a timer to show you how long this repair will actually take.)
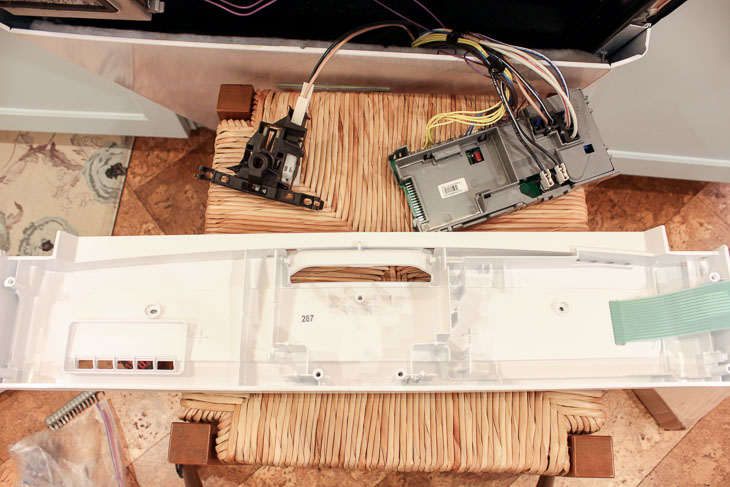
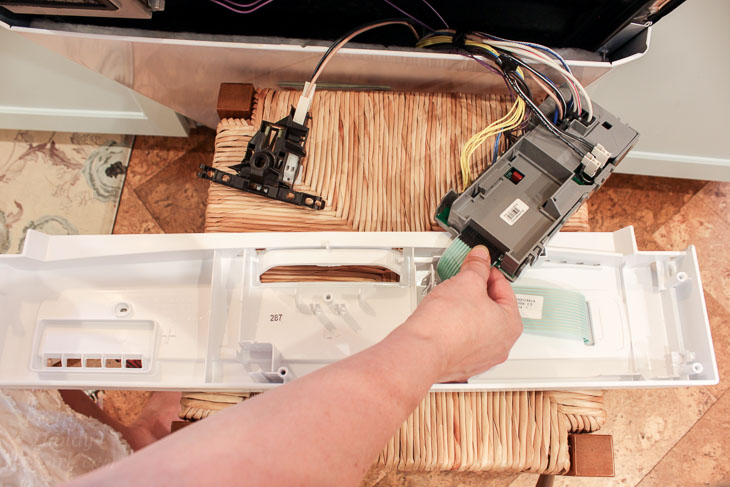
For simplicity, you may be able to remove only the control panel and set it on a stool while keeping all the parts wired.
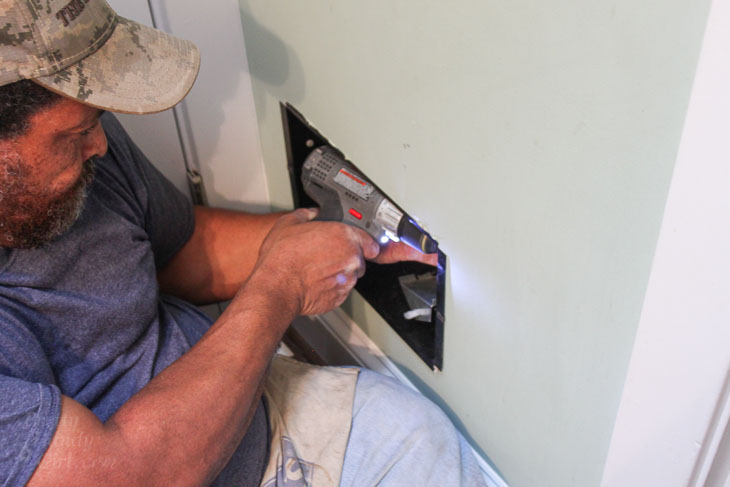
Remove the door latch wiring by lifting it off one side at a time.
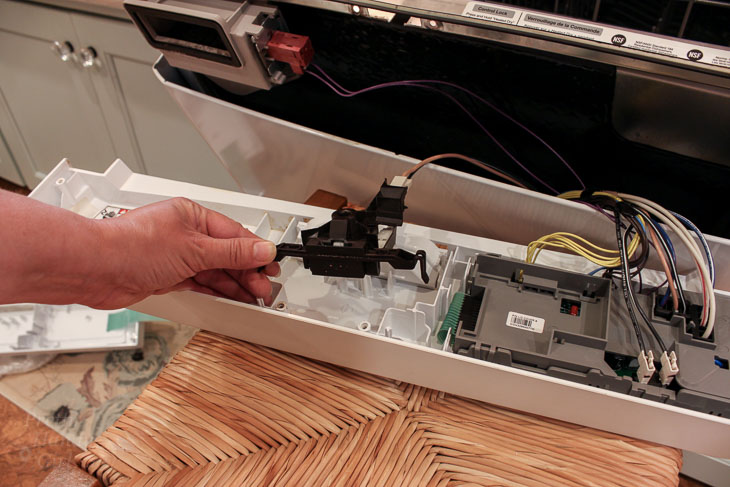
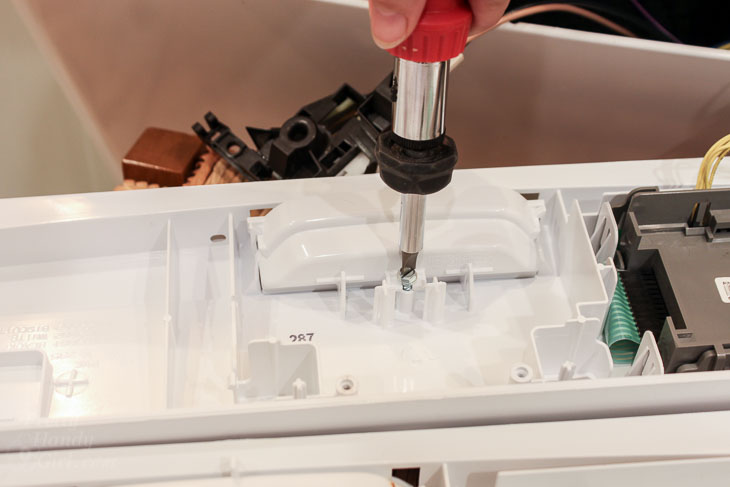
Use a flathead screwdriver to gently release the electronic control board.
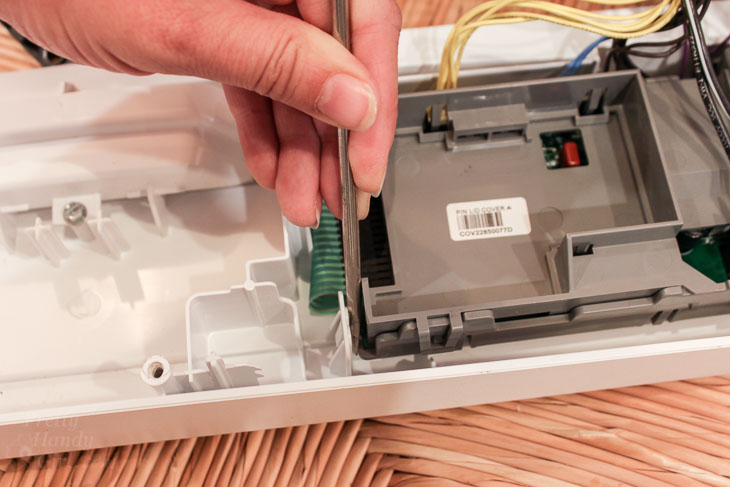
Lift the control board off the control panel.
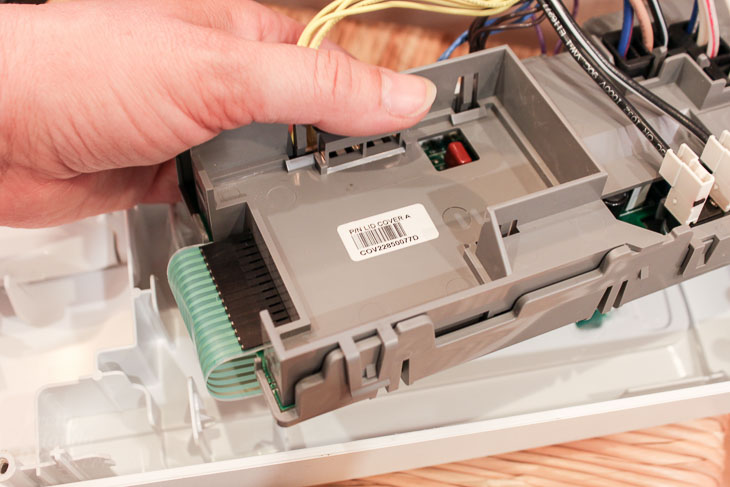
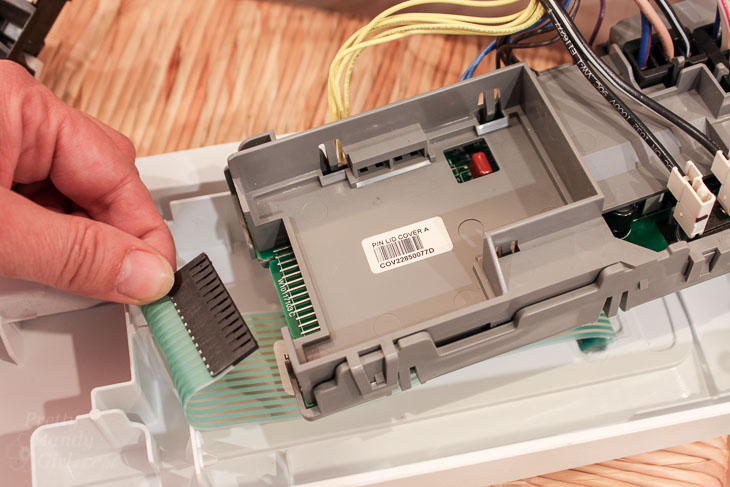
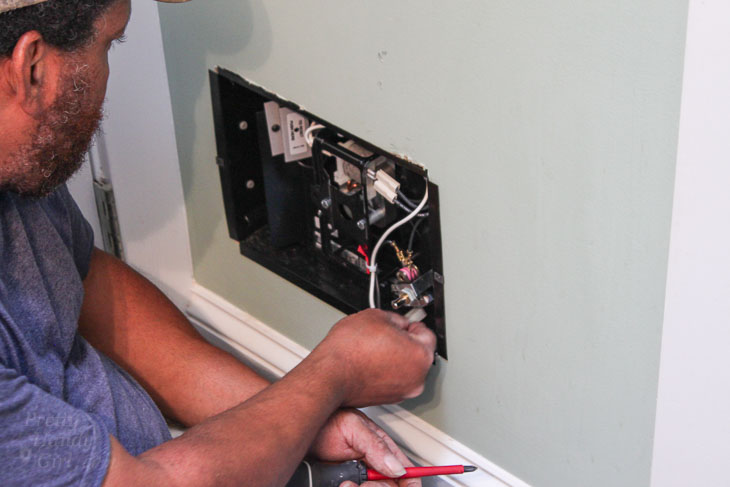
Gently disconnect the control board from the control panel by sliding off the ribbon wiring.
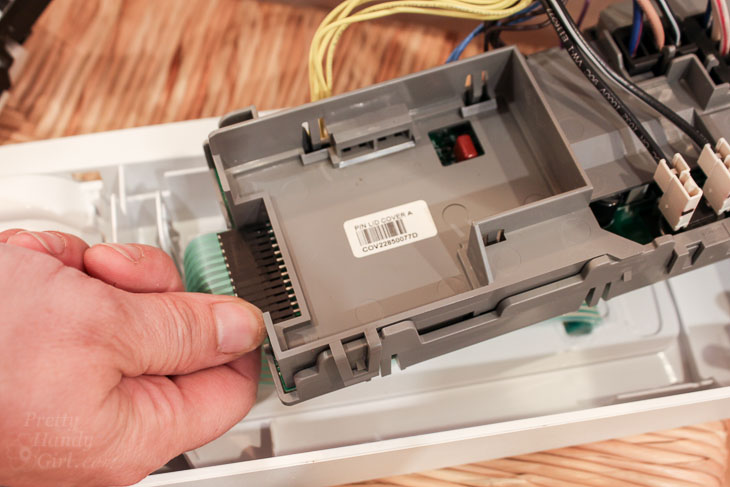
You might need to wiggle it back and forth a few time to release.
Check for any other parts that need to be removed from the control panel (like the handle) and remove them.
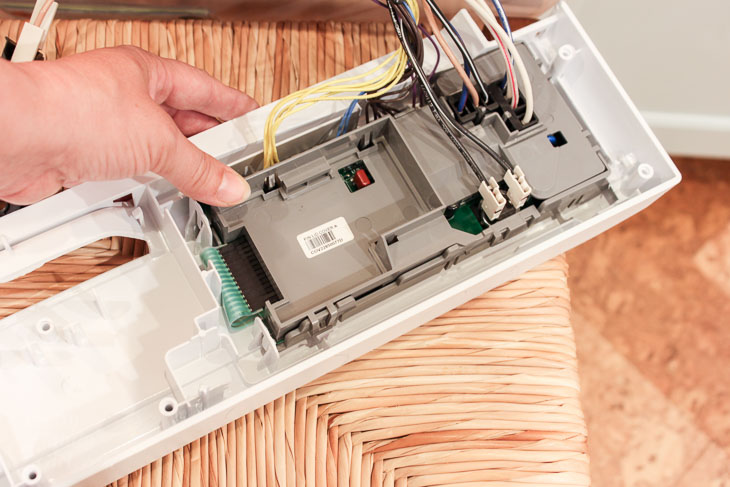
Set the new control panel in place of the old panel on the stool.
Work in the reverse order of the parts removed. Add the handle onto the new control panel.
Attach the ribbon wiring from the new control panel to the electronic control board.
Press the control board into place in the new control panel.
Reset the door latch wiring in place.

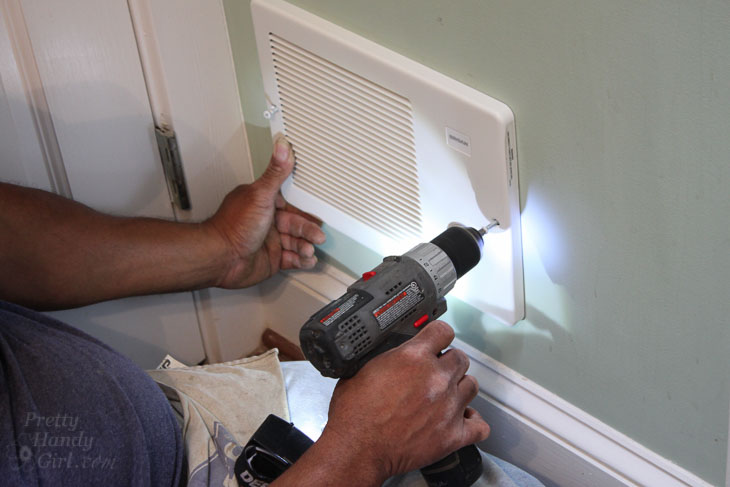
Set the new control panel onto the door.
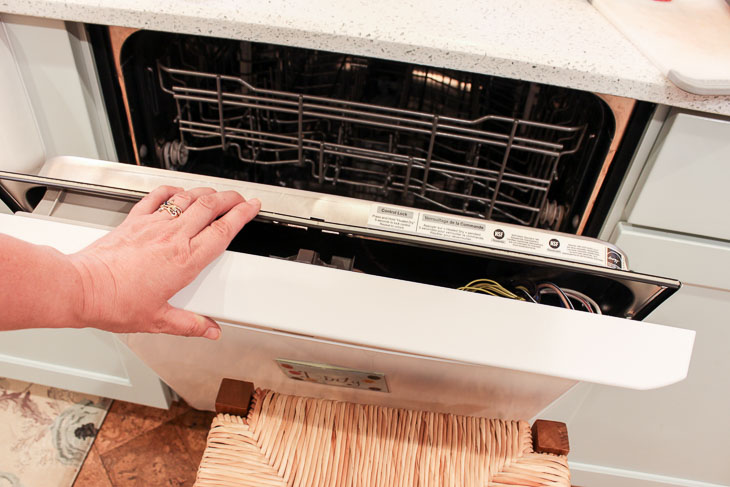
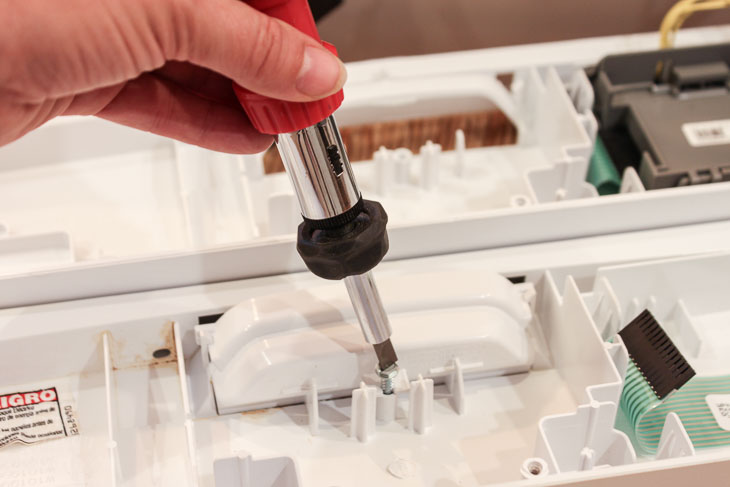
Drive the torx screws in place to secure the new control panel. And, BADABOOM, you are done! Let’s check that timer please: 8 minutes and 37 seconds!
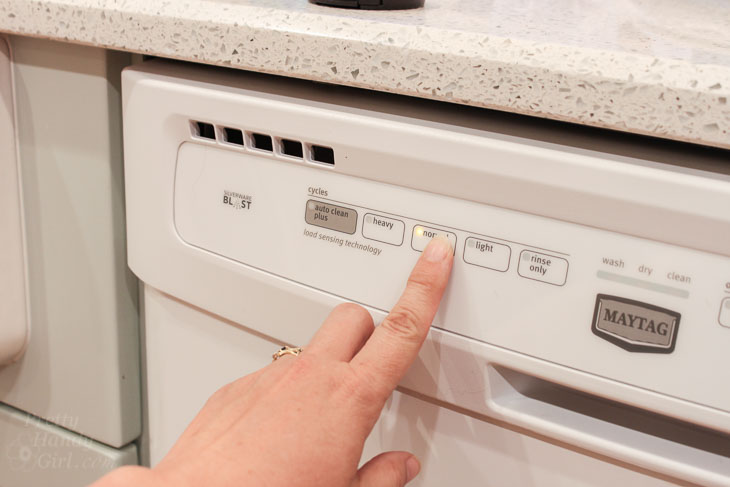
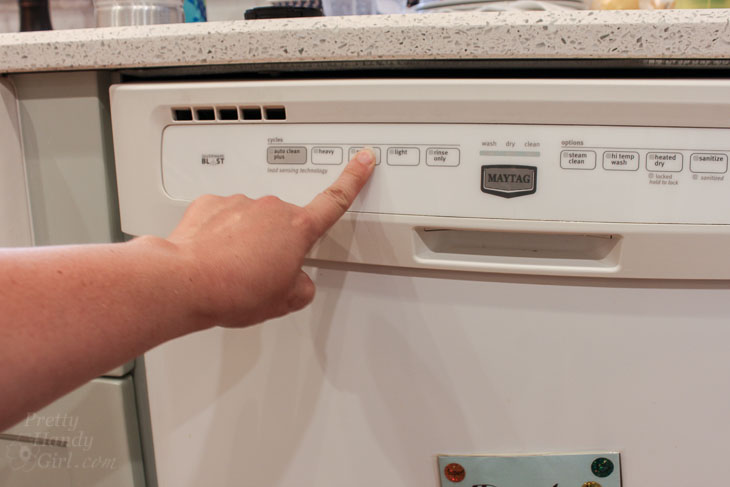
Go ahead and turn the power back on for your dishwasher.
Check the buttons to see if it works. YES! We have a working dishwasher again.
Didn’t that take a lot less time than you originally thought? Plus you are richer because you didn’t have to pay a repair person or replace your dishwasher! What are you going to do with that money you saved? Why not go ahead and buy yourself that present you really want.
Now that your dishwasher is working, did you know there is a right way to load your dishwasher? Or that there are items you should NEVER wash in your dishwasher?
If you haven’t already, you really need to check out SearsPartsDirect.com to find that part to fix all your broken appliances and more! Follow Sears Parts Direct on Facebook, Twitter, or YouTube to see a variety of repair articles and videos.

I’m ready for the holiday baking rush now that our dishwasher is working, how about you? I’m also feeling relieved knowing that when my Mom visits for Christmas, she won’t feel guilty about our broken dishwasher and try to wash all our dishes by hand. Moms will always be moms, won’t they?!
Have a Happy Holiday y’all! I’m off to clean the baseboards around our dishwasher. I’m so embarrassed to see dirt and dog hair in that photo above. Ack!
Save your friends $$$ on dishwasher repairs by pinning this image:

Disclosure: This is a sponsored post for Sears Parts Direct. I was not told what to write. All opinions are my own. I was compensated for my time and efforts to create this tutorial. I am very particular about the brands I represent. Because I value your trust, you will always be notified when you are reading a sponsored post on PrettyHandyGirl.com.


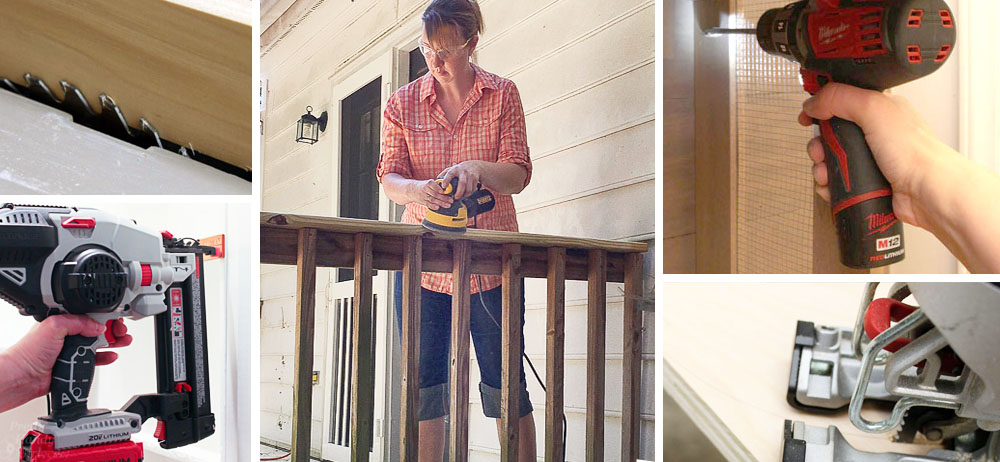
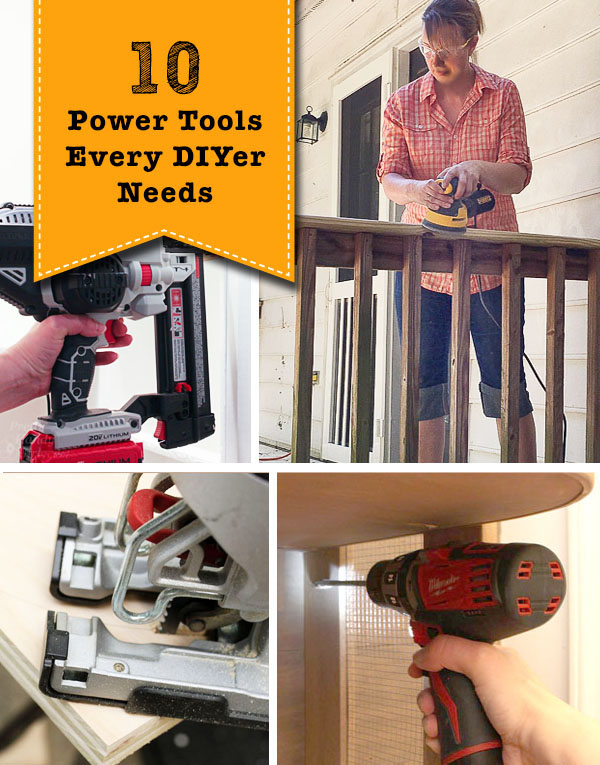 Top 10 Power Tools Every DIYer Needs
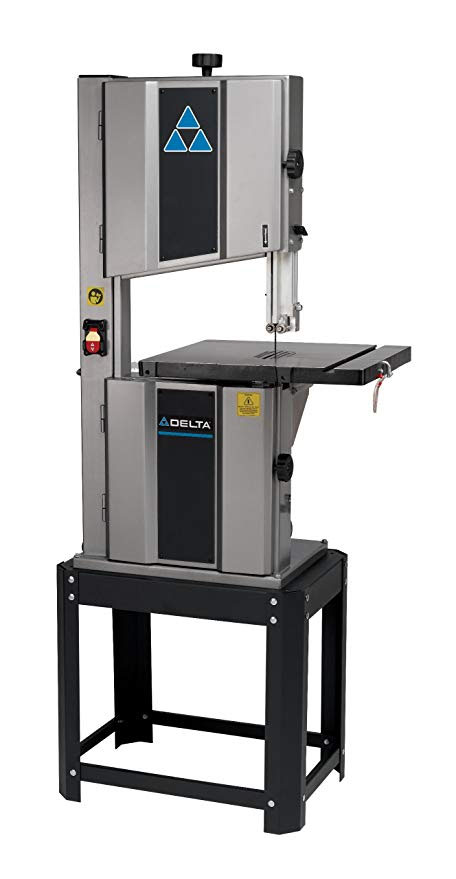 Delta Bandsaw
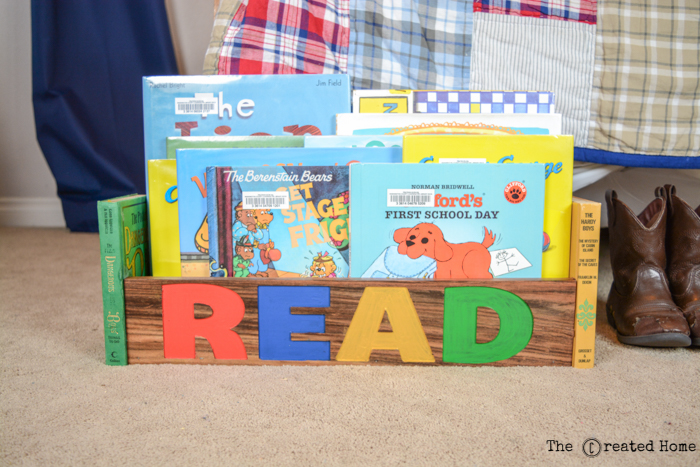
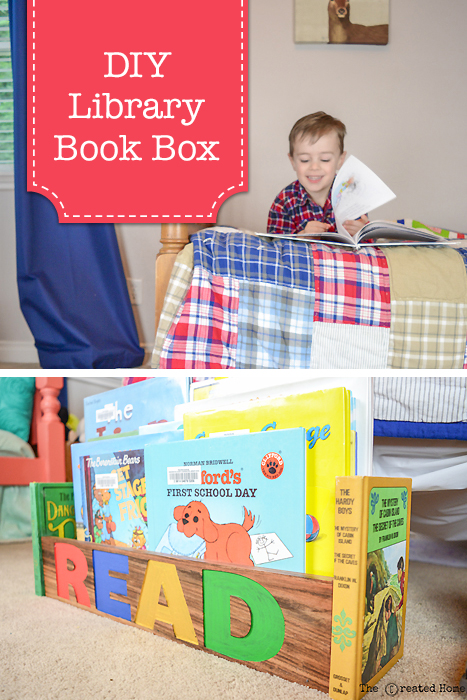 DIY Library Book Box