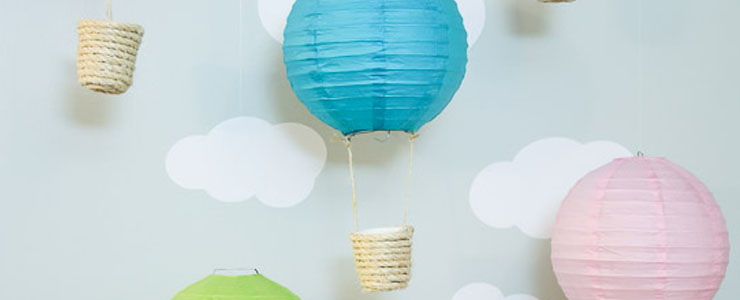
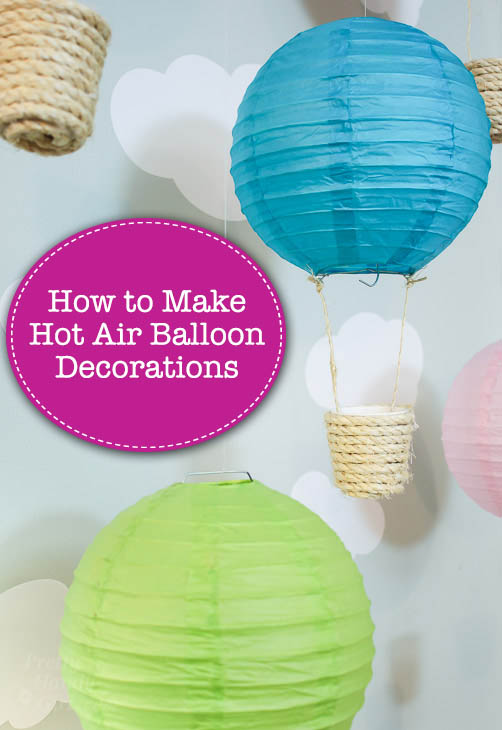
This year I’m helping out with the school book fair decorations again. The theme for our fair was air travel. We made cute hot air balloons, clothespin airplanes, a giant “Welcome” word cloud, and cut out book clouds (tutorial to come soon.) We had the most fun making these adorable hot air balloon decorations using Chinese lanterns and Dixie cups.
They cost next to nothing to make, but were a big hit with the kids. Ready to make your own hot air balloon decorations?
Materials:
(I’ve included affiliate links for your convenience. I earn a small percentage from a purchase using these links. There is no additional cost to you. You can read more about affiliate links here.)
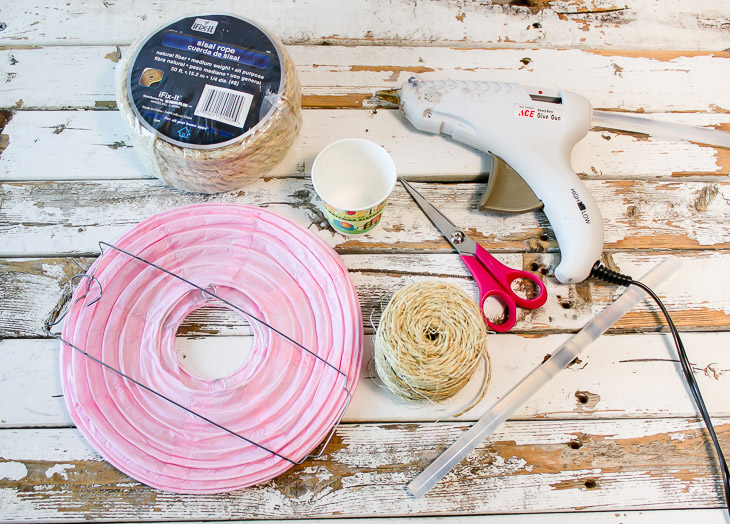
- Chinese lanterns
- 1/4″ sisal rope
- Sisal twine
- Hot glue gun (and glue sticks)
- Dixie cups
- Scissors
- Popsicle stick (to depress rope and keep your fingers burn free)
Instructions:
Assemble the Chinese lanterns.

Pre-heat your hot glue gun. If you’ve never used a hot glue gun before or always get burned, read this article first!
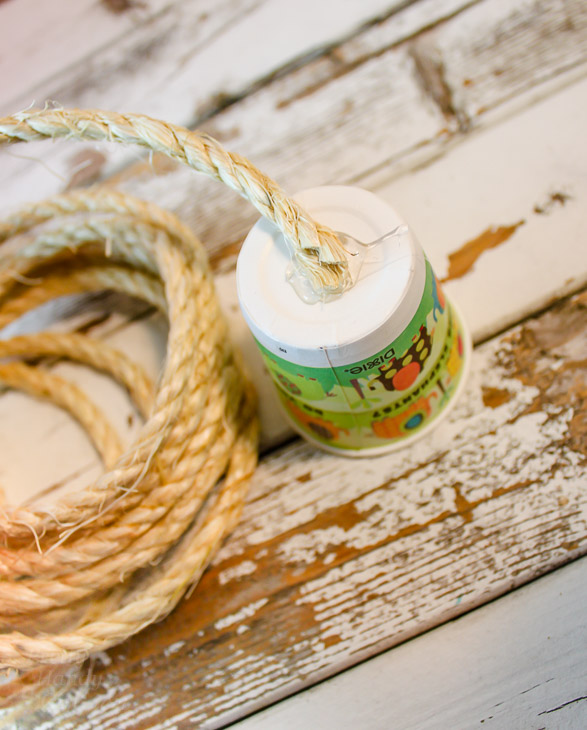
Place one Dixie cup upside down on your working surface. Squeeze a dollop of glue into the center of the bottom of the cup. Place the end of your rope into the glue and wait a minute for the glue to harden.
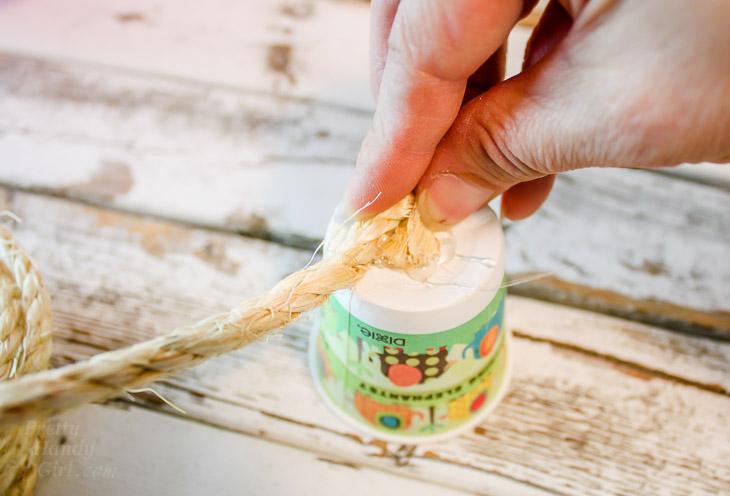
Add a little glue around the end of the rope. Fold the rope back and start to shape it around the center point. (Use a popsicle stick or tweezers to hold the rope as the glue cools. Do I as I say, not as I do.)
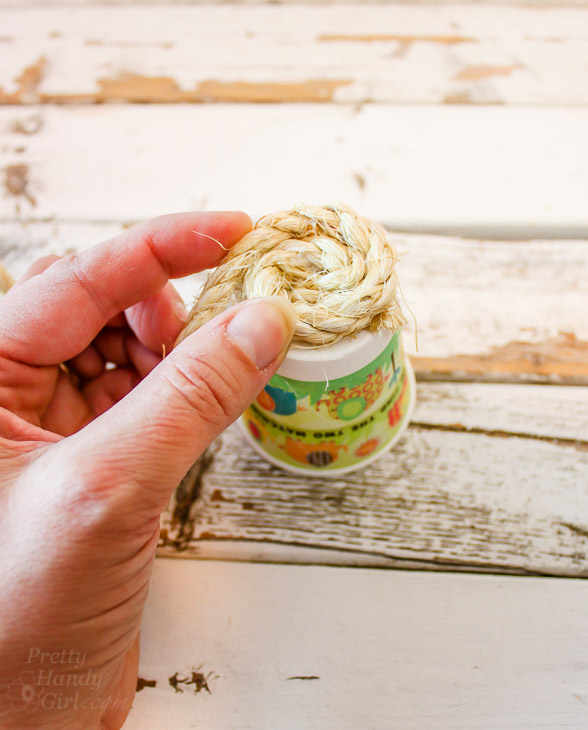
Keep adding glue and wrap the rope around the center until you have covered the bottom of the Dixie cup.
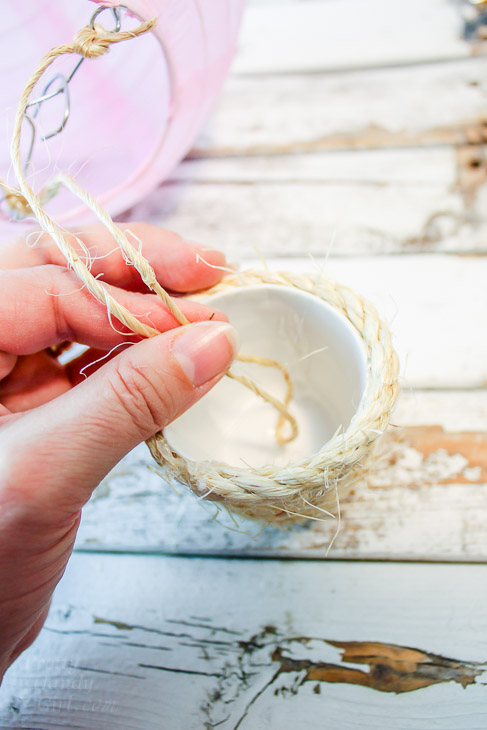
Add glue around the sides and wrap the rope around the sides of the Dixie cup. Be sure to firmly press the rope toward the bottom of the cup to avoid gaps.
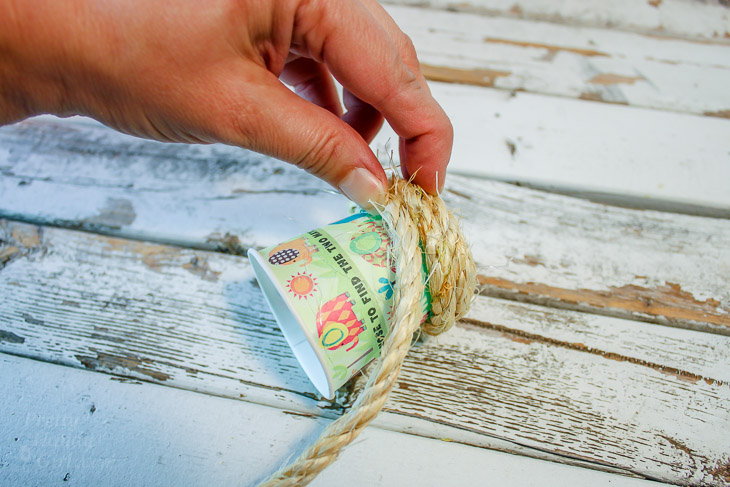
When the entire cup is covered, cut the rope and secure the end with more hot glue.
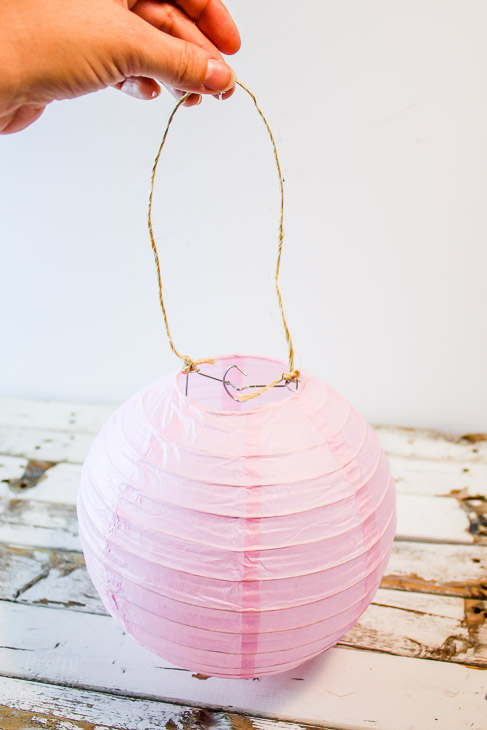
Tie one end of sisal twine to the bottom of the Chinese lantern.
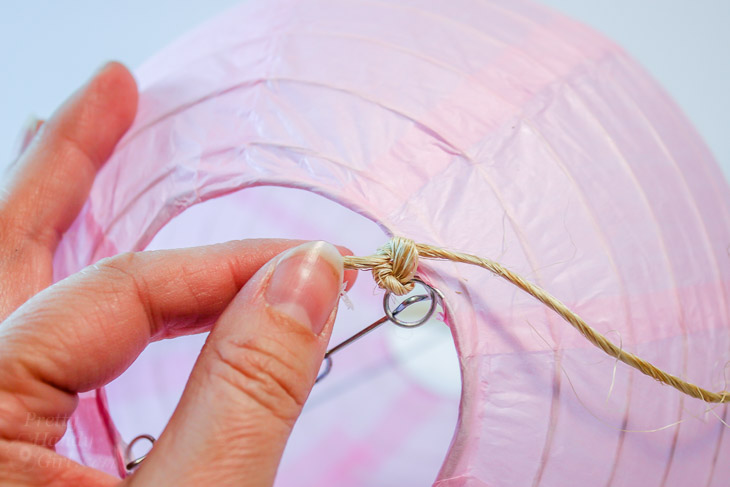
Measure the length you want for the twine and cup to hang from the lantern and cut the twine. Tie the other end to the lantern. Fold the twine in half to find the center.
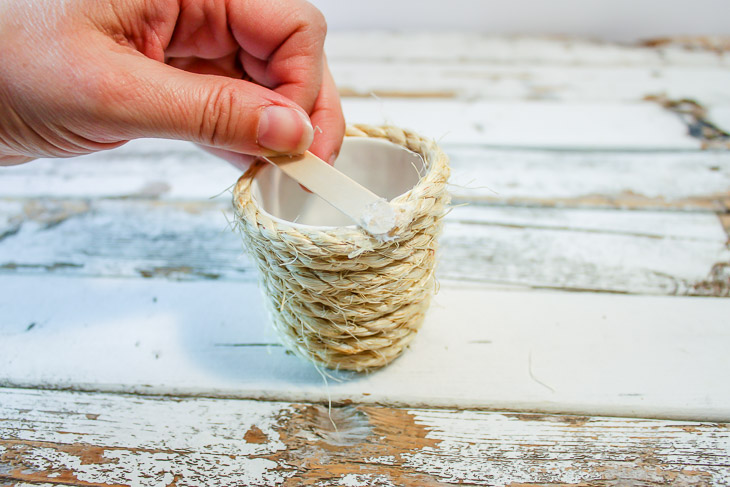
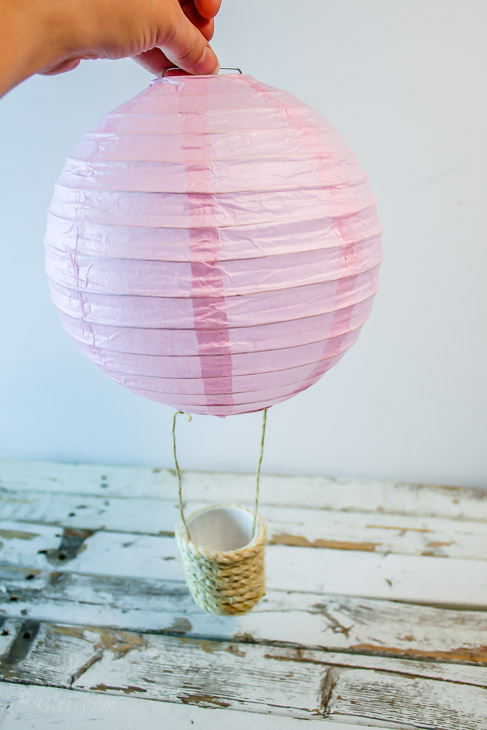
Put a dollop of glue inside the bottom of the Dixie cup. Press the center of the twine into the glue. Let harden for a minute. Run glue up both sides of the inside of the cup and press the twine into the hot glue. Make sure to adjust the twine until the cup hangs level under the lantern.
Once the hot glue hardens, you can hang your hot air balloon!
It could be fun to prop little lego people into the baskets. Or add a tea light into the baskets and light them at night.

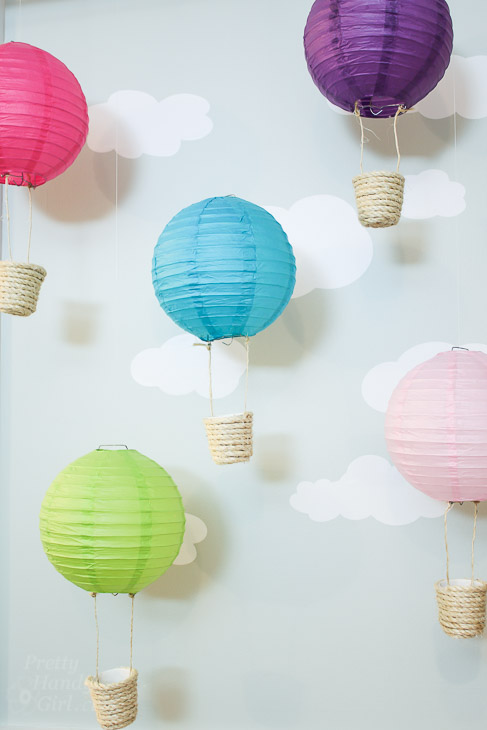
Making Hot Air Balloon decorations is an easy craft project with big cuteness factor!
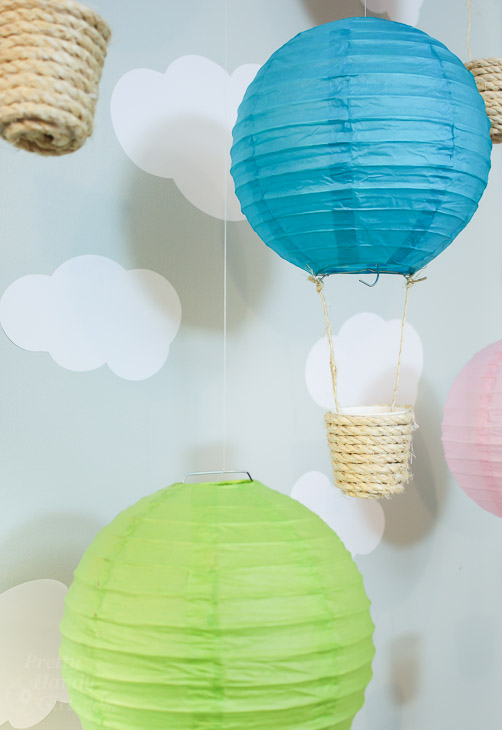
Hope you find somewhere to hang these mini hot air balloons because they will bring a smile to your face.
![]()